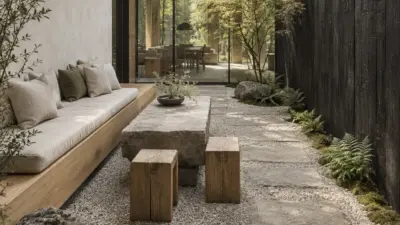
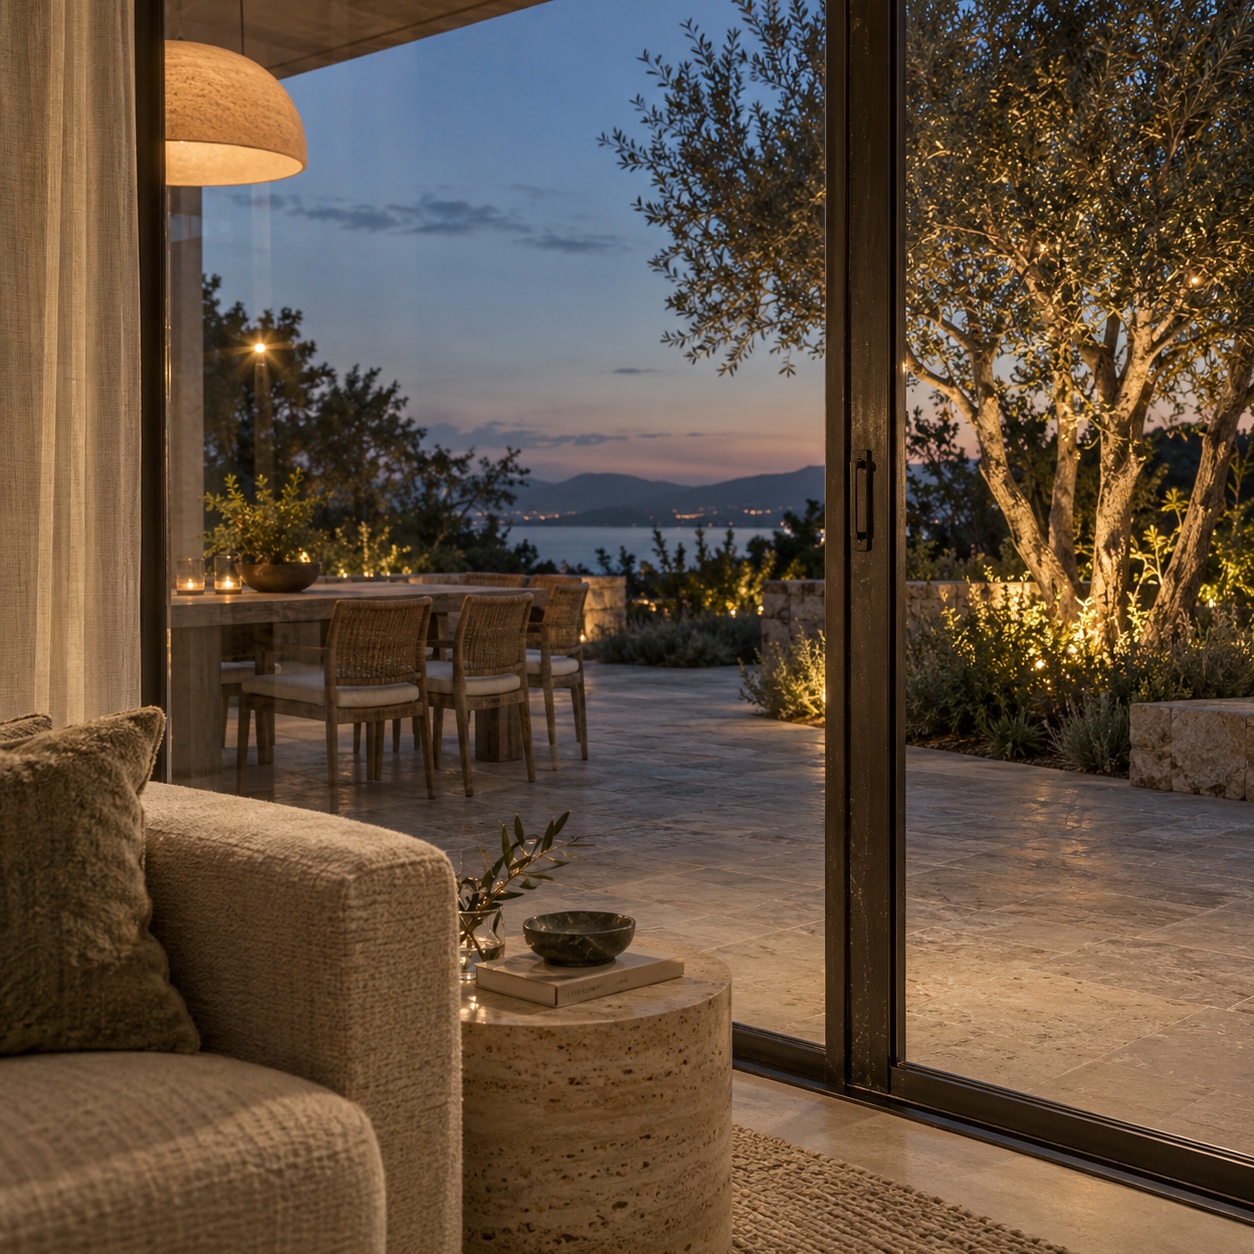
Once the lights inside come on, a garden can vanish behind its own reflection in the patio doors. The planting is still there, but its shapes become hard to read. A room that felt connected to the garden all afternoon seems to stop at the glass.
Life-drawing and industrial-design training taught me to look for silhouette, value pattern and proportion before decoration. From an ordinary seat, that habit makes the problem plain. The issue is rarely a lack of fixtures. It is usually a missing plan, and good garden lighting design starts with what you see from the sofa, the kitchen window and the outdoor chair.
- What a garden lighting design should include
- Survey the garden before choosing fixtures
- Draw a sightline map from your favorite seats
- Give every light one job
- Build the lighting scheme in layers
- Create a fixture and beam legend
- Plan cable routes and control zones
- Example plan for a medium-sized residential garden
- Repeat a detail, then allow one surprise
- Consider the garden in daylight
- Mock up and commission after dark
- FAQ
- Start with one photograph tonight
This guide is a planning method, not a shopping list. You will survey the garden, draw sightlines, give every light one job, write a fixture legend, plan cable routes and control zones, then test everything after dark. If you want a wider spread of inspiration first, a broader collection of backyard lighting references covers that ground. Here the goal is a documented plan you can price, install and adjust with confidence.
What a garden lighting design should include
A garden lighting design is a short set of documents that answers a few questions before anything is bought. Where do you look from? What do you want to see? Which light does which job? How will it all be switched?
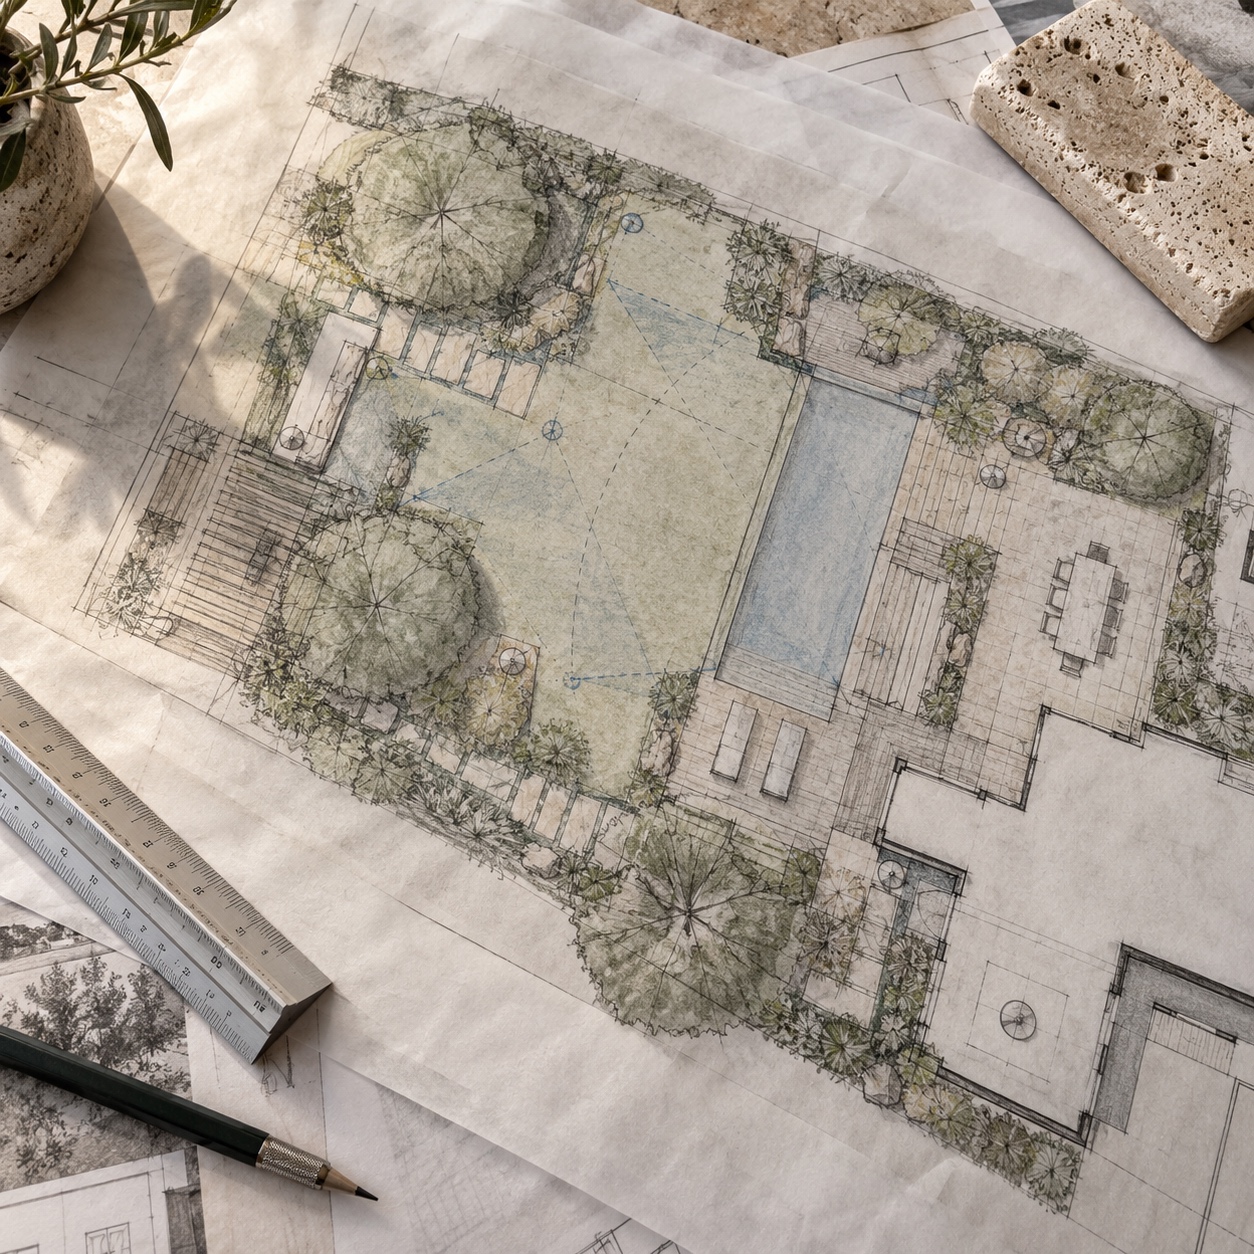
Five pieces cover most residential gardens. You need a base plan drawn to scale, even if it is hand-drawn on graph paper. You need a sightline map showing your seats and what each one sees.
You need a fixture legend that describes every light by type, beam and finish. Add a note of cable intent, meaning roughly where cables will run and where power enters. Finish with a list of control zones.
There is a boundary worth drawing early. Choosing positions, effects, brightness and schedules is design work you can do at a desk. Sizing transformers, protecting circuits, burying cables, connecting to a mains supply and confirming that a fixture suits a wet position all depend on your country, your site and the manufacturer’s instructions.
Follow those instructions and your local rules. Use a qualified electrician or installer wherever the rules require one. A clear plan makes that conversation shorter and the quotes easier to compare.
Survey the garden before choosing fixtures
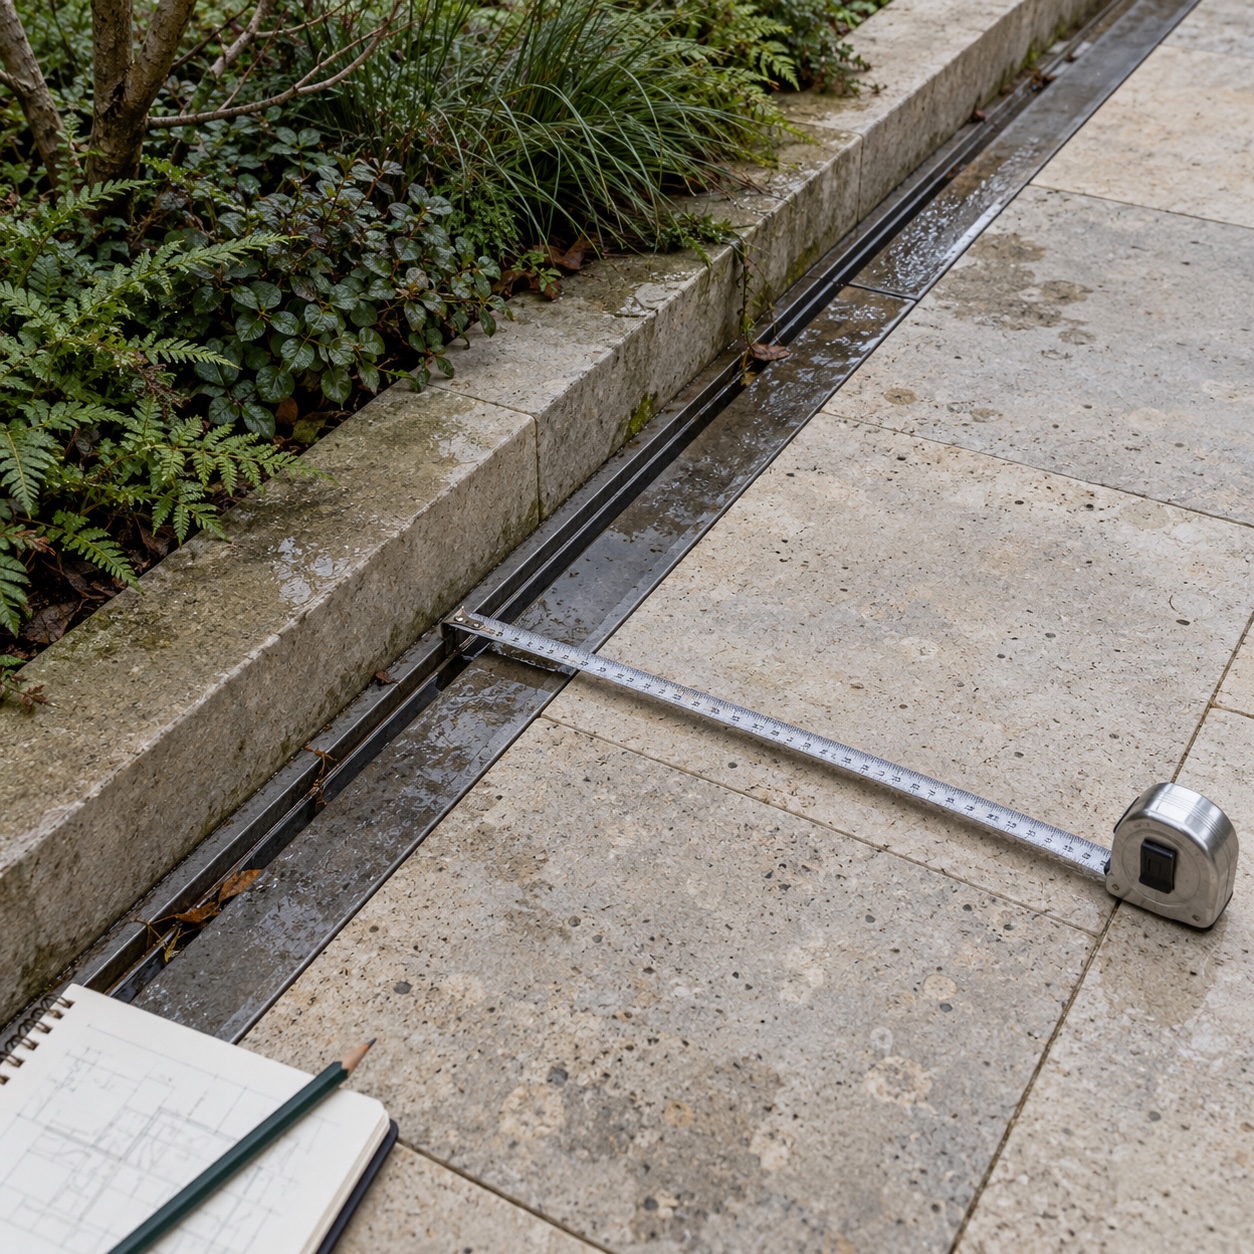
Start with a tape measure, not a catalogue. Record the boundaries, the size of the terrace, the line of the paths, the number and position of steps, and the height of walls and fences. Note where the ground stays wet, where water collects after rain, and where the nearest outdoor power point or supply sits.
Measure the planting too, and draw it at mature spread rather than today’s size. A shrub that is knee height now may crowd a path light within a few seasons. If you are working through a wider redesign, the Landscape Design Process guide shows where a lighting survey fits among the other decisions.
Then take photographs. Shoot from the kitchen window, the sofa, the patio table and the point where you approach the garden from the house or gate. Take each view in daylight and again at dusk with your usual indoor lights on.
Compare the pairs and write down what changes. Which doors turn into mirrors? Which lamps show up in the glass? Which shapes disappear?
Transfer the measurements onto a base plan. A scale of 1:50 or 1:100 is common, but use whatever fits your paper and keeps the details readable.
Draw a sightline map from your favorite seats
Lay tracing paper over the base plan or a printed photograph. Mark each seat you actually use, then draw two lines from it to show the edges of the view through the nearest window, door or gap. That cone is what garden lighting sightlines are about. You are lighting a view, not the whole garden.
Eye level matters. Seated eye height is often somewhere around 1.1 to 1.2 m (roughly 3.5 to 4 ft), a planning figure to check against your own chairs. A fixture that looks hidden when you stand can sit directly in your line of sight when you sit. A tree that appears central from the kitchen can slip behind a door frame from the sofa.
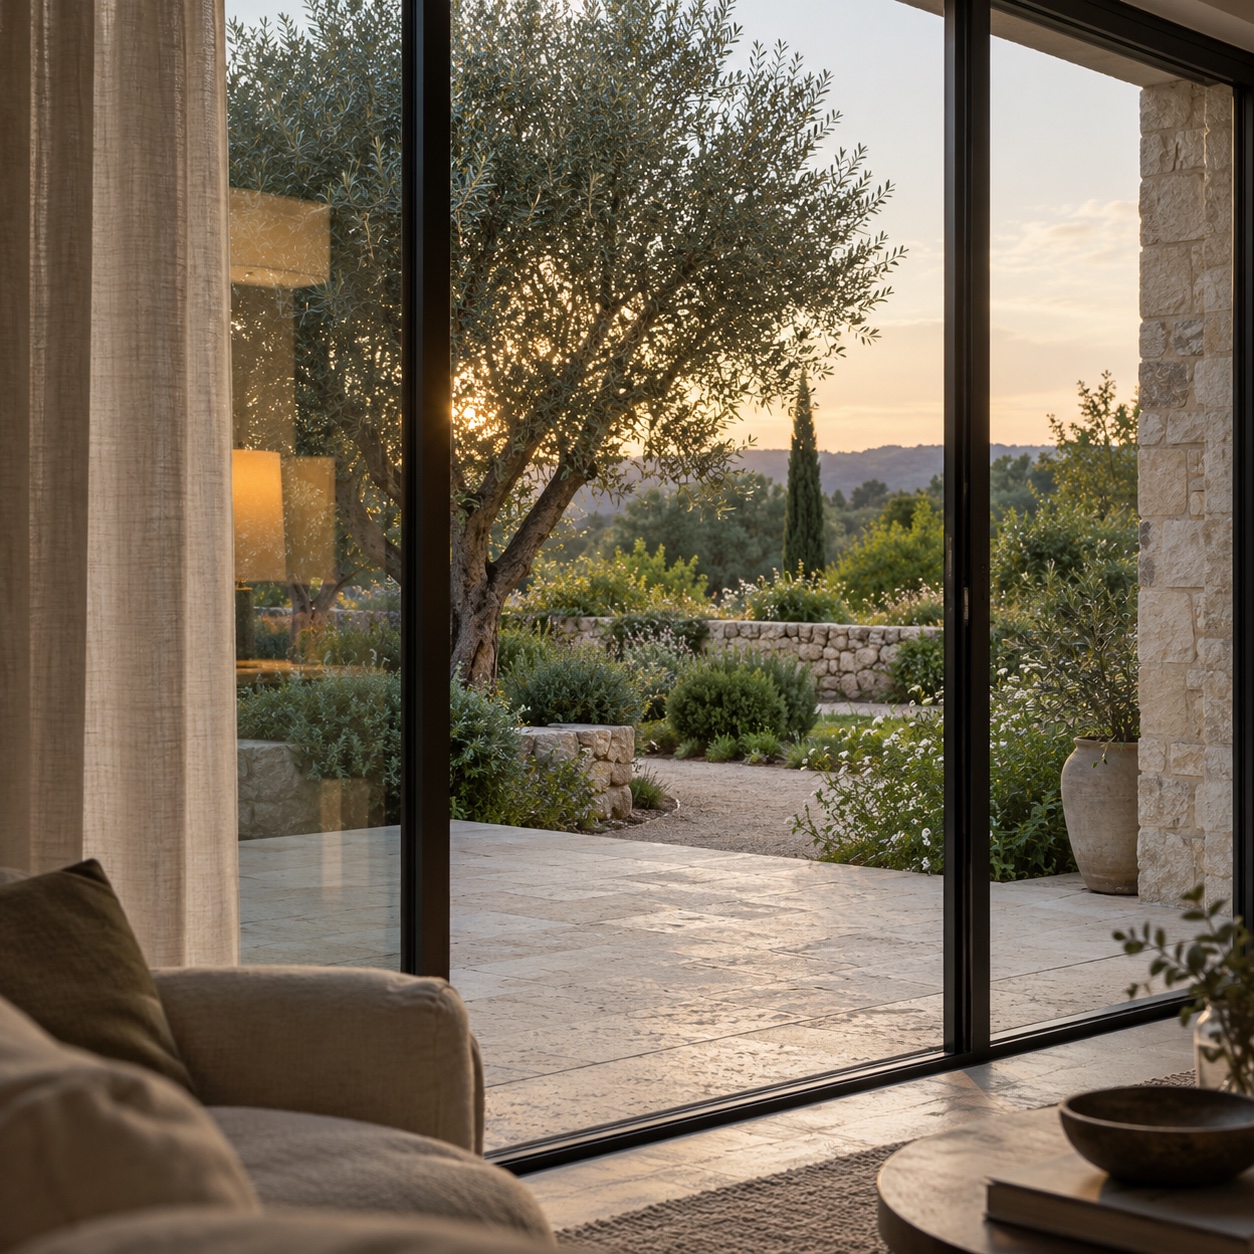
Divide each view into foreground, middle ground and background. The foreground is the first few meters beyond the glass, where one bright lamp can take over the picture. The middle ground is usually where your chosen feature lives. The background is the boundary planting or borrowed view that gives the scene depth.
Now add the interruptions: window frames, mullions, curtains, blinds, a dark stretch of wall. Then mark the reflections. Note which indoor lamps appear in the glass and from which seat.
If reflections dominate, adjusting those indoor lamps or the curtains may help more than adding outdoor brightness. I come back to that in the testing stage.
Give every light one job
Before a fixture goes on the plan, give it a single job. Most jobs fall into three groups: route and safety, seating and task, and the primary focal feature. A light that tries to do two jobs usually does both badly.
Route lights keep paths, steps and entrances readable. Keep them low in intensity and shielded so you see the surface rather than the lamp. Seating lights let you see a table, a plate or a book without lighting the whole garden.
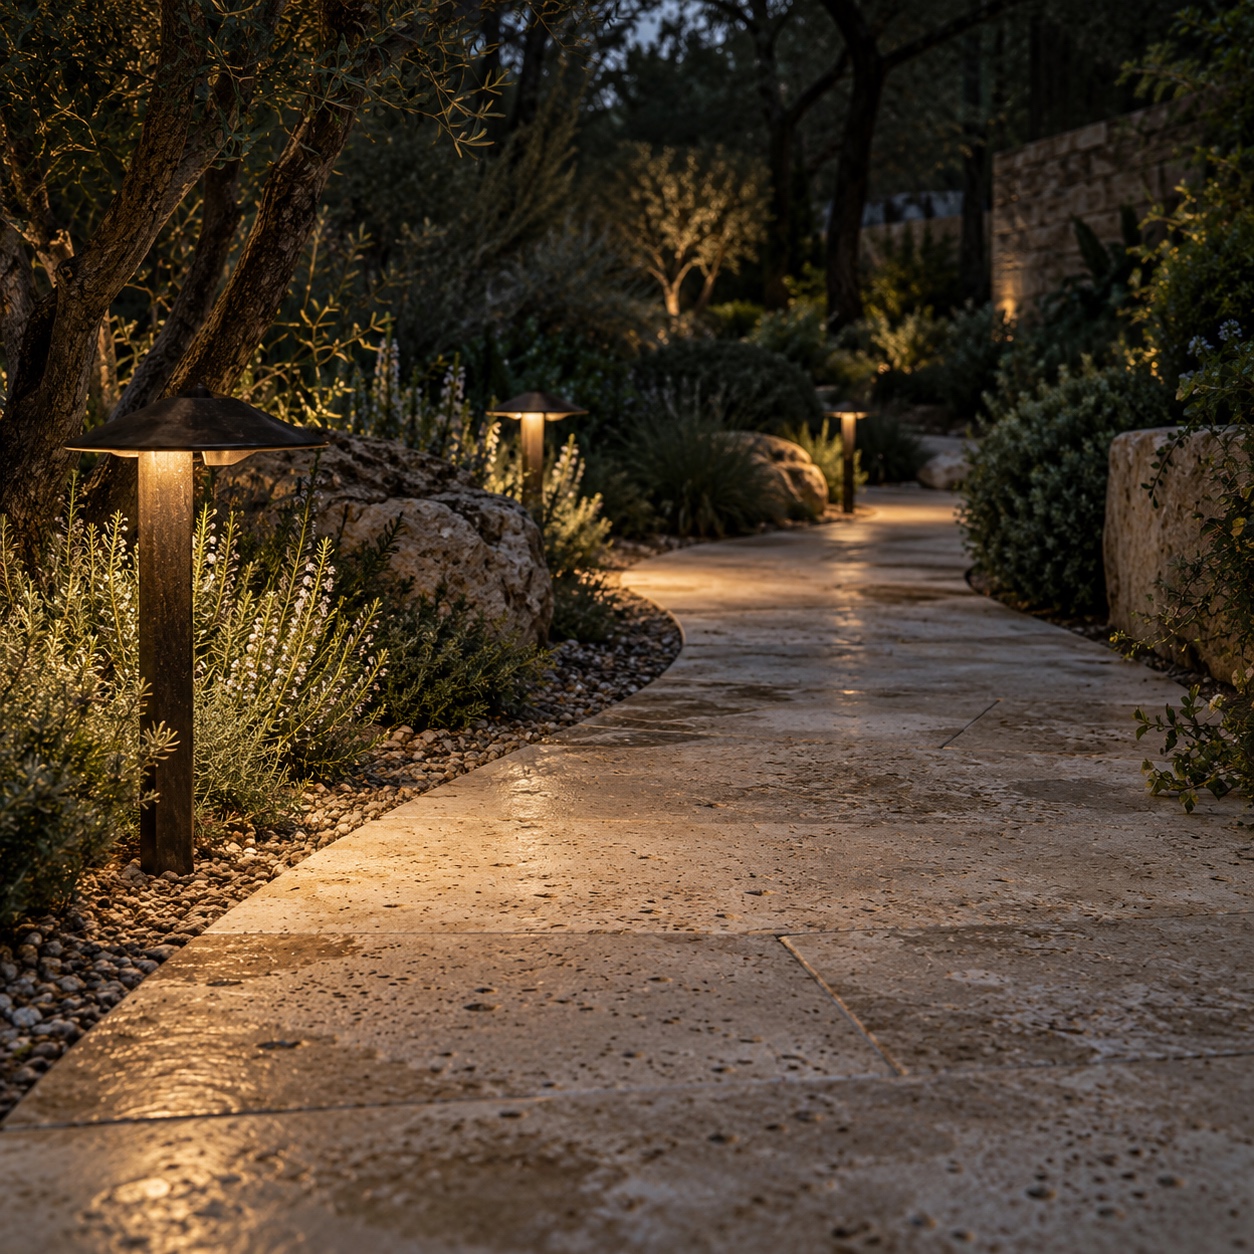
Then choose one feature to draw the eye. A small garden can hold several attractive details, but they do not need equal emphasis at night. It might be a branching tree, a sculptural pot or a section of textured wall. When everything is lit to a similar level, the eye has nowhere to settle.
Think about which part of the feature you want to reveal. Light on a trunk reads differently from light spread across a dense shrub. An adjustable spotlight gives you options, though its position and beam still need testing in the actual setting.
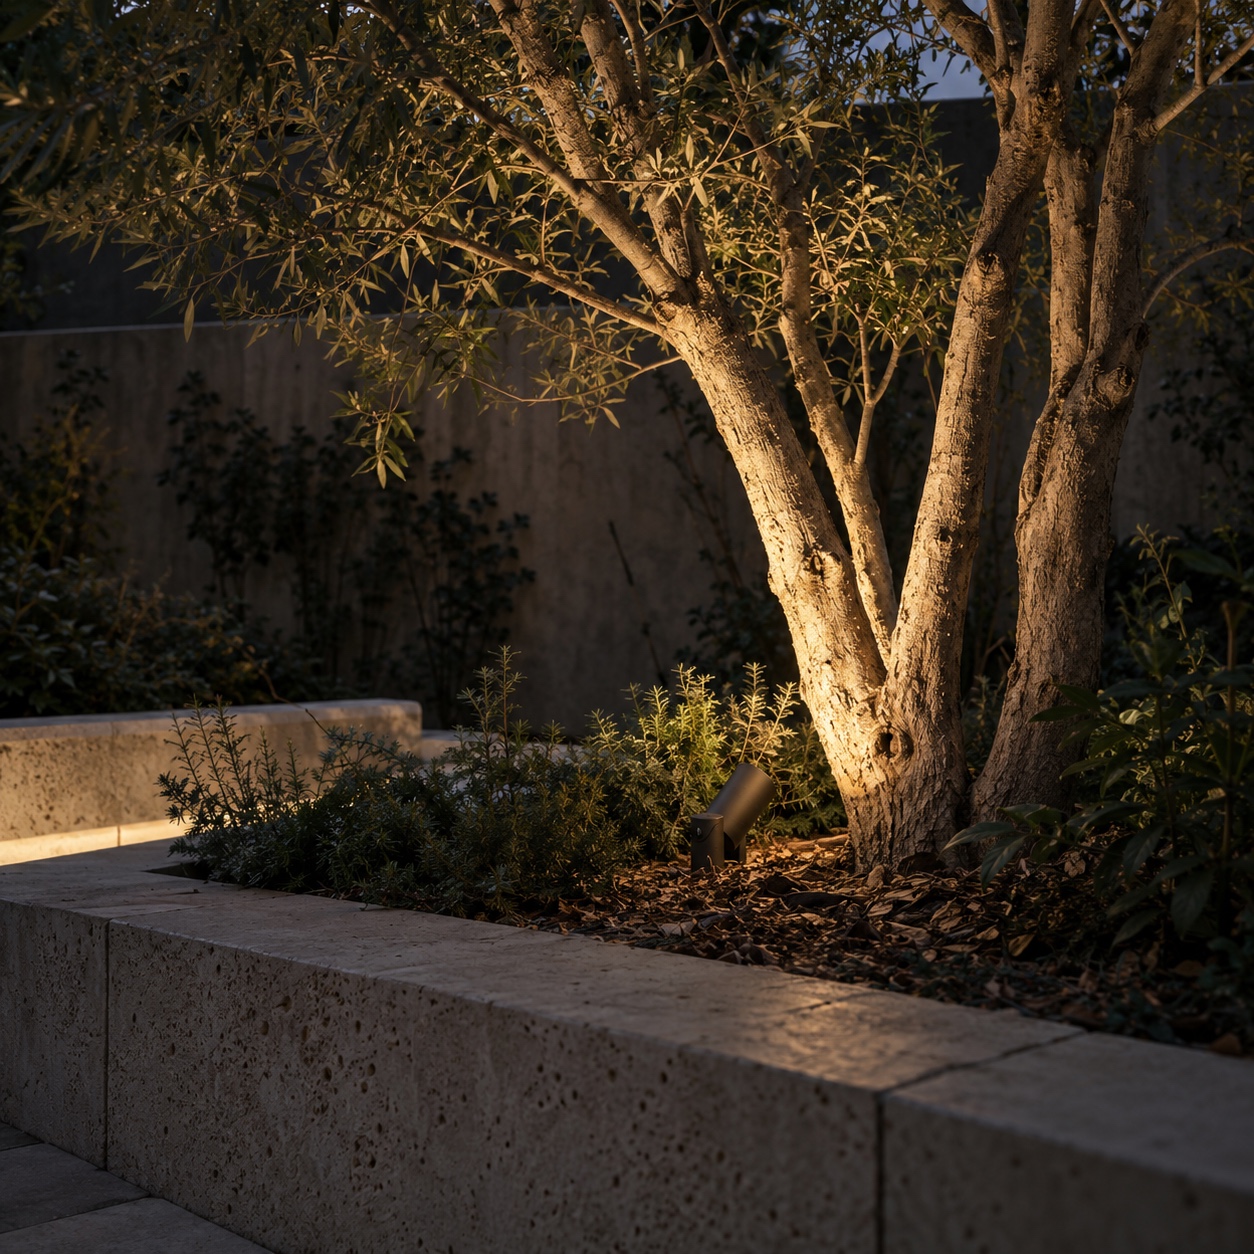
Write the job beside each fixture on the plan. If you cannot name one, take the fixture off.
Build the lighting scheme in layers
A good garden lighting scheme has a quiet base layer for movement, a few accents for interest and, sometimes, one decorative light. For each fixture, decide five things before you choose a product: beam angle, spread, direction, shielding and the shadow it will cast.
A narrow beam picks out a trunk or a sculpture. A wide beam washes a wall or a low planting bed. Light from the side tends to show texture, while light placed directly in front can flatten it. A fixture set behind a plant can outline it against a wall. Treat these as starting points and test each one on site.
Then decide where the darkness goes. Letting a stretch of the garden stay unlit between two illuminated features helps each keep its own shape. This does not require a large or complicated installation. In a compact courtyard, a softly lit route and one decorative feature may be enough, and you can add another light when you can state a specific reason for it.
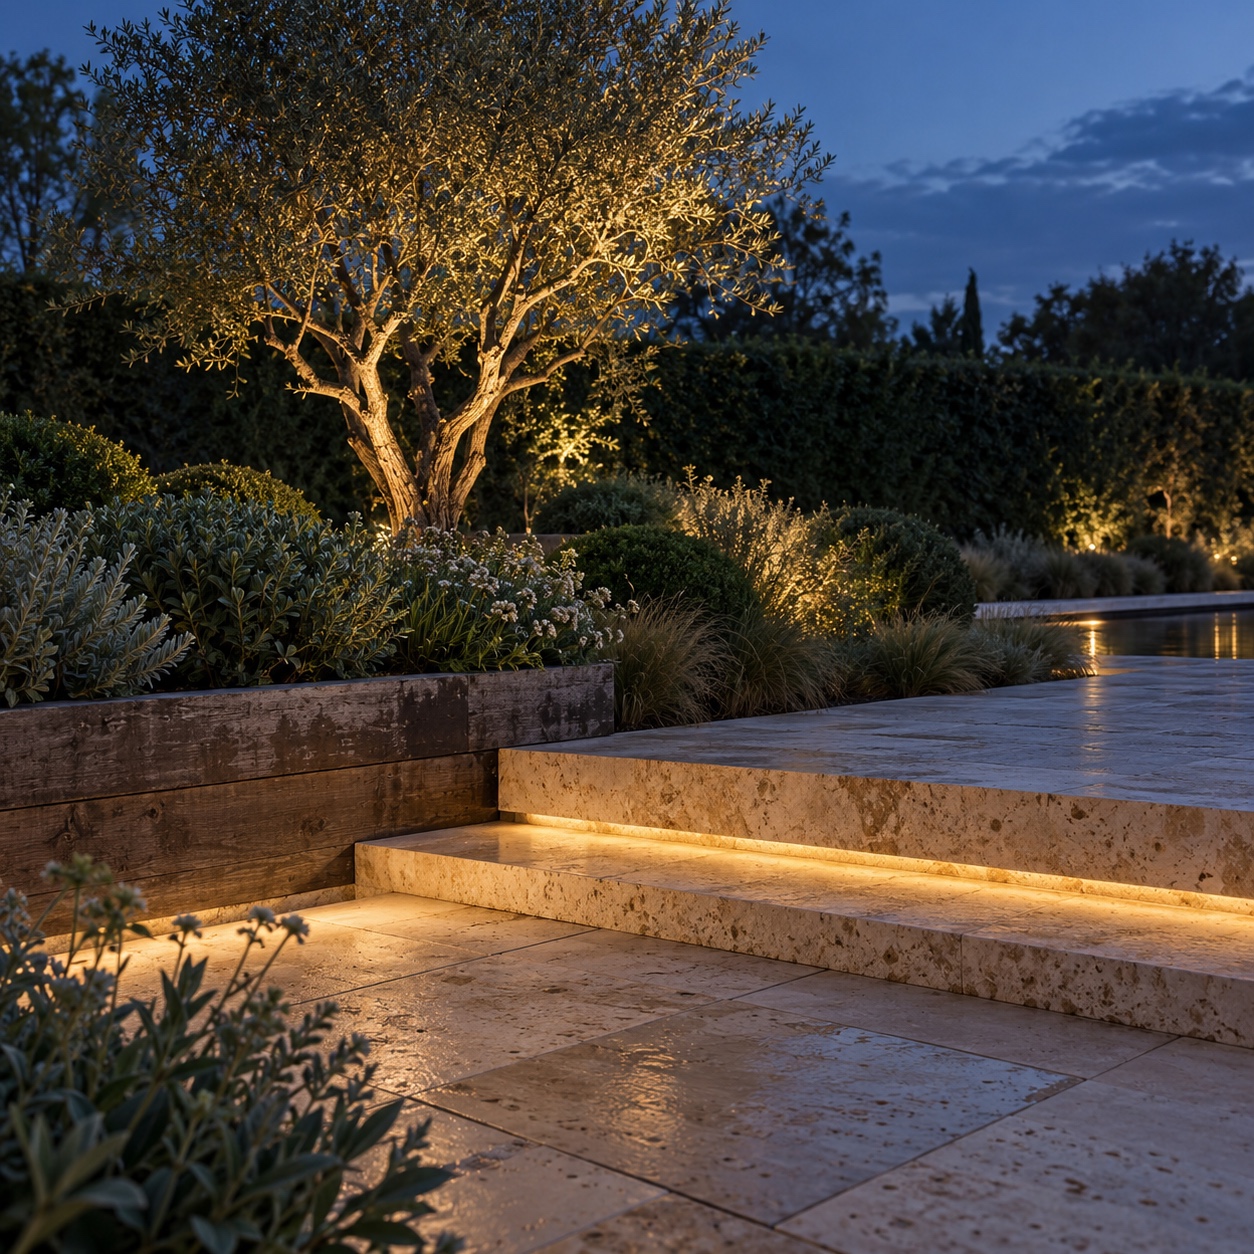
Check where each beam ends up beyond its target. A narrow tree canopy may leave much of a beam unobstructed, and that light carries on toward a neighbor’s bedroom window. Look from the boundary and from any overlooking windows, and use shielding, lower mounting positions and downward aiming to keep light on your side of the fence.
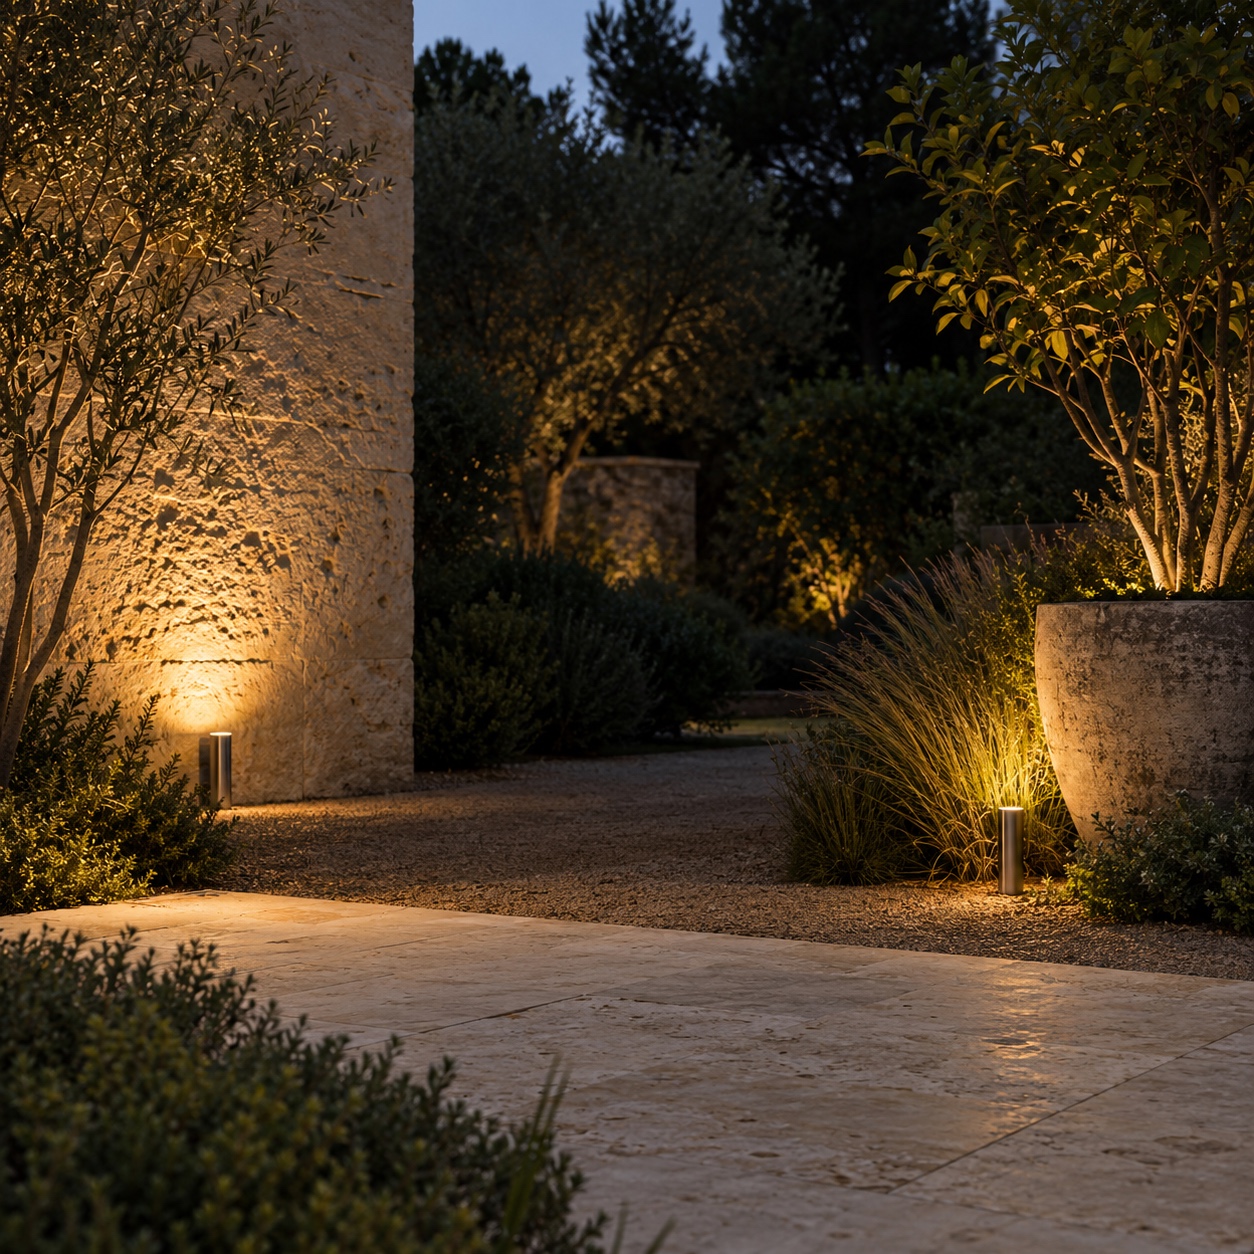
Think about wildlife as well. Bats, birds, insects and other animals can be sensitive to artificial light, so keep hedges, ponds and boundary planting dark where you can. Local conservation guidance is worth reading if you know a species uses your garden.
Finally, think about energy. Lower output, dimming, timers and the habit of switching lights off when nobody is looking at them all reduce both consumption and light pollution.
For a broader set of zone-by-zone examples, compare this plan-first method with our Backyard Lighting Ideas guide.
Create a fixture and beam legend
The legend turns your intentions into something you can shop against. Give each fixture a code and record the same details every time: type, intended effect, output and dimming range, color temperature, beam, IP rating, mounting method and finish. Here is a short illustrative extract.

| Code | Type | Intended effect | Output and dimming | Color temp | Beam | IP rating | Mounting | Finish |
|---|---|---|---|---|---|---|---|---|
| P1–P5 | Low path light | Soft pool on surface | Low, dimmable | Warm white | Wide, shielded | Check datasheet | Fixed base | Dark bronze |
| S1 | Adjustable spot | Reveal trunk, lower canopy | Medium, dimmable | Warm white | Narrow | Check datasheet | Ground stake | Brushed aluminum |
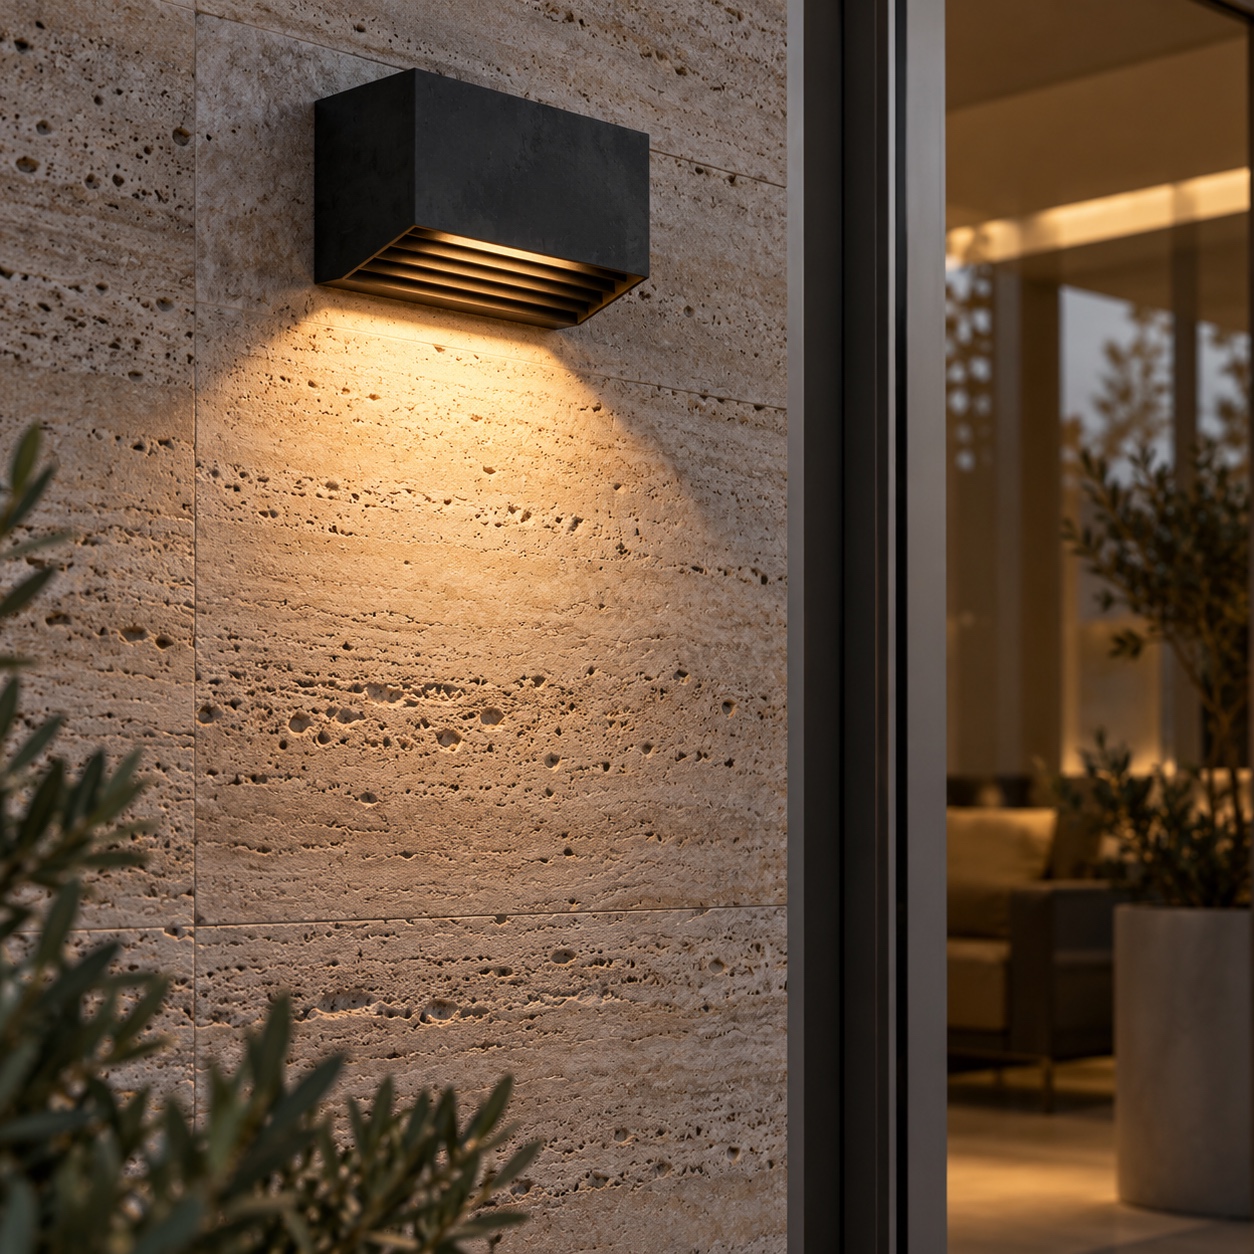
| W1 | Wall light | Door-side seating light | Low, dimmable | Match indoor lamps | Wide, downward | Check datasheet | Wall bracket | Black |
When you are turning the plan into a shortlist, browsing garden lighting with the legend open helps you reject anything that has no job on the drawing. Quote output, color temperature and IP numbers from each product’s own datasheet rather than from memory.
IP ratings use two digits. The first covers protection against solids such as dust, the second covers water. A higher number is not automatically the right one everywhere. A wall light under an overhang, a path light that gets splashed and an in-ground fixture that may sit in standing water face very different exposure. Match the rating to the position, follow the manufacturer’s installation instructions and check local rules.
Add two more columns in pencil: daytime scale and maintenance access. Check each housing against its neighbors, since a large lamp can feel proportionate beside substantial furniture yet dominate a narrow bed. Leave room to clean the lens, replace a part and trim the plant that will grow in front of it.
Plan cable routes and control zones
You do not need to draw every centimeter of cable, but you do need cable intent. Mark where power enters the garden, where a transformer or driver might sit in a dry, accessible spot, and the rough routes to each group of fixtures. Avoid routes across lawn edges, planting beds you dig often and the path used by garden tools or furniture moving between house and patio.
Burial depth, cable protection, connection methods and transformer or driver sizing vary by country and product. Leave those decisions to the manufacturer’s instructions, local rules and a qualified installer where required. Your job is to hand them a clear drawing.
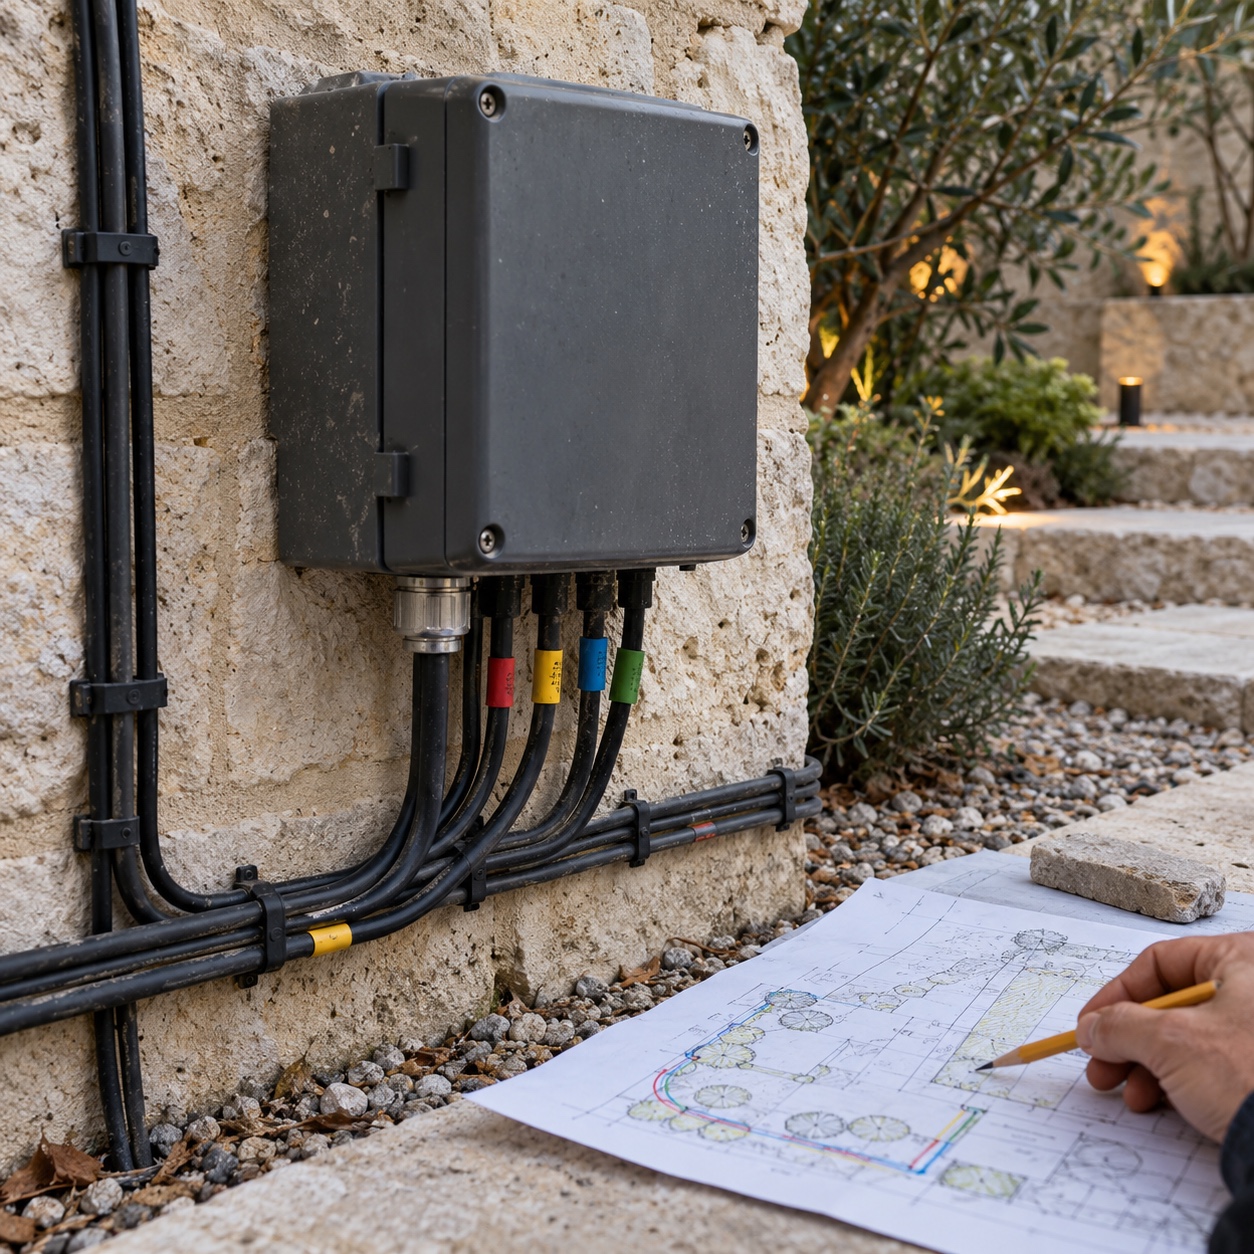
Then group fixtures into zones by purpose. Garden lighting control zones usually separate practical lights from decorative ones. Entrance, steps and main path might share a zone, with seating and decorative lights in a second and feature lighting in a third.
You may want the entrance lit after the seating area has gone quiet, and separate controls let you do exactly that. The House Exterior Lighting Ideas piece covers the front of the house if your entrance sequence begins there.
For each zone, note how it will be controlled. Timers handle routine, sensors suit short-use areas such as side gates, and dimming lets you set a lower evening level. Keep a manual override so you can switch a zone off when you do not need it.
Allow for future changes by leaving spare capacity where the product permits it. Label the cables, photograph the routes before backfilling and file the photos with the plan.
Example plan for a medium-sized residential garden
Here is how you might plan a landscape lighting scheme for a medium-sized residential garden. This is an illustration, not a template, and every dimension is a planning example to verify on site.
Imagine a garden about 12 m wide and 18 m long. Patio doors open onto a terrace roughly 4 m deep, a gently curving path runs along the left boundary to a small rear seat, a multi-stem tree stands right of center about 8 m from the doors, and a neighbor’s windows overlook the right-hand fence. The main seat is the sofa, which looks straight out through the doors.
Zone 1 covers the path and the two steps down from the terrace. Five or six shielded low path lights follow the curve, spaced by testing rather than by a formula, because the spacing depends on the fixture’s spread and the surface. They exist so you can walk safely, and they stay low so they do not compete with the tree.
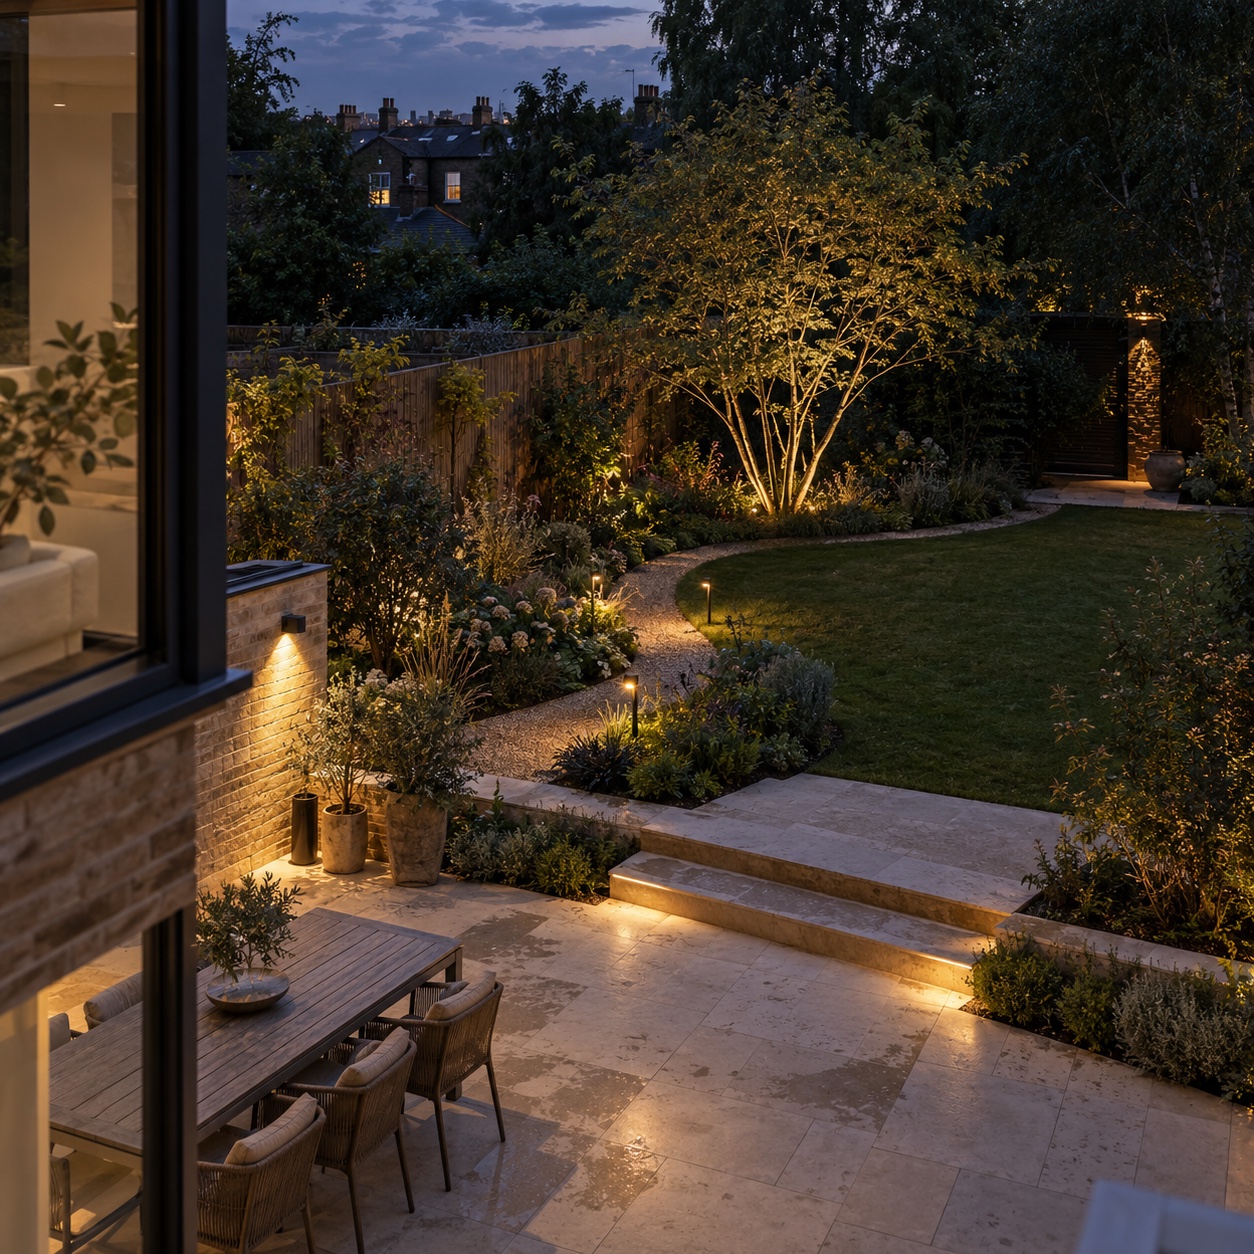
Zone 2 is the terrace. One dimmable, downward-facing wall light sits beside the doors but off the sofa’s sightline, and a portable decorative lamp joins the table. If your seating is on a raised platform instead, Modern Deck Lighting Ideas shows how to handle edges and steps.
Zone 3 is the tree. One narrow-beam spotlight, aimed from the side at the trunk and lower canopy, is the primary focal feature. It is placed low and angled away from the right-hand fence so the neighbor’s windows do not catch the beam.
The rear bed and the fence stay dark. That darkness is deliberate, since it lets the tree read as a clear shape and keeps light off the neighbor’s side.
This example works as garden lighting design because each position can be explained by a sightline, a job or a boundary. If you cannot give the same explanation for a light in your own plan, test the plan without it.
Repeat a detail, then allow one surprise
Repeating a finish, shape or quality of light helps different parts of the garden feel related. Slim dark fixtures sit comfortably alongside black window frames. Rounded shades can echo circular planters or the outline of a small table.
Once that quiet pattern exists, give one decorative light a more noticeable role. A glowing globe beside the seating introduces a different scale and texture. Look at its position in relation to cushions, planting and the furniture around it, so the lamp becomes part of the seating arrangement rather than an afterthought.
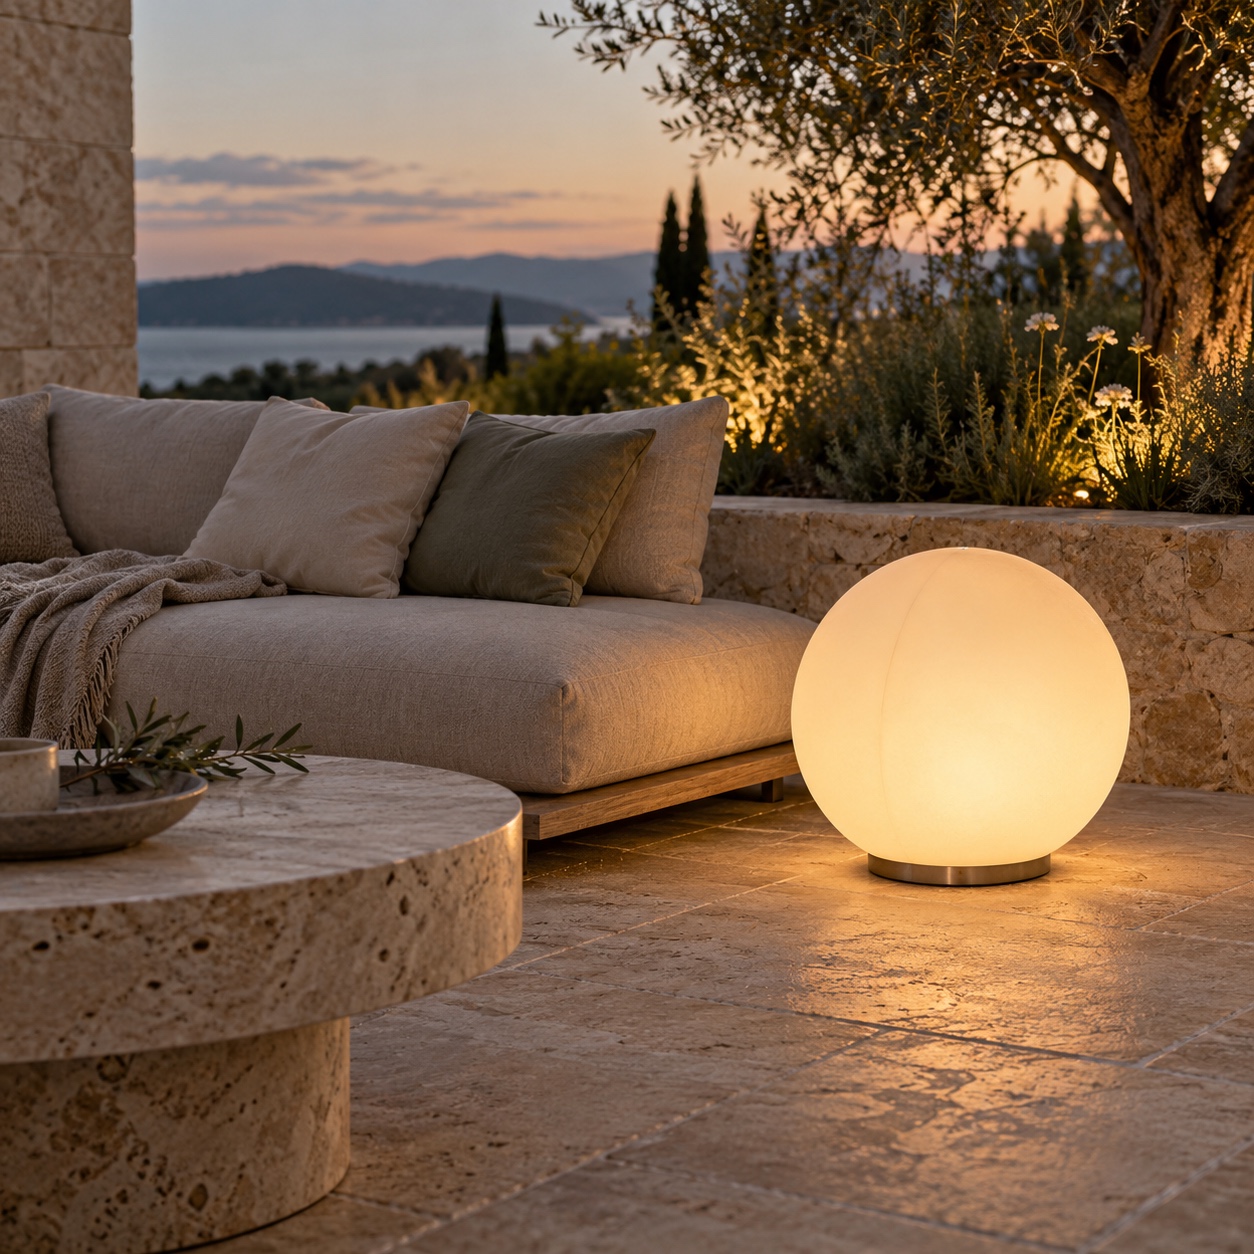
Compare the color of nearby light sources before ordering. A warm porch light and a sharply white garden lamp can produce an unexpected clash. Choose that contrast on purpose, or look for a closer match if you want a more continuous view.
Consider the garden in daylight
Every fixture spends many hours switched off. Look at the housing, base, cable route and mounting position as part of the daytime garden. A gleaming lamp head on a thin stem may look elegant in a catalogue and awkward against a rough stone wall.
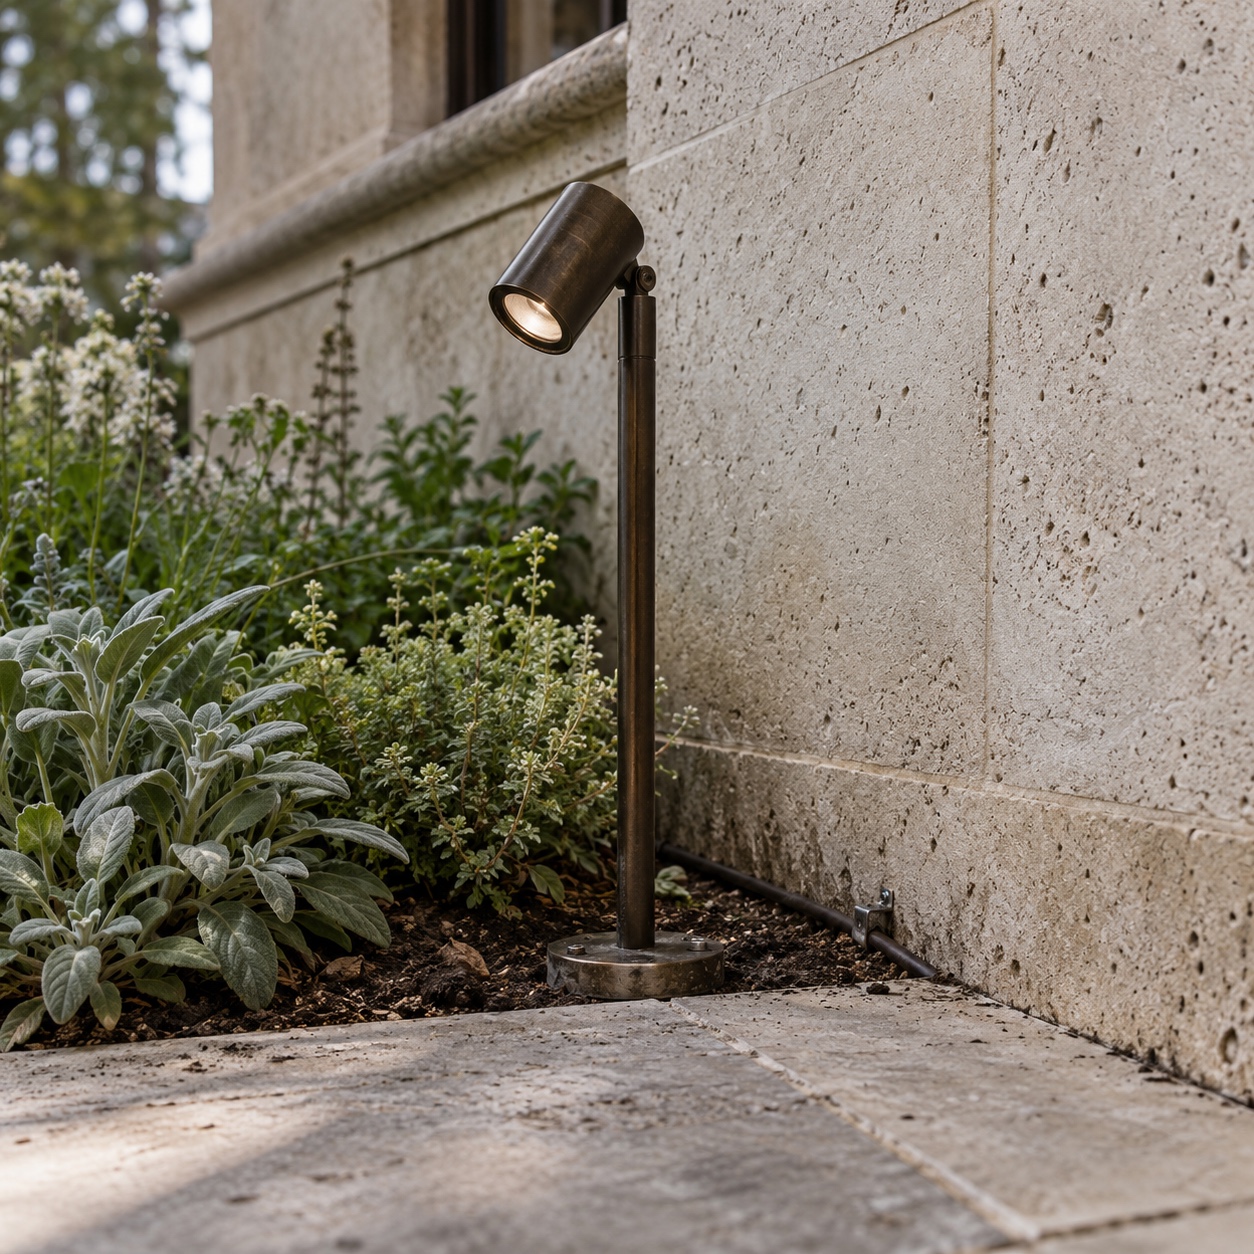
Check practical access too. Leave room to tend the plants, clean the lens and reach any serviceable parts. Keep fixtures and connections clear of the route used by tools or furniture.
For solar designs, confirm that the panel’s position receives the sunlight the product requires, since a shaded spot can leave the light weak by evening. For wired fixtures, settle power and installation requirements before finishing any planting or paving, and have a qualified installer handle the electrical work where needed.
Mock up and commission after dark
Before anything is fixed in place, test the plan. Place temporary lights, or a torch for beam direction, at the planned positions. Use only temporary equipment that is rated and safe for outdoor use. Stand or sit where the plan says you will be.
Switch on the indoor lighting you would normally have on at that time, and close curtains and blinds as you usually do. If reflections dominate the patio doors, adjust the nearby indoor lamps before deciding the garden needs more brightness.
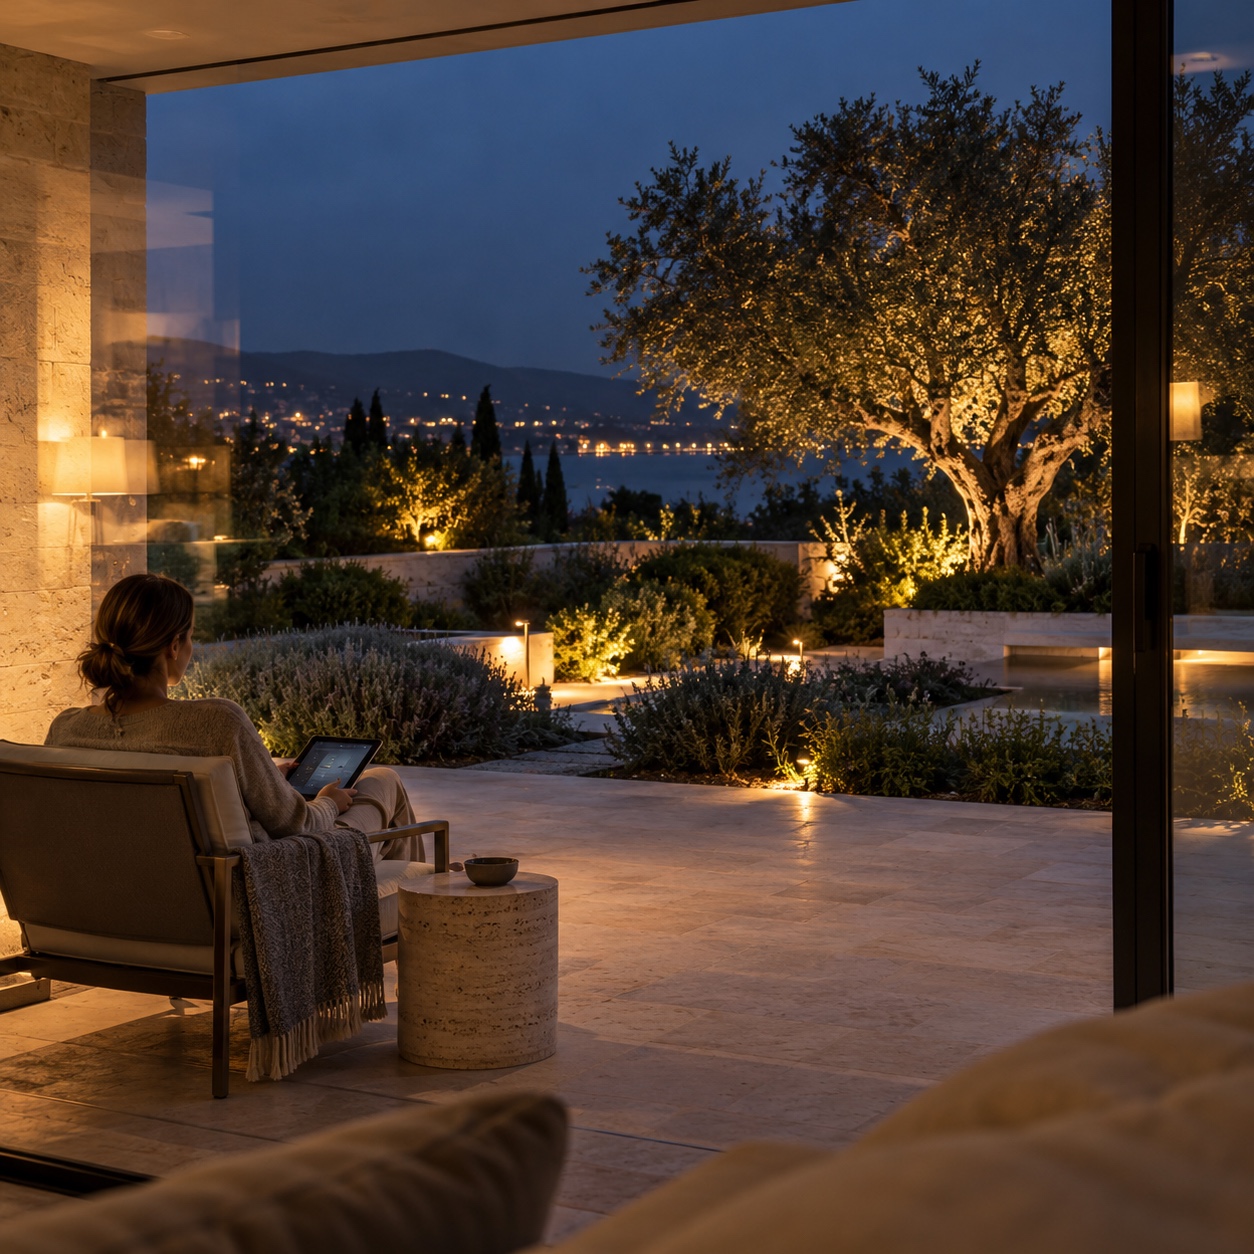
View the scene from the kitchen, the sofa and the outdoor chairs. A source hidden from one position may be directly visible from another. Then take a photograph from your original viewpoint and compare it with the marked-up daytime picture. Can you follow the path, recognize the chosen feature and enjoy the seating area without a bare light source demanding attention?
Once the installed scheme is in place, run a short commissioning check:
- Look for any bare source or bright lens visible from each favorite seat.
- Walk the boundary and look back for spill toward neighboring windows.
- Check reflections in glass with normal indoor lights on.
- Confirm each control zone switches, dims and times as planned.
- Make sure steps, edges and entrances are readable but not harsh.
- Photograph the final result and file it with the plan.
Then make the small adjustments from that familiar seat, and repeat the check after a few weeks once you have lived with it.
FAQ
How do you start a garden lighting design?
Start with the view, not the fixtures. Photograph the garden from your favorite seats in daylight and at dusk, measure the main features and mark what you want to see after dark. Then draw a simple sightline map, which tells you where light will matter before you choose any product.
What should a garden lighting plan show?
A garden lighting plan should show a scaled base plan, seat positions and sightlines, a coded fixture legend, rough cable routes and power entry, and control zones. It should also note beam direction and anything to shield. A qualified installer can then work from the drawing and your own notes.
How many lighting zones does a residential garden need?
Many residential gardens work well with two to four zones, as a planning example to adapt. A typical split separates entrance and path lights, seating and decorative lights, and feature lighting. Add a zone only when a group of fixtures needs a different schedule or dimming level.
How do you prevent glare through patio doors?
Keep bare light sources out of your seated sightlines and shield fixtures near the glass. Lower the indoor lamps that reflect in the doors, and check the view with curtains and blinds in their usual positions. Test from each seat after dark and adjust until the garden reads through the glass.
What color temperature works best for garden lighting?
Warm white is a common starting point for relaxed gardens and sits comfortably beside most indoor and porch lamps. There is no universal best value, so compare samples in place after dark. Keep sources close enough to feel related unless you are choosing a contrast deliberately.
Start with one photograph tonight
Tonight, switch on the lights you normally use, sit in your favorite seat and photograph the garden through the glass. Print it or open it on a tablet, then mark one feature worth seeing, the route you walk and the lamps reflected in the doors. That single marked-up image is the first page of your plan.
From there, work outward: measure, draw the sightlines, give each light one job and write the legend. Test with temporary lights before anything is fixed. When the plan is clear, take it to a qualified installer, then switch off whatever you do not need.
- 0shares
- Facebook0
- Pinterest0
- Twitter0
- Reddit0