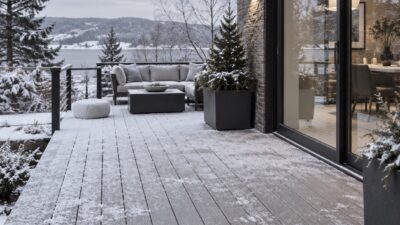
A house that looks great at noon can disappear entirely by eight in the evening, reduced to a porch bulb and whatever spills out from the windows. Exterior lighting is the one design layer most homeowners plan last and notice most, since half of every day happens after the sun goes down and a house still has to read as cared for during all of it.
- Why exterior lighting changes the whole look of a home
- Start with warm color temperature
- Build layers instead of flooding the yard with light
- Use uplighting to shape architecture, not just brighten it
- Make the front entry the visual anchor
- Match fixture style and scale to the house
- Add dimmers and smart zones for mood control
- Avoid over-illumination and light spill
- FAQ
- Let the house read as considered after dark too
Getting this right isn’t about buying more fixtures. It’s closer to stage lighting than hardware shopping: deciding what the eye should land on first, second and third once the sun’s gone.
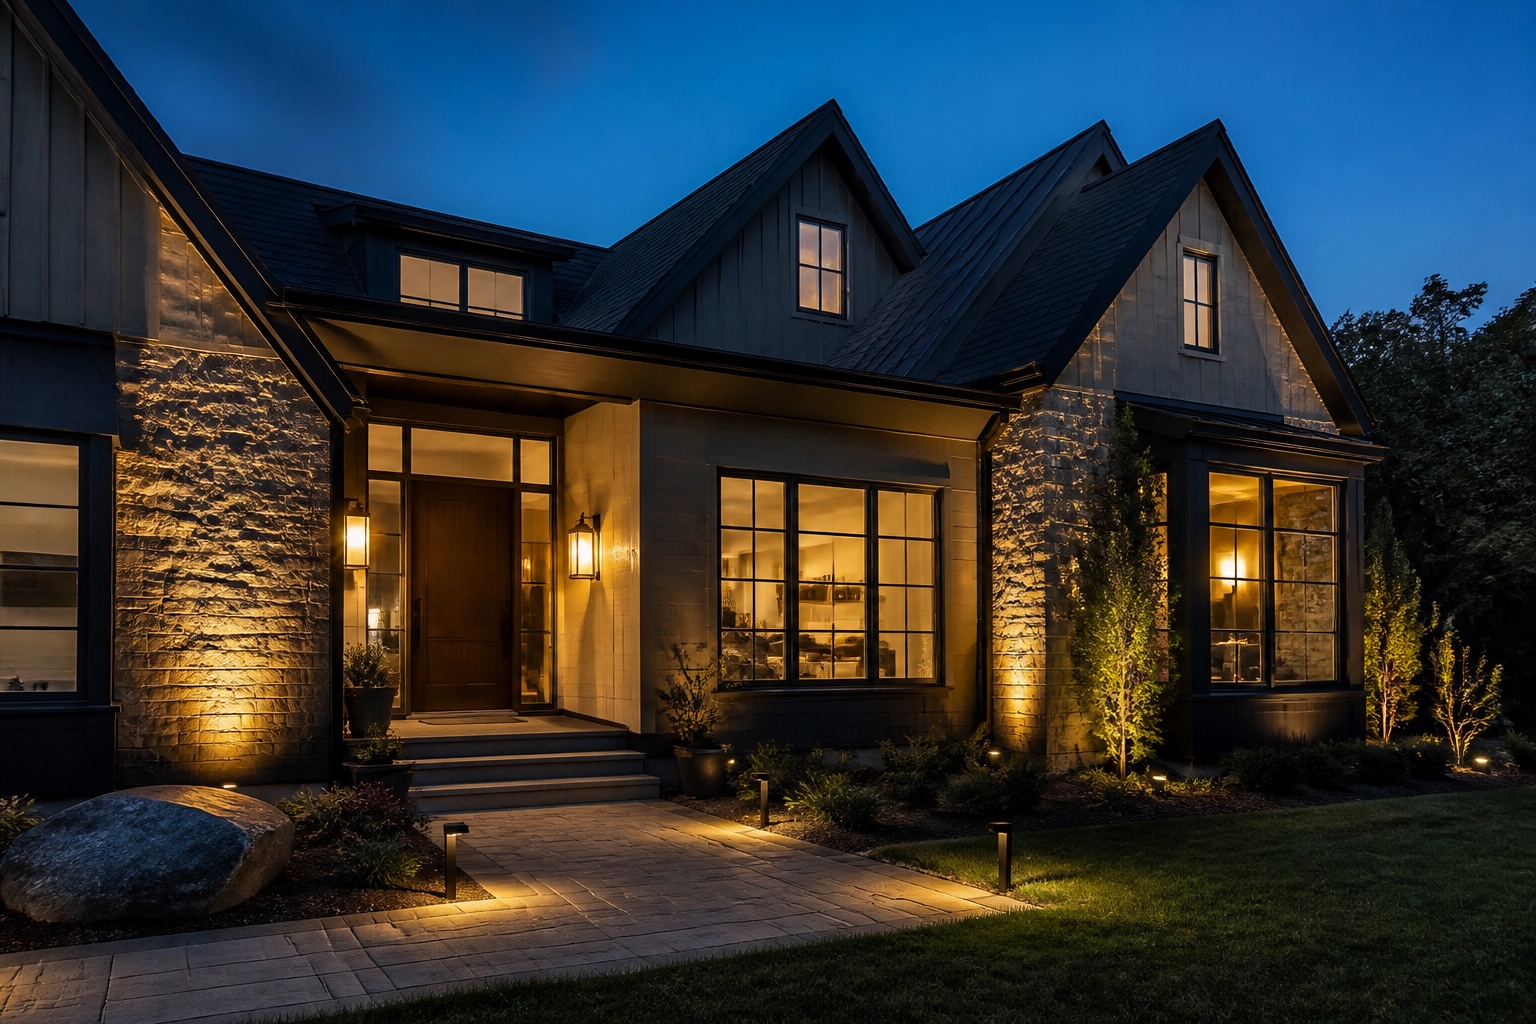
This piece stays focused on the facade and entry sequence specifically, curb appeal after dark, rather than backyard entertaining or deck lighting, both of which deserve their own separate approach. If you’re planning a full backyard lighting scheme alongside this, I’ve covered that scope on its own in backyard lighting ideas for a cozy outdoor escape, which pairs well with this piece without repeating it.
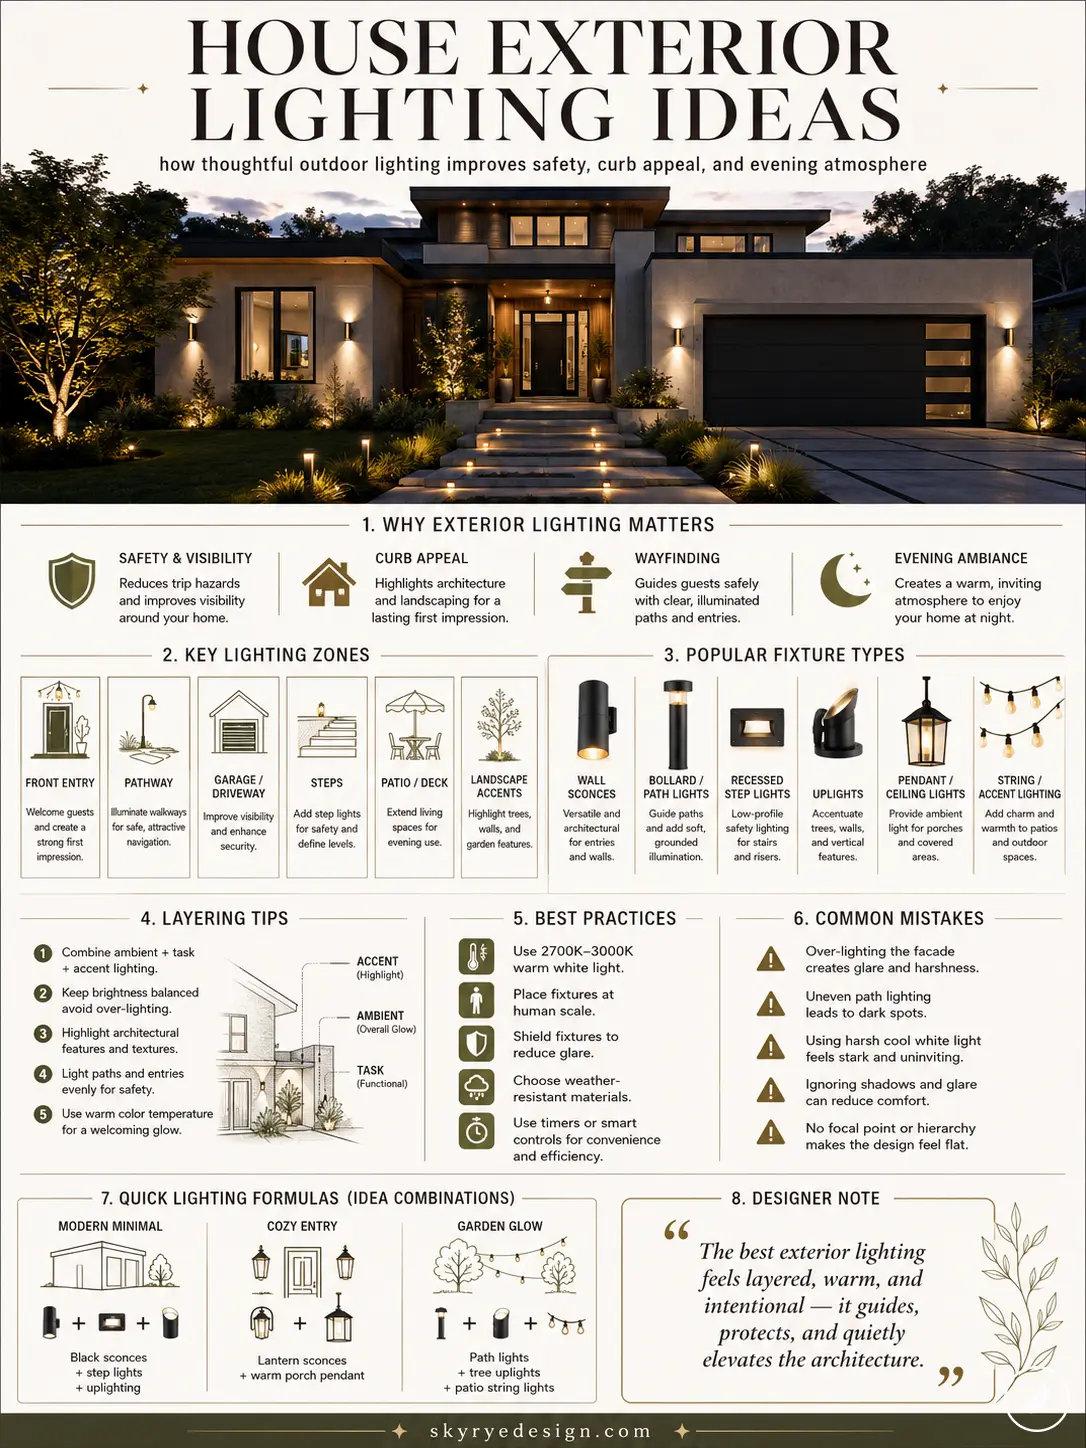
Seven decisions cover nearly everything that separates a house that glows warmly at dusk from one that just has a porch bulb on: color temperature, layering, uplighting technique, entry composition, fixture style and scale, mood control, and restraint.
None of them require rewiring the whole property or a large budget on their own. Most of the difference between an exterior that reads as designed and one that reads as an afterthought comes down to getting these seven decisions right rather than adding more fixtures.
Why exterior lighting changes the whole look of a home
Daylight is even and forgiving. It hits every surface of a facade roughly the same way, which flattens differences in texture, material and proportion that architects actually spend real time designing. Artificial light doesn’t have that problem, or rather, it has the opposite one: a single poorly placed floodlight can flatten a facade just as badly as flat noon sun, while a handful of well-placed fixtures can bring out dimension daylight never quite reveals.
This is the part most people miss when they think about exterior lighting as a security or convenience decision rather than a design one. I’ve written about the broader curb appeal picture in exterior design trends for maximizing curb appeal, and lighting is quietly one of the highest-impact pieces of that picture, since it’s the layer that determines how the house reads for roughly half of every day, evenings, early mornings and the entire span of shorter winter days.
I think about this the same way I’d think about lighting a stage set: the architecture doesn’t change, but which parts of it the eye actually registers changes completely depending on what’s lit and what’s left in shadow.
A facade with genuinely interesting proportion and material can look flat and forgettable under the wrong lighting plan, while a fairly simple facade can read as considerably richer than it is once accent lighting picks out its best features and lets the rest recede.
Start with warm color temperature
Why 2700K-3000K works best for residential exteriors
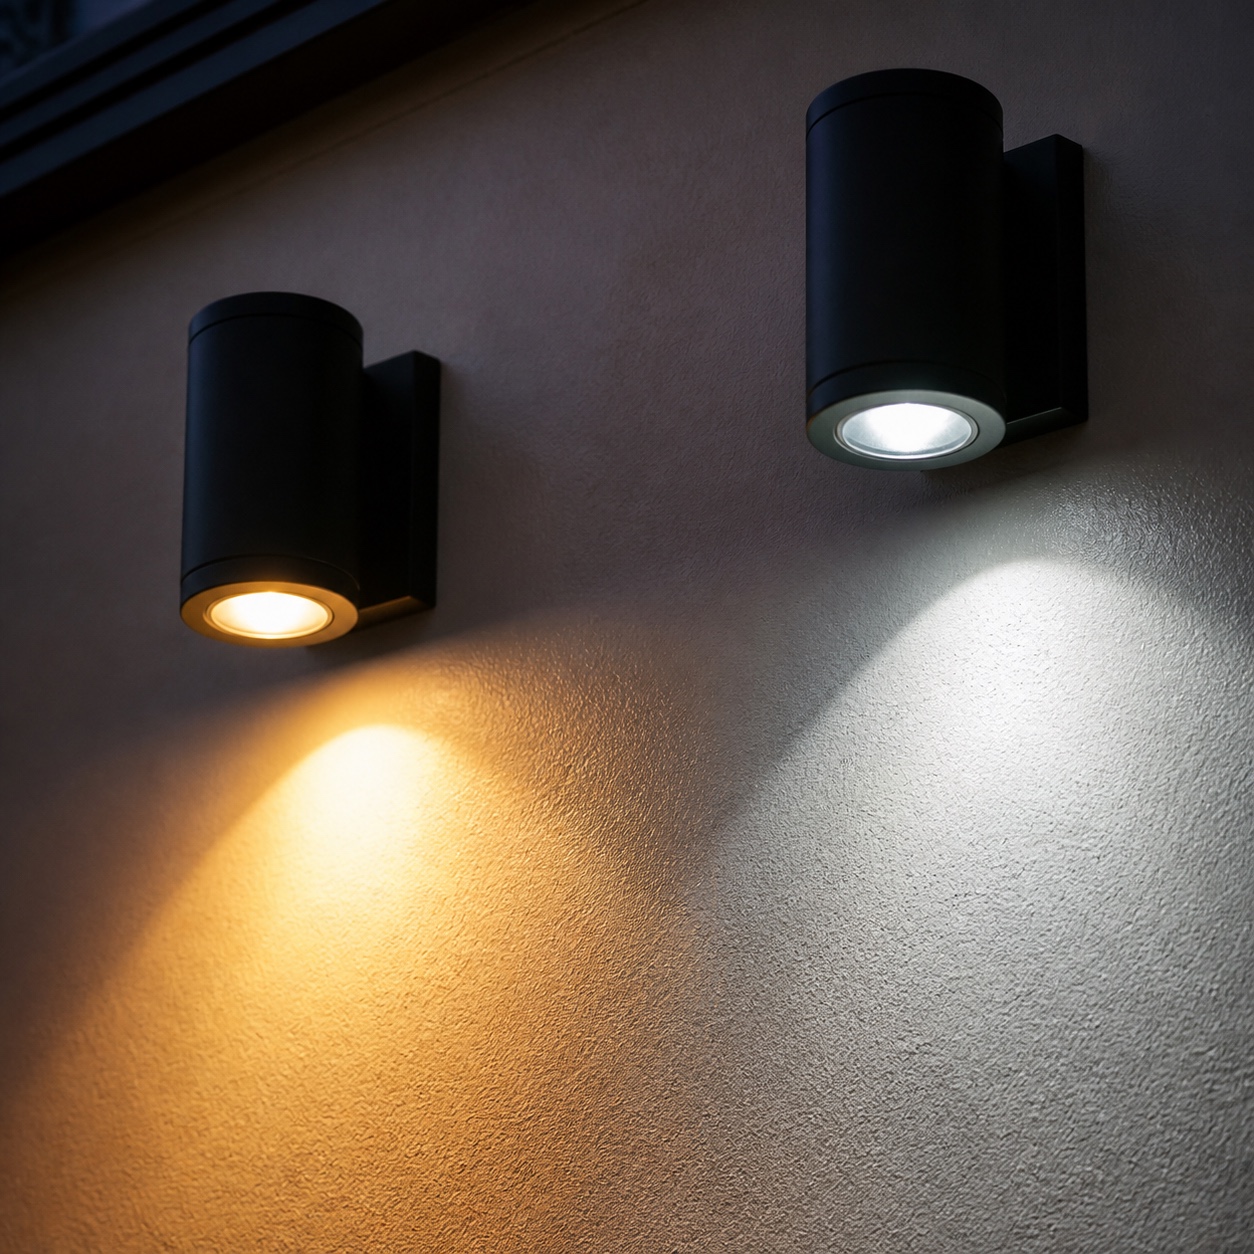
Color temperature, measured in Kelvins, decides whether a house reads as warm and lived-in or cold and clinical after dark, and it’s the single decision with the most outsized effect on mood relative to its cost. Bulbs in the 2700K to 3000K range throw a soft, amber-toned light that reads as inviting rather than sterile, which is why that narrow band dominates residential exterior work almost universally. Push past 4000K and a facade starts reading closer to a parking structure or a retail lot than a home, even if every other design decision on the property was made well.
Check the Kelvin rating on the box before buying any exterior fixture or bulb, since it’s easy to grab something based on brightness or price and end up with a mismatched temperature that undercuts everything else. This single number does more to make a facade feel considered, or careless, than almost any other individual choice in the whole lighting plan.
Manufacturers don’t always make this easy to find, buried on the back of packaging or missing from the online product listing entirely, but it’s worth the extra minute to track down before adding anything permanent to a facade. A fixture that looks identical to its neighbors in a showroom or online listing can throw a noticeably different color once installed side by side outdoors, and returning or swapping bulbs after installation is considerably more annoying than checking the rating up front.
How mixed bulb temperatures make a facade look unfinished
Mixing color temperatures across a single facade creates a patchy, disjointed look even when none of the individual fixtures are objectively bad. A warm path light next to a cool-white floodlight on a garage reads as mismatched regardless of how good either fixture looks in isolation, the same way two slightly different whites on adjacent walls read as a mistake rather than a choice. Pick one temperature range and hold to it across every fixture on the property, front, side and back, since that single decision does more for a cohesive exterior than nearly any other single lighting choice available.
Build layers instead of flooding the yard with light
Ambient lighting for the entry and porch
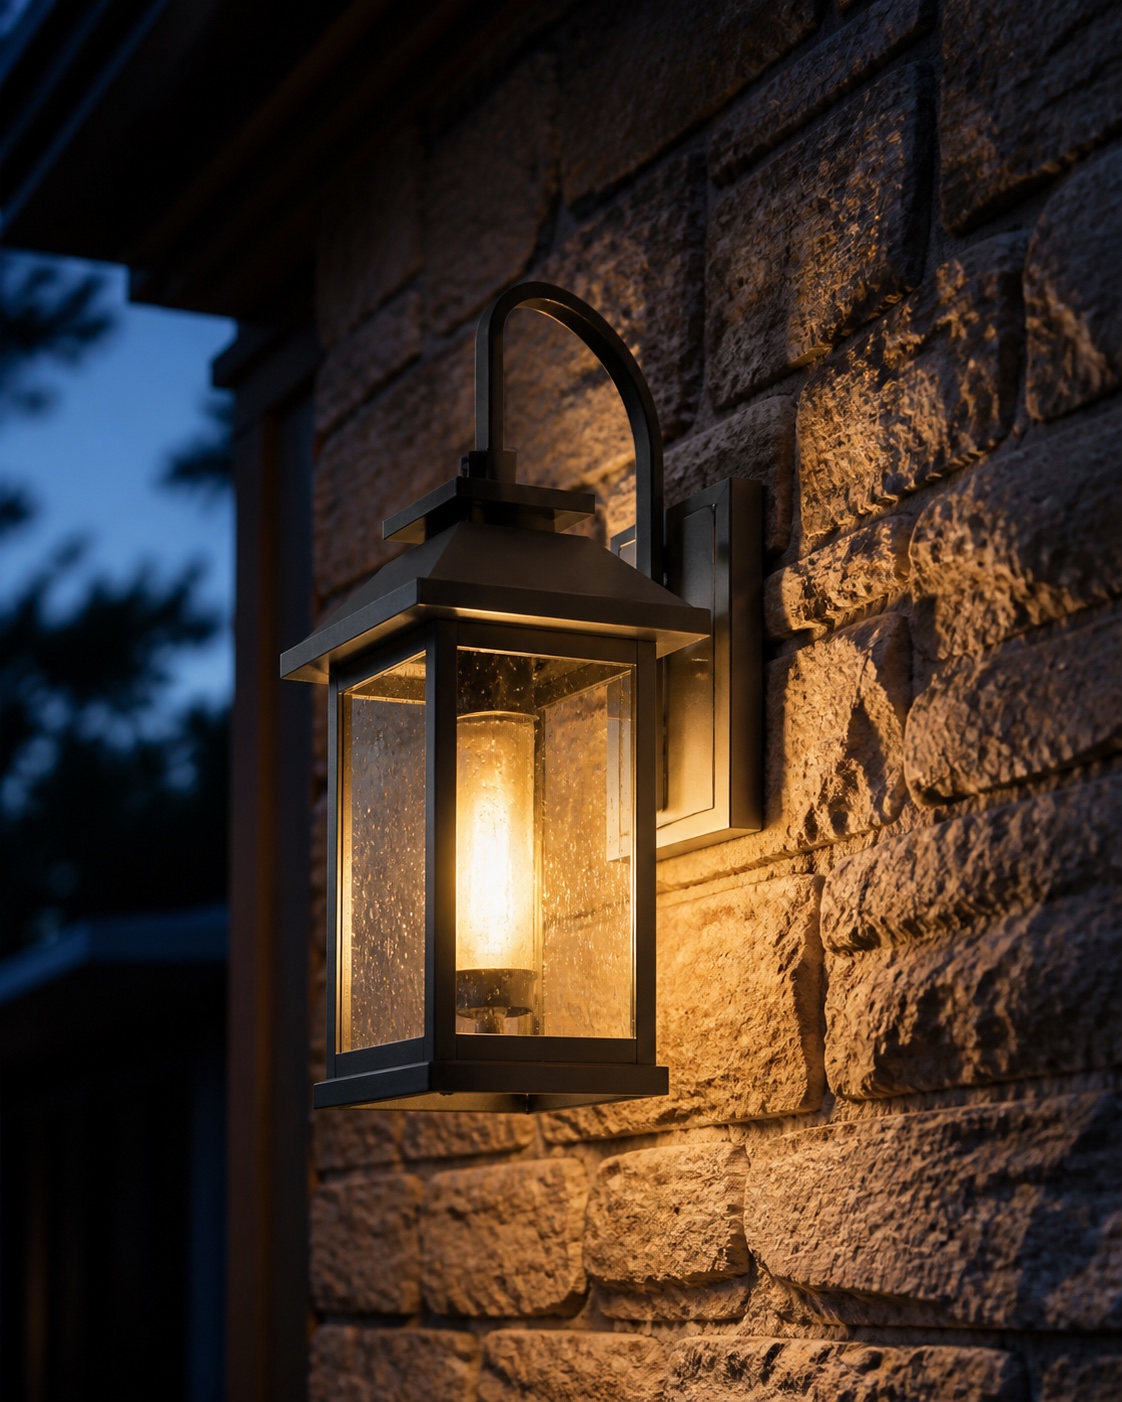
Effective exterior lighting works in three distinct layers rather than one bright fixture mounted above the door and called finished. Ambient light sets the baseline glow for the entry and porch, usually from post lights, wall-mounted lanterns or soffit fixtures that establish overall brightness without drawing specific attention to themselves. Think of ambient light as the general wash a stage gets before any individual performer is lit, present and necessary, but not the layer doing the interesting work.
Accent lighting for trees, columns, stone, and facade texture
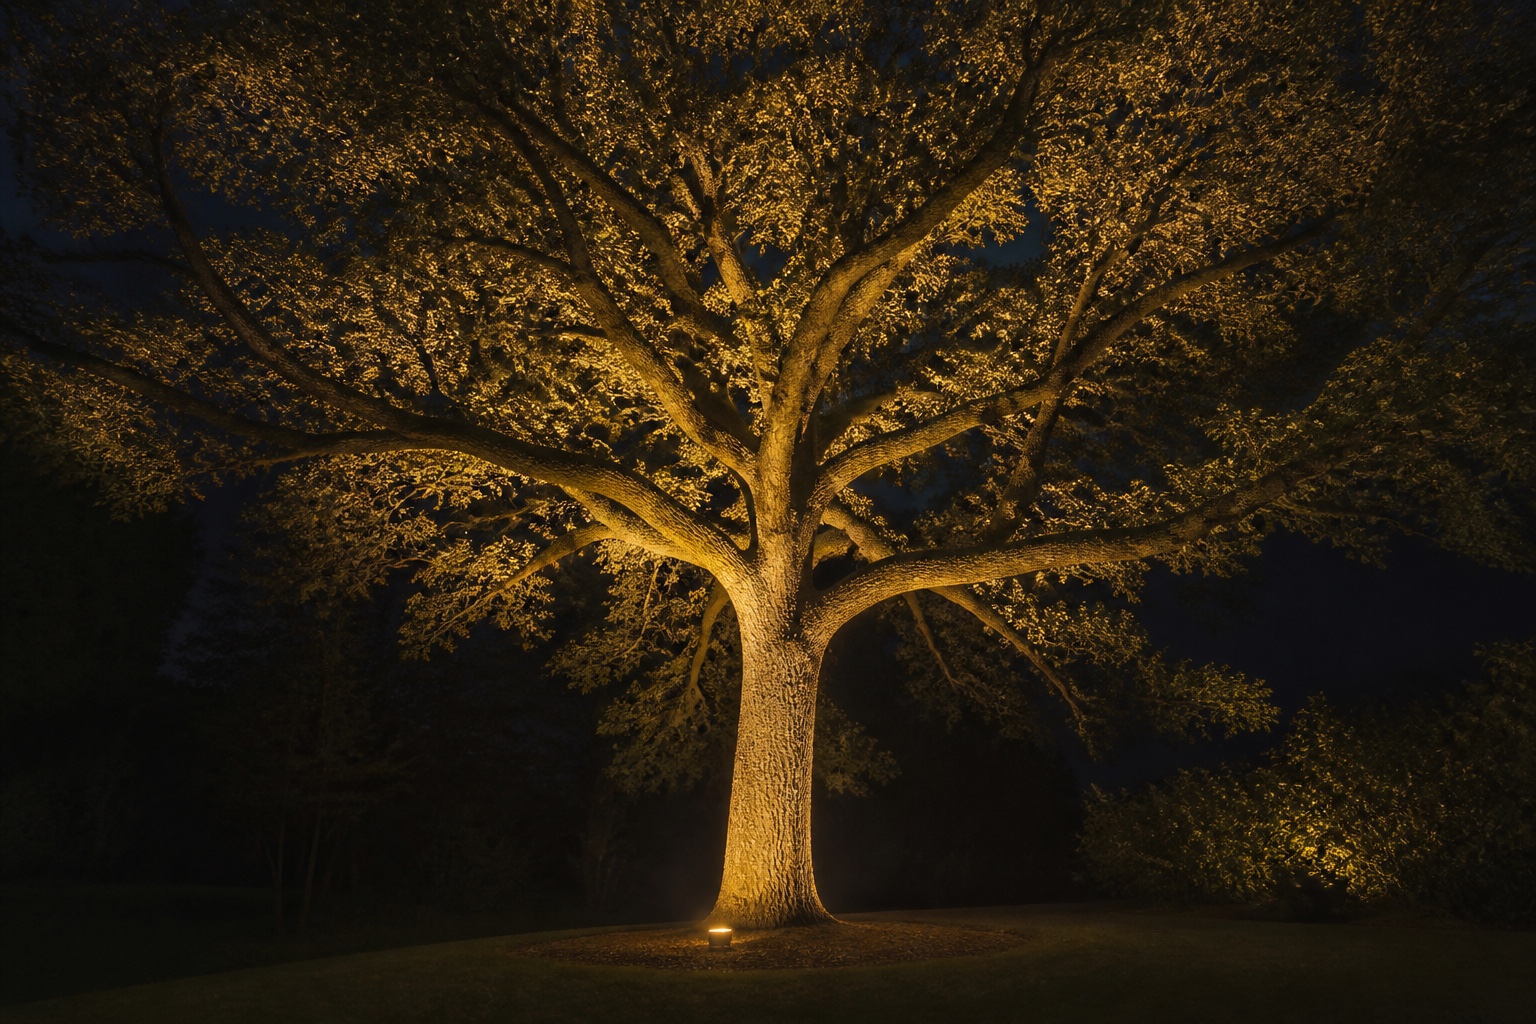
Accent lighting is where the actual visual drama lives, drawing the eye to a specific tree, a column, a stone chimney or a stretch of textured facade that would otherwise disappear into the general ambient wash. A front yard running on ambient light alone looks flat and one-dimensional. Drop a single well-aimed accent fixture onto a mature tree or a piece of architectural stonework, and the whole composition picks up depth almost immediately, the same jump in perceived quality you get from a single well-placed spotlight in a photo studio.
Task lighting for steps, paths, locks, and grade changes
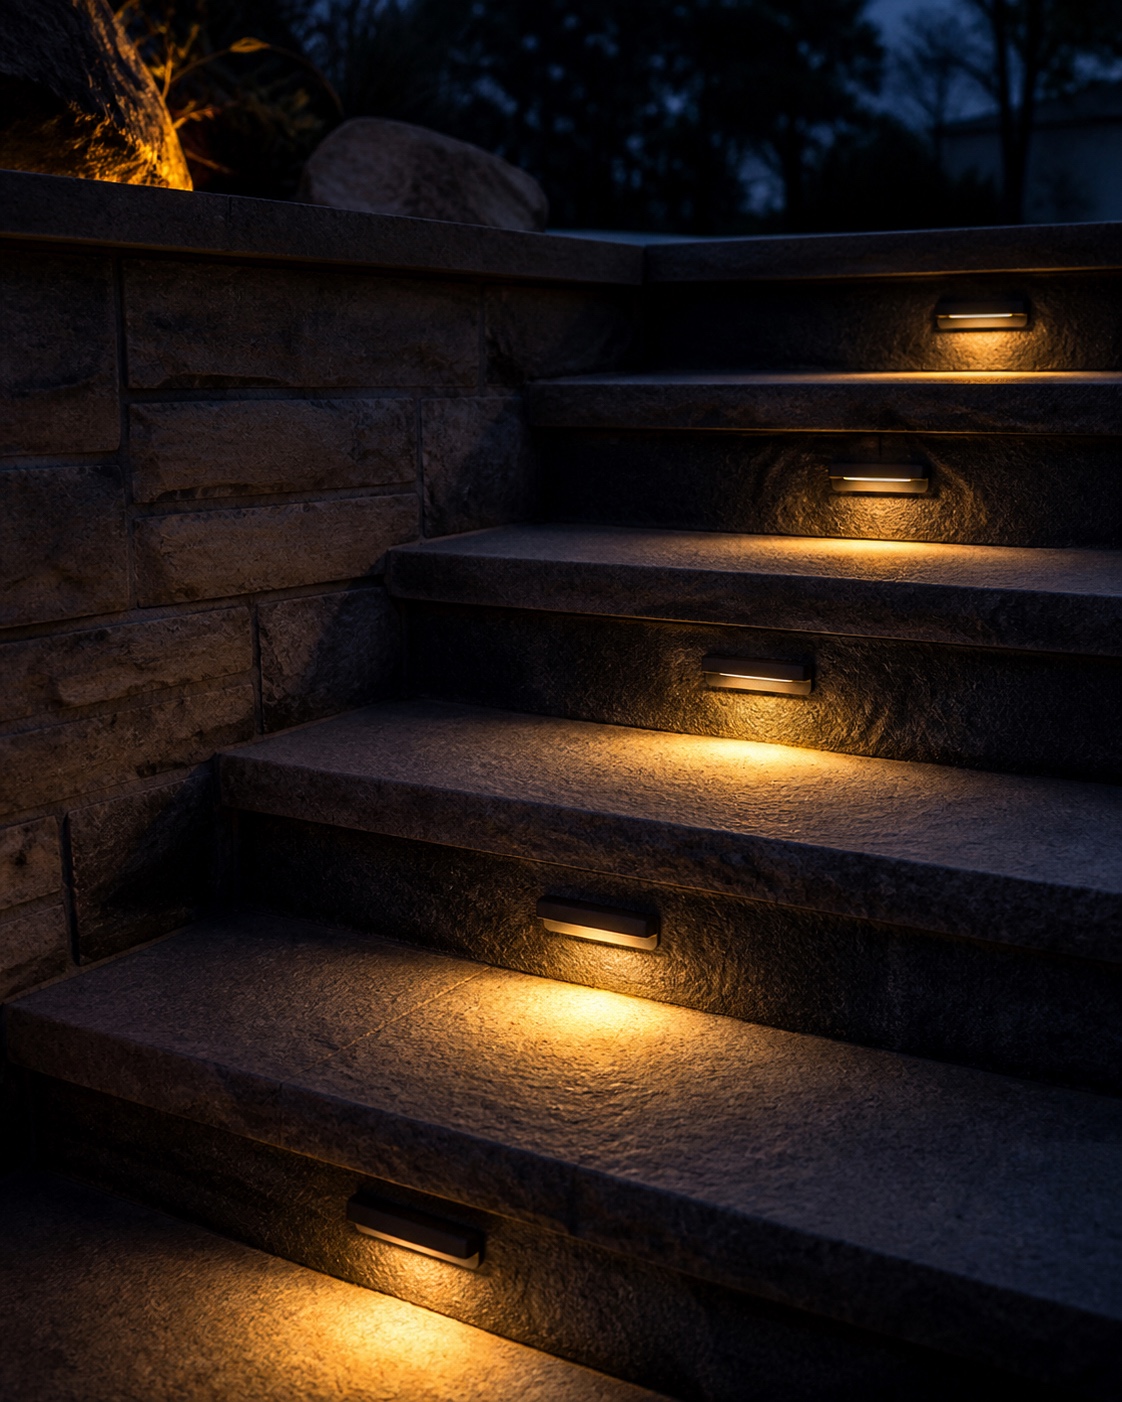
Task lighting handles the purely functional layer: steps, path edges, locksets, any change in grade where someone needs to actually see where they’re stepping rather than admire the architecture. This layer gets sequenced last for a reason, since ambient and accent lighting together already handle most of a facade’s visual needs, and task lighting only needs to fill the specific functional gaps that remain. If your plan extends onto a deck or elevated outdoor living area, modern deck lighting ideas covers that adjacent scenario in more depth than this facade-focused piece attempts to.
Work through the three layers in that order, ambient first, then accent, then task, and stop adding fixtures once the space reads as balanced rather than once you’ve run out of obvious spots to mount something.
Use uplighting to shape architecture, not just brighten it
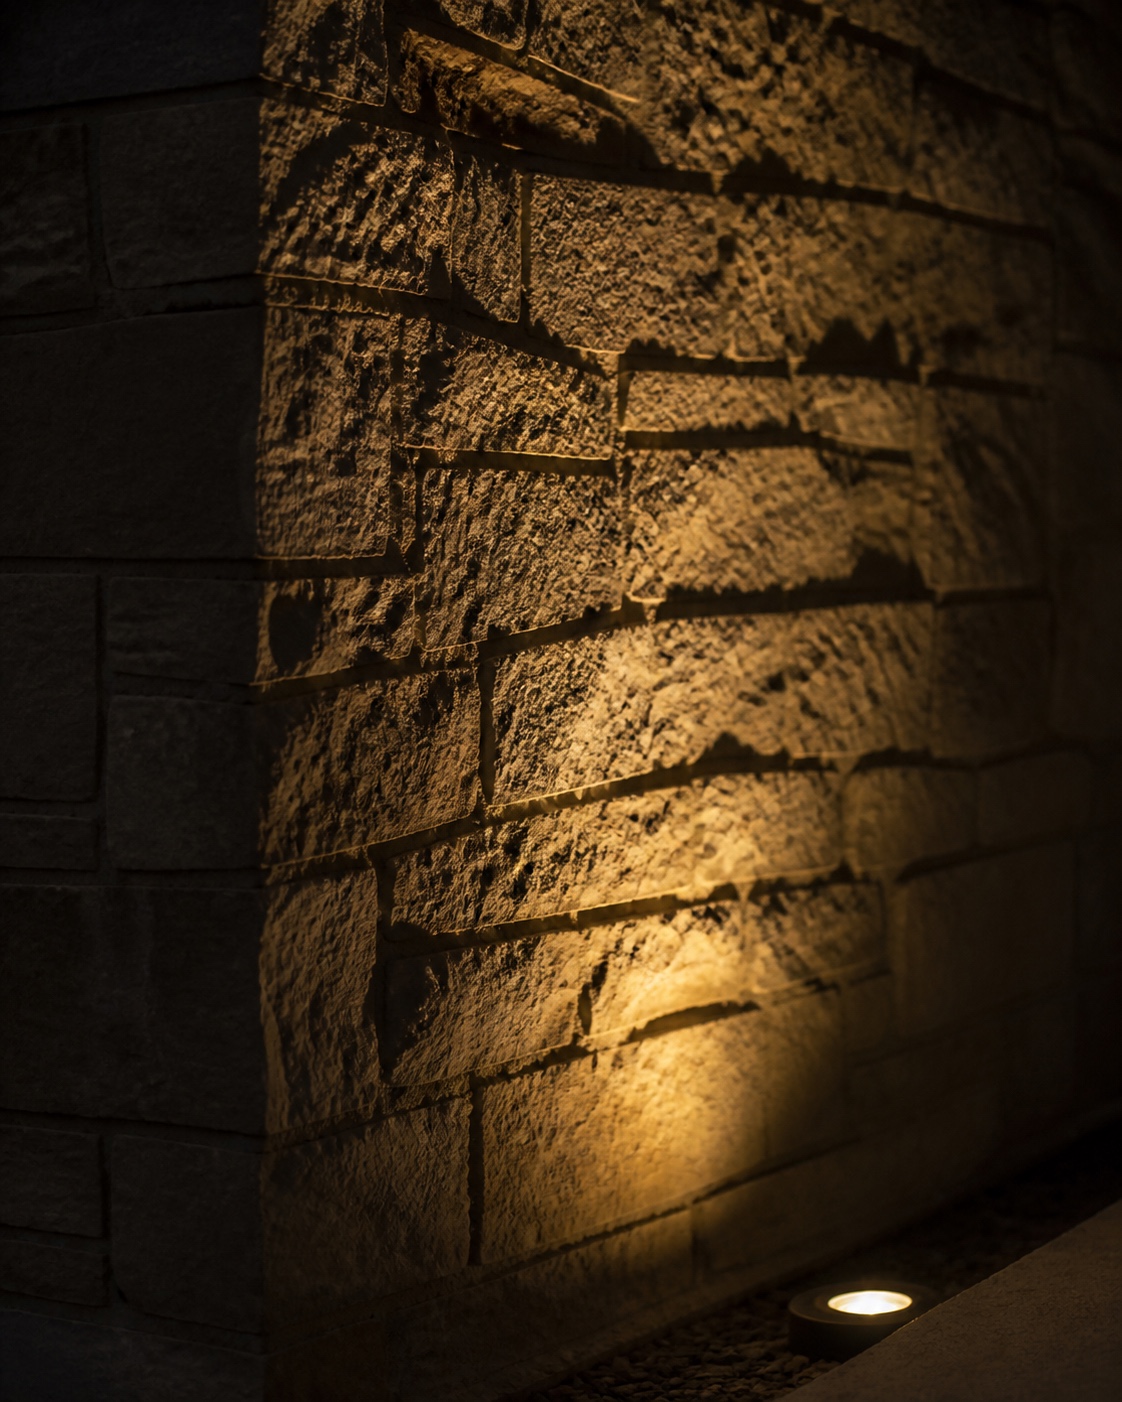
Uplighting pushes light upward into a tree canopy or along a facade surface, producing a kind of visual drama that flat, downward-facing fixtures simply can’t replicate. For a tree, mount the fixture at the base and angle it roughly 45 degrees up into the canopy, letting light filter through branches rather than blasting the trunk directly. For stone, brick or textured siding, position the fixture close to the base so the light grazes across the surface at a shallow angle. That grazing angle is doing the real work: raking light across texture reveals depth and material richness that direct, head-on light flattens out almost completely.
The most common uplighting mistake is simply using too many fixtures in one spot. Two or three well-placed uplights on a facade almost always outperform six crowded together, the same way a photographer gets better results from one carefully positioned key light than from flooding a subject with several undirected sources. Aim every uplight away from neighboring windows and the street itself; glare from a poorly angled fixture is a genuine annoyance for anyone nearby, and it also kills the exact drama the uplighting was supposed to create in the first place.
Beam spread matters as much as fixture placement, and it’s the detail that separates a subtle, professional-looking result from an obviously artificial one. A narrow beam spread creates a focused pool of light that reads as deliberate, while a wide, unfocused beam washes out the surrounding area and flattens the exact texture the uplight was meant to highlight. Check the beam angle spec before buying, not just the wattage, since a bright fixture with the wrong spread does less useful work than a dimmer one aimed and focused correctly.
Make the front entry the visual anchor
Sconce height, symmetry, and fixture finish
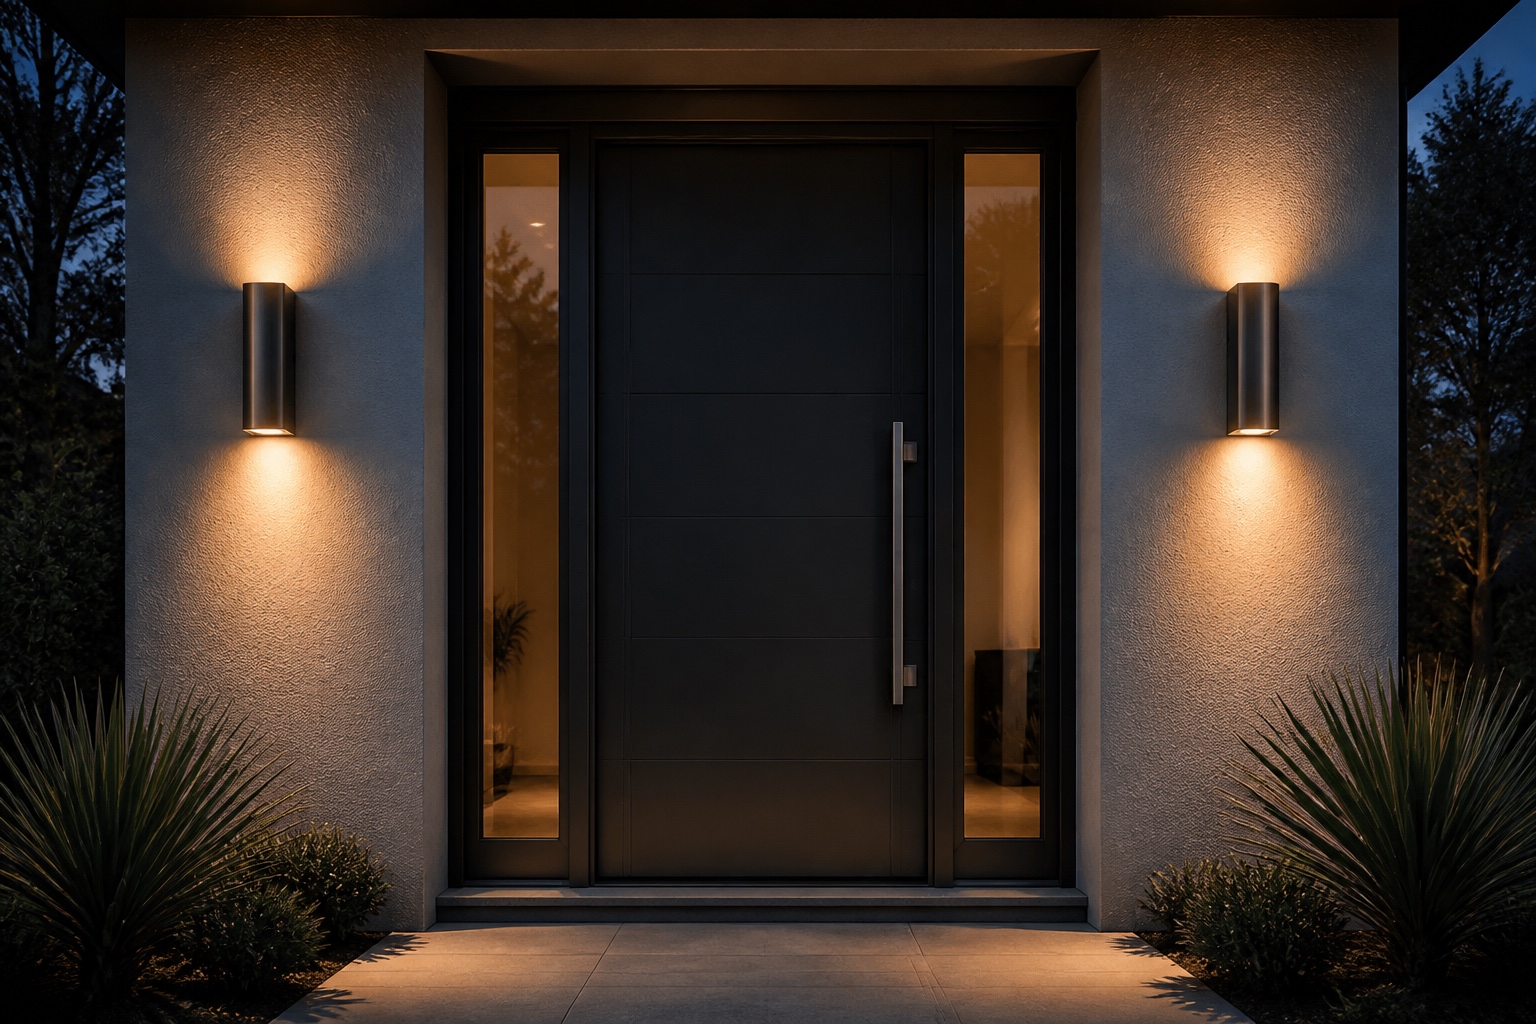
The front entry is the single focal point the rest of an exterior lighting plan should support rather than compete with. Flank the door with matching wall sconces mounted roughly 5.5 to 6 feet above the threshold, since lower placement puts the light at eye level where it’s uncomfortable to look at directly, and higher placement misses illuminating the door and immediate approach entirely. Match the fixture finish to the door hardware wherever possible, a small coordination detail that reads as intentional the moment it’s right and slightly off the moment it isn’t.
Symmetry matters more at the entry than almost anywhere else on the facade, since it’s the one spot most visitors stop and look at directly rather than pass by. Matching fixtures on either side of a centered door reinforce the sense of a considered, balanced composition, while mismatched or single-sided entry lighting reads as unfinished even when the rest of the property is well designed. If you’re rethinking a full front entry design alongside the fixture layout, coordinating with an experienced team, such as professionally installed outdoor lighting in Omaha for anyone in that specific region, can help translate a custom facade and landscape into a lighting plan that actually accounts for the property’s specific architecture rather than a generic layout.
Path lights that guide without glare
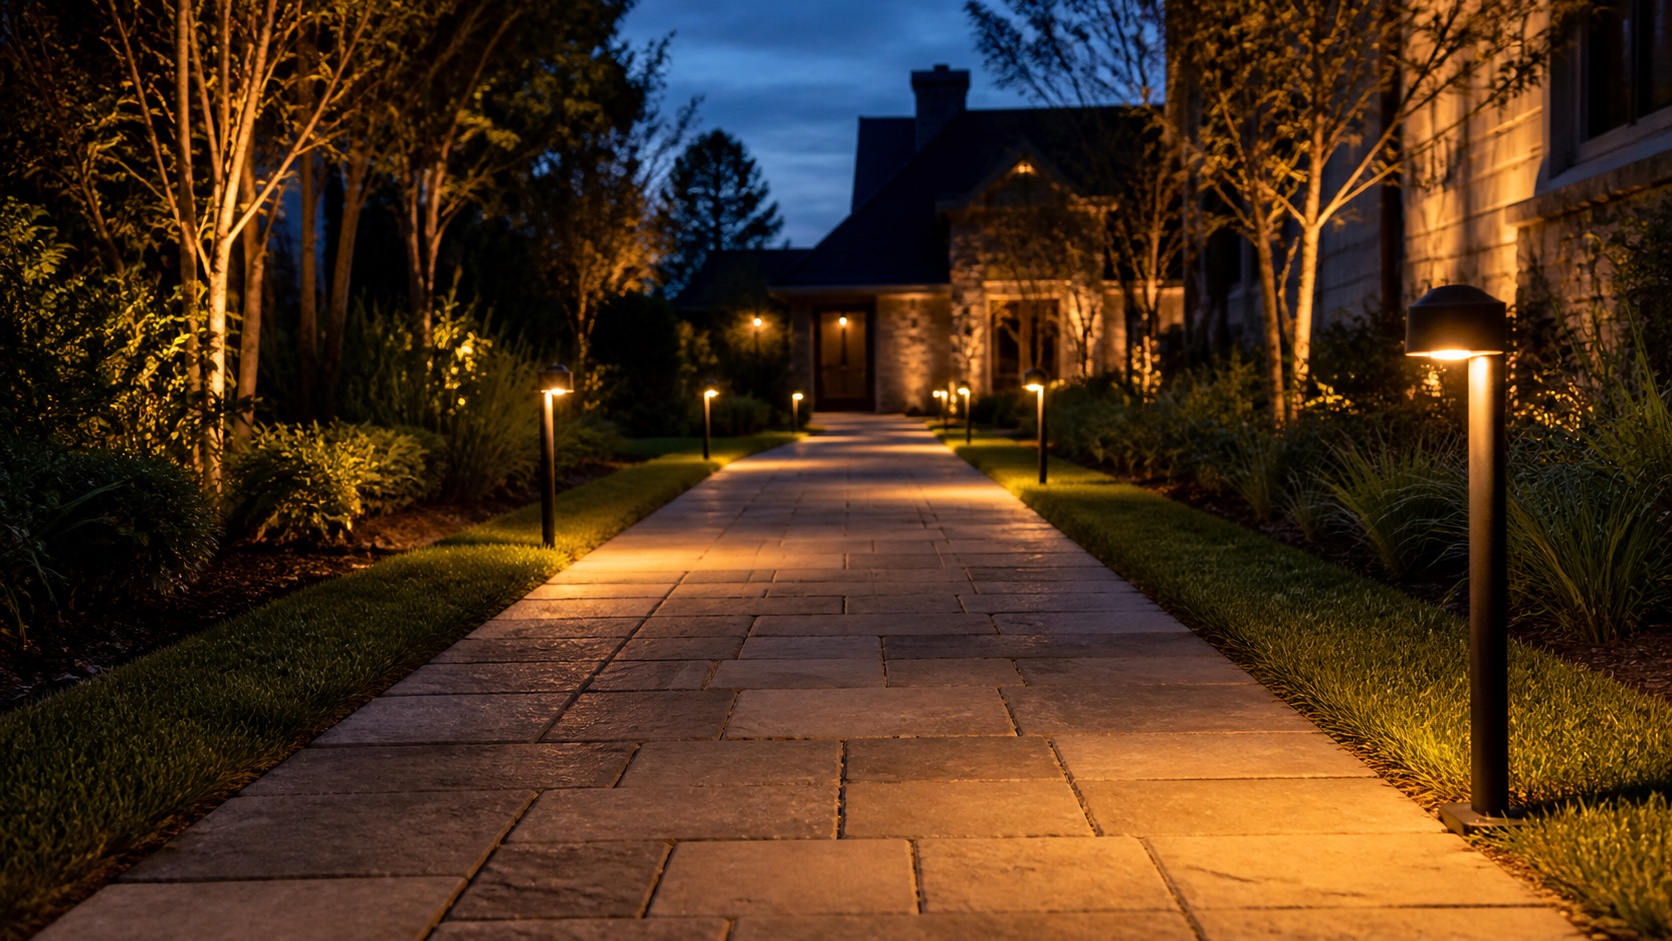
Path lights should guide both the eye and the foot without ever drawing attention to themselves as objects. Space them roughly 8 to 10 feet apart, staggered on alternating sides of a walkway rather than lined up in a rigid row, which reads as more natural and less like an airport runway. Choose fixtures with shielded heads that direct light downward onto the path surface rather than outward toward eye level. A simple test: if you can look directly at a path light without squinting, it’s too bright for a residential setting and needs a lower-output bulb or a more effective shield.
Match fixture style and scale to the house
Traditional lanterns, modern low-profile fixtures, and transitional homes
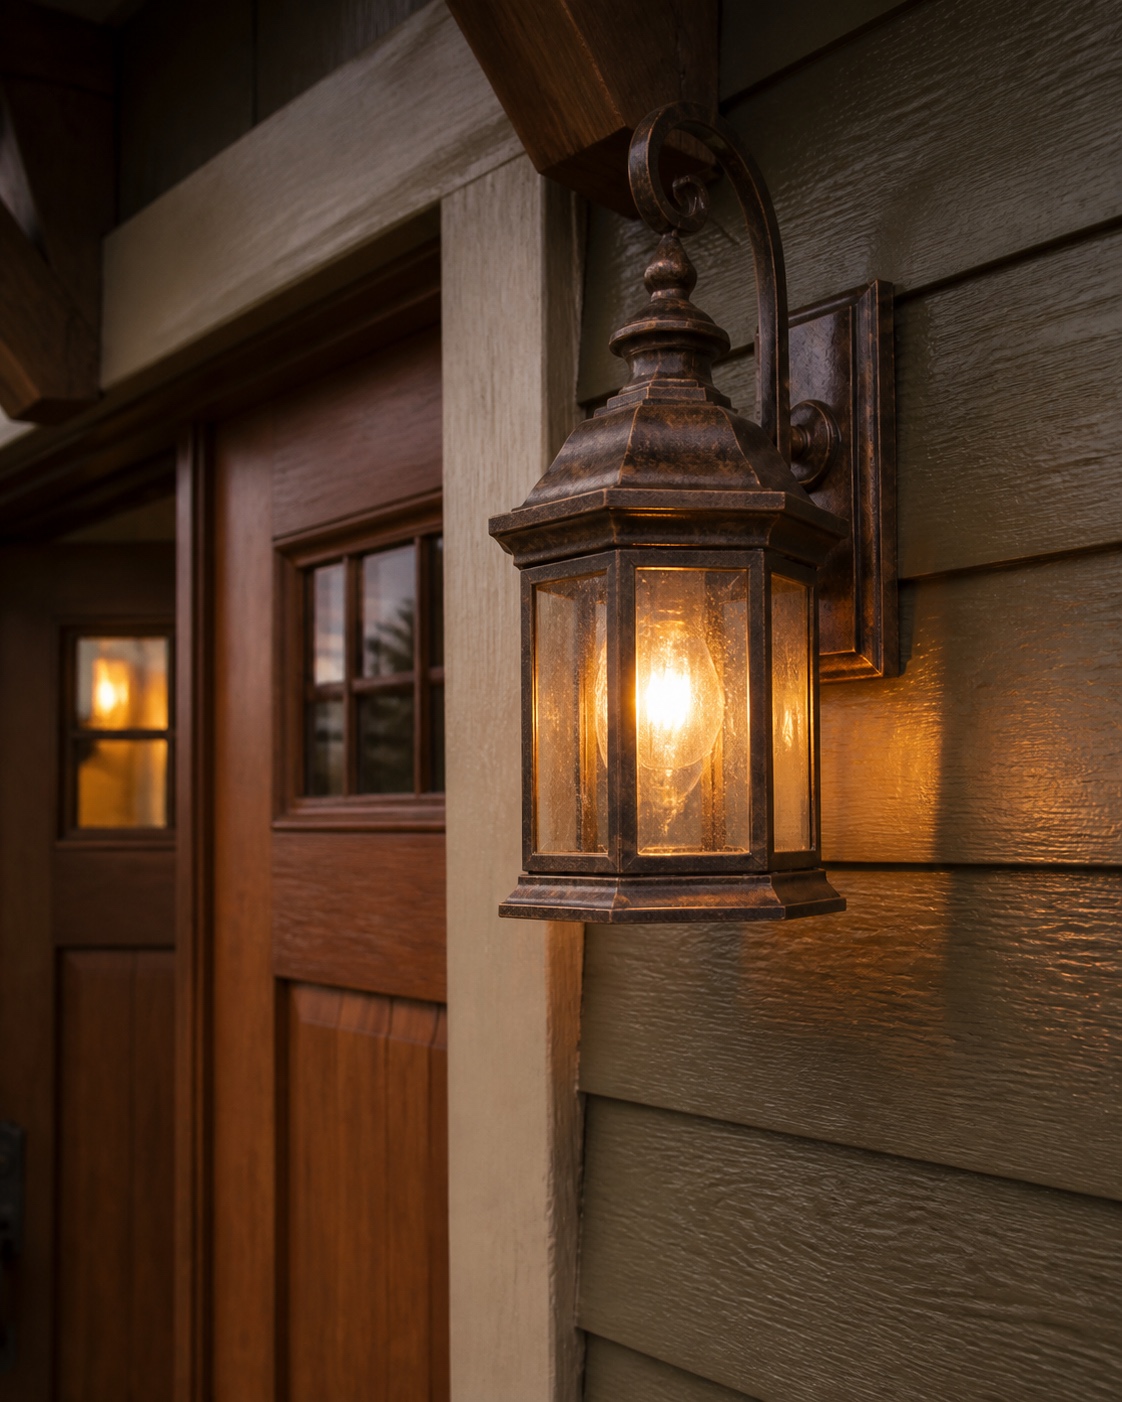
Fixture style has to answer to the house’s own architectural language before it answers to personal taste or trend. A traditional or craftsman home generally suits lantern-style fixtures with warm metal finishes, brass, bronze, aged black, that echo the period detailing already present in the trim and hardware. A modern stucco or glass-forward home wants the opposite: sleek, low-profile fixtures in matte black or graphite that disappear into the architecture rather than adding decorative visual weight the design wasn’t built to carry. Transitional homes generally handle a simplified version of either extreme, leaning traditional or modern depending on which direction the rest of the exterior detailing already points.
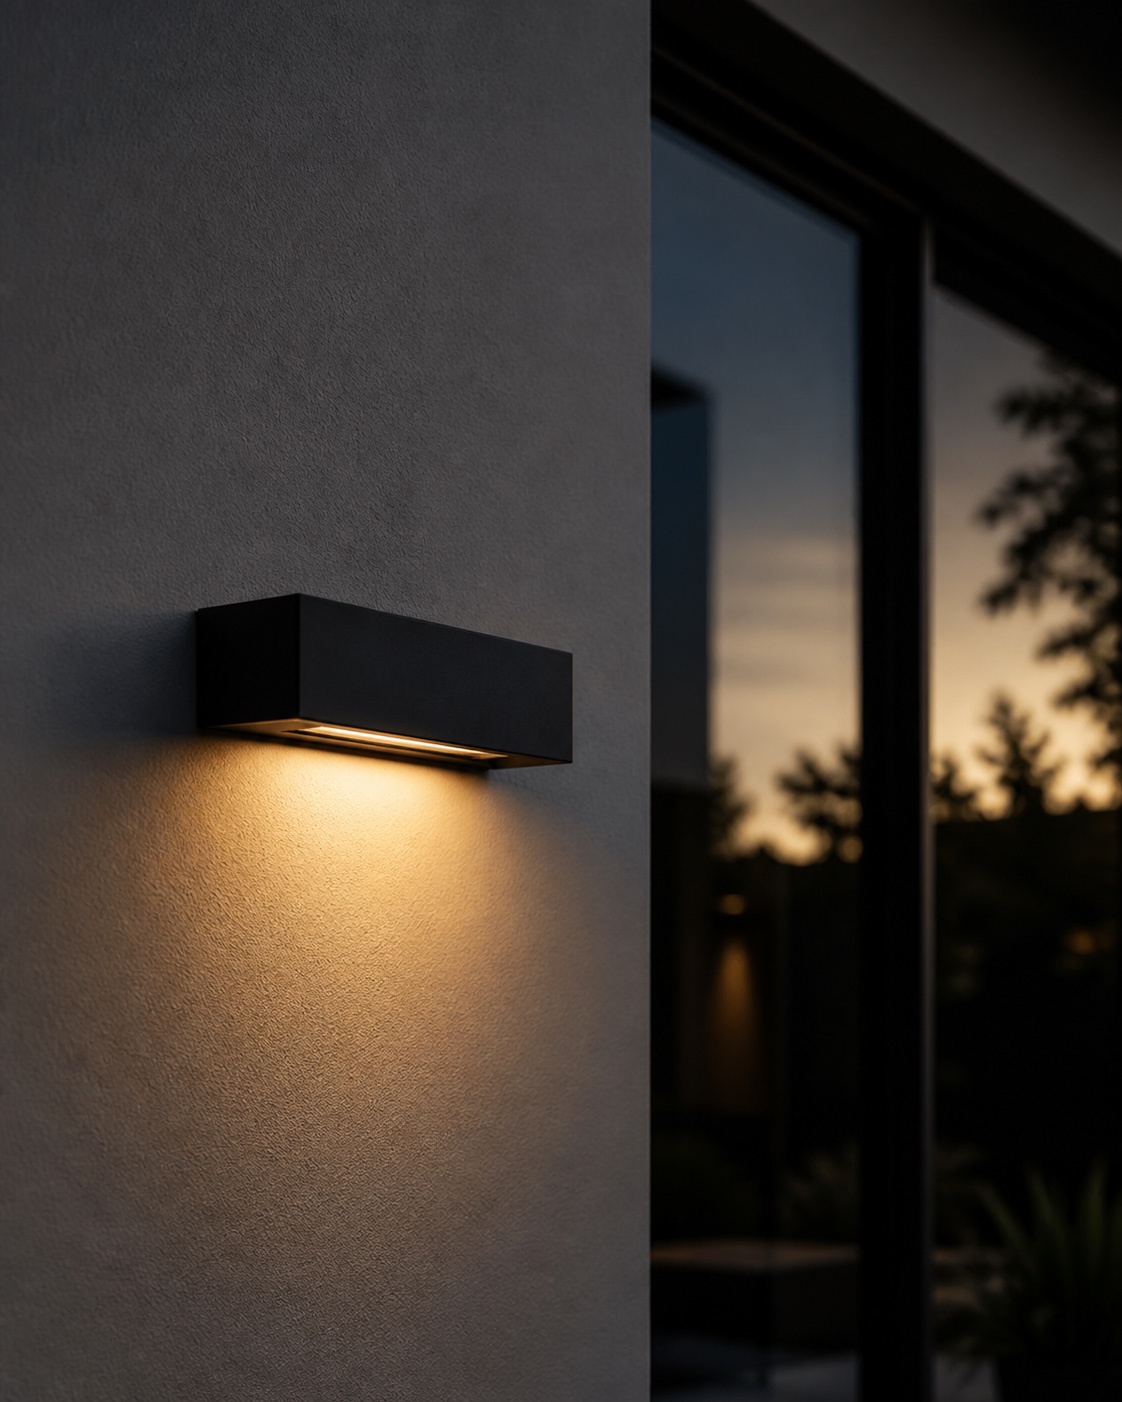
Mismatched fixture style creates a specific kind of visual noise that no amount of careful bulb selection or color temperature discipline can fix on its own. A house otherwise coherently designed loses that coherence fast when the porch lantern looks like it wandered in from a completely different architectural conversation.
How to avoid oversized or undersized exterior lights
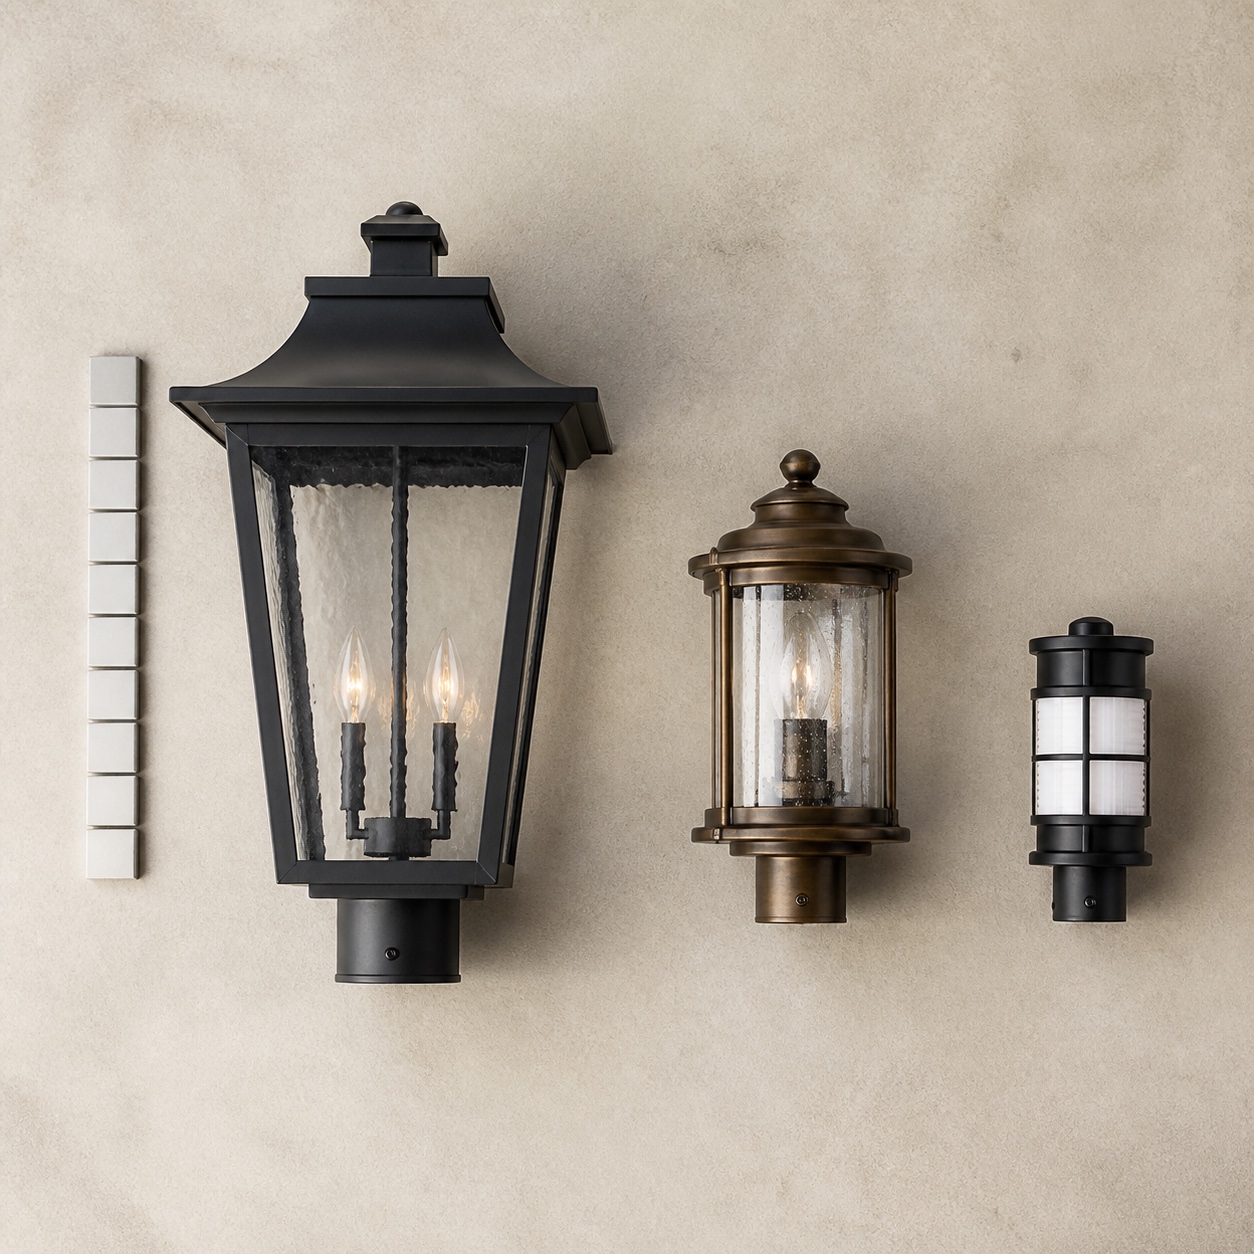
Fixture scale, the actual physical size of a light relative to the wall, column or post it mounts on, matters just as much as style and often gets less attention. A small lantern mounted on a tall, substantial column looks lost and undersized, while an oversized fixture on a narrow porch railing or slim door surround looks heavy and awkward in the opposite direction. A rough rule of thumb that gets you close without needing a full lighting design consultation: fixture diameter in inches should land somewhere around the mounting surface’s width divided by three. It’s not a precise formula, but it catches most of the obvious scale mistakes before they get installed.
Photograph the mounting location and hold a printed cutout of the fixture’s actual dimensions against it before ordering, if the scale is at all uncertain. This takes a few extra minutes and catches the mismatch that’s genuinely hard to judge from a product listing’s thumbnail image next to a generic size comparison chart, especially for anyone ordering fixtures without seeing them in person first.
Add dimmers and smart zones for mood control
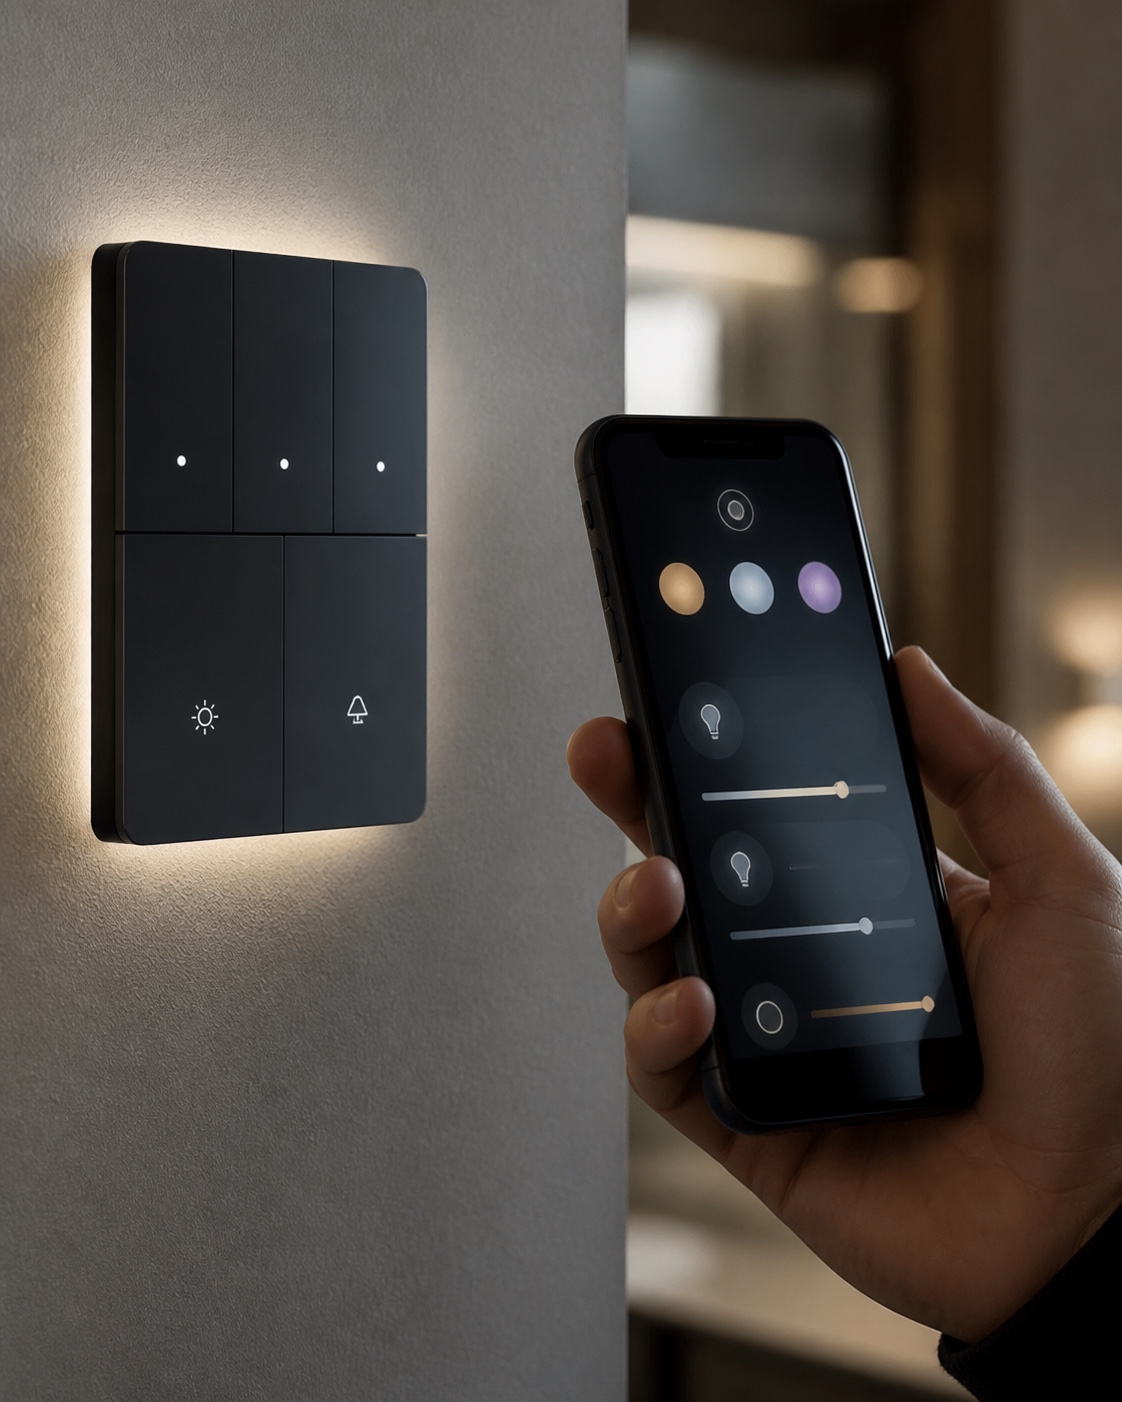
A fixed-brightness system can’t adapt to how a house actually gets used across different evenings. A dinner party calls for a softer, more atmospheric glow across the entry and accent lighting, while a late arrival home after a long night wants brighter, more functional illumination at the door and driveway. Dimmers give that range without adding a single additional fixture, and most modern LED exterior fixtures are compatible with standard dimming controls, which makes this a genuinely retrofit-friendly upgrade rather than a full replacement project.
Smart lighting systems extend that same control further, scheduling exterior lights to switch on automatically at dusk and off at a set hour, adjusting brightness remotely, and grouping fixtures into zones that can be controlled independently rather than as one all-or-nothing circuit.
For a larger property with several distinct lighting zones, that kind of grouped control saves real time over walking the property to adjust individual timers by hand. Integration with a broader smart home platform can also let exterior lighting respond to motion or time of day automatically, which is genuinely useful rather than a novelty once it’s actually set up correctly.
Avoid over-illumination and light spill
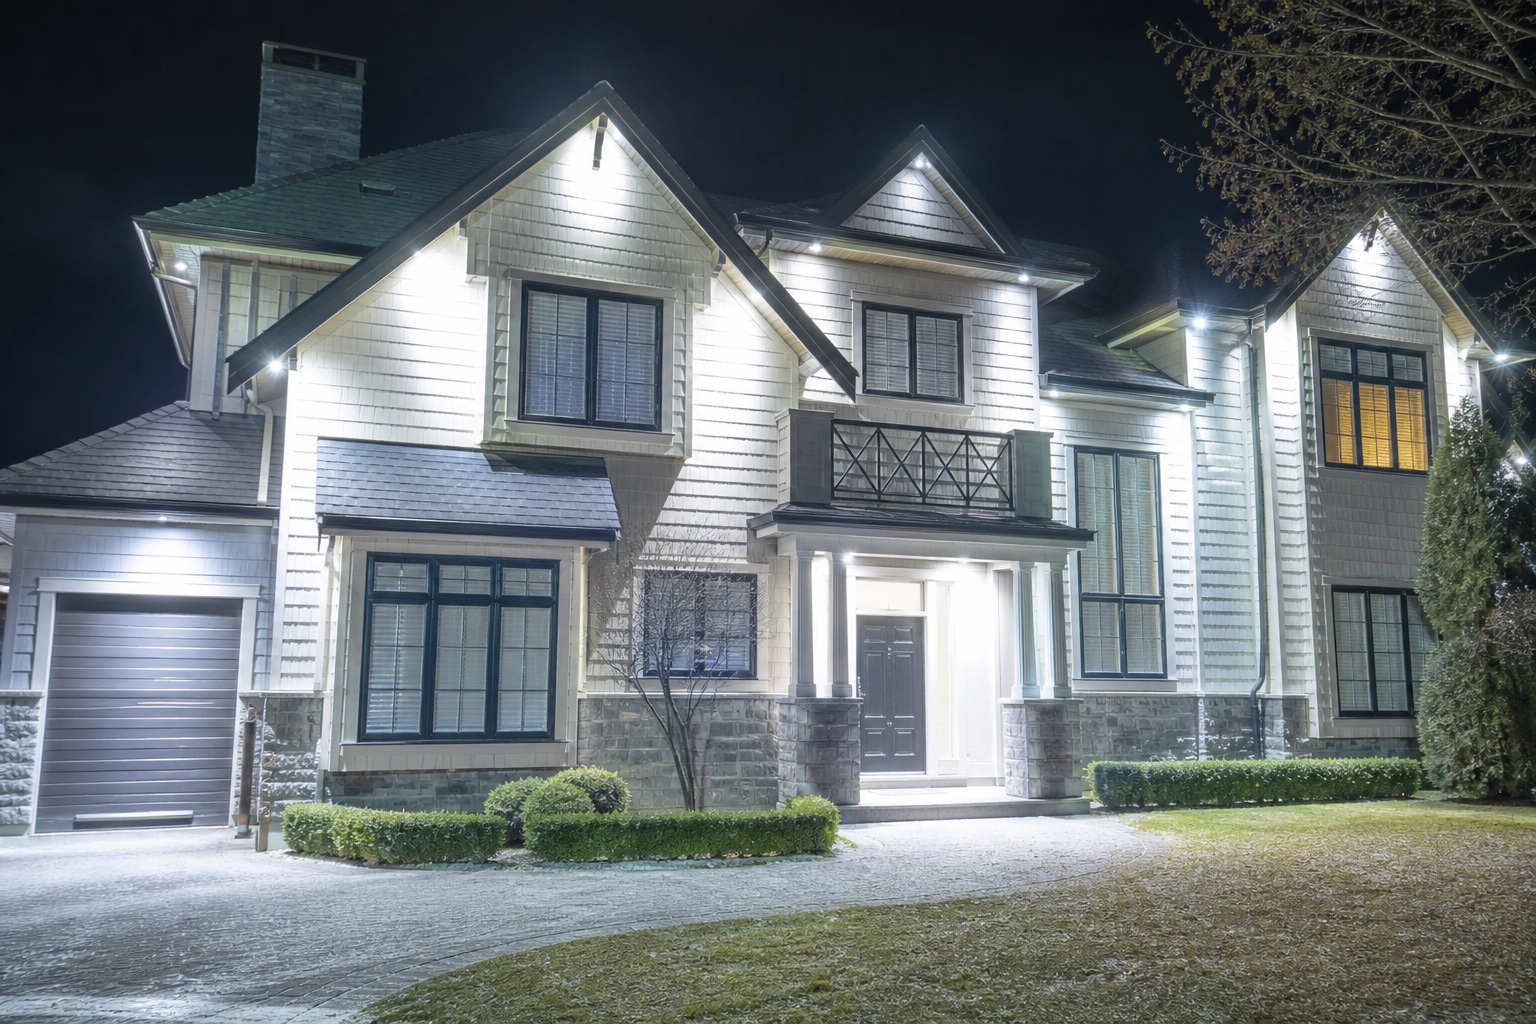
More light is not automatically better light, and an over-lit exterior reads as harsh and unwelcoming rather than considered, on top of sending unwanted spillover into neighboring yards and windows. Every zone of a property has an appropriate brightness level for what it actually needs to do: a driveway can reasonably handle more output than a garden bed, and a covered porch generally needs less than a fully open, exposed entry. Think through what each specific zone needs to function safely and look intentional, then stop adding light once that need is met rather than continuing until every dark corner is eliminated.
Light spill and glare also carry a real security tradeoff worth understanding, since excessive uplighting or floodlighting can actually reduce visibility by creating harsh contrast and deep shadow immediately outside the lit zone. I’ve covered how lighting and security intersect in more depth in outdoor lighting and security: enhancing safety and ambiance in landscape design, which is worth reading alongside this piece if security is a real factor in the property’s lighting plan, not just curb appeal.
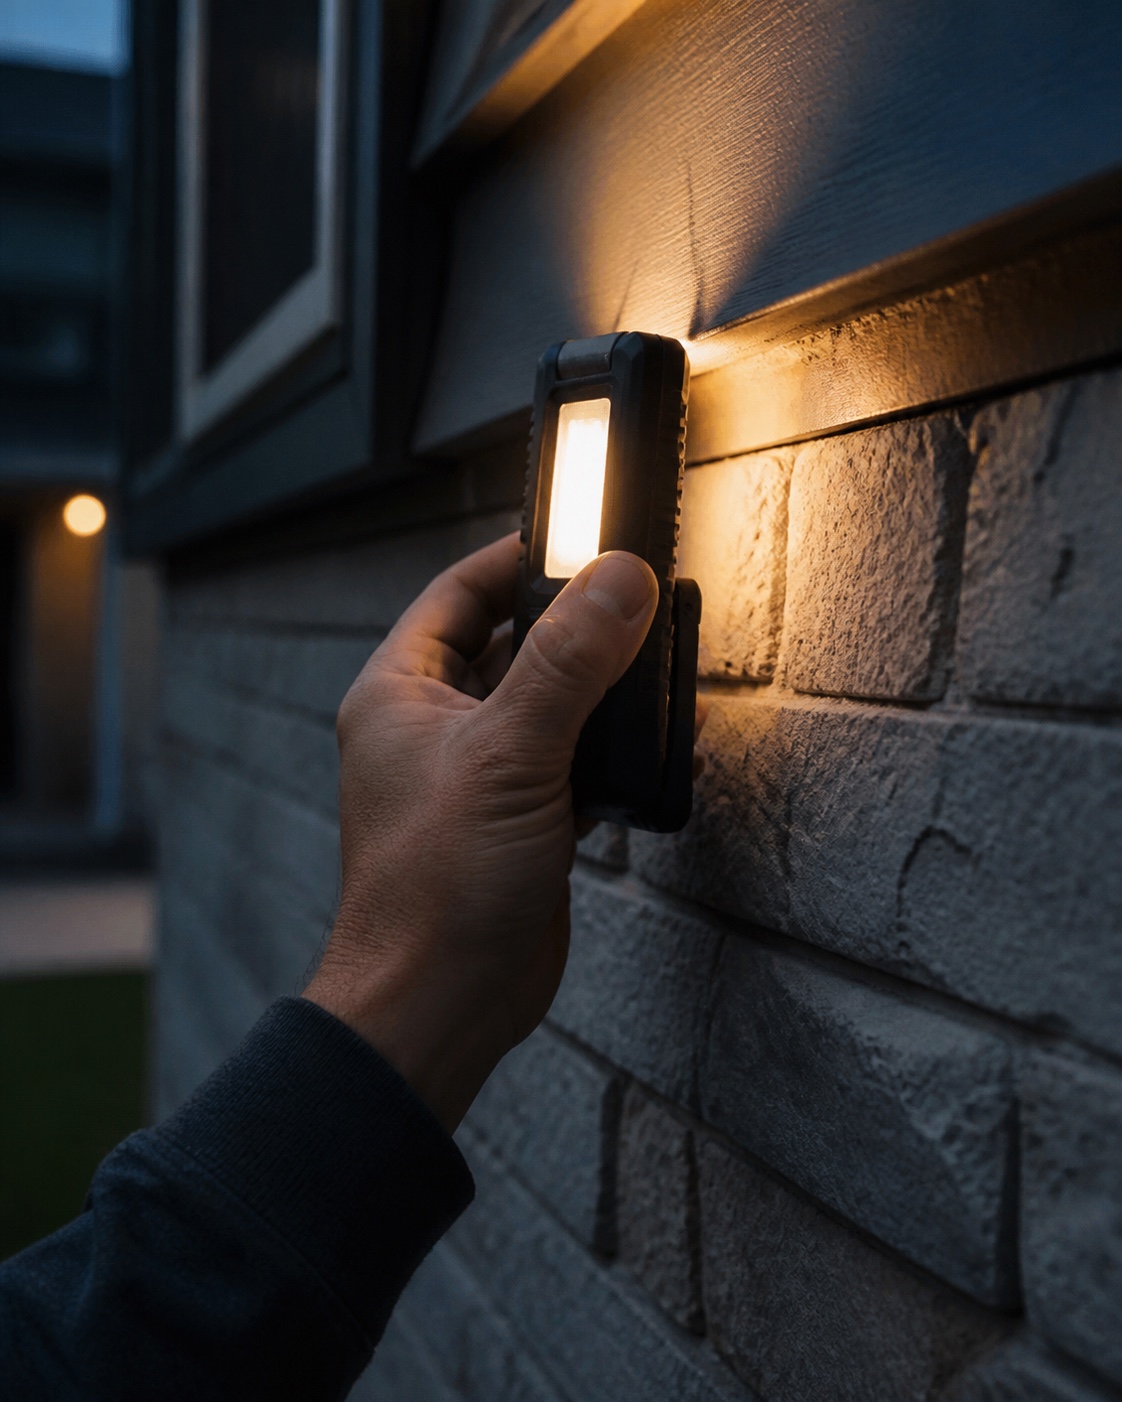
Test brightness at night before committing to permanent placement, using portable work lights or battery-powered test units in the positions you’re considering. Walk the property from the street, then check the same view from inside looking out, and adjust placement and intensity before anything gets permanently wired in. That one extra step, done before installation rather than after, prevents the kind of expensive correction that comes from discovering a fixture is wrong for its spot only once it’s already hardwired.
FAQ
What color temperature is best for house exterior lighting?
Bulbs in the 2700K to 3000K range give the warm, amber-toned light that reads as inviting on most residential exteriors, and keeping every fixture on the property within that same range avoids the patchy look mixed temperatures create.
How far apart should outdoor path lights be?
Space path lights roughly 8 to 10 feet apart, staggered on alternating sides of the walkway rather than lined up directly across from each other, which creates a more natural rhythm and avoids the flat, runway-like look of evenly paired fixtures.
How bright should exterior house lights be?
Brightness should match what each specific zone needs to function, not a single fixed number across the whole property. A simple test for path and accent lighting: if you can look directly at a fixture without squinting, it’s too bright for a residential setting.
Should all outdoor lights match?
Not literally identical, but they should share a consistent style language and the same color temperature range across the property. A cohesive family of fixtures, entry sconces, path lights, accent uplights, reads as intentional even when the individual fixture shapes differ by function.
What is the best way to light a front entry?
Flank the door with matching wall sconces mounted 5.5 to 6 feet above the threshold, matched in finish to the door hardware, then layer in path lighting that guides toward the entry without competing with it for attention. Symmetry at this specific spot matters more than almost anywhere else on the facade.
Let the house read as considered after dark too
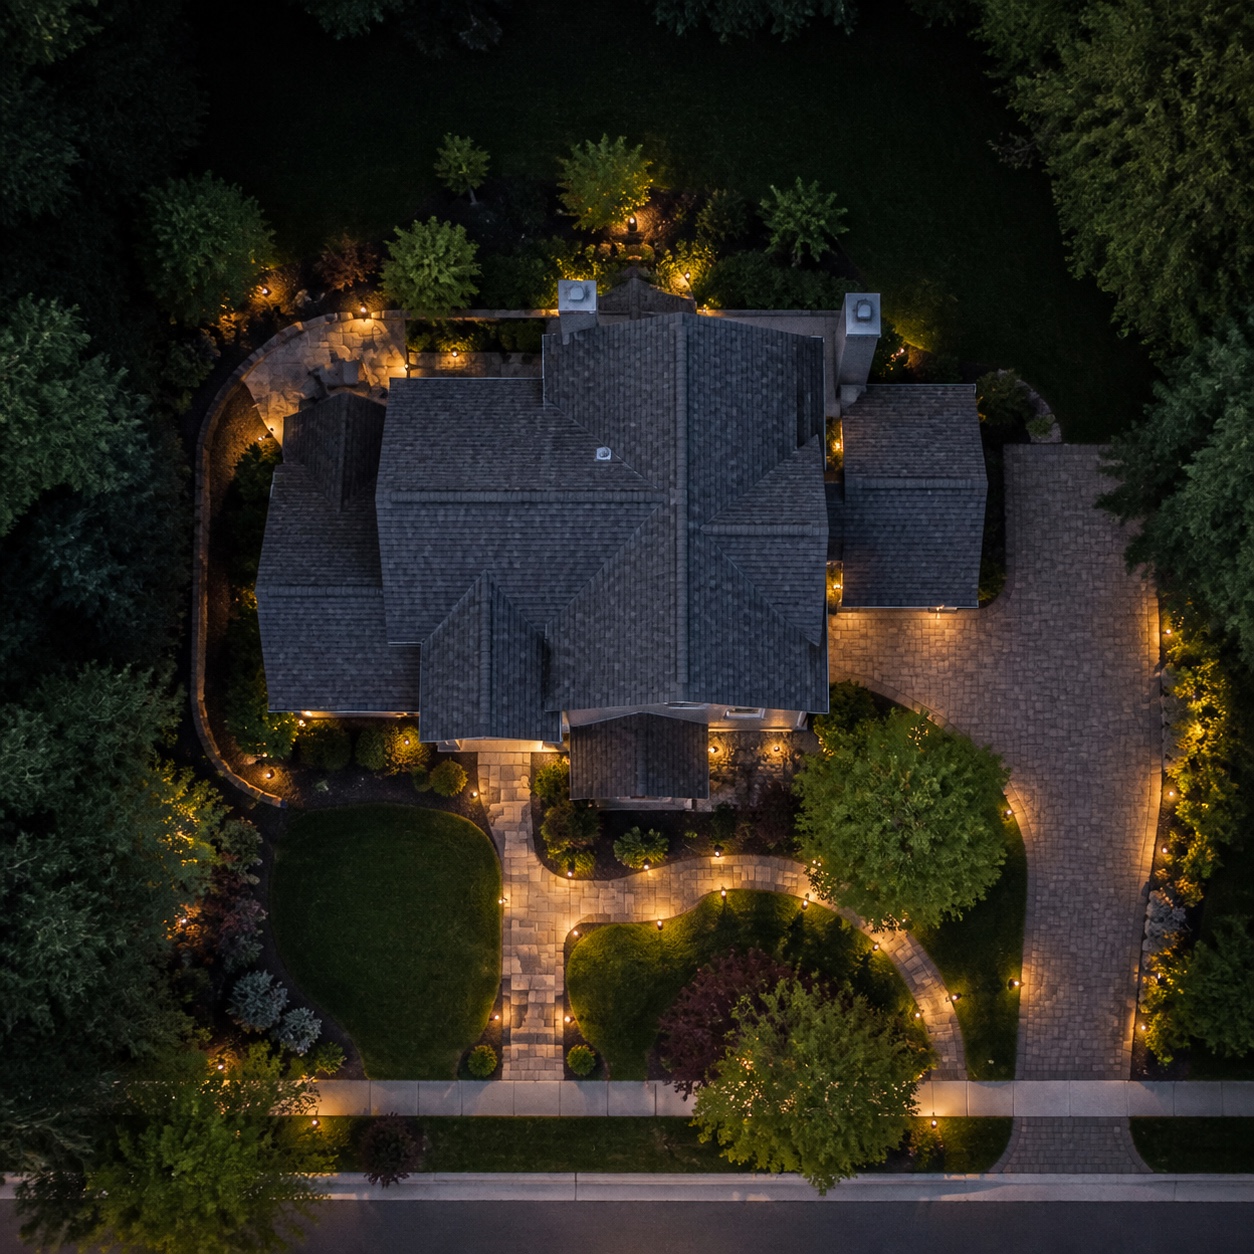
Good exterior lighting shares one thread across every decision in this piece: each fixture should serve the composition rather than simply add brightness to it. Warm, consistent color temperature, layered ambient, accent and task lighting, a clearly anchored entry, and fixtures scaled and styled to match the house all work together to change what a property looks like once the sun goes down.
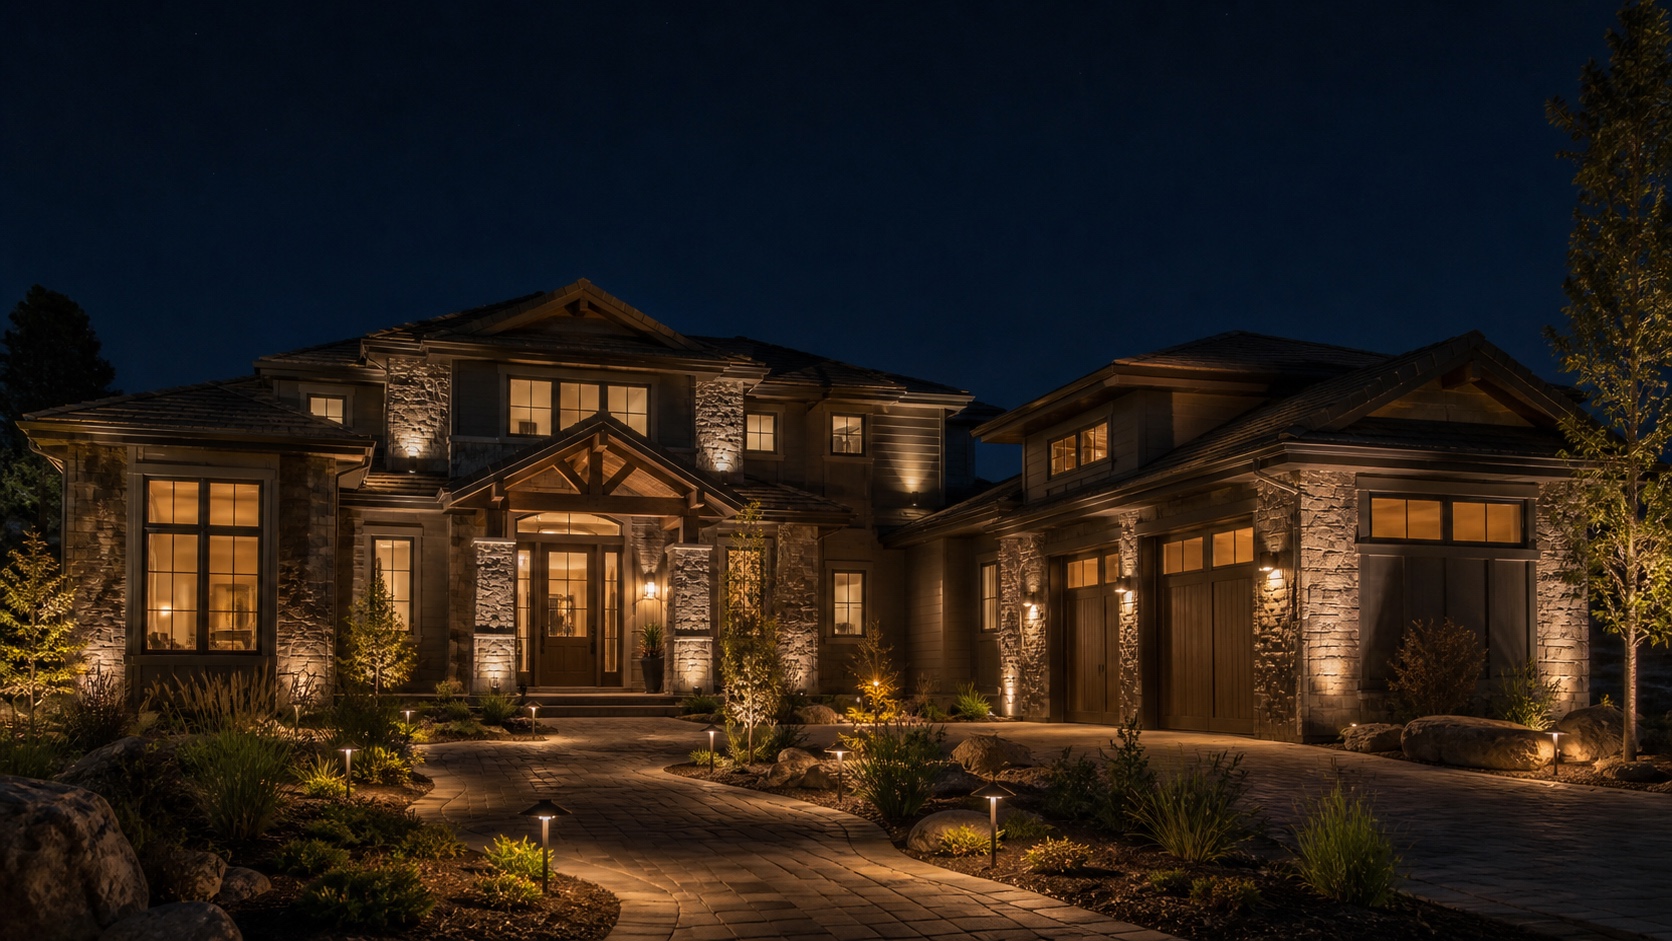
Start with one or two changes, the color temperature consistency and the entry sconces are usually the highest-impact place to begin, see how the house reads from the street after dark, and build outward from there. If the property also does a seasonal lighting display, how outdoor lighting transforms your home for the holidays is worth a look for how a temporary seasonal layer can sit on top of the permanent plan without fighting it.
Give any new plan a few full evenings before deciding it’s finished, since a fixture that looked right during a quick test can read differently once the seasons change the angle of ambient streetlight, once leaves fill in or drop from a nearby tree, or once you’ve simply lived with it long enough to notice something worth adjusting. Exterior lighting rewards small, considered tweaks over time more than a single, once-and-done installation ever fully does.
- 57shares
- Facebook0
- Pinterest57
- Twitter0
- Reddit0