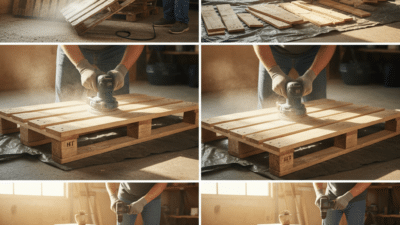
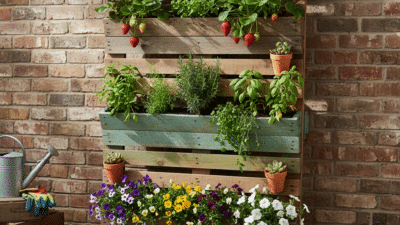
Upgrading your kitchen doesn’t have to be an expensive or labor-intensive ordeal. With the right DIY projects, you can enhance your kitchen’s functionality and style without breaking the bank. These small changes can make a big impact, giving your kitchen a fresh new look and feel.
Whether you’re looking to increase your home’s value or simply want to enjoy a more stylish cooking space, DIY kitchen upgrades are a practical solution. By focusing on cost-effective improvements, anyone can achieve a stunning kitchen makeover with just a bit of effort and creativity.
1. Install Smart Faucets
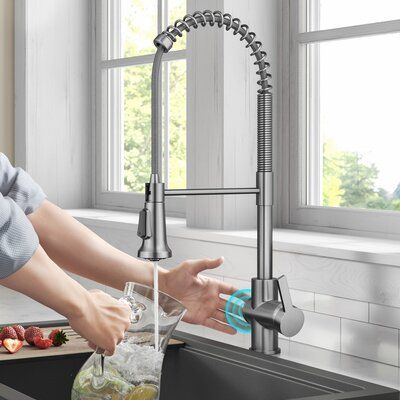
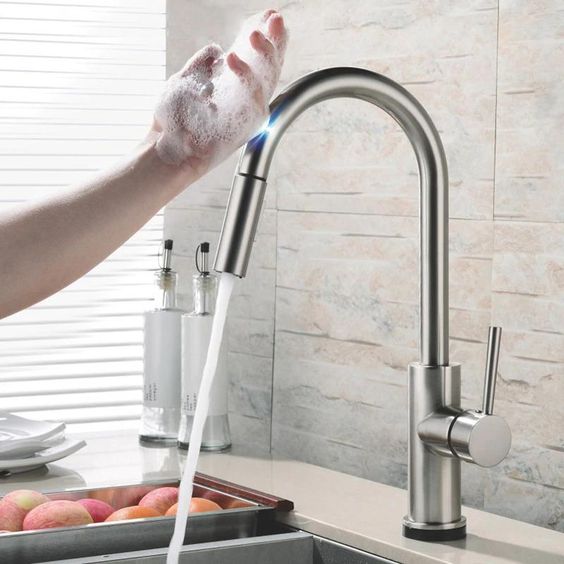
Smart faucets can add a modern touch to any kitchen. They are convenient and help save water by allowing precise control over flow. These faucets often feature touchless operation, making kitchen tasks more hygienic.
Installing a smart faucet is easier than you might think. One can follow simple steps, usually involving basic tools such as a wrench and screwdriver. Detailed instructions can be found in many places, such as the guide on how to install a touchless smart faucet.
Many smart faucets come with extra features like temperature control and voice activation. These features can be synced with home assistants for added convenience. The key is to follow step-by-step instructions available on resources like YouTube tutorials.
To start the installation, turn off the water supply and remove the old faucet. Next, place the new smart faucet into the mounting holes. Secure it using the provided hardware. Connect the water lines and ensure there are no leaks before turning the water back on.
A shiny new faucet can make a big difference in your kitchen. It brings both style and functionality, making everyday tasks much simpler. Upgrading to a smart faucet is an affordable way to modernize the space and improve kitchen efficiency.
2. Add Under-Cabinet Lighting
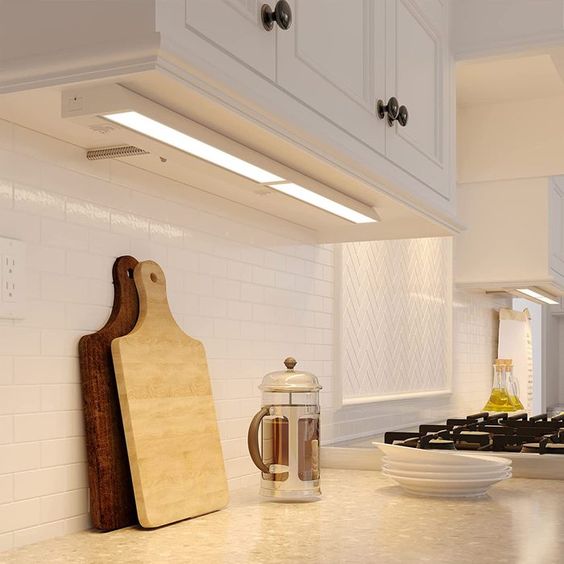
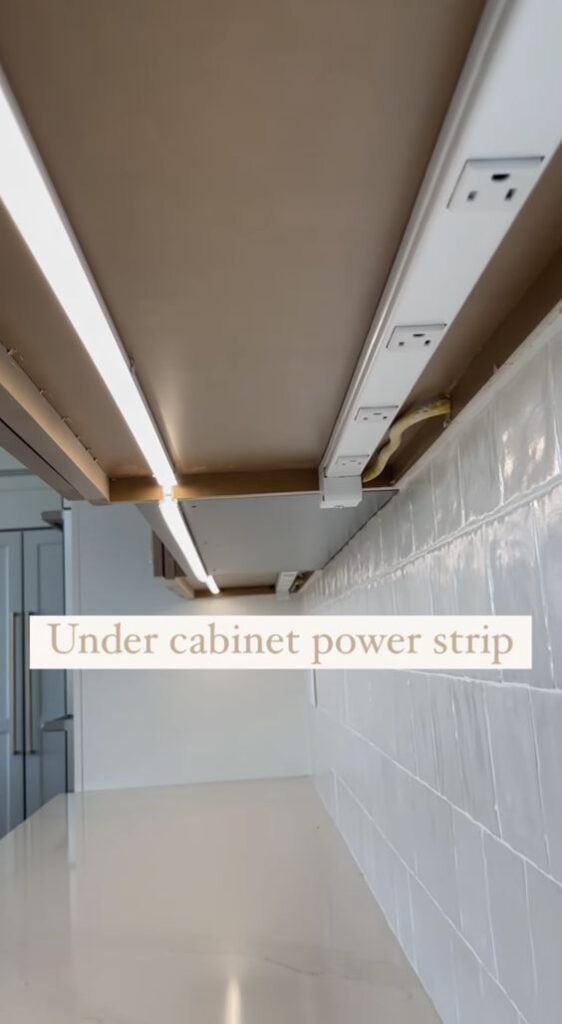
Adding under-cabinet lighting is an easy and effective way to brighten your kitchen. It helps illuminate your countertops, making it easier to see while cooking or prepping food.
One popular option is LED strip lights. These can be attached easily and offer a sleek, modern look. They are energy-efficient and last a long time.
For those looking for a quick upgrade, battery-operated puck lights are a great choice. They don’t require any wiring and can be attached with adhesive or screws.
If you’re comfortable with basic electrical work, hardwired lights might be the most seamless look. You can find step-by-step guides to install them, such as this one on how to install under-cabinet lighting during a remodel from Family Handyman.
For a more DIY-friendly option, the guide on installing kitchen under-cabinet lighting in just 30 minutes is very helpful.
The DIY Playbook also provides various cost-effective ways to add under-cabinet lighting without breaking the bank.
Adding under-cabinet lighting not only enhances visibility but also adds a stylish element to your kitchen décor. With various options available, there’s a solution for every skill level and budget.
3. Apply Peel-and-Stick Backsplash Tiles
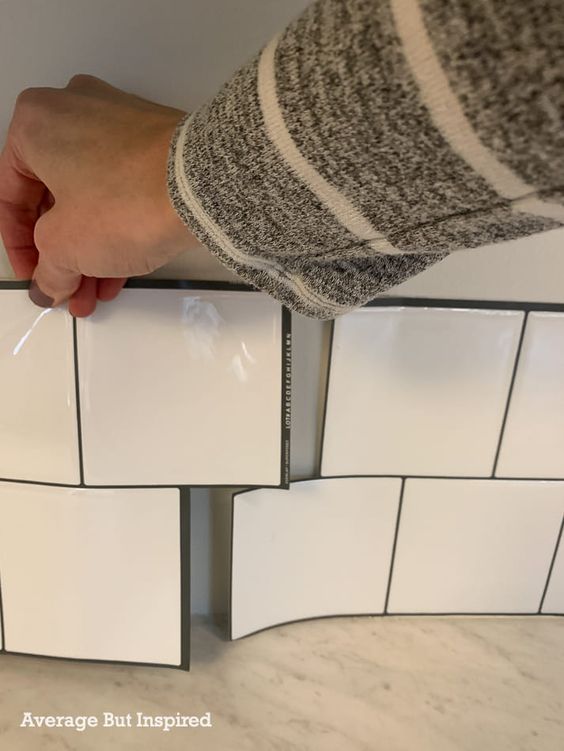
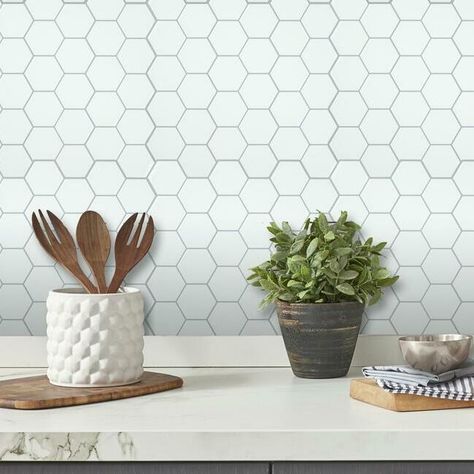
Peel-and-stick backsplash tiles are a quick way to give your kitchen a new look without a lot of effort.
First, measure the area where you want to apply the tiles. Knowing the exact space ensures you buy the right amount. It’s a good idea to get a bit more in case of mistakes.
Clean the wall thoroughly. This step is crucial for ensuring the tiles stick properly. Use a mild cleaner and let the wall dry completely.
Peel off the backing of the tile and carefully line it up with your starting point on the wall. Press it down firmly to smooth out any bubbles or wrinkles. Repeat this process with each subsequent tile.
For tricky spots like corners or outlets, you may need to cut the tiles. Scissors or a utility knife usually work well. Be precise with your cuts for a seamless appearance.
Peel-and-stick tiles are easy to adjust if you make a mistake. Gently lift the tile and reposition it as needed.
The final look can imitate real tiles very closely, providing a stylish and fresh update to your kitchen. For more detailed instructions, check out this guide.
4. Upgrade to a Touchless Trash Can
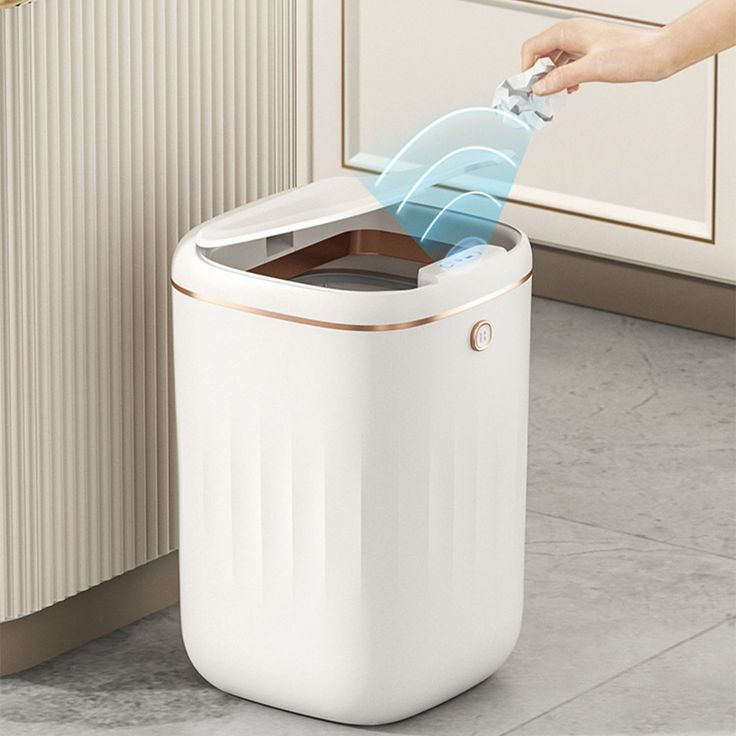
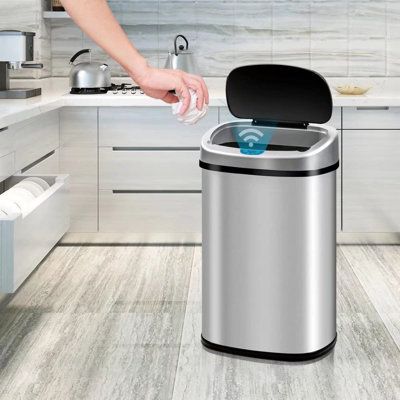
A touchless trash can can make kitchen tasks smoother. When you have messy hands, it’s much easier to open the trash can without touching it. Just wave your hand over the sensor, and the lid opens automatically.
This type of trash can also helps in controlling odors. It seals tightly after every use. This feature can be particularly useful for busy kitchens.
Touchless trash cans can sometimes be battery-operated or rechargeable. This allows for easy maintenance without constant replacements. Additionally, many models come in sleek designs that match modern kitchen aesthetics.
Investing in a touchless trash can also promotes hygiene. Reducing the need to touch surfaces can minimize the spread of germs, making your kitchen cleaner and safer.
5. Refinish Your Cabinets
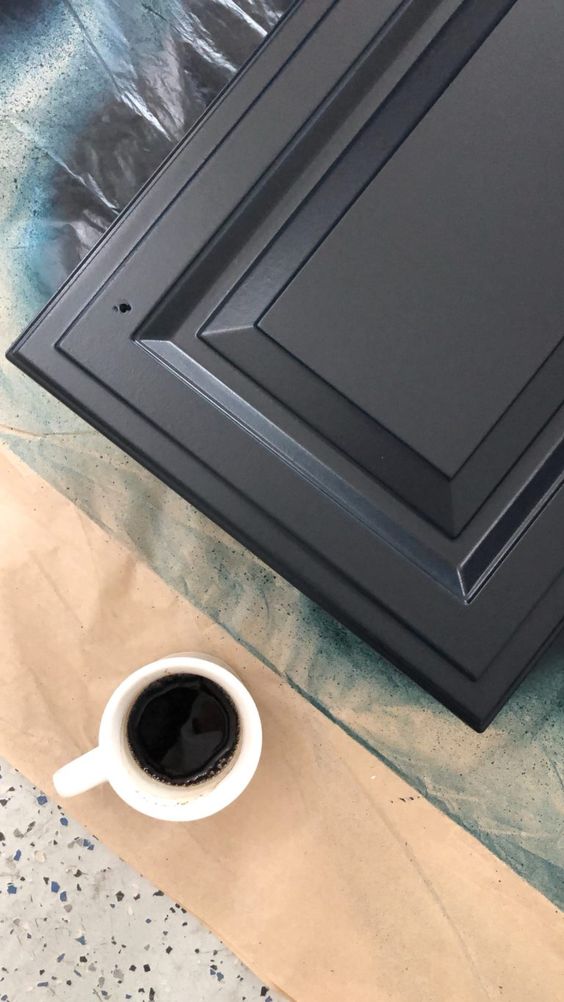
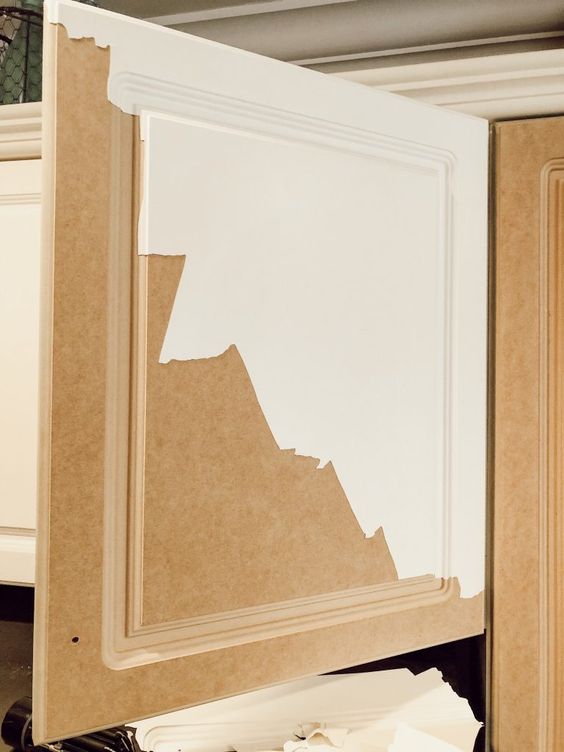
Refinishing your kitchen cabinets can give them a fresh and modern look without needing to replace them. It’s a cost-effective way to breathe new life into your kitchen space.
Start by removing all the cabinet doors and hardware. This step ensures you can work on a flat surface and avoid accidental damage to hinges or knobs.
Next, clean the cabinets thoroughly. Use a mild detergent to remove grease and grime. Sand the surfaces lightly to create a smooth base for the new finish.
Choose a high-quality paint or stain. Painting can give a bold new color, while staining can enhance the natural wood grain. Apply with a brush or sprayer for a smooth finish.
Once the paint or stain is completely dry, reattach the doors and hardware. Consider adding new handles or knobs for an extra touch. This small change can make a big difference in the overall look.
For further information and tips, check out ways to update kitchen cabinets. Refinishing your cabinets can transform your kitchen into a space you love without a major renovation. If you’re starting from scratch or want full control over the final look, working with unfinished cabinets allows you to customize everything from stain to hardware.
6. Mount a Pot Filler Faucet
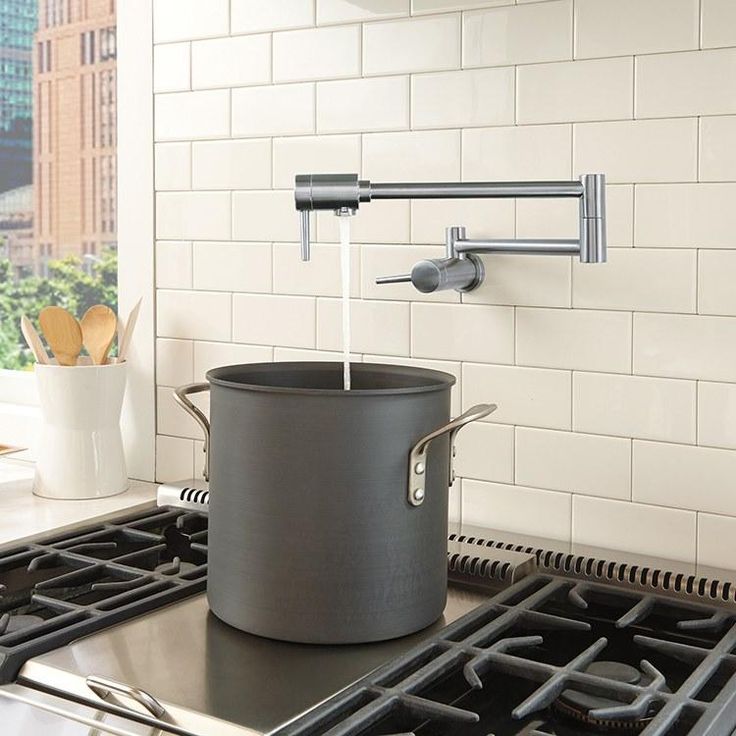
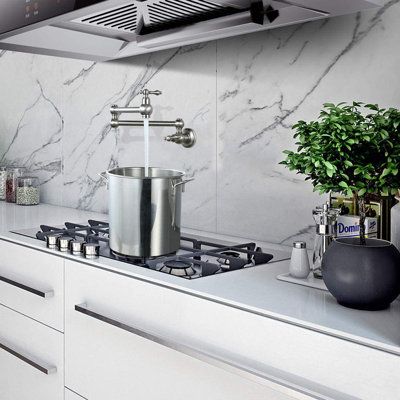
Installing a pot filler faucet can add both style and convenience to any kitchen. It is a wall-mounted faucet placed near the stove to make filling pots much easier.
Before starting, shut off the water supply. This step ensures no mess when connecting the new pipes. Next, cut into the drywall where you want the faucet installed.
Attach the water supply line to the faucet’s location. Use plumber’s tape for a secure fit. Secure the mounting bracket to the wall, ensuring it’s level and sturdy. Then, connect the pot filler to the bracket.
Make sure the pot filler can reach all burners on the stove. This positioning helps in filling large pots without lifting them.
After connecting the plumbing, restore the drywall. This step involves patching up the hole you made for the installation. Finally, turn the water supply back on and check for leaks. If everything is secure, your pot filler should be ready for use.
For more detailed instructions, refer to guides like My Plumbing DIY and Mr. Kitchen Faucets.
7. Install Open Shelving
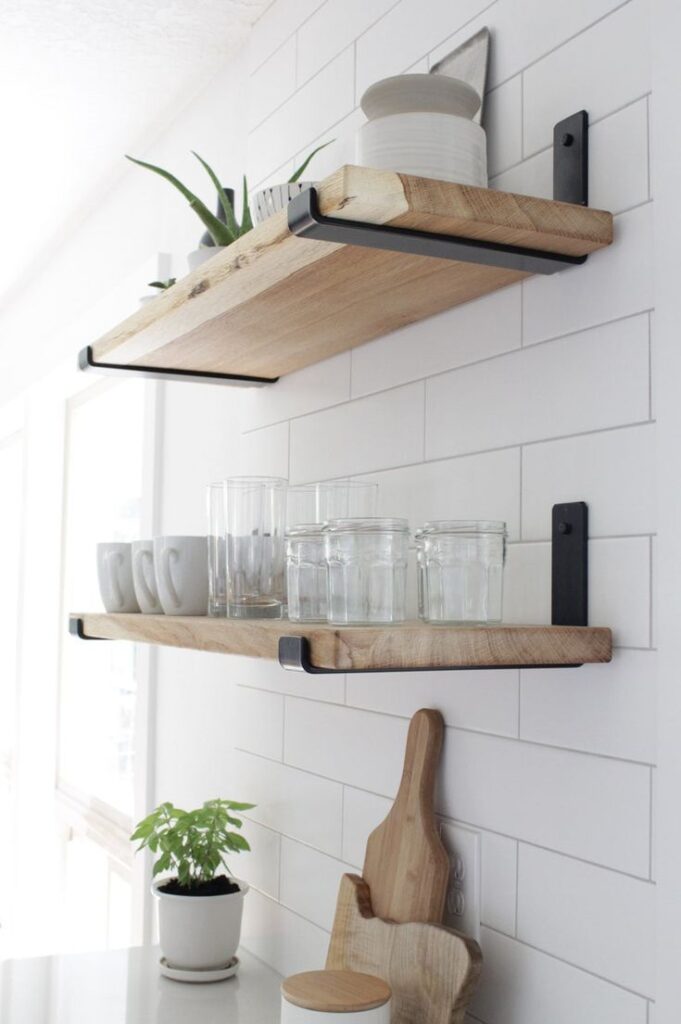
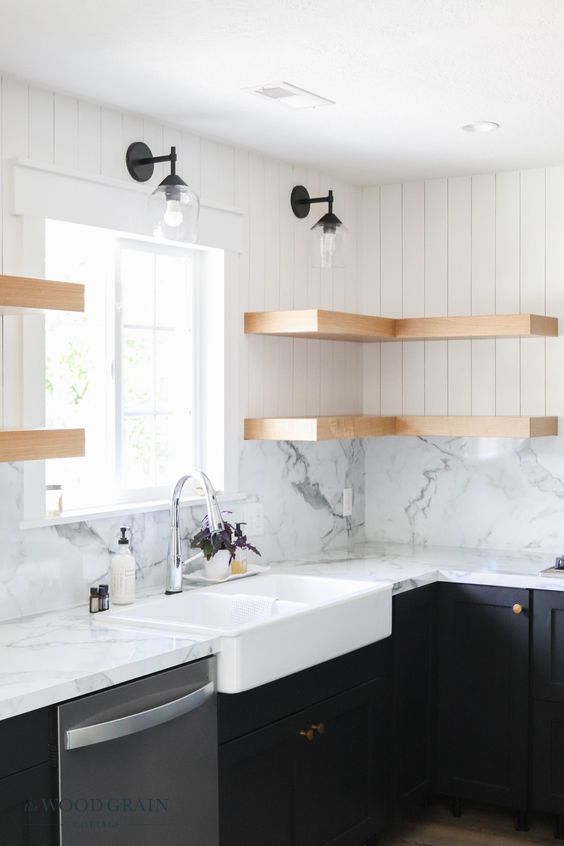
Open shelving can instantly update the look of any kitchen. It provides easy access to frequently used items and allows for creative displays of dishes and other kitchenware.
When installing open shelves, secure them to the studs behind the drywall for stability. Using drywall anchors and screws is not recommended for heavy items.
Choose materials that match your kitchen’s style. Wood and metal are popular choices. Each material has its own charm and can suit various aesthetics.
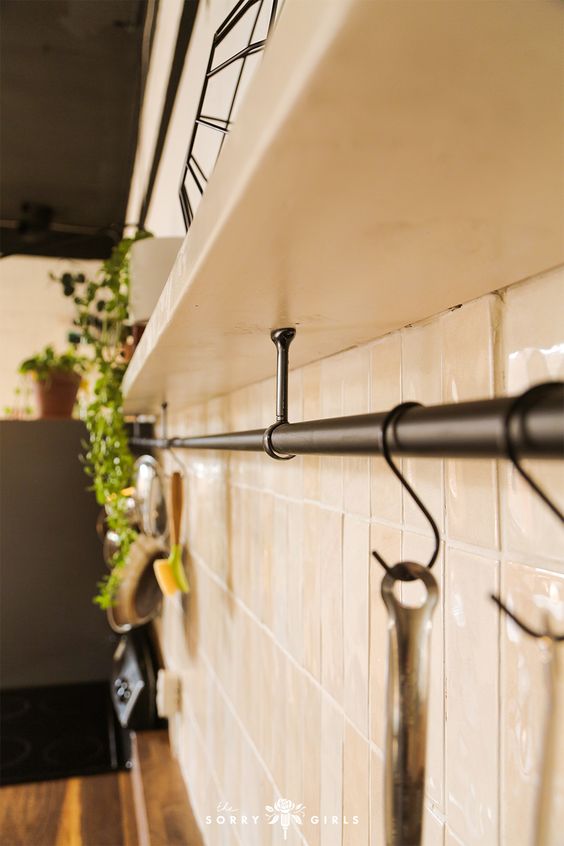
Adding a rail for hanging pots and pans can maximize vertical space. A rail also brings a modern touch to the kitchen’s design.
For a cohesive look, match the hardware of the shelves and rails with other kitchen elements like cabinet handles or faucets. This brings a unified and polished appearance to the space.
8. Replace Hardware with Modern Options
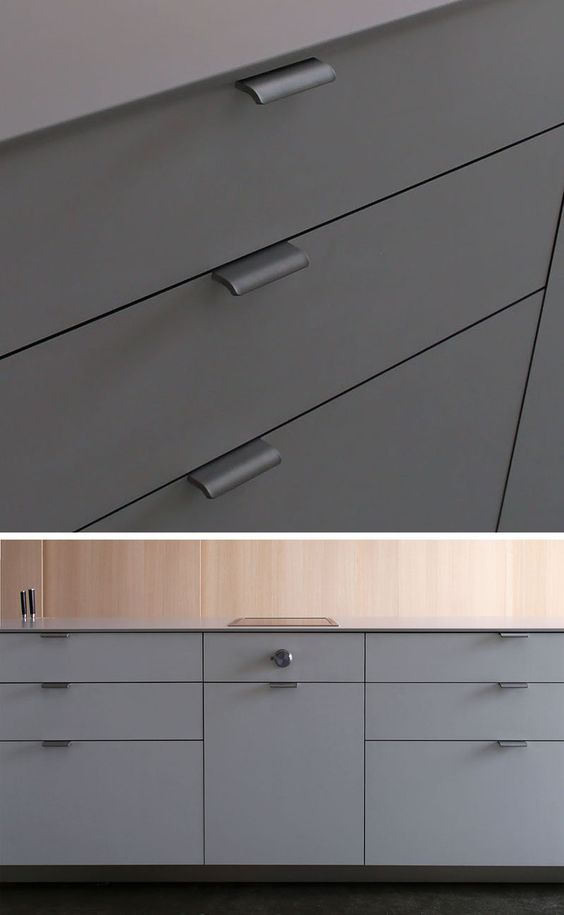
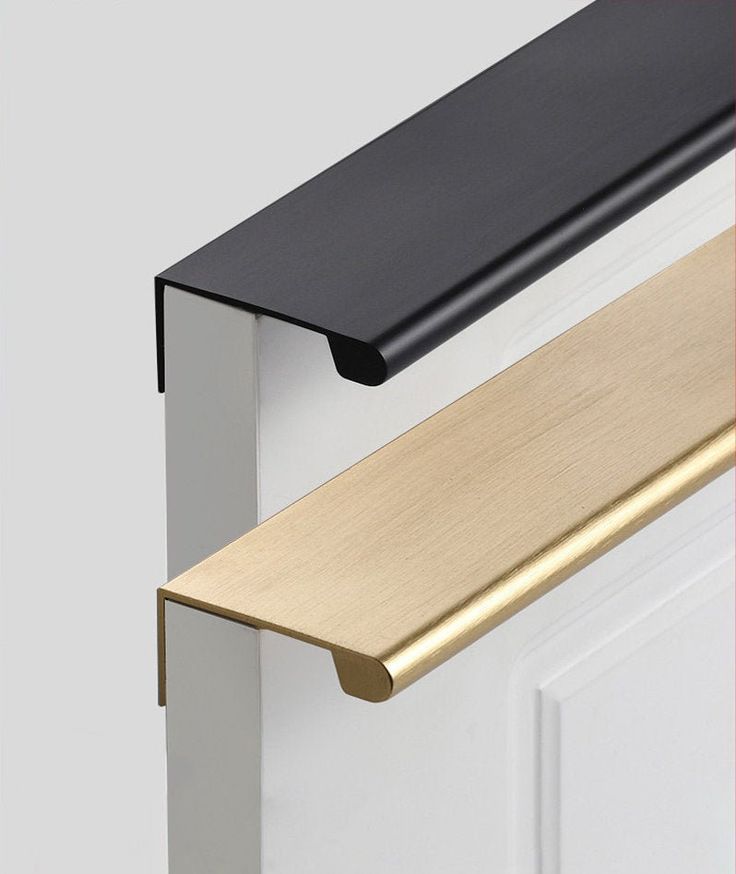
One of the simplest ways to update a kitchen is by changing the hardware. Swapping old handles and knobs for new ones can dramatically improve the look of cabinets and drawers.
Modern options like copper, brass, or matte black are popular choices. These finishes add a sleek and stylish look to any kitchen.
This project doesn’t require much expertise. With just a screwdriver and a bit of time, anyone can replace hardware themselves. Even small changes like this can make a kitchen feel brand new without spending a lot of money.
Using modern hardware can also help tie together other elements in the kitchen. It can complement modern appliances, lighting, and other design elements. This small update can make a big difference in the overall aesthetic of the space.
For more tips on updating cabinets, this article provides additional ideas.
9. Add a Kitchen Island
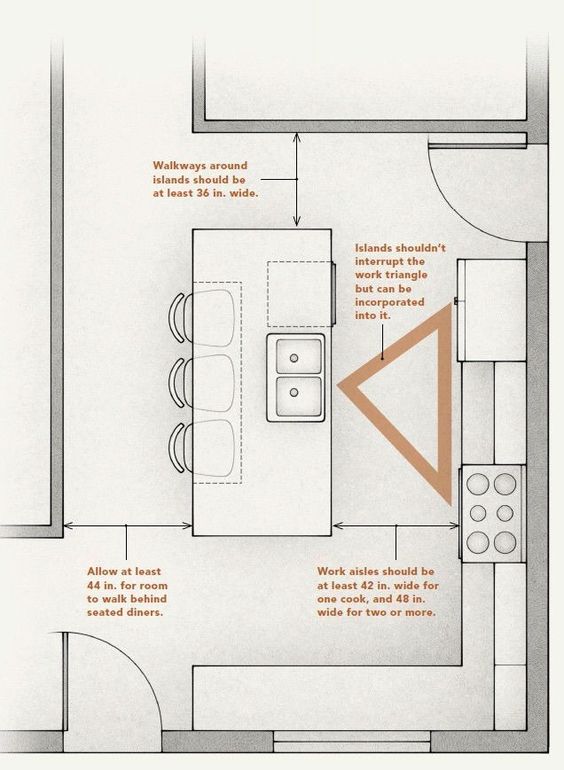
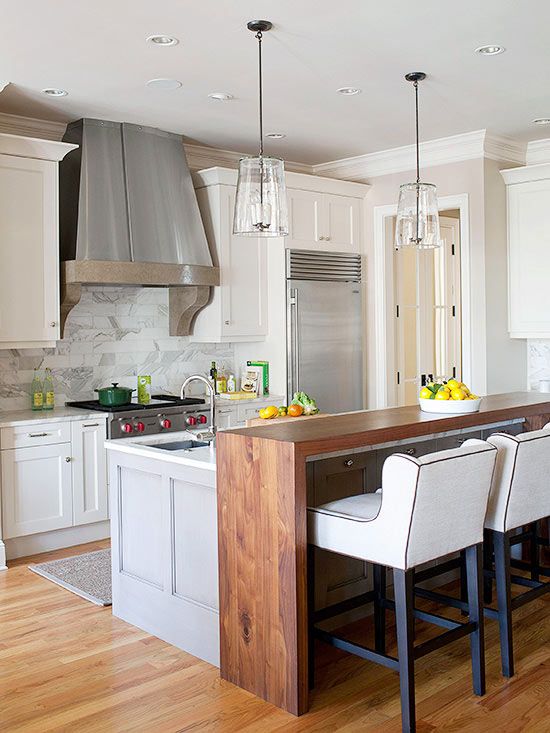
Adding a kitchen island can transform the heart of the home. It provides more counter space for preparing meals and can even include extra storage. Kitchen islands can also be customized to fit different styles and budgets.
One option is to use a fresh coat of paint on an existing island. This can instantly update the look of the kitchen without a huge expense. For those wanting a bigger change, adding trim or moldings can enhance the island’s appearance.
Another idea is to repurpose materials. For instance, using church panels gives the island a unique and stylish look while keeping it functional. This approach not only saves money but also adds character.
If building from scratch, consider using stock cabinets from a hardware store. Combine these with a countertop that matches the rest of the kitchen for a cohesive design. Adding corbels or reclaimed wood planks can add even more character to the new island.
For smaller kitchens, a mini island can be an effective upgrade. It can serve as a breakfast bar or an additional prep space. By picking the right design and materials, a kitchen island can be a practical and stylish addition to any home.
10. Install a Chalkboard Wall
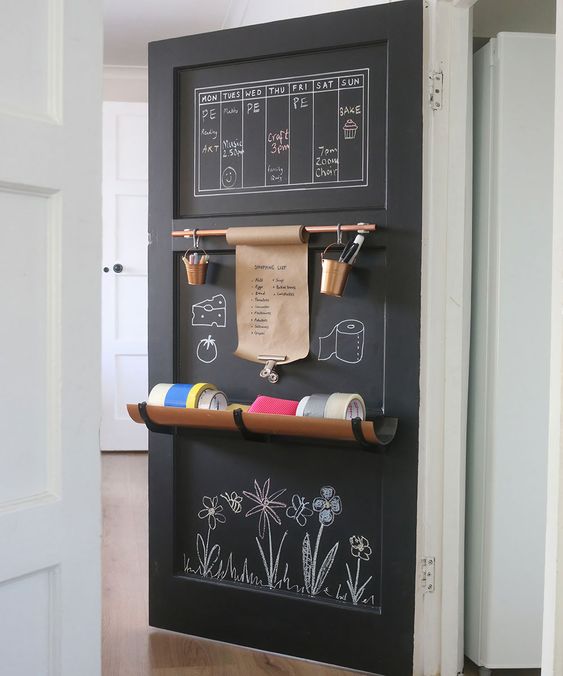
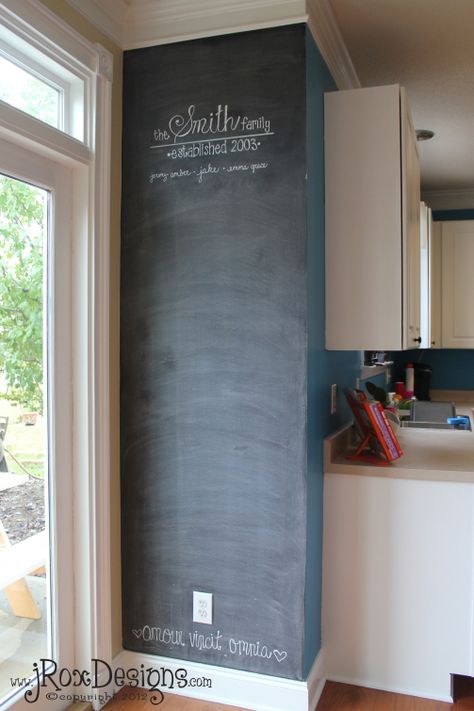
A chalkboard wall can add both function and style to your kitchen. It’s a great place for grocery lists, recipes, or fun doodles.
To get started, measure your wall. Multiply the height and width to get the square footage. This tells you how much chalkboard paint you need.
Before painting, you might need a primer depending on the surface. Some paints can stick without it, but check the paint can for directions.
After the paint is applied, let it cure for three days. Then, condition the wall by rubbing a piece of chalk on its side over the entire surface. This will help the chalk erase easily later.
Chalkboard walls work well in various kitchen styles, from modern to rustic. They can serve as a unique focal point or blend seamlessly with your décor.
Adding a chalkboard wall is a simple, fun DIY project. Whether you use it for practical purposes or creative expression, it’s sure to be a hit in your kitchen.
For inspiration on different styles and setups, you can check out 10 Ways to Upgrade A Kitchen With Chalkboard Paint. If you need a step-by-step guide, take a look at How To Make A Chalkboard Wall With These Easy Steps.
Benefits of DIY Kitchen Upgrades
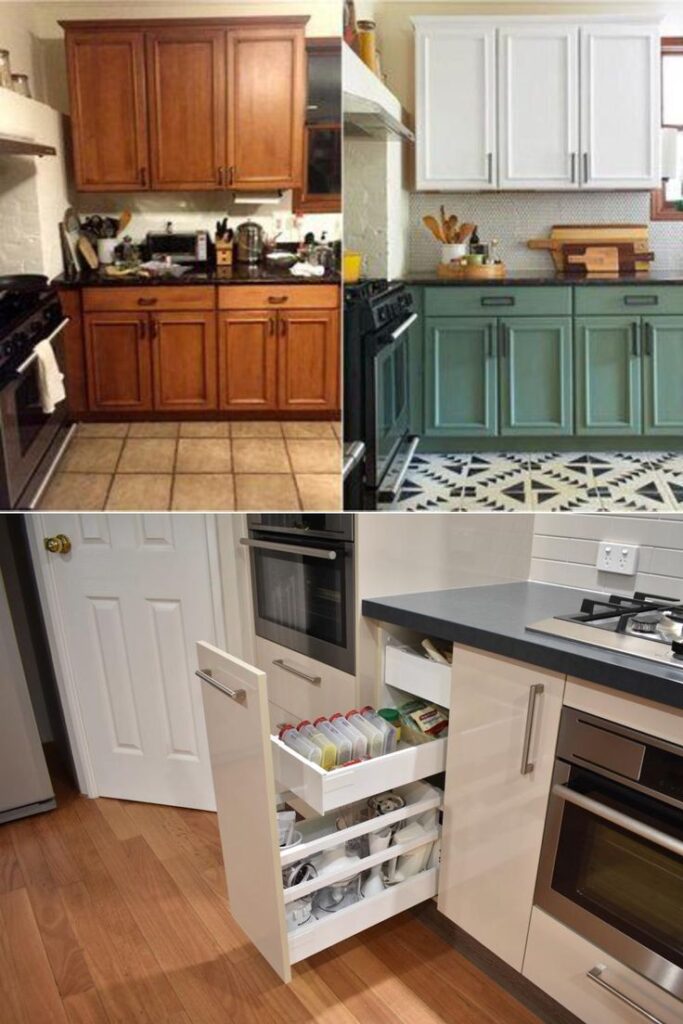
DIY kitchen upgrades offer several advantages, such as saving money, allowing for personalized styles, and increasing the value of your home. These benefits make DIY projects appealing to homeowners.
Cost-Effective Solutions
DIY kitchen upgrades are often more affordable than hiring professionals. Homeowners can avoid high labor costs, making projects like painting cabinets or installing new hardware more budget-friendly. Using recycled or repurposed materials can further reduce expenses.
In addition, many DIY projects can be done using tools and supplies you may already have. Online tutorials provide step-by-step instructions, which can help complete projects efficiently. This makes it possible to perform significant updates without breaking the bank.
Personalized Aesthetics
One significant benefit of DIY kitchen upgrades is the ability to create a unique and personalized space. Homeowners have full control over design choices, including the selection of colors, materials, and finishes. This allows for creativity and customization to fit individual tastes.
For example, you can choose custom backsplashes, unique paint colors, or personalized lighting to reflect your style. This customization can transform a standard kitchen into a space that feels uniquely yours.
Increased Home Value
DIY upgrades can also add value to your home. Simple projects like updating countertops or installing a new backsplash can make a kitchen more appealing to potential buyers. These enhancements can give your kitchen a fresh and modern look, increasing its market value.
Moreover, even small changes like replacing old fixtures or adding energy-efficient appliances can have a positive impact. By investing time and effort into these updates, homeowners can see significant returns when selling their property.
10 Best Kitchen Upgrades for Your Home
6 DIY Kitchen Upgrades with the Best Bang for Your Buck
10 Best DIY Kitchen Ideas to Boost Home Value
These benefits demonstrate why DIY kitchen upgrades are a valuable and practical option, enabling homeowners to enhance their living space while enjoying various advantages.
Planning Your DIY Kitchen Upgrade
Successful kitchen upgrades start with careful planning. Understand your current space, establish a clear budget, and gather the essential tools to ensure a smooth process.
Assessing Your Current Space
Before starting any upgrades, evaluate your kitchen’s layout and condition. Identify areas that need improvement, such as outdated cabinets, countertops, or lighting. Take measurements of your space to ensure any new elements will fit properly. Note the locations of electrical outlets and plumbing fixtures, as these can influence what changes are feasible without professional help.
Consider the workflow in your kitchen. For example, ensure that the placement of the sink, stove, and refrigerator – known as the kitchen triangle – is efficient. This layout helps in reducing the time and effort needed for meal preparation. Also, assess storage solutions and think about how to maximize space, perhaps with shelves or additional cabinets.
Setting a Budget
Determine how much you can spend on your kitchen upgrade. Prioritize projects that offer the most significant return on investment or the biggest impact on your daily life. Small changes like painting cabinets or updating fixtures often provide excellent improvements without breaking the bank.
Create a detailed budget that includes costs for materials, tools, and any professional help you might need. Use a table to list out estimated expenses clearly:
| Item | Estimated Cost |
|---|---|
| Cabinet Paint | $50-$100 |
| New Faucet | $70-$200 |
| Tile Backsplash | $100-$300 |
| Tools (saws, drills) | $50-$200 |
This way, you can track spending and adjust your plans if necessary. Allocate some funds for unforeseen expenses to avoid budget overruns.
Gathering Necessary Tools
Having the right tools is crucial for DIY projects. Common tools for kitchen upgrades include a tape measure, level, hammer, screwdrivers, and a drill. Depending on your plans, you might also need specialized tools like a jigsaw for cutting countertops or a tile cutter for installing a backsplash.
Make a checklist to ensure you have everything before starting:
- Tape Measure: For accurate measurements
- Level: To ensure straight lines
- Hammer and Screwdrivers: For assembling and disassembling fixtures
- Drill: For making holes and securing screws
- Jigsaw: For cutting materials like countertops
- Tile Cutter: For precise tile work
Rent or borrow tools if you’re not ready to invest in new ones. Proper preparation prevents delays and ensures a smoother upgrade process.
Common Challenges and How to Overcome Them
When working on DIY kitchen upgrades, several challenges can arise. Here are ways to deal with limited space, manage electrical and plumbing work, and ensure proper ventilation.
Dealing with Limited Space
Use Vertical Storage: Maximize space by installing shelves or hanging racks on the walls. This utilizes vertical space and frees up counters.
Multi-Functional Furniture: Choose tables and chairs with storage underneath. Foldable or extendable furniture can also save space.
Cabinet Organizers: Install pull-out shelves or lazy Susans inside cabinets. This helps store items more efficiently and makes them easier to find.
Handling Electrical and Plumbing Work
Hire Professionals: For any complex tasks, such as modifying plumbing or extensive electrical work, hiring a professional is crucial for safety and compliance with local regulations.
Basic Maintenance: Learn how to perform basic tasks like changing faucets or light fixtures. Always turn off the power or water supply before starting.
Plan and Mark: Before drilling or hammering, mark the locations of pipes and wires to avoid accidents.
Ensuring Proper Ventilation
Install Range Hoods: A range hood helps remove smoke, steam, and odors. It’s important to install one if you cook frequently.
Check Existing Systems: Make sure your current ventilation system is clean and functioning well. Clean filters and ducts regularly.
Windows and Fans: Use windows and portable fans to improve air circulation if installing a range hood isn’t possible. This can still help to reduce smoke and odor buildup.
Following these tips can help manage common issues that come up in a DIY kitchen upgrade, ensuring your efforts are both effective and safe.
Frequently Asked Questions

These FAQs address common concerns about upgrading a kitchen on a budget, providing practical information and tips to enhance your space without significant costs.
How can I renovate my kitchen cheaply?
One way to renovate your kitchen cheaply is by refinishing your cabinets. Instead of replacing them, paint your existing cabinets a bright, airy color. Another budget-friendly idea is to apply peel-and-stick backsplash tiles, which are easy to install and available in various designs.
What are some budget-friendly DIY kitchen ideas?
DIY projects like installing under-cabinet lighting can provide better illumination for cooking and add ambience. Upgrading to a touchless trash can is another simple yet effective project. Both are cost-effective and make your kitchen more functional and stylish.
Can I update my kitchen cabinets without a total replacement?
Yes, you can update your cabinets without replacing them. Refinishing is a popular method, which involves sanding, priming, and painting the cabinets for a fresh new look. Adding new hardware like handles and knobs can also significantly change the cabinet’s appearance.
What simple upgrades can make a big impact in a small kitchen?
Adding under-cabinet lighting can make a huge difference by brightening up your workspaces. Smart faucets can add a modern touch and improve functionality. These small upgrades can significantly impact a small kitchen’s look and feel.
What are some simple, low budget kitchen design tips?
Using peel-and-stick backsplash tiles is a cost-effective way to add style to your kitchen. Replacing your faucets and taps with more modern designs can also elevate your kitchen’s appearance without costing much. These simple changes can lead to a cohesive and updated look.
How do I achieve a kitchen makeover on a tight budget?
Focus on functional yet stylish upgrades. Swap out your old faucets for new smart ones, apply affordable peel-and-stick tiles, and consider updating lighting fixtures. These upgrades can collectively transform the space without a hefty price tag.
- 5.1Kshares
- Facebook0
- Pinterest5.1K
- Twitter3
- Reddit0

