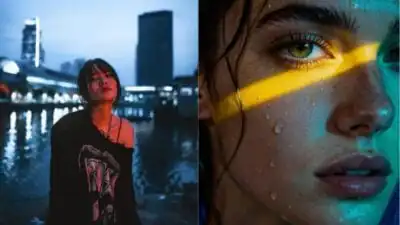
Creating cinematic video doesn’t require expensive gear or a film crew—you can achieve it with thoughtful techniques and a clear approach. By focusing on how you compose, light, and move your shots, you can instantly elevate your visuals and make your work feel more professional. Small adjustments in planning and execution often make the biggest difference.
This guide walks you through practical shooting tips that help you shape stronger storytelling and more engaging visuals. From framing choices to lighting strategies, you’ll discover simple methods that bring polish and depth to your projects without overcomplicating the process.
1) Use the rule of thirds to compose balanced shots
When you frame a shot, imagine your screen divided into nine equal sections using two vertical and two horizontal lines. This creates a simple grid that helps you decide where to place your subject.
By positioning key elements along these lines or at their intersections, you guide the viewer’s eye naturally. This makes your composition feel more balanced and less static than centering everything.
You can use the rule of thirds for faces, objects, or even horizons. For example, placing the horizon on the upper or lower third line avoids splitting the frame in half and creates a more pleasing look.
This technique also helps you tell a story visually. Placing a character off-center can suggest space, tension, or focus on their surroundings. You can adjust placement based on the mood you want to create.
While it’s a guideline and not a strict rule, practicing with it will improve your framing choices. Over time, you’ll start to see how small shifts in placement change the feel of your shots.
2) Incorporate leading lines to guide the viewer’s eye
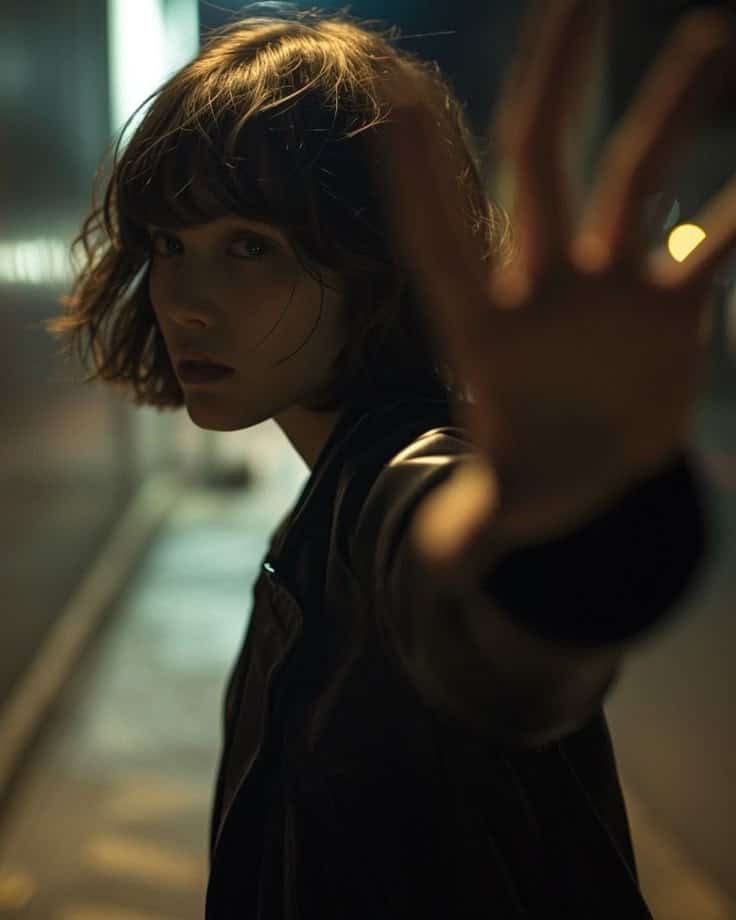
When you frame a shot, think about how lines within the scene naturally direct attention. Roads, fences, hallways, or even light beams can pull the viewer’s gaze toward your subject. Using these elements helps you control where the eye goes first.
You can use leading lines to create depth and perspective. A path stretching into the distance, for example, makes the shot feel more three-dimensional. This adds visual interest without needing extra movement or effects.
Leading lines also help emphasize relationships between subjects. Placing characters along the same line can connect them, while separating them with diverging lines can suggest distance or conflict. These visual cues add subtle storytelling layers.
Experiment with both obvious and subtle lines. Bold architectural shapes can clearly guide attention, while softer elements like shadows or natural curves can create a more understated effect. This flexibility lets you adapt the technique to different moods and scenes.

3) Plan your shots with storyboarding before filming
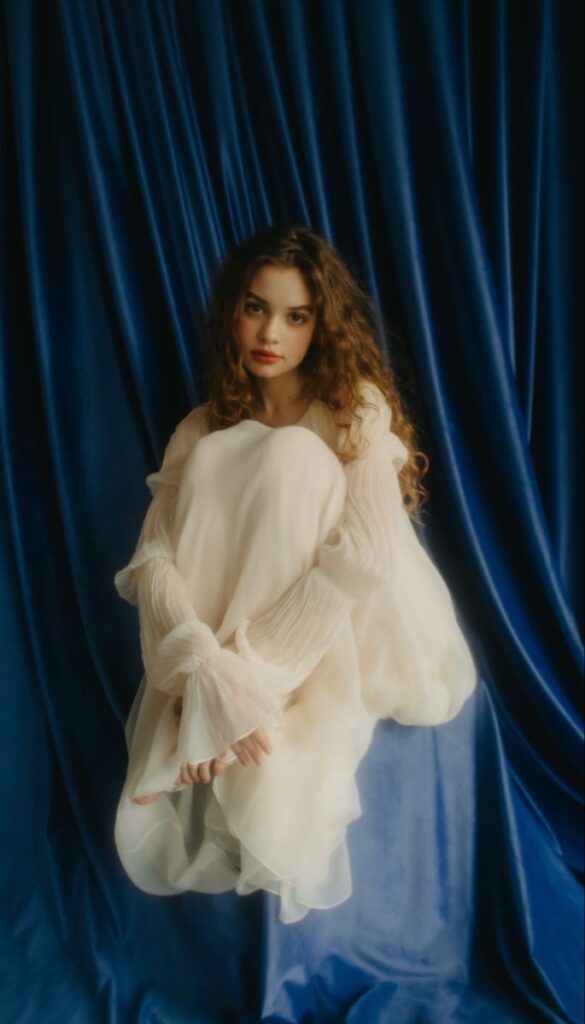
Storyboarding helps you map out your film visually before stepping on set. By sketching or using digital tools, you create a sequence of frames that show how each shot will look. This gives you a clear plan to follow once the camera starts rolling.
When you storyboard, you can spot potential issues early. For example, you may notice that two shots feel repetitive or that a transition doesn’t flow well. Adjusting on paper is much easier than fixing problems during filming.
A storyboard also makes communication with your team smoother. Your crew, cast, and collaborators can see exactly what you’re aiming for, which reduces confusion and saves time. Everyone knows the framing, movement, and mood you want.
You don’t need to be an artist to make one. Simple sketches, stick figures, or even using photos can work. The goal is clarity, not perfection.
By planning your shots this way, you give yourself a practical guide for production. It keeps your shoot organized and ensures you capture the footage you need without wasting time on unnecessary takes.
4) Utilize natural light for softer, cinematic visuals.
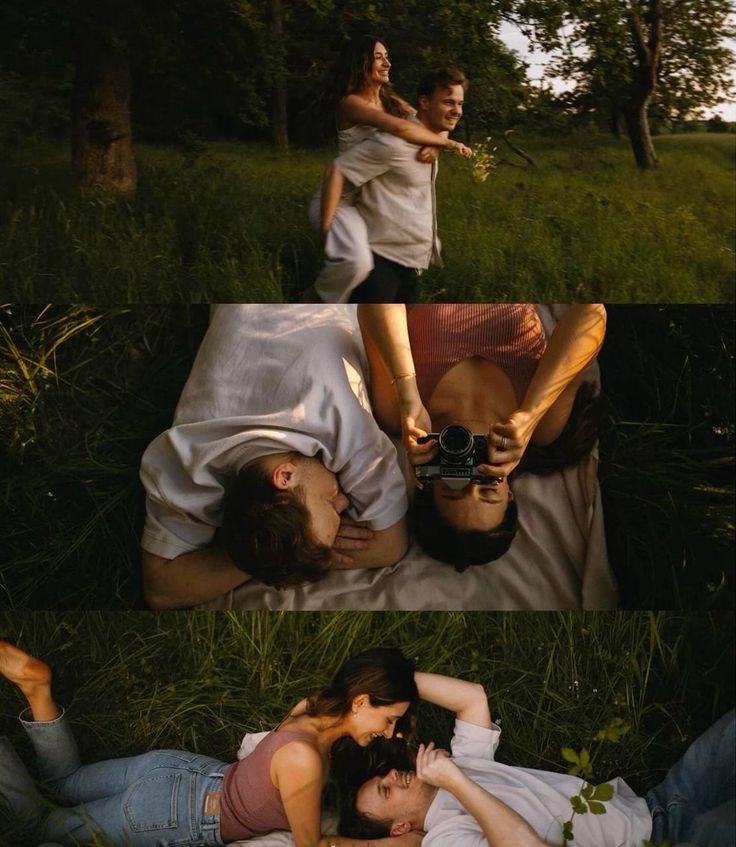
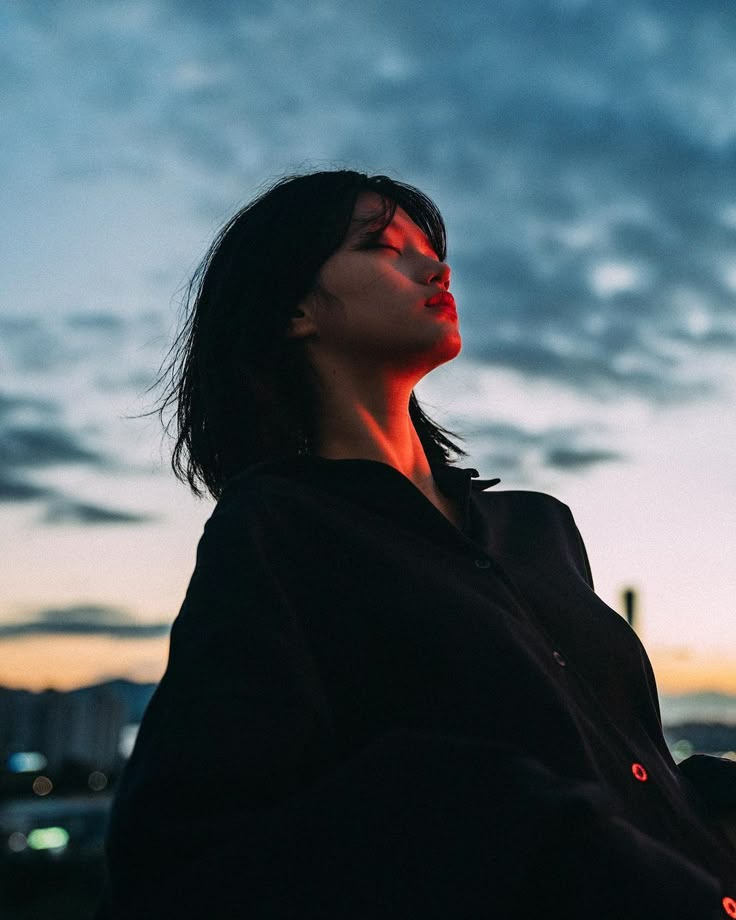
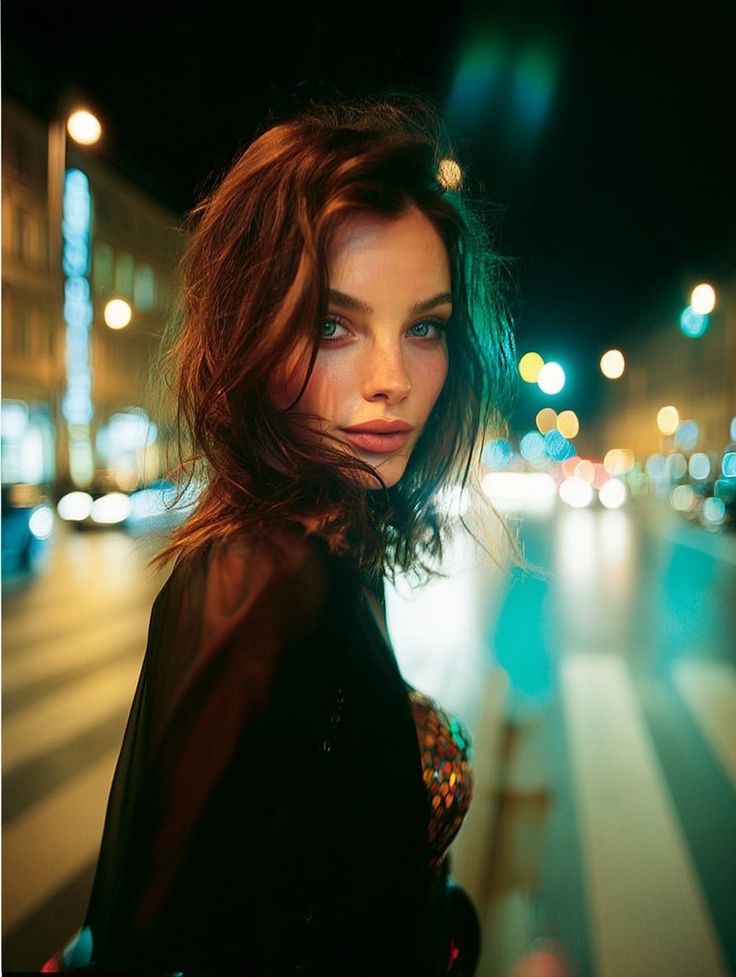
You can achieve a cinematic look by paying attention to how natural light falls on your subject. Positioning your subject near a window or outdoors during the right time of day creates a softer, more flattering image.
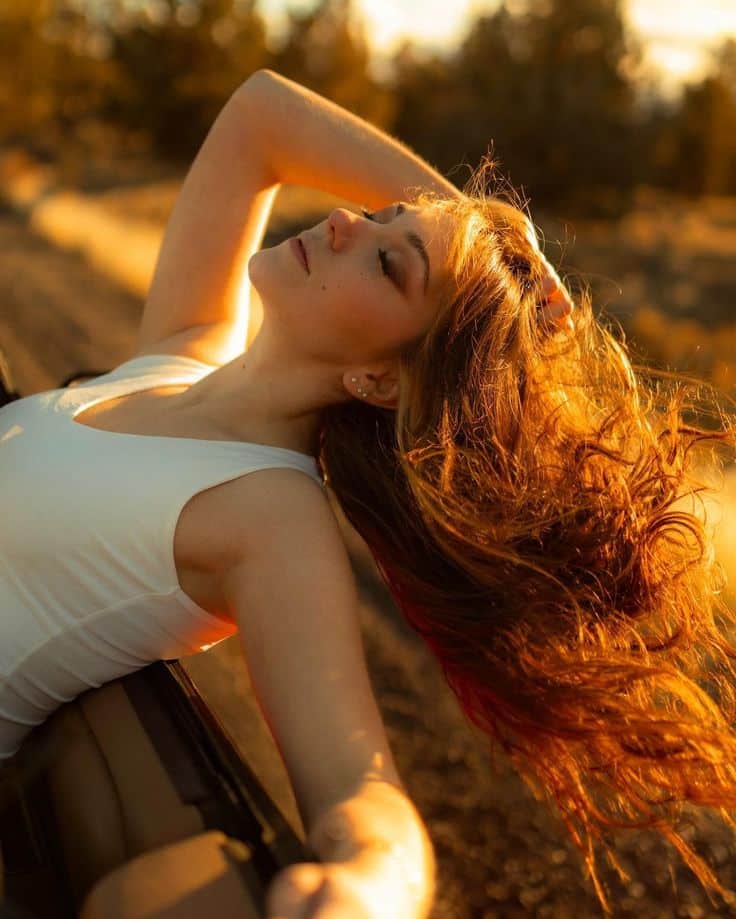
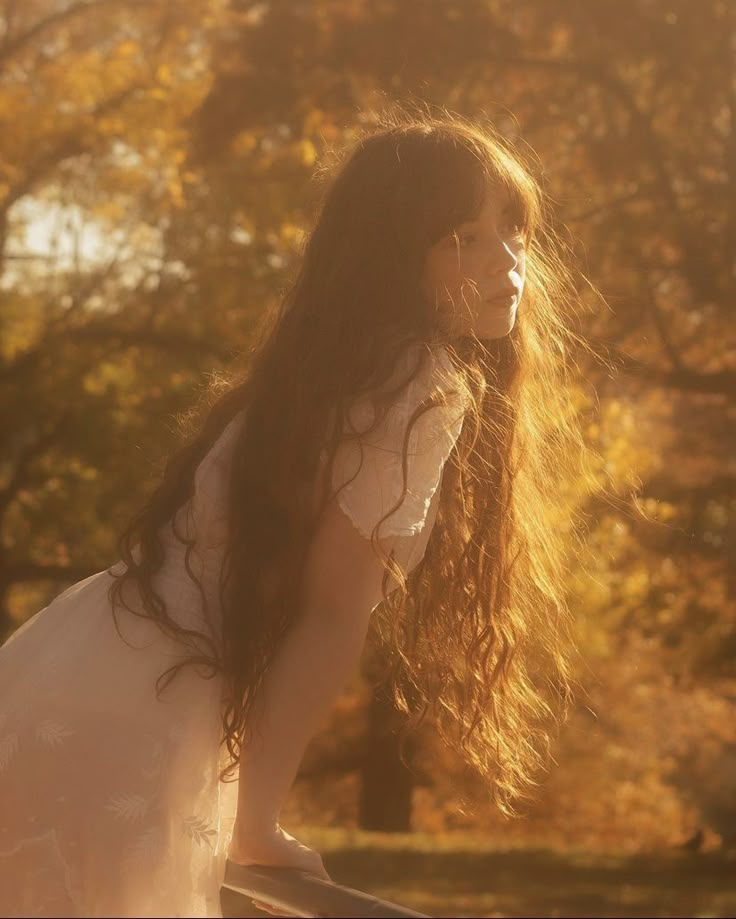
Early morning and late afternoon, often called golden hour, give you warm tones and gentle shadows. This light helps add depth to your shots without the need for heavy equipment.
When the sun is too harsh, you can use shade or cloud cover to diffuse the light. A simple diffuser, curtain, or even a white sheet can soften direct sunlight and prevent strong shadows.
Pay attention to how light interacts with the environment around you. Surfaces like walls, floors, or even natural surroundings can reflect light back onto your subject, creating balance and a more polished look.
By observing and adjusting to the available light, you can create natural, cinematic visuals that feel authentic and visually pleasing.
5) Experiment with camera movement like panning and tracking
You can add more life to your shots by moving the camera instead of keeping it locked in place. Panning and tracking are two simple but effective techniques that help guide the viewer’s attention and create a sense of motion.
When you pan, you rotate the camera horizontally to follow a subject or reveal more of the scene. This works well for showing movement across a frame, like a person walking or a car passing by. Smooth, steady movement is key to keeping the shot looking natural.
Tracking involves physically moving the camera forward, backward, or sideways with the subject. You might use a stabilizer, dolly, or even handheld movement depending on the look you want. This creates a feeling of being part of the action and keeps the audience engaged with the subject’s journey.
Try combining panning and tracking in one scene to add variety. For example, you could track alongside a subject while panning slightly to adjust framing. Practicing these moves will help you find the right balance between dynamic energy and clear storytelling.
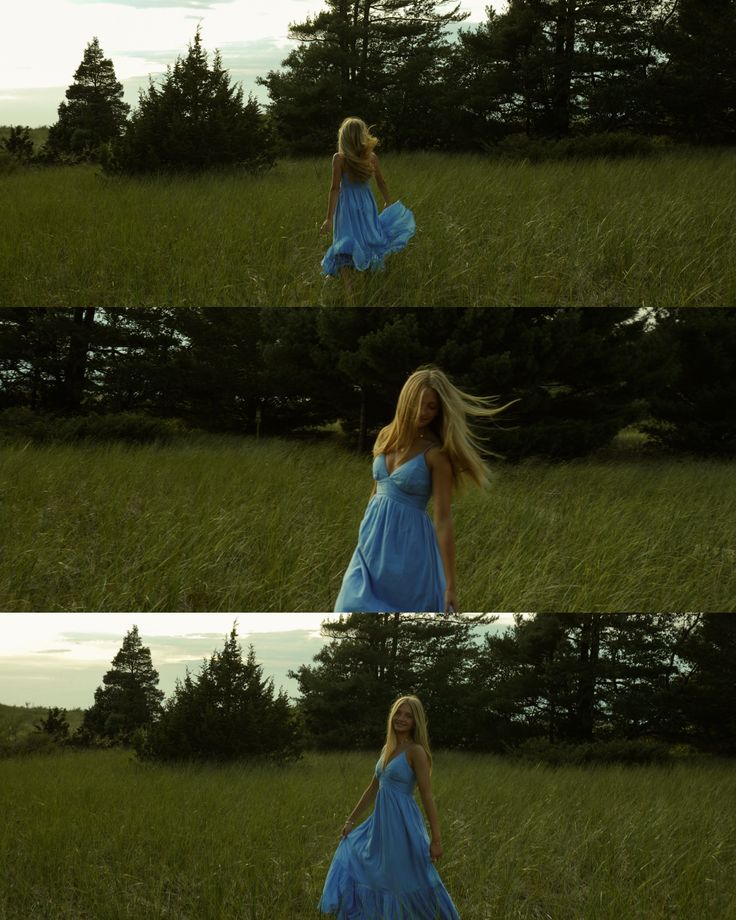

6) Shoot in shallow depth of field for subject focus
When you use a shallow depth of field, you keep your subject sharp while the background and foreground fall out of focus. This makes it easier for viewers to know exactly where to look. It’s a simple way to guide attention without extra effort.
You can create this look by using a wide aperture, such as f/2.8 or lower. The wider the aperture, the smaller the area that stays in focus. Distance also matters—placing your subject farther from the background increases the blur effect.
Shallow depth of field works well for close-ups, portraits, or moments when you want an emotional emphasis. It gives your subject separation from the environment, which can make the shot feel more intentional.
Be mindful when filming multiple people in the same frame. A shallow focus may leave one person sharp and another soft. In those cases, you may need to adjust aperture or carefully pull focus during the shot.
Experiment with different lenses to see how they affect the look. Longer focal lengths often create stronger background blur, while wider lenses keep more of the scene in focus. This flexibility lets you adapt the technique to different storytelling needs.

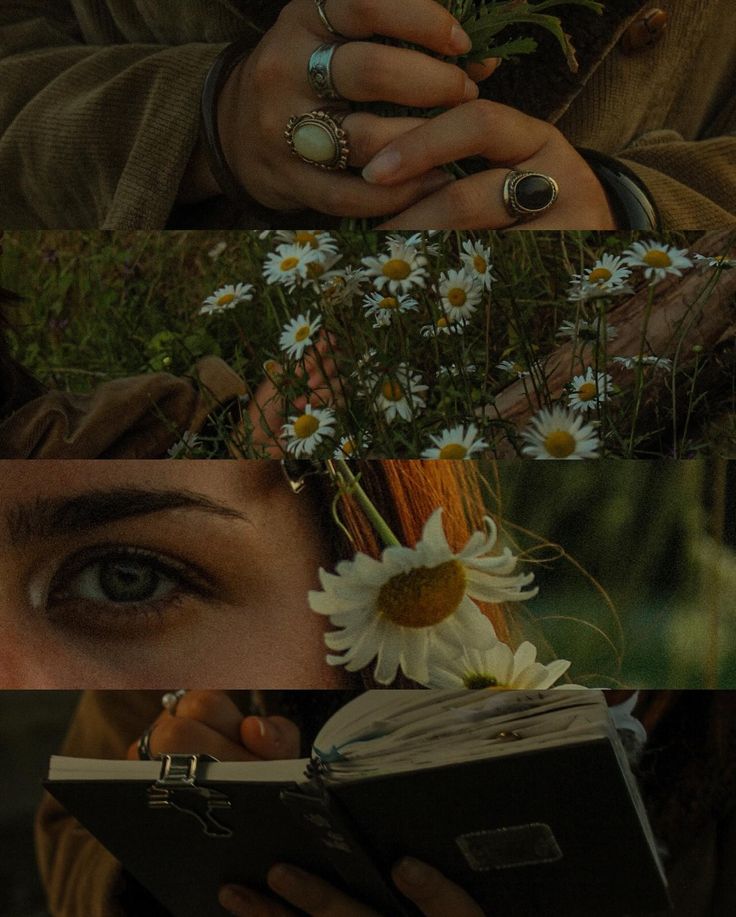
7) Frame scenes with symmetry and patterns for visual interest
When you use symmetry in your shots, you create balance that feels natural to the eye. Placing your subject in the center or aligning elements evenly on both sides can make the frame feel organized and calm.
Patterns work in a similar way by guiding the viewer’s attention. Repeated shapes, lines, or textures can create rhythm that keeps the eye moving through the shot.
You don’t need perfect symmetry for it to be effective. Even partial balance or mirrored elements can add structure without making the frame look too rigid.
Reflections are another simple way to introduce symmetry. Shooting near water, glass, or other reflective surfaces can double your subject and add depth.
Breaking symmetry can also be useful. By placing something slightly off-center in an otherwise balanced frame, you create tension that makes the shot more engaging.
Look for patterns in architecture, landscapes, or even clothing. These repeated details can add subtle layers of interest without distracting from the main subject.


8) Use low angles to add drama and power to your subjects
When you place the camera below your subject and tilt it upward, you instantly change how the viewer perceives the scene. This shift makes the subject appear larger and more significant within the frame.
You can use this technique to highlight authority, strength, or even confidence. For example, filming a person from a low angle can make them look more dominant, while a building may appear taller and more imposing.
Low angles also help add depth to your shots. By moving the horizon line lower in the frame, you naturally create a sense of scale and perspective that draws the viewer in.
Pay attention to framing and background when using this angle. A cluttered or distracting backdrop can take away from the impact, while a clean composition keeps the focus on your subject.
Experiment with subtle variations. Even a slight tilt from below eye level can change the mood without feeling too dramatic. This gives you flexibility to match the tone of your project.
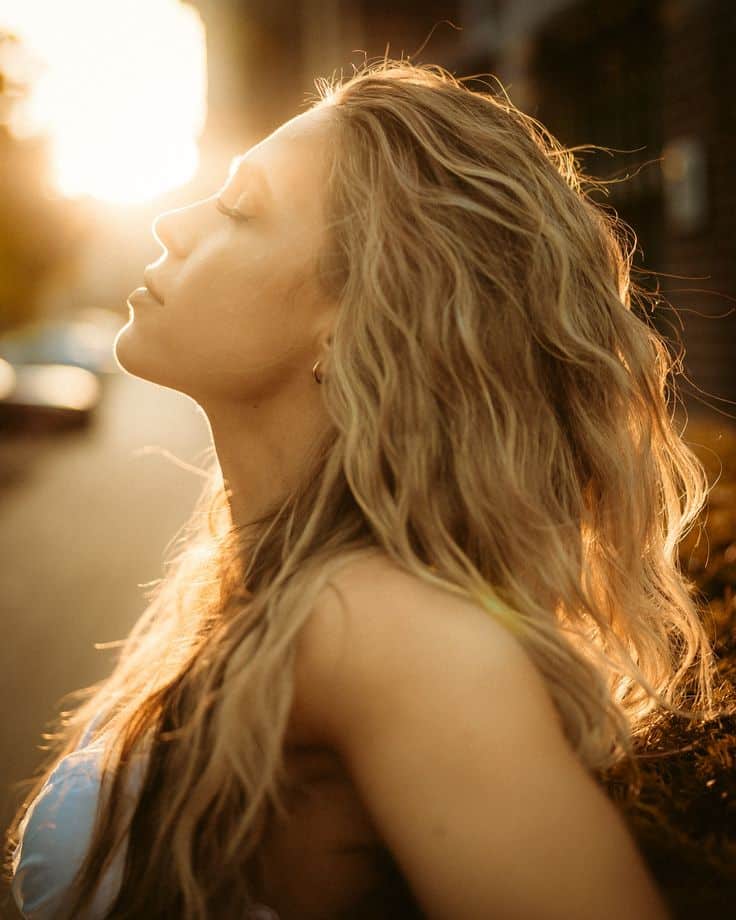
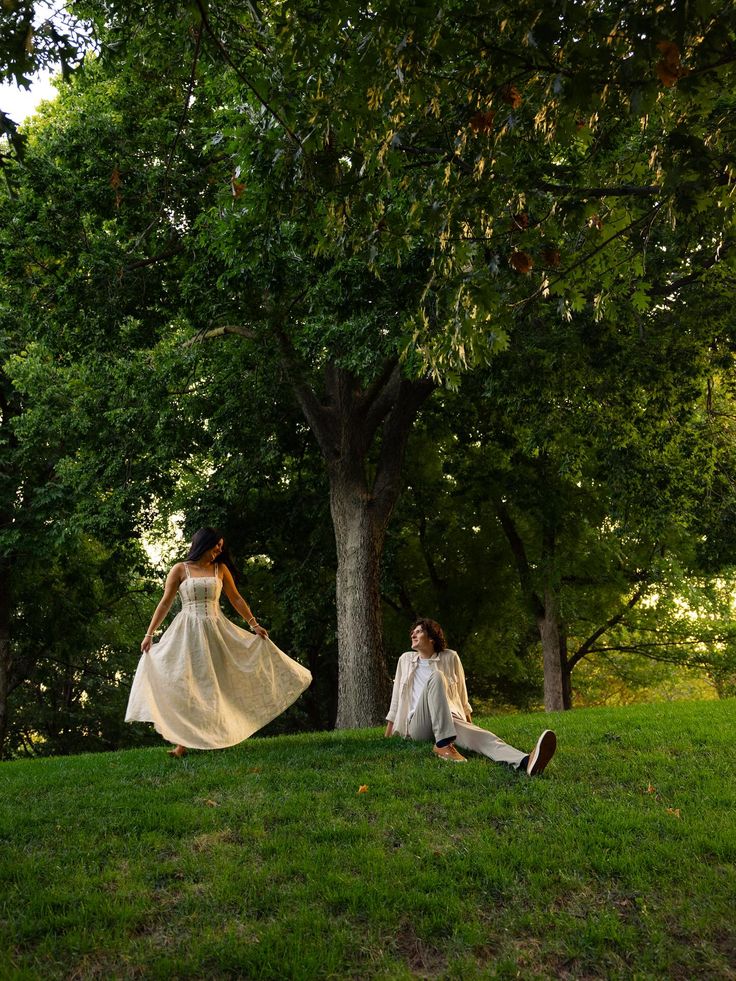
9) Employ color grading in post to enhance mood
When you finish shooting, your footage often looks flat or neutral. Color grading gives you the chance to shape the mood by adjusting tones, contrast, and saturation. It’s a step that helps your visuals feel more intentional and polished.
You can use warmer tones to make a scene feel inviting or romantic. Cooler tones, on the other hand, can create tension or highlight a sense of isolation. Small adjustments in color can shift how your audience interprets the story.
Start with color correction to balance exposure and fix any technical issues. Once that’s in place, you can move into grading to add style and atmosphere. This two-step process ensures your footage looks both accurate and expressive.
Experiment with different looks to match the tone of your project. A thriller might benefit from muted, desaturated colors, while a lighthearted film may call for brighter, more vibrant palettes. The choices you make in grading directly support the emotions you want to convey.
By treating color as part of your storytelling, you give your audience subtle cues about how to feel during each scene. This makes your visuals more engaging and helps your film carry a consistent mood from start to finish.
10) Capture footage during golden hour for warm tones
Golden hour happens shortly after sunrise and before sunset. During this time, the sun sits low in the sky, giving your shots a softer and warmer look. The light is less harsh, which makes it easier to balance exposure.
You can use this natural light to add warmth and depth to your footage. Skin tones often appear more flattering, and shadows become longer and more defined. This creates a natural contrast without needing heavy adjustments in post-production.
Plan ahead by checking your local sunrise and sunset times. Arrive early so you have time to set up before the light changes. Golden hour moves quickly, so being prepared helps you capture the best moments.
Adjust your white balance to match the warm tones. Many filmmakers set it to “shade” or slightly lower than daylight to keep the golden look consistent. Keep an eye on your exposure as the light fades so your footage doesn’t become too dark.
Shooting during golden hour requires some planning, but the results are worth it. You’ll capture footage with natural warmth, soft highlights, and pleasing tones that enhance the overall cinematic feel of your project.
Understanding Cinematic Composition
Cinematic composition shapes how viewers interpret a scene by controlling what they focus on and how they feel about it. The placement of subjects and the use of visual guides help you direct attention, emphasize story points, and create balance in your shots.
The Rule of Thirds in Filmmaking
The rule of thirds divides the frame into a 3×3 grid, giving you four intersection points where the eye naturally gravitates. By placing your subject along these lines or intersections, you create a balanced and visually appealing shot.
This method prevents your subject from sitting too rigidly in the center, which can make the frame feel static. Instead, it introduces subtle tension, making the shot more engaging.
You can also use the rule to highlight relationships between characters. For example:
- Character A on the left third
- Character B on the right third
- Background detail filling the center
This arrangement keeps the frame organized while still telling a story. Breaking the rule intentionally—such as centering a character for dramatic impact—works best when you already understand how the rule normally functions.
Leading Lines and Framing Techniques
Leading lines guide the viewer’s eyes toward your subject. These lines can be roads, hallways, fences, or even shadows. By pointing toward your subject, they create depth and make the frame feel more dynamic.
Framing uses objects within the scene to enclose or highlight your subject. A doorway, window, or tree branch can act as a natural frame that draws attention inward.
Both techniques work well together. For example, a character walking down a hallway framed by walls and guided by floor tiles instantly becomes the focal point.
When you think about leading lines and framing, consider how they direct attention without clutter. A clean composition ensures the audience focuses exactly where you want them to.
Lighting for Cinematic Impact
The way you shape light affects how your audience feels and how your images look. Choosing the right source and adjusting its quality or color can turn a flat shot into something with depth, clarity, and emotional weight.
Natural Versus Artificial Lighting
Natural light gives you a free, powerful source that can look soft and flattering during golden hour or harsh and dramatic at midday. You need to plan around the sun’s position, since it changes quickly and limits your control.
Artificial lighting, on the other hand, gives you consistency and flexibility. You can adjust intensity, direction, and diffusion to match your vision. Tools like LED panels, softboxes, and practical lamps allow you to shape shadows and highlights with precision.
A good approach is to mix both. For example, use sunlight as your key light and add a small LED panel as fill to control contrast. This balance lets you capture natural realism while keeping exposure under control.
When deciding, think about time, location, and style. Natural light often works best outdoors or when you want authenticity. Artificial light is ideal when you need repeatable results or want full creative control.
Creating Mood With Color Temperature
Color temperature directly shapes mood. Warm tones (around 3200K) feel cozy, intimate, or nostalgic. Cool tones (around 5600K and higher) feel clinical, tense, or futuristic. By shifting between these ranges, you guide how the audience interprets a scene.
You can adjust color temperature with gels, LED settings, or by mixing different light sources. For example, a tungsten lamp indoors can contrast with daylight through a window, creating visual tension.
Here’s a quick reference:
| Color Temperature | Common Source | Mood/Effect |
|---|---|---|
| 2800–3200K | Tungsten bulbs | Warm, intimate |
| 4500–5000K | Neutral LEDs | Balanced, natural |
| 5600–6500K | Daylight/sky | Cool, distant, tense |
Experiment by combining warm and cool lights in the same frame. A warm key light with a cool backlight can add depth and separation, while also reinforcing emotional tone.
- 3shares
- Facebook0
- Pinterest0
- Twitter3
- Reddit0
