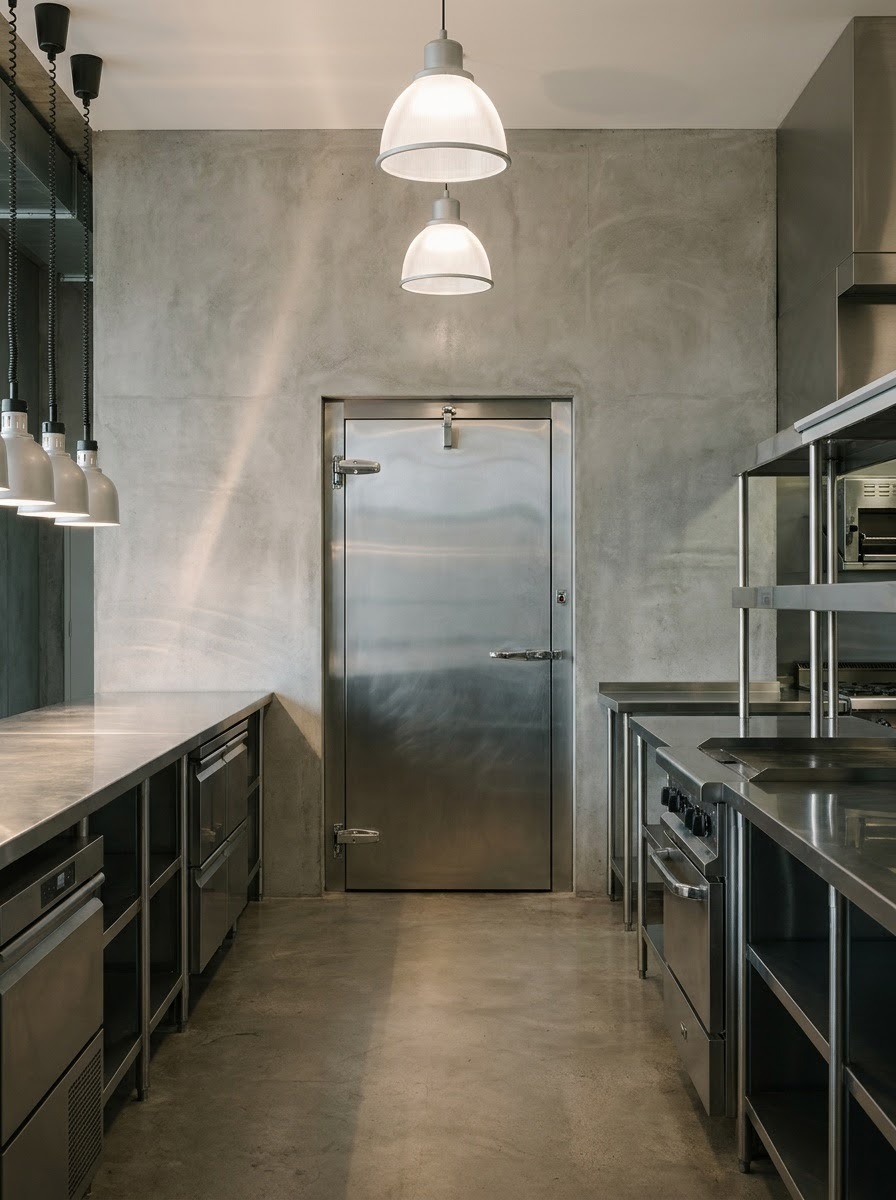
A walk-in freezer gets specified like an appliance and then lived with like a room. That gap is where most back-of-house problems start. I’ve worked on commercial and industrial spatial layouts where the equipment spec was flawless on paper and still fought the people using it every single shift, because nobody walked the actual receiving-to-prep sequence before the freezer’s position got locked into the drawings.
Walk-in freezer design isn’t really about the box itself — the manufacturers have that part solved. It’s about where that box sits inside a kitchen’s daily choreography, how a case of frozen product actually travels from the delivery truck to the line, and whether a technician can reach the compressor in five years without cutting into finished millwork. Those are design decisions, not refrigeration decisions, and they’re the ones that separate a kitchen that runs smoothly from one where the freezer becomes the bottleneck every single service.
- Start with the kitchen workflow, not the freezer catalogue
- Size the walk-in freezer for real inventory and delivery cycles
- Choose the right position in the commercial kitchen floor plan
- Design airflow, insulation and moisture control as one system
- Plan for maintenance access before equipment is installed
- Coordinate lighting, shelving and finishes for safer daily use
- Common walk-in freezer layout mistakes to catch on the drawings
- A pre-construction checklist for designers and operators
- Frequently asked questions
- What size should a walk-in freezer be for a commercial kitchen?
- Where should a walk-in freezer be positioned in a commercial kitchen?
- Should a walk-in freezer be indoors or outdoors?
- How much clearance does a walk-in freezer door need?
- What's the most commonly overlooked design detail in walk-in freezer planning?
- Can a walk-in cooler and freezer share one structure?
- Final thoughts
- Luxury restaurant interiors: five material and lighting references
This guide walks through that sequence: starting from kitchen workflow rather than the equipment catalogue, sizing for real inventory instead of a rule of thumb, positioning the unit correctly in the floor plan, treating airflow and insulation as one connected system, and, the part most drawings skip entirely, planning maintenance access before a single wall goes up.
Start with the kitchen workflow, not the freezer catalogue
Every walk-in freezer project I’ve seen go sideways started the same way: someone picked a unit size and location before anyone mapped how staff would actually move through the space around it. Fix that order. The freezer’s position is a workflow decision first and an equipment decision second.
Map receiving, storage, prep and cooking routes
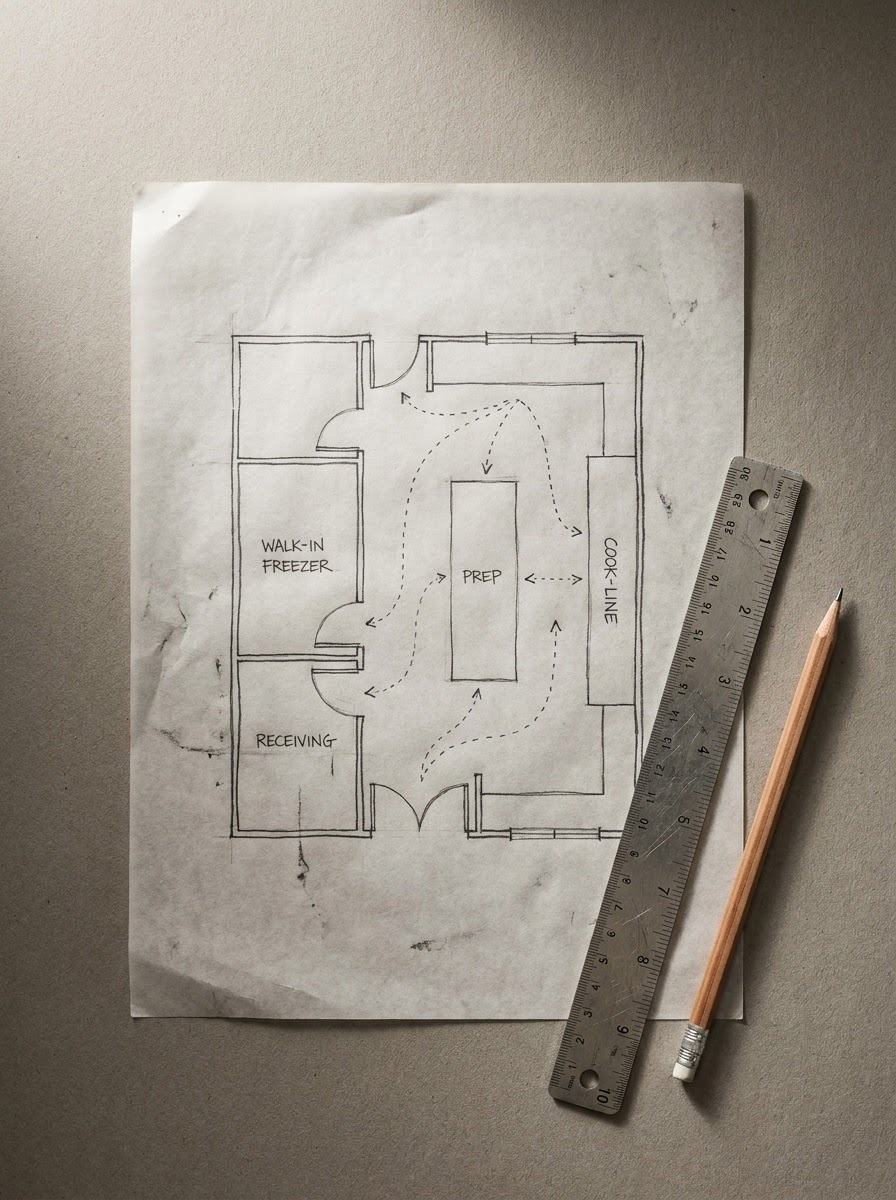
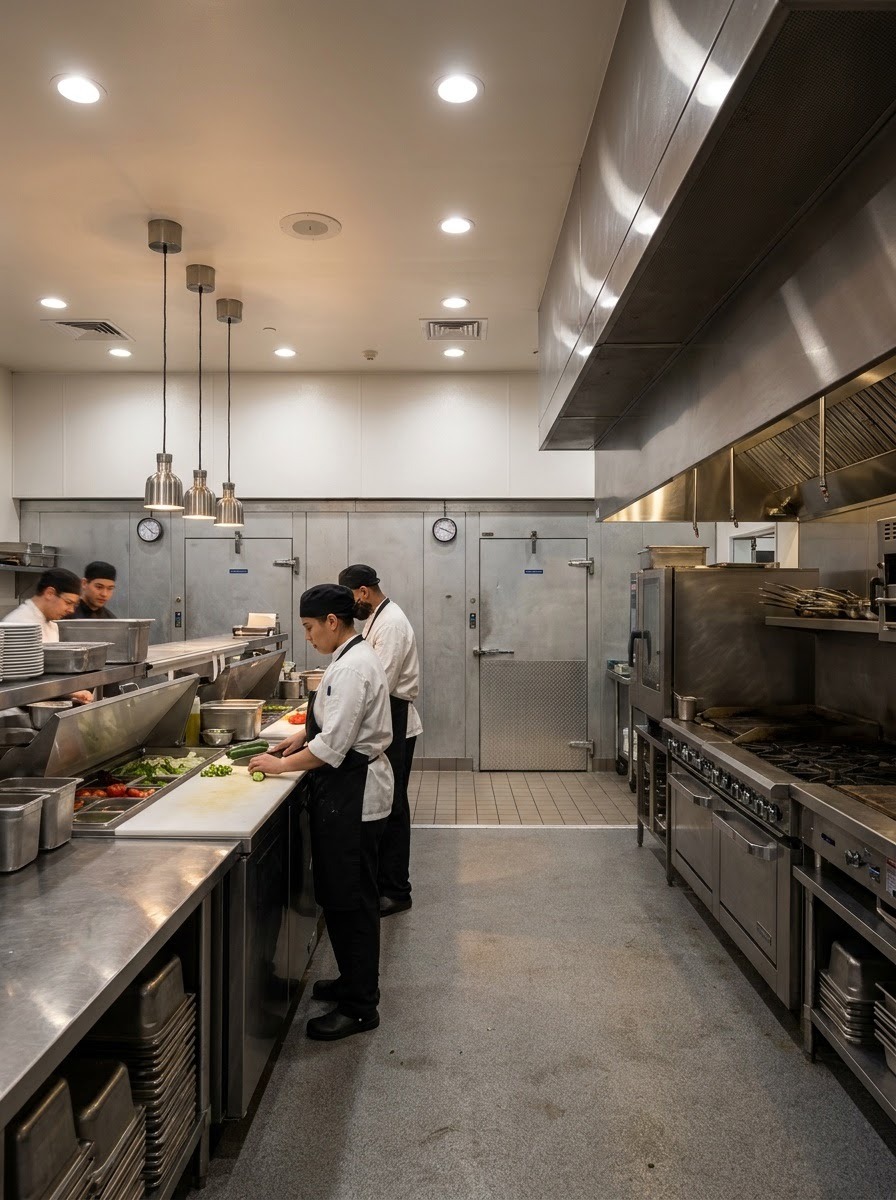
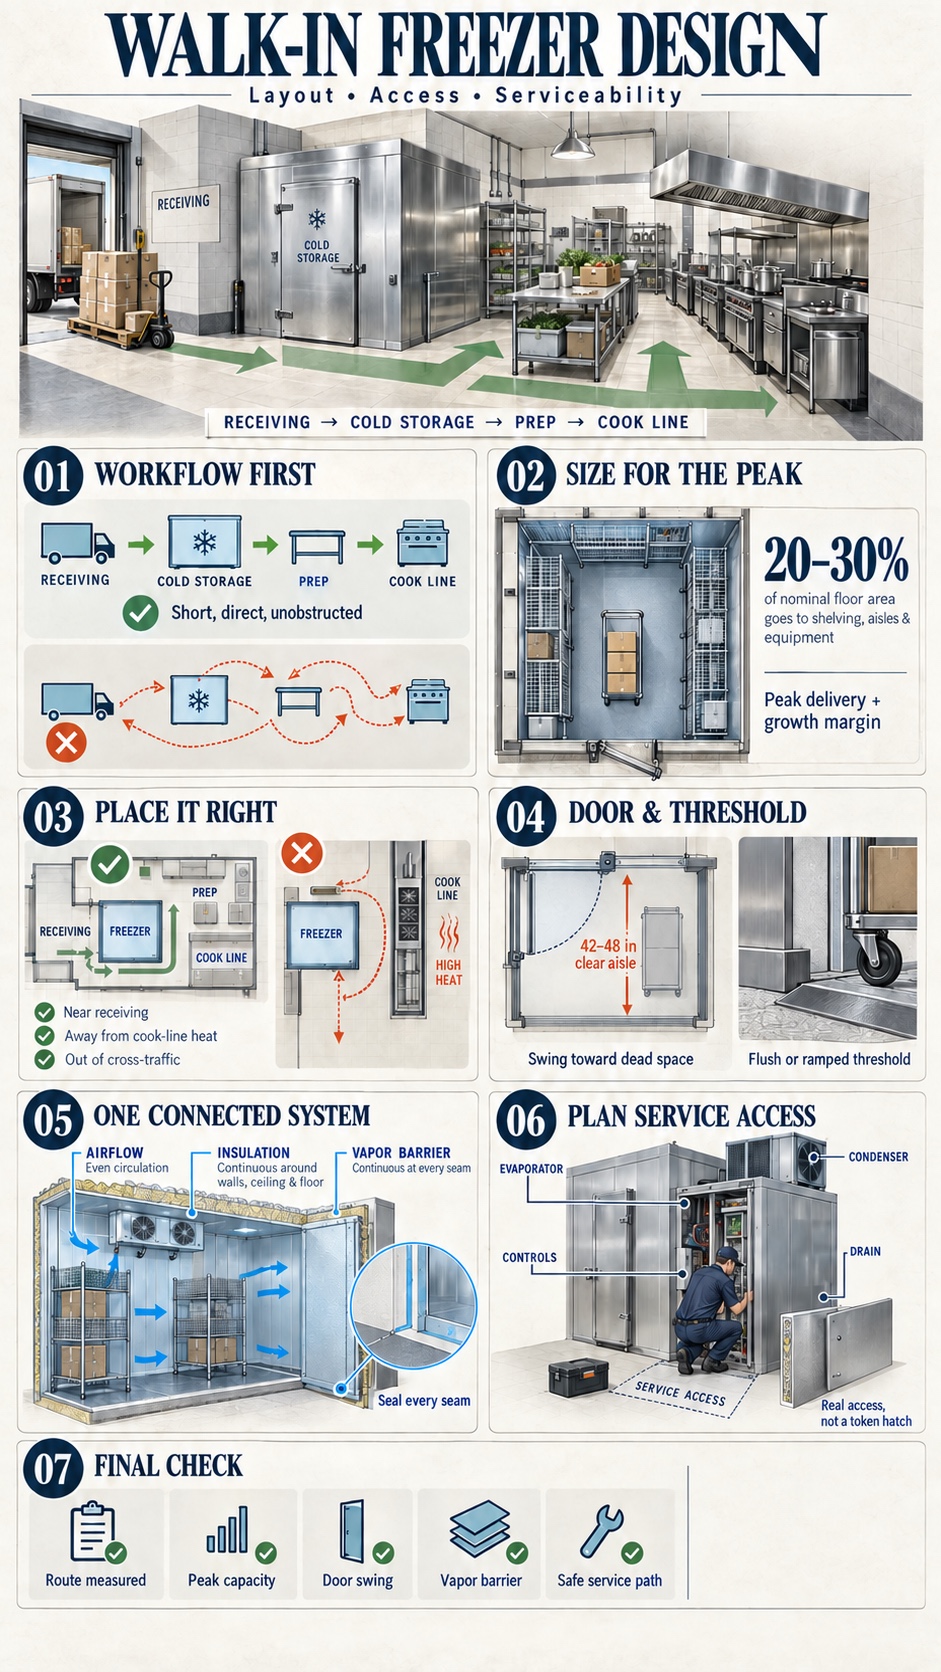
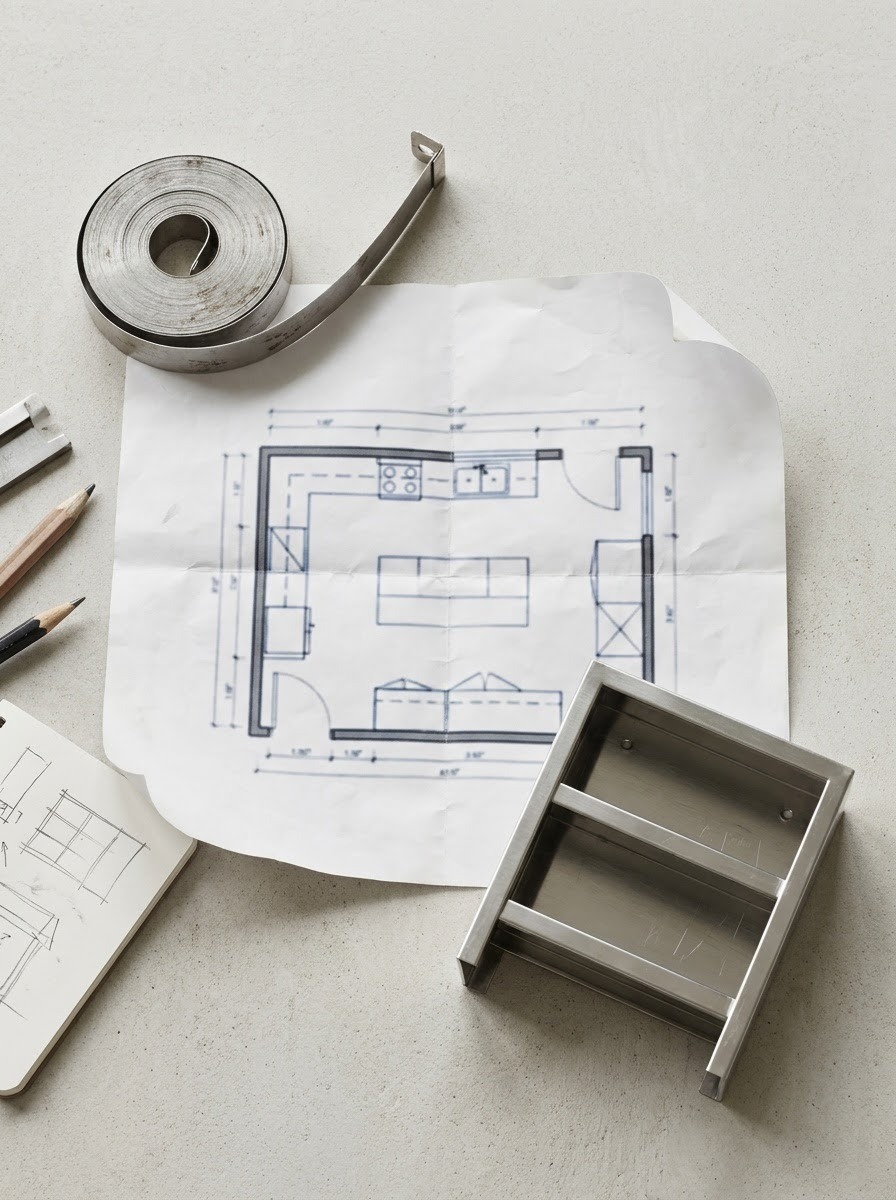
Before touching a floor plan, walk the sequence a case of product follows from the back door to the plate: receiving dock, walk-in storage, prep station, cook line, pass. Every point where that path crosses another path — a server route, a dish return, a second prep line — is a point where the freezer’s location either helps or actively works against the kitchen. I sketch this as a simple flow diagram before any layout software touches the project, because a straight, short receiving-to-storage path is worth more to daily operations than almost any other single design decision in the back-of-house.
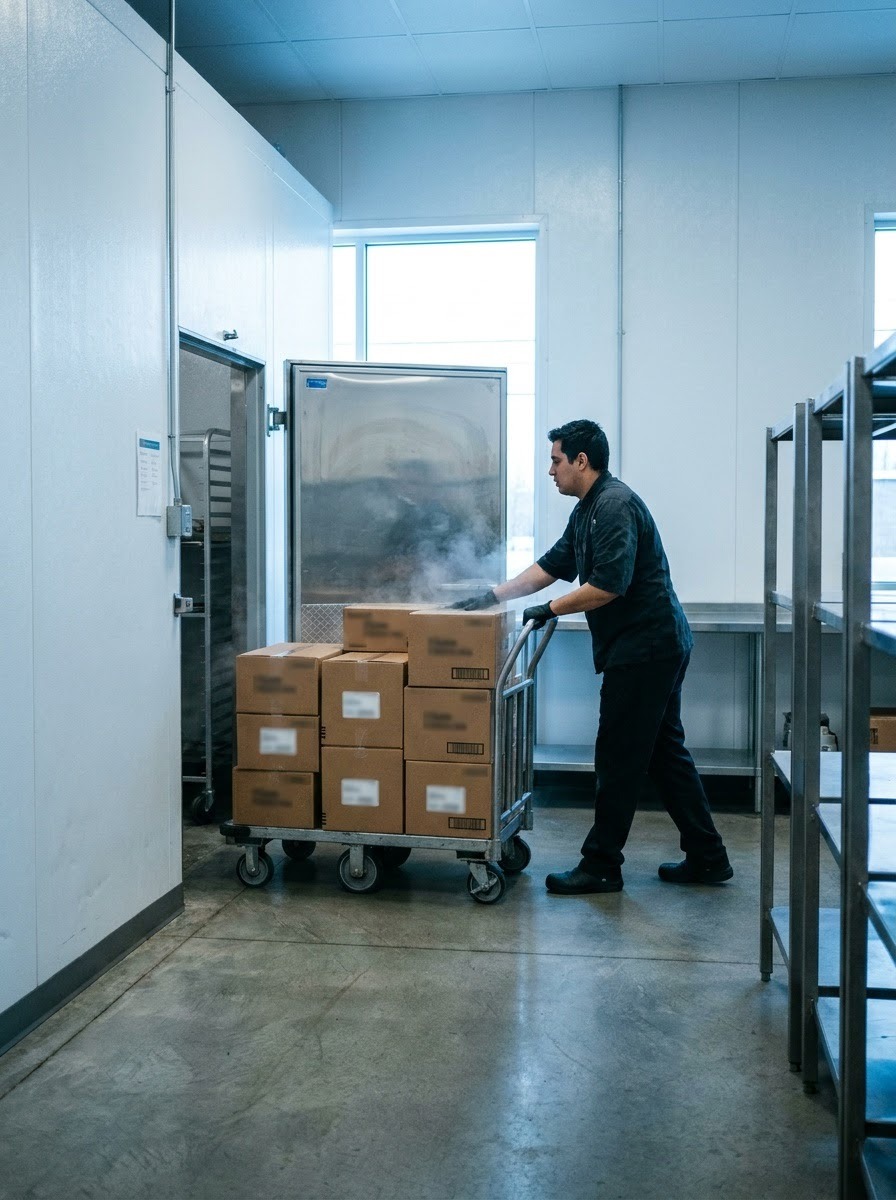
The distance between the receiving door and the walk-in matters more than most owners expect. Every extra ten feet a staff member carries a 40-pound case of frozen product is ten feet of open-door time, ten feet of dropped-product risk, and ten feet that adds up across dozens of deliveries a week. A freezer positioned near receiving but awkwardly far from prep just moves the same problem downstream instead of solving it.
Keep cold storage out of cross-traffic and hot zones
The freezer door gets opened constantly during peak service, and every one of those openings is a small thermal loss. Positioning the unit away from the cook line’s heat and away from high-traffic paths (the route to the walk-in should not cross the route from the dish pit to the line) keeps both problems in check: less ambient heat working against the compressor, and fewer collisions between a staff member carrying product and one carrying a full tray. I’ve seen kitchens where the freezer door swings directly into the main aisle during a dinner rush — it’s a layout that technically passed inspection and still generates a minor traffic jam every single night.
Size the walk-in freezer for real inventory and delivery cycles
Undersizing shows up fast, as overflow product stacked in a reach-in or, worse, left on a receiving cart overnight. Oversizing is quieter but just as costly — it eats real estate that could have gone to prep space or dry storage, and it runs the compressor against more empty air than the load actually requires.
Usable capacity versus nominal dimensions
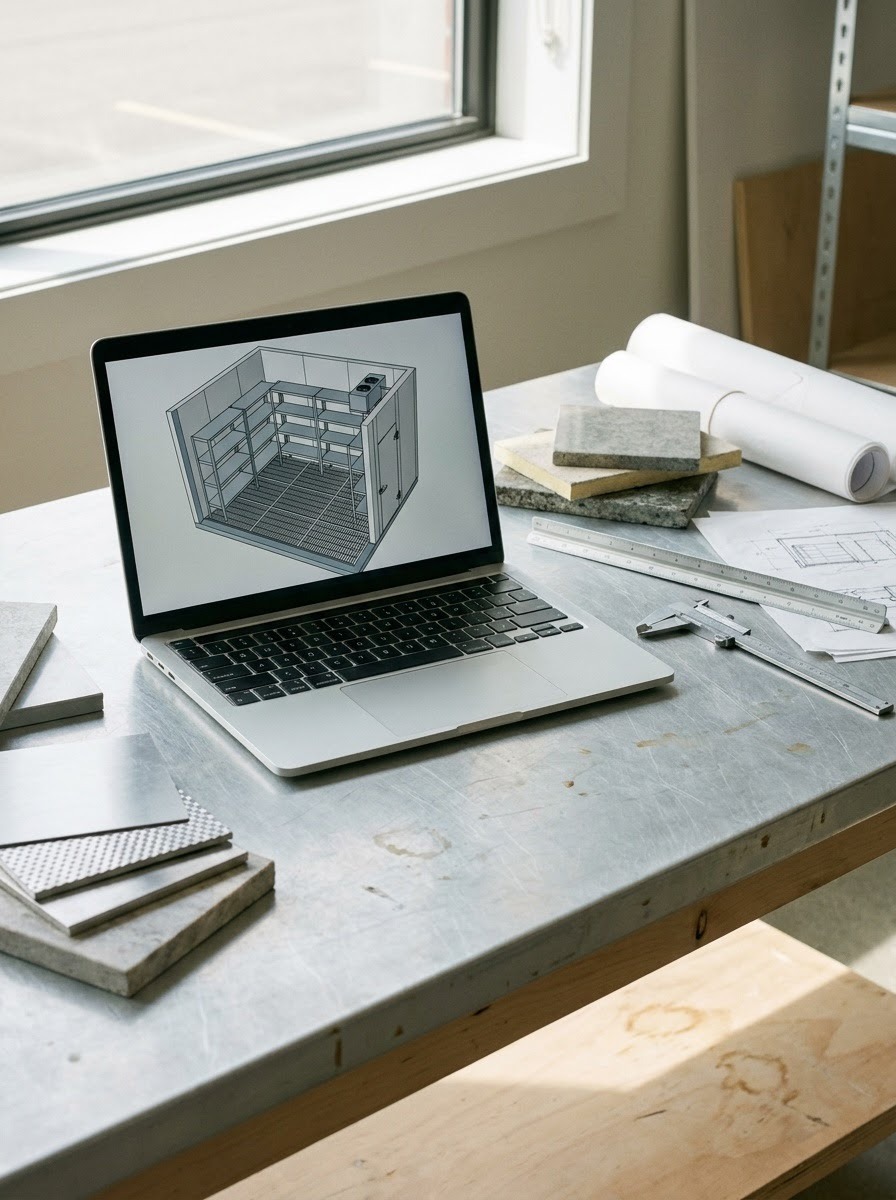
A freezer’s nominal footprint and its usable capacity are not the same number, and this is where a lot of sizing math goes wrong. Shelving depth, aisle width for a cart to turn, and clearance around the evaporator unit all eat into the space a spec sheet lists as available. As a rough planning rule, expect to lose 20–30% of the nominal floor area to shelving, aisle clearance, and equipment intrusion once the interior is actually fitted out — plan the size around that real number, not the box dimension on the manufacturer’s cut sheet.
Base the size on delivery frequency and peak inventory, not average inventory. A kitchen that receives frozen product twice a week needs enough capacity to comfortably hold the largest single delivery plus a buffer, not the average amount on hand across a typical day. I ask owners for their busiest delivery day of the month, not their average day, when we’re working out capacity — the freezer has to handle the peak, and average-case sizing is one of the most common reasons operators end up renting overflow cold storage within the first year.
Allow room for shelving, carts and future growth
Shelving layout inside the freezer deserves its own pass, not an afterthought once the box is built. Wire shelving over solid shelving improves airflow around stored product, which matters more in a freezer than in a cooler since frozen product is far less forgiving of uneven cold spots. Leave at least one aisle wide enough for a loaded cart to pass a staff member standing at a shelf — a walk-in that only accommodates single-file movement turns into a bottleneck the moment two people need the space during a delivery.
If the kitchen’s concept or menu has any realistic growth trajectory, size in a margin rather than building exactly to today’s needs. Expanding a walk-in freezer after opening means a full construction project inside an operating kitchen — closing the space, re-routing cold storage temporarily, and re-doing insulation and electrical. A modest size buffer at the design stage costs far less than that retrofit ever will.

Choose the right position in the commercial kitchen floor plan
Where the freezer physically sits in the building shapes everything from construction cost to daily energy use, and it’s a decision worth making deliberately rather than letting leftover square footage decide it.
Indoor, outdoor and cooler-freezer combination layouts
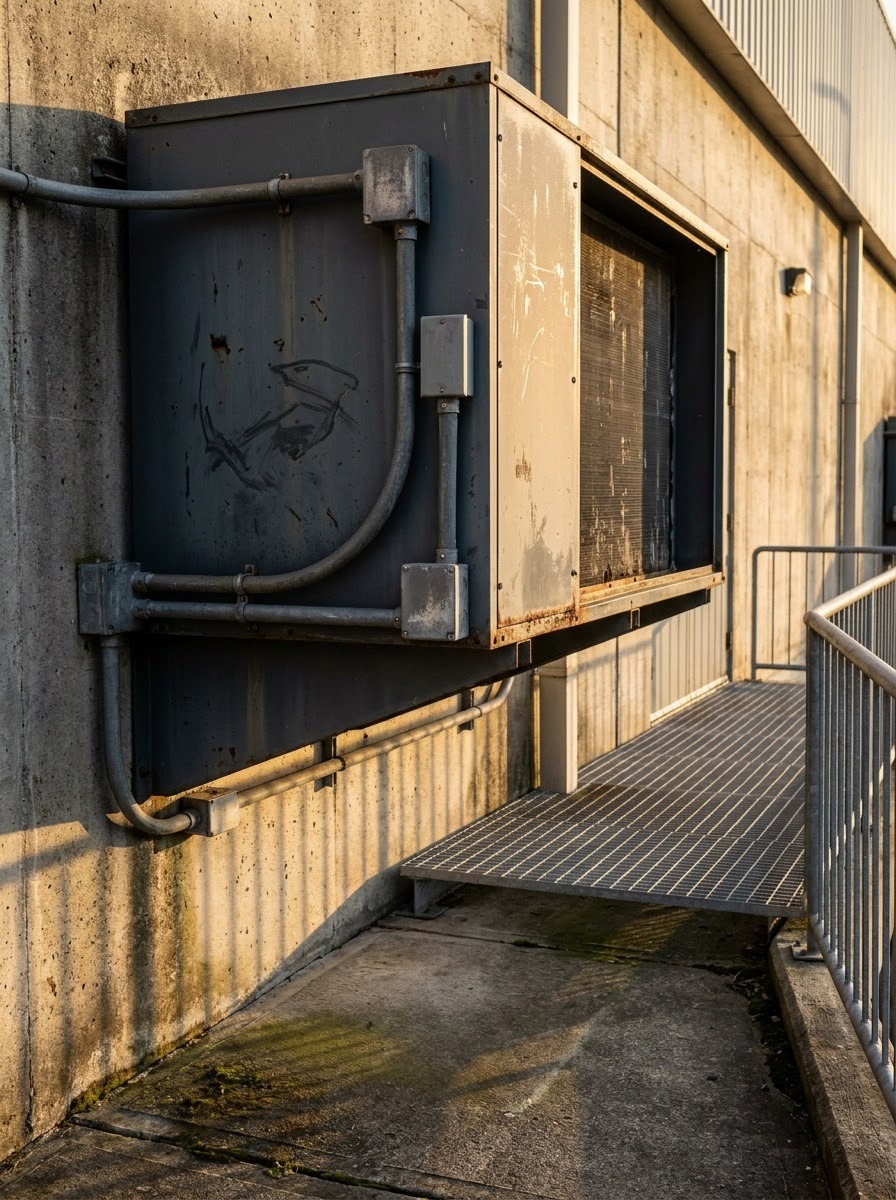
An indoor walk-in integrates cleanly with the receiving-to-prep flow but competes with the kitchen for conditioned floor space, which is often the most expensive square footage in the building. An outdoor or exterior-mounted unit frees up interior floor area and can simplify structural and electrical routing, but it adds a longer travel path for staff and exposes the compressor to weather extremes that affect run efficiency. Neither is universally right — it comes down to the site’s footprint and how much interior real estate the concept can afford to give up.
A combined cooler-freezer unit, sharing one structure with an insulated interior partition, is worth considering on tighter sites. It reduces the building envelope’s total exterior wall area compared to two separate structures, which helps both construction cost and thermal efficiency, and it lets staff handle a mixed delivery (cooler and frozen items on the same pallet) without walking to two separate rooms.
Door swing, threshold and aisle clearance
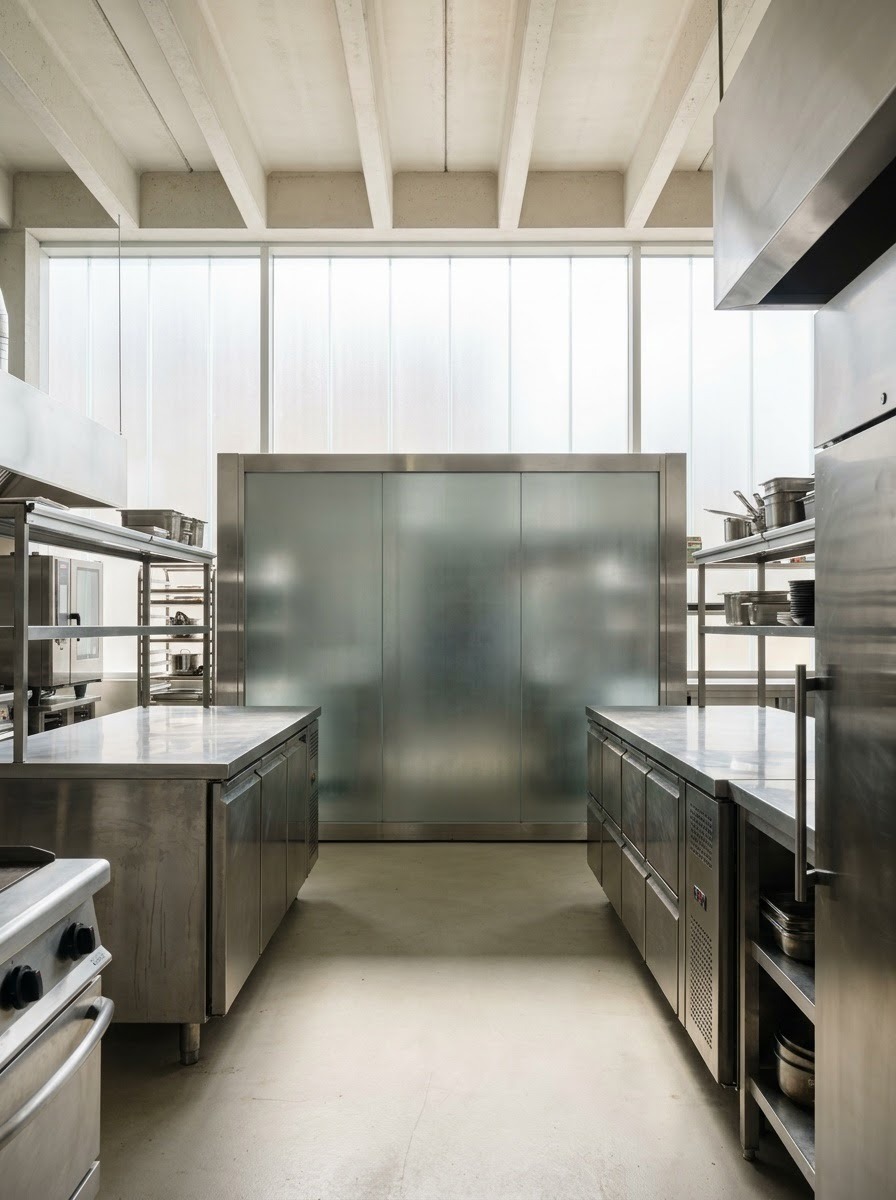
Door swing direction seems minor until it isn’t: a freezer door that swings into the primary receiving aisle blocks that aisle every time it’s open, which during a busy delivery can be for extended stretches at once. Swing the door toward a wall or dead space wherever the floor plan allows, and keep a minimum of 42–48 inches of clear aisle space in front of the door for cart access, more if the kitchen regularly moves large delivery pallets rather than hand-carried cases.
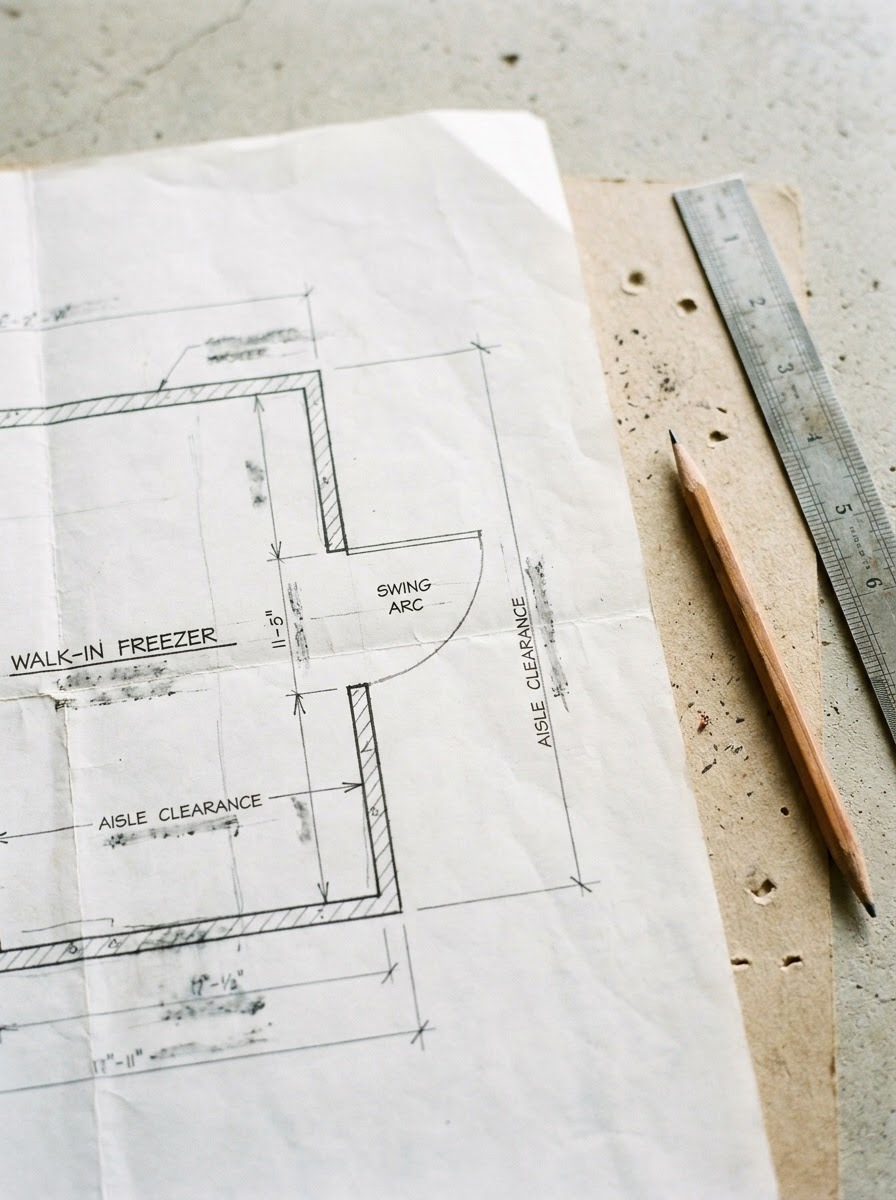
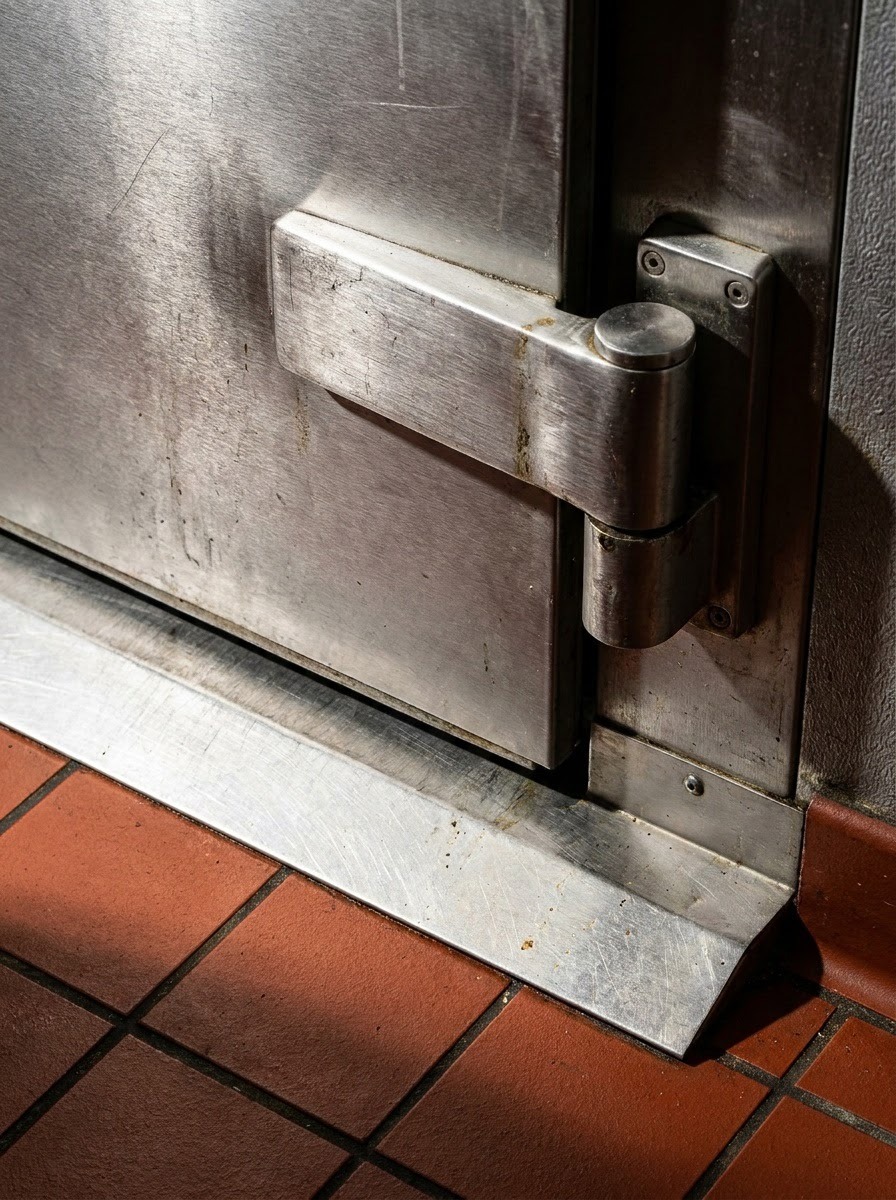
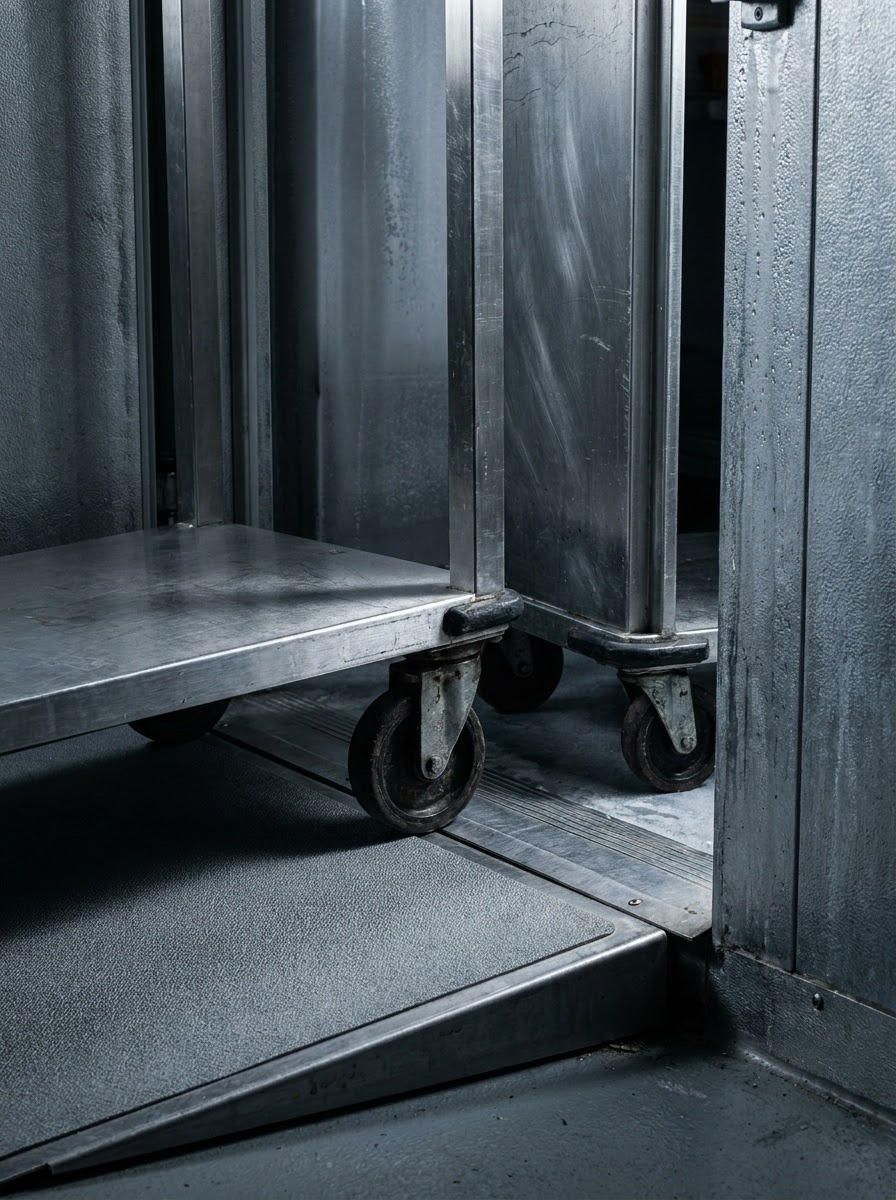
The threshold detail is easy to overlook on a drawing and genuinely disruptive in daily use. A raised threshold that a rolling cart has to be lifted over, repeated dozens of times a shift, adds up to real strain and real risk of a dropped case. A flush or ramped threshold costs little extra at the drawing stage and saves a measurable amount of friction for years of daily use afterward.

Design airflow, insulation and moisture control as one system
These three elements get specified separately far too often, and treating them as connected, because they are, prevents a whole category of problems before they start. Insulation without adequate air circulation creates cold spots and encourages frost buildup inside the unit; airflow without proper vapor barrier detailing pulls in humid air that condenses and eventually rots subflooring or corrodes shelving hardware from underneath.
Panel seams and the floor-to-wall junction are where moisture problems actually originate, not inside the refrigerated space itself. A vapor barrier that’s continuous and properly sealed at every seam, especially at the floor, is worth more attention at the design stage than almost any other single detail in the room, because a failure here is invisible until it’s already caused structural damage. Evaporator placement should encourage even air movement across all stored product, not just cold air dumping straight down near the door, which creates a cold zone right at the entrance and a comparatively warmer zone in the back corners where product actually needs consistent protection most.

Plan for maintenance access before equipment is installed

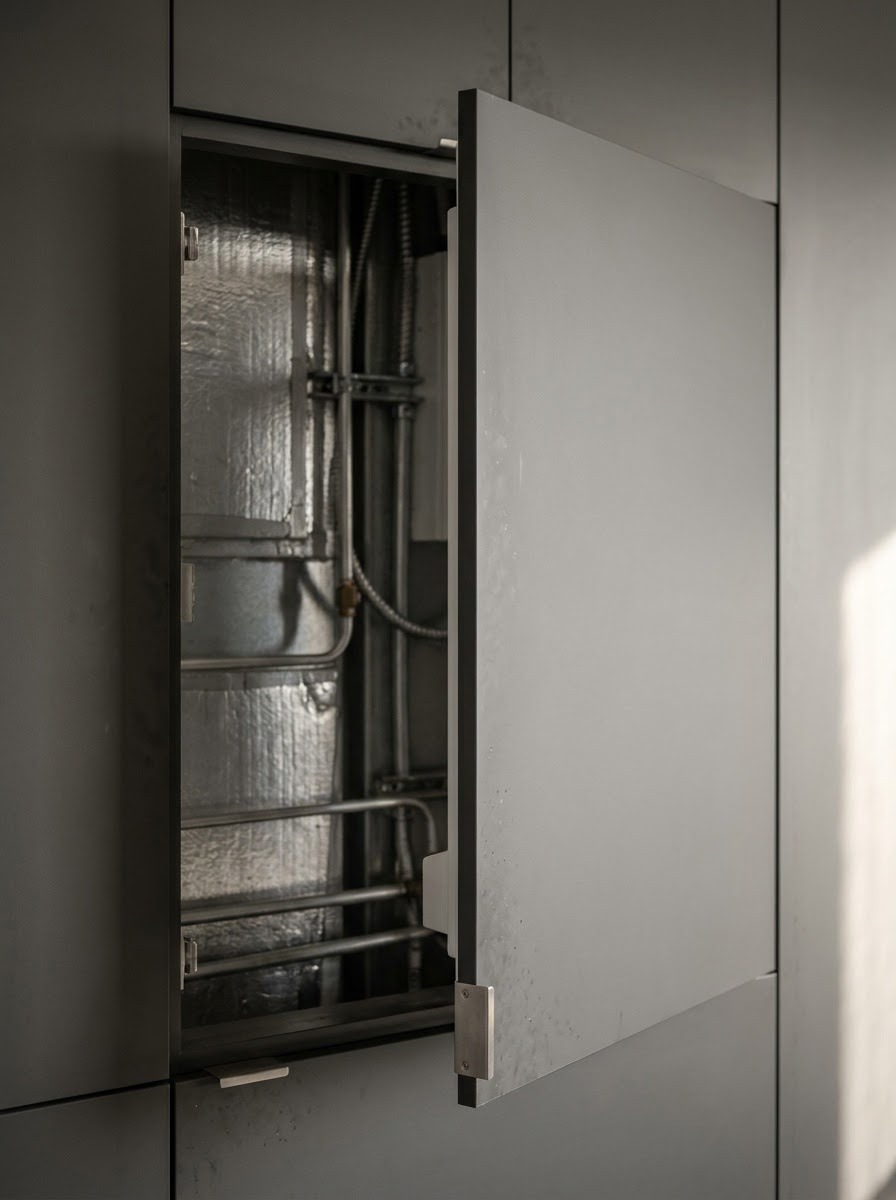
This is the section most drawings shortchange, and it’s the one that costs the most to fix retroactively. A walk-in freezer that’s beautifully integrated into finished millwork and gorgeous sightlines is a serious liability the first time a technician needs to reach the compressor and finds it boxed in by cabinetry that was never meant to come apart.
Reach the evaporator, condenser, controls and drain safely
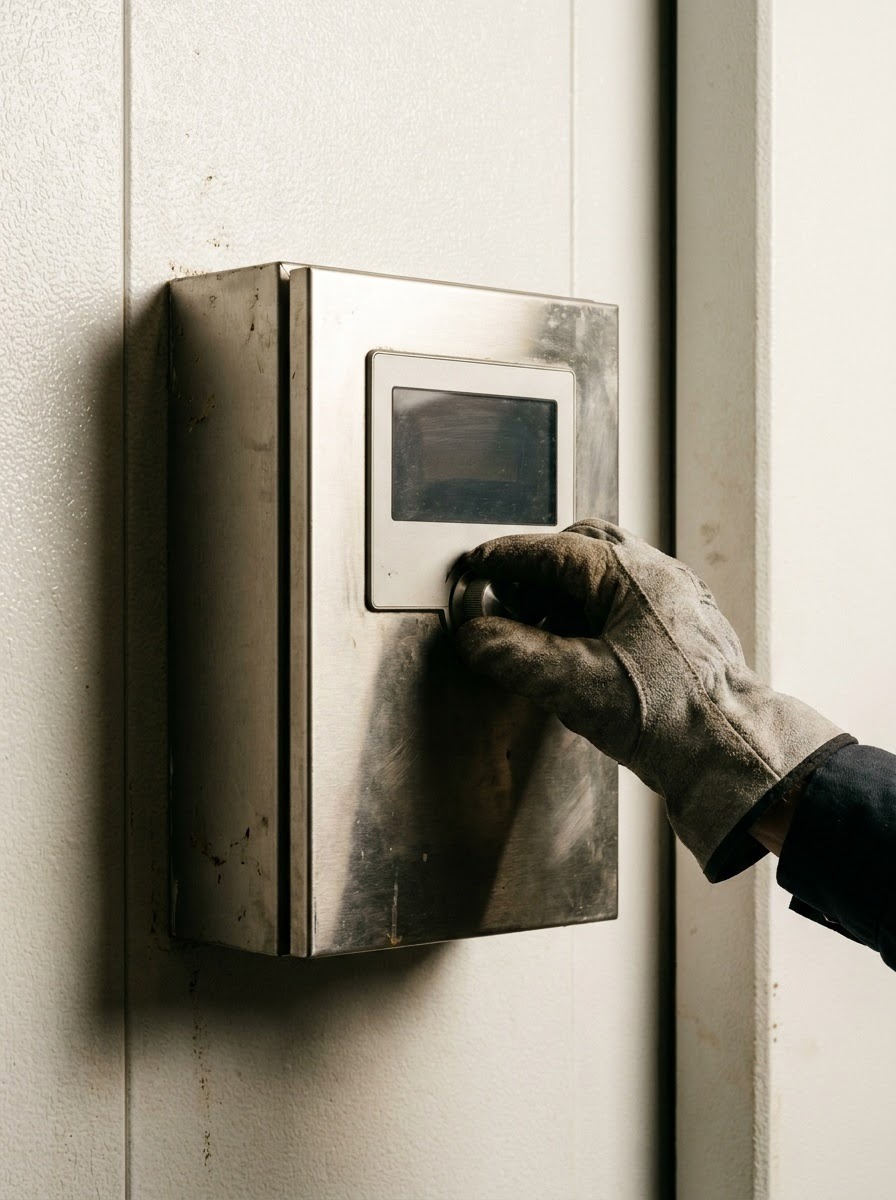
Every major serviceable component — the evaporator coil, the condensing unit, the control panel, and the condensate drain — needs a real, planned access path, not a hope that a technician will figure something out on-site. Condensing units mounted on the roof or in a remote mechanical room need a safe, code-compliant path for a technician carrying tools and gauges, not a ladder propped against the building. Interior components need enough clearance around them for a service call to happen without removing shelving or product first.
Reaching a walk-in freezer’s condensing unit and control panel without disrupting the kitchen is exactly the kind of access problem that shows up years after a beautiful opening-day photo shoot. Commercial Walk-In Freezers Repair is a good example of what a service technician actually needs on a call: clear physical access to the compressor, evaporator, and electrical disconnect, ideally without having to reroute kitchen operations or dismantle finish work just to get a panel open. Designing that access in from the start, rather than retrofitting it after the first emergency service call, is one of the cheapest insurance decisions in the whole project.
Avoid finishes and millwork that block inspection or repair
It’s tempting to fully enclose a walk-in’s mechanical components behind a clean panel or built-in cabinetry for the sake of a polished back-of-house look. Resist that instinct, or at minimum, build the enclosure with a genuinely removable access panel rather than a permanently fixed one. I’ve seen finish carpentry that looked excellent on the walkthrough and had to be partially demolished eighteen months later for a routine compressor service, purely because nobody flagged that the panel wasn’t actually designed to come off.
The same caution applies to floor finishes around the unit. A beautiful continuous tile pattern that runs straight into the freezer’s footing without a clear service margin makes even routine drain cleaning a bigger job than it needs to be. A kitchen with a serviceability problem doesn’t just cost more to repair, it loses revenue every hour the unit is down, which is a cost that compounds fast in the real cost of downtime in a way that’s easy to underestimate at the design stage, when everything is still theoretical and nothing has actually failed yet.
Coordinate lighting, shelving and finishes for safer daily use
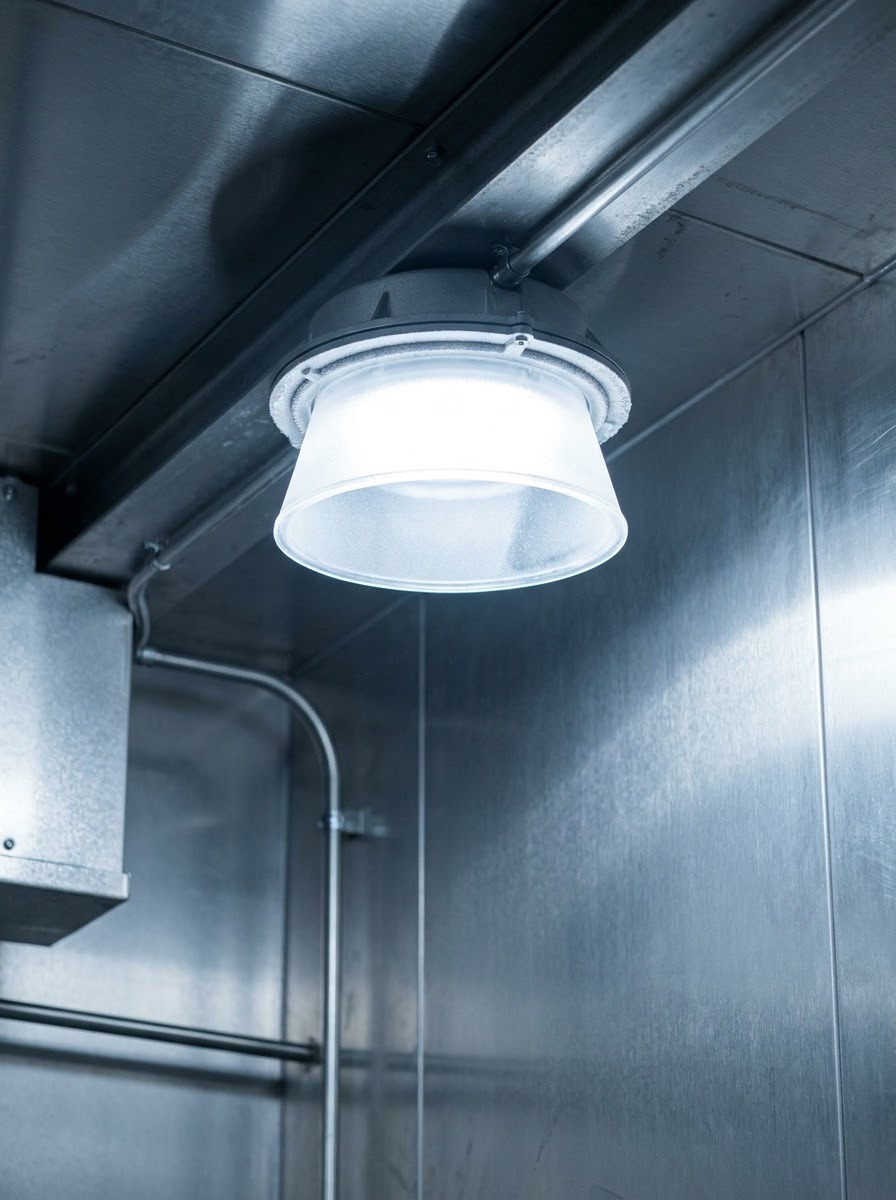
Interior lighting inside a walk-in freezer isn’t a decorative afterthought, it’s a safety requirement for staff working in a cold, sometimes low-visibility space under time pressure during a rush. Vapor-tight, cold-rated fixtures placed to eliminate shadowed aisles reduce the everyday risk of a missed step or a dropped case, and they make inventory checks genuinely faster, which matters on a unit staff are moving through constantly.
Shelving material and finish choices should account for the freezer’s specific conditions: coated wire shelving resists the frost buildup that can make product hard to identify at a glance, and rounded shelf edges reduce injury risk when staff are moving quickly in bulky cold-weather gear. Floor finish inside the unit needs to stay slip-resistant even when wet or frosted, which rules out a number of otherwise attractive commercial flooring options that perform fine in a dry kitchen environment but turn genuinely hazardous under freezer conditions.
Common walk-in freezer layout mistakes to catch on the drawings
A handful of mistakes show up again and again across commercial kitchen projects, and every one of them is far cheaper to fix on paper than after construction:
- Locating the freezer far from receiving — adds unnecessary travel distance to every single delivery, compounding over years of operation
- Sizing to average inventory instead of peak delivery volume — leads to overflow storage and, frequently, rented cold storage within the first year
- Ignoring door swing direction — a door that blocks the primary aisle when open creates a daily bottleneck during every delivery and every rush
- Skipping a flush or ramped threshold — adds repeated physical strain and dropped-product risk to routine cart movement
- Enclosing mechanical components in non-removable finish work — turns a routine service call into a partial demolition project
- Treating insulation, airflow and vapor barrier as separate decisions — invites cold spots, frost buildup, and hidden moisture damage that isn’t visible until it’s already structural
A pre-construction checklist for designers and operators
Before the walk-in freezer’s location and specifications get locked into construction documents, confirm: the receiving-to-storage-to-prep path has been walked and measured, not just drawn; sizing is based on peak delivery volume with a real growth margin, not average daily inventory; door swing has been checked against the primary traffic pattern at peak service, not just against the static floor plan; aisle clearance meets a minimum of 42–48 inches in front of the door; the vapor barrier detail at the floor-to-wall junction has been reviewed with the contractor, not assumed; every serviceable component has a genuine access path documented on the drawings, including for equipment mounted outdoors or on the roof; and any enclosing millwork or finish work includes a removable panel sized for the actual service task, not just a token access door.
Frequently asked questions
What size should a walk-in freezer be for a commercial kitchen?
Size to your peak delivery volume plus a growth margin, not your average daily inventory, and expect to lose 20–30% of the nominal floor area to shelving, aisle clearance, and equipment intrusion once the interior is fitted out.
Where should a walk-in freezer be positioned in a commercial kitchen?
As close to the receiving door as the floor plan allows, away from the cook line’s heat, and positioned so its door doesn’t swing into a primary traffic aisle during peak service.
Should a walk-in freezer be indoors or outdoors?
It depends on the site. Indoor units integrate more smoothly with receiving-to-prep flow but consume valuable conditioned floor space; outdoor units free up interior square footage but add staff travel distance and expose the compressor to weather.
How much clearance does a walk-in freezer door need?
A minimum of 42–48 inches of clear aisle space in front of the door for cart access, more if the kitchen regularly moves full delivery pallets rather than hand-carried cases.
What’s the most commonly overlooked design detail in walk-in freezer planning?
Maintenance access. Finish work and millwork that fully enclose the compressor, evaporator, or control panel without a genuinely removable panel turn a routine service call into a partial demolition project.
Can a walk-in cooler and freezer share one structure?
Yes — a combined cooler-freezer unit with an insulated interior partition reduces total exterior wall area compared to two separate structures, which helps both construction cost and thermal efficiency on tighter sites.
Final thoughts
The kitchens where a walk-in freezer works well are the ones where it got designed as part of the daily choreography, not dropped into whatever square footage was left over. Map the actual receiving-to-prep path before you place the unit, size it to peak delivery volume rather than average inventory, and give every serviceable component a real access route before the finish work closes around it. That last step is the cheapest insurance in the whole project, and it’s the one most drawings skip. For the broader back-of-house picture, efficient commercial space design covers the layout principles that extend well beyond cold storage, a commercial hand sink is worth reading if you’re still working through the rest of the back-of-house equipment plan, and restaurant interior design ideas is a useful next stop once the functional layout is settled and you’re moving into the front-of-house.

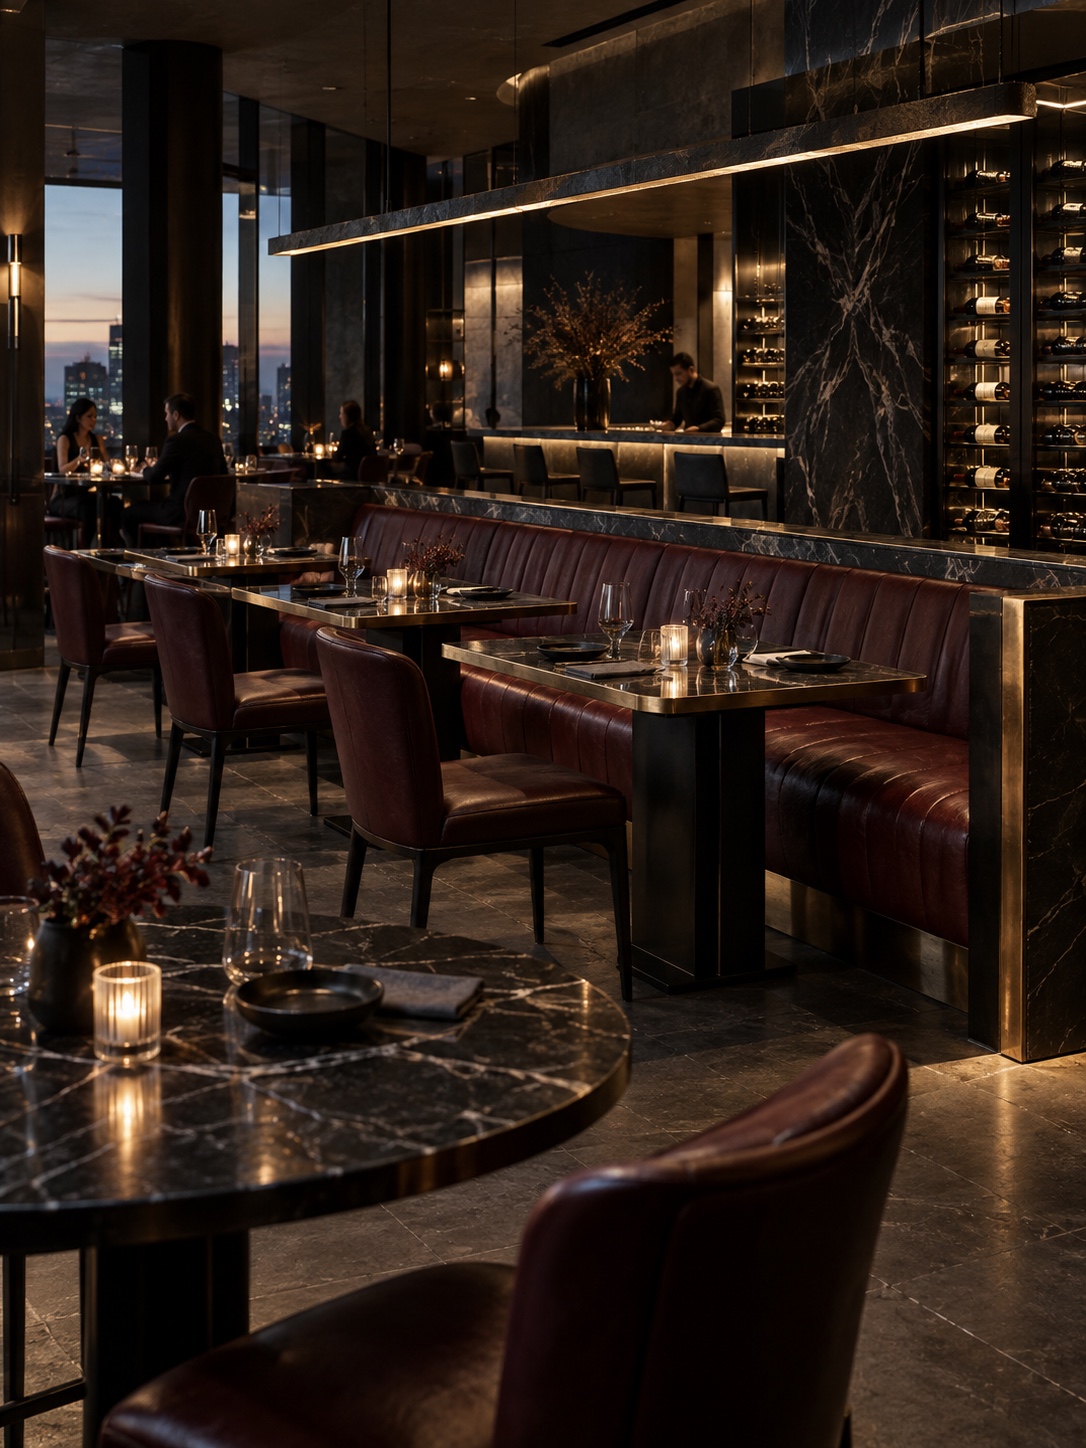
Luxury restaurant interiors: five material and lighting references
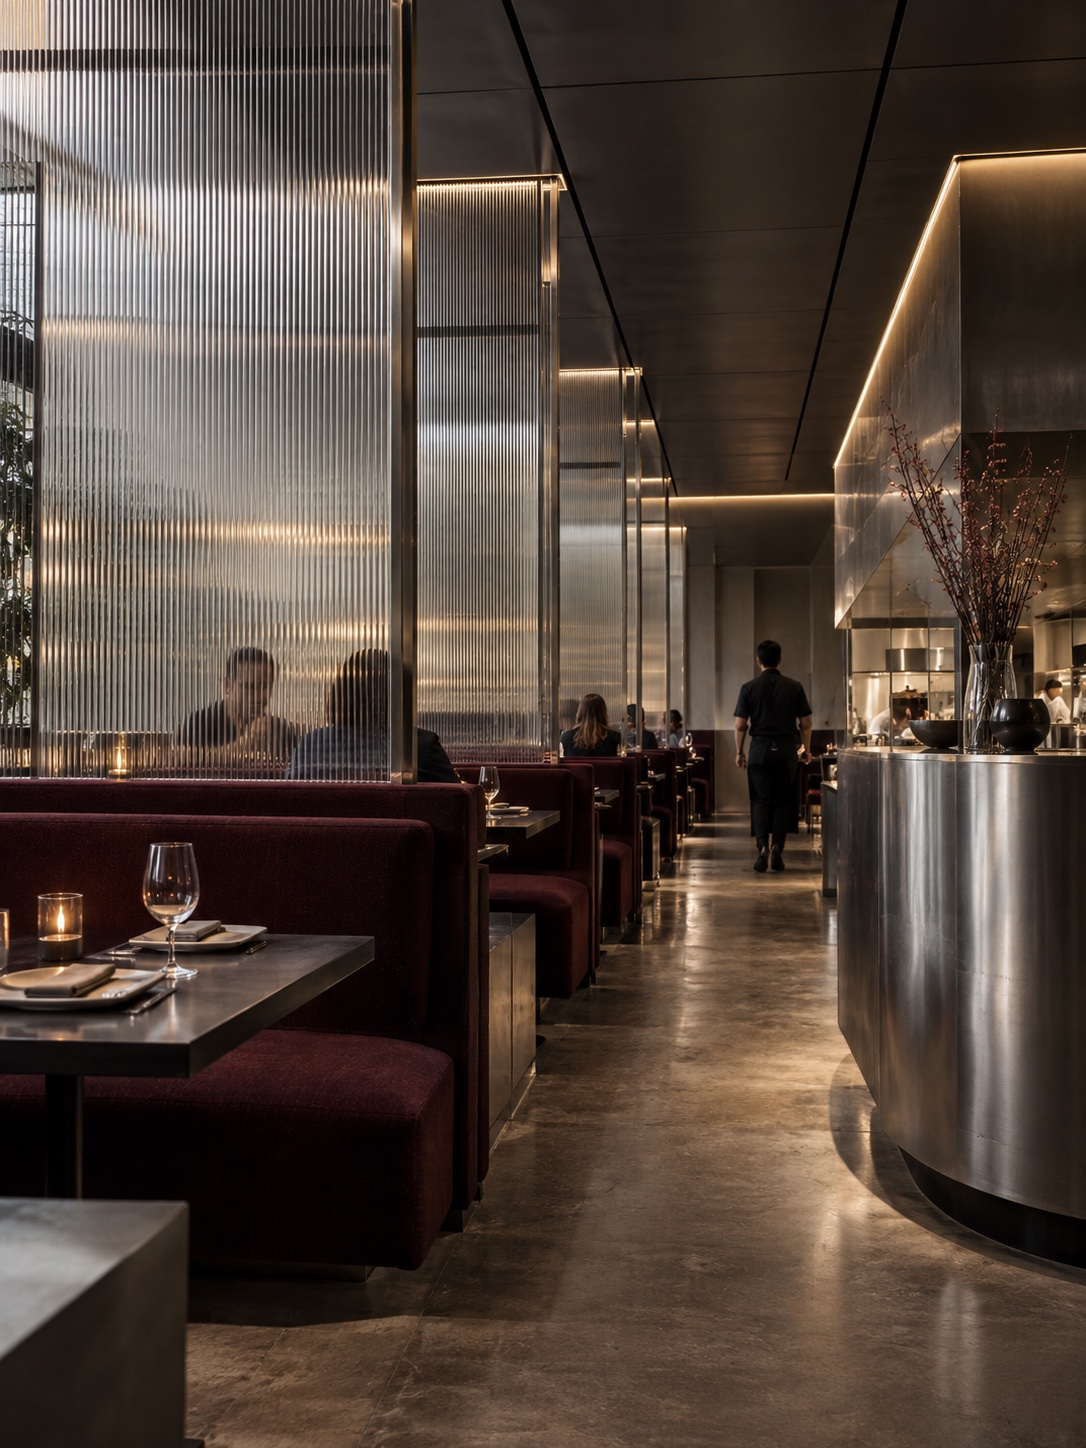
Once the back-of-house plan is resolved, the front-of-house can carry the same discipline through material choice, circulation and lighting. These five interiors show different ways to make an ultra-modern restaurant feel luxurious without relying on ornament.

- 52shares
- Facebook0
- Pinterest52
- Twitter0
- Reddit0