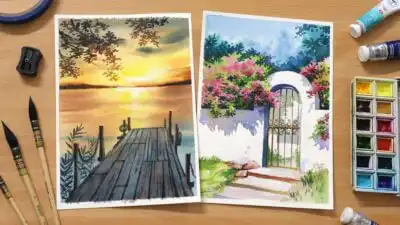
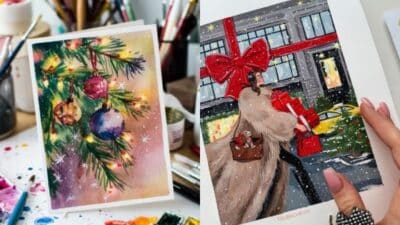
Watercolor painting offers endless creative possibilities through mastering various techniques that control how paint and water interact on paper. Whether you’re just starting your artistic journey or looking to expand your skills, understanding these fundamental methods will transform how you approach each brushstroke.
Learning core watercolor techniques like wet-on-wet, wet-on-dry, and layering provides the foundation for creating everything from soft atmospheric effects to sharp detailed work. These basic approaches serve as building blocks that you can combine and modify to achieve your artistic vision.
From simple flat washes to advanced masking and texture creation, each technique opens new doors for creative expression. You’ll discover how different materials, brush handling methods, and special effects can add depth and character to your paintings while developing your unique artistic style.
Key Takeaways
- Master basic techniques like wet-on-wet and wet-on-dry to control paint flow and create different effects
- Advanced methods such as glazing and salt texturing add depth and visual interest to your artwork
- Proper materials and brush techniques are essential for achieving professional watercolor results
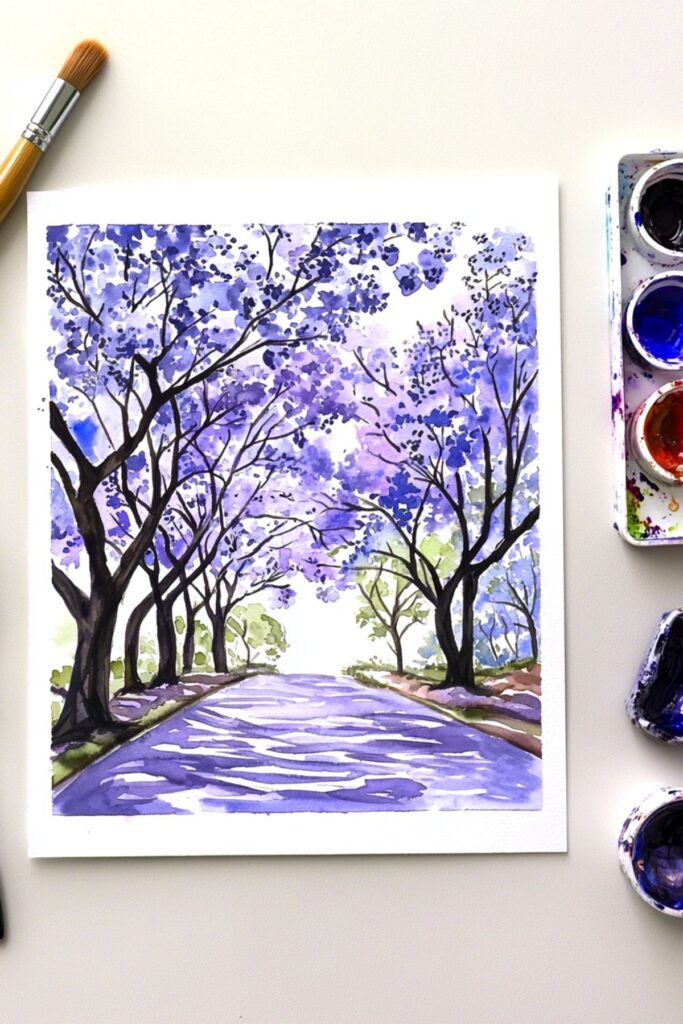
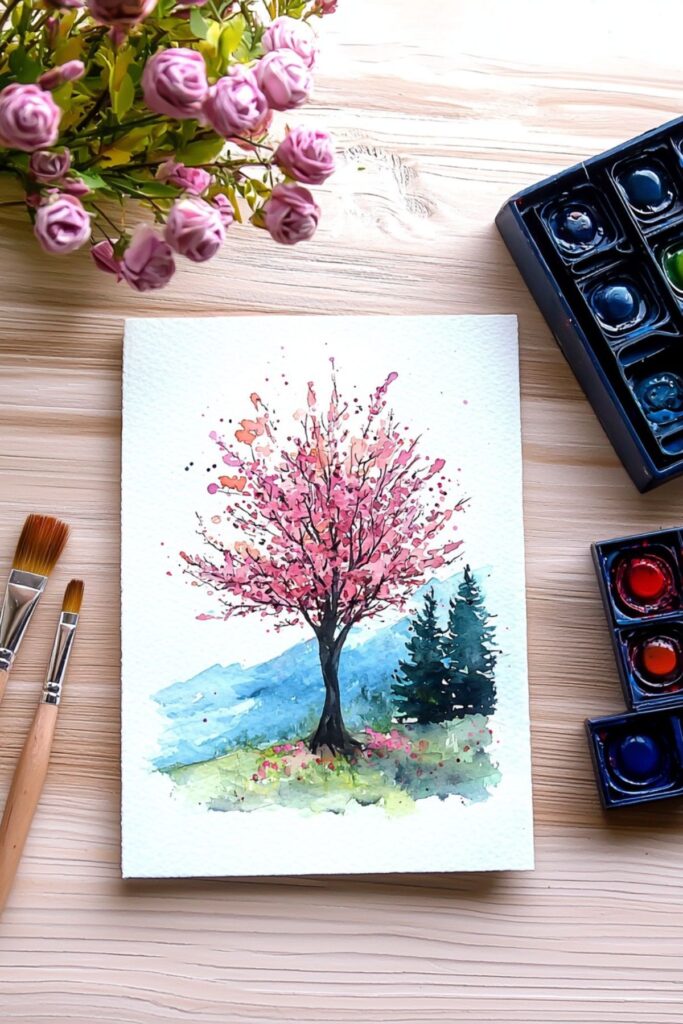
Foundational Watercolor Painting Techniques
These four core techniques form the backbone of watercolor painting and control how paint interacts with water and paper. Mastering flat wash, graded wash, wet-on-wet, and wet-on-dry methods will give you the skills to create everything from smooth backgrounds to detailed textures.
Flat Wash
A flat wash creates an even, uniform color across your watercolor paper. You’ll need plenty of paint mixed with water and a flat brush or large round brush to cover the area smoothly.
Start by tilting your paper at a slight angle. Load your brush with the paint mixture and apply horizontal strokes from left to right. Work quickly while the paint stays wet.
Each new stroke should slightly overlap the previous one. This allows the paint to flow together naturally. Keep your brush loaded with the same paint mixture to maintain consistent color.
Key tips for success:
- Mix enough paint before starting
- Work from top to bottom
- Maintain wet edges throughout
- Use smooth, confident strokes
Practice this watercolor technique on small squares first. Once you master the flat wash, you can create perfect skies and large background areas in your paintings.
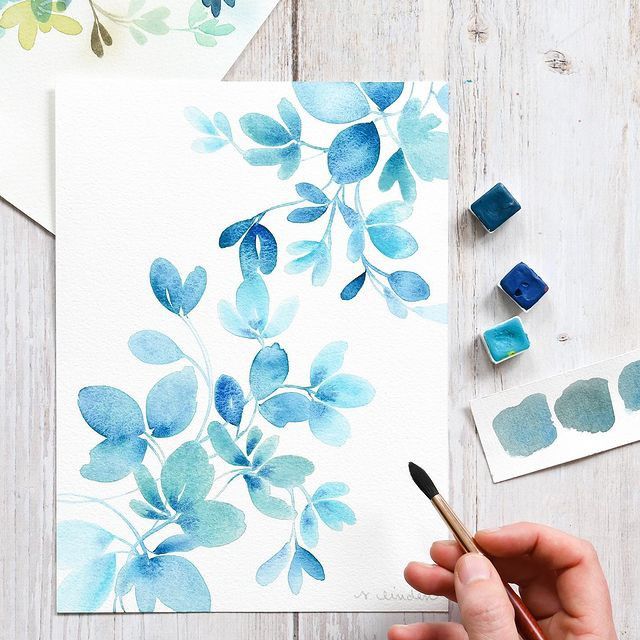
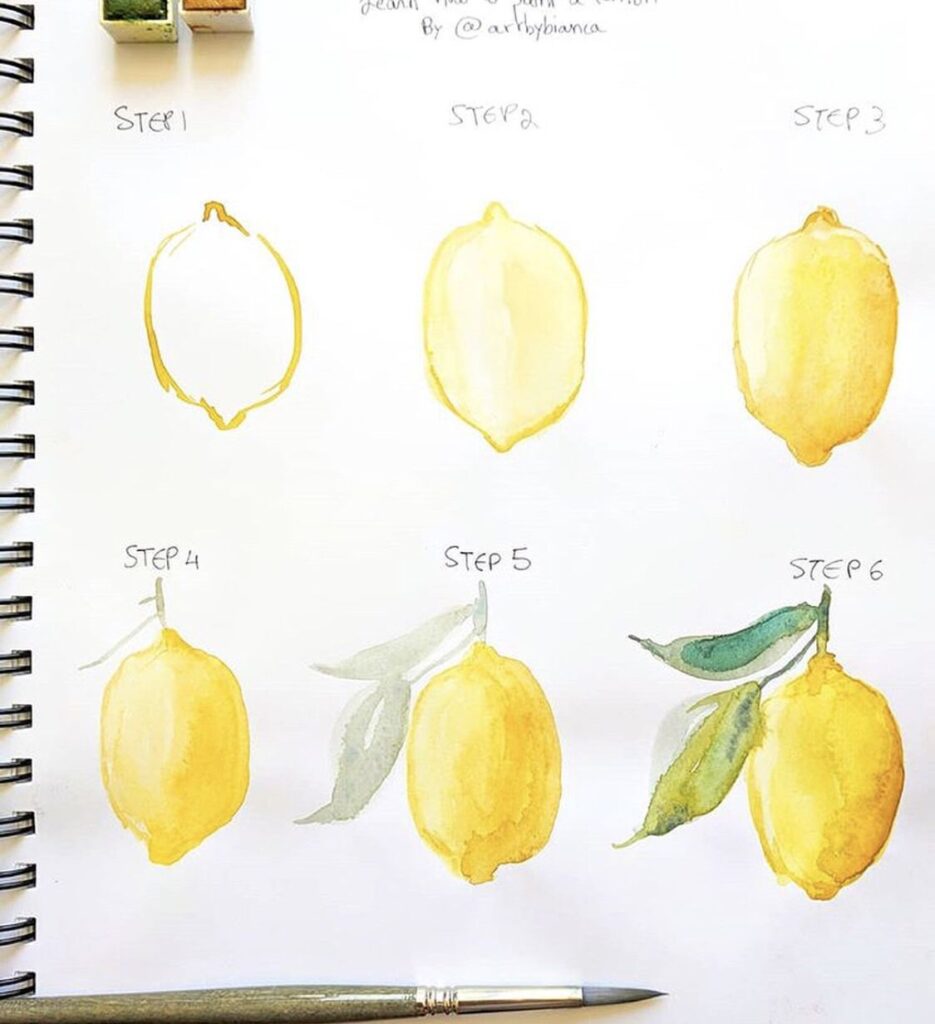
Graded Wash
A graded wash transitions smoothly from one tone to another, creating depth and atmosphere in your paintings. This technique works well for sunsets, shadows, and creating dimension.
Begin with your darkest color mixed and ready. Apply it at the top of your area using the same method as a flat wash. Clean your brush and add clean water to dilute the next stroke.
Continue working downward, adding more water with each stroke. The paint will naturally flow and blend as you work. Your watercolor paper should stay damp throughout the process.
You can also create graded washes between two different colors. Start with one color and gradually introduce the second color as you work across the area.
This watercolor technique requires practice to control the paint flow. Work on wet paper for softer transitions or dry paper for more defined gradations.
Wet-on-Wet
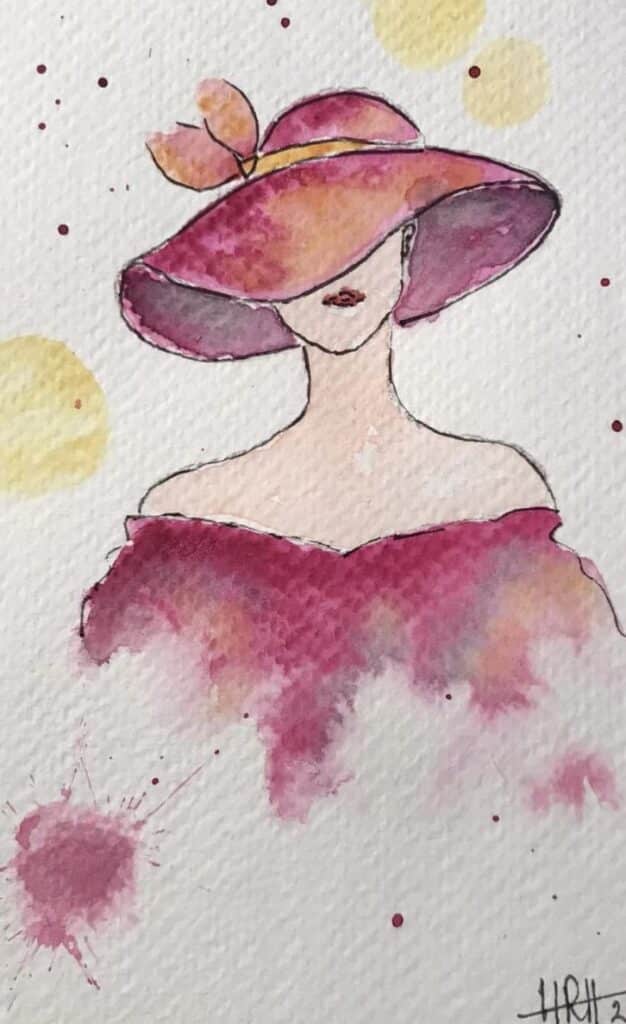
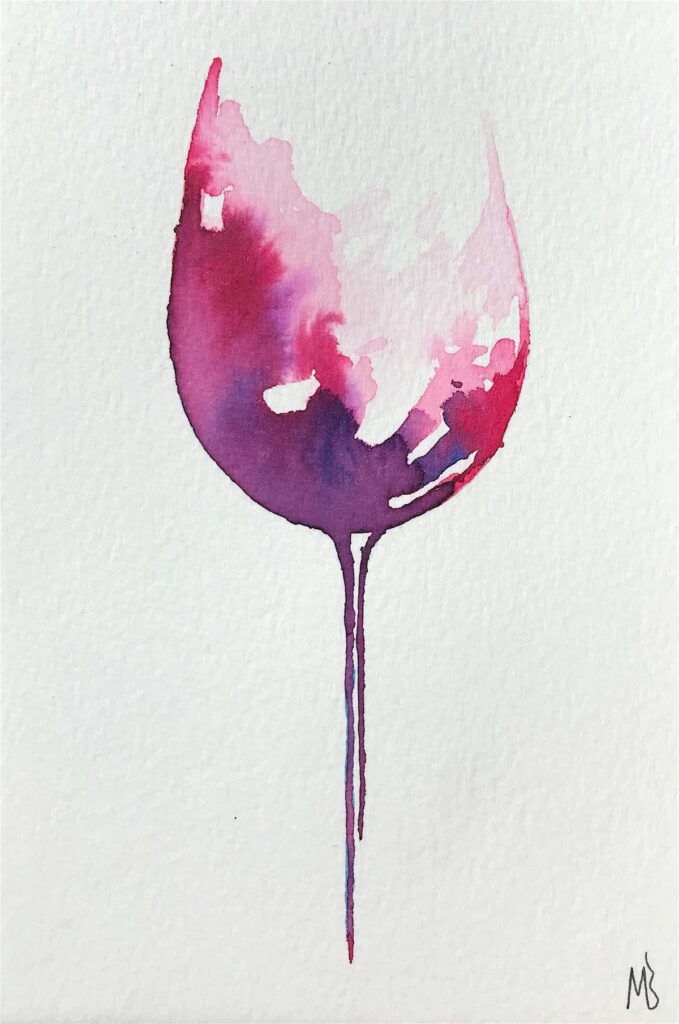
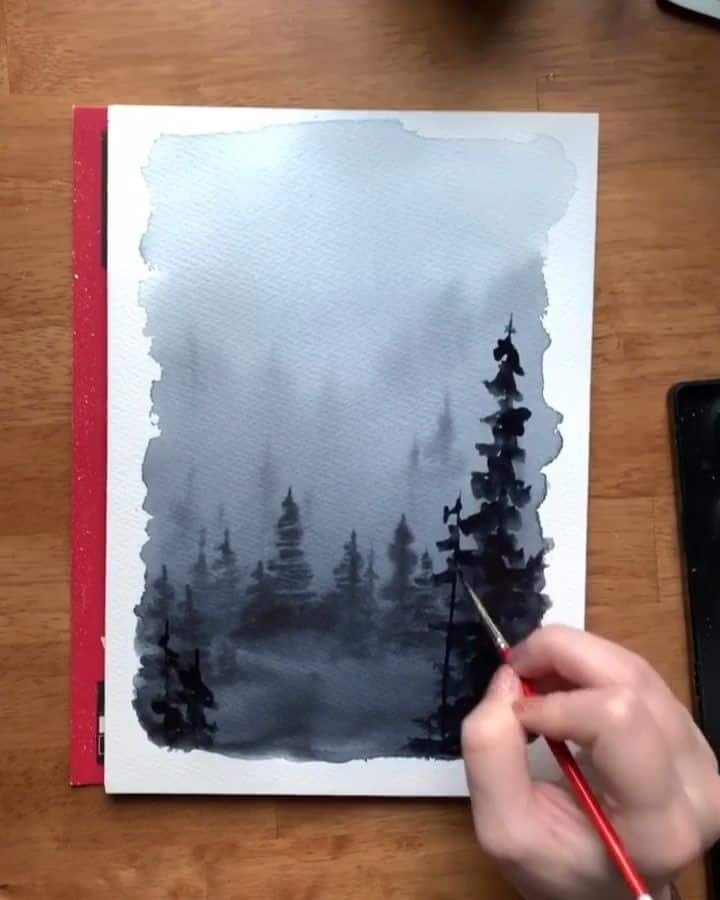
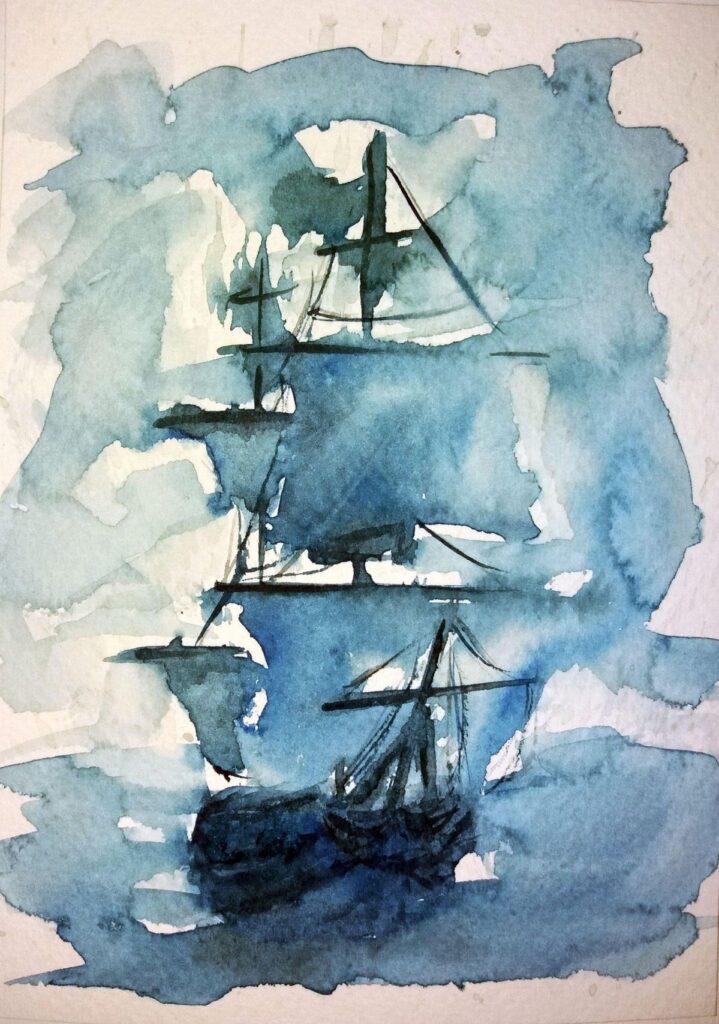
The wet-on-wet technique involves applying wet paint to wet paper or wet paint. This creates soft, flowing effects perfect for clouds, flower petals, and atmospheric backgrounds.
Wet your paper with clean water using a flat brush or round brush. The paper should be damp but not pooling with water. Apply your watercolor paint while the surface remains wet.
Watch as the paint spreads and blooms naturally. You can tilt your paper to encourage the paint to flow in certain directions. The wetness level controls how much the paint spreads.
Wet-on-wet effects:
- Very wet paper: Maximum paint spread and soft edges
- Damp paper: Moderate spread with gentle blending
- Nearly dry paper: Minimal spread with subtle softness
This wet-on-wet technique works beautifully for organic shapes and natural textures. The unpredictable nature creates unique effects that are impossible to achieve with other methods.
Wet-on-Dry
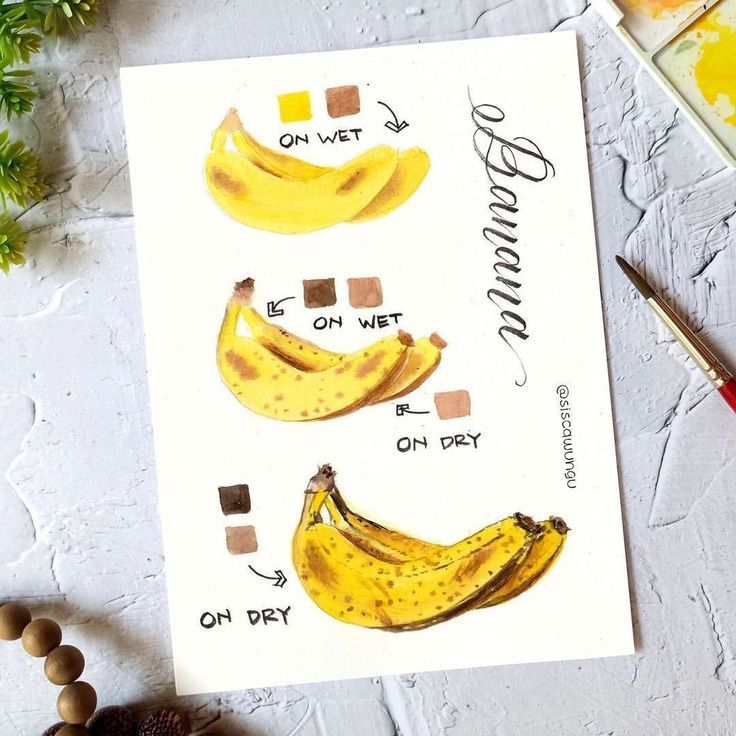
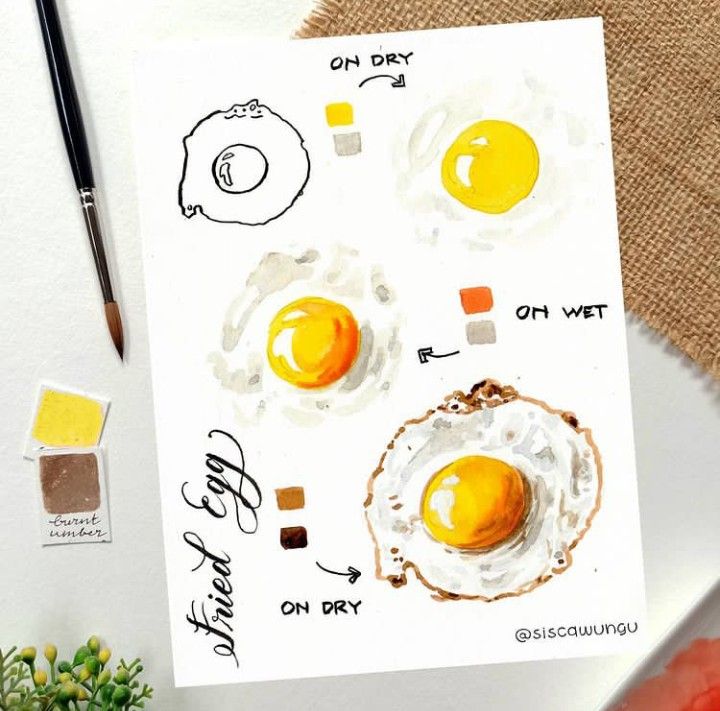
Wet-on-dry applies wet paint to completely dry watercolor paper. This technique gives you maximum control and creates sharp, defined edges and details.
Let your paper dry completely between layers. Apply your paint mixture with confident strokes. The paint will stay exactly where you place it without spreading.
Use this method for precise details, sharp lines, and layering colors. Your round brush works well for small details, while a flat brush covers larger dry areas efficiently.
Benefits of wet-on-dry:
- Crisp, clean edges
- Predictable paint placement
- Perfect for fine details
- Excellent for layering colors
Combine wet-on-dry with other watercolor techniques for varied effects in single paintings. Paint tree branches over soft wet-on-wet backgrounds, or add sharp details to graded wash areas.
This wet-on-dry technique builds the structure and definition in your watercolor paintings. Practice controlling your brush pressure and paint consistency for best results.
Advanced Techniques for Depth and Texture
These four techniques transform flat watercolor paintings into dimensional artwork through controlled paint application and strategic color layering. Mastering glazing, lifting, dry brush work, and scumbling gives you precise control over texture and visual depth.
Glazing
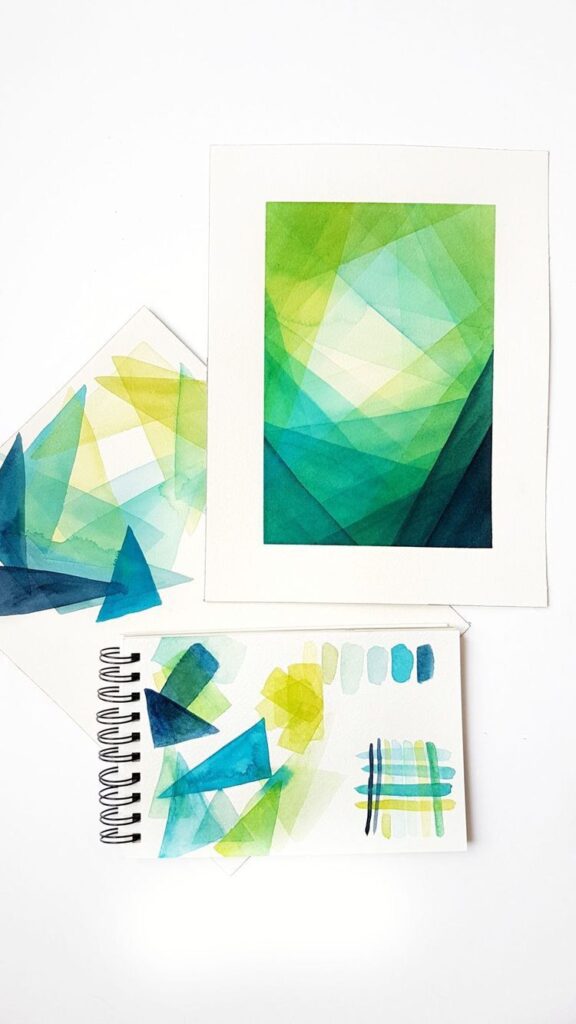
Glazing creates luminous depth by layering transparent colors over dry paint. This technique builds richness and complexity that single paint applications cannot achieve.
Wait for your base layer to dry completely before applying the glaze. Use clean water and transparent pigments mixed to a light consistency.
Apply the glaze with smooth, confident strokes. Avoid overworking the area, which can disturb the underlying paint layer.
Key glazing colors:
- Ultramarine blue
- Burnt sienna
- Raw umber
- Quinacridone rose
Build glazes gradually with multiple thin layers rather than one heavy application. Each layer intensifies the color and adds visual depth.
Lifting
The lifting technique removes wet or rewetted paint to create highlights, textures, and corrections. This subtractive method adds dimension by revealing lighter areas.
For wet lifting, use a clean damp brush or paper towel to absorb paint immediately after application. Work quickly before the paint begins to set.
Dry lifting requires rewetting the dried paint area slightly before removal. Use gentle dabbing motions to avoid damaging the paper surface.
Lifting tools:
- Clean brushes
- Paper towels
- Natural sponges
- Cotton swabs
Different papers respond differently to lifting. Cold-pressed papers generally lift more easily than hot-pressed surfaces.
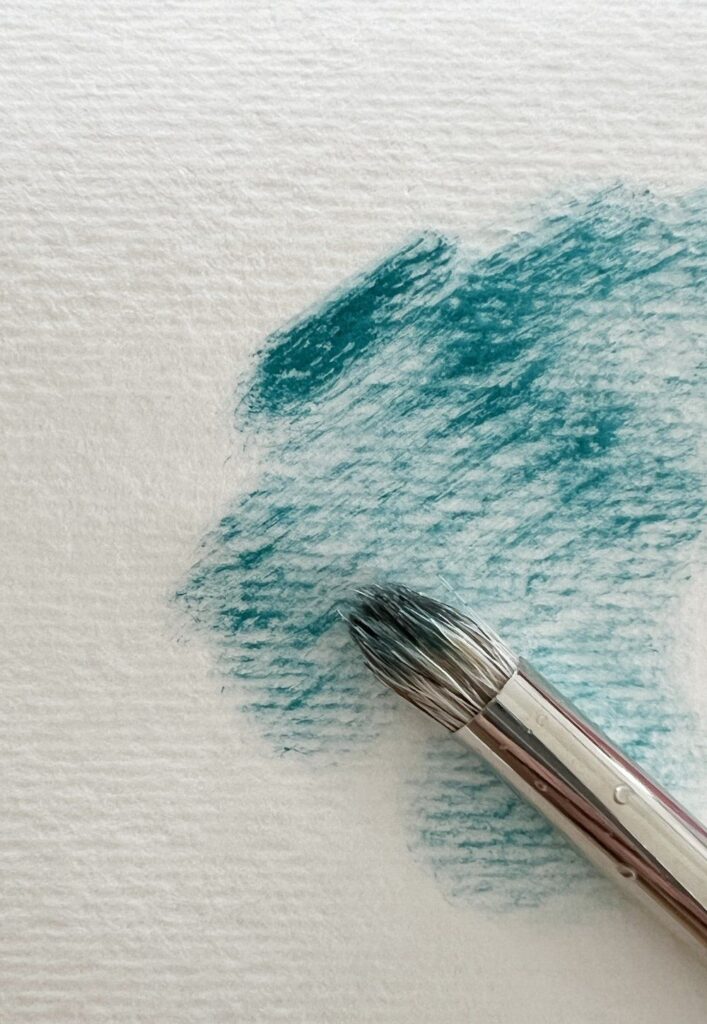
Dry Brush Technique
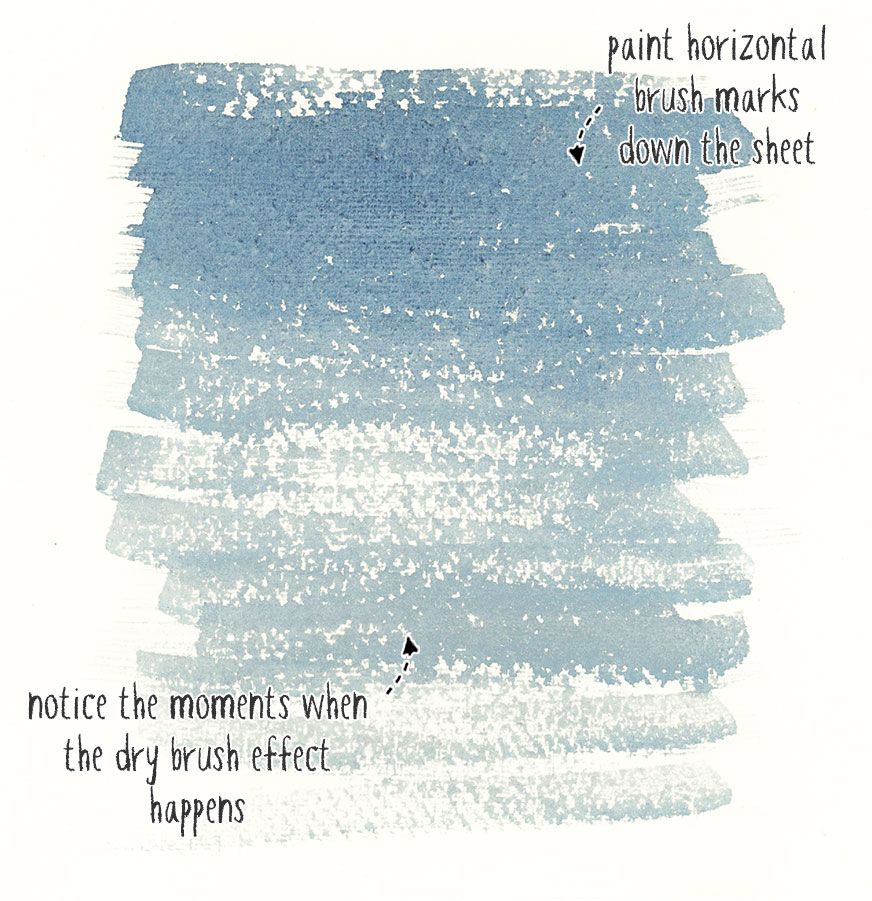
Dry brush technique creates texture and detail using minimal water and concentrated pigment. This method produces broken, textural marks perfect for surfaces like bark, rocks, or fabric.
Load your brush with thick paint, then remove excess moisture on a paper towel. The brush should feel almost dry but still contain pigment.
Drag the brush lightly across the paper surface. The paint will catch on the paper’s texture, creating broken lines and rough textures.
Use flat brushes for broad textural areas and round brushes for linear details. Vary your pressure to control the intensity of the texture.
This technique works best on rough or cold-pressed watercolor paper where the tooth helps catch the pigment.
Scumbling
Scumbling involves applying semi-opaque paint over dry layers using circular or random brush movements. This technique creates soft, atmospheric effects and subtle color variations.
Use slightly thicker paint consistency than normal washes. The paint should be opaque enough to partially obscure underlying layers while remaining workable.
Apply paint with loose, circular motions or random dabbing. Let the brush dance across the surface rather than making deliberate strokes.
Scumbling works well for clouds, foliage, and weathered surfaces. It softens harsh edges and creates natural-looking transitions between colors.
Vary the pressure and paint density to achieve different opacity levels within the same scumbled area.
Creative Effects and Special Methods
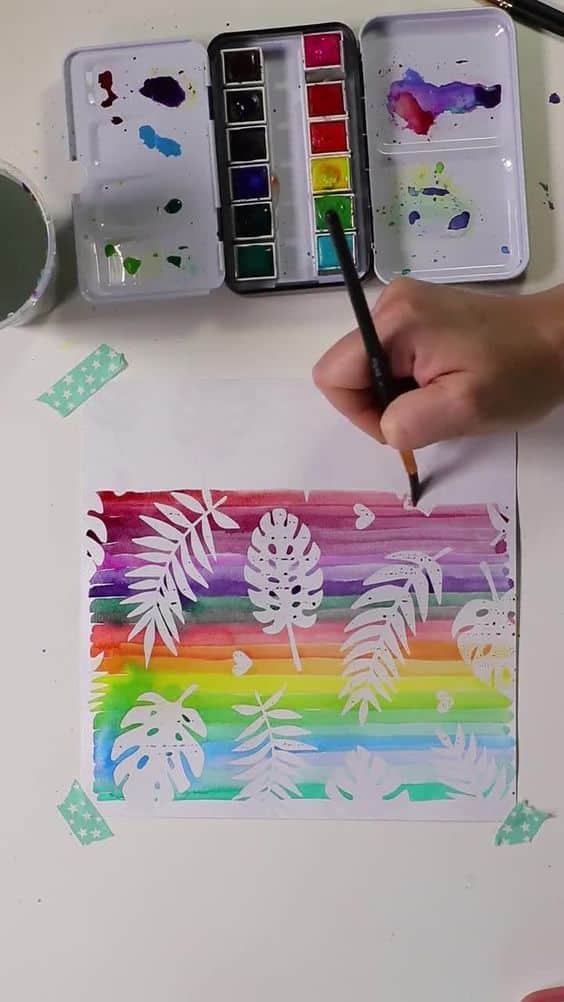
These resist techniques create dramatic contrasts by preserving white areas or preventing paint from adhering to specific sections of your paper. Masking tape offers sharp edges, masking fluid provides detailed preservation, and wax resist creates organic textures.
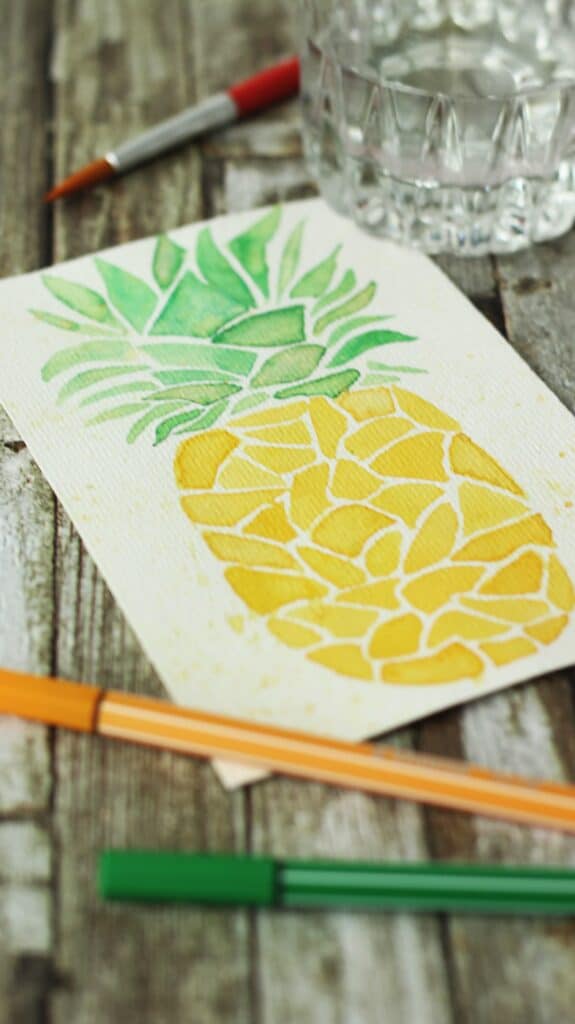
Masking
Masking tape creates clean, sharp lines in your watercolor paintings. Apply the tape firmly to dry paper before painting to prevent paint from seeping underneath.
Paint over the masked areas with your watercolor. The tape protects the paper beneath, leaving crisp white lines when removed.
Best practices for masking:
- Use low-tack artist’s tape to prevent paper damage
- Press edges down firmly to avoid bleeding
- Remove tape while paint is slightly damp for cleanest results
- Pull tape at a 45-degree angle away from the painted area
This technique works perfectly for architectural subjects, geometric patterns, or creating strong horizon lines. You can layer multiple pieces of tape to create complex patterns or stripe effects.
Masking Fluid
Masking fluid is a liquid latex solution that preserves white areas with precise control. Apply it with an old brush or specialty tools before painting.
The fluid dries to form a protective barrier. Paint over it normally, then rub off the dried masking fluid to reveal pristine white paper underneath.
Application tips:
- Use soap on your brush before applying to ease cleanup
- Let masking fluid dry completely before painting
- Remove within 24-48 hours to prevent paper damage
- Use a rubber cement pickup or clean finger to remove
This method excels for stars, highlights on water, flower stamens, or intricate white details that would be difficult to paint around.
Wax Resist
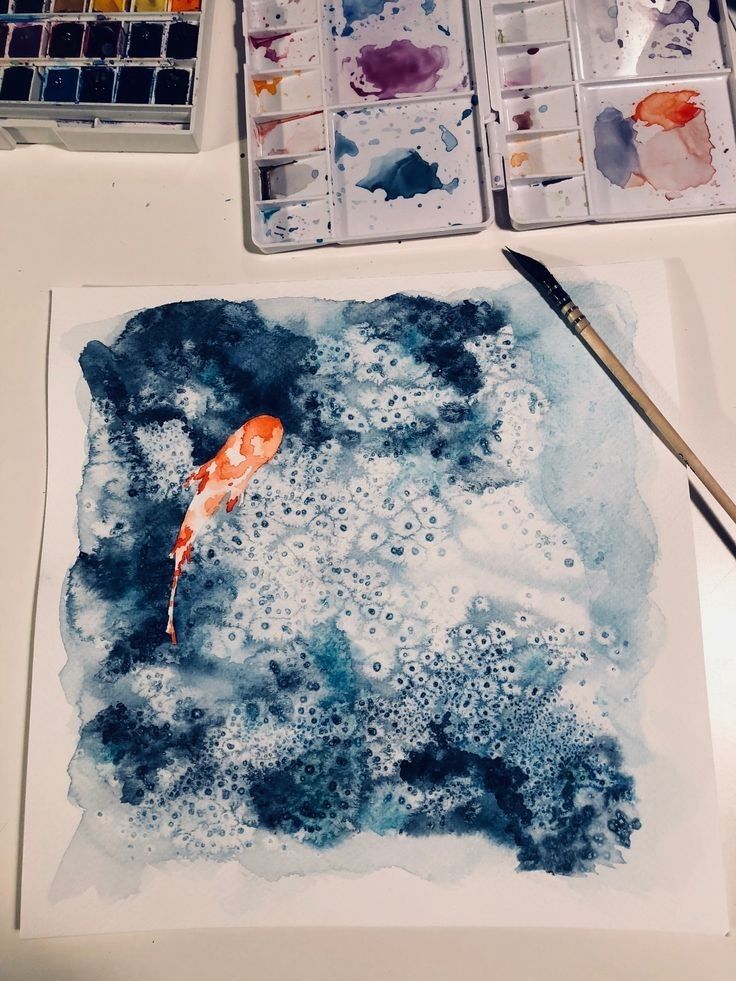
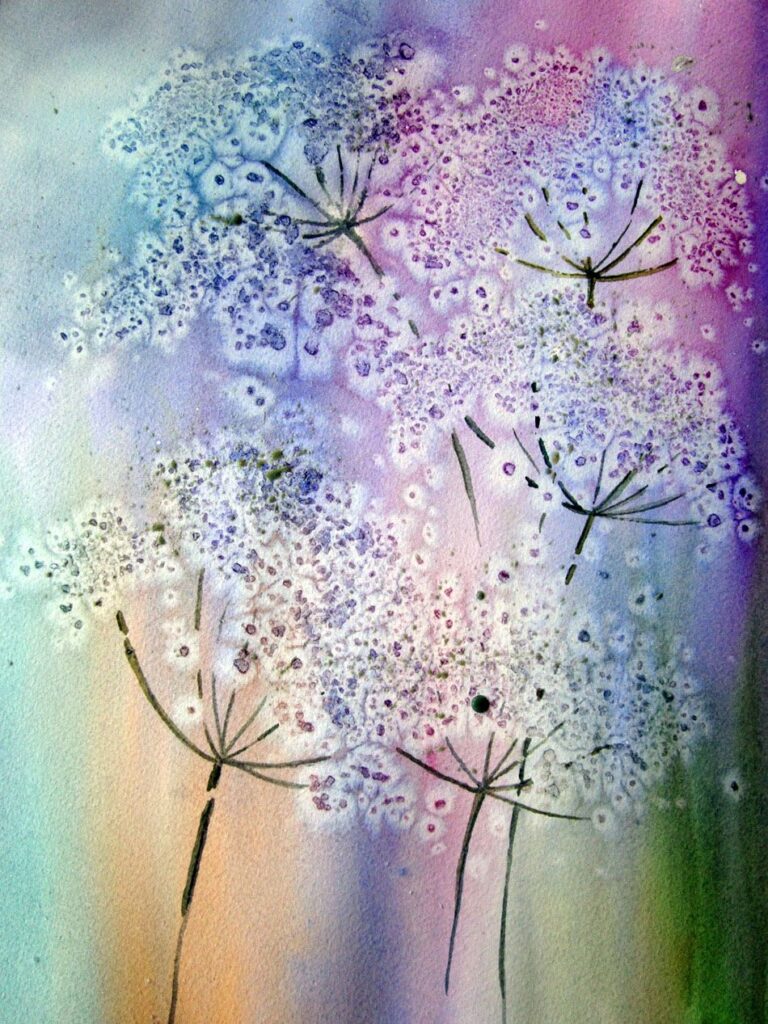
Wax resist creates organic, textured effects by repelling watercolor paint. Use white candles, crayons, or specialized wax products on dry paper.
The invisible wax coating prevents paint absorption, creating subtle white areas with soft, irregular edges. This technique produces natural-looking textures.
Effective applications:
- Tree bark texture
- Water reflections
- Cloud highlights
- Stone and rock surfaces
Apply varying pressure when drawing with wax to control the intensity of the resist effect. Light pressure creates subtle textures, while heavy application produces stronger contrasts.
Enhancing Paintings with Expressive Details
These specialized techniques add texture and depth to your watercolor paintings by manipulating paint application and layering methods. Each approach creates distinct visual effects that bring life and dimension to your artwork.
Feathering
Feathering creates soft, delicate transitions that add movement and grace to your paintings. You achieve this effect by using a clean, damp brush to gently pull paint outward from wet edges.
Basic Feathering Steps:
- Apply a stroke of wet paint
- Quickly clean your brush and remove excess water
- Gently drag the damp brush along the paint’s edge
- Pull outward to create soft, feathered lines
This technique works beautifully for painting bird feathers, grass textures, and hair details. The key is timing – you need to work while the initial paint is still wet but not flooding.
Light pressure is essential for successful feathering. Press too hard and you’ll create harsh lines instead of soft transitions.
Practice feathering on scrap paper first. Each brush and paper combination behaves differently, so test your materials before applying the technique to finished work.
Dabbing
Dabbing adds texture and creates interesting surface effects by applying paint with short, quick touches. You can use various tools beyond brushes to achieve different dabbing patterns.
Dabbing Tools and Effects:
| Tool | Effect Created |
|---|---|
| Natural sponge | Organic, cloud-like texture |
| Paper towel | Soft, absorbent marks |
| Stiff brush | Sharp, defined dots |
| Cotton swab | Small, precise circles |
Apply dabbing while your base wash is still damp for softer effects. On dry paper, dabbing creates sharper, more defined marks.
Stippling is a form of dabbing using brush tips to create dotted textures. This works well for painting foliage, sand, or rough surfaces.
Vary your pressure and paint consistency when dabbing. Thick paint creates bold marks while diluted paint produces subtle texture variations.
Underpainting
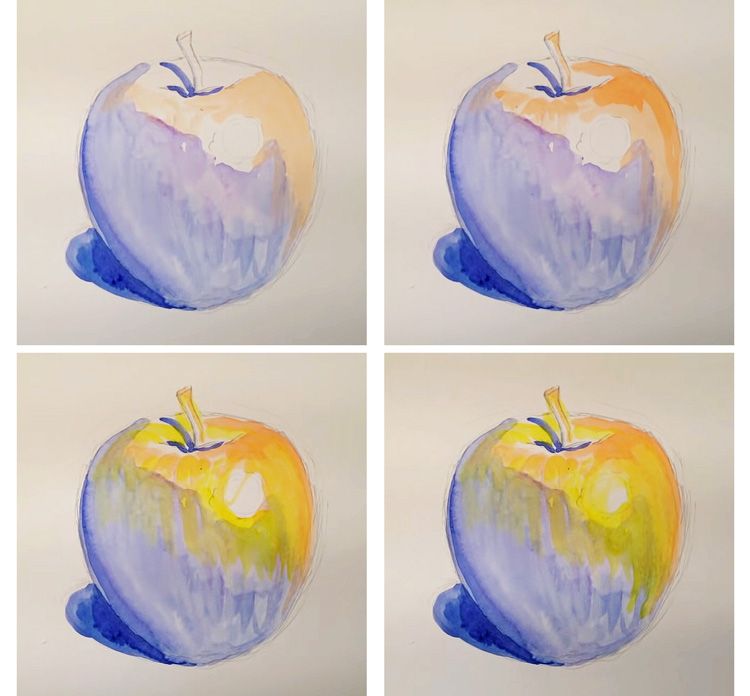
Underpainting establishes the foundation colors and values before adding final details. This technique helps you plan color relationships and creates depth in your finished piece.
Start with light, warm colors for your underpainting layer. Yellow ochre, raw sienna, and diluted cadmium yellow work well as base colors that enhance subsequent layers.
Apply underpainting in broad washes using large brushes. Don’t worry about details at this stage – focus on overall color temperature and value distribution.
Glazing over underpainting creates rich, luminous effects. Each transparent layer interacts with the colors beneath, producing complex color mixtures you can’t achieve with direct painting.
Let your underpainting dry completely before adding subsequent layers. Rushing this step can muddy your colors and reduce the technique’s effectiveness.
Plan your underpainting to complement your final color scheme. Cool underpainting works well beneath warm final colors, creating vibrant color contrasts.
Essential Materials and Tools for Watercolor Artists
Quality materials make a significant difference in your watercolor results. The right paper texture, brush selection, and paint grade will help you achieve better color blending and control.
Choosing Paper Types
Watercolour paper comes in three main textures that affect your painting results. Hot-pressed paper has a smooth surface perfect for detailed work and precise lines. Cold-pressed paper offers a medium texture that works well for most techniques.
Rough paper provides the most texture with deep grooves that create interesting effects when paint settles into the valleys. This texture is ideal for landscapes and expressive work.
Paper weight matters for your painting experience. 140lb paper requires stretching to prevent warping. 300lb paper stays flat when wet and costs more but saves preparation time.
Look for 100% cotton watercolour paper when possible. Cotton fibers absorb water evenly and allow for easier color lifting. Wood pulp papers work for practice but don’t handle multiple washes as well.
Selecting Brushes
Round brushes are your most versatile tools for watercolor painting. Size 12 or 14 round brushes hold plenty of water for large washes. Size 6 or 8 rounds work well for medium details.
Flat brushes excel at creating clean edges and rectangular shapes. They’re perfect for architectural subjects and geometric forms. A 1-inch flat brush covers large areas quickly.
Natural hair brushes like sable hold more water and maintain better points than synthetic brushes. Synthetic brushes cost less and work well for beginners learning basic techniques.
Consider these essential brush sizes for your starter kit:
- Size 14 round for large areas
- Size 8 round for general work
- Size 4 round for details
- 1-inch flat for backgrounds
Understanding Paint Quality
Student-grade watercolour paint costs less but contains more filler and fewer pure pigments. These paints work fine for learning basic techniques and color mixing principles.
Artist-grade paint contains higher pigment concentrations and fewer additives. Colors appear more vibrant and mix more predictably. The higher cost pays off in better results.
Tube paints stay moist longer and mix easily on your palette. Pan paints work well for outdoor painting and travel setups. Both formats use identical pigments.
Start with these essential colors: cadmium yellow, cadmium red, ultramarine blue, burnt umber, and payne’s gray. These five colors mix to create most hues you’ll need for early paintings.
- 4shares
- Facebook0
- Pinterest1
- Twitter3
- Reddit0

