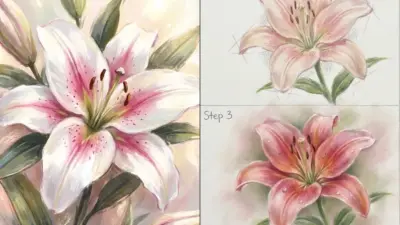
Pen and ink botanical drawing is a way to capture the details and beauty of plants using simple tools like pens and paper. It allows artists to create clear, precise images that show the shape, texture, and structure of leaves, flowers, and stems. This technique is perfect for those who want to explore nature with patience and focus, turning plants into detailed, timeless artwork.
Artists often start with light pencil lines to outline their subject, then carefully add fine lines and shading with ink to bring the drawing to life. Whether someone is new to art or has years of experience, pen and ink botanical drawing offers a rewarding way to study and appreciate the natural world.
The process encourages close observation and helps improve drawing skills, especially in capturing small details. Many find it calming and satisfying, making it a great practice for anyone who loves both art and nature.
Getting Started With Pen and Ink Botanical Drawing
Starting pen and ink botanical drawing means gathering the right tools, learning simple techniques, and picking suitable plant subjects. Each part helps build skill and confidence in capturing the fine details of nature.
Essential Supplies and Materials
A quality pen and ink set is key. Artists often use technical drawing pens or dip pens with nibs for precise lines. Black ink is most common because it shows detail clearly.
Paper choice matters too. Smooth, heavy paper like Bristol board holds ink well without bleeding or warping. A sharp graphite pencil is helpful for initial sketches.
Other useful supplies include:
- Erasers (kneaded and regular)
- Rulers or templates for straight lines
- Blotting paper to absorb excess ink
Having these basics ready makes the drawing process smoother and cleaner.
Understanding Basic Techniques
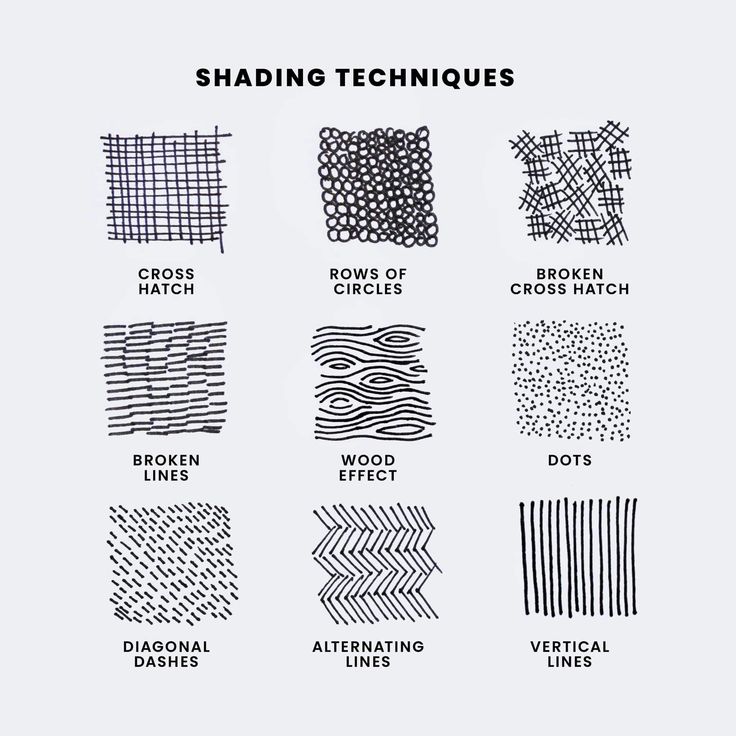
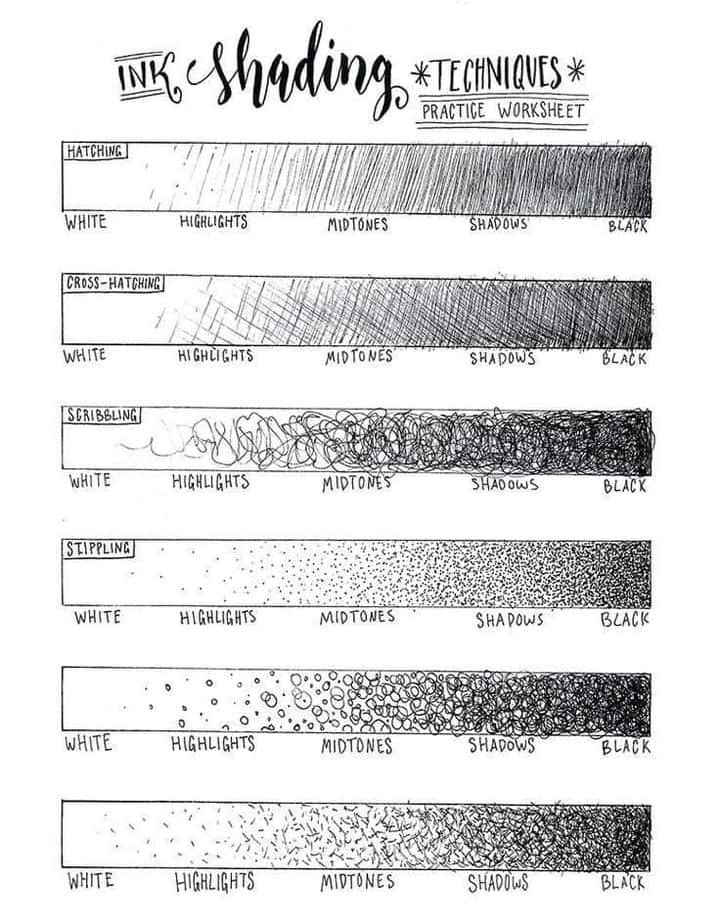
Line work forms the core of pen and ink botanical art. Artists use various lines to create shape, texture, and shading.
Some common techniques:
- Hatching: parallel lines for light shading
- Cross-hatching: overlapping lines for darker areas
- Stippling: dots placed closely or far apart for texture
Starting with light pencil sketches helps plan the drawing. Then, artists build layers of ink lines gradually, working from outlines to detailed textures.
Patience is important. Taking time to observe and replicate plant details leads to accurate results.
Choosing Botanical Subjects


Selecting the right plant or flower sets the stage for a rewarding drawing. Beginners should start with simple shapes like leaves or single flowers before moving to complex arrangements.
Look for subjects with clear outlines and interesting details. Plants with varied textures, like veins or petals, offer good practice.
Fresh specimens can be easier to draw because they hold their shape. Photographs can also be useful for reference when live plants aren’t available.
The goal is to find a subject that inspires and invites close observation.
Sketching and Composition
Good botanical drawing starts with a strong sketch and thoughtful layout. The artist must capture the plant’s true shape before moving on to ink, while arranging the parts for clear, pleasing balance on the paper. Careful planning helps bring out the beauty and detail of the plant.
Creating Accurate Botanical Outlines
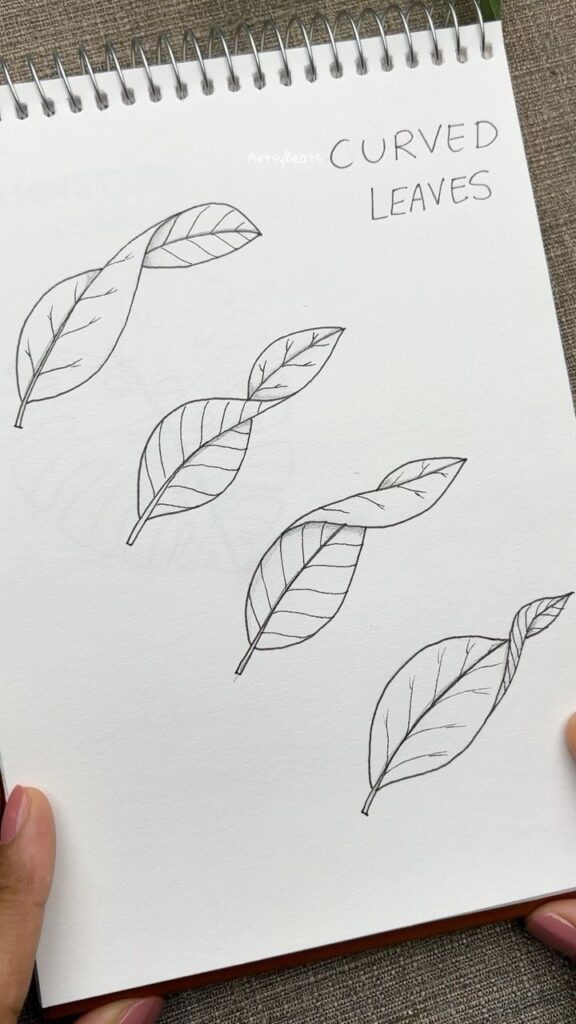
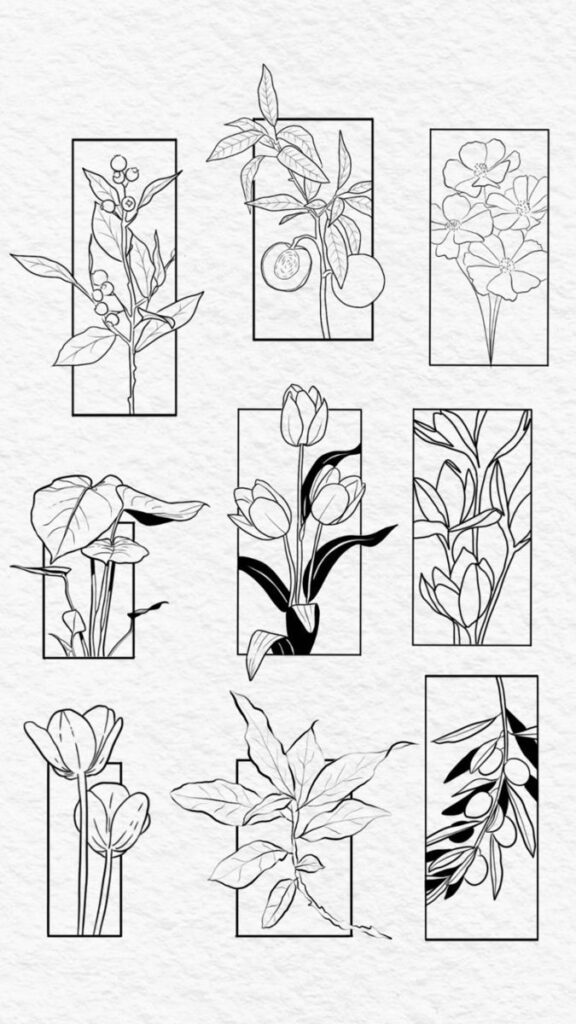
The first step is to sketch the plant’s basic shapes lightly with graphite. This helps to map the overall form before adding details. It’s important to focus on proportions—leaf size compared to stems or flowers—and the way parts connect.
Using light lines allows corrections without smudging. Artists often work from multiple views or live specimens to ensure accuracy. Outlining the main contours lays a solid foundation for the pen and ink work, guiding where to add texture and shading later.
Arranging Elements for Balance
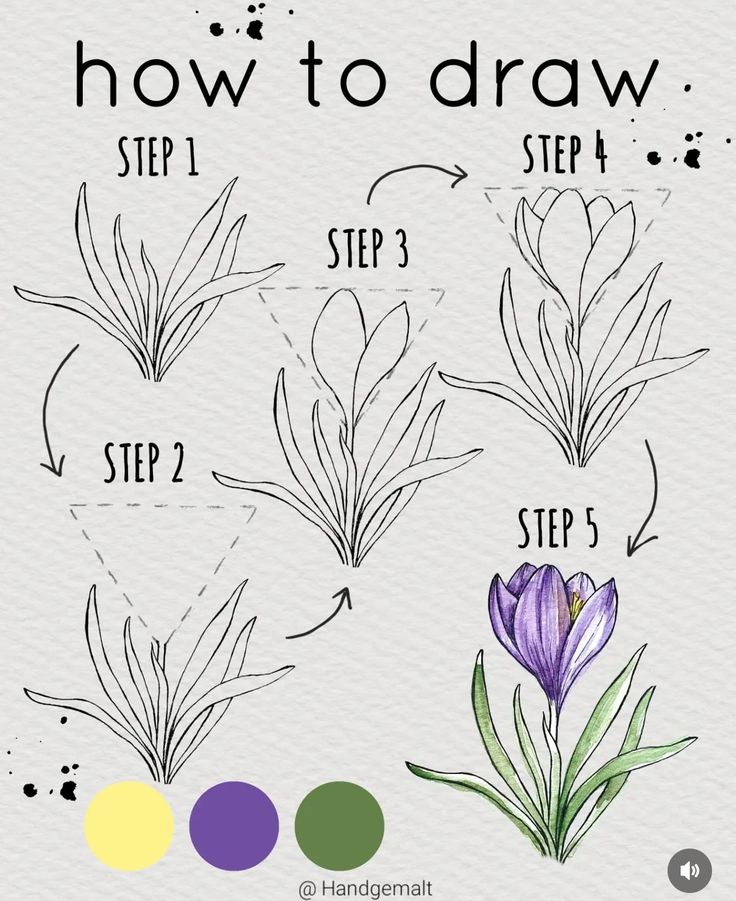
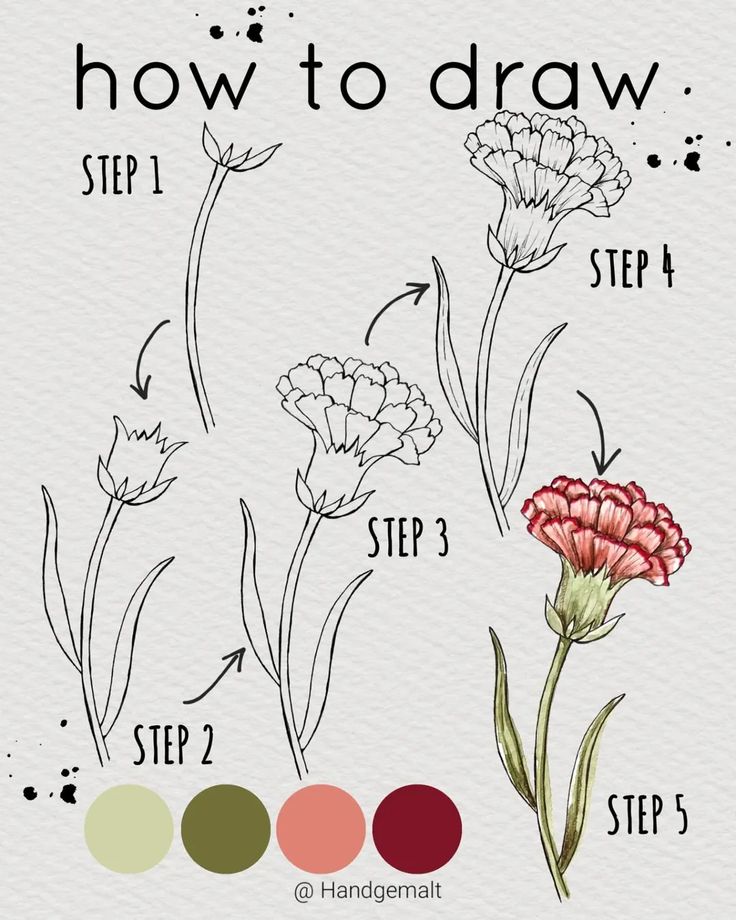
Once the outline is ready, the artist decides how to place the plant parts on the paper. Balanced composition means no areas feel crowded or empty. Grouping some leaves or flowers together gives a natural flow.
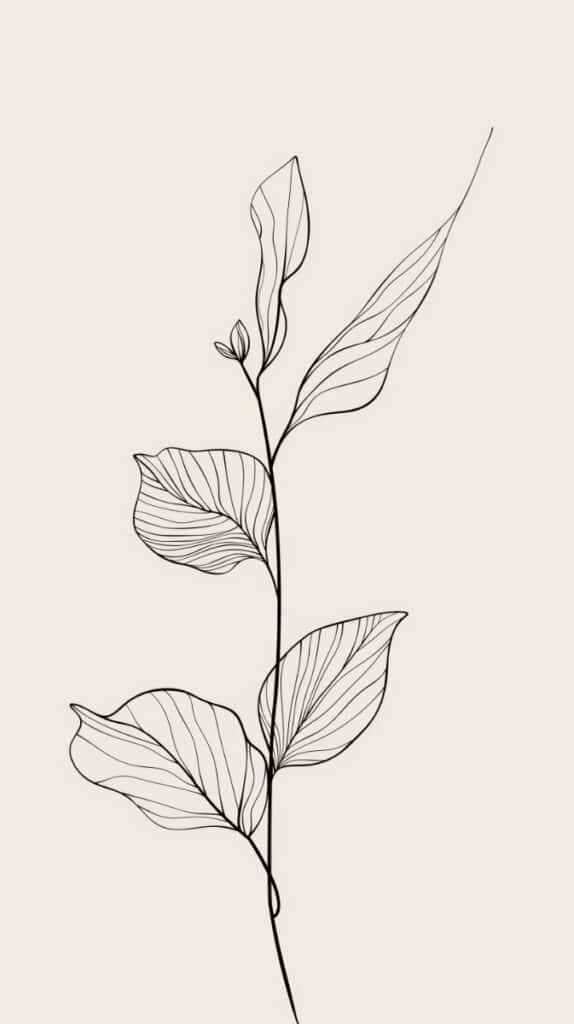
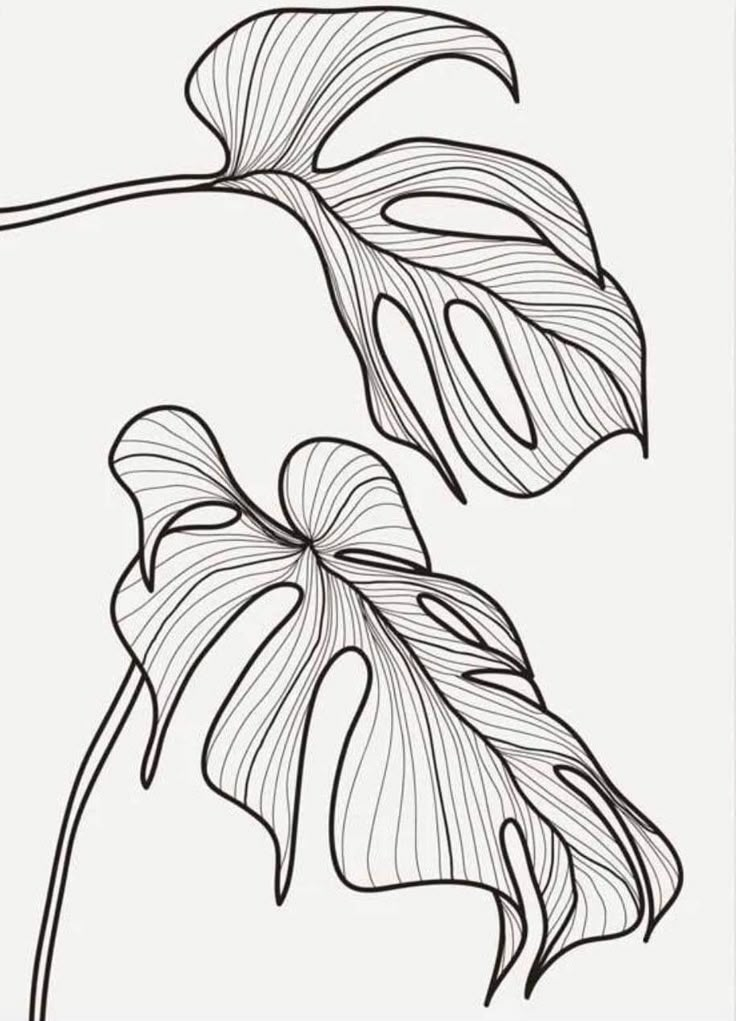
Artists use techniques like the rule of thirds or leading lines to guide the eye. They might tilt the stem diagonally or overlap parts to create depth. Leaving some white space around the drawing can make it easier to focus on the fine details later with ink.
Pen Techniques for Botanical Art
Pen and ink botanical drawing relies on precise marks to bring out the shape and detail of plants. Controlling the pen to create smooth lines and varied textures is key. Artists use different ways to draw edges and add depth to make the drawing look realistic and lively.
Linework and Contour Methods
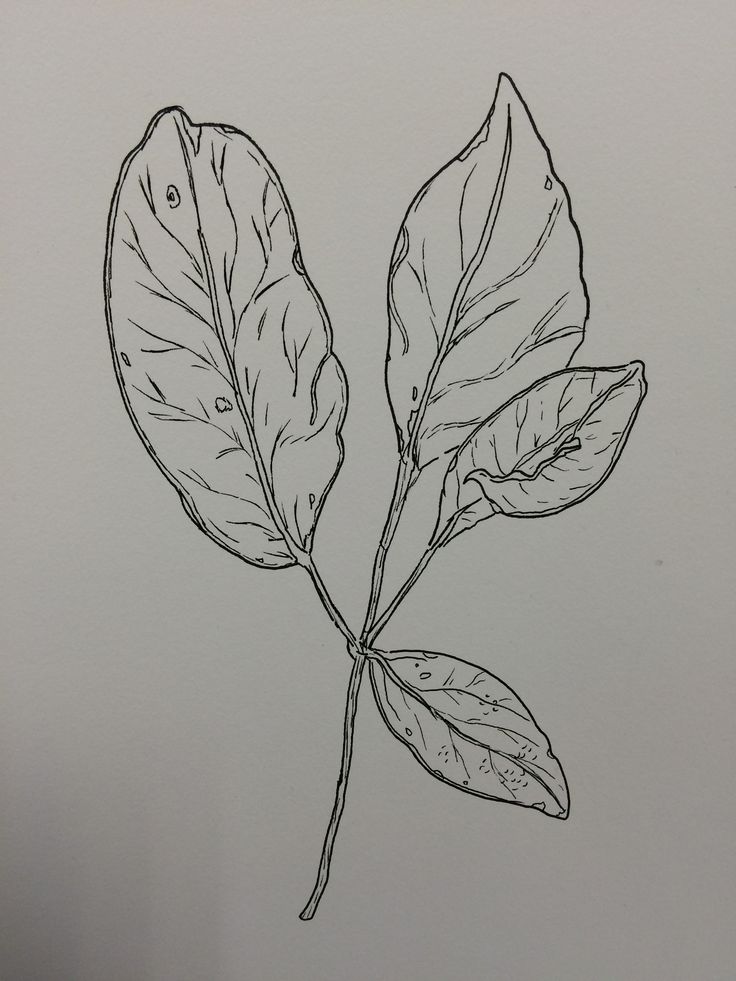
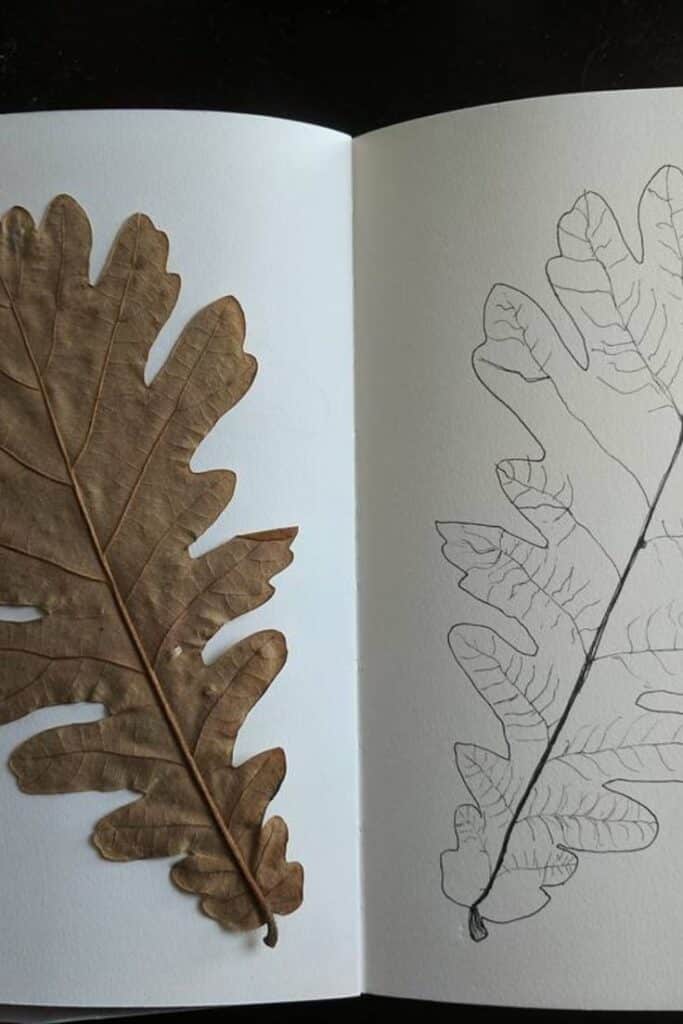
Linework defines the structure of the plant. Artists start with light, steady lines to outline leaves, stems, and flowers. Using a fine pen helps keep these lines clean and sharp.
Contour lines follow the natural curves and shapes of the plant. They give a sense of volume and form without filling in every detail. Varying line thickness emphasizes areas closer or further away from the viewer.
Artists often use broken or dotted lines to suggest softer or less focused edges. This keeps the drawing from looking too harsh and adds a delicate feel to petals or leaves.
Hatching and Cross-Hatching for Texture
Hatching uses sets of parallel lines to show shading or texture on the plant’s surface. The closer the lines, the darker the shading appears. This technique helps show where light hits the plant and where shadows fall.
Cross-hatching adds another set of lines crossing the first set, usually at an angle. This builds up deeper shadows and rougher textures.
Different patterns of hatching can suggest things like smooth leaves, rough bark, or soft petals. Artists adjust line spacing and direction to capture these qualities. Practicing these strokes leads to more lifelike and detailed botanical drawings.
Adding Realism and Detail
Realism in pen and ink botanical drawing comes from careful observation and thoughtful technique. Artists focus on making their work look three-dimensional by adding depth, capturing natural patterns, and emphasizing important features of plants.
Building Depth and Dimension
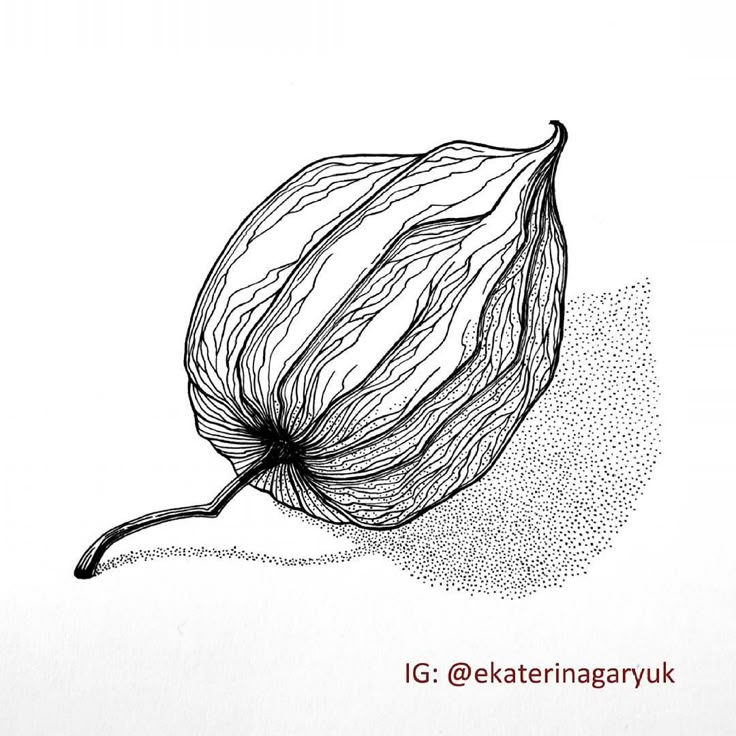
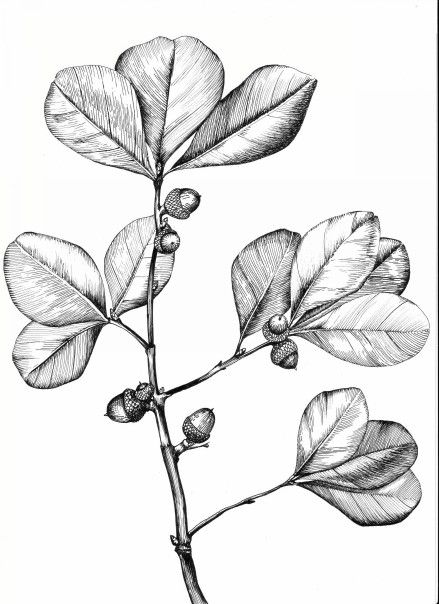
To build depth, artists use shading techniques like hatching, cross-hatching, and stippling. These methods add shadows and highlight different planes of the plant’s form. By varying the density and direction of lines, the drawing can show which parts are closer or farther away.
Working slowly with fine liner pens or technical nibs helps create smooth transitions between light and dark areas. Layering ink in thin, controlled strokes also keeps the drawing from looking flat. Artists often pay special attention to light sources, ensuring shadows fall in a realistic way.
Capturing Natural Patterns
Plants have unique textures and patterns that make each species distinct. These include leaf veins, bark textures, petal edges, and seed shapes. Effective botanical drawings show these details clearly to help viewers identify the plant.
Artists study the surface carefully, often using magnifiers or close-up photos. Repeating patterns found in nature—like the arrangement of veins or the roughness of bark—can be drawn with precise, small marks. Balancing detail with open space ensures the drawing doesn’t become too busy or confusing.
Highlighting Key Botanical Features
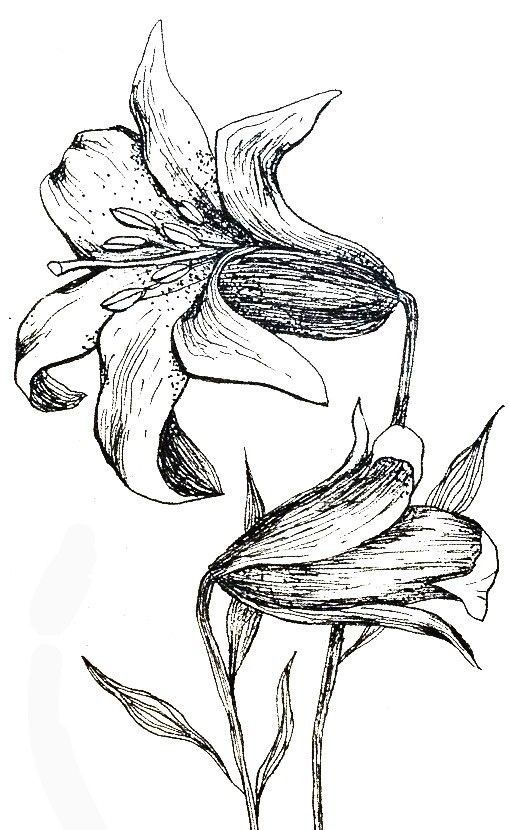
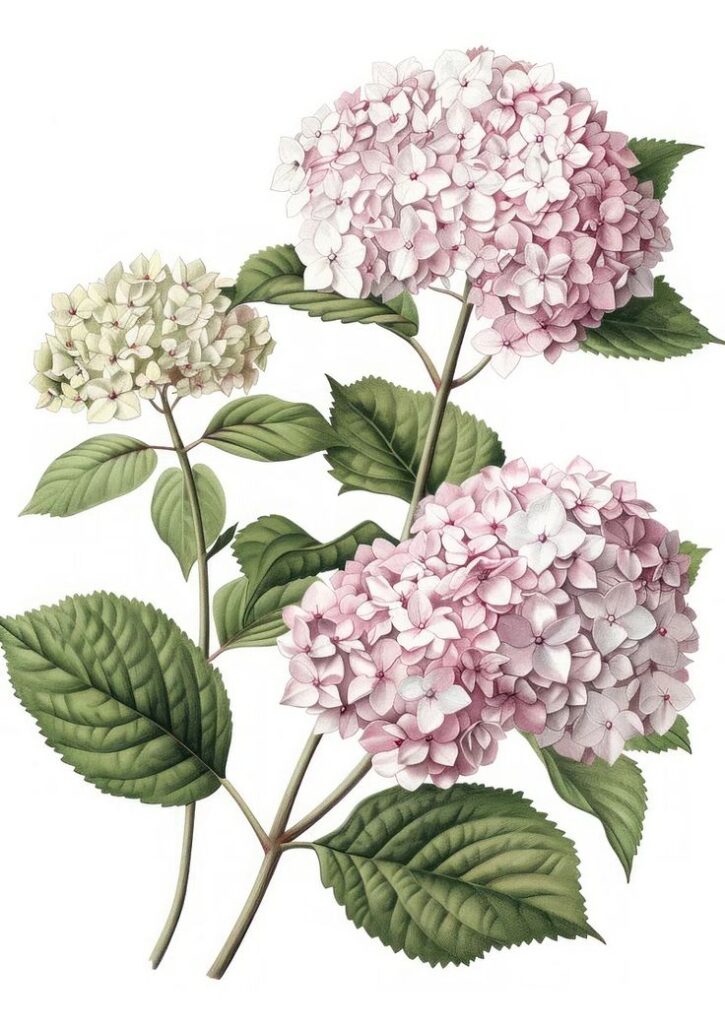
Focusing on important plant parts brings life to the drawing. Artists highlight features like flower shapes, leaf margins, or seed pods to show the plant’s identity.
Using darker lines or more ink in these areas helps them stand out. At the same time, softer lines or lighter shading keep less important areas in the background. This creates a clear visual hierarchy and directs the viewer’s eye to the plant’s defining traits.
A careful combination of bold and delicate lines emphasizes the plant’s structure and contributes to a realistic appearance.
Exploring Styles in Botanical Illustration
Botanical illustration with pen and ink can take many forms, from detailed, delicate drawings to bold, striking images. Artists choose styles based on the plant’s features or their own artistic goals. Different approaches affect how texture, depth, and form appear in the final work.
Traditional vs. Contemporary Approaches
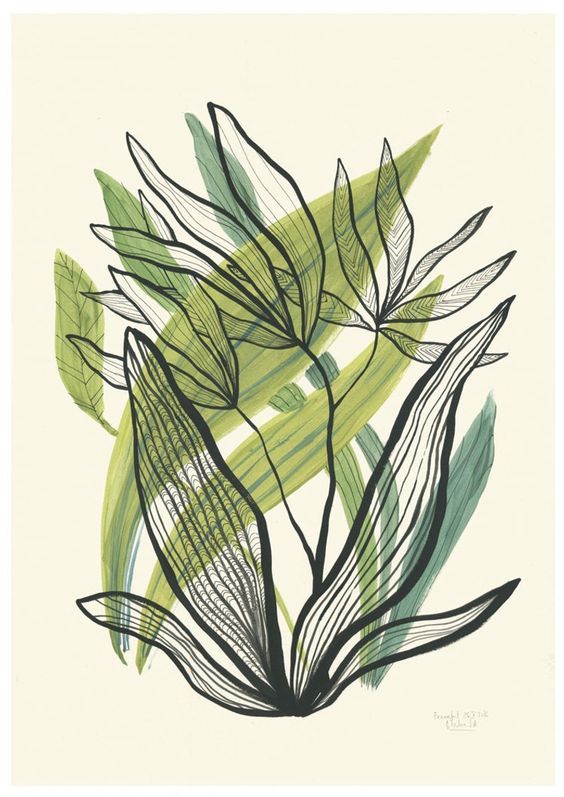
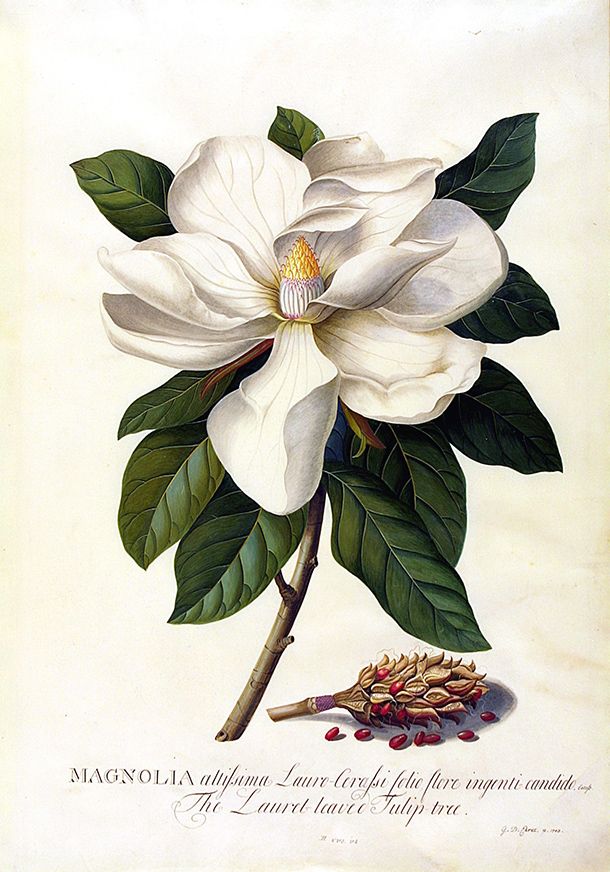
Traditional botanical illustration focuses on accuracy and detail, often aiming to show every part of the plant clearly. Artists use careful line work and shading, like cross-hatching or stippling, to create depth. This style prioritizes scientific precision and clear representation.
Contemporary botanical illustration blends classic detail with modern design elements. It might combine realistic plant depictions with abstract shapes or minimalist backgrounds. This style allows more freedom in composition and can feel more artistic than purely factual. Many artists mix pen and ink with other media to create unique effects.
Fine Line and Bold Ink Styles
Fine line techniques use thin, precise lines to capture delicate details like leaf veins and tiny textures. This creates a soft, intricate image that shows the plant’s subtle features. These drawings often use lots of small strokes or dots to build up shading gradually.
Bold ink styles use thicker lines and strong contrasts to make plants stand out. This style can simplify shapes and focus on form rather than every small detail. Bold lines add graphic impact and can make the illustration easier to read from a distance. Artists might use heavy outlines combined with areas of solid black or white space for drama.
Inspiration and Creativity in Botanical Drawing
Capturing the beauty of plants requires good sources of reference and a clear personal style. Artists often gather ideas from real nature or images, then add their own unique touch. This balance between observation and creativity helps bring drawings to life.
Finding Reference Material

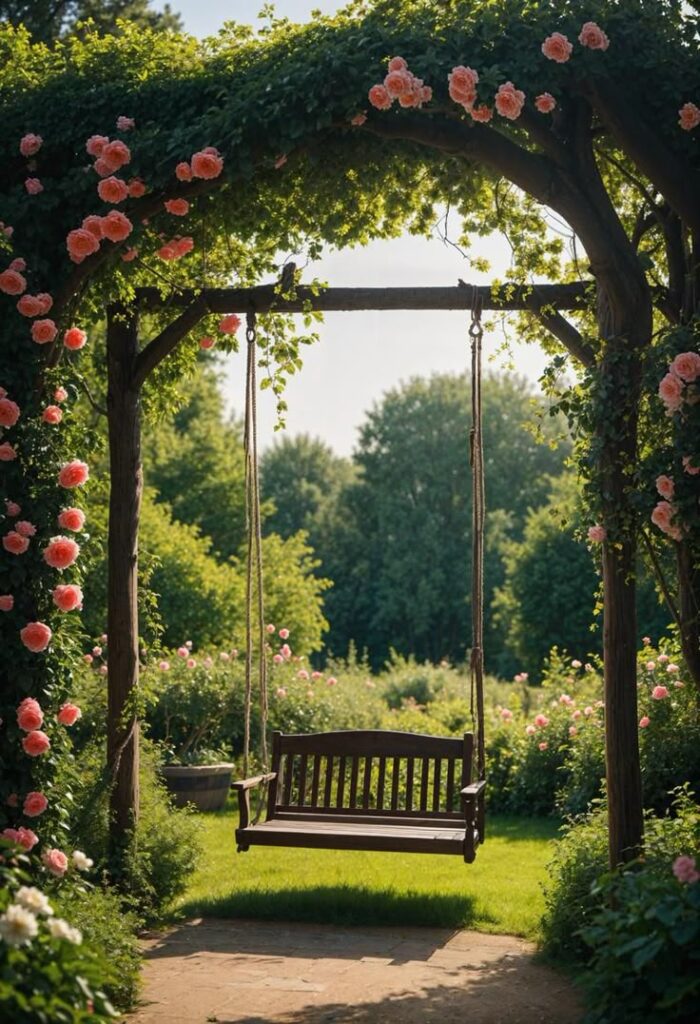
Artists can find reference material in many places. A garden, park, or even a windowsill provides real plants to study closely. Looking at fresh leaves, flowers, and stems helps understand shapes and details.
Photos and books are good alternatives when nature isn’t accessible. Using several images from different angles allows artists to see a plant fully. This helps avoid mistakes and makes the drawing more accurate.
Keeping a sketchbook with quick studies or notes of plants is useful. It’s a personal collection to return to for ideas or practice. Collecting seeds, leaves, or pressed flowers can also give extra texture or ideas for drawing.
Developing Your Artistic Vision
Once the artist knows their subject, they begin to develop a style. This means deciding how much detail to include and which features to highlight. Some prefer simple, clean designs, while others focus on complex textures.
Using pen and ink calls for confidence in each line. Artists learn to trust each stroke, which adds character. They might play with contrast, using bold darks against white space to make parts stand out.
Experimentation with different pens or strokes can shape the mood and feel. Combining precise lines with loose sketches adds interest. Over time, this process helps artists create work that reflects their unique view of nature.
Showcasing and Preserving Botanical Artwork
Preserving pen and ink botanical drawings requires careful finishing and protection to keep the artwork safe from damage. Displaying the art involves choices around framing, lighting, and sharing to highlight detail and maintain its quality over time.
Finishing and Protecting Your Drawings
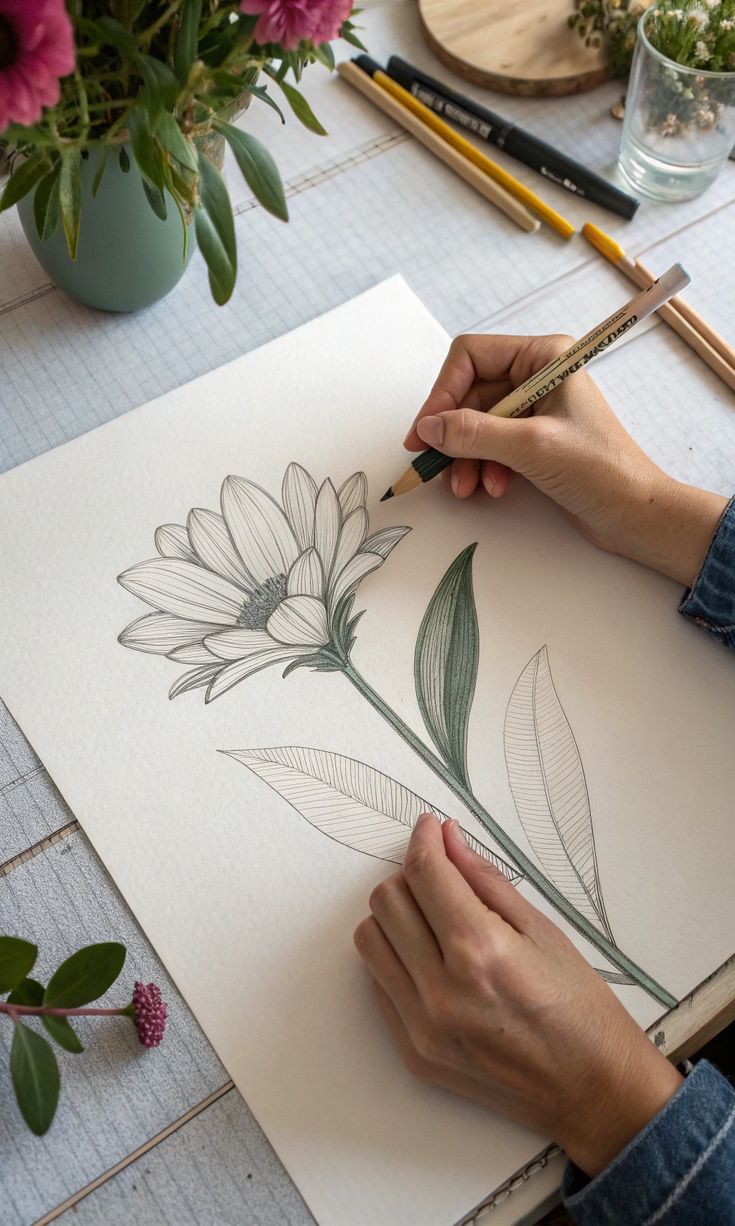

After completing a pen and ink botanical drawing, the artist should let the ink dry fully to avoid smudging. Applying a fixative spray is important. This clear spray seals the ink, preventing smears and protecting the paper from dirt and moisture.
Choosing acid-free paper or mounting materials helps prevent yellowing and deterioration. When handling, clean hands or cotton gloves reduce the risk of oils transferring to the drawing.
Storing artwork away from direct sunlight and in a cool, dry place slows fading and paper damage. Using protective sleeves or folders adds an extra layer of defense during storage or transportation.
Displaying and Sharing Your Art
Framing with UV-protective glass shields the drawing from harmful sunlight while allowing clear viewing. A simple, neutral-colored mat can help draw attention to the art without distracting from details.
Proper lighting is key. Soft, indirect light works best to avoid glare and damage, especially LED lights that emit less heat.
Sharing artwork online or at exhibitions is a good way to reach an audience. High-quality photographs or scans capture fine line work and textures for digital displays or prints. When sharing physical pieces, using sturdy packaging protects the drawing when mailing or transporting.
- 7.9Kshares
- Facebook0
- Pinterest7.9K
- Twitter0
- Reddit0


