Drawing a kimono gives you the chance to explore both fashion and tradition in a creative way. You can capture its flowing lines, layered structure, and unique patterns while still keeping your own style. The key to drawing a kimono well is understanding its basic shape and how the fabric drapes around the body.
You don’t need advanced skills to start. Simple outlines can help you build the form, and adding patterns or accessories brings it to life. Once you learn the structure, you can experiment with poses, folds, and designs that make each sketch unique.
By practicing different styles, you’ll discover how versatile kimono drawings can be. Whether you want a traditional look or a modern twist, you have endless ways to experiment with shapes, colors, and details.
Key Takeaways
- Learn the basics of kimono form and flow
- Build sketches step by step with simple shapes
- Add creative patterns and details for variety
Essential Kimono Drawing Ideas
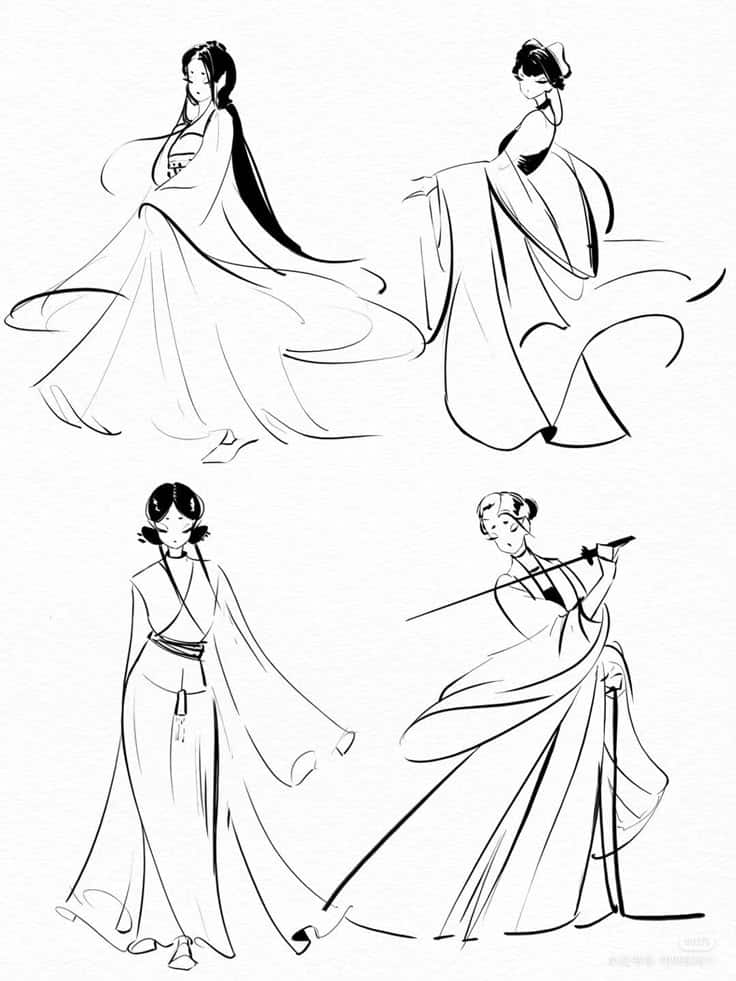
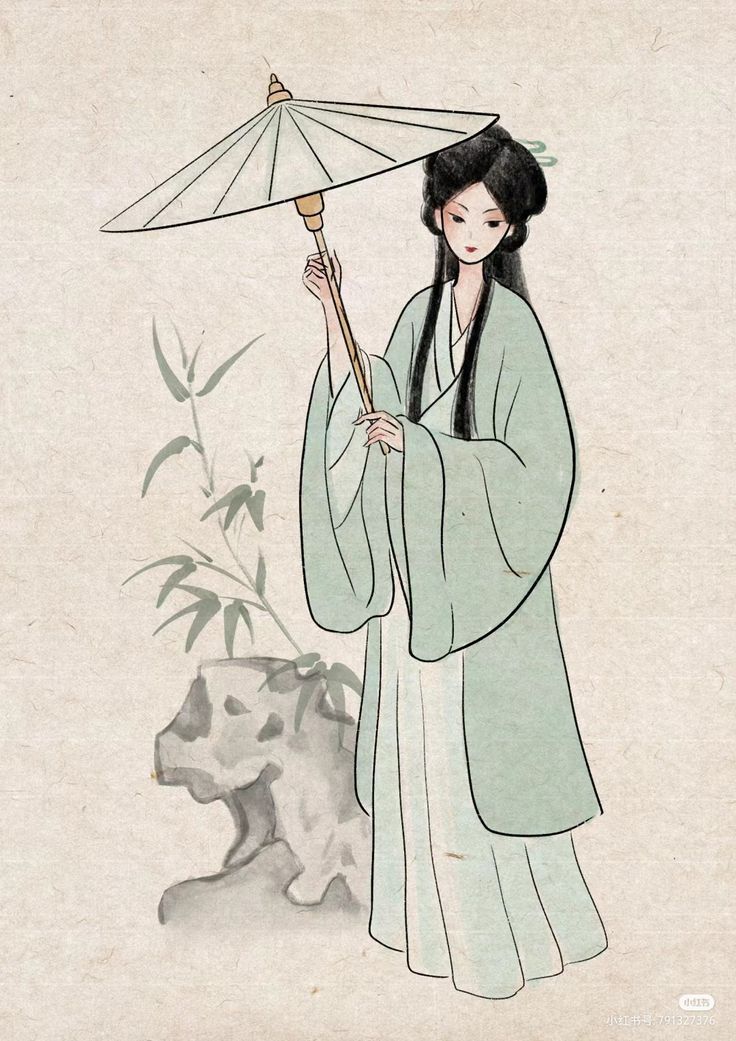
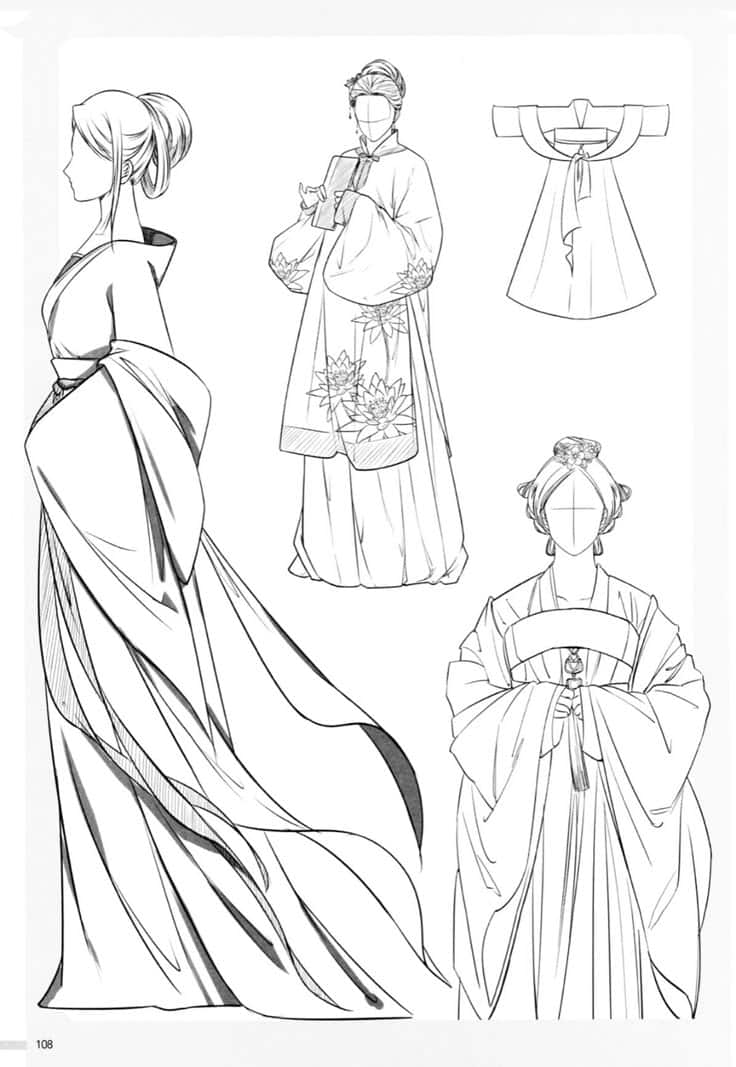
When you draw kimonos, you focus on shape, drape, and detail. Paying attention to fabric folds, proportions, and how the garment interacts with the body will make your sketches look more natural and accurate.
Traditional Kimono Silhouettes
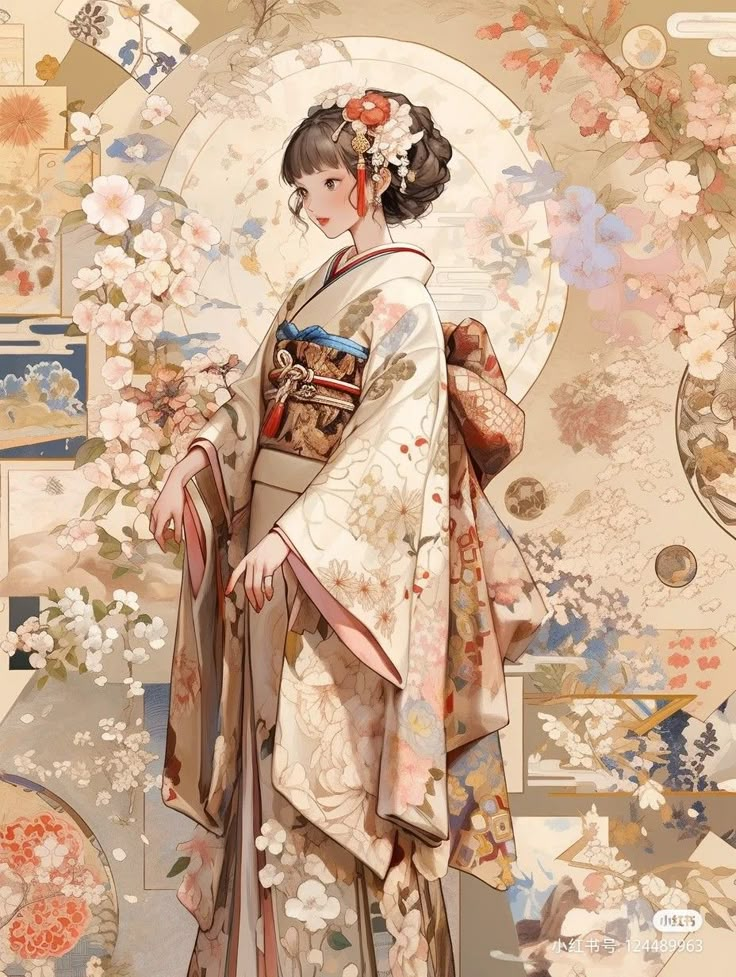
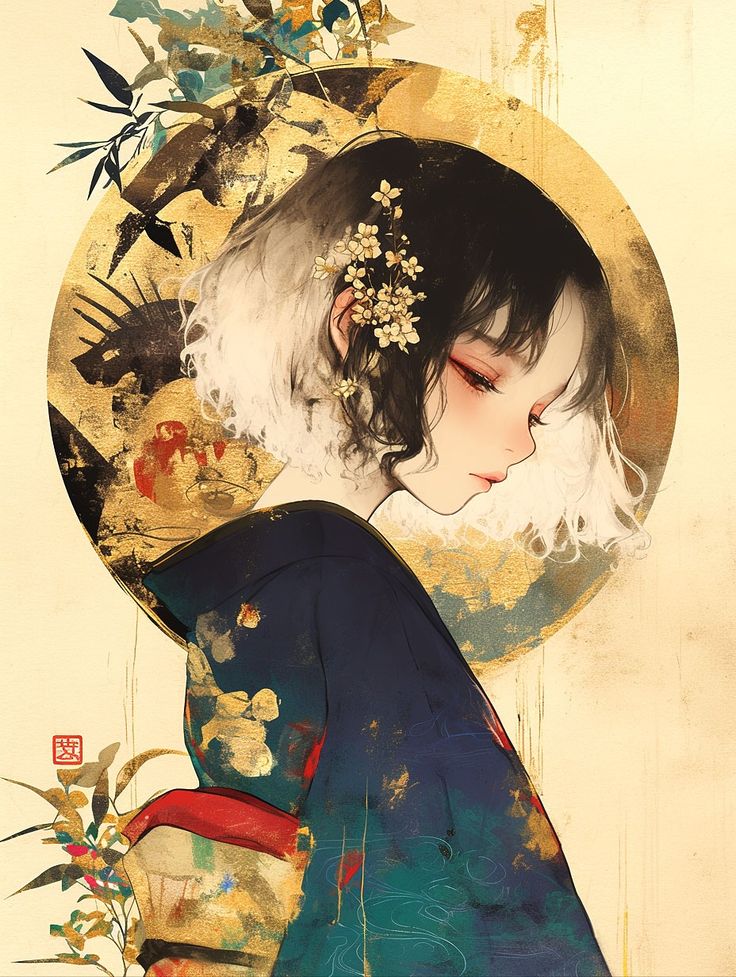
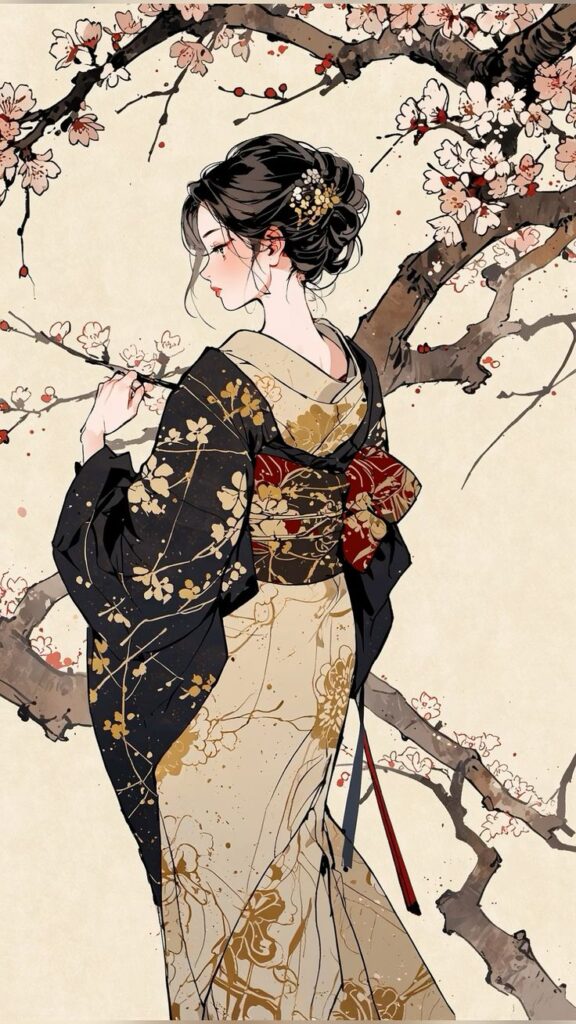
You should start by learning the basic structure of a kimono. The garment usually has straight lines, wide sleeves, and a T-shaped body that flares slightly at the bottom. Keeping these proportions consistent helps your drawing look authentic.
Focus on the obi (belt), which is a central feature. It wraps around the waist and often appears thick and structured. Drawing it too narrow or loose can make the outfit look inaccurate.
When sketching folds, keep them simple and deliberate. Traditional kimonos don’t cling to the body, so avoid tight outlines. Instead, show the fabric hanging with soft vertical lines.
A quick guide for proportions:
- Length: Reaches the ankles.
- Sleeves: Long and rectangular.
- Collar: Overlaps in the front.
- Obi: Sits high at the waist.
Modern Kimono Inspirations
You can experiment with modern adaptations that combine traditional features with contemporary fashion. Shorter lengths, slimmer sleeves, and lighter fabrics often appear in these designs.
Patterns are another area where you can get creative. Instead of classic floral or geometric motifs, try minimalist prints, bold color-blocking, or even abstract shapes. This makes your drawing feel fresh while keeping the recognizable kimono form.
Layering also works well in modern styles. For example, you might sketch a kimono jacket worn over jeans or a dress. This creates a casual, versatile look that blends old and new.
Think about fabric textures, too. A modern kimono might use denim, chiffon, or even leather. Use shading and line work to suggest how each material hangs differently.
Character Design Concepts
If you’re designing characters, kimonos can add personality and cultural depth. The way you draw the garment should reflect the character’s role, age, or setting.
For a formal character, you could use a long kimono with intricate patterns and a wide obi. For a casual or youthful look, sketch a shorter style with simpler designs.
Consider movement when drawing. A warrior might have a kimono with shorter sleeves for practicality, while a dancer’s kimono could show flowing fabric that emphasizes motion.
You can also use color choices to highlight traits. Bright tones suggest energy, while muted shades give a calm or serious impression. This approach helps the clothing tell part of the story without words.
Understanding Kimono Structure
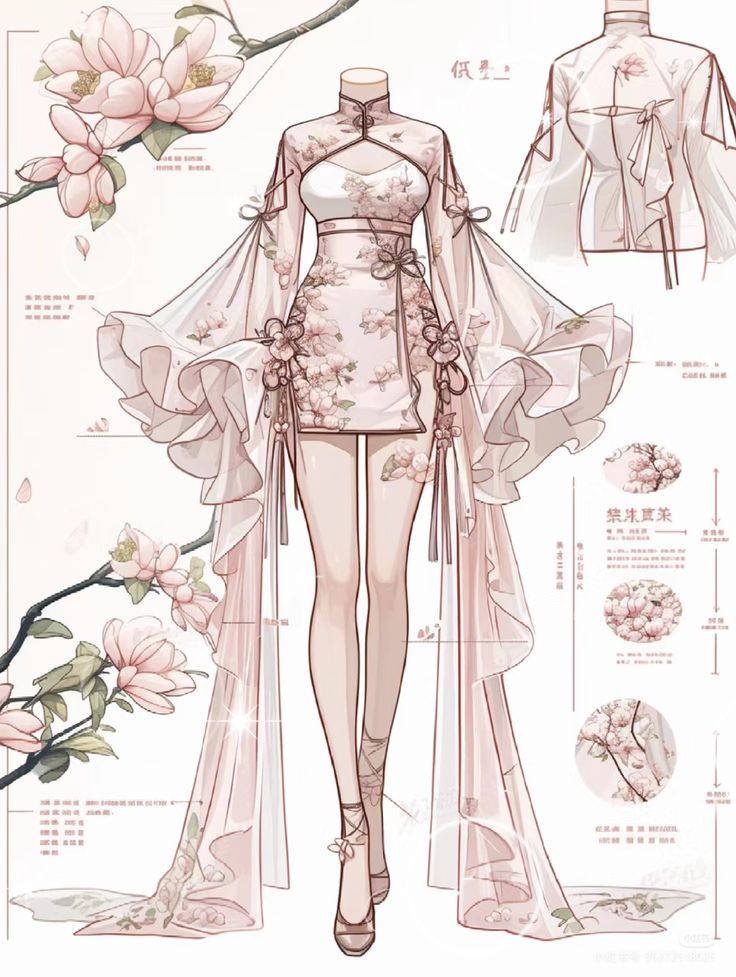
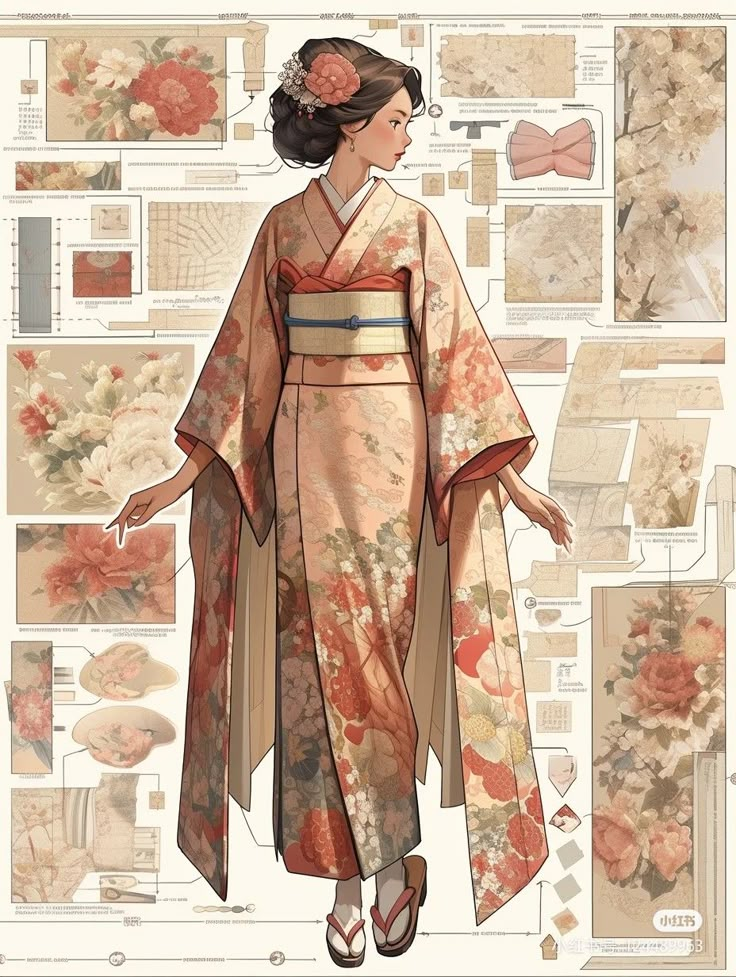
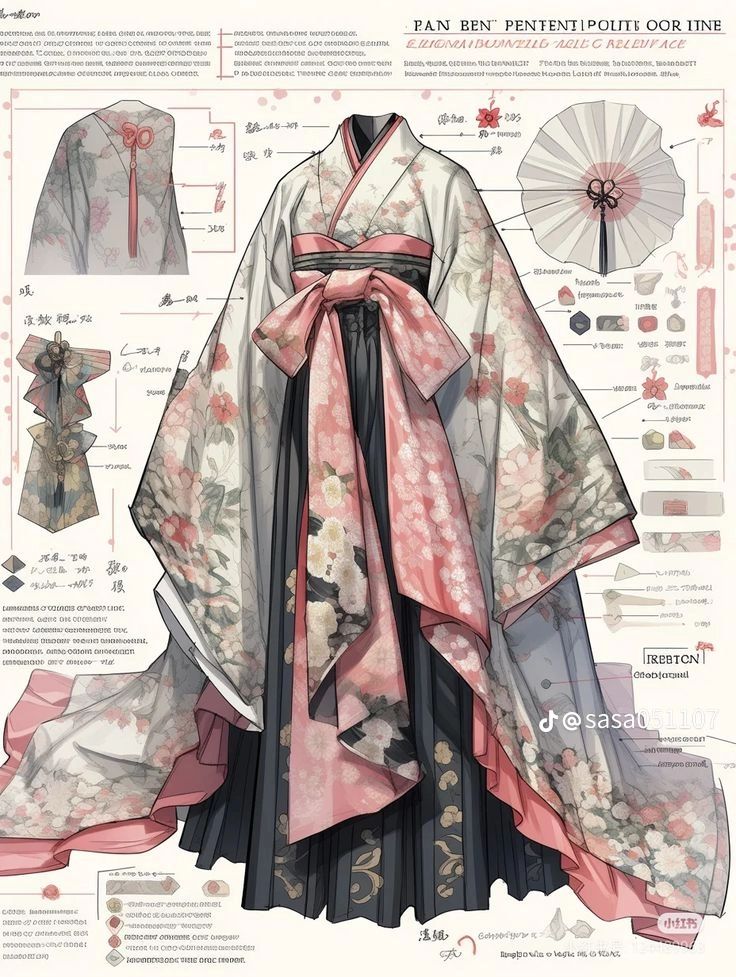
When you draw a kimono, you need to think about how its parts fit together. The collar, sleeves, and obi each have specific shapes and placements that affect proportion and balance. Men’s and women’s kimonos also differ in length, sleeve style, and how the fabric drapes.
Collar and Sleeve Details
The collar, or eri, is one of the most recognizable features. It usually forms a V-shape at the neckline and overlaps left over right. When drawing, make sure the collar lines are clean and slightly thick, as they frame the face and upper body.
Sleeves, called sode, vary in length and width depending on formality and gender. Women’s sleeves often extend longer, especially in formal kimonos like furisode, where they can reach the thighs. Men’s sleeves are shorter and more rectangular, giving a straighter silhouette.
Pay attention to how sleeves attach to the body of the kimono. They connect at the shoulder but often leave an open gap under the arm. This detail adds authenticity and shows how the garment hangs naturally.
Obi Placement and Variations
The obi, or sash, secures the kimono and adds visual interest. In drawings, its placement across the waist or slightly higher on women changes the overall body proportion. A higher obi makes the legs appear longer, while a lower obi emphasizes the torso.
There are many obi tying styles, but for drawing, you can focus on the most common shapes. For women’s kimonos, the taiko musubi (drum knot) is neat and rectangular, while more decorative knots appear in formal wear. Men’s obi are narrower and tied simply at the back.
You should also show how the obi compresses the fabric beneath it. The fabric folds slightly around the sash, which prevents the kimono from looking flat. Adding these folds gives your drawing more depth and realism.
Differences Between Men’s and Women’s Kimonos
Men’s kimonos are generally understated. They use muted colors, straight sleeves, and shorter hems that fall at the ankle. The cut is simple, and the obi is narrow, tied at the back without elaborate knots.
Women’s kimonos are more varied in style and detail. They often feature wide sleeves, longer hems, and vibrant patterns. The obi is larger and more decorative, becoming a focal point of the outfit.
Another key difference lies in proportion. Women’s kimonos are adjusted with padding and folds to create a tubular shape, while men’s kimonos follow the body’s natural lines. Paying attention to these contrasts will help you capture gender-specific designs accurately.
Step-by-Step Kimono Drawing Techniques
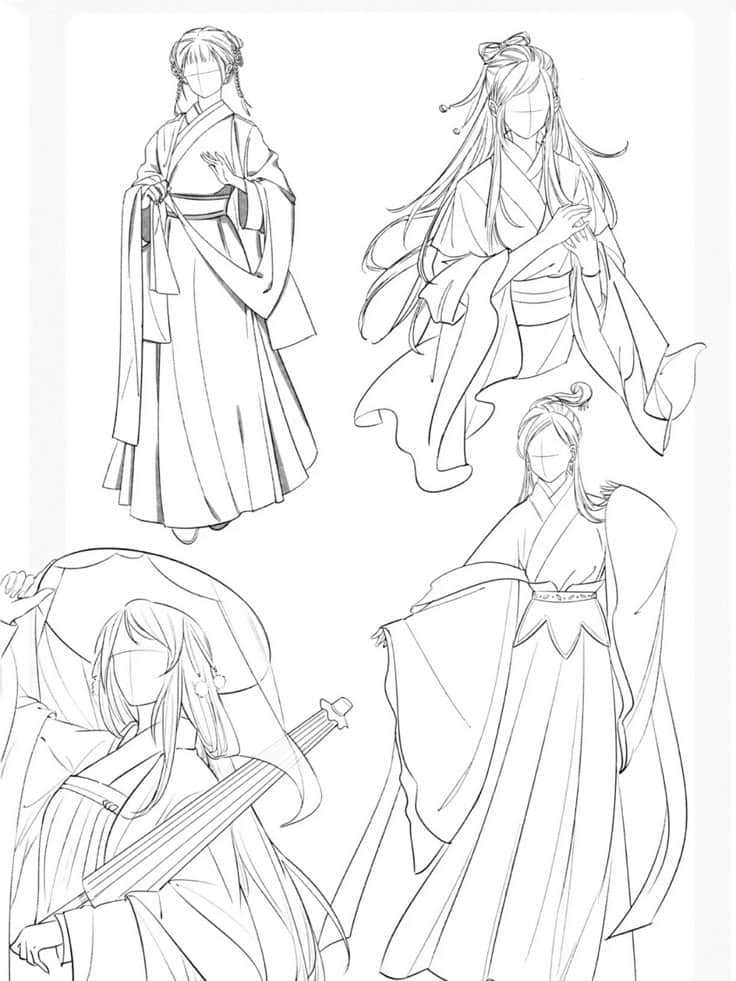
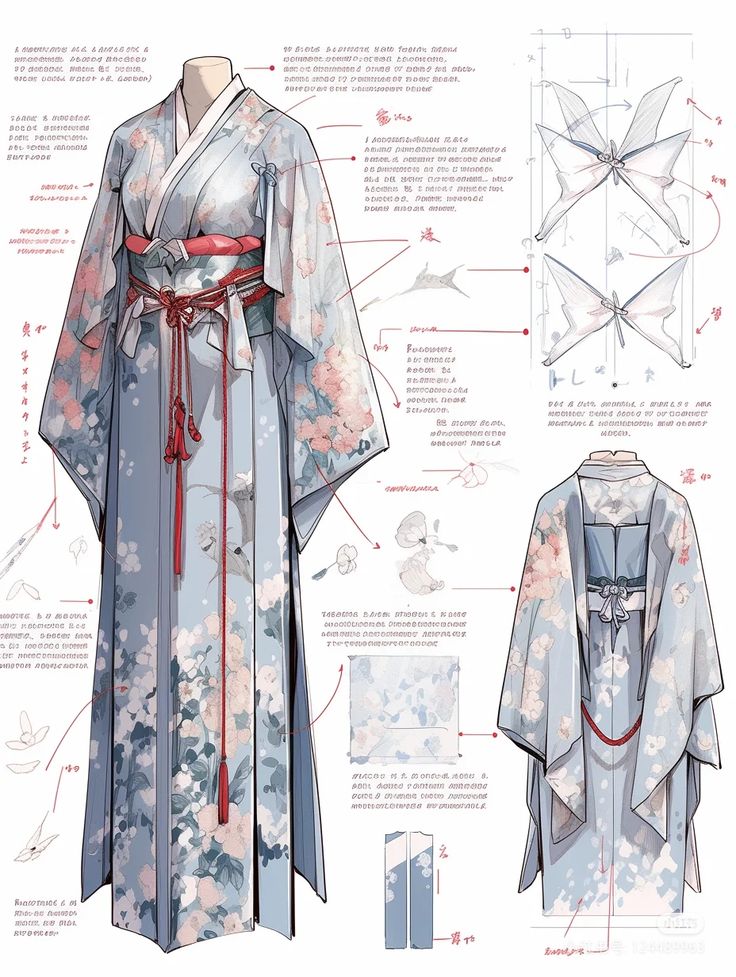
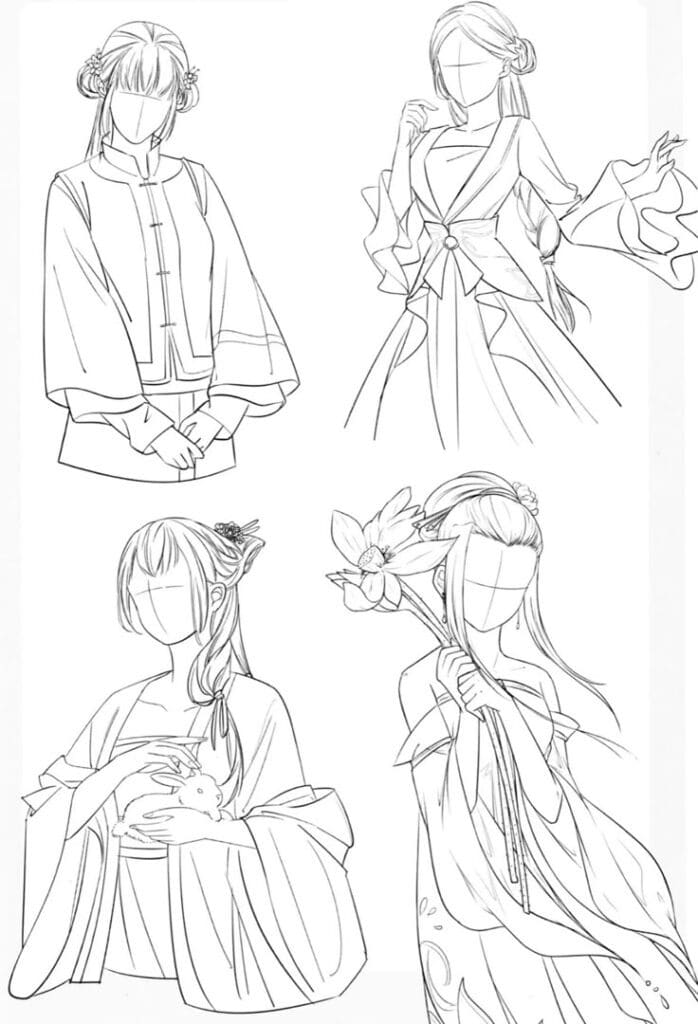
You can break down a kimono drawing into manageable stages by focusing on structure, fabric movement, and clean outlines. Paying attention to proportion and flow will help your drawing look natural and true to traditional design.
Sketching the Basic Shape
Start by drawing a simple frame for the body. Lightly sketch a head, shoulders, and torso to give yourself a guide for where the kimono will sit. Keep the lines loose and avoid pressing too hard since you will adjust them later.
The kimono itself begins with straight vertical lines for the body and wide sleeves that extend outward. Think of the garment as a series of rectangles that overlap. The sleeves should be long and slightly wider than the torso to capture the traditional cut.
Add a guideline for the collar by drawing a V-shape at the neckline. This will help you place the overlapping front panels correctly. Use simple geometric shapes like rectangles and triangles to block in the obi (belt) around the waist.
Keep proportions balanced. A kimono usually falls straight down without hugging the body, so avoid contouring the garment too closely. At this stage, focus on symmetry and overall placement rather than details.
Adding Folds and Fabric Flow
Once the base is sketched, you can bring the fabric to life by adding folds. Start with the sleeves, where natural creases form near the shoulder and at the hanging ends. Draw a few curved lines to suggest how the fabric drapes.
The body of the kimono should have vertical folds that follow gravity. Place them near the waistline where the obi cinches the fabric and at the hem where the garment meets the ground. Keep the folds simple and avoid overcrowding.
Think about how the fabric overlaps at the front. The left panel usually crosses over the right, so add a fold line to show this overlap. Use slightly curved strokes instead of straight lines to suggest softness and movement.
For a more natural look, vary the length and angle of your folds. A mix of longer sweeping lines and shorter creases creates a believable flow without overwhelming the design.
Outlining and Inking Tips
When you move to outlining, switch to a darker pencil or pen. Trace over the main shapes of the kimono while leaving out unnecessary sketch lines. Keep your hand steady and use smooth strokes to avoid jagged outlines.
Pay attention to line weight. Thicker lines can define the outer edges of the garment, while thinner lines work well for folds and inner details. This contrast adds depth and makes the drawing easier to read.
If you plan to add patterns later, leave enough open space on the sleeves and body. Avoid cluttering the outline with too many small marks. Clean, simple lines give you more flexibility when decorating.
Use an eraser to gently remove leftover sketch marks once the ink is dry. This will make your kimono drawing look polished and ready for color or additional detail.
Creative Kimono Pattern Ideas
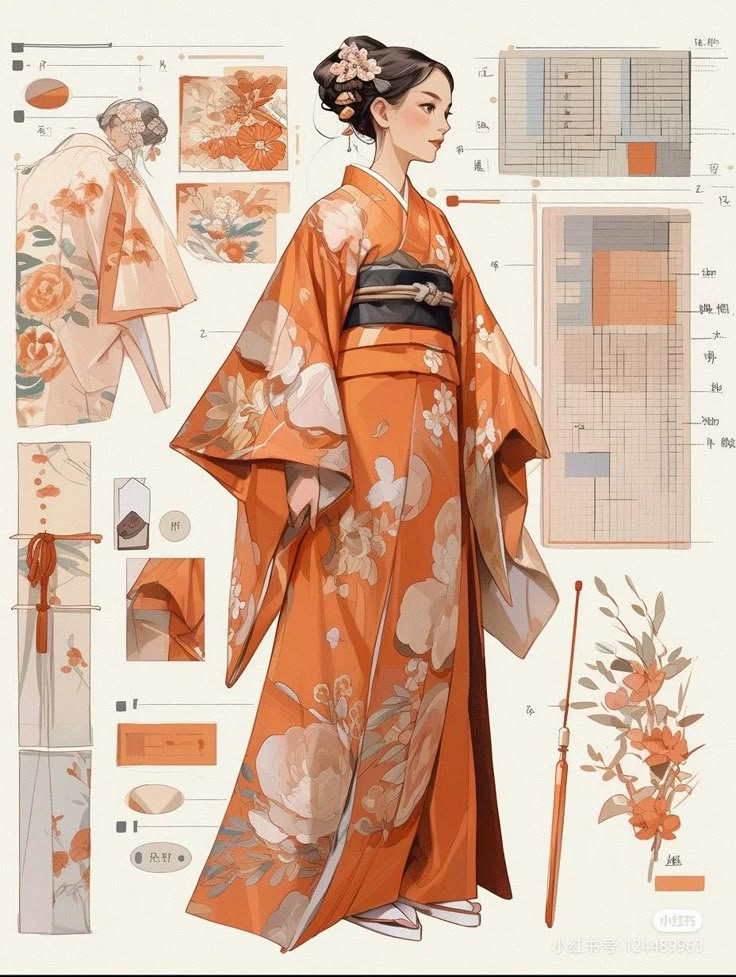
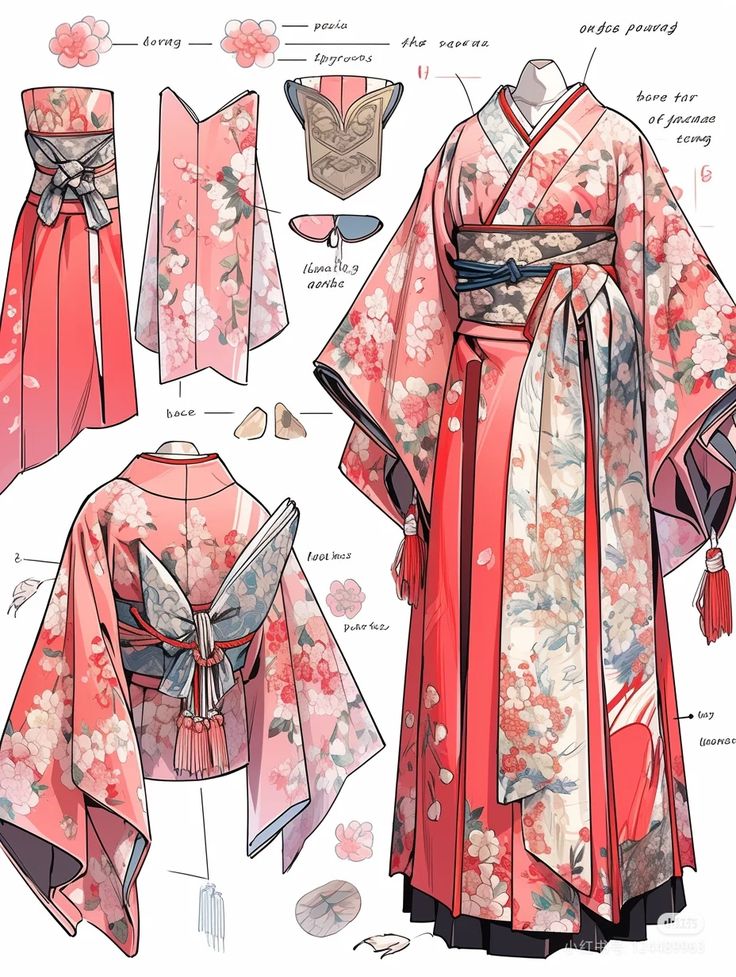
When you draw kimono designs, you can explore both traditional and modern elements. Using natural imagery, structured shapes, and seasonal details allows you to create patterns that feel balanced, meaningful, and visually appealing.
Floral Motifs
Floral patterns are a classic choice for kimono design, and they often carry symbolic meaning. For example, cherry blossoms represent renewal, while peonies symbolize prosperity. You can use these flowers to give your artwork cultural depth while also adding beauty.
Try experimenting with scale. Large blossoms can create a bold focal point, while smaller flowers scattered across the fabric give a softer, more delicate look. Mixing both can help you achieve variety without overwhelming the design.
You might also want to layer flowers with leaves or vines. This creates movement in your drawing and prevents the pattern from looking flat. Using subtle color gradients can further enhance the natural flow of petals and stems.
A simple way to plan floral layouts is to sketch a grid and place flowers at regular intervals. This keeps spacing consistent while still allowing you to fill gaps with smaller details like buds or leaves.
Geometric Patterns
Geometric shapes give your kimono drawings a structured and modern touch. Common motifs include hexagons (kikkō), stripes, and checkered grids. These patterns have been used in traditional Japanese textiles for centuries, but they also adapt well to contemporary styles.
You can combine straight lines with curves to create contrast. For instance, pairing circular motifs with angular lines helps balance rigidity and softness. Repeating shapes in a clear rhythm can make your design look organized and intentional.
Consider using symmetry when drawing geometric layouts. A mirrored arrangement across the fabric gives a sense of harmony, while slight variations keep it interesting. If you want a bolder look, try alternating colors within the same shape to create contrast.
A quick tip is to sketch a base outline of your kimono panels and map out where each geometric block will sit. This helps you visualize the overall composition before adding detail.
Seasonal Themes
Drawing with seasonal inspiration allows you to connect your kimono design to nature and cultural traditions. For spring, plum blossoms and bamboo shoots are common. In summer, you might use waves, fireworks, or morning glories to capture the season’s energy.
Autumn designs often feature maple leaves or chrysanthemums, while winter patterns highlight pine trees, snowflakes, or camellias. Each choice reflects the time of year and gives your artwork symbolic meaning.
You don’t need to fill the kimono with every seasonal element. Instead, focus on one or two motifs and repeat them in different sizes. This creates a cohesive theme without overcrowding the design.
Using color carefully strengthens the seasonal effect. Soft pinks and pastels work well for spring, while deep reds and oranges suit autumn. Cool blues and whites can make a winter design feel crisp and calm.
Incorporating Accessories and Poses
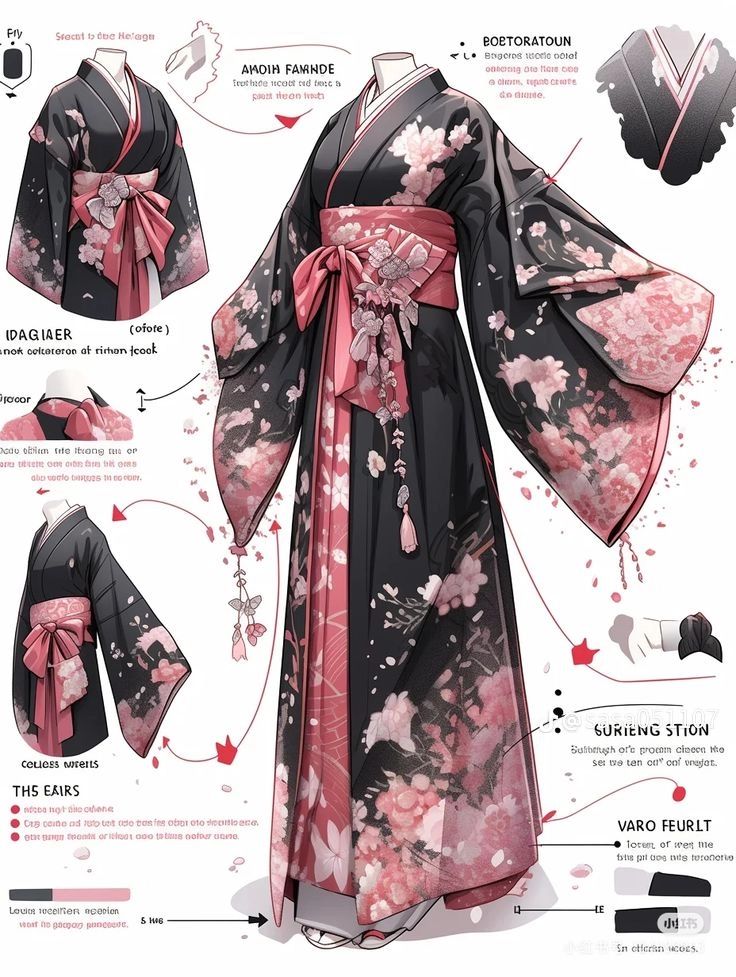
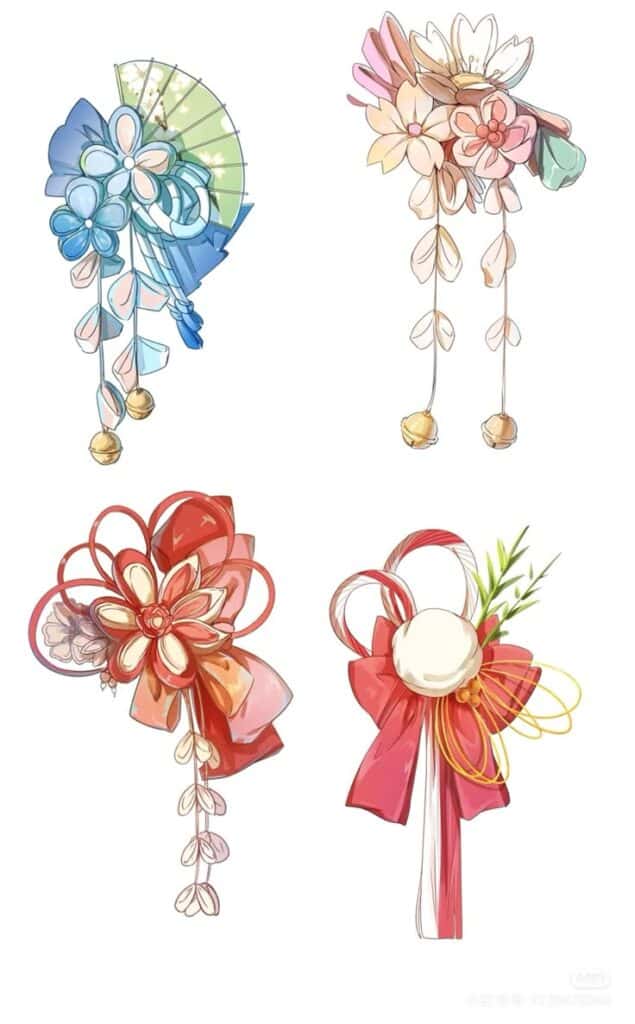
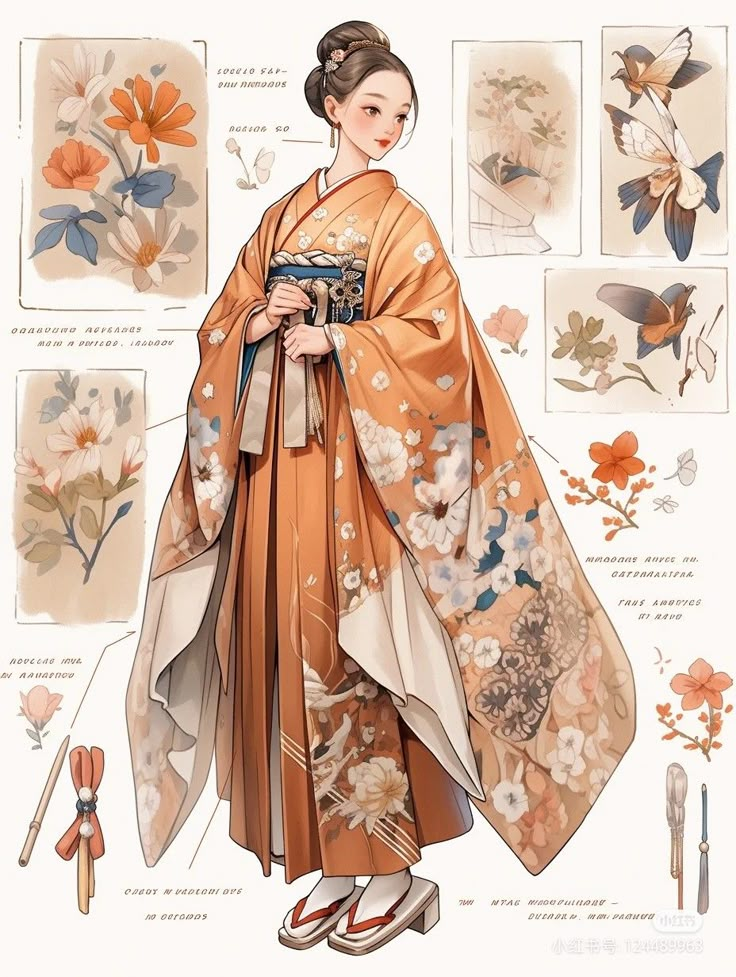
When you draw a kimono, the details around the outfit make a big difference. Accessories, hairstyles, and body movement help your character look more natural and authentic.
Obi Styles and Bows
The obi is more than just a belt—it’s a focal point of the kimono. You can draw it wide and structured for formal looks or keep it thinner for casual wear. The way you tie the bow also changes the impression, from elegant to playful.
Common bow types include:
- Taiko musubi: boxy and formal, often used for mature characters.
- Bunko musubi: softer and more rounded, often drawn for younger characters.
- Kai no kuchi: simple and flat, suitable for everyday wear.
Pay attention to how the obi wraps around the waist and how the bow sits on the back. Drawing folds and overlapping layers adds depth and realism. You can exaggerate the scale slightly in drawings to highlight the style.
Hairstyles and Hairpieces
Traditional hairstyles help balance the kimono’s formal look. You might choose an updo to show off the neckline or loose waves for a softer appearance. Hair should complement the outfit rather than compete with it.
Hairpieces, or kanzashi, add extra detail. These can be simple pins, dangling ornaments, or floral decorations. For seasonal themes, you can match the hairpieces to motifs on the kimono, such as cherry blossoms in spring or chrysanthemums in autumn.
You don’t need to overcomplicate the design. Even a single comb or ribbon can give your drawing a finished look. Focus on how the accessories frame the face and interact with the hairstyle.
Dynamic Poses for Kimono Characters
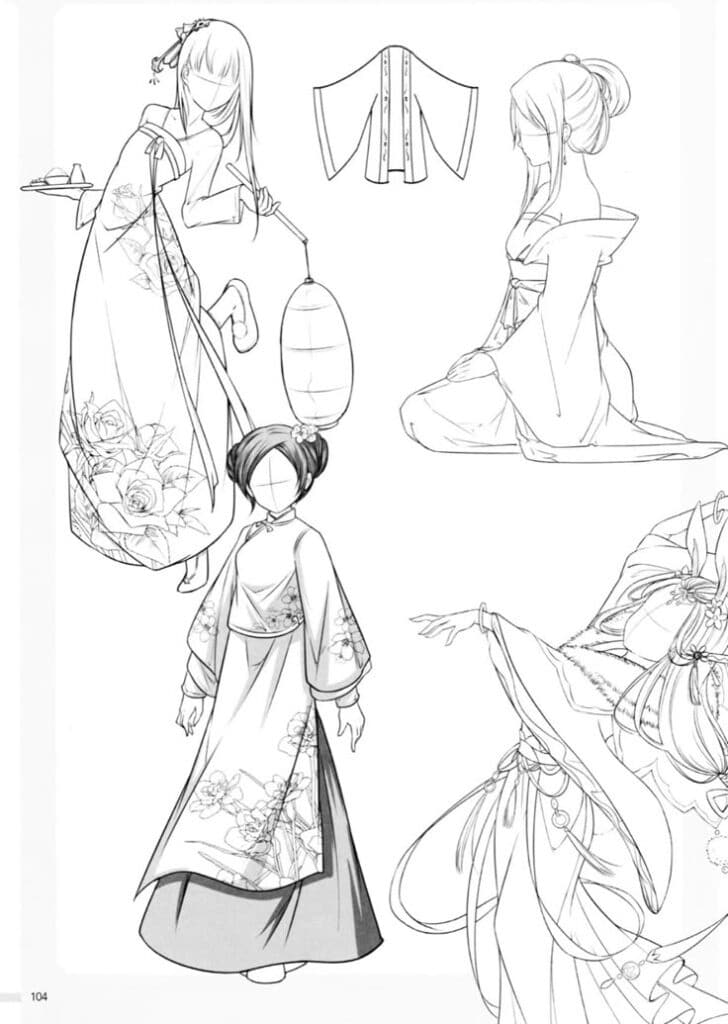
Movement in a kimono looks different from modern clothing. The long sleeves and layered fabric create flowing lines that emphasize gesture. When sketching, think about how the fabric drapes and shifts with motion.
For standing poses, you can tilt the torso slightly and let the sleeves hang naturally. In seated poses, note how the kimono folds neatly around the legs. Walking poses work well with one hand holding the hem slightly lifted.
A quick reference table can help:
| Pose Type | Key Detail to Emphasize |
|---|---|
| Standing | Sleeve length and drape |
| Sitting | Folds around knees and lap |
| Walking | Hem movement and lifted hand |
By focusing on these small details, your drawings will feel more grounded and lifelike.
- 1.1Kshares
- Facebook0
- Pinterest1.1K
- Twitter0
- Reddit0
