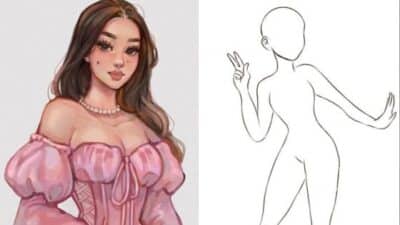
Learning how to draw the female body can help you improve your overall figure drawing skills and develop more dynamic and natural-looking artwork. To draw a woman’s body, you need to understand core anatomy, start with basic shapes for structure, and gradually refine the features and pose for accuracy. This approach makes the process less overwhelming and helps you focus on proportion, movement, and character.
By exploring the nuances of body shapes, sketching the right guidelines, and adding details like clothing and accessories, you can create drawings that are both accurate and expressive. Whether you are a beginner or looking to sharpen your skills, building a foundation with these steps will lead to noticeable progress.
Key Takeaways
- Grasp female body proportions to establish a solid base
- Layer features and refine your drawing step by step
- Use clothing and expressiveness to add character and style
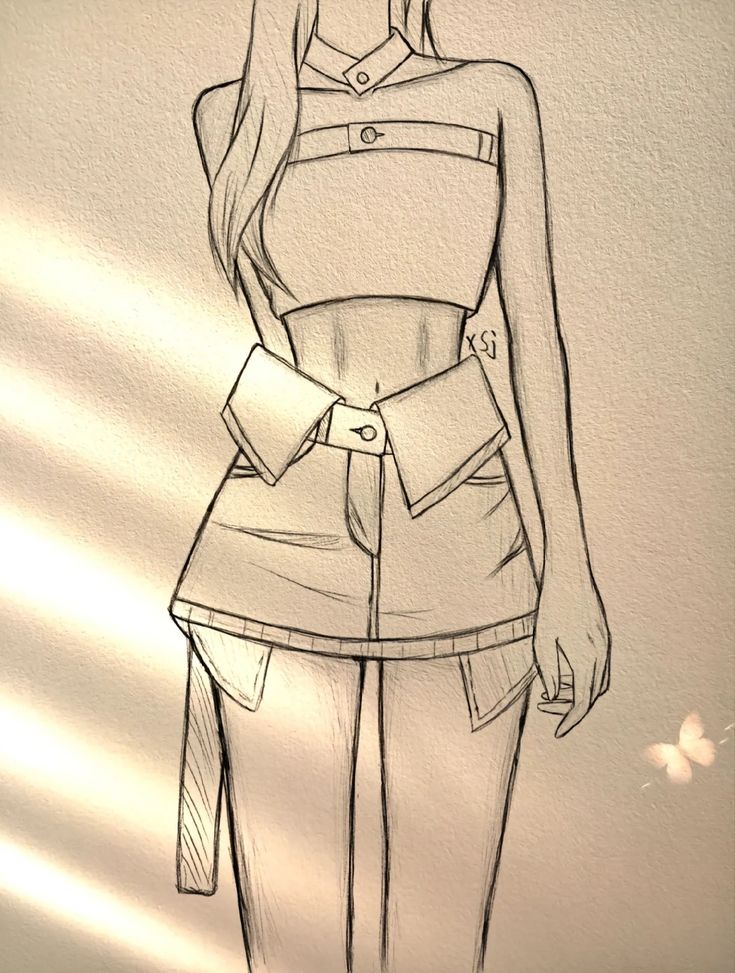
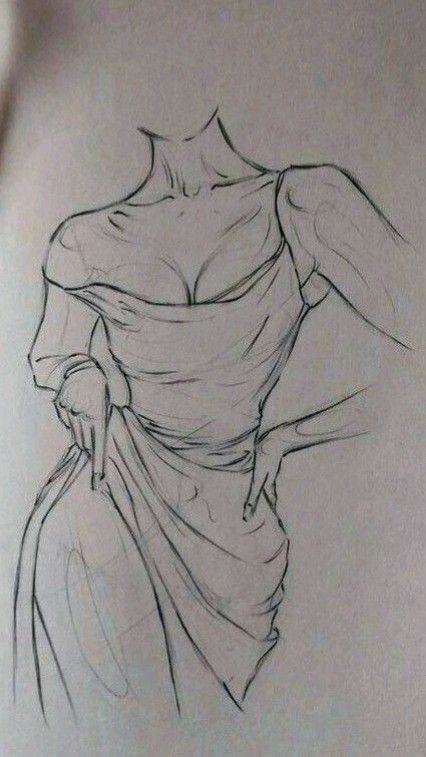
Understanding Female Anatomy and Proportions
Drawing the female body accurately involves understanding the essential differences in structure, bodily proportions, and how gravity affects shape and posture. Attention to anatomy, balance, and subtle curves ensures a more convincing representation.
Key Proportions for the Female Form
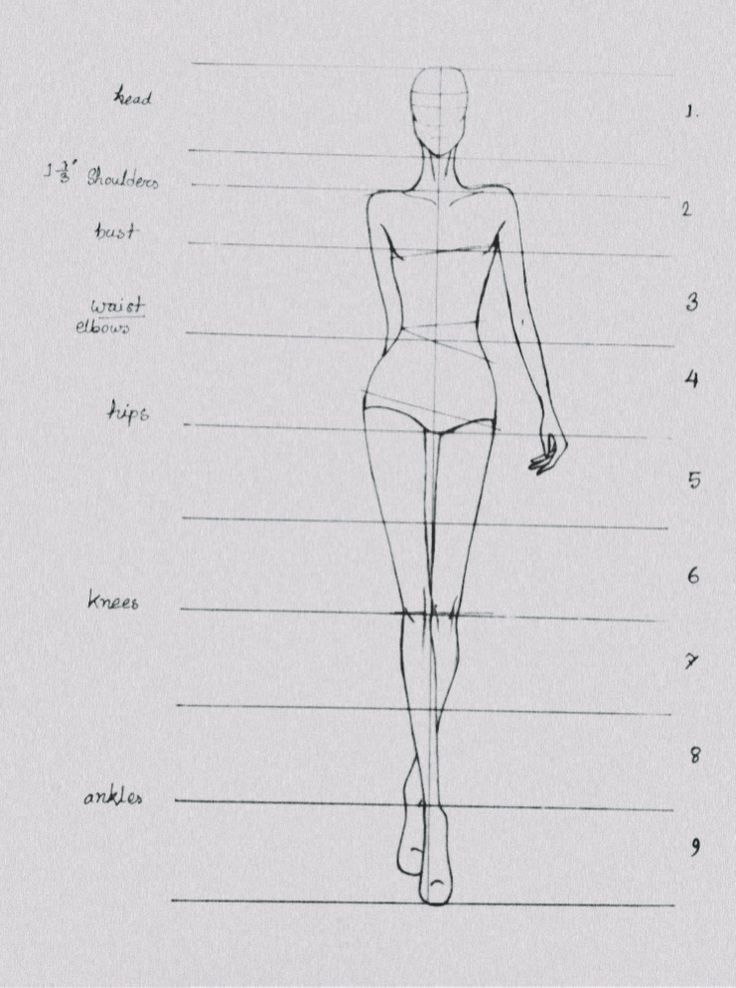
The adult female figure is typically measured in “head units,” with the full body averaging about 7–8 heads tall. Shoulders are narrower than in males, usually about 2 to 2.5 head widths wide.
The waist is noticeably slimmer than the hips, creating an hourglass effect. The hips are generally the widest part of the body. Legs make up over half of the body’s length, with the pelvis positioned lower than on the male figure.
Upper body proportions:
- Neck is slender compared to the head
- Bust line sits about 2 heads down from the top
- Waist falls halfway between the bust and hips
Paying attention to these guides will help maintain natural balance and proportion in your drawings.
Differences Between Male and Female Bodies
Female anatomy differs from male anatomy in several clear and observable ways. The most noticeable differences are the width of the pelvis and the curve of the waist.
Female shoulders tend to be narrower, while the hips are wider, emphasizing a curving silhouette. Musculature and bone structure are generally less pronounced, with softer transitions between body parts. Elbows usually align with the waist, while wrists reach the widest point of the hips.
Breasts and wider hips also affect how clothes drape and how weight is distributed in poses. Hands and feet are typically smaller, adding to the overall impression of softness and slenderness.
The Role of Gravity in Body Structure
Gravity influences both the resting posture and shape of the female form. When standing, weight is mostly supported by the hips and thighs, causing subtle shifts in alignment and muscle definition.
Breasts respond to gravity by sitting lower on the chest when unsupported and change shape depending on movement or position. The lower abdomen and thighs may also show gravity’s effect, particularly in relaxed poses.
It’s important to consider how hair, skin, and clothing interact with gravity to achieve a natural look. Understanding these real-world effects adds realism and believability to your figure drawings.
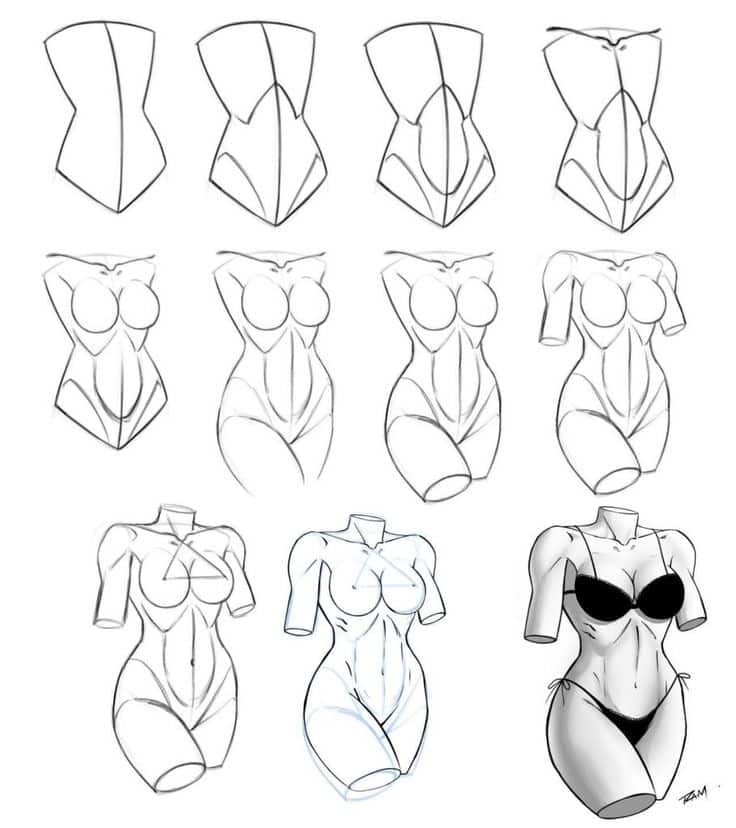
Sketching the Basic Structure
Begin with a light pencil sketch to lay the foundation for the female figure. Focus on accurate proportions and gentle flow between body parts to achieve a realistic human form.
Drawing Head, Shoulders, and Torso
Start by sketching an oval for the head. Use a vertical line to indicate the center and a horizontal line for eye placement.
From the base of the head, mark the neck—typically narrower than the head. The shoulders are drawn as a gentle slope, usually wider than the hips but less angular than in male anatomy.
The torso follows with a slightly tapered shape, wider at the shoulders and narrowing at the waist. Use simple shapes, like cylinders or rectangles, to block in the ribcage and abdomen. Keep the loin line in mind, as it helps anchor the proportions from shoulders to hips.
At this stage:
- Make sure lines are light and erasable.
- Use reference guides or images for accuracy.
- Avoid sharp angles; female forms have softer transitions.
Establishing the Hips and Waist
Position the hips about halfway down from the head to the feet. Draw an elongated oval or a box as the base for the pelvis.
For women, the hips are generally wider than the waist, and there’s a gentle outward curve from the waist down. Sketch the waist as a constricted area above the hips. Avoid rigid lines here—keep your pencil strokes light and flowing.
Check proportions using the “head count” method: The average adult female is about 7 to 7.5 heads tall. The distance from the top of the head to the waist is usually about 2.5 to 3 heads, and from the waist to the bottom of the pelvis is about 1 to 1.5 heads.
Tips:
- Align hips and shoulders if drawing a neutral pose.
- Mark the centerline down from head to pelvis to keep symmetry.
- Exaggerate curves only slightly for realism.
Creating Dynamic Poses
To capture motion, begin with a quick gesture line running through the body’s central axis. This helps you suggest the action and flow before adding details.
Draw the head and pivot the shoulders and hips to suggest rotation or movement. Use “contrapposto” by tilting the hips and shoulders in opposite directions to create a more dynamic sketch.
Keep arms and legs flexible, using loose curves rather than stiff lines. For dynamic sketches, indicate limbs with simple lines or cylinders and adjust their positioning for energy and life.
Important points:
- Don’t overwork early lines—gesture and motion come first.
- Regularly compare your work with references, especially for new poses.
- Adjust proportions as needed to maintain the balance between realism and fluidity.
Refining Features and Body Parts
When refining a female body drawing, pay attention to the curvature, anatomy, and proportions of each feature. Emphasize natural forms by using reference points, subtle details, and smooth lines.
Legs and Thighs
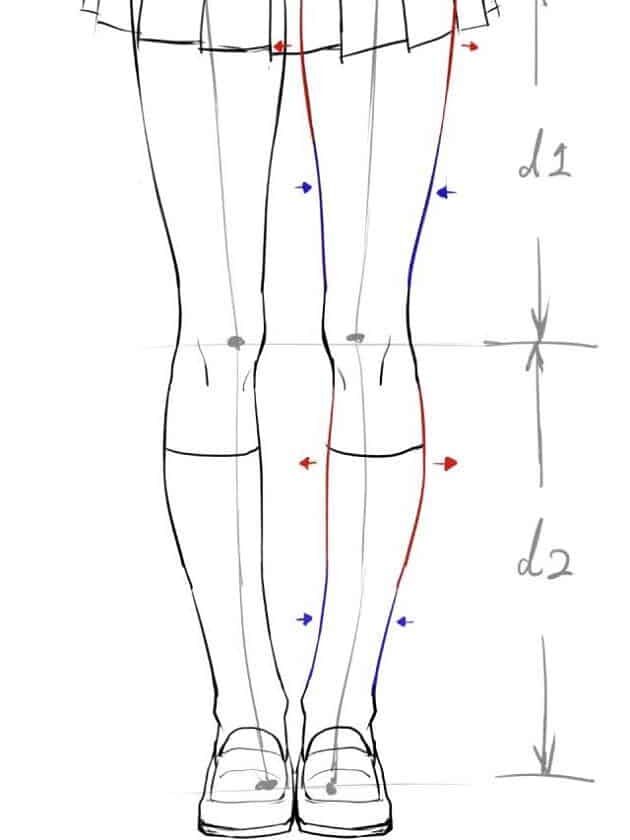
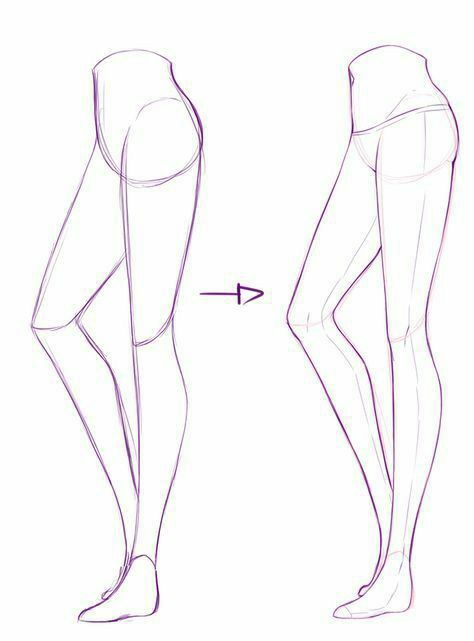
Women’s legs often display a gentle taper from the thigh to the ankle, with the upper legs having more volume. Start by sketching the thigh with a slight outward curve, then narrow towards the knee and calf.
Observe how the thighs widen from the hip and create smooth transitions at the joints. Knees are typically rounder and slightly softer in appearance. The inner thigh may overlap or touch slightly when legs are close together.
A simple tip is to compare the width of the thigh to the calf. Usually, the thigh is about twice as wide as the calf just below the knee. Always use light lines for the initial structure, refining as you add muscle definition and shadows. Use the following quick reference table to check leg proportions:
| Feature | Typical Proportion |
|---|---|
| Thigh Width | 2x calf width |
| Knee Width | 1.5x ankle width |
| Leg Length | 4 head units |
Buttocks and Hips
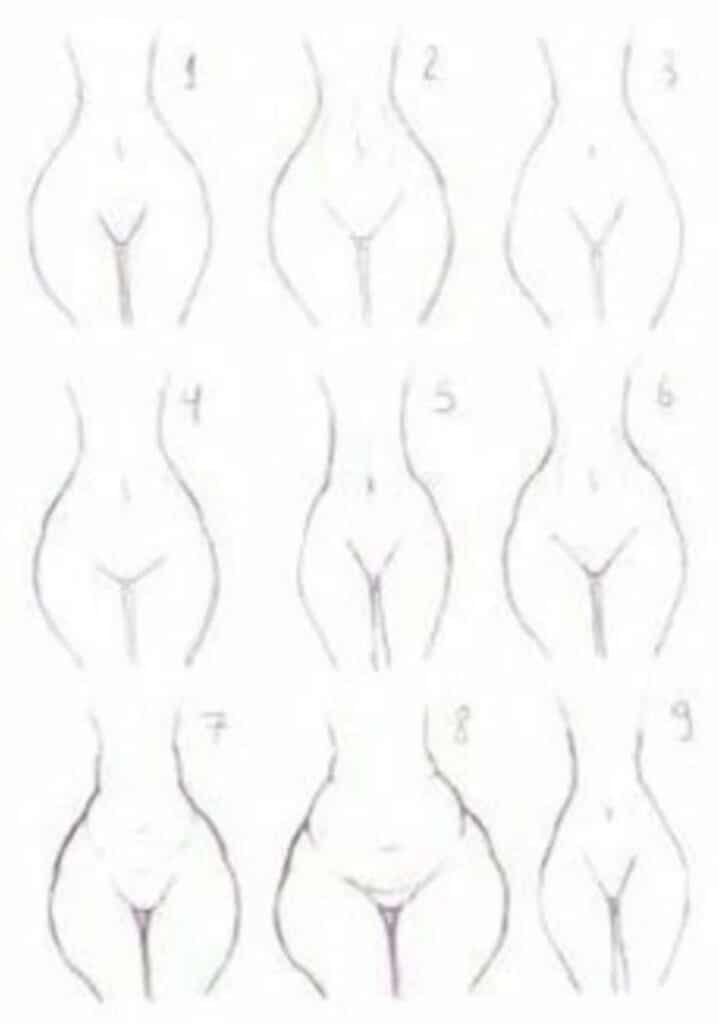
The hips are usually wider than the waist, forming a clear hourglass shape. Start with oval or circular guidelines for the pelvis, then build up the contour of the buttocks with round, smooth lines.
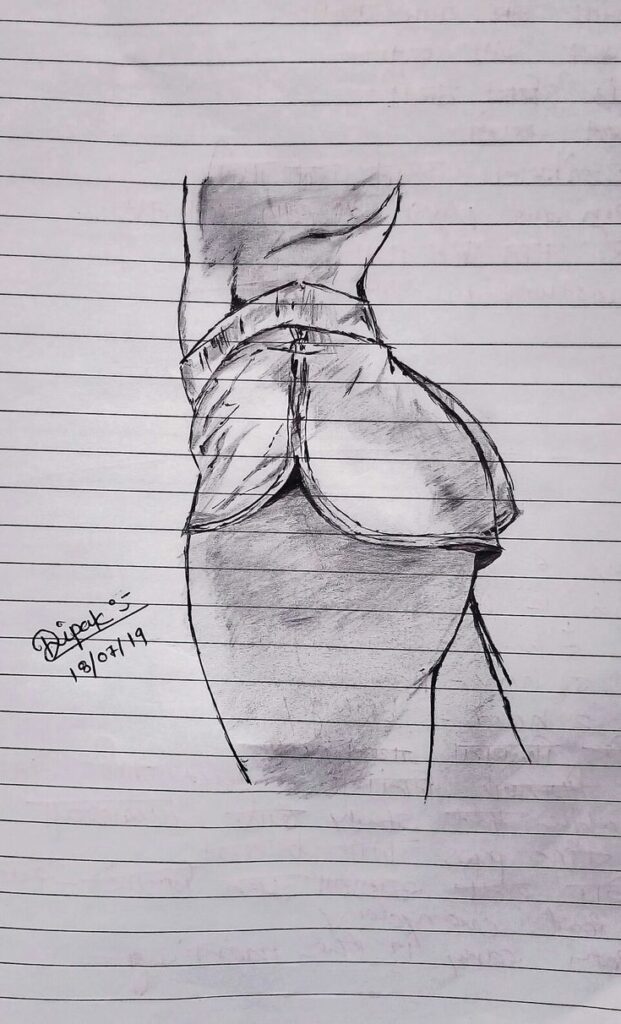
Highlight the curve at the top of the butt and the muscles that connect the thighs to the hips. The gluteal fold, where the butt meets the leg, adds depth. Avoid sharp angles—focus on gradual curves.
Keep in mind that the width and shape of hips can vary, but most female forms present a soft, outward curve from the waist to the widest point at the hips. Side views benefit from showing the projection and volume of the buttocks. Use shading to suggest depth and form.
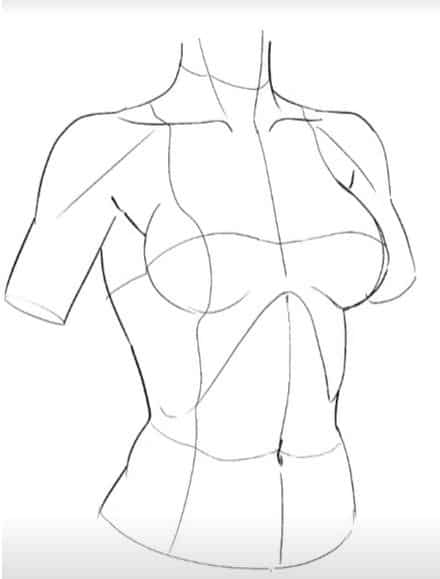
Chest and Breasts
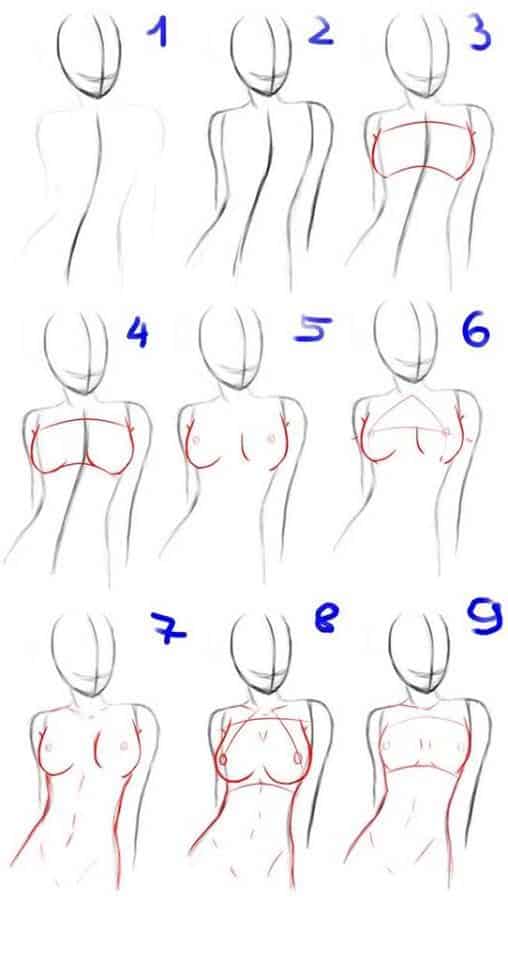
Draw the chest by first establishing the ribcage with light construction lines. Breasts rest on top of this form and are shaped by gravity and body position, not perfect circles. Visualize them as teardrops or semi-ovals.
Placement matters—spacing between breasts is usually about one breast’s width. Attach the breasts so their bottom curves follow the contour of the ribcage. This helps them look naturally supported.
Breasts vary in size and shape. When adding details, consider how they change with movement and posture. Use soft, layered lines for the outline and gentle shading to add volume. Focus on symmetry and how light affects form, but avoid overdefining to keep a natural look.
Adding Clothing and Accessories
When drawing women’s bodies, depicting clothing and accessories accurately is essential for believable characters. The way fabric drapes and how accessories interact with the figure both contribute to a sense of style and body language.
Understanding Clothing Fit and Folds
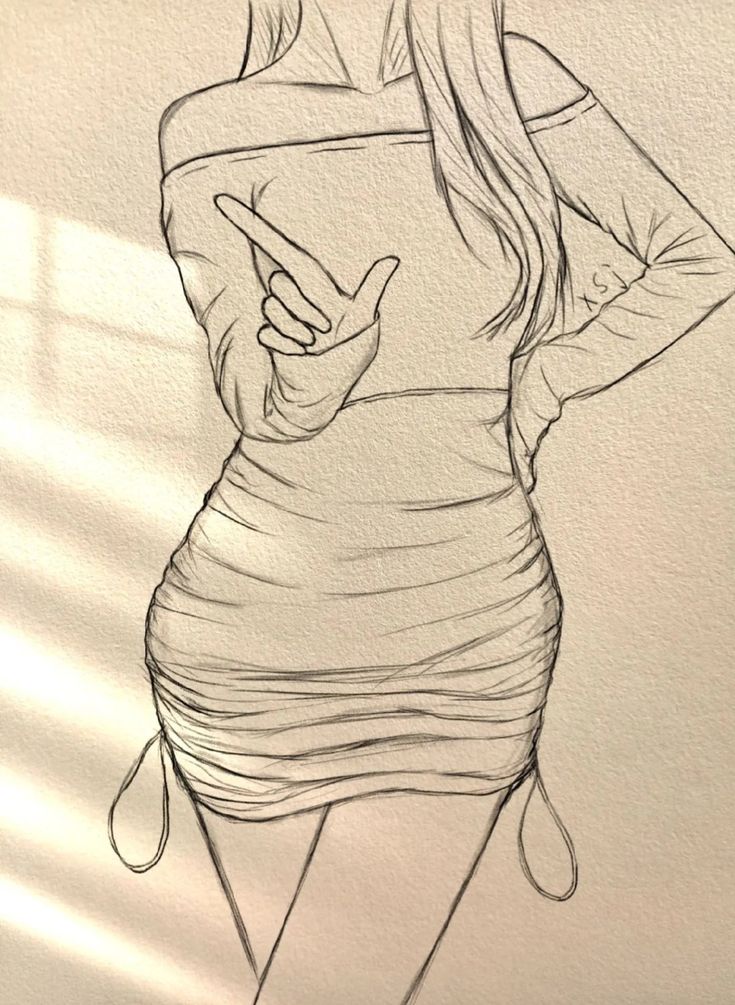
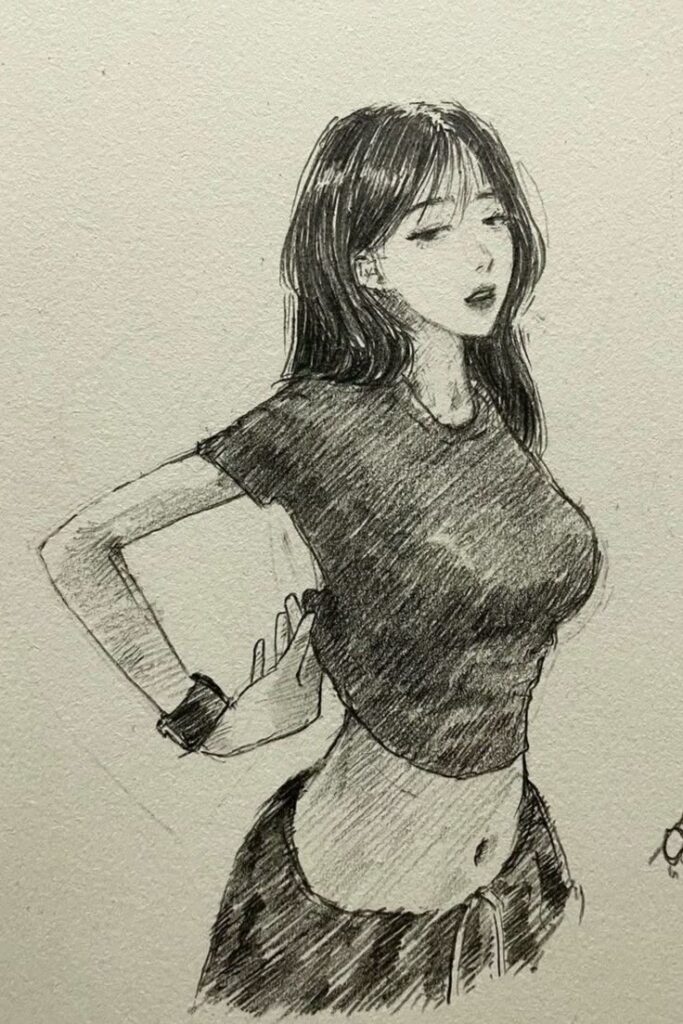
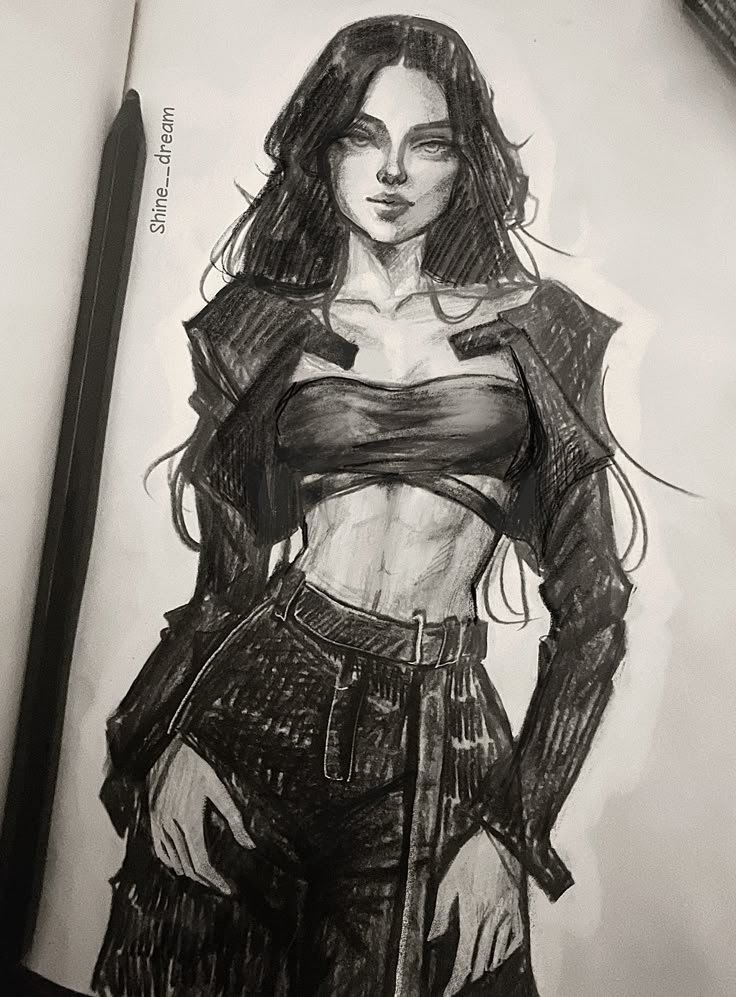
Clothing should follow the underlying structure of the body but also react to movement and posture. Pay attention to where fabric stretches, bunches, or forms folds—such as at the elbows, waist, and knees.
There are three primary fold types:
- Pipe folds (vertical folds on hanging fabric)
- Zigzag folds (compression and bunching, like at bent elbows)
- Spiral folds (twists around limbs)
Tighter clothing will hug body contours, emphasizing the silhouette and muscle structure. Looser clothing, like sweaters or dresses, creates more pronounced folds and can obscure some anatomical details.
Study references and observe how different materials behave. For example, denim is stiff while silk flows and pools. Recognizing these differences allows you to communicate the weight and type of fabric more effectively in your art.
Drawing Accessories with the Female Body
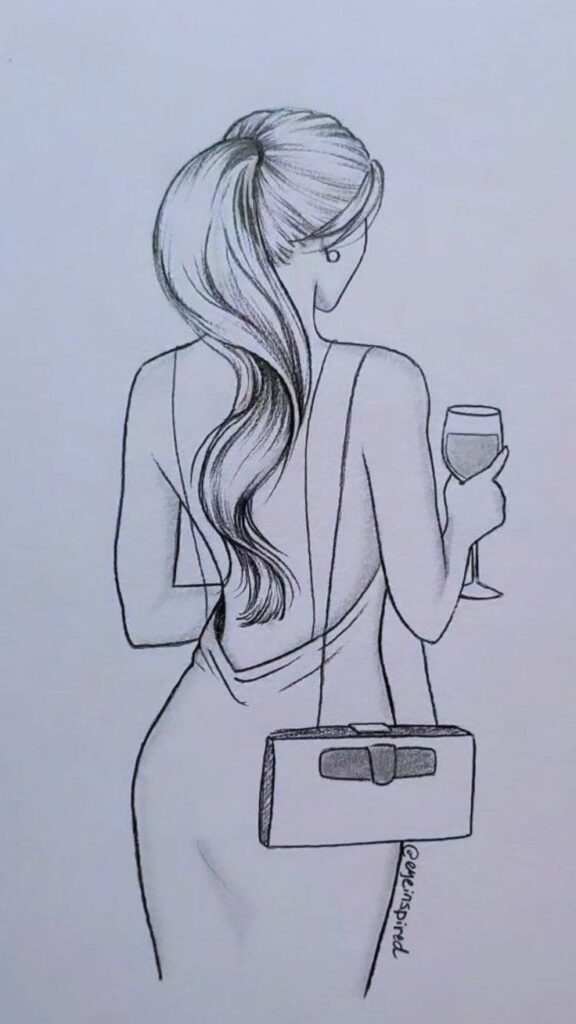
Accessories such as hats, bags, jewelry, and glasses should reflect the character’s personality and style. Think about proportion—a large handbag or oversized sunglasses can change how the figure is perceived.
When adding belts, straps, or jewelry, observe how they interact with the body’s form. For instance, a necklace will rest along the collarbone’s curve, while a belt compresses fabric at the waist.
Checklist for accessories:
- Scale and placement
- Interaction with clothing and body
- Consistency with character design
Accessories also convey body language. The way a character tilts a hat or holds a bag suggests emotion or intent. Use these details to support the narrative and add depth to your figures.
Enhancing Style and Expressiveness
Strong style and expressive characters depend on your ability to suggest life and personality in a drawing. A well-observed female figure communicates movement and emotion, even in simple sketches.
Incorporating Movement and Gesture
Capturing movement starts with quick gesture drawings. Use loose lines to mark the direction of the spine, tilt of the hips, and flow of the limbs. This emphasis on the body’s energy prevents your poses from appearing stiff or unnatural.
- Pay attention to weight distribution—which foot is holding more weight?
- Indicate body language with the angles of the shoulders and pelvis.
- Highlight twists, bends, and stretches by exaggerating curves slightly, which makes the pose more dynamic.
Observational lessons, such as timing yourself to do 30-second gesture sketches, improve your ability to spot the essence of a pose. Allow some lines to overlap and flow into each other to keep the drawing feeling lively.
Exploring Different Artistic Approaches
Developing your style often means experimenting with proportions, lines, and exaggeration. Cartoon styles may simplify shapes and emphasize the head or torso, while realistic approaches stick more closely to anatomical detail.
Try varying:
| Approach | Features |
|---|---|
| Realistic | Accurate anatomy, subtle detail |
| Stylized or Cartoon | Simplified anatomy, bold lines |
| Exaggerated | Stretched limbs, dynamic curves |
Study lessons from a range of artists and explore drawing female figures with different attitudes or emotions. Adjust line thickness, use varied shading, or play with proportions to suit the character’s personality and the mood you want to convey.
- 1.7Kshares
- Facebook0
- Pinterest1.7K
- Twitter0

