Drawing hair can feel overwhelming when you’re staring at thousands of individual strands, but the secret lies in understanding that hair moves in groups and flows like ribbons. The key to realistic hair drawing is thinking in terms of shapes, volume, and light rather than focusing on every single strand. This approach transforms what seems like an impossible task into manageable steps that any artist can master.
You don’t need expensive tools or years of experience to create convincing hair textures. By learning to see hair as simplified forms with highlights, mid-tones, and shadows, you’ll discover how to capture the essence of different hair types and styles. The techniques covered in this guide will help you move beyond flat, lifeless hair drawings to create artwork with genuine depth and movement.
Whether you’re drawing straight, curly, or short hair, the fundamental principles remain the same. You’ll learn to establish proper flow, build convincing volume, and add realistic textures that bring your characters to life. With practice and the right approach, drawing hair becomes an enjoyable part of your artistic process rather than a frustrating challenge.
Key Takeaways
- Think of hair as grouped shapes and ribbons rather than individual strands to create realistic volume and flow
- Use highlights, mid-tones, and shadows to build dimension before adding detailed texture
- Practice different hair types systematically while avoiding common mistakes like overworking individual strands
Essential Foundations: Understanding Hair Structure and Flow
Drawing hair effectively requires mastering its fundamental structure and natural movement patterns. Hair consists of individual strands grouped into locks that follow predictable flow directions and create three-dimensional volume.
Hair Anatomy and Strands
Hair strands are individual fibers that group together to form larger sections called locks. These locks function like ribbons, creating the foundation for realistic hair drawing.
Understanding this grouping concept helps you avoid drawing every single strand. Instead, focus on the collective behavior of strand groups.
Each strand has a natural cylindrical shape that catches light differently along its surface. The outer layer reflects highlights while inner areas create shadows.
Key anatomical elements:
- Individual strands (fibers)
- Locks (grouped strands)
- Root direction
- Natural parting lines
Different hair textures change how strands interact. Straight hair creates smooth, flowing locks. Curly hair forms spiral patterns with varied directions.
The scalp determines where hair originates and influences initial growth direction. Hair typically grows outward from the crown in predictable patterns.
The Importance of Hair Flow
Hair flow refers to the directional movement of hair strands as they fall from the scalp. This natural movement creates the foundation for believable hair drawings.
Gravity pulls hair downward, but other forces affect its path. Wind, styling, and hair length all influence the final flow pattern.
Primary flow considerations:
- Growth direction from scalp
- Gravitational pull
- Hair length and weight
- External forces (wind, movement)
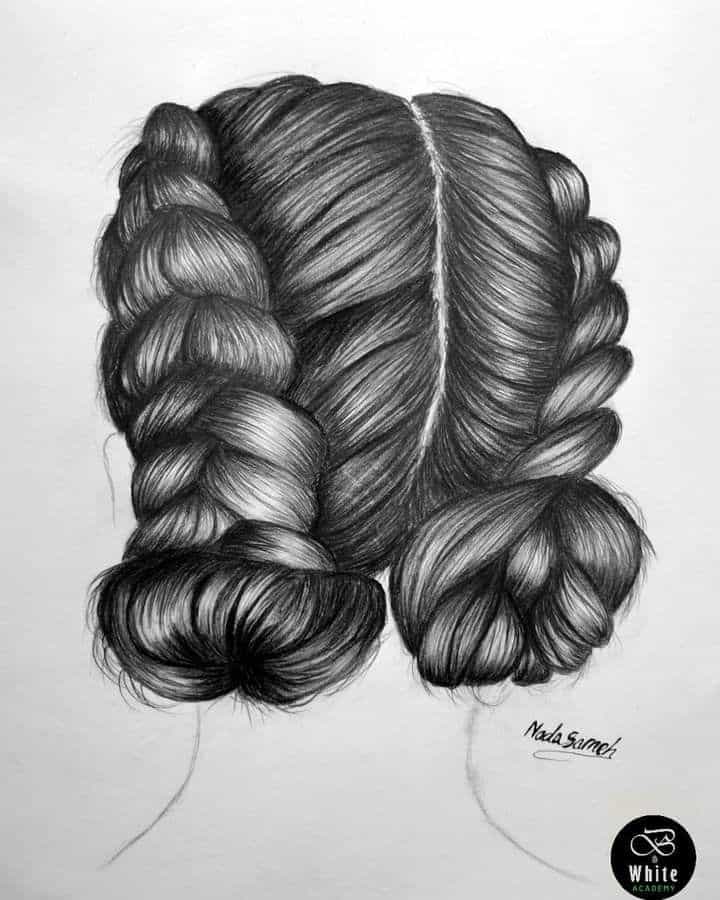
Hair parts create distinct flow directions on either side. The parting line acts as a dividing point where hair streams in opposite directions.
Observe how hair flows around the head’s contours. It follows the skull’s shape initially, then falls away based on length and weight.
Short hair maintains closer contact with the head shape. Long hair creates more dramatic flow patterns as it moves away from the scalp.
Volume and Silhouette Considerations
Volume describes the three-dimensional space hair occupies around the head. This creates the overall silhouette that defines different hairstyles.
Hair naturally creates volume through its collective mass. Individual strands lift away from the scalp, forming a dimensional envelope around the head.
Volume-affecting factors:
- Hair density
- Natural curl pattern
- Hair length
- Styling techniques
The silhouette represents the outer boundary of the hair mass. Start with this overall shape before adding internal details.
Different hair types create distinct volume patterns. Fine hair lies closer to the head. Thick, curly hair creates more dramatic volume and wider silhouettes.
Consider the geometric forms that best represent each hair section. Cylinders work well for ponytails. Spheres help with curly sections.
Light interacts with hair volume through highlights on raised areas and shadows in recessed sections. This contrast enhances the three-dimensional effect.
Getting Started: Tools, Materials, and References
The foundation of successful hair drawing lies in selecting appropriate tools and gathering quality reference materials. Understanding your drawing implements and establishing clear visual guides will streamline your creative process.
Choosing the Right Drawing Tools
Pencils form the backbone of hair drawing. Use 2H or H pencils for initial sketches and light guidelines.
Switch to HB and B pencils for mid-tone areas and basic shading. For deeper shadows and rich darks, 2B through 8B pencils provide the intensity needed.
Blending tools help create smooth transitions. Blending stumps work well for small areas and fine details. Tissue paper creates softer, broader effects across larger sections.
Erasers serve multiple purposes in hair drawing. Kneaded erasers lift graphite gently and create highlights. Precision erasers remove specific marks without disturbing surrounding areas.
Consider textured paper for added grip on graphite. Medium-tooth paper provides enough texture for realistic hair effects without overwhelming fine details.
Selecting Quality Reference Images
High-resolution photographs capture essential hair details that low-quality images miss. Look for images with clear lighting that shows both highlights and shadows distinctly.
Choose references with defined hair strands rather than blurry or heavily edited photos. Natural lighting reveals authentic hair texture and movement patterns.
Multiple angles of the same hairstyle provide comprehensive understanding. Front, side, and back views help you grasp the complete hair structure.
Avoid heavily stylized or filtered images that distort natural hair appearance. Stock photography and portrait photography often provide the most accurate references.
Lighting direction in your reference should match your intended drawing. Consistent light sources prevent confusing shadow placement during the drawing process.
Sketching the Hairline and Outline
Map the hairline before adding any hair texture. Start with light marks indicating where hair meets the forehead, temples, and behind the ears.
The overall hair shape comes next. Draw the outer boundary of the entire hairstyle using simple geometric forms. This creates a solid foundation for detail work.
Hair flow direction should be established early. Use light directional lines to indicate how hair moves and falls naturally from the scalp.
Parting lines define hair sections and growth patterns. Mark these clearly since they influence how surrounding hair falls and catches light.
Keep initial sketches light and loose. Heavy lines become difficult to erase and may show through your finished drawing. Use gentle strokes that can be easily refined.
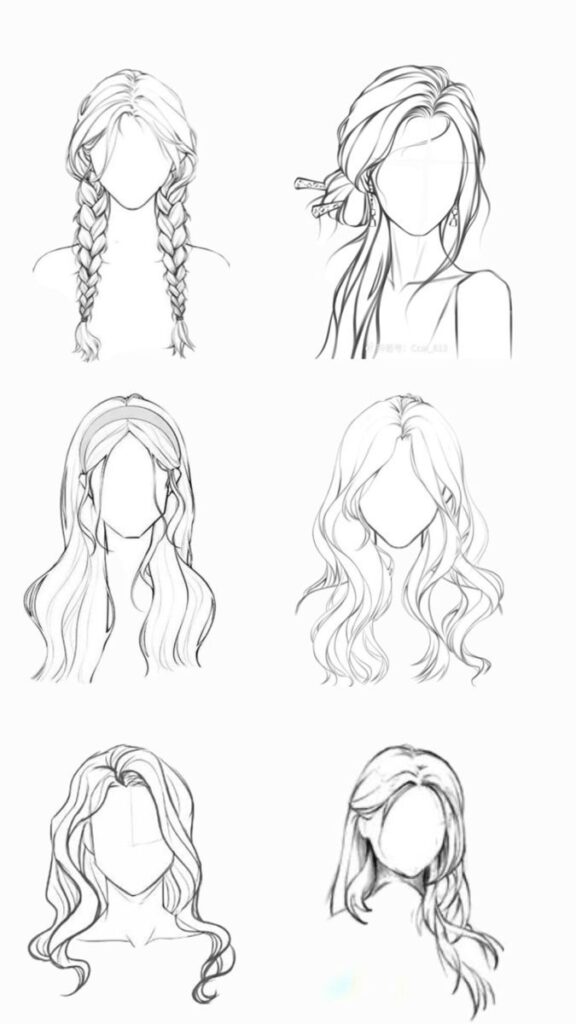
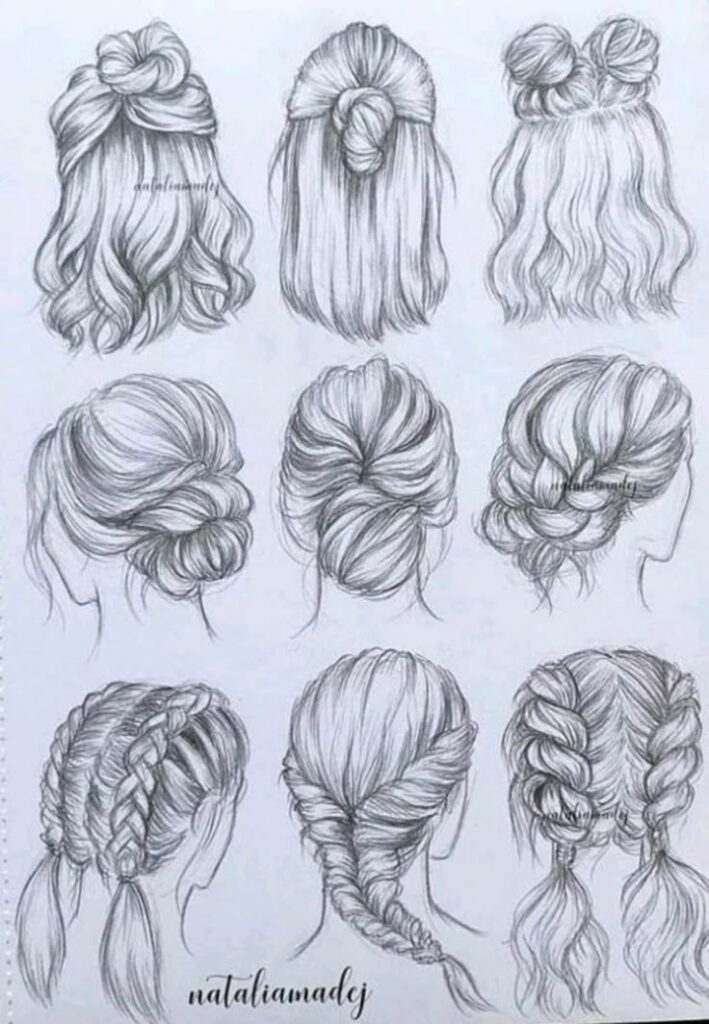
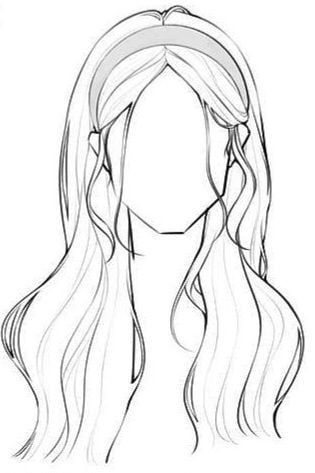
Adding Texture and Realism
Creating convincing hair texture requires building up layers of depth, carefully rendering individual strands, and using strategic highlights and shadows. The key lies in embracing natural imperfections that make hair appear authentic rather than artificial.
Layering for Depth
Start with the darkest values as your foundation layer. These shadows define where hair sections separate and create natural depth between strands.
Build up your drawing in three distinct layers. The base layer establishes the overall hair mass and primary shadows. Your middle layer adds medium tones that bridge light and dark areas.
The top layer focuses on the lightest values and finest details. This approach prevents your hair from looking flat against the head.
Work from back to front when layering different sections. Hair closest to the scalp should appear darker than surface strands that catch more light.
Use varying pressure with your pencil to create different densities. Lighter pressure creates softer, more distant hair sections while heavier pressure defines prominent strands.
Rendering Hair Strands
Draw individual strands in small groups rather than one at a time. This creates more natural-looking clumps that follow realistic hair behavior.
Follow the natural flow direction of each hair section. Strands should curve and bend according to gravity and the head’s shape underneath.
Vary your strand thickness throughout the drawing. Real hair contains different diameter strands that create visual interest and authenticity.
Use quick, confident strokes when drawing individual strands. Hesitant, scratchy lines make hair appear stiff and unnatural.
Focus on the hair’s edges where individual strands are most visible. Interior areas can suggest texture without drawing every single strand.
Blending and Contrasting Highlights
Create smooth transitions between light and shadow using blending tools or your finger. Harsh lines between values make hair appear segmented rather than flowing.
Identify your primary light source before adding highlights. Consistent lighting makes hair texture more believable and three-dimensional.
Use an eraser to lift highlights from areas where light hits the hair’s surface. These bright spots should follow the hair’s natural curves and flow patterns.
Add subtle secondary highlights in areas where light bounces off other surfaces. These softer highlights create depth without competing with your main light source.
Reserve your brightest highlights for the most prominent hair strands. Too many bright spots create confusion and reduce the impact of your focal areas.
Emphasizing Natural Imperfections
Real hair contains flyaway strands that break the main silhouette. Add these sparingly along the hair’s outer edges for authentic texture.
Vary the darkness of your shadow areas slightly. Perfectly uniform shadows make hair appear artificial and lifeless.
Include small gaps and separations between hair sections. These negative spaces help define individual clumps and prevent your drawing from looking like a solid mass.
Draw some strands that cross over others at different angles. This overlapping creates complexity that mirrors how natural hair behaves.
Add subtle variations in your stroke direction within each hair section. Perfectly parallel strands rarely occur in real hair and look too controlled.
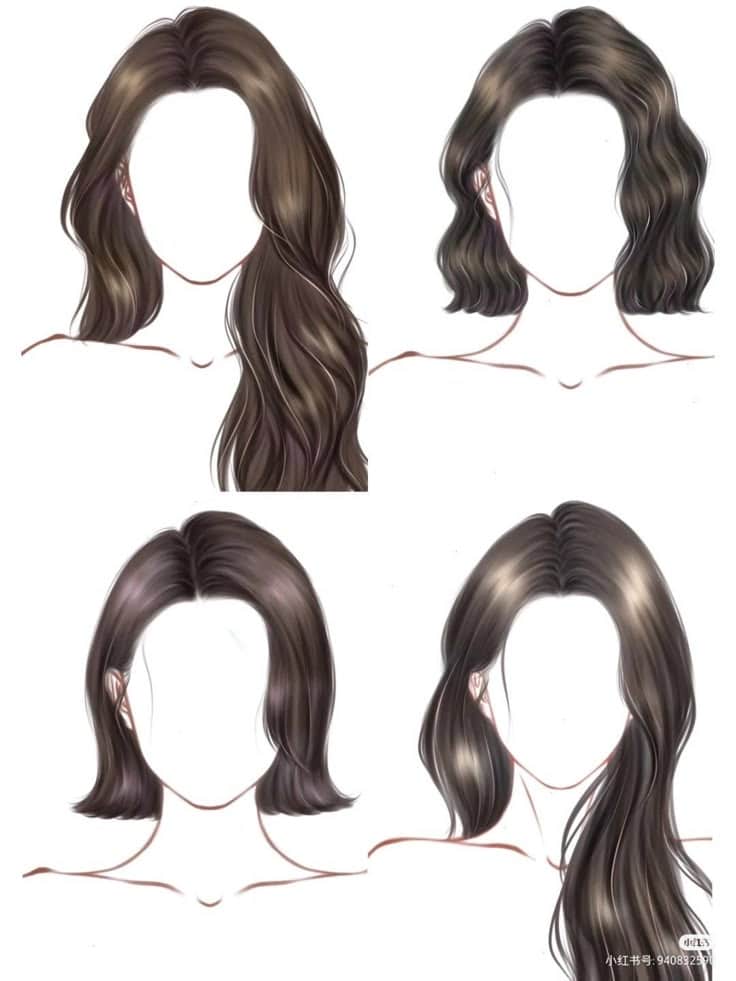
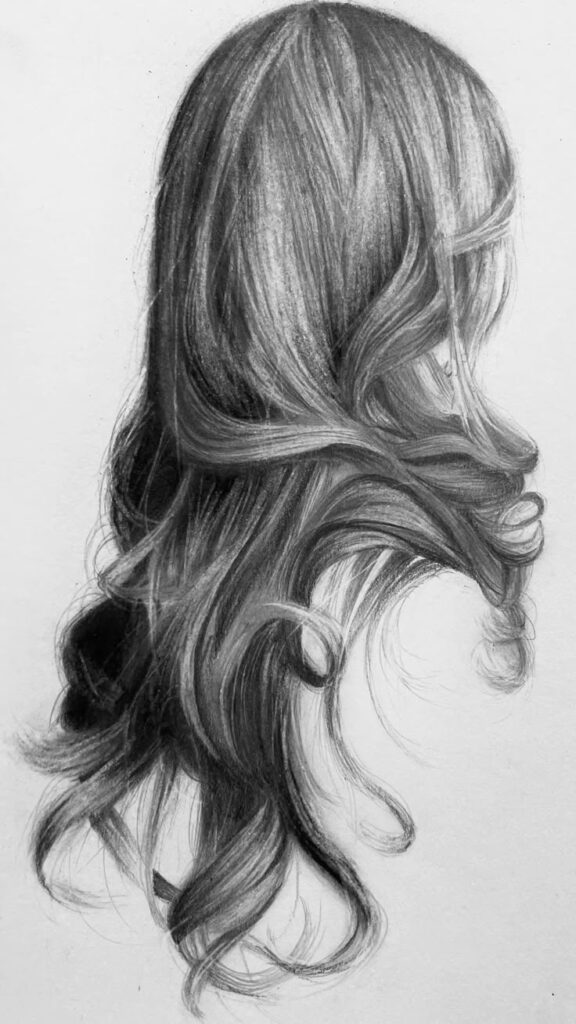
Styling for Character: Different Hair Types and Styles
Each hair type requires specific techniques to capture its unique characteristics and movement. The direction of hair flow, volume placement, and texture details will vary significantly between straight, wavy, and curly styles.
Straight Hair Methods
Straight hair follows predictable patterns that make it easier to draw once you understand the basic flow. The hair falls naturally with gravity and creates clean, defined lines.
Start by mapping the hair’s direction from the crown outward. Straight hair typically flows downward with minimal deviation from vertical lines.
Use long, smooth strokes when sketching the outer silhouette. Avoid choppy or jagged lines that would suggest texture where none exists.
For individual strands, draw them following the same directional flow. Keep your pencil strokes confident and unbroken to maintain the sleek appearance.
Shading is simpler with straight hair since there are fewer directional changes. Light hits the surface more evenly, creating predictable highlight and shadow patterns.
Pay attention to how straight hair catches light along its length. The smoothest sections will show the strongest highlights.
Wavy and Curly Techniques
Wavy and curly hair requires understanding three-dimensional form and spiral movements. These hair types create volume through their natural curves and texture.
Begin with the basic shape using curved construction lines. Think of ribbons twisting through space to capture the hair’s natural flow and movement.
For wavy hair, use gentle S-curves that follow a loose pattern. The waves should feel organic rather than perfectly uniform.
Curly hair needs more complex spiral forms. Start with cylinder shapes, then add the spiral wrapping around each section.
Texture becomes crucial for these hair types. Use varied line weights and broken strokes to suggest the irregular surface.
Shadow placement follows the curves and indentations. Areas where curls overlap or create depth will be darker.
Layer different curl sizes and directions to create realistic variation. No two curls should look identical.
Depicting Short vs. Long Hair
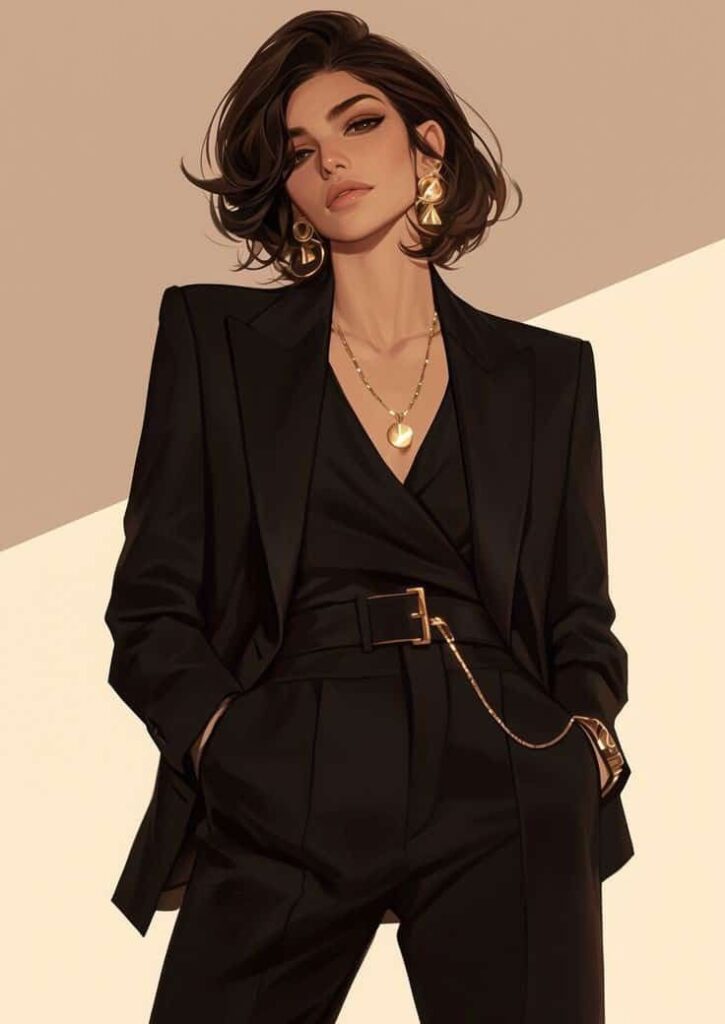
Hair length dramatically affects how you approach volume, weight, and movement in your drawings. Short hair emphasizes shape and texture, while long hair focuses on flow and weight.
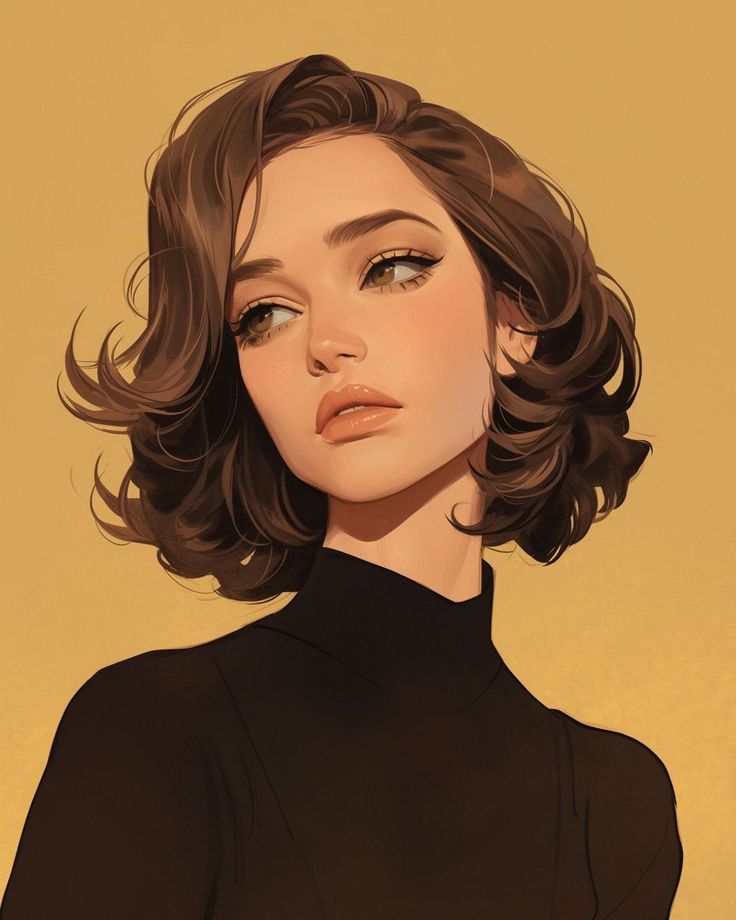
Short hair hugs closer to the head shape. The volume appears more concentrated around the crown and sides.
Use shorter, more controlled strokes for short hairstyles. The texture details become more prominent since each strand is visible.
Short hair often has more lift and bounce. Draw it with slight separation from the scalp to show natural volume.
Long hair shows the effects of gravity and weight. It pulls downward and creates flowing movements.
Establish the overall silhouette first with long hair. The mass and flow are more important than individual texture details.
Long hair creates secondary motion when the character moves. Consider how different sections would swing or settle.
Use grouping techniques to manage complexity. Draw hair in sections rather than individual strands.
Practice Tips and Common Mistakes to Avoid
Mastering hair drawing requires developing confident strokes, understanding three-dimensional volume, and practicing targeted exercises. The biggest pitfalls include creating flat-looking hair and getting lost in excessive detail work.
Building Confident Strokes
Start with loose, flowing movements when drawing hair texture. Quick, confident strokes create more natural-looking hair than slow, hesitant lines.
Practice drawing long, curved lines in one smooth motion. This builds the muscle memory needed for realistic hair flow.
Use your whole arm, not just your wrist. Shoulder movement creates smoother, more dynamic strokes that better capture hair’s natural movement.
Vary your pressure as you draw each strand. Start light, press harder in the middle, then lift gradually at the end.
Draw from the root toward the tip in most cases. This follows hair’s natural growth pattern and creates more authentic texture.
Practice quick gesture drawings of different hairstyles. Spend only 30 seconds to 2 minutes per sketch to build speed and confidence.
Avoiding Flatness and Over-Detailing
Never draw hair as individual lines covering the entire head. This creates a flat, unrealistic appearance that lacks volume.
Think in terms of hair masses and sections instead. Group strands together into larger shapes with light and shadow.
Focus on value changes rather than line work. Gradations from light to dark create the illusion of depth and volume.
Avoid drawing every single strand you see. Your brain will fill in missing details when you establish the overall hair texture and flow patterns.
Use negative space effectively. Leave some areas lighter or completely white to suggest highlights and dimension.
Draw the hair’s silhouette first, then add internal details. This prevents you from getting lost in texture before establishing the basic form.
Creative Exercises for Improvement
Draw hair from reference photos with different lighting conditions. This teaches you how light affects hair texture and volume.
Practice drawing the same hairstyle from multiple angles. This builds your understanding of how hair moves in three-dimensional space.
Study different hair types – straight, wavy, curly, and coily. Each requires different approaches to capture authentic texture.
Try drawing hair with different tools. Charcoal, graphite, and digital brushes each offer unique advantages for creating hair texture.
Set up timed practice sessions. Draw hair studies for 10-15 minutes daily rather than long, infrequent sessions.
Copy master drawings that feature excellent hair work. Analyze their techniques for creating volume and texture.
Practice drawing hair in motion – flowing in wind or during movement. This challenges your understanding of hair flow and dynamics.
- 3.2Kshares
- Facebook0
- Pinterest3.2K
- Twitter0
- Reddit0
