If you’ve ever looked at your favorite snack and thought, “That would be fun to draw,” you’re in the right place. Learning how to draw food is a creative way to build drawing skills while capturing the delicious details of meals, drinks, and treats. Whether you’re sketching a simple fruit or aiming for a whole dessert table, you don’t need to be a professional—just a little practice and the right techniques will get you started.
With step-by-step tips, the right art supplies, and easy ideas for drawing everything from tacos to cupcakes, you’ll find that making food art is both fun and beginner-friendly. No matter your experience, you can discover new ways to make your drawings pop with color and personality.
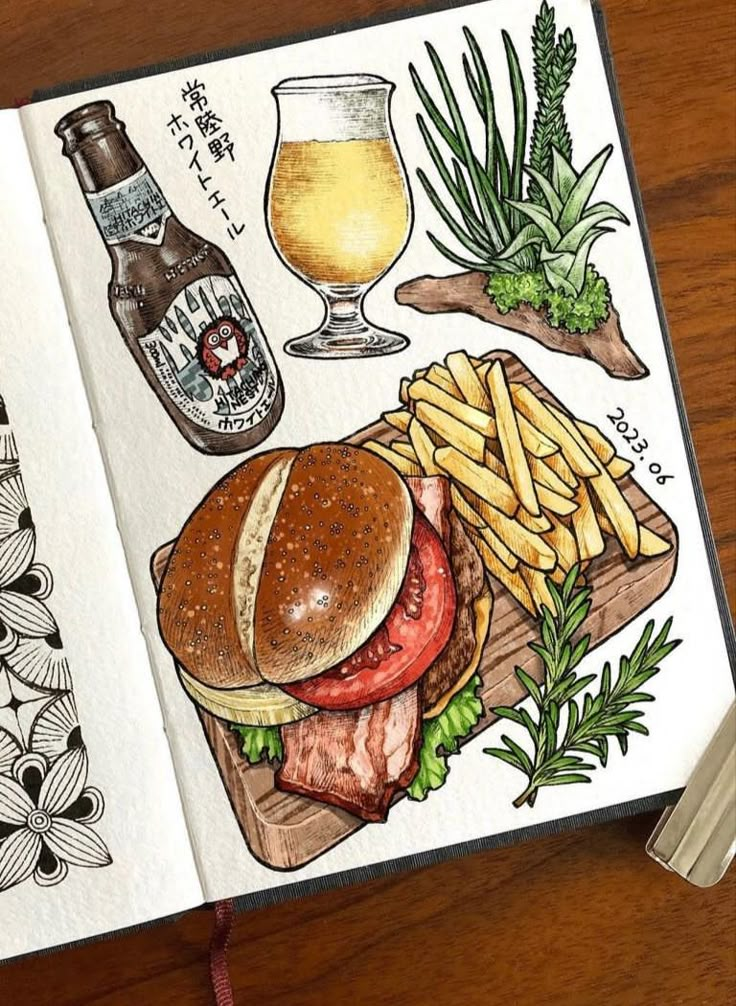
Key Takeaways
- Gather simple supplies to make food drawing easy and fun.
- Practice basic shapes and techniques for realistic results.
- Explore different styles and finishing touches for unique food art.
Essential Drawing Supplies for Food Art
Selecting the right materials will greatly affect the quality and realism of your food drawings. Many artists rely on specific tools and paper types to highlight color, texture, and subtle details in their artwork.
Choosing the Right Paper
The type of paper you use will influence how colors blend and how well details appear in your drawing. For food art, choose a surface that matches your intended medium. Smooth Bristol paper works well for colored pencil because its tight texture allows for clean lines and easy layering. For watercolor or mixed media, cold-pressed watercolor paper is a versatile choice that absorbs water while keeping the surface steady.
If you’ll be sketching frequently, consider standard sketch paper for quick studies. Heavier paper holds up to erasing and repeated detailing, which can be important for realistic food features such as glistening fruit or the shiny finish on utensils like spoons and forks.
Colored Pencils and Watercolor
Colored pencils are popular for food art because they deliver precise lines and allow for gradual color transitions. Choose artist-grade pencils with rich pigmentation, such as Prismacolor or Faber-Castell. These pencils blend smoothly and build layers, letting you achieve the subtle shades of a ripe strawberry or golden pastry.
Watercolor offers a different feel, perfect for soft washes, highlights, and transparent effects. Use pans or tubes that are easy to mix on a palette. When using watercolor, a good set of brushes—like round brushes in varying sizes—helps control details and washes. Many artists like to combine pencils and watercolor for extra depth, especially on sturdy paper that can handle light washes.
Drawing Tools and Utensils
Start with a quality set of graphite pencils in a range of hardness, from hard H pencils for light sketches to soft B pencils for darker lines. You’ll also benefit from a kneaded eraser for lifting highlights and a precision eraser for crisp edges.
Fine liners or technical pens are useful for outlining food shapes and adding details, especially if you plan to use colored pencils or watercolor on top. Don’t forget tools for measuring and placement, such as rulers or stencil shapes. A palette and mixing tray are necessary for watercolor work.
For props, keep a spoon or fork handy—not only as drawing subjects but also as physical references for shine, shape, and texture. A sharpener and cleaning cloth help maintain your tools, keeping colors and lines clean in every stage of your food art.
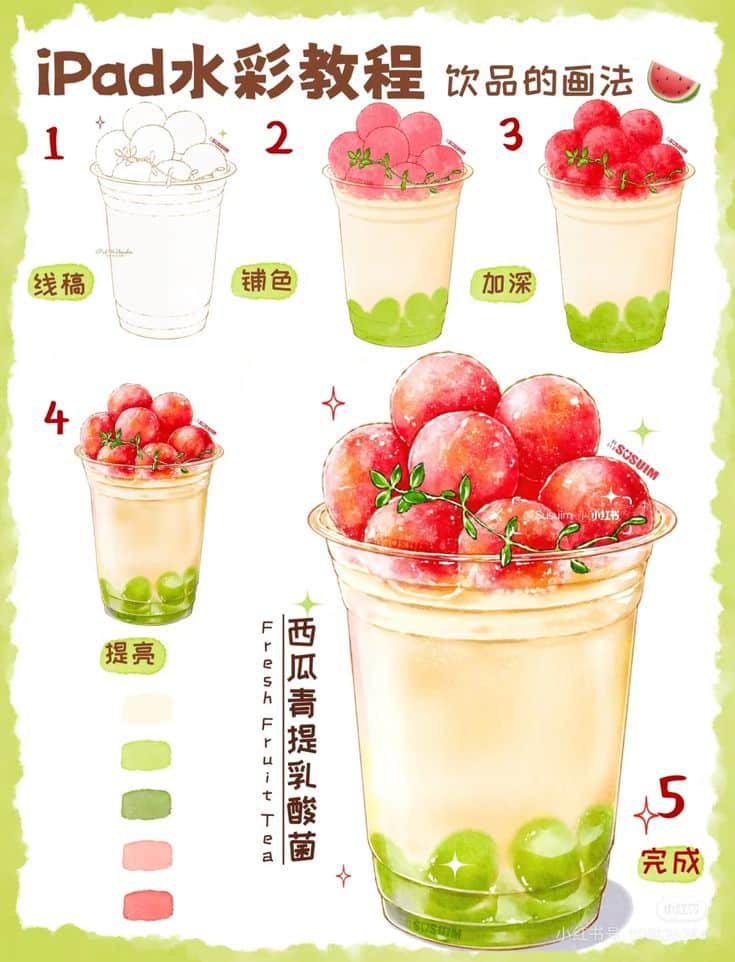
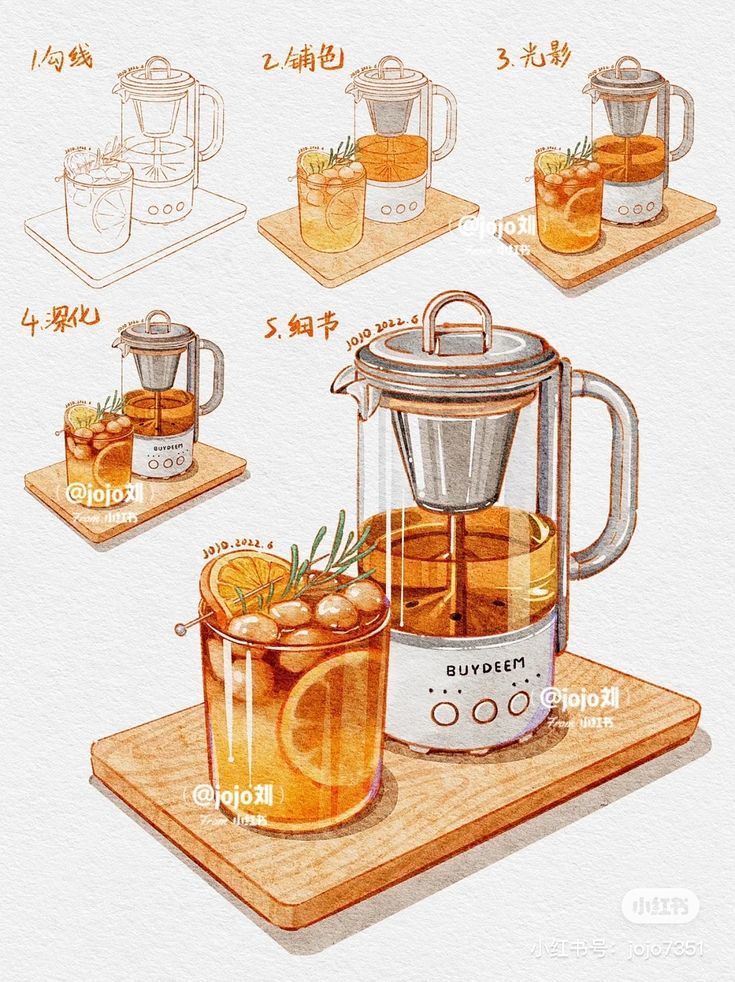
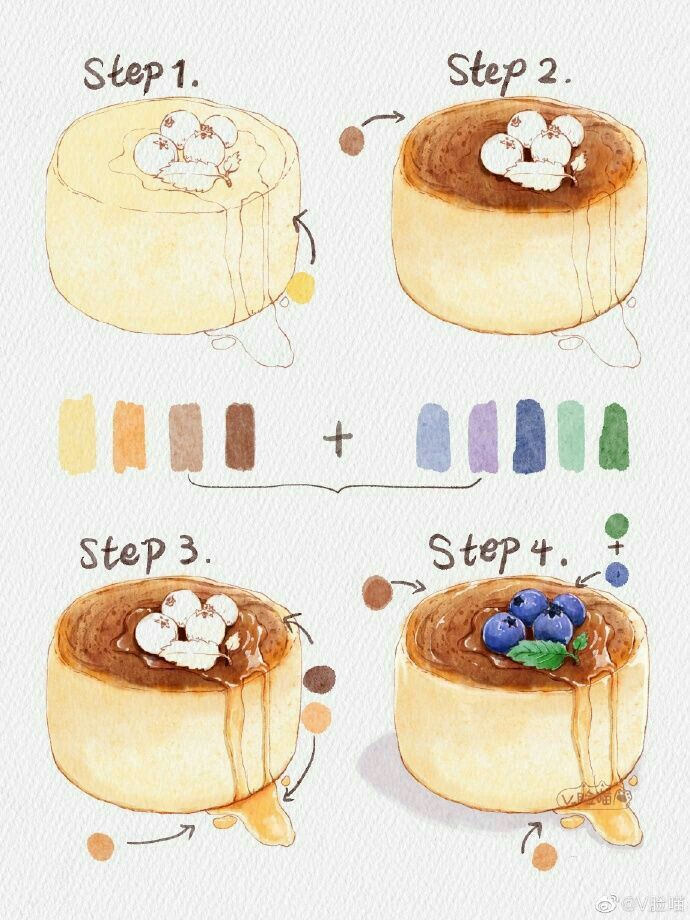
Fundamental Techniques for Drawing Food
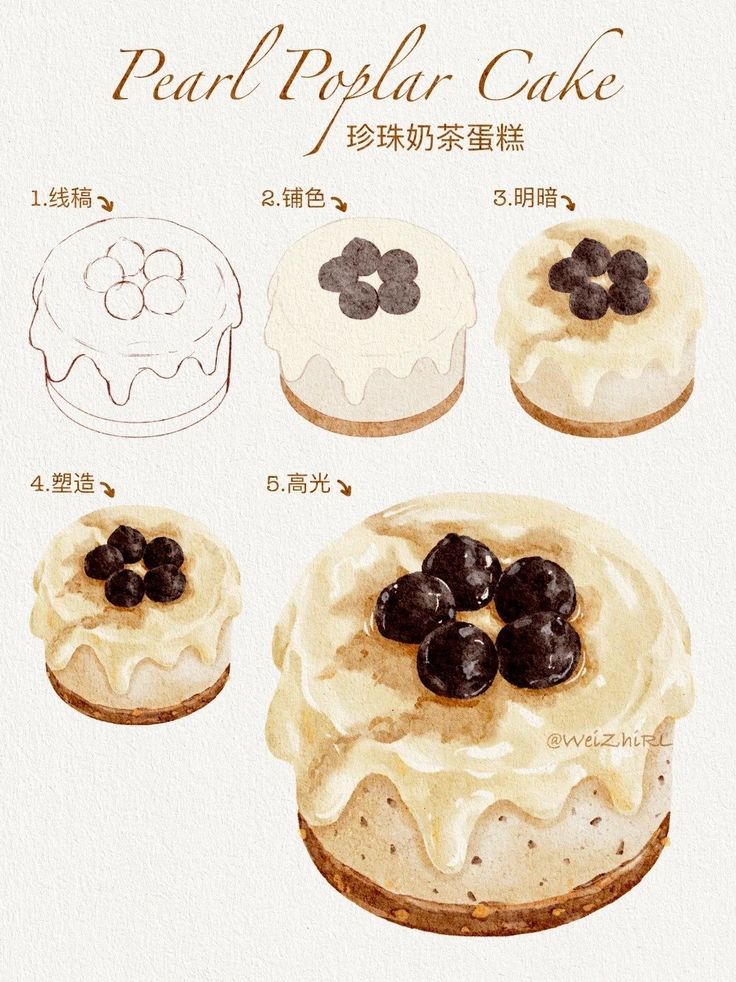
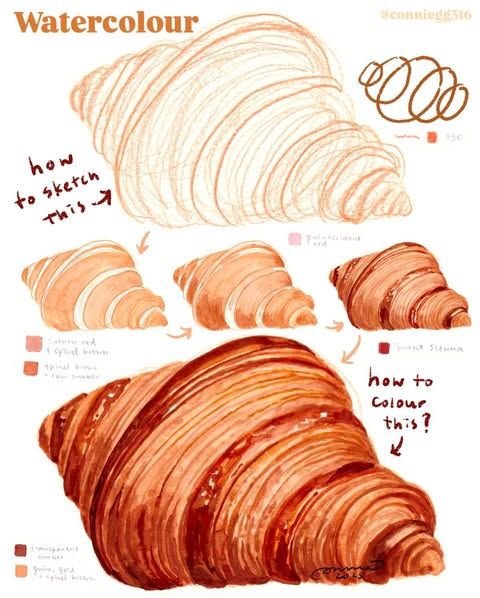
When drawing food, focus on building up the structure using basic organic shapes, then bring it to life with textures and thoughtful color choices. Careful observation of real food helps you achieve more appealing and accurate food illustrations.
Sketching Organic Shapes
Start your food sketch by breaking down the subject into simple geometric or organic forms. Most foods can be reduced to circles, ovals, or soft irregular shapes. For example, draw an apple with a sphere and a bread slice with rounded rectangles.
Pay attention to proportions, as the overall form is the foundation of a believable illustration. Use light, loose lines so adjustments are easy early in the process. This keeps your drawing flexible and lets you refine forms before adding detail.
Observe reference images or real foods closely to capture the natural curves and contours. Remember, organic shapes rarely have perfect symmetry—embrace irregularities for a more realistic result. Sketch lightly and use guidelines to map out placements of large features like a pizza’s toppings or a sandwich’s layers.
Adding Texture and Details
Textures define the surface character of food, such as the crispy skin of fried chicken, the smooth sheen of a grape, or the porous look of bread. Use a mix of soft and sharp strokes to show these differences.
Work from large to small details. Lay in surface details like cracks, seeds, or leafy greens with short, deliberate lines or dots. Layer marks, crosshatching, or gentle shading for depth. For glossy effects, leave small areas white to suggest highlights.
Texture examples:
| Food | Mark-making Suggestions |
|---|---|
| Orange peel | Dotted, stippled textures |
| Glazed donut | Smooth, blended shading |
| Grilled steak | Parallel lines for grill marks |
Always compare your work to your reference. Adjust the density, direction, or sharpness of marks until the texture feels right. Even in a simple food illustration, subtle details boost realism.
Using Color Effectively
Color is key to making food appear appetizing and realistic. Observe the true hues in your subject—foods often have more color variety than you expect, including subtle shifts or reflected lights.
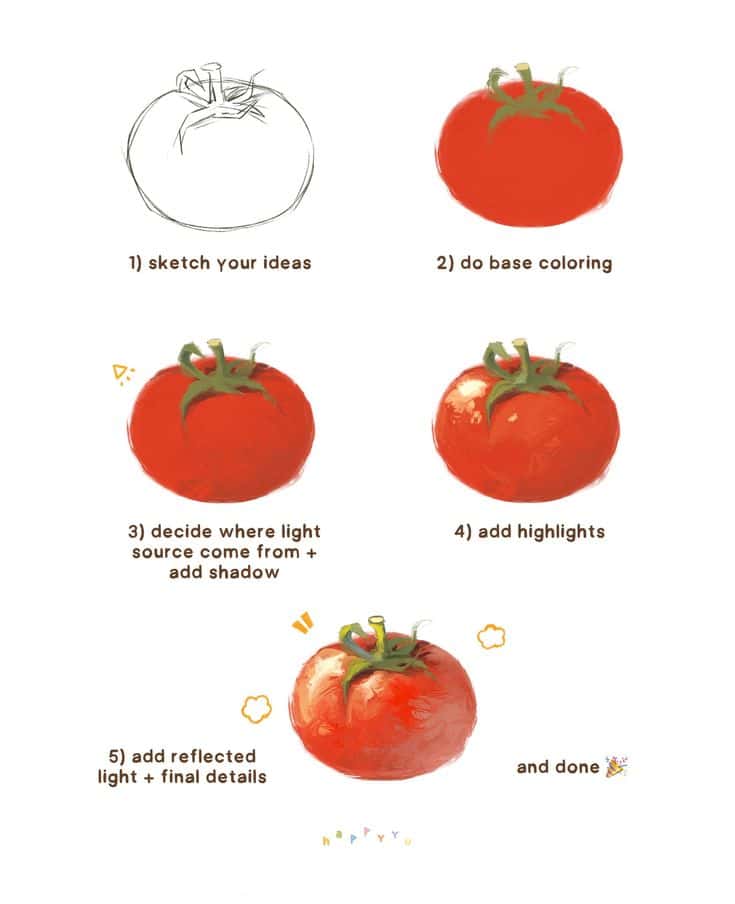
Begin with a base layer that matches the overall local color. Gradually build shadows and highlights with layered washes or colored pencils for a natural look. Use brighter, warmer colors for fresher or juicier foods, and cooler tones for shadowed or cooked items.
Blending colors carefully helps depict smooth surfaces, like eggs or apples. For textured foods, apply small dabs or lines of slightly different shades to simulate mottling or crumb. Remember to keep your colors vivid but not unnatural, as overly saturated shades can make a food illustration less convincing.
Control your use of color intensity to draw the viewer’s focus to key elements like glistening sauces or brightly colored toppings. Experiment with color swatches on a scrap sheet to decide what works before committing to your final food sketch.
Step-by-Step Food Drawing Tutorials
Learning to draw foods like pizza, burgers, donuts, and dumplings helps you practice basic shapes, creative details, and textures. These step-by-step guides use familiar features and simple lines, making it easier to build confidence in your drawing skills.
How to Draw Pizza
Start with a large triangle for the pizza slice. Sketch the crust as a rounded line along the wide end, making it slightly uneven for a more realistic look. Lightly curve the sides of the triangle to avoid a stiff, flat effect.
Draw circular or oval shapes for the toppings like pepperoni, mushrooms, or olives. You can place a few overlapping for depth. Add some short, jagged lines near the edge of the slice to show melted cheese dripping slightly off the side. Shade or color the pizza base a light golden brown, the cheese a pale yellow, and use bold reds or greens for toppings.
If you want a whole pizza, draw a circle and divide it into equal sections, adding details for each slice.
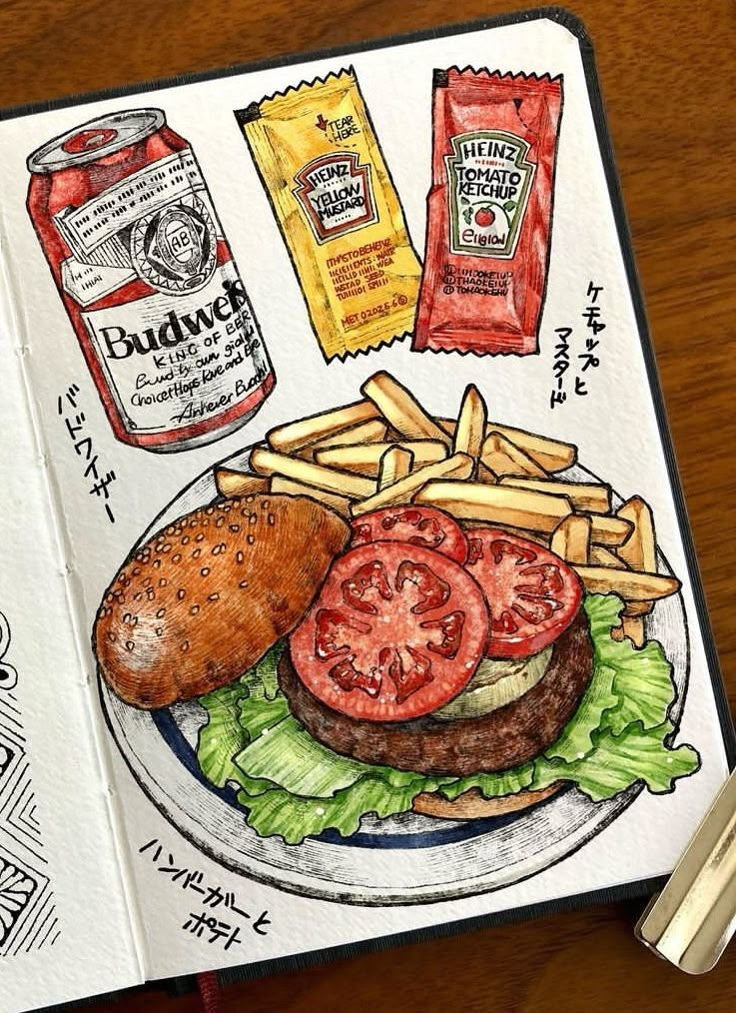
Draw a Burger
Begin by sketching an oval for the top bun. Let the top edge be slightly larger than the bottom, and add a few tiny circles for sesame seeds. Below the top bun, draw a wavy line for the lettuce and a smaller oval for the tomato slice.
Draw a thick, rounded rectangle to form the burger patty under the tomato. Add more wavy lines beneath the patty for cheese slices if you want a cheeseburger. Finishing with a shallow oval for the bottom bun helps anchor the burger on the plate.
Use short, curved lines to create texture in the lettuce and a subtle speckled pattern for the bun. Color each layer in classic shades—tan for the bun, green for lettuce, red for tomato, brown for the patty, and yellow for cheese.
Drawing a Donut
Draw a large, neat oval or circle for the donut’s outer edge. Sketch a smaller oval in the center for the hole. If you want a perspective effect, try making the hole just slightly off-center.
Add a wavy line around the top of the donut to outline the icing. The edges of the icing should look uneven, as if it’s dripping. You can include sprinkles by scattering tiny, colorful lines and dots over the frosting.
Shade the donut with a light brown or tan color, and use white or pastel shades for the icing. Sprinkles can be any color you like—mixing colors makes the donut look more playful and fun.
How to Draw Dumplings
Start by sketching a small, rounded oval or slightly flattened circle. For a classic dumpling, add a series of closely spaced curved lines along one edge to show the pleated, crimped seam.
The dumpling should look plump, so shade beneath to suggest a slight shadow. Add subtle creases to the dough near the folded edge for realism.
For a steamed look, keep the lines soft and the filling just hinted at. Use pale beige or off-white for the dough and a gentle gradient of shadows to give the dumpling a 3D effect. You can arrange several dumplings on a plate using overlapping ovals, making your drawing look more lively.
Fun and Easy Food Drawing Ideas
You can start drawing food with simple shapes and basic lines for a range of snacks and treats. Even if you are a beginner, these food drawing ideas let you practice different textures, details, and eye-catching colors.
Drawing Cherries and Watermelon
Cherries are easy to draw and help you learn how to use circles and curved lines. Draw two small circles that touch or slightly overlap. Add thin, upward-curving stems with a small oval at the top for the stem tip.
To add style, shade the cherries near the top and leave a tiny white oval for shine. Cherries often appear in groups, so feel free to connect several.
For watermelon, start with a half-moon or triangular wedge shape. Draw a jagged line along the curved edge for the rind. Fill the inside with big seeds—just tiny teardrop shapes—and use contrasting pink and green markers to finish.
Practice drawing both to get comfortable with curved lines and bright colors. Here is an example list for cherries and watermelon:
- Cherries: Circles, thin curved lines, highlight with white.
- Watermelon: Semi-circles or triangles, seed patterns, pink and green color.
How to Draw a Cupcake
Begin with a wide oval for the top of the frosting. Underneath, draw two vertical lines and connect them with a curved line to make the cupcake base.
Cupcakes are fun because of their details. Use bumpy, wavy lines on the oval to show fluffy frosting piled high. Draw simple horizontal lines across the base for the wrapper folds.
You can add a cherry or sprinkles on top for decoration. For color, use pastels or bright colors to show flavors. Shade the lower parts of frosting for a rounded effect. Drawing a cupcake helps you work on overlapping shapes and playful details.
Helpful table:
| Part | Shape/Tips |
|---|---|
| Frosting | Wavy oval, curved lines |
| Wrapper Base | Rectangle, vertical lines |
| Decorations | Dots, sprinkles, cherries |
Making Cookies and French Fries
Cookies are made with a simple circle, filled with small dots or squiggles to create chocolate chips or nuts. For crunchy edges, try breaking the outline with a few bumps and adding shading on one side.
Chocolate chip cookies often use uneven shapes to look more realistic, and you can follow a random pattern for the chips. A stack of cookies or a bitten cookie adds interest.
French fries start as thin, rectangular shapes grouped together. Vary the size and angle of each fry for a natural look.
Draw a simple, rectangular carton or paper container to hold the fries, adding dull yellow tones for a realistic effect. Try overlapping fries for depth.
Tips:
- Start with big shapes, add small details.
- For cookies, cluster chips randomly.
- Use light and shadow for fries to make them pop.
Draw a Taco and Burrito
Tacos are a mix of curves and wavy lines. Outline a half-oval for the taco shell and add a jagged, slightly wavy edge to show crunchiness.
Inside, draw layers for lettuce, cheese, and meat with zig-zag or bumpy lines. Tiny circles or squiggles can represent tomatoes or sauce.
Burritos are made from a simple cylinder with softly curved ends. Sketch light, vertical lines where the tortilla might fold.
Add fillings peeking out of one end—use short, rounded strokes for beans or rice and wavy lines for lettuce or cheese.
For both foods, shading along one side adds a 3D look. Use browns, greens, reds, and yellows for realistic coloring. Try drawing both open and wrapped burritos to practice different textures.

Inspiration for Unique Food Art Styles
Finding inspiration for your food drawings can transform your work and make your art stand out. Experiment with different styles, observe real-life examples, and stay updated with current illustration trends to bring freshness to your creations.
Developing Your Own Unique Style
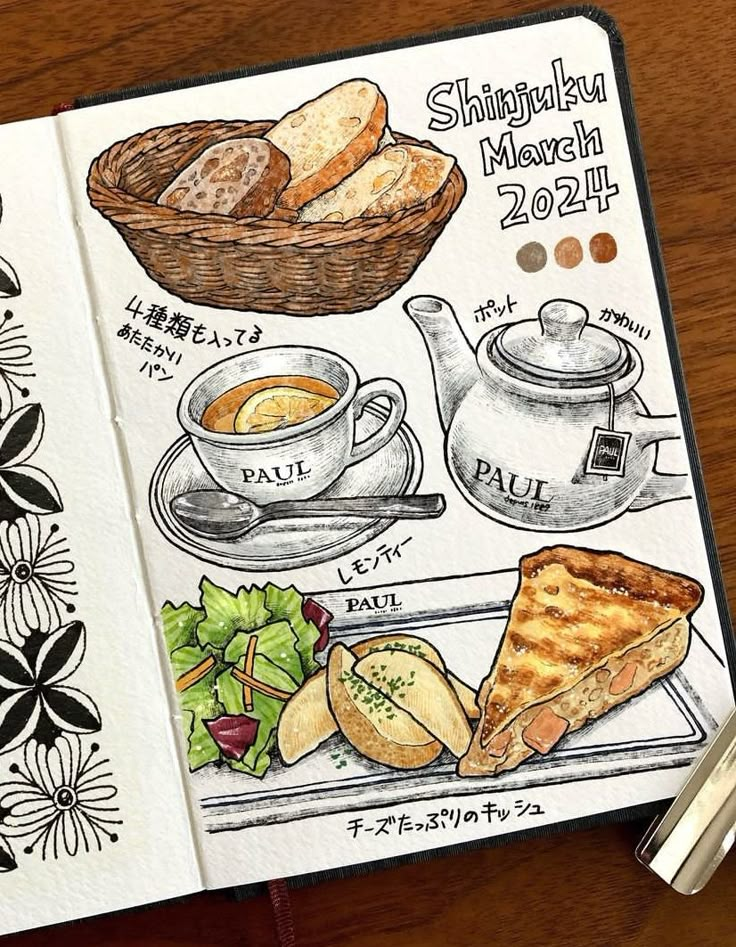
Developing a unique style involves experimenting with different techniques, such as shading, color combinations, and line work. Try recreating the texture of bread crusts or glossy highlights on fruit using crosshatching, stippling, or bold color blocks.
Keep a sketchbook and dedicate pages to drawing the same subject—like a strawberry or a sandwich—in multiple ways. This helps you discover what elements feel most authentic to you.
Observe how other artists simplify or exaggerate details to make their food illustrations memorable. Note what appeals to you and integrate aspects into your practice, but make sure to adapt them so your own artistic voice remains clear.
Using Food Photography for Reference
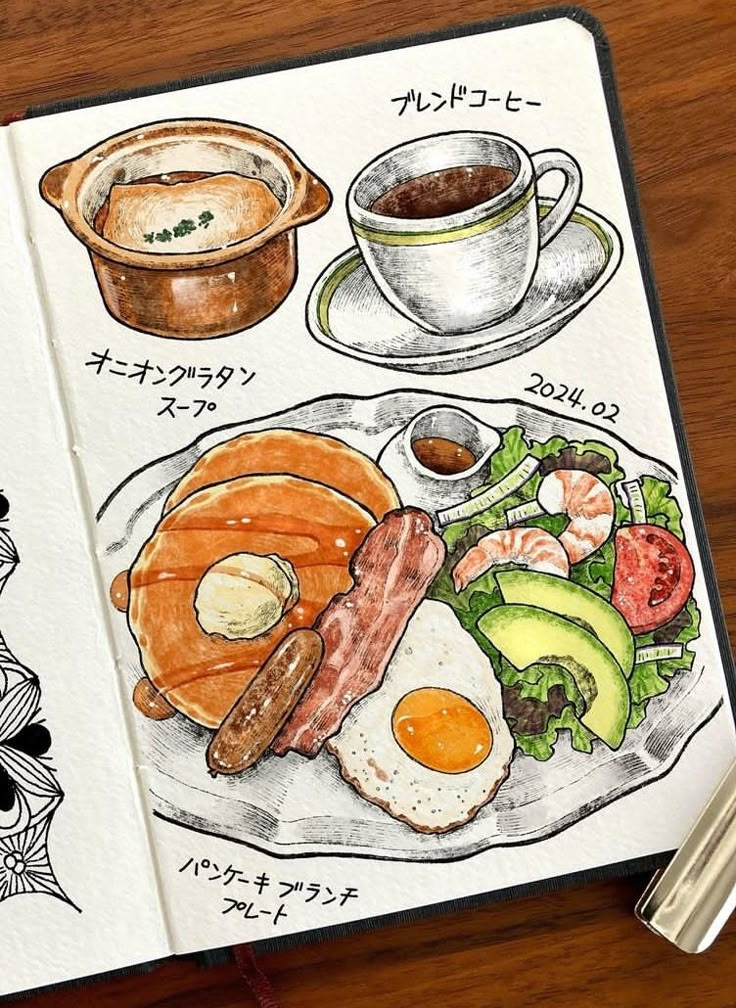
Food photography offers a rich source of reference, letting you study real light, texture, and structure. Collect photos—either your own or from royalty-free sites—and analyze how lighting affects colors and shadows.
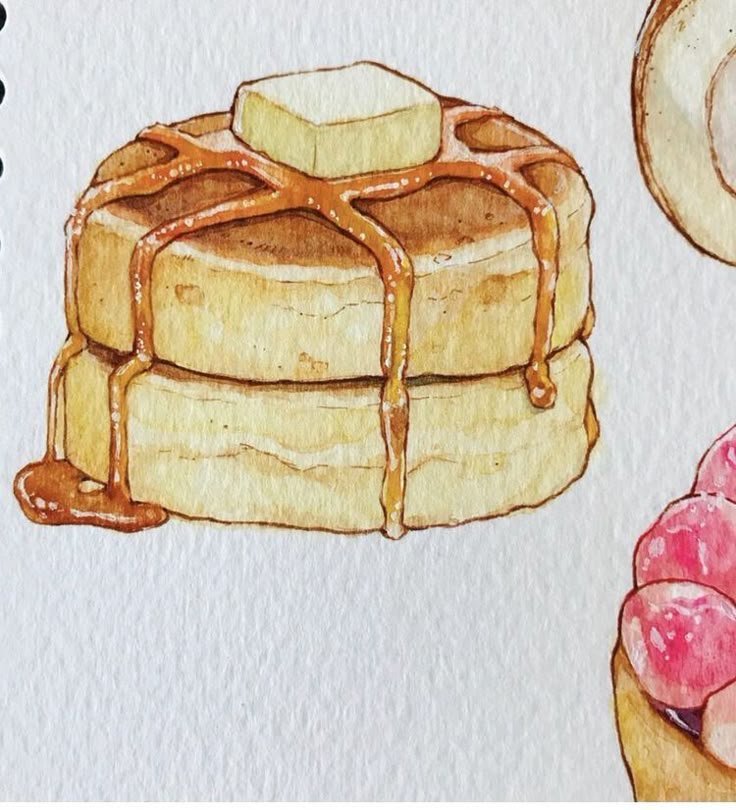
Focus on the way syrup drips over pancakes or how steam rises from a hot dish. These details can make your drawings feel more realistic and engaging.
When using reference images, it’s helpful to create a reference board. Organize your photos by category (e.g., sweets, savory foods, fresh produce) so you can find inspiration quickly when starting a new drawing.
Exploring Food Illustration Trends
Keeping up with food illustration trends ensures your style stays current and appealing. Some popular trends include bold outlines, minimal color palettes, and exaggerated proportions for a more playful, cartoon-like effect.
Other trends often shift toward ultra-realism, focusing on hyper-detailed renderings that almost look photographic. Try blending trend elements with your unique touch—mixing stylized backgrounds with realistic food textures, for example.
Follow artists on social media or browse illustration challenges related to food. Engaging with the creative community helps you spot new trends and adapt your style accordingly.
Finishing Touches and Additional Tips
Adding finishing touches brings realism and personality to your food drawings. Focusing on composition, utensils, and the way you present your work helps your illustrations stand out and connect with viewers.
Incorporating Details Like Chopsticks and Utensils
Small props, like chopsticks, forks, or straws, make your food drawings feel more authentic and give context, especially when drawing items such as noodles, a milkshake, or pancakes.
Keep proportions in mind. For example, chopsticks should be slightly longer than most utensils. When drawing a hot dog or popcorn, sketch in napkins or paper trays for a finished look. Add highlights to a spoon in a bowl of beans or texture to wooden chopsticks for ramen.
Subtle details, like the reflection on a glass of milkshake or the shiny surface of a peanut, enhance realism. Use layer effects or soft shading to show materials—wood, glass, metal—by focusing on their distinct textures. Details like this make simple foods (a tomato or pretzel) pop off the page.
Tip: List common utensils and accessories to keep handy for reference:
- Chopsticks (smooth or textured)
- Drinking straws (for milkshakes)
- Paper trays (for popcorn or hot dogs)
- Napkins
Balancing Composition
Composition draws the viewer’s eye to what matters most. Arrange foods so that larger items (like a stack of pancakes) anchor your layout, and smaller foods—peanuts, tomatoes—add visual interest.
Try placing contrasting shapes together. For instance, a rounded tomato next to twisted pretzels creates visual variety. Space your items thoughtfully; overlapping a bunch of beans with a hot dog can add a casual, realistic feel.
Use negative space to avoid clutter. Leave enough room between elements so features like syrup on pancakes or salt on popcorn are visible. If you’re unsure, sketch a quick thumbnail first to check the overall balance.
Tip: Here’s a quick checklist for balanced composition:
- Largest item placed first (anchor)
- Include at least one accessory or utensil
- Vary texture and shape
- Leave negative space
Displaying and Sharing Your Artwork
Showcasing your food art can motivate you and inspire others. Scan or photograph your artwork in natural light for true-to-life colors—especially effective with bright tomatoes or shiny milkshakes.
Share on social media, art forums, or with friends. Crop your file to focus on key details, such as the bubbles in a milkshake or the glisten of syrup on pancakes. Adding a simple border or watermark gives your work a polished look. For watermarking purposes, you can use Visual Watermark.
Consider making a digital collage of multiple foods—beans, hot dogs, popcorn, and pretzels—to create a themed collection. Use hashtags or descriptive captions when posting online to reach viewers with similar interests. Your display choices help your food illustrations get the attention and appreciation they deserve.
- 5.6Kshares
- Facebook0
- Pinterest5.6K
- Twitter0
- Reddit0
