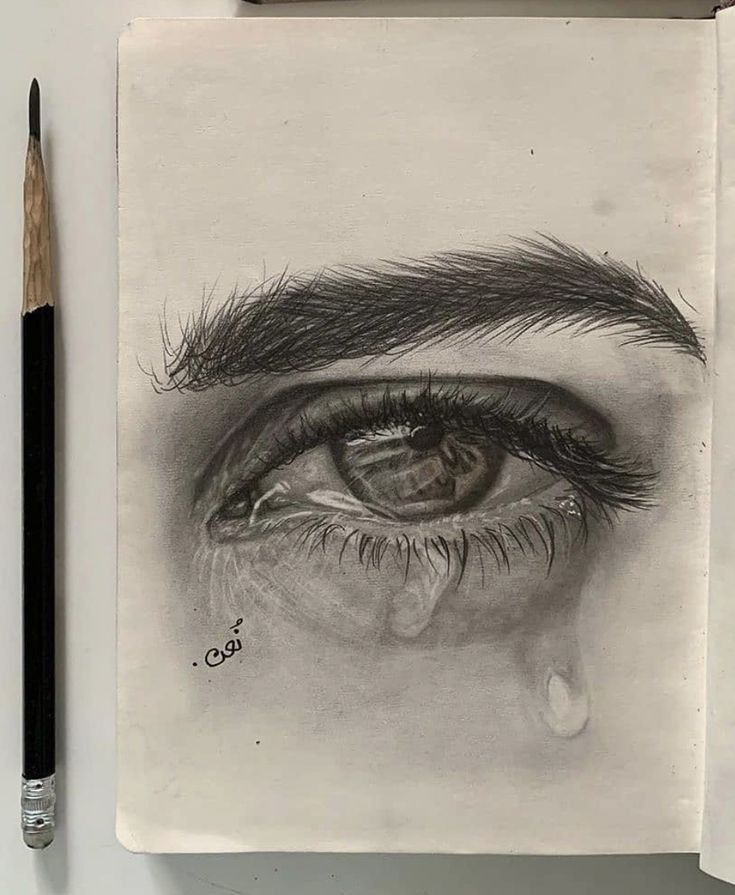
Drawing a realistic eye might seem challenging at first, but with a few simple steps and some practice, anyone—including beginners—can achieve impressive results. Eyes are the most expressive feature in portraits and mastering their realism will instantly elevate your artwork. This tutorial will guide you through an easy, step-by-step process to help you draw lifelike eyes, even if you are just starting out.
You’ll learn what materials you need, how to break down the structure of the eye, and which details are most important for achieving a convincing look. By understanding proportions and practicing basic shading techniques, you can bring depth and emotion into your drawings.
Key Takeaways
- Gather simple materials and set up for success.
- Follow step-by-step instructions to draw a realistic eye.
- Enhance your drawing with shading and key details for realism.
Essential Materials and Preparation
Gathering the right materials and getting organized will help make your drawing process more enjoyable and effective. A good reference photo, the correct drawing tools, and a comfortable workspace each play an important role in drawing a realistic eye.
Choosing Reference Photos
Select a clear, high-resolution photo of an eye with good lighting and visible details. Look for images where the lashes, reflections, and iris patterns can be easily seen, as this will help you capture realism in your work.
Natural lighting tends to show accurate colors and soft shadows. Make sure the eye is not overly edited or filtered, because this can hide important textures and values you need to observe.
If possible, choose a photo that shows the full eye, including the eyelids and surrounding skin. This gives you context and a more accurate shape to work from. You can use your own photographs, royalty-free images online, or magazine clippings as references.
Selecting Drawing Tools
You don’t need expensive supplies to start, but having a range of basic materials will give you more control. Essential tools include:
- Graphite pencils (HB, 2B, 4B, and 6B)
- A good quality eraser (kneaded and/or vinyl)
- Blending stumps or tissue for shading
- Smooth drawing paper (not too rough)
A table giving an overview of potential materials:
| Tool | Recommended Use |
|---|---|
| HB Pencil | Outlines, soft lines |
| 2B & 4B Pencils | Shading, mid/dark values |
| 6B Pencil | Deep shadows, darkest details |
| Kneaded Eraser | Gentle highlights, corrections |
| Blending Stump | Smooth gradients |
| Smooth Paper | Fine details, clean strokes |
Mechanical pencils or fine-tip pens can help refine lines, but stick with graphite for easy adjustments as you learn.
Setting Up Your Workspace
Find a spot with natural, indirect light to prevent eye strain and give you true color vision. Sit at a flat, stable table, and keep your tools within easy reach.
Keep your reference photo on a stand or device near your drawing area so you don’t have to keep looking away. Tape your paper down if it tends to move.
Use a clean, uncluttered surface. This helps you focus and keeps your drawing safe from smudges or accidental spills. A comfortable chair with back support can make longer drawing sessions easier on your posture.
Understanding Eye Anatomy and Structure
To draw realistic eyes, you need to study the main features people actually see, notice how light and shadow interact on these surfaces, and accurately capture the eye’s proportions. Paying close attention to these elements will make your drawings look more lifelike and convincing.
Visible Features of the Eye
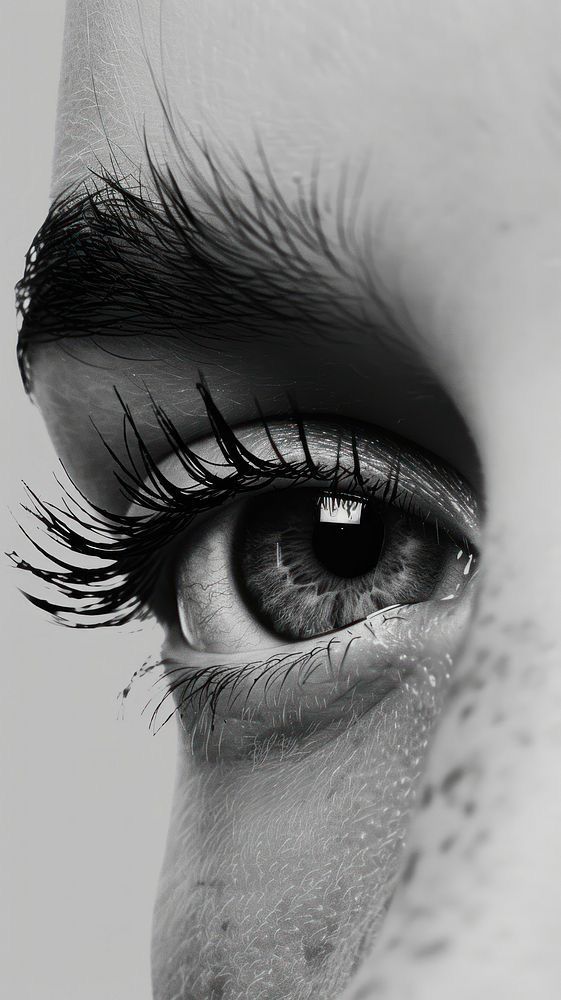
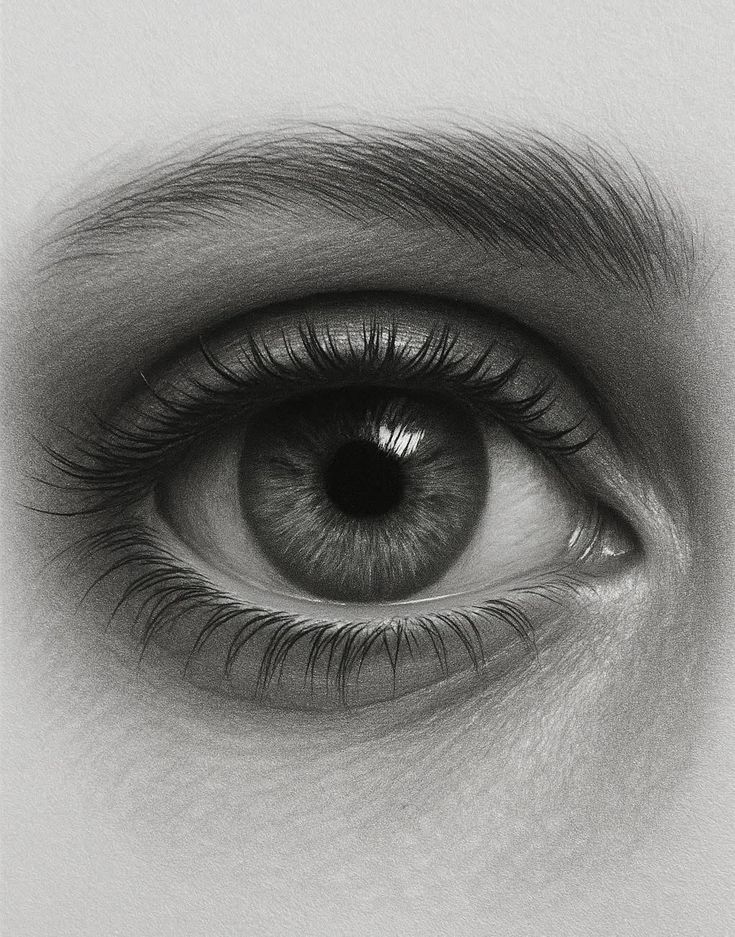
The most noticeable parts of the eye are the iris, pupil, sclera (white), and eyelids. The iris has delicate patterns that give the eye texture. Drawing the lines radiating from the pupil outwards adds to the realism. The pupil is almost always a perfect circle, located in the center of the iris, and will react to light by changing size.
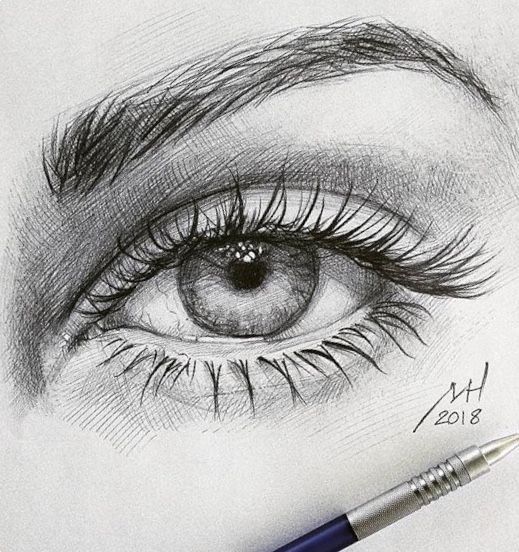
The sclera isn’t truly white; it contains subtle shadows and veins. Eyelids frame the eye, with the upper and lower eyelids curving differently. The rim of the lower eyelid often casts a faint shadow and catches highlights. Eyelashes are placed in natural, irregular clusters, and careful spacing helps avoid a flat look.
Eyelid creases and the tear duct at the inner corner give the eye depth and a natural appearance. Notice these features on reference photos or in a mirror to better understand how they contribute to an expressive, realistic eye.
Role of Light and Shadows
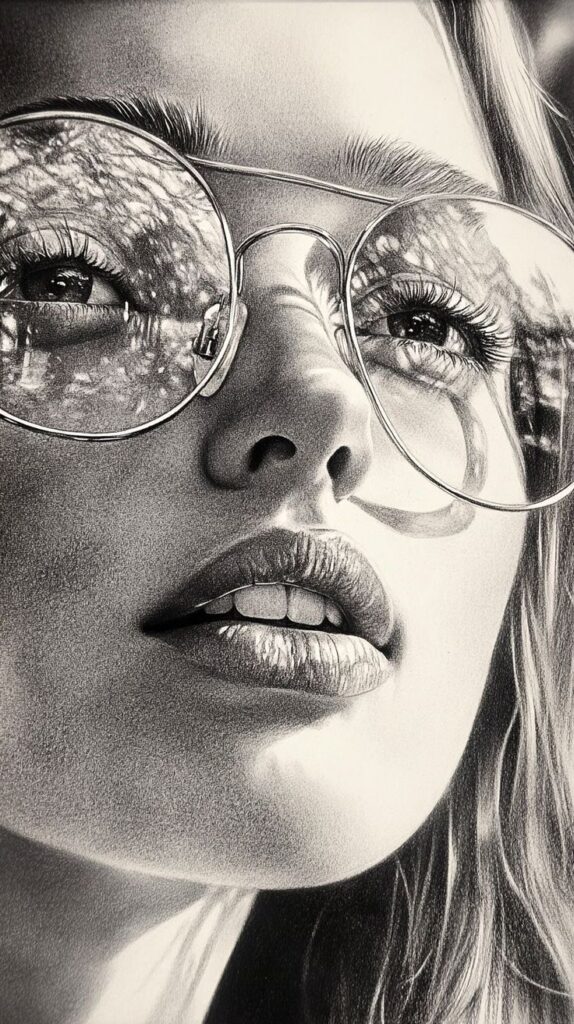
Light and shadows define the eye’s three-dimensional form. When a light source hits the eye, it creates highlights, usually on the cornea and rim of the lower eyelid. These highlights should be placed carefully to capture the glossy look of the eye.
Shadows appear where the upper eyelid meets the eyeball and beneath the eyelid. Use a softer pencil or gentle smudging to suggest these areas without harsh lines. The white of the eye always has subtle, curved shadows, particularly near the edges, helping the eyeball look round.
Reflections in the eye reveal the environment or light sources and give the drawing realism. When drawing realistic eyes, pay close attention to these bright and dark spots. Even the eyelid casts a light shadow over the white of the eye, and gently blending these areas makes your drawing more convincing.
Analyzing Proportions for Realism
Understanding the right proportions is essential for drawing realistic eyes. Begin by observing the spacing: the width of one eye is roughly equal to the space between the eyes, and both eyes are usually aligned horizontally. Sketching simple guidelines can help you map these proportions.
Pay attention to the height-to-width ratio of the eye. The upper eyelid covers more of the iris than the lower one does, so avoid centering the iris too much. Refer regularly to real-life examples or reference images.
Use a simple table to remember key proportional tips:
| Element | Common Ratio or Position |
|---|---|
| Eye width | About 1/5 of the face’s width |
| Iris position | Just below upper eyelid |
| Eyelid curve | Upper lid is more arched |
| Eye spacing | One eye-width apart |
Adjust these guidelines to match individual faces for greater accuracy. Small corrections in size and placement can make a big difference in how believable your eye drawings look.
Step-by-Step Drawing Process
To draw a realistic eye, you need a careful approach and attention to anatomical details. Start with accurate placement and proportions before developing the eye’s structure and lifelike features.
Sketching the Basic Eye Outline
Begin by drawing a horizontal guideline to position the eye. Lightly sketch an almond shape with soft pencil strokes, making sure both corners of the eye are rounded but not sharp.
Check the distance between the upper and lower lash lines. For most eyes, the height across the middle is slightly greater than nearer the corners. Step back and compare the shape to an actual eye or photo reference to make sure the proportions look correct.
Mark the position of the tear duct and outer corner. At this stage, keep lines light so you can easily adjust or erase them. Avoid adding details; focus on the outline and basic contour.
Drawing the Iris and Pupil
Inside your eye outline, carefully sketch a circle for the iris. The iris is rarely a perfect circle, as part of it is often hidden by the eyelids. Make sure the iris is centered horizontally between the corners, but the top and bottom can touch the eyelids.
Draw the pupil in the center of the iris, making it round and clearly defined. The pupil is usually the darkest part of the eye. Don’t shade yet; concentrate on shape and alignment.
Include a faint outline for the main highlight or reflection. This highlight should overlap the iris and pupil for a realistic effect.
Defining the Eyelids and Corners
Draw the upper and lower eyelid contours, observing how the eyelid folds above and below the eyeball. The upper eyelid typically overlaps the iris slightly, while the lower one sits just below the iris.
Include the crease line of the upper eyelid. This curve varies by person and should run above the lash line, following the eye’s shape. Notice that the thickness of the eyelids changes near the corners: the inner (tear duct) side is often slimmer.
Mark small lines or curves at the tear duct and the outer corner, making sure they are slightly rounded and not pointed. This subtlety adds realism and softness to your eye drawing.
Mapping Highlights and Reflections
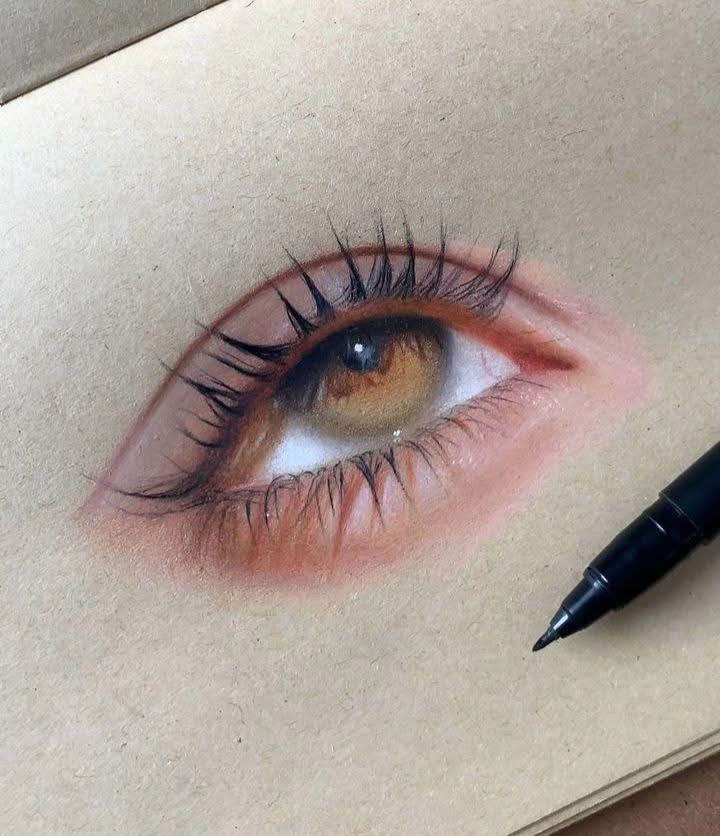
Plan where the bright spots—the highlights—will go. Look at your reference image or imagine a light source. Highlights commonly appear on the cornea, just above or on the pupil and iris.
Lightly sketch these shapes so you avoid shading over them by mistake. Highlights are crucial for giving the eye a realistic, moist look. Varying the size or position of these spots alters the direction of the gaze and the sense of depth.
Some additional reflections may appear below the main highlight, especially if the eye is wet or the light is strong. Carefully outline these areas and leave them white when you shade the eye later.
Adding Realism Through Shading and Details
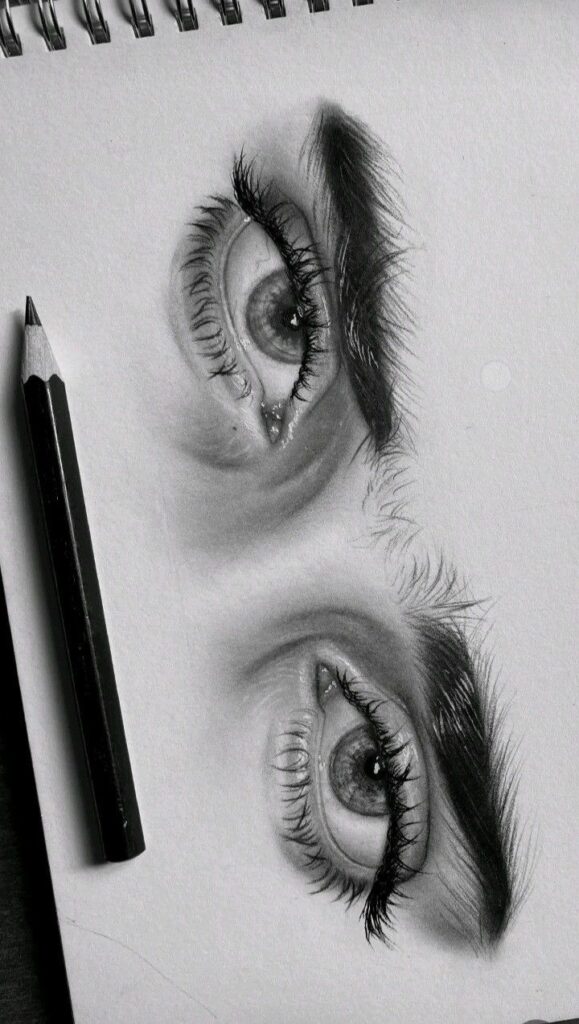
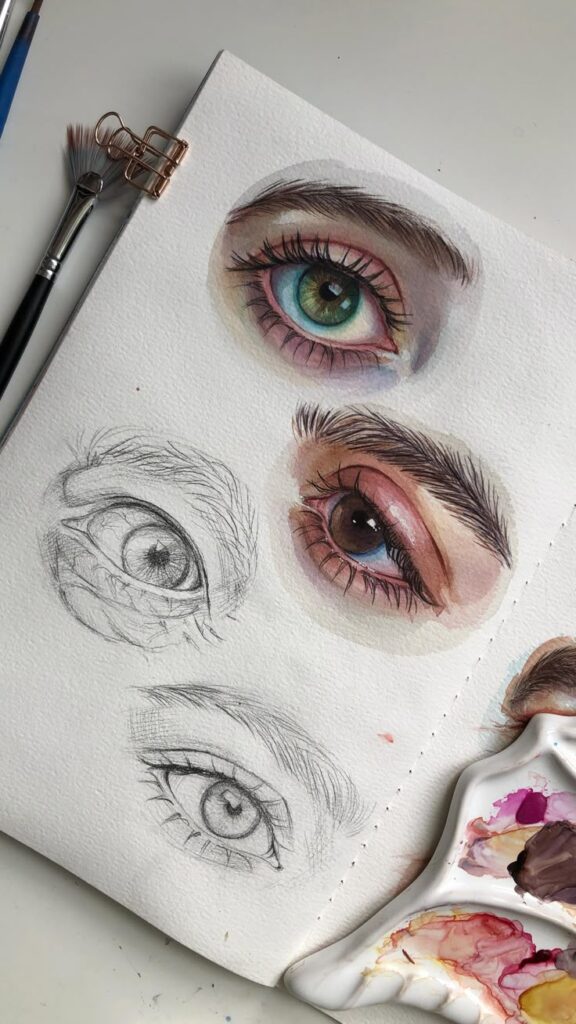
Giving your drawing realistic eyes depends on careful shading, layering, and paying attention to small details. Accurate values, subtle textures, and smooth gradients make a major difference between a flat drawing and a convincing eye.
Shading the Eyeball and Iris
Start with the whites of the eye (sclera). They’re not pure white—look for shadows cast by the eyelids, especially under the upper lid. Lightly use a 2H or HB pencil to build up these shadows, keeping the center side of the sclera a bit brighter where the light typically hits.
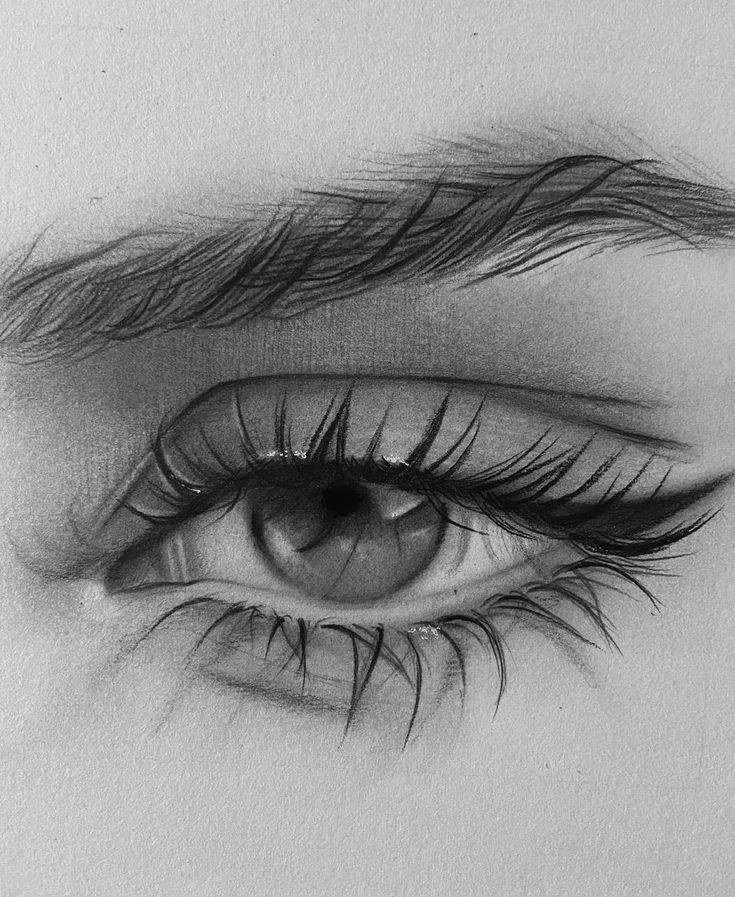
For the iris, map out where the darkest and lightest tones go based on your reference. Press lightly with a B or 2B pencil to create the iris’s radial lines—these run outward from the pupil and should look loose and varied. Add extra darkness to the rim around the iris and the pupil itself, which is usually the eye’s blackest spot.
Remember, realistic eyes always include bright highlights. Leave the reflection area clean or gently lift graphite with a kneaded eraser to keep highlights crisp.
Creating Texture and Depth
Texture adds believability and makes the eye feel three-dimensional. Shade the eyelids and tear ducts gently, paying attention to subtle wrinkles or folds. Blend small circles or crosshatching for delicate skin texture—avoid harsh lines.
Lashes aren’t just lines; vary their thickness, length, and direction for a more natural look. Place them at the very edge of the eyelid. Leave tiny spaces between some lashes—realistic eyes never have perfectly even lines.
For added depth, use layers. Begin with light shading then slowly build up shadows. Press more firmly in darker areas but keep light areas soft. Study references to capture the slight bumps and irregularities in the skin and iris.
Blending Techniques
Smooth blending is key when drawing realistic eyes. Use a blending stump, soft tissue, or clean brush to gently blend pencil strokes, especially on the sclera and skin. Avoid over-blending inside the iris—radial streaks should stay visible for texture.
After blending, reintroduce sharp edges to the pupil, iris rim, or waterline by drawing directly over blended areas. This boosts contrast and creates a realistic finish.
For a polished look, lightly erase smudges or unwanted graphite using a kneaded eraser shaped to a point. This is especially useful for pulling out subtle highlights and refining final details without damaging your paper.
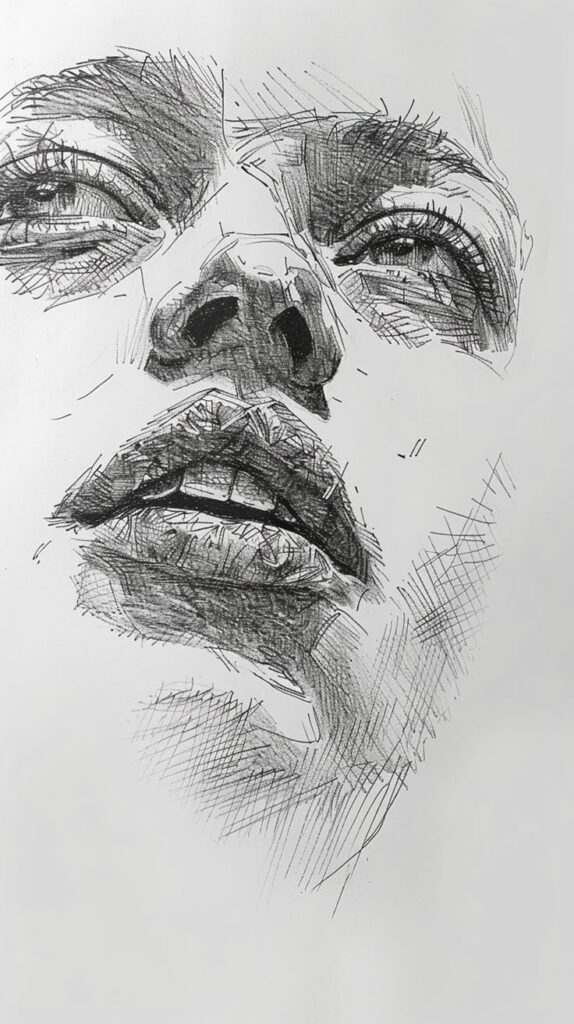
Finishing Touches and Common Mistakes
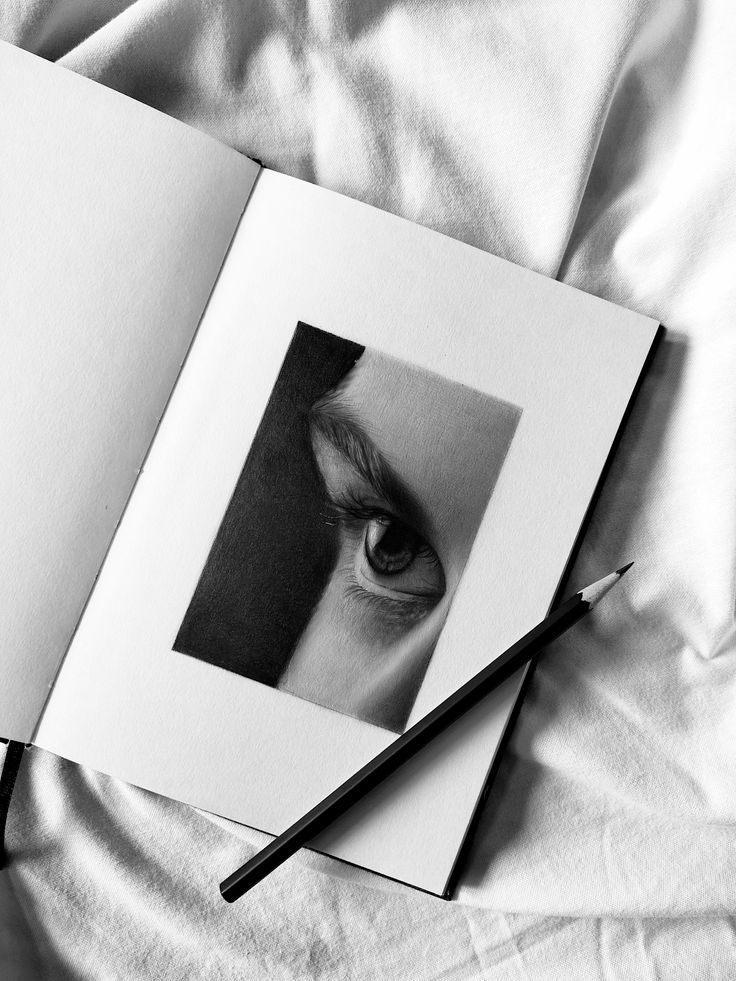
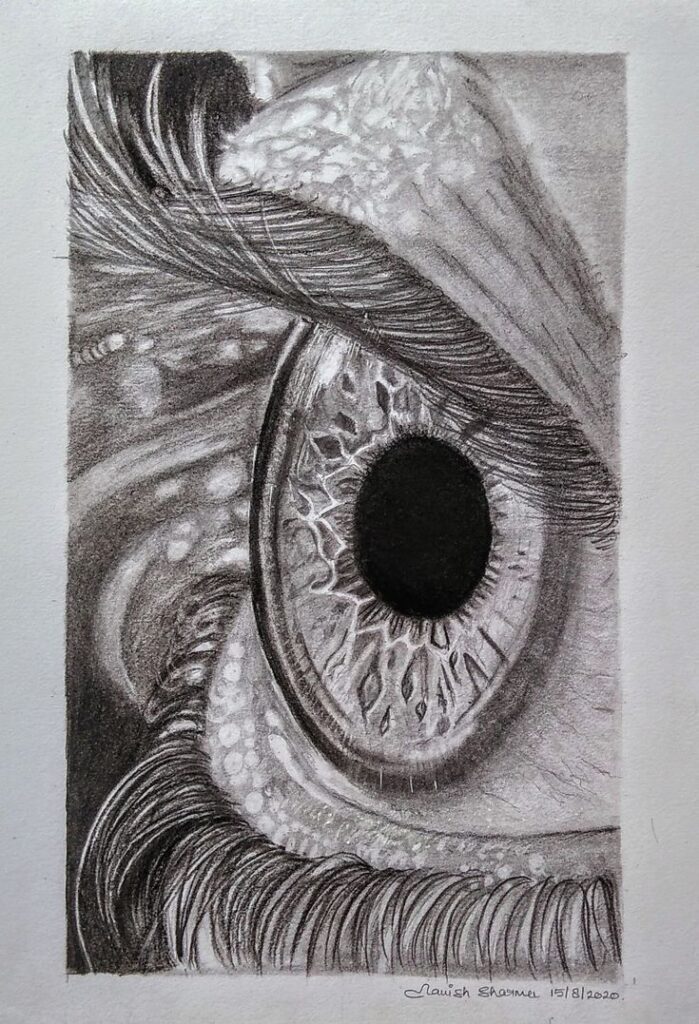
Once you’ve finished shading and adding details to the eye, focusing on the edges, lashes, and proportions can make your eye drawing appear much more lifelike. Small adjustments help refine your work and prevent common issues that can make eyes look flat or unnatural.
Drawing Eyelashes and Eyebrows
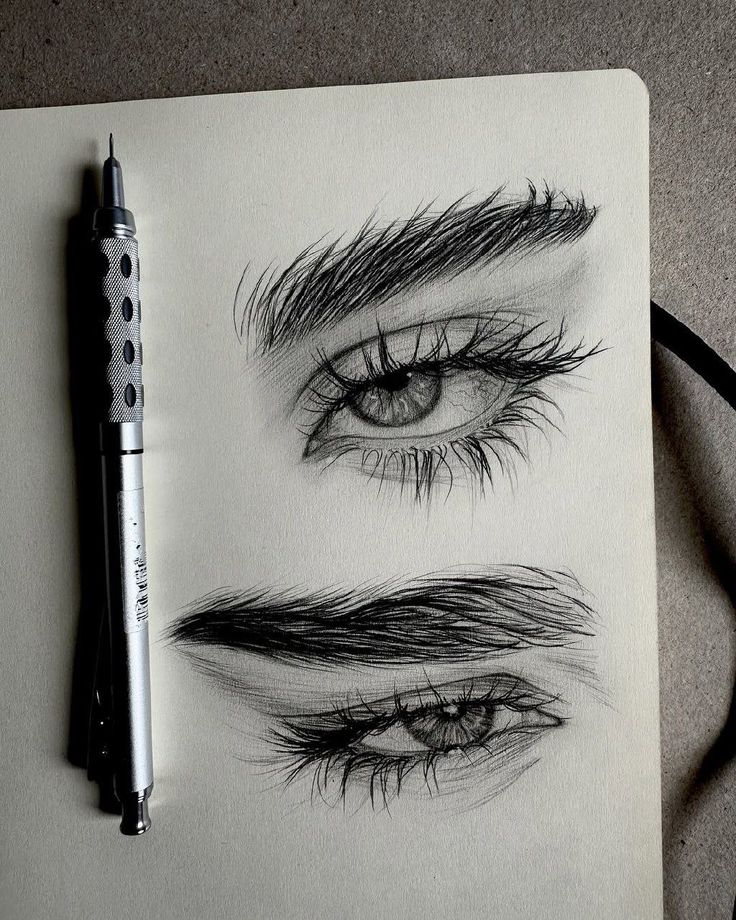
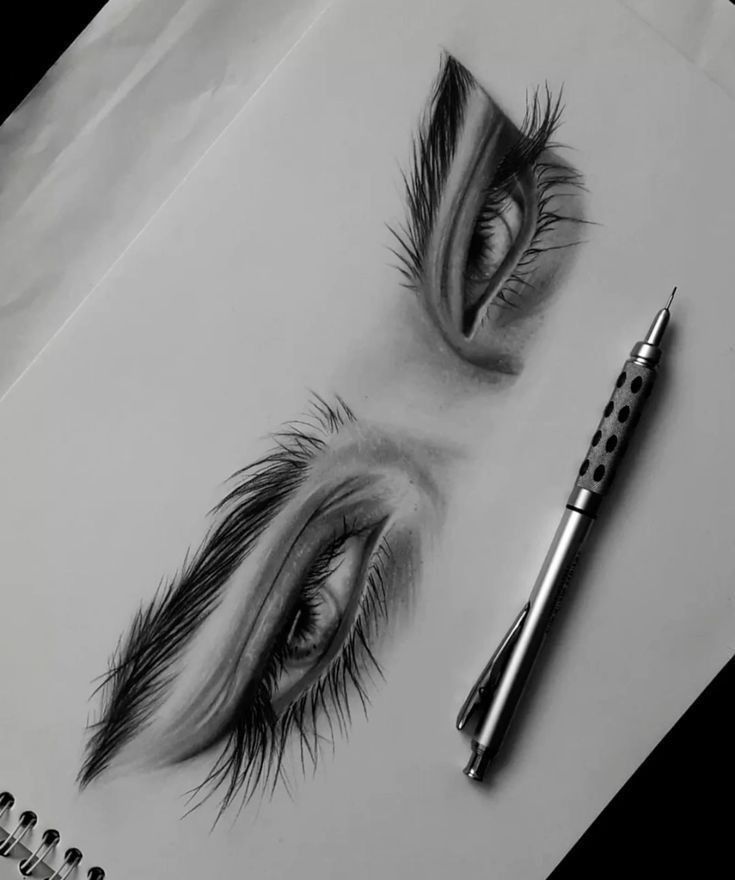
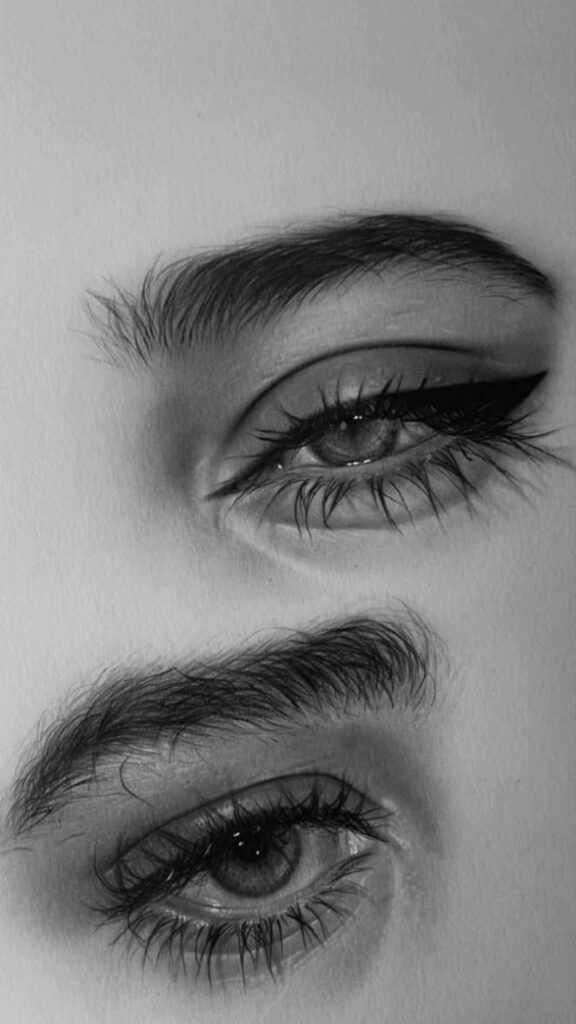
Start with the eyelashes by noticing the way they curve and fan out from the eyelid. Eyelashes aren’t straight lines—they have a slight curve that follows the shape of the eye. Use quick, varied strokes and press lightly at the base, tapering away at the end.
Vary the lengths and angles. The upper lashes are usually longer and fuller, while lower lashes are shorter and more sparse. Avoid placing all the lashes in the same direction; real lashes overlap and cross, which gives them a natural look.
For eyebrows, lightly sketch the direction of hair growth. Eyebrow hairs start upward at the inner corner, then arch and flow outwards. Layer soft, overlapping strokes for a textured effect. Don’t try to draw each hair perfectly; focus on the overall flow and density for the most authentic appearance.
Reviewing and Adjusting Proportions
Double-check the size and placement of the iris, pupil, and eyelids. The iris should usually be partially covered by the upper eyelid, and both eyes on a face should align horizontally. Look out for symmetry issues, especially if drawing two eyes in a portrait.
Use a ruler, grid, or your pencil as a measuring tool. Compare the width of the eye to the distance between the eyes for accuracy. If areas seem off, use an eraser to refine the edges gradually rather than making drastic changes at once.
Check highlights and shadows around the eye. For realism, highlights shouldn’t be overly bright or out of place. Compare your work with a reference, if possible, to detect subtle proportion differences. These final adjustments are often what take your drawing from good to great.
Avoiding Common Pitfalls
Many beginners outline the entire eye with harsh, dark lines. In reality, most edges are softened by light, shadow, and moisture. Avoid heavy outlines along the lower lid and around the iris; use blending tools to create soft transitions and depth.
Don’t forget to include the tear duct and slight shadows under the upper lid. Ignoring these small details can make the eye look flat. Pay attention to the reflected light within the white of the eye (sclera) and the way shadows wrap around the form.
Here is a quick checklist to prevent mistakes:
| Common Mistake | How to Fix It |
|---|---|
| Outlined Eyelids | Use softer shading, not harsh lines |
| Uniform Eyelashes | Vary angles, lengths, and directions |
| Misplaced Highlights | Study reference photos carefully |
| Flat Sclera | Add subtle shadow and reflected light |
Use this as a reference as you refine your sketches and avoid the most frequent errors in realistic eye drawing.
- 2.0Kshares
- Facebook0
- Pinterest2.0K
- Twitter0
- Reddit0
