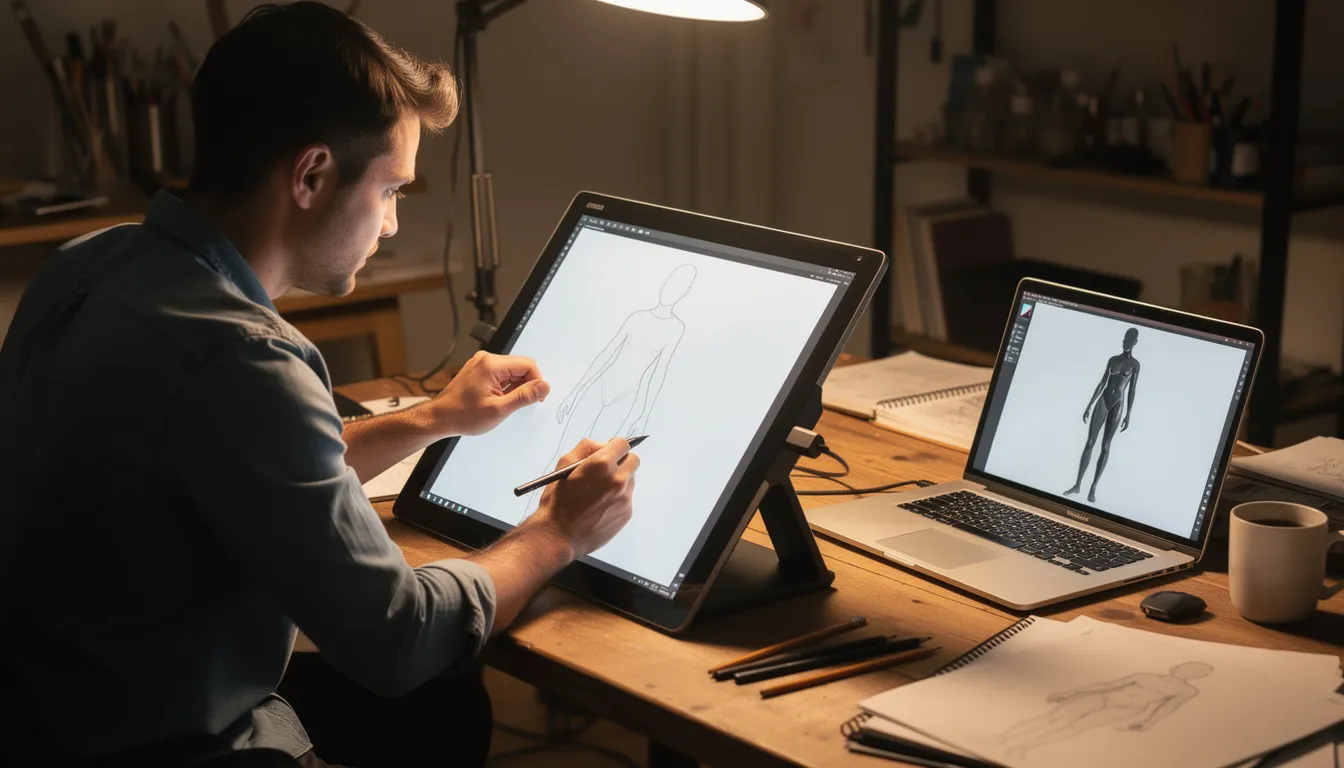
Start Here: How to Begin Figure Drawing Online (Answer User Intent Fast)
Figure drawing online refers to the practice of studying and sketching the human body using digital tools, web-based reference libraries, and virtual instruction. In 2026, it’s the most accessible way for beginners to develop serious drawing skills without attending a physical atelier or paying for expensive in-person classes.


You can learn figure drawing online through several pathways:
- Online figure drawing classes – Live Zoom sessions with real models and instructor feedback
- Free pose libraries – Timed reference tools like Quickposes and Line of Action
- Self-paced courses – Structured video lessons from platforms like Proko, New Masters Academy, and Watts Atelier Online
- Community practice – Reddit groups, Discord servers, and daily challenge sessions
Quick-Start Mini-Guide: How to Draw Figures Online
- Choose a free pose site (Quickposes, Line of Action, or SketchDaily)
- Set your timer to 60 seconds per pose for warm-up gestures
- Complete 10-20 quick gesture sketches focusing on movement, not details
- Switch to 5-10 minute poses for structural practice
- Review your work, comparing your drawings to the reference images
This guide will walk you through everything from absolute beginner foundations to intermediate drills, live class expectations, building your own reference library, and connecting with the global art community. Let’s find your starting point.
Essential Foundations: How to Draw Human Figures for Beginners
If you’ve ever typed “how do I draw figure” into a search bar and felt overwhelmed by the results, you’re not alone. Figure drawing looks intimidating because the human body is complex—but the learning path is surprisingly logical once you break it down.
The basic stages of learning to draw figures follow this progression:
- Stick figures – Simple line frameworks showing pose and proportion
- Mannequin/simplified forms – Basic 3D shapes (cylinders, spheres, boxes) representing body masses
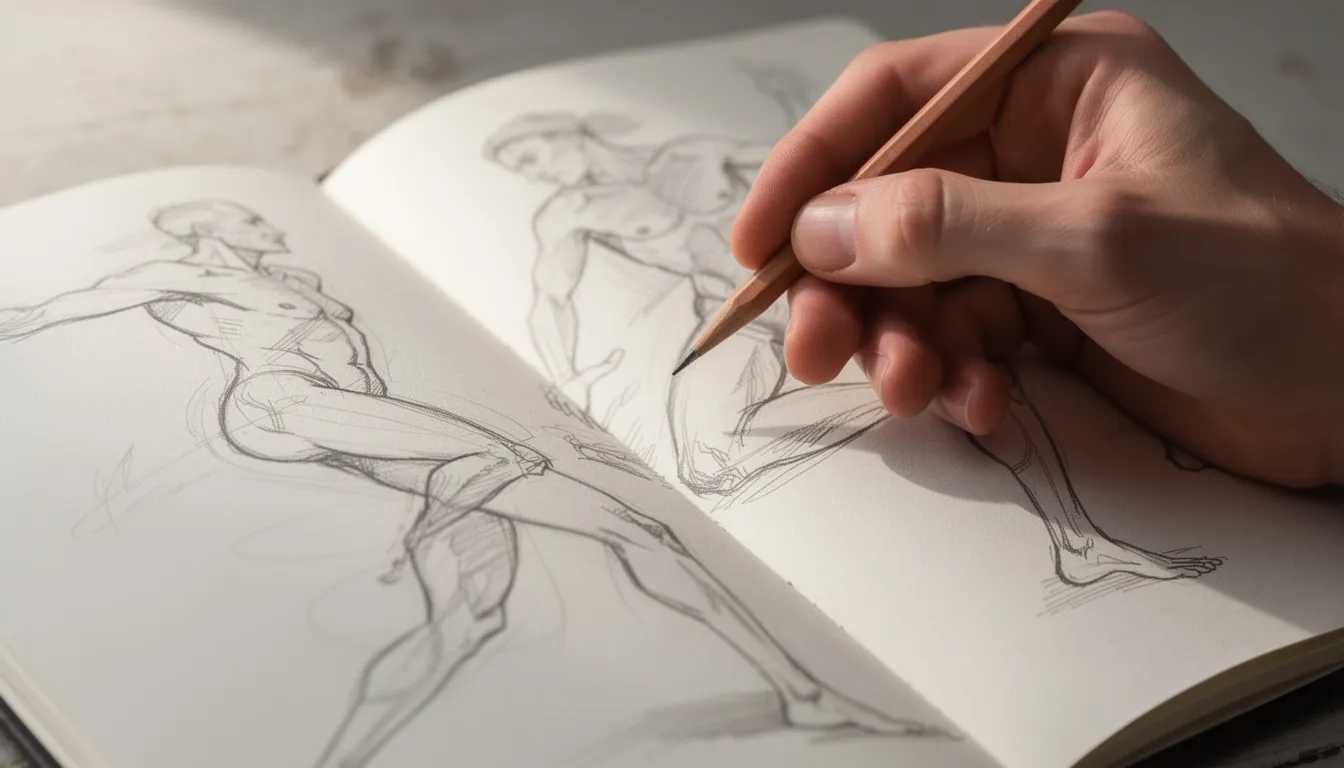
- Gesture drawing – Quick, flowing sketches capturing movement and life
- Anatomy study – Understanding muscles, bones, and how they affect surface forms
- Clothing and details – Adding fabric, hair, and accessories to completed figures
If you’re looking for detailed guidance, check out this comprehensive guide on drawing body poses step by step.
Start with 2D shapes before worrying about anatomy. Drawing circles for heads, ovals for ribcages, and rectangles for hips reduces overwhelm and builds confidence. This construction method—used in classic texts by Andrew Loomis and George Bridgman—remains the foundation of modern online instruction.
Mini-Exercise: Draw a Standing Figure in 5 Steps
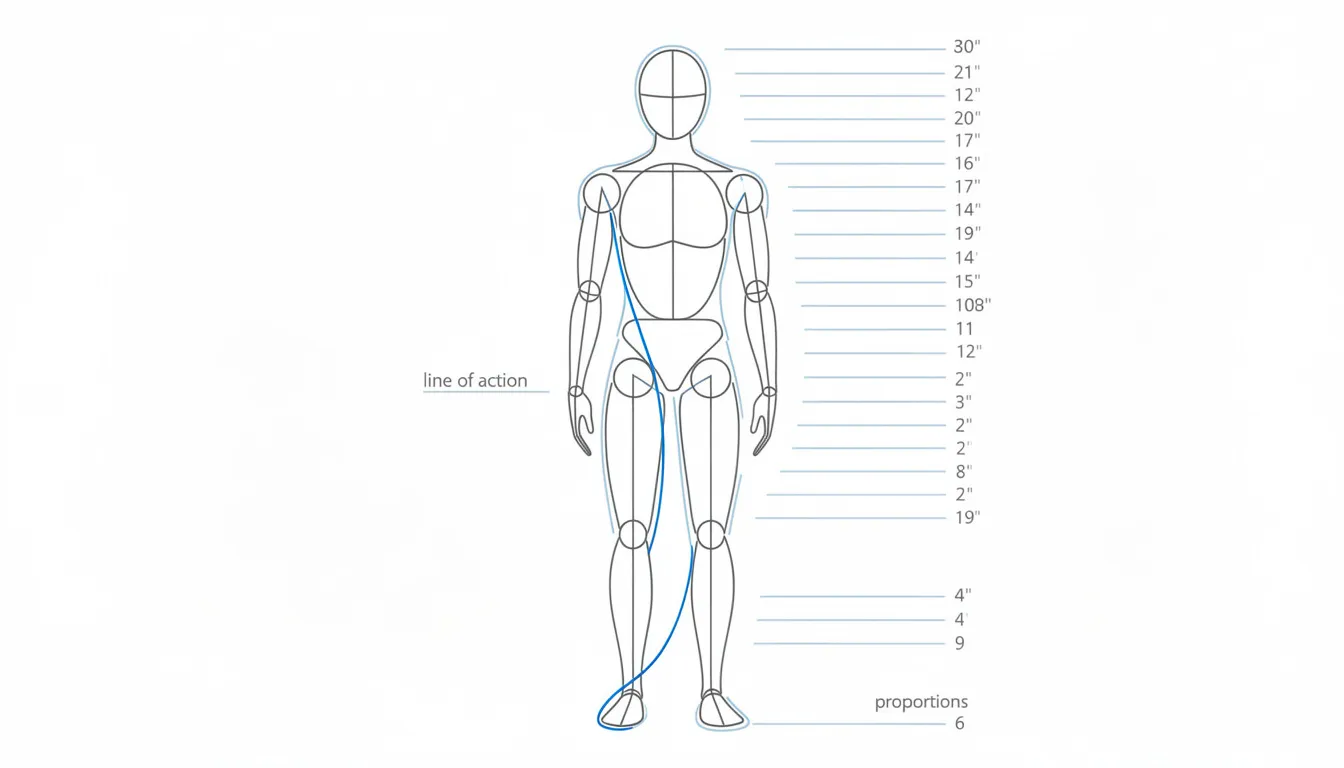
- Draw a single curved line from head to feet (your “line of action”)
- Add an oval for the head at the top of this line
- Place a larger oval for the ribcage, tilted to follow your action line
- Add a smaller oval for the pelvis/hips below
- Connect with simple lines for the spine, and add cylinder limbs
This exercise takes under two minutes and trains you to see the figure as connected shapes rather than isolated body parts.
How to Draw Figures Step by Step (Core Beginner Workflow)


Here’s a clear process for drawing figures step by step, designed specifically for online practice where you’re working from photo or video references.
Step 1: Choose an Online Reference (30 seconds) Open a pose site like Line of Action or Quickposes. Select a category that matches your skill level—start with simple standing poses before attempting dynamic action shots.
Step 2: Capture the Line of Action (15-30 seconds) Before drawing any shapes, identify the main directional flow of the pose. Draw one sweeping line—often a C-curve or S-curve—that represents the figure’s core movement from head through the torso.
Step 3: Block In Major Masses (1-2 minutes) Add three primary forms along your action line: anatomy, form, and dynamic poses.
- Head (simple oval or sphere)
- Ribcage (egg shape or box)
- Pelvis (simplified wedge or oval)
Pay attention to how these forms tilt relative to each other. The angle of the hips versus the shoulders creates the pose’s character.
Step 4: Add Limbs as Cylinders (1-2 minutes) Attach arms and legs as tapered cylinders. Check proportions—in most adults, the arm reaches mid-thigh, and the elbow aligns roughly with the waist. Don’t forget to indicate the direction of hands and feet, even as simple shapes.
Step 5: Indicate Major Landmarks (2-3 minutes) Mark key anatomical points: shoulders, elbows, wrists, knees, and ankles. These landmarks help you check accuracy and create structure for later refinement.
Step 6: Refine Contour and Add Simple Shading (3-5 minutes) Once your construction is solid, refine the outer edges. Add simple shadow shapes to indicate form—focus on the “terminator” line where light transitions to shadow.
Step 7: Self-Critique Using Reference Overlay (1 minute) Compare your drawing directly to the reference. Look for proportion errors, missed angles, or stiffness. Many artists use a grid or overlay feature in digital apps to track accuracy.
Common beginner mistakes include drawing what you think the body looks like rather than what you actually see, creating stiff poses by ignoring gesture, and jumping to details before establishing structure.
Total time for this workflow: approximately 10-15 minutes per figure.
Gesture Drawing Online: Building Speed and Confidence
Gesture drawing is the fastest way to improve at figure drawing online. It trains your eye to capture movement and life before your brain starts overthinking anatomy.
Timed practice tools simulate real art school drills without requiring a live model or studio access. Platforms like Quickposes, Line of Action, and New Masters Academy offer automatic timers that change images at set intervals.
Timing Recommendations:
| Pose Length | Focus Area |
|---|---|
| 30 seconds | Pure gesture—one flowing line, no details |
| 1 minute | Gesture plus rough mass indication |
| 2 minutes | Gesture, masses, and basic limb placement |
| 5 minutes | Complete construction with simple anatomy |
The “Challenge” format—20 images per session with automatic progression—creates accountability and prevents overthinking. You can’t spend 10 minutes perfecting an eye when the pose changes every 60 seconds.
What to Prioritize in Gesture:
- Flow and rhythm over accuracy
- Weight distribution and balance
- Big shapes and directional lines
- Energy and movement, not surface details
Professionals emphasize drawing big, using the whole page. This mirrors how experienced artists work and forces you to commit to bold marks rather than tentative scratching.
Online Figure Drawing Classes & Courses (Live and On-Demand)
Understanding the difference between live classes and self-paced courses helps you choose the right format for your schedule and learning style.
Online figure drawing classes are scheduled, real-time sessions—typically via Zoom—where you draw alongside other students while a model poses. You get the energy of a studio environment and sometimes direct feedback.
Online figure drawing courses are pre-recorded, structured curricula you complete at your own pace. These offer repeatable lessons, downloadable assignments, and often community forums for feedback.
Notable Platforms to Explore:
- Washington Studio School – Monday evening Zoom sessions with 2-10 minute poses plus extended long poses
- New Masters Academy – Daily life drawing video sessions with 1, 2, 5, and 10-minute poses marked by audio chimes
- Proko – Comprehensive figure drawing course with anatomy integration and community critiques
- Watts Atelier Online – Classical atelier training adapted for digital delivery
- Love Life Drawing – YouTube-based instruction with gesture focus and pose packs
- Schoolism – Professional illustration courses including figure work
Practical Considerations:
- Registration requirements vary—some need an account with signing up in advance
- Age limitations may apply for sessions featuring nude models
- Time zones matter for live sessions—check if recordings are available
- Materials needed: sketchbook or tablet, pencils or stylus, stable internet
Choosing Your Format:
| Format | Best For | Drawback |
|---|---|---|
| Live Zoom classes | Accountability, real-time feedback | Fixed schedule |
| Pre-recorded courses | Flexibility, rewatchable content | No live critique |
| Self-guided reference practice | Free, unlimited access | Requires self-discipline |
What to Expect in a Live Online Figure Drawing Session


A typical live session follows a structure similar to traditional studio classes:
- Warm-ups (10-15 minutes) – Quick 2-5 minute poses to loosen up
- Medium poses (20-30 minutes) – 10-20 minute poses for construction practice
- Long pose (30-60 minutes) – One extended pose for detailed study, with model breaks
How the Technology Works:
- The model poses in front of a camera, often with professional lighting
- Timer announcements come via audio or on-screen countdown
- Camera on/off etiquette varies—some sessions are view-only, others encourage sharing your screen for feedback
- Reference access after class may be provided through downloadable images or session recordings
Setup Tips for Success:
- Stable internet connection (wired if possible)
- Large enough screen to see pose details clearly
- Position your sketchbook or tablet so your posture stays comfortable—avoid hunching
- Use mute when not asking questions to avoid audio interruptions
- Keep your mail and notifications silenced to maintain focus
Most schools dramatically expanded online sessions around 2020 and have refined their formats through 2025-2026, creating polished experiences that rival in-person instruction.
Choosing an Online Figure Drawing Course (Self-Paced)
When evaluating self-paced courses, check these criteria before committing:
Curriculum Structure:
- Does it progress logically from gesture to construction to anatomy?
- Are lessons broken into digestible segments (15-30 minutes)?
- Is there a clear roadmap showing what you’ll learn in which order?
Teacher Credentials and Style:
- What’s the instructor’s professional background?
- Do they demonstrate techniques live or just lecture?
- Does their teaching style match how you learn best?
Community and Feedback:
- Is there a Discord server, forum, or Facebook group for students?
- Can you submit work for critique?
- Are live Q&A sessions or office hours available?
Price and Policies:
- What’s the total cost or monthly subscription fee?
- Is there a trial period to test the content?
- What’s the refund policy if it’s not the right fit?
Avoid courses that promise overnight mastery. Real improvement comes from consistent practice over months, not watching video after video without drawing.
Example Progression:
Consider a learner who starts with zero art background in early 2025. After 6 months of daily 30-minute online sessions, completing a structured course, and participating in community challenges, they’ve filled three sketchbooks and can confidently construct figures from imagination. This isn’t magic—it’s the result of following a series of deliberate exercises and engaging with feedback.
Using Online References: How to Find Art & Poses Online


Finding quality references is essential whether you’re taking formal classes or practicing independently. Here’s where to find art and poses online for your figure drawing sessions.
Free Photo and Video Reference Sites:
- Quickposes – Timed gesture tool with extensive pose library
- Line of Action – Free practice sessions across figure, animal, and portrait categories
- SketchDaily – Reference photos organized by category and difficulty
- Pexels/Unsplash – Royalty-free photos including figure references for public use
Commercial Reference Options:
- Grafit Studio – Professional pose packs organized by theme
- ArtStation Marketplace – Artist-created reference sets
- Posemaniacs/Magic Poser – 3D pose tools you can rotate and adjust
- Anatomy 360 – Detailed reference images from multiple camera angles
Video-Based Alternatives:
- YouTube channels offering timed pose sessions
- New Masters Academy daily drawing videos
- Recorded Croquis Cafe-style sessions on various platforms
Evaluating Reference Quality:
- Clear lighting that defines form and shadow
- Visible silhouettes without confusing backgrounds
- Variety of body types, ages, and poses
- Mix of static and dynamic positions
Ethical Considerations:
Respect copyright when using reference photos. Public domain and royalty-free images are safe for practice and portfolio work. Avoid copying finished illustrations by living artists—study the model, not someone else’s interpretation.
Quick Reference Workflow:
- Pick a theme for your session (standing poses, foreshortening, hands)
- Gather 10-20 reference images into a folder
- Schedule a timed practice session using your preferred timer
- After the session, review and tag your favorites for future use
Building Your Own Online Figure Reference Library


Organizing references saves time and helps you track your practice directions over time.
Folder Organization Strategies:
- Use apps like PureRef, Eagle, or simple Google Drive folders
- Create categories: standing, sitting, action, reclining, portraits
- Separate by difficulty level if you’re building a progression system
Naming Conventions:
- 2026-01_running_pose_01.jpg
- backlit_sitting_female_03.jpeg
- foreshortened_overhead_01.png
Pinterest and Moodboard Options:
- Create private boards with tags like “gesture practice,” “foreshortening,” “dramatic lighting”
- Use boards to collect inspiration alongside direct references
- View boards before sessions to set your practice theme
Combining Photos with 3D Tools:
- Use Magic Poser or similar apps to create custom angles
- Explore lighting scenarios impossible to find in photos
- Generate references for specific character ideas in your own work
Step-by-Step Practice Plans: From Beginner to Intermediate


Consistent practice beats sporadic marathon sessions. Here’s how to structure your online figure drawing training over 4-8 weeks.
The key is progressive challenge—start with pure gesture, add construction, then introduce anatomy and longer studies. Each week builds on the previous, creating compound improvement.
General Schedule Guidelines:
- Practice 3-5 days per week minimum
- Sessions of 15-60 minutes depending on your schedule
- Include at least one “review day” weekly to compare drawings and track progress
- Log your sessions in a dated folder or journal
Beginner 4-Week Online Figure Drawing Plan
Week 1: Gesture Only
- Goal: Complete 100+ gesture drawings
- Pose lengths: 30 seconds to 2 minutes
- Tools: Quickposes, Line of Action
- Time commitment: 4-6 hours total (spread across 5-6 sessions)
- Focus: Line of action, flow, avoiding stiffness
Daily assignment example:
- Day 1-3: 20 gestures at 30 seconds each
- Day 4-5: 15 gestures at 1 minute each
- Day 6: Review all drawings, note improvements and recurring problems
Week 2: Gesture + Simple Forms
- Goal: Mannequinization—adding basic 3D shapes to gesture foundations
- Pose lengths: 1-3 minutes
- Tools: Line of Action, SketchDaily
- Time commitment: 5-6 hours total
- Focus: Ribcage/pelvis relationship, simple cylinders for limbs
Daily assignment example:
- Start each session with 10 quick gestures (30 seconds each)
- Then complete 10 mannequin drawings (2-3 minutes each)
- End with a 5-minute pose where you combine both approaches
Week 3: Proportions and Landmarks
- Goal: Accurate placement of shoulders, hips, knees, elbows
- Pose lengths: 2-5 minutes
- Tools: Add Posemaniacs for 3D reference
- Time commitment: 5-7 hours total
- Focus: Checking proportions against reference, using plumb lines
Daily assignment example:
- 5 gesture warm-ups (1 minute each)
- 8 proportion studies (3-5 minutes each)
- Self-critique: overlay or measure your drawings against the reference
Week 4: Longer Poses and Simple Shading
- Goal: Complete 10-20 minute drawings with basic value structure
- Pose lengths: 10-20 minutes
- Tools: New Masters Academy session videos, any timed reference
- Time commitment: 6-8 hours total
- Focus: Blocking in shadow shapes, creating 3D form through value
Daily assignment example:
- 5-minute warm-up gestures
- Two 10-minute drawings with shadow blocking
- One 20-minute drawing with refined shading
- Weekly review: compare Week 1 gestures to Week 4 studies
Track your progress by dating every folder of drawings. A monthly “before/after” comparison creates powerful motivation and shows improvement you might not notice day-to-day.
Moving Beyond Basics: Intermediate Online Figure Drills
After 3-12 months of consistent practice, you’re ready for more challenging exercises.
Foreshortening Practice:
- Seek out poses with extreme perspective (arms reaching toward camera, reclining figures)
- Use 3D pose apps to create custom foreshortened views
- 2 sessions per week: 10 foreshortened poses each, 3-5 minutes per pose
Extreme Camera Angles:
- Overhead views, worm’s-eye perspectives, dramatic tilts
- Magic Poser and similar tools let you rotate the figure freely
- Practice translating unusual angles into convincing 2D drawings
Multi-Figure Compositions:
- Combine 2-3 figures from separate references into one scene
- Focus on overlapping forms and consistent lighting
- Create simple narratives—characters interacting, not just standing
Anatomy Integration:
- Study specific muscle groups alongside figure sessions
- Resources: Proko anatomy course, Anatomy 360, 3D anatomy apps
- Apply anatomy knowledge by identifying muscles in your pose references
Master Studies:
- Find high-resolution scans of classic figure drawings (Michelangelo, Rubens, Bargue plates)
- Spend 30-60 minutes copying, focusing on technique rather than just outcome
- Note: Agree to respect copyright—use public domain images from museum collections
Nature Drawing and Environment: Complementing Your Figure Skills
Characters don’t exist in a void—they inhabit a world. Learning to draw nature and environments makes your figures more believable and your compositions more complete.
Why Nature Drawing Matters for Figure Artists:
- Figures need context: a park bench, a rocky cliff, a room with furniture
- Environment practice trains observation skills that transfer to figure work
- Understanding natural light outdoors improves your figure shading
Online Exercises Linking Figures with Nature:
- Draw trees, rocks, and water from online photo references using the same gesture-to-construction approach
- Combine a standing figure with a simple park background
- Practice light and shadow using outdoor photography as reference
Basic Step-by-Step Nature Drawing Process:
- Block in big shapes (sky, ground, major landforms)
- Define horizon line and basic perspective
- Add major elements (trees, rocks, water, architectural features)
- Integrate a simple figure silhouette in the scene to practice scale and placement
Online Resources for Nature Reference:
- Unsplash and Pexels for landscape photography
- Public domain archives (Library of Congress, Smithsonian Open Access)
- Google Street View for urban perspective practice
- Pinterest boards tagged with “plein air reference” or “landscape photo reference”
Community, Feedback, and Staying Motivated Online


Drawing in isolation limits growth. Online communities provide accountability, critique, and the motivation to keep practicing when enthusiasm fades.
Where to Find Your People:
- Discord servers – Many courses and YouTube artists run active drawing communities
- Reddit – r/learnart, r/figuredrawing, r/ArtistLounge offer critique threads and challenges
- Course communities – Proko, Schoolism, and NMA have student forums
- Social media hashtags – #figuredrawing, #gesturedrawing, #dailysketch for public accountability
Benefits of Community Engagement:
- Regular critique from peers and mentors accelerates improvement
- Access to shared reference packs and group challenge events
- Long-term motivation through posting monthly progress collages
- Accountability partners who check in on your practice streaks
How to Participate Effectively:
- Post work consistently (weekly minimum) rather than sporadically
- Ask specific questions: “Is my shoulder placement accurate?” beats “How’s this?”
- Offer thoughtful feedback to others—teaching reinforces your own learning
- Don’t forget to celebrate milestones—100 gestures, 500 figures, one year of practice
Setting Concrete Goals:
Create measurable targets tied to specific dates:
- “Complete 1000 gesture drawings by July 2026”
- “Finish one online figure course module per week for 12 weeks”
- “Post to Reddit every Sunday with my week’s best drawing
Case Study Style Inspiration (Non-Specific, Non-Plagiarized)
Alex’s 9-Month Transformation
Alex, 29, started online figure drawing in March 2025 with no formal art background—just a sketchbook, some pencils, and frustration that stick figures were the limit of their ability.
Month 1-2: Focused exclusively on 30-second gestures using Line of Action. Drew approximately 500 quick sketches, most of them awkward and stiff. Joined a Discord server for accountability.
Month 3-4: Added the Proko figure fundamentals course. Started mannequinization practice, understanding how to break figures into simple 3D forms. The drawings started looking less like symbols and more like actual people.
Month 5-6: Introduced 10-minute poses and basic shading. Participated in weekly Reddit critique threads, receiving feedback on proportion issues with the couple of recurring problems—legs too short, heads too large.
Month 7-9: Began integrating anatomy study and attempting foreshortened poses. Started drawing simple environments around figures. Completed over 2000 figure drawings total.
The change wasn’t overnight. Alex attributes progress to three factors: consistent daily practice (even just 20 minutes on busy days), structured course content providing clear exercises, and community feedback forcing improvement rather than repeating the same mistakes.
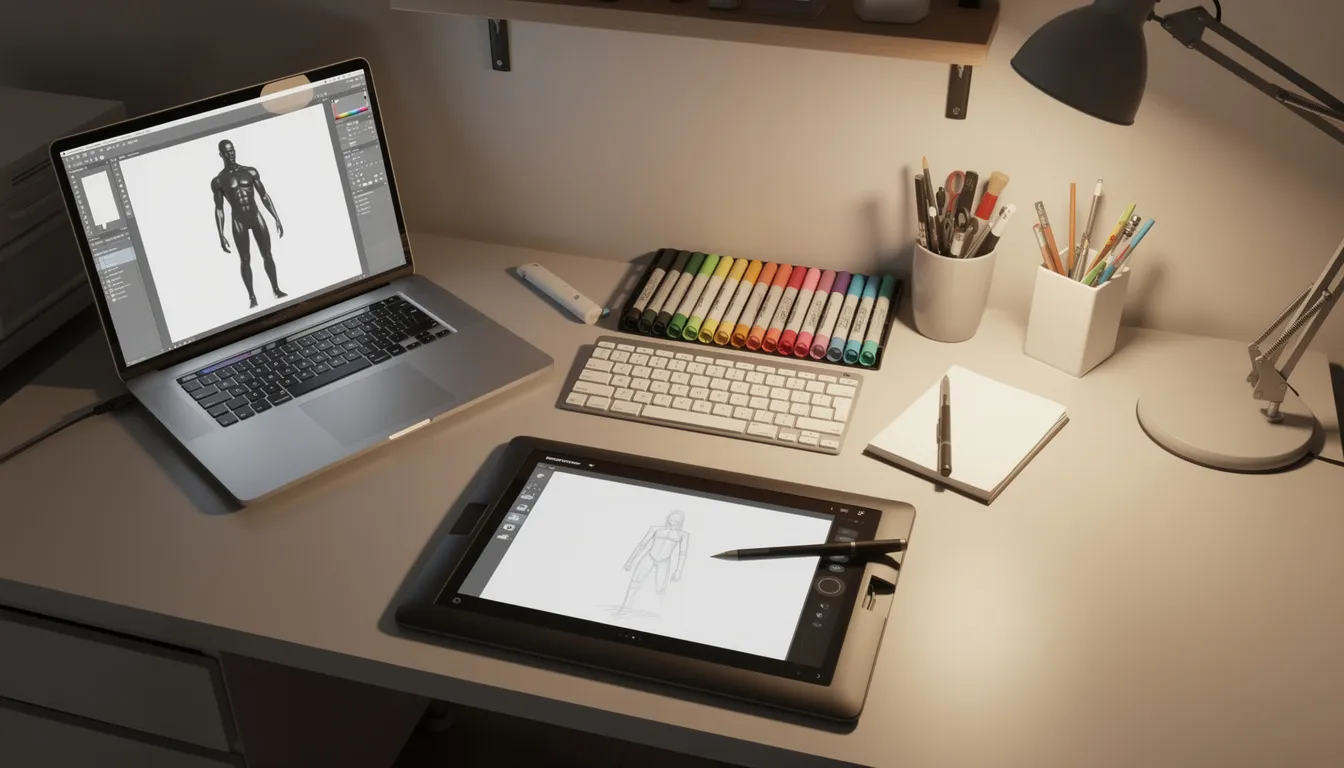
Tools, Devices, and Apps for Online Figure Drawing
You don’t need expensive equipment to start, but the right setup makes practice more comfortable and sustainable.
Traditional Setup:
- Sketchbook (smooth paper for gesture, textured for longer studies)
- Pencils (2B-6B range for variety)
- Phone or laptop streaming references
- Timer app (or use built-in timers on pose sites)
Digital Setup:
- Drawing tablet: Wacom, Huion, or XP-Pen (screen or screenless)
- iPad with Apple Pencil
- Software: Procreate, Clip Studio Paint, or free options like Krita
- Reference window on second monitor or split-screen
Useful Online Tools:
- Quickposes and Line of Action for timed practice
- PureRef for organizing reference images on your screen
- 3D pose apps: Magic Poser, Design Doll, Posemaniacs
- Time-lapse/screen recording to watch your process and review later
Ergonomic Considerations:
- Monitor at eye level to prevent neck strain
- Tablet angled 15-30 degrees, not flat on desk
- Take breaks every 20-30 minutes—set a timer
- Stretch your drawing hand and wrist between sessions
Quick Setup Checklist:
- [ ] Stable internet connection
- [ ] Account created on at least one pose reference site
- [ ] References gathered or site bookmarked
- [ ] Timer ready (app, website, or phone)
- [ ] Comfortable workspace with good lighting
- [ ] Sketchbook/tablet and drawing tools within reach
Conclusion: Designing Your Personal Online Figure Drawing Journey
You now have everything needed to create a complete online figure drawing practice:
Combine multiple resources for well-rounded development—live classes for accountability, self-paced courses for structured learning, free pose libraries for unlimited practice, and community feedback for honest critique. Add nature drawing to expand your skills beyond isolated figures.
Pick a start date. Not “someday”—choose a specific day this week. Begin your 4-week plan on Monday. Set calendar reminders. Tell someone about your goal.
Track everything. Create dated folders for your drawings. Do monthly reviews comparing your current work to where you started. Use online tools and communities for accountability when motivation dips.
The features and resources described in this guide are available right now, waiting for you to access them. Your figure drawing skills won’t improve by reading about practice—they improve by practicing.
Open a new browser tab. Go to Line of Action or Quickposes. Set the timer to 60 seconds. Draw your first gesture.
Your figure drawing journey starts with one sketch. Make it today.
- External References:
- Quickposes – Timed Figure Drawing Practice — A popular tool offering a vast library of timed poses to enhance your figure drawing skills.
- Line of Action – Online Figure Drawing Sessions — Provides free figure drawing practice with adjustable timers and a variety of pose categories.
- Proko – Figure Drawing Tutorials — Comprehensive online courses with detailed instruction on anatomy and figure drawing techniques.
- 3shares
- Facebook0
- Pinterest3
- Twitter0
- Reddit0


