Drawing Christmas ornaments gives you a simple way to enjoy the holiday season while adding a personal touch to your decorations. You can create festive designs with just a pencil, paper, and a few basic supplies, making it easy to bring holiday cheer into your art. From classic round baubles to playful doodles, these ideas let you explore both traditional and creative styles.
You can start with familiar shapes like stars, bells, or snowflakes and layer in details such as patterns, shading, or color. If you want something more unique, try experimenting with intricate line work or personalized designs that reflect your own holiday traditions. These drawings can be displayed on cards, gift tags, or framed as seasonal art.
Whether you prefer simple sketches or detailed designs, there are countless ways to make your ornaments stand out. By mixing classic ideas with creative twists, you can turn a quick sketch into a festive piece of art that feels special and personal.
Key Takeaways
- Gather a few basic materials to begin your ornament sketches
- Explore both classic and creative design ideas for variety
- Add finishing details to make your artwork festive and display-ready
Essential Materials for Christmas Ornament Drawings
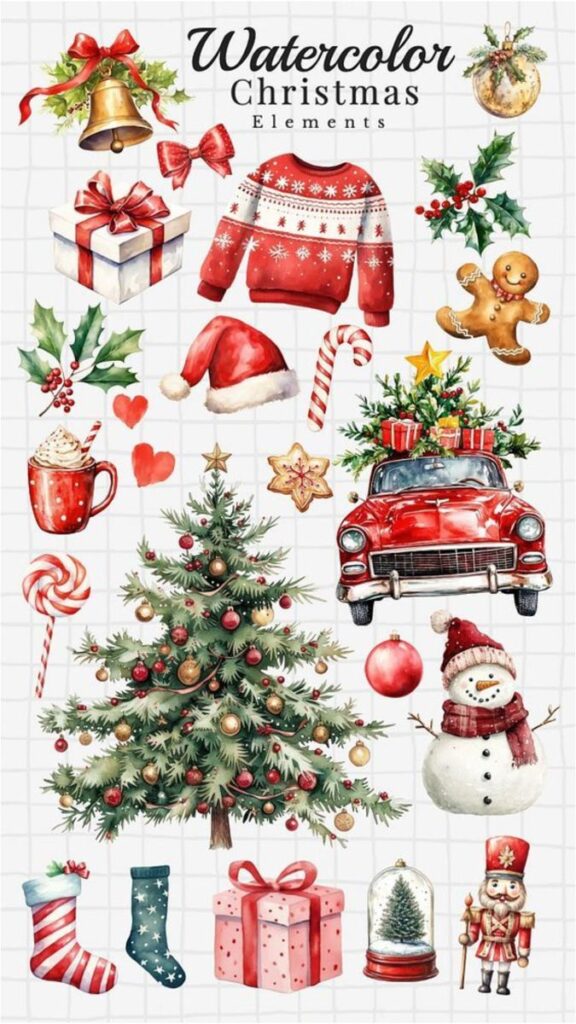
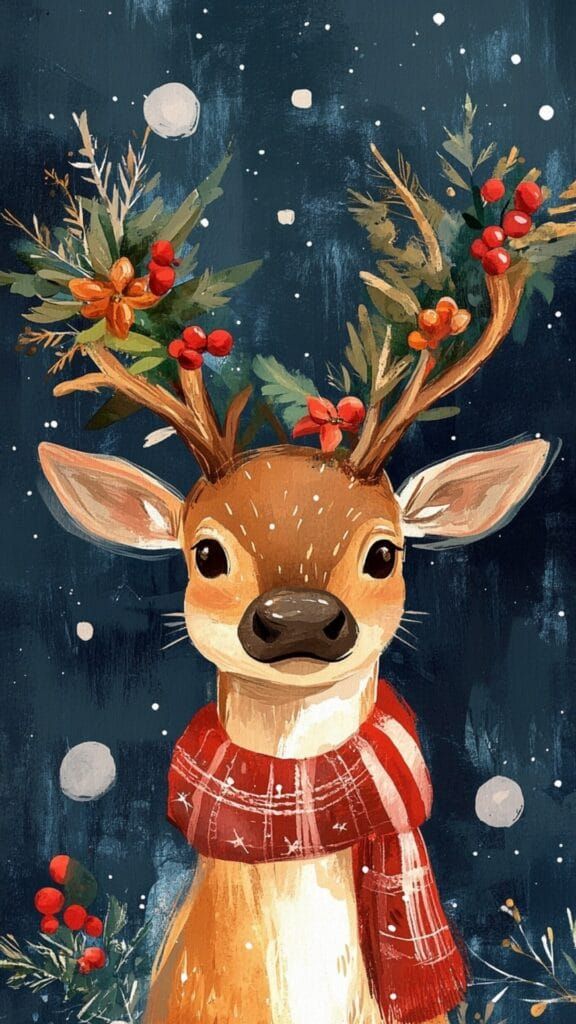
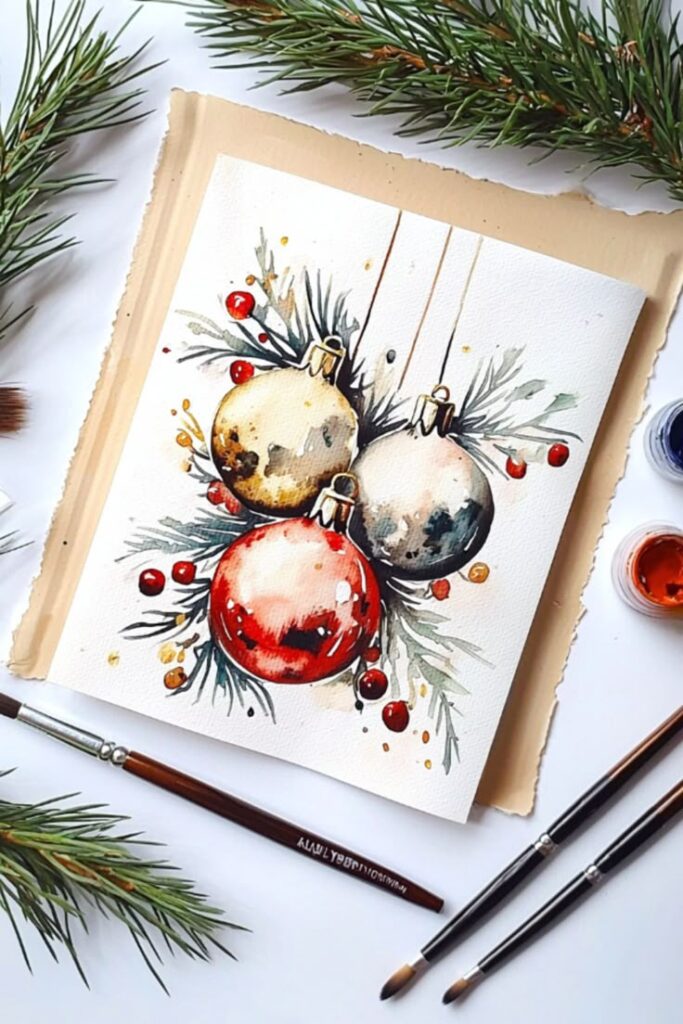
You can make your Christmas ornament drawings more enjoyable by starting with the right tools, picking shapes that fit the holiday theme, and adding colors or details that bring out the festive look. Simple choices in materials and design go a long way in making your artwork feel polished and cheerful.
Recommended Drawing Tools
Start with basic sketching supplies like pencils, erasers, and smooth drawing paper. A standard HB pencil works well for outlines, while softer pencils (2B–4B) help add shading and depth. Keep a clean eraser handy to refine lines without smudging.
For outlining, you may want to use fineliners or black ink pens. These give your ornaments a crisp edge that makes them stand out. If you prefer a softer look, colored pencils can replace ink for outlining.
Adding color is easier with colored pencils, markers, or watercolor paints. Colored pencils give you control for small details, while markers provide bold, even color. Watercolors can create a softer, glowing effect, which works nicely for shiny ornaments.
A simple table can help you compare options:
| Tool | Best For | Notes |
|---|---|---|
| Pencil | Sketching outlines | Easy to erase and adjust |
| Fineliner | Clean edges | Permanent, so use carefully |
| Colored pencils | Detail work | Blendable, wide color range |
| Markers | Bold colors | Works well for flat surfaces |
| Watercolors | Soft effects | Requires thicker paper |
Choosing Ornament Shapes
Classic round ornaments are the easiest to start with. You can draw them using a circle template or freehand with light pencil guidelines. Add a small loop at the top for the string or hook so it looks like a real decoration.
Once you’re comfortable, try non-spherical shapes such as bells, stars, or teardrops. These add variety and make your drawings feel more like a collection of Christmas decorations rather than repeating the same design.
Consider layering designs inside the shapes. For example, a round ornament could hold snowflakes, stripes, or holly leaves. A star ornament might feature dots or tiny patterns that mimic glitter. Keeping a mix of shapes helps your drawings look more festive.
Selecting Colors and Embellishments
Traditional Christmas colors like red, green, and gold instantly create a holiday mood. You can also include silver, white, or blue for a wintry feel. Using metallic pens or gel markers adds shine that resembles real ornaments.
Think about patterns and textures. Stripes, polka dots, and plaid designs are easy to draw and look decorative. Adding small highlights with a white pencil or gel pen can make your ornaments appear glossy.
You can also sketch embellishments such as ribbons, bows, or tiny snowflakes around the ornament. These details make the drawing feel more complete and give the impression of decorated Christmas trees. Mixing bold and subtle colors ensures your ornaments stand out without overwhelming the page.
Classic Christmas Ornament Drawing Ideas
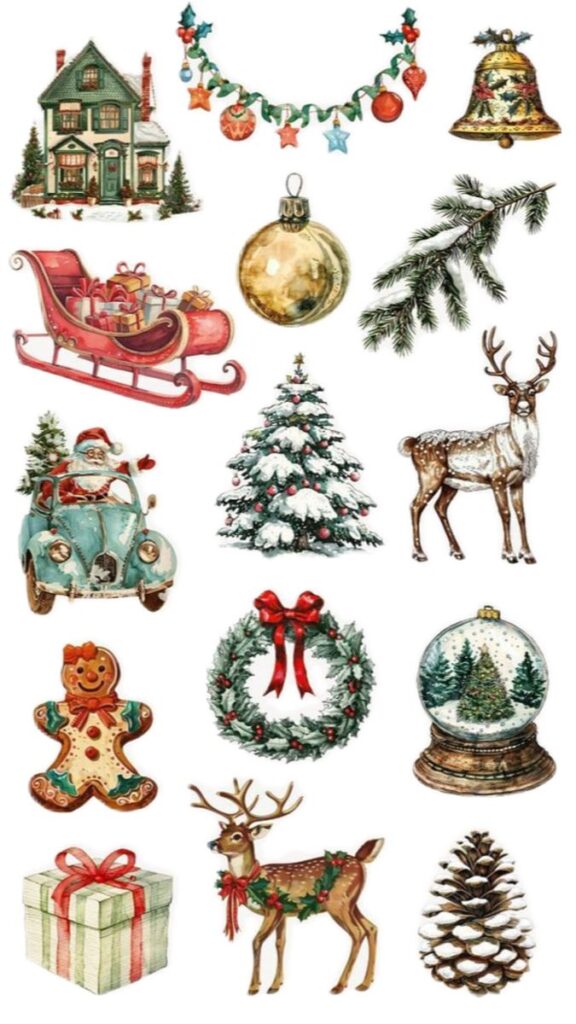
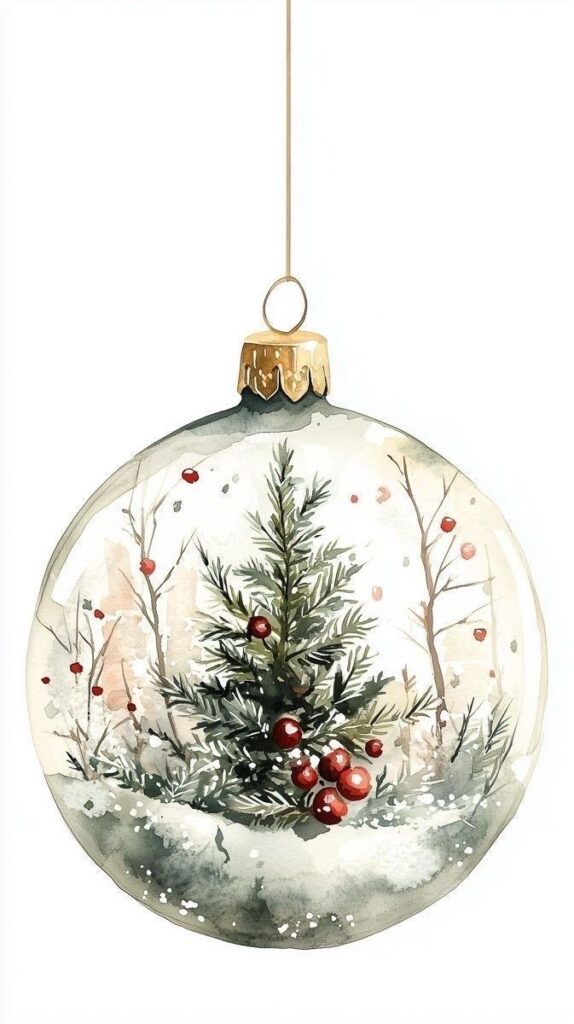
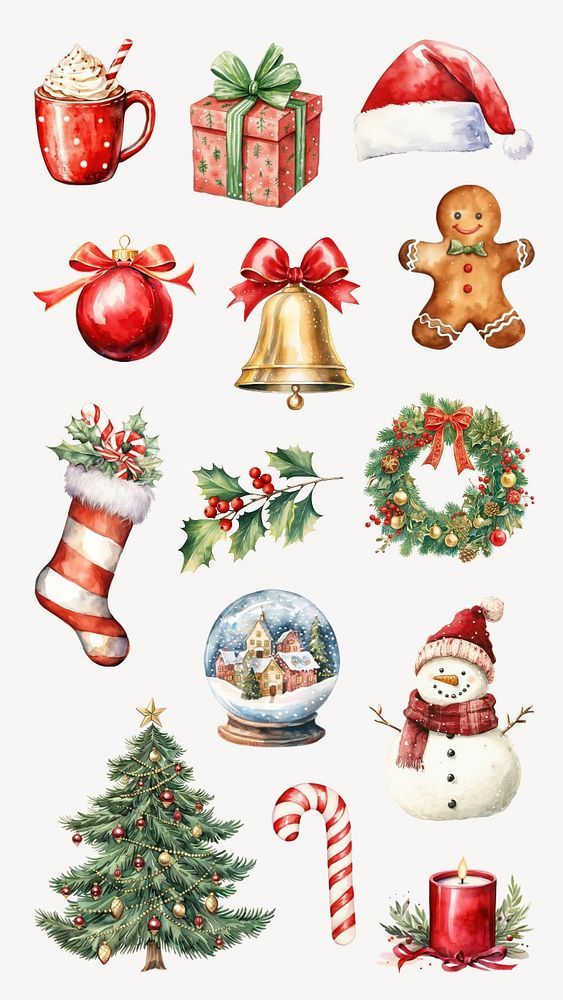
You can create timeless Christmas decorations by focusing on familiar shapes and symbols that people instantly recognize. Simple outlines, repeated patterns, and a few details can make your drawings feel festive without being complicated.
Traditional Baubles and Balls
When you think of ornaments, round baubles are usually the first that come to mind. Drawing them starts with a clean circle, which you can sketch freehand or trace from a cup to keep it even. Add a small rectangle or oval at the top to represent the cap where the hook attaches.
To give your bauble more personality, try adding stripes, dots, or zigzag lines. You can also draw reflective highlights with a small curved shape inside the circle to suggest shine. This simple trick makes the ornament look more three-dimensional.
For variation, sketch different sizes and group them together as if hanging from a tree branch. If you want to add realism, draw a thin string or ribbon above each one. A collection of baubles with unique patterns can easily fill a whole page and still look balanced.
Stars and Snowflakes
Stars and snowflakes are classic holiday shapes that work well as ornaments or as background decorations. A star usually begins with a five-point outline, but you can experiment with six or more points for variety. To make it look like a hanging ornament, add a loop or ribbon at the top.
Snowflakes require symmetry. Start by drawing a small hexagon or six intersecting lines like spokes of a wheel. Then add repeating shapes such as triangles, diamonds, or teardrops along each line. Keeping the design even on all sides is what gives the snowflake its recognizable look.
You can also combine stars and snowflakes in one drawing. For example:
- Star center with snowflake arms
- Snowflake background with hanging stars
This mix helps your decoration drawings feel more detailed without extra effort.
Santa and Angel Motifs
Santa and angel ornaments bring a more personal touch to your drawings. For Santa, focus on simple features: a round face, fluffy beard, and pointed hat with a pom-pom. You don’t need to draw the whole body; just the head and hat can be enough to suggest the character.
Angels often work well as tree-top ornaments, so sketching them with flowing robes and wings makes sense. Begin with a triangle shape for the body, add a circle for the head, and then attach curved wings on each side. A halo can be drawn as a thin oval above the head.
To make these motifs stand out, use contrast in patterns. For example, give Santa’s hat stripes while keeping his beard plain. With angels, you can add star or snowflake details to the robe while leaving the wings simple. These small touches make your Christmas decorations look more thoughtful and festive.
Creative Zentangle and Tangle Ornament Designs
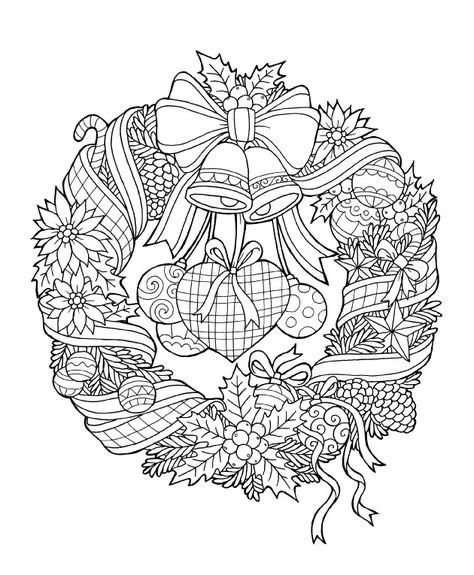
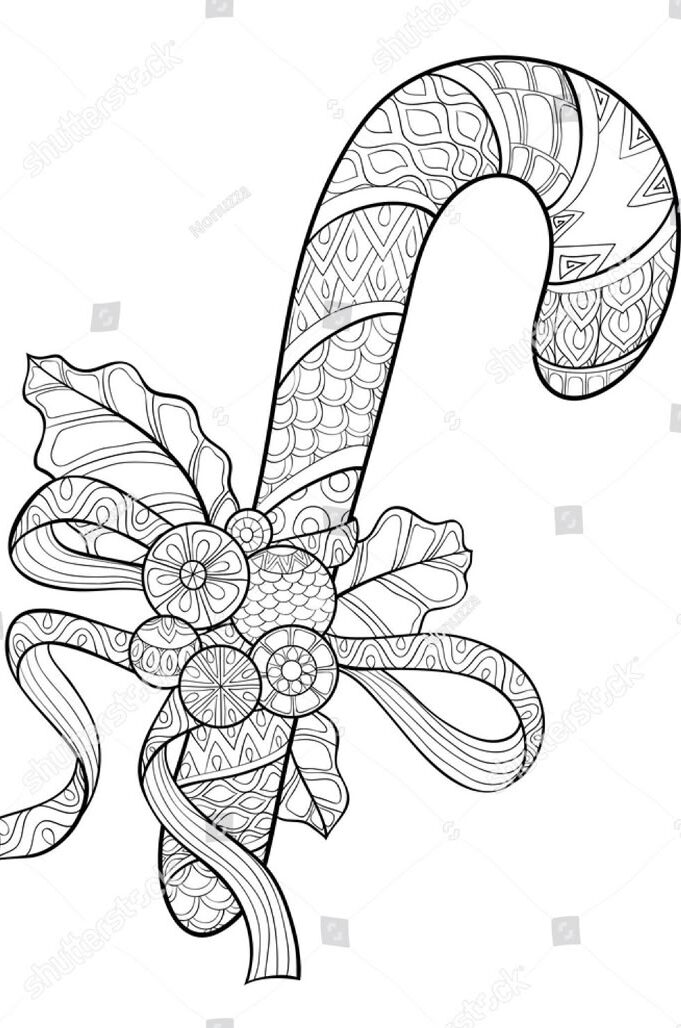
Zentangle-inspired ornaments let you turn simple shapes into detailed designs using structured patterns. You can create ornaments that look decorative while also enjoying the calming process of drawing tangles step by step.
Introduction to Zentangle Techniques
Zentangle is a drawing method that uses repeated lines, dots, and curves to build intricate patterns. You don’t need advanced art skills to start—just a pen, paper, and a willingness to focus on small sections at a time.
When you draw tangles on ornament shapes, you break the surface into smaller areas. Each section becomes a space for a different pattern, which keeps your design balanced and interesting.
The process is relaxing because you don’t plan the entire design in advance. Instead, you add one stroke at a time and let the ornament evolve naturally. This makes it a great activity for both beginners and experienced artists.
Popular Tangle Patterns for Ornaments
Certain tangles work especially well for round ornament designs. Patterns with curves and loops, such as Printemps (spirals) or Flux (leaf-like shapes), complement the circular form.
Geometric tangles like Hollibaugh (overlapping lines) or Bales (grid-based shapes) add structure and contrast. Mixing organic and geometric tangles creates variety without overwhelming the ornament.
You can also use shading to give your tangles depth. Light pencil shading around edges or overlaps makes the patterns look layered and dimensional, which enhances the ornament’s appearance.
Here’s a quick list of useful tangles for ornaments:
- Printemps – spirals that fill space smoothly
- Flux – flowing leaf or petal shapes
- Hollibaugh – crisscrossing lines for a woven look
- Bales – grid-based flower or diamond designs
Tips for Drawing Zentangle-Inspired Ornaments
Start by sketching a simple ornament outline, such as a circle or teardrop. Divide it into sections with light pencil lines so you have areas to fill with different tangles.
Use a fine-tip black pen for clean lines. If you want to add color, try colored pencils, markers, or gel pens after finishing the black-and-white tangles. Metallic pens also work well for holiday designs.
Keep your strokes slow and deliberate. Zentangle is about focus and relaxation, so avoid rushing. If a pattern feels too complex, simplify it by repeating only part of the design.
You can also create sets of ornaments by repeating the same tangles in different arrangements. This makes your drawings look coordinated while still giving each ornament its own character.
Personalized and DIY Ornament Drawing Projects
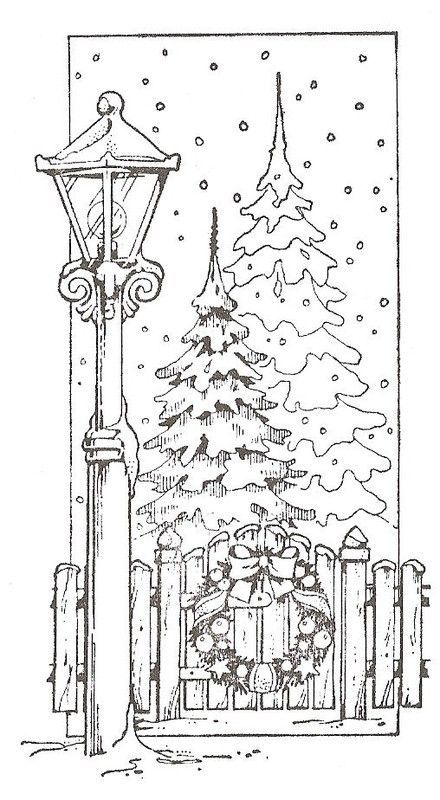
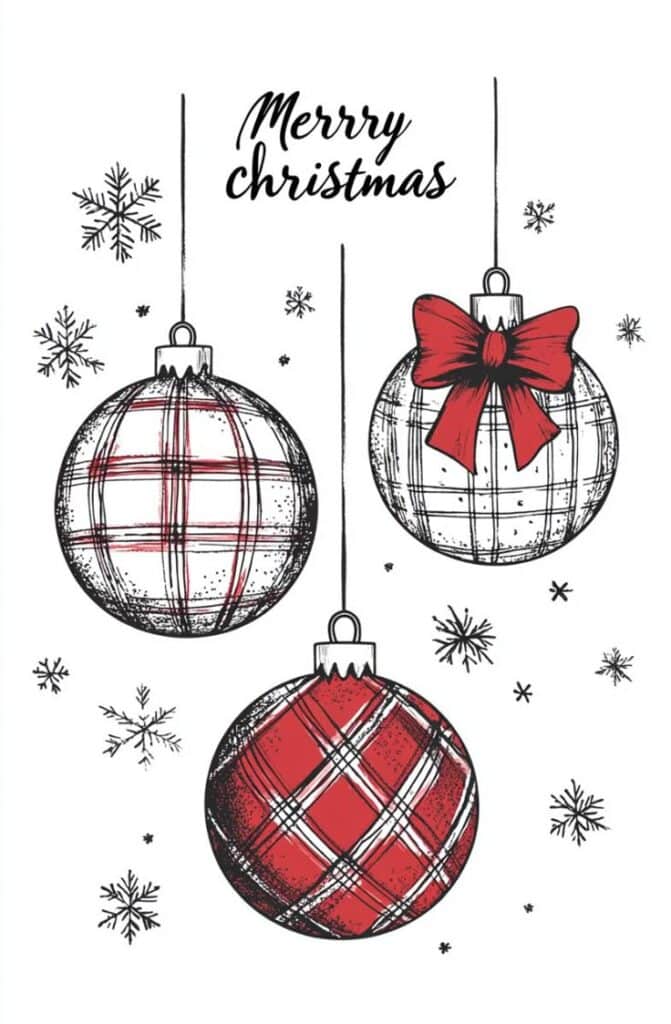
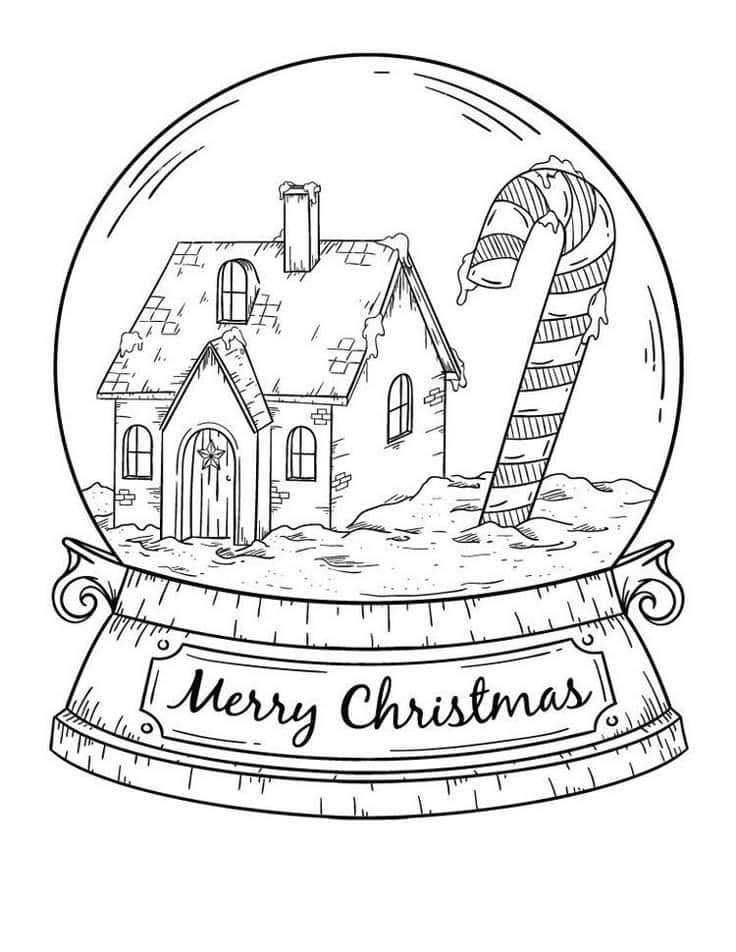
You can turn simple ornaments into meaningful Christmas decorations by adding personal touches through drawing. Small details like children’s artwork, family names, or hand-drawn designs make each piece unique and often more memorable than store-bought options.
Kids’ Drawings on Ornaments
One of the easiest ways to personalize ornaments is by using your child’s drawings. You can have them draw directly onto blank ceramic or wooden ornaments with paint pens or permanent markers. Their simple sketches, whether it’s a snowman, tree, or even abstract doodles, instantly make the decoration special.
Instead of drawing directly on the ornament, you can also scan or photograph their artwork and transfer it onto printable ornament blanks. This keeps the original art safe while still displaying it on the tree.
For younger kids, outline shapes like stars or circles and let them fill in with colors. Using non-toxic markers or paints ensures the project is safe and fun. These ornaments often become keepsakes you’ll enjoy pulling out each year.
Family and Name Designs
Adding names, initials, or family-related drawings creates ornaments that feel personal to your household. You can write names in decorative lettering, surround them with holly or snowflake sketches, and even mark the year to capture a memory.
Some families like to create a set where each member has their own ornament. Drawing a small symbol that represents each person—like a favorite animal or hobby—adds an extra touch of personality.
If you prefer a cleaner look, try using stencils for lettering and then add hand-drawn accents around it. This balances precision with creativity. These types of designs work well on wood slices, glass balls, or clay ornaments, giving you flexibility in style and finish.
Handmade Gift Ideas
Hand-drawn ornaments also make thoughtful gifts. You can draw festive patterns like candy canes, wreaths, or stars, and then personalize them with the recipient’s name. This combines decorative appeal with a meaningful detail.
Consider pairing the ornament with a handwritten note explaining the design choice. For example, you might draw a snow-covered cabin for someone who loves winter trips.
Another approach is to create small sets of themed ornaments. For instance:
- Nature theme: pine trees, cardinals, acorns
- Holiday classics: stockings, bells, snowflakes
- Playful designs: cartoon reindeer, gingerbread men, candy canes
These handmade pieces often feel more special than store-bought Christmas decorations because they reflect your time and creativity.
Printable Templates and Coloring Pages for Ornaments
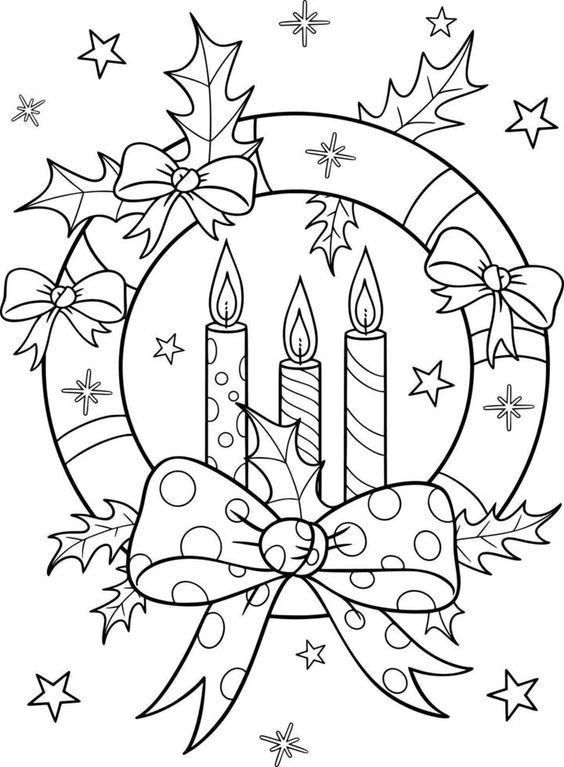
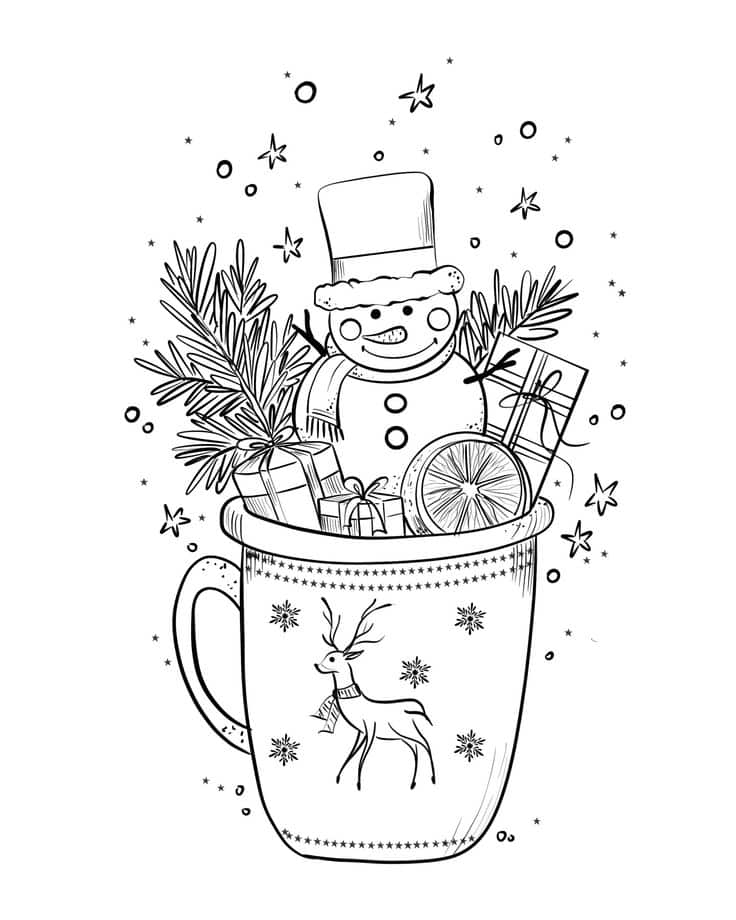
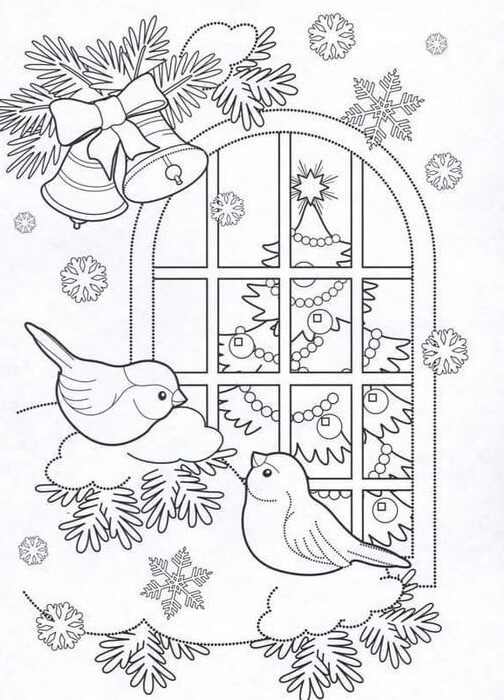
You can use printable templates to create ornaments that fit your style, whether you want a simple outline to decorate or a detailed pattern to color. These pages give you an easy way to design Christmas decorations at home with just paper, markers, and scissors.
Blank Ornament Templates
Blank templates give you a starting point that you can customize in any way you like. You’ll usually find shapes such as round baubles, stars, teardrops, and bells. Because they’re plain outlines, you can add your own designs, colors, or even glue on craft supplies like glitter and sequins.
These templates are especially useful if you’re crafting with kids. They let children draw their own patterns without being limited by pre-printed designs. You can also scale them to different sizes before printing, which helps if you want larger ornaments for walls or smaller ones for tree decorations.
For quick ideas, you could:
- Color with crayons or markers
- Add stickers or washi tape
- Punch a hole at the top and tie with ribbon
Patterned Coloring Pages
Patterned ornament pages come with built-in designs, so you can focus on coloring instead of drawing. Many include snowflakes, stripes, swirls, or zentangle-style patterns that look detailed once filled in. These work well if you enjoy coloring as a relaxing activity while preparing for the holidays.
You’ll often find sets that include multiple shapes on one page, making it easy to print a variety at once. Some are simple enough for younger kids, while others feature more intricate linework for older children or adults.
When you finish coloring, you can cut them out and use them as flat ornaments, gift tags, or even garland pieces. Laminating them can make them sturdier if you want to reuse them for several Christmases.
Tips for Printing and Decorating
Printing on cardstock instead of regular paper makes your ornaments more durable. If you only have thin paper, consider gluing the finished pieces onto cardboard or construction paper before cutting them out.
Make sure you adjust printer settings so the templates print at the right size. Many designs are full-page, but you can reduce the scale to fit smaller decorations.
For decorating, keep supplies simple: markers, colored pencils, or gel pens work well. If you want extra sparkle, add glitter glue or metallic pens. When finished, punch a small hole at the top, loop some string or ribbon, and your handmade Christmas decorations are ready to hang.
Finishing Touches and Displaying Your Ornament Art
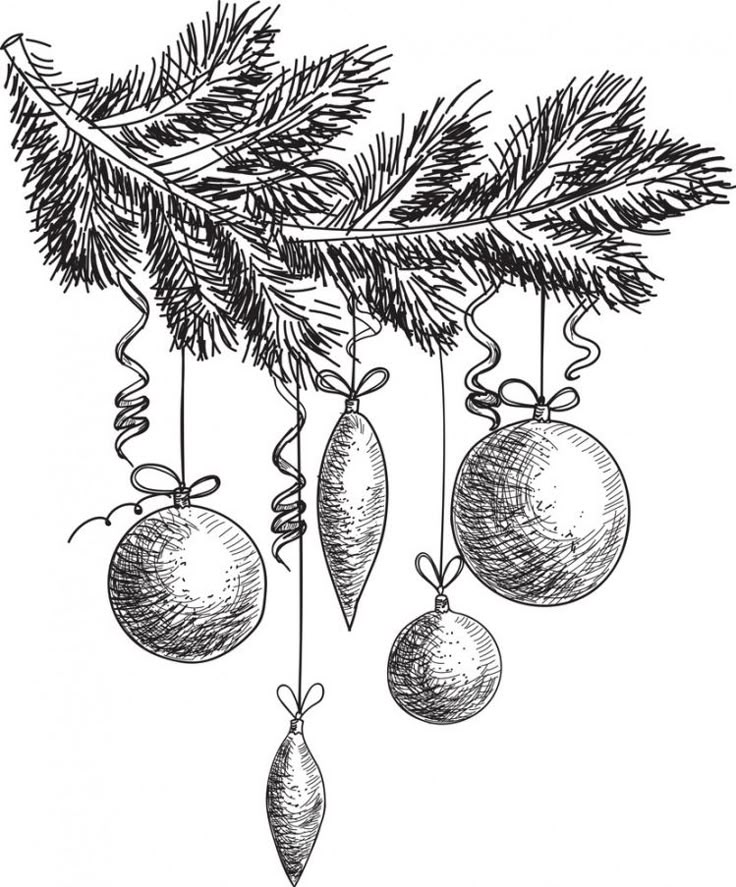
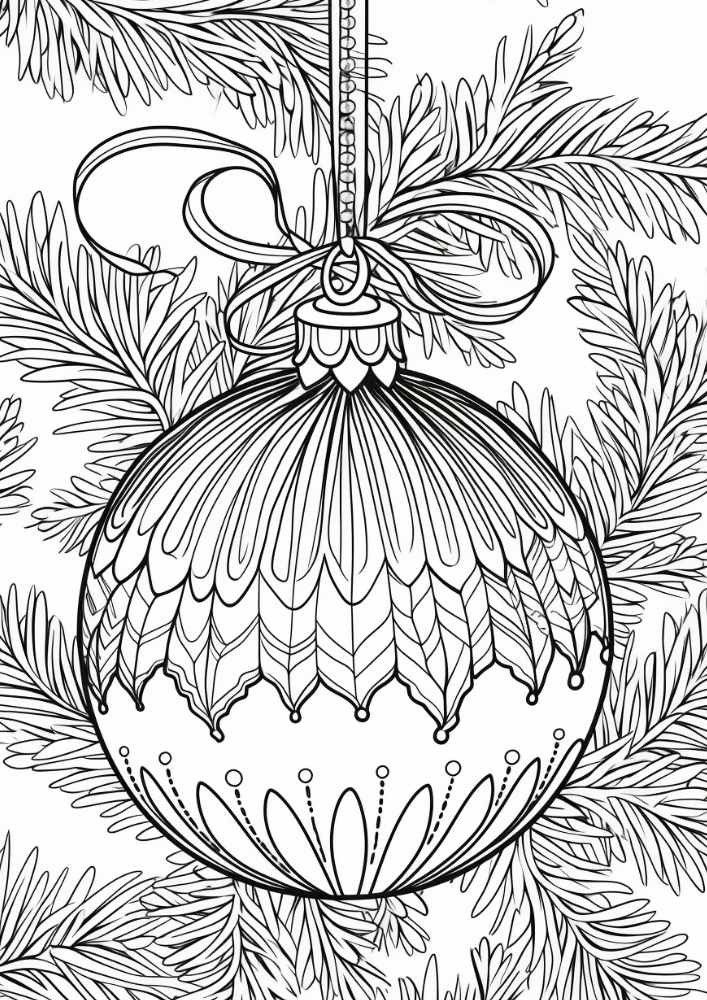
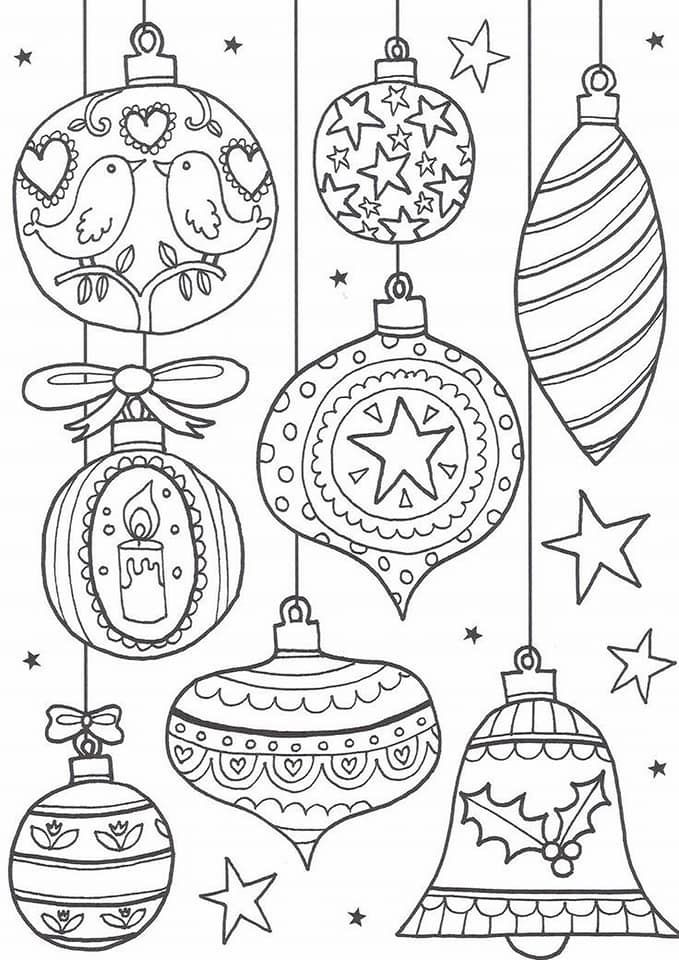
Small details can make your ornament drawings look polished and festive. Paying attention to surface effects, protection, and display methods helps your work stand out as part of your Christmas decorations.
Adding Sparkle and Texture
You can make your drawings feel more festive by adding shimmer or texture. Metallic gel pens, glitter glue, and gold or silver colored pencils highlight details like ornament caps, snowflakes, or decorative swirls.
For a softer effect, try layering colored pencils with white highlights to create shine on round ornaments. A light touch of watercolor or pastel can give depth without overpowering the drawing.
Consider mixing media for variety. For example:
- Glitter accents for sparkle
- Embossing powders for raised texture
- Metallic markers for reflective details
These additions make your ornament art look more dimensional and eye-catching.
Protecting and Preserving Drawings
Once you finish your ornament drawings, protection ensures they last through the season. Use a fixative spray on pencil, charcoal, or pastel work to prevent smudging. For ink or marker drawings, a clear acrylic sealer helps preserve color.
If you draw on paper, mount the artwork onto cardstock before cutting it into ornament shapes. This keeps the piece sturdy and less likely to bend. You can also laminate flat drawings to protect against moisture and dust.
Avoid hanging ornaments in direct sunlight, since fading occurs over time. Store them flat in a folder or box with tissue paper when not in use. A little care goes a long way in keeping your Christmas decorations looking fresh year after year.
Creative Ways to Display Ornaments
You don’t need to limit your drawings to the Christmas tree. Tape small paper ornaments to windows, string them into a garland, or attach them to wrapped gifts. These simple displays add a handmade touch to your holiday setup.
For a more traditional look, punch a hole at the top of each ornament and thread a ribbon or twine loop. You can hang them on doorknobs, cabinet handles, or even attach them to a wreath.
If you want a showcase effect, frame a collection of ornament drawings in a shadow box. This turns your art into a reusable piece of holiday décor that you can enjoy every year.
- 159shares
- Facebook0
- Pinterest159
- Twitter0
- Reddit0


