Search “how to draw a pyramid” and you get the same tutorial repeated a hundred times: draw a triangle, add a horizontal line near the bottom, done. That’s not wrong exactly, but it flattens the one thing that separates a pyramid drawing that reads as “correct” from one that looks subtly off — real perspective and real proportion.
- Getting pyramid proportion right before you draw a single line
- How to draw a pyramid step by step
- Egyptian smooth-faced vs. stepped (Djoser) pyramids — know what you're drawing
- Drawing the modern glass pyramid — the Louvre and contemporary architectural forms
- Rendering stone texture and realistic shading
- Fixing the mistakes that make pyramid drawings look flat or wrong
- Final thoughts
- More pyramid drawing reference images
- FAQ
- Q: How do you draw a simple pyramid?
- Q: How do you draw a 3D pyramid?
- Q: What's the real angle of the Great Pyramid's faces?
- Q: How do you draw a pyramid in two-point perspective?
- Q: What's the difference between a pyramid and a stepped pyramid?
- Q: How do you shade a pyramid to make it look realistic?
- Q: Can beginners draw a pyramid in perspective?
I’ve spent years working across architecture and spatial design projects, and one thing carries directly into an exercise like this: a pyramid isn’t just a triangle, it’s a three-dimensional form with a specific face angle that our eyes register as “right” even when we can’t name why. Guess that angle wrong and the drawing reads as amateurish no matter how carefully you shade it afterward. Our geometry in architecture guide covers this same principle at building scale, if you want the broader design context.
I’ll walk you through real two-point perspective construction, the actual proportions that make a pyramid read as structurally convincing, and shading technique for both stone and glass surfaces — plus the design differences between a smooth-faced Egyptian pyramid, a stepped pyramid, and a modern glass form like the Louvre. By the end you’ll understand exactly why the “triangle with a line” method never quite looks right.
Getting pyramid proportion right before you draw a single line
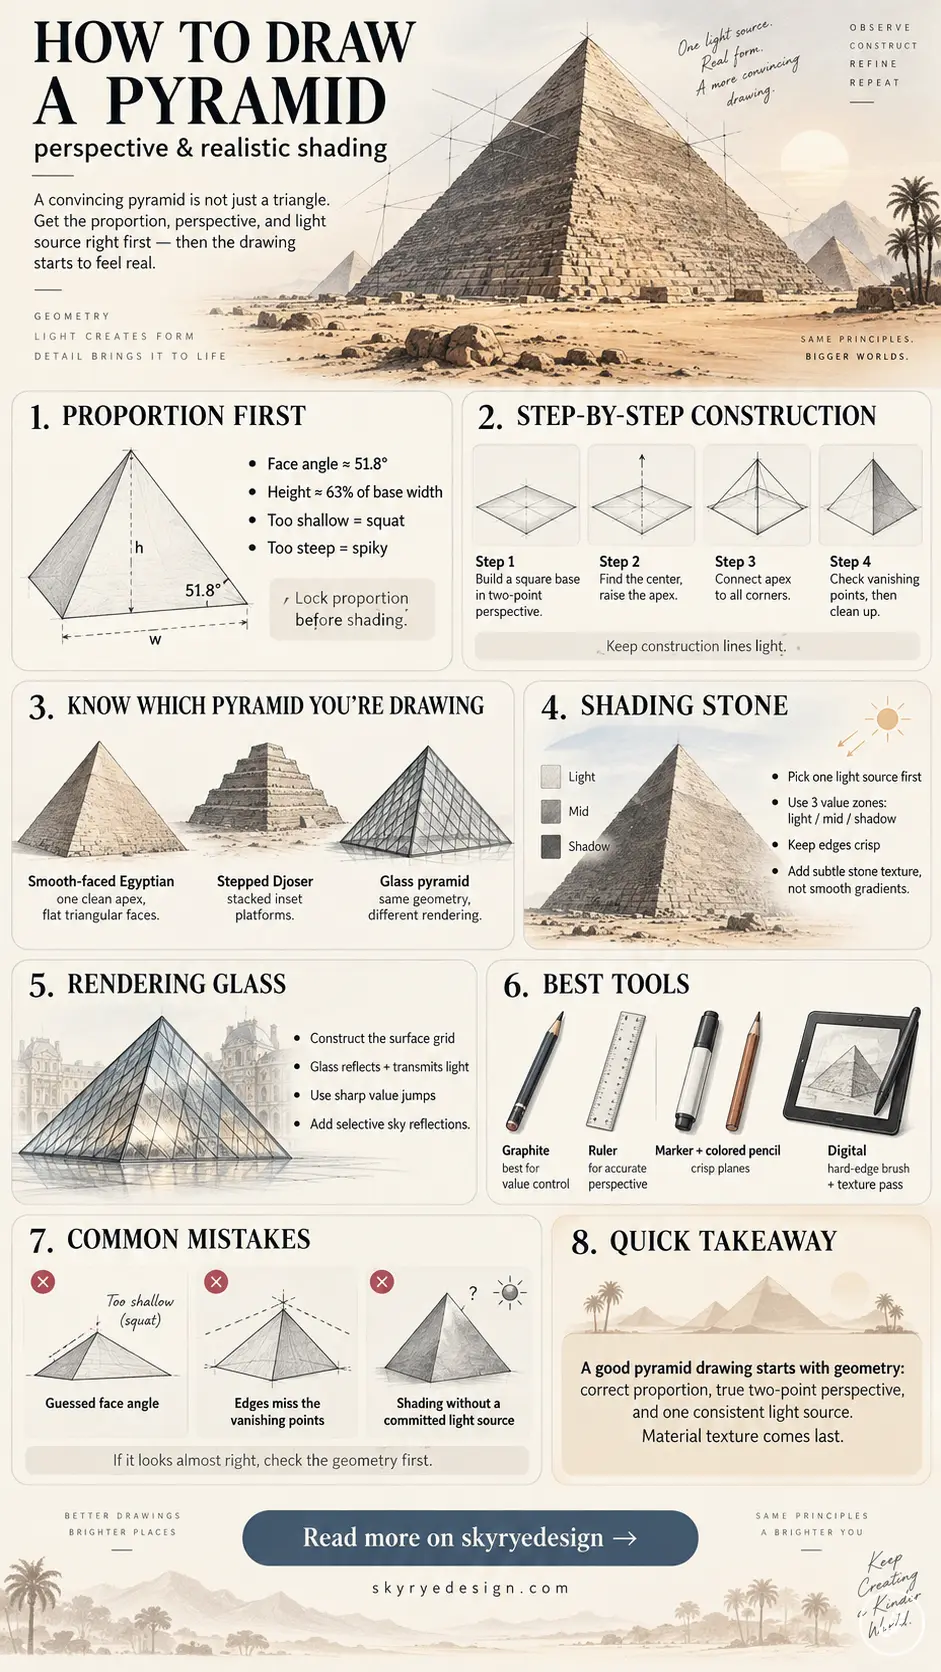
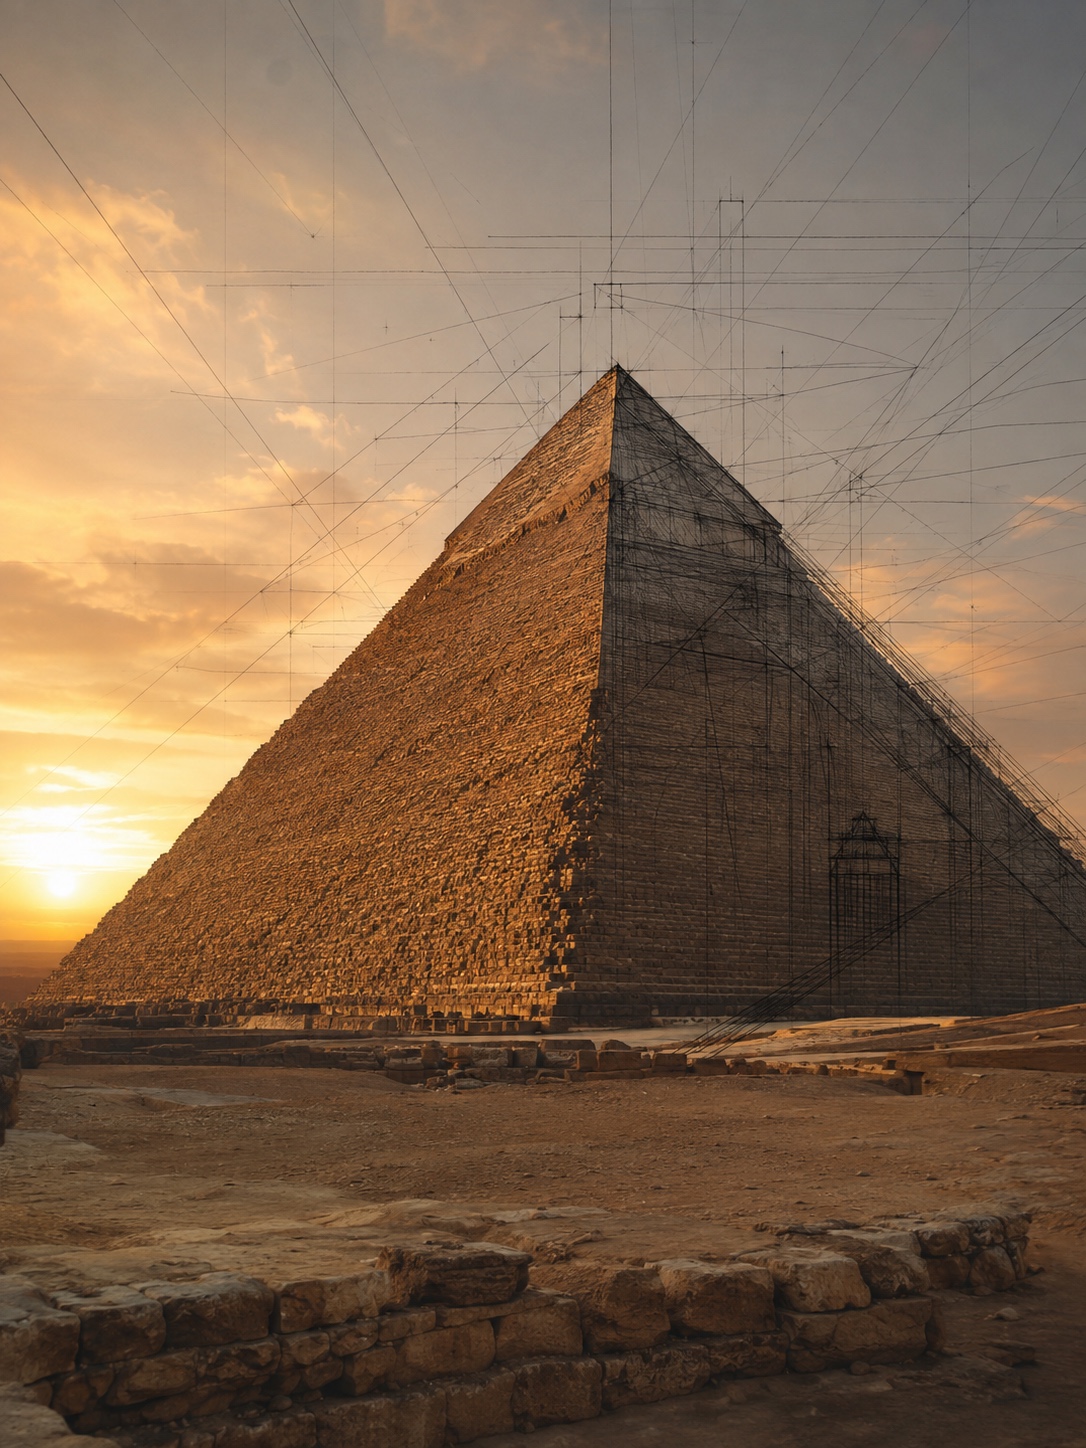
Most people guess a pyramid’s proportions, and the guess is almost always too steep or too shallow. The actual Great Pyramid of Giza has faces that rise at roughly 51.8 degrees from the base — a specific, testable angle, not an aesthetic choice — and that number is exactly why real photographs of it read as “correct” in a way a freehand sketch often doesn’t.
I think about this the same way I’d think about a car’s windshield rake — the angle isn’t arbitrary, it’s the result of a real structural and visual logic, and changing it even slightly changes how “right” the whole form reads. A pyramid’s face angle works the same way. Too shallow (closer to 35-40 degrees) and it reads as squat, more like a low hill than a monument. Too steep (past 60 degrees) and it starts looking unstable, almost like a spike.
The base-to-height relationship that actually matters
Here’s the proportion shortcut worth memorizing: for a roughly Giza-accurate pyramid, the height is a little over 60% of the base width. If your base is 10 units wide, your apex should sit around 6.3 units above the center of that base. That single ratio does more to make a pyramid drawing look structurally sound than any amount of careful line work on the edges.
Why this matters before perspective even enters the picture
Get this proportion wrong at the construction stage and no amount of shading or texture work fixes it later — the same way a car sketch with the wrong wheelbase-to-body ratio never looks right no matter how well the surfacing is rendered on top of it. Lock in the base-to-height relationship first. Everything in the next section builds directly off this number.
How to draw a pyramid step by step
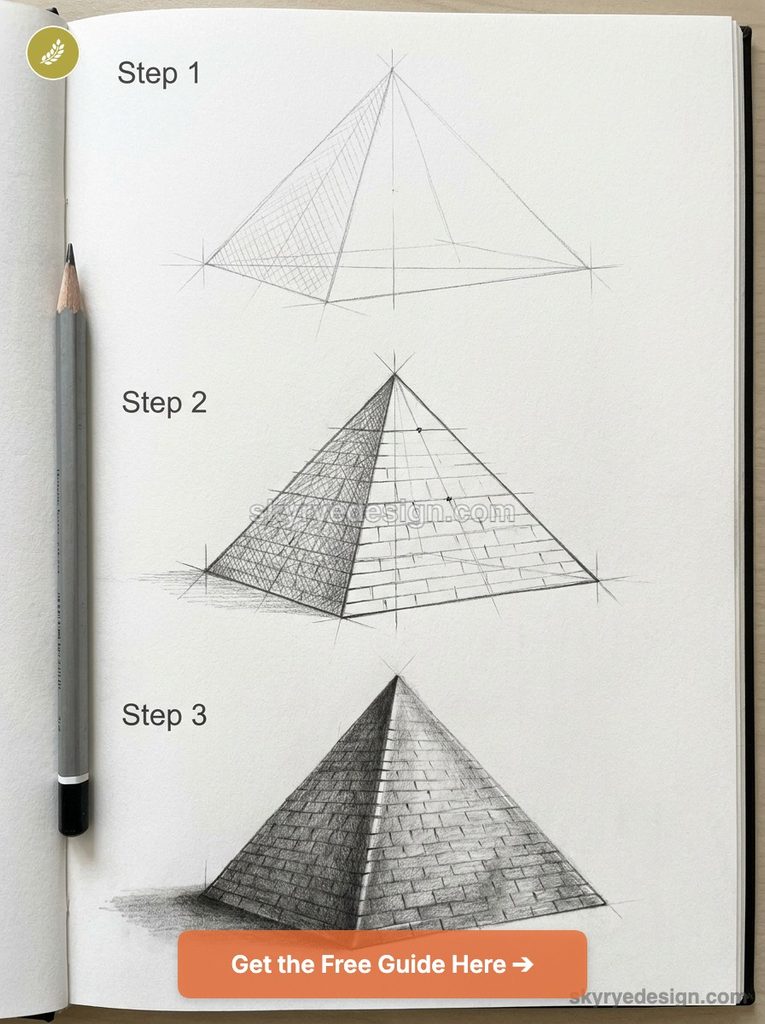
With the proportion logic from the last section locked in, here’s how that translates into an actual construction sequence. Follow these four steps in order — the perspective work in step one is what everything after it depends on.
Step 1: Construct the base in two-point perspective
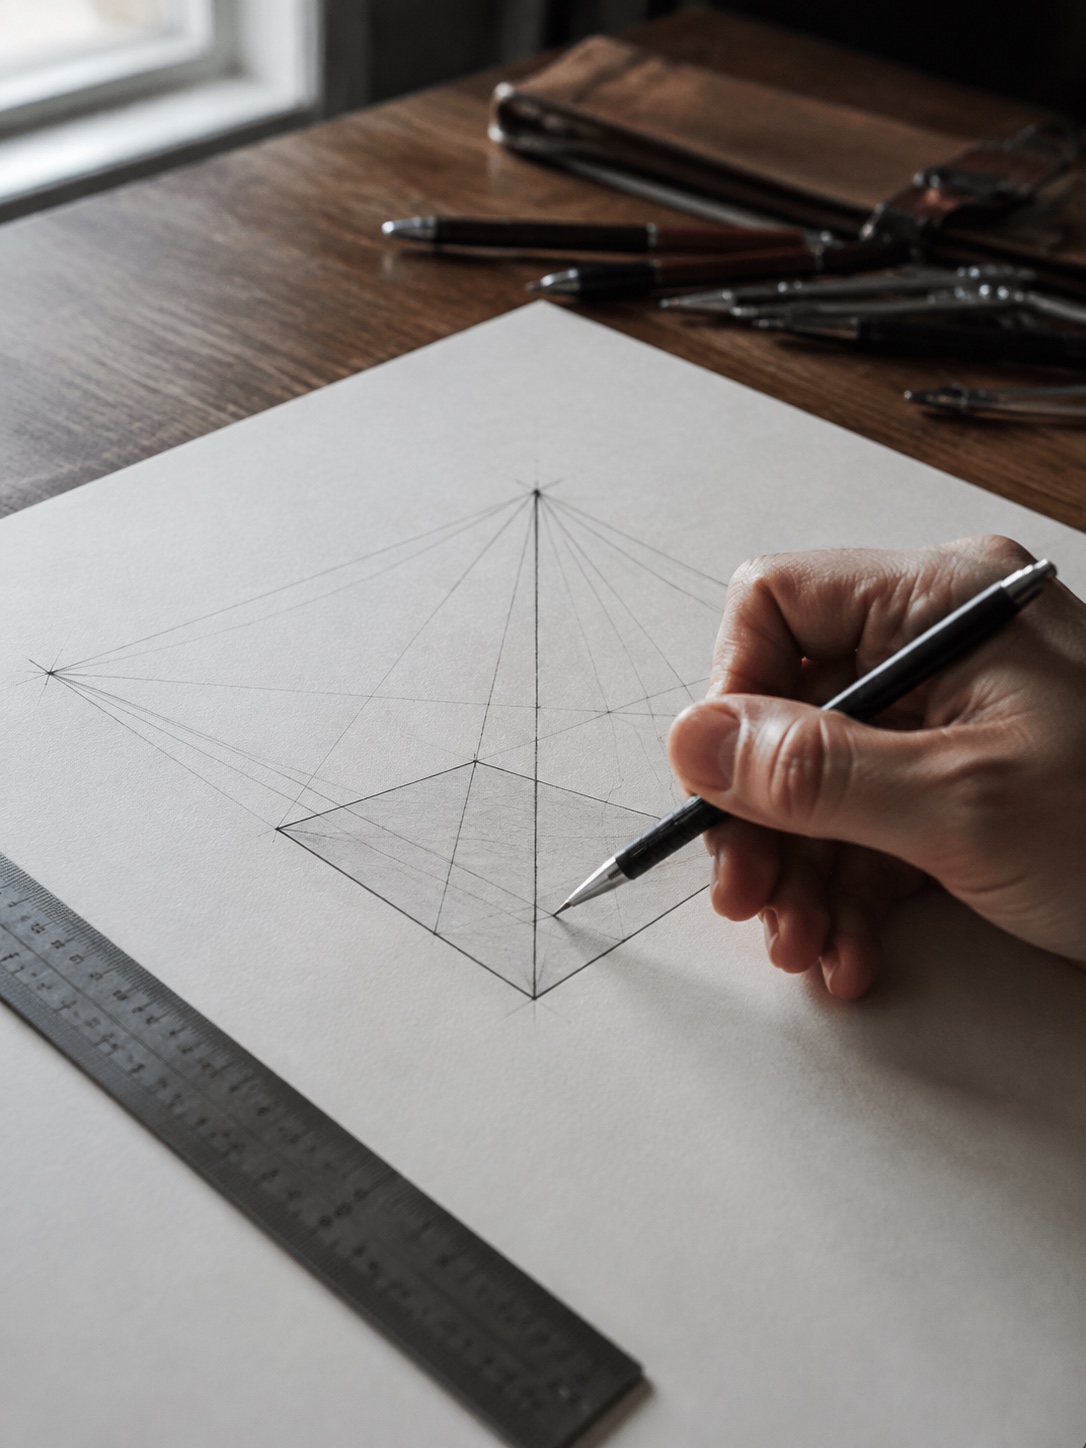
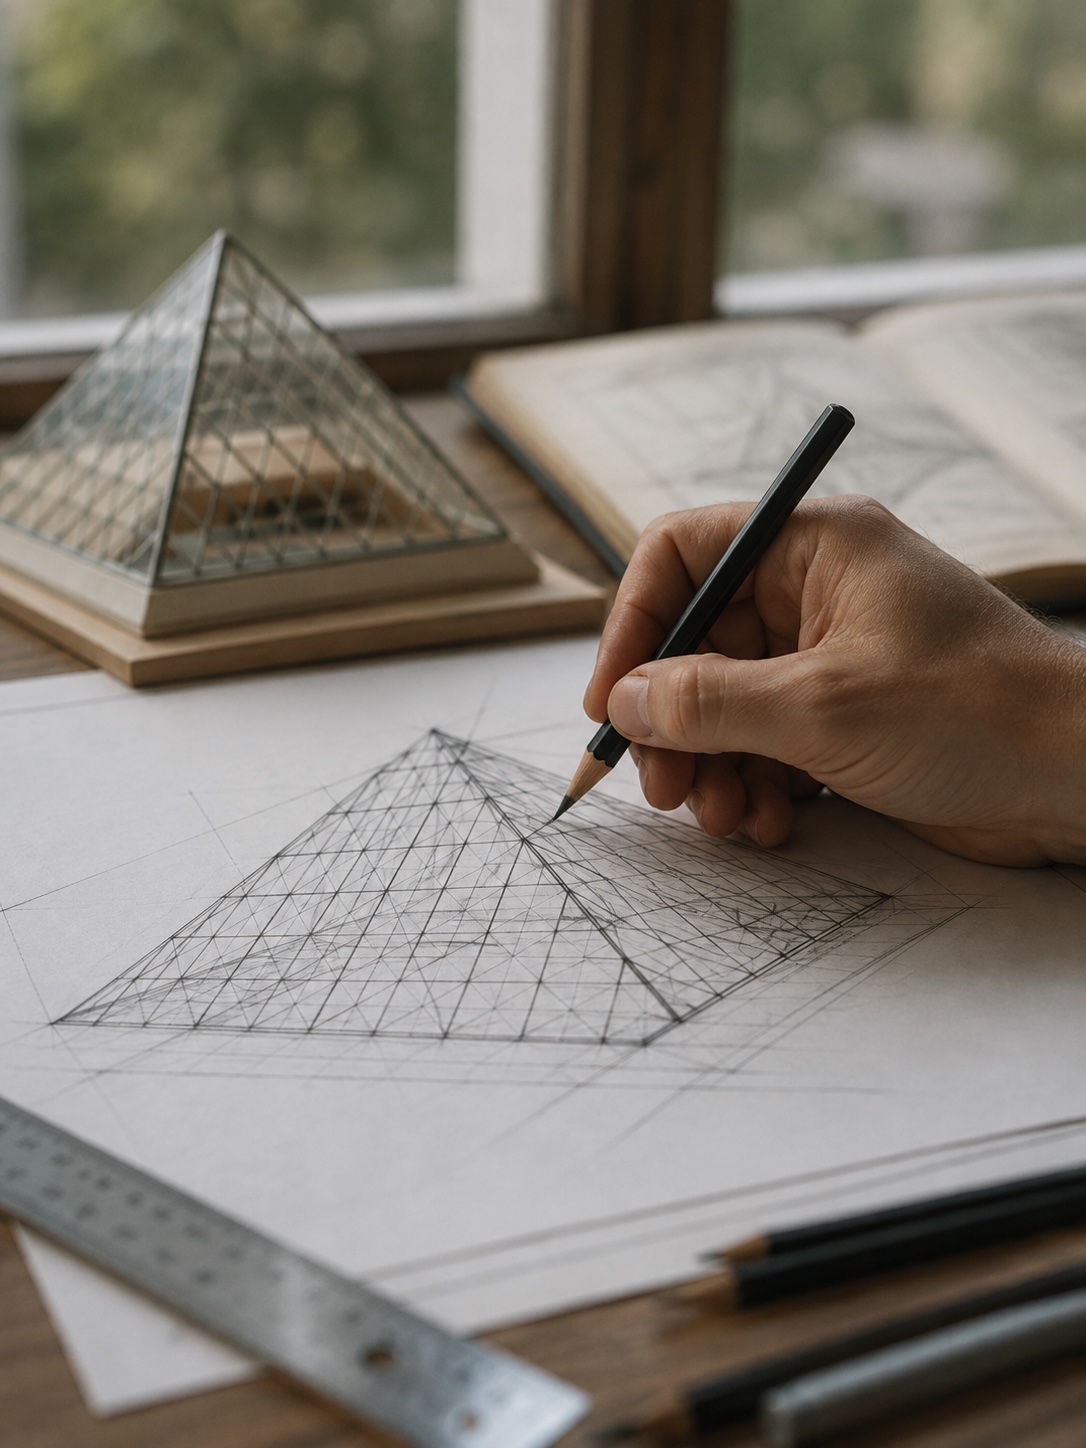
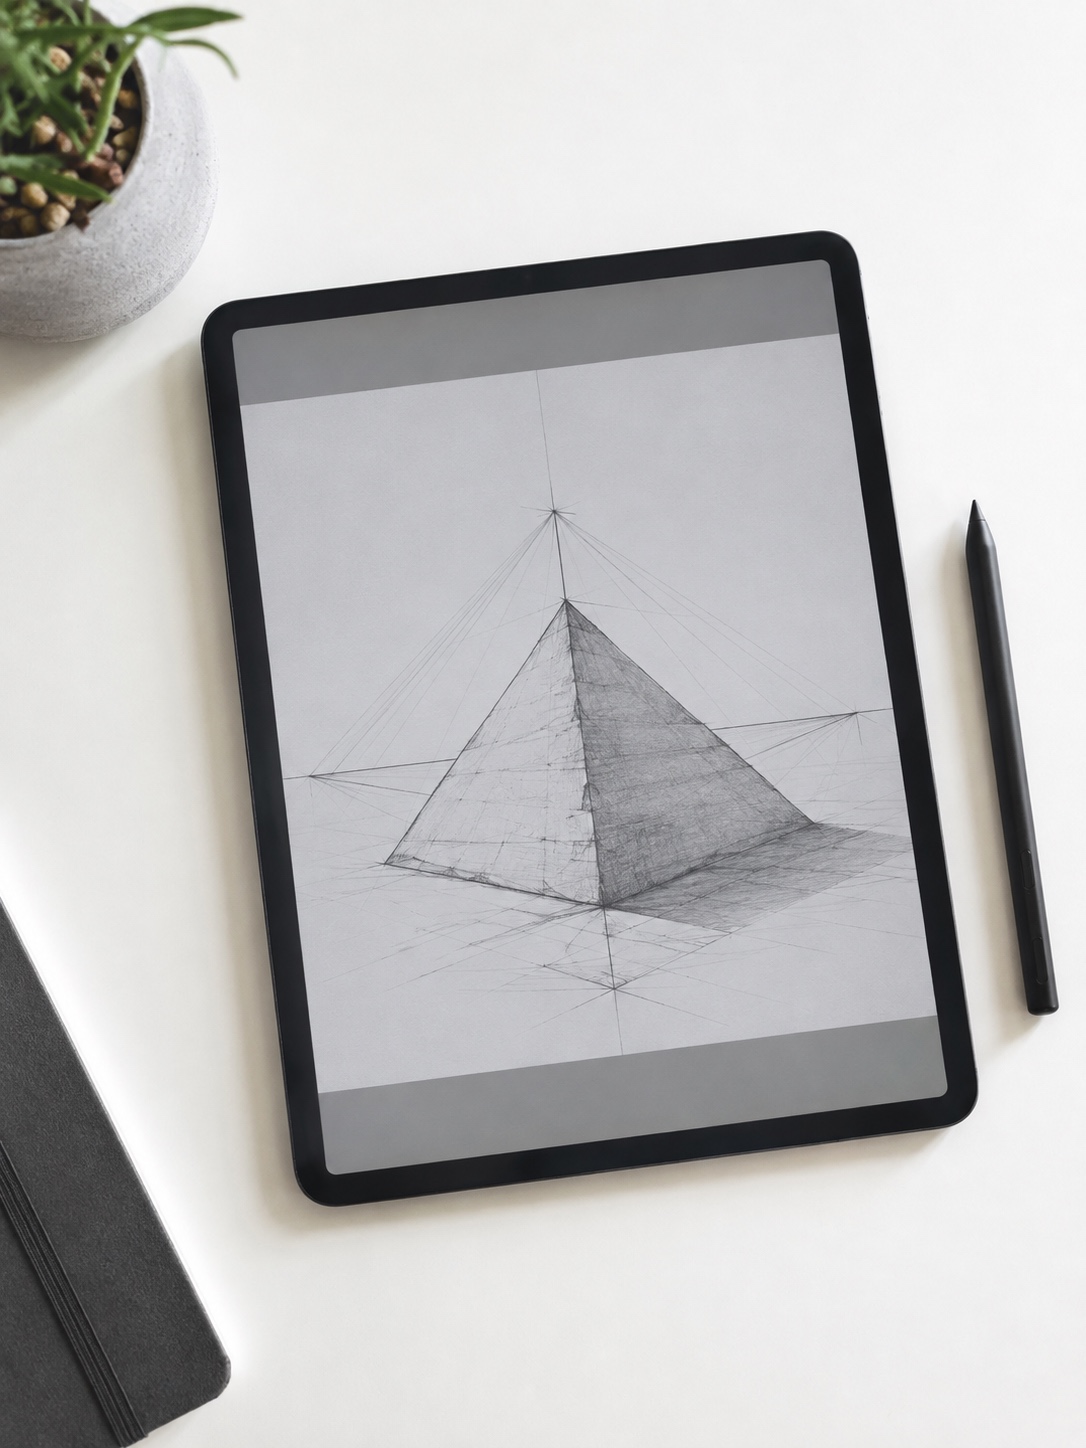
Start by placing two vanishing points on your horizon line, spaced fairly wide apart — wider vanishing points create a more natural, less distorted look, which matters for a form as geometrically precise as a pyramid. Draw a vertical line where the pyramid’s nearest base corner will sit. From the top and bottom of that vertical line, draw faint construction lines out to both vanishing points. This gives you the two visible base edges receding into the distance, which is the actual foundation of a convincing 3D pyramid rather than the flat triangle most tutorials settle for.
Mark where you want the base’s far corners to land along those perspective lines, then connect them to complete the base outline. If you want a square-based pyramid (like Giza), make sure the base reads as a proper foreshortened square in perspective, not a random quadrilateral — this is the step where most freehand attempts start to go wrong, because a foreshortened square doesn’t look like a “normal” square, and the instinct to correct it back toward symmetry is exactly what breaks the perspective.
Step 2: Find the apex and connect edges
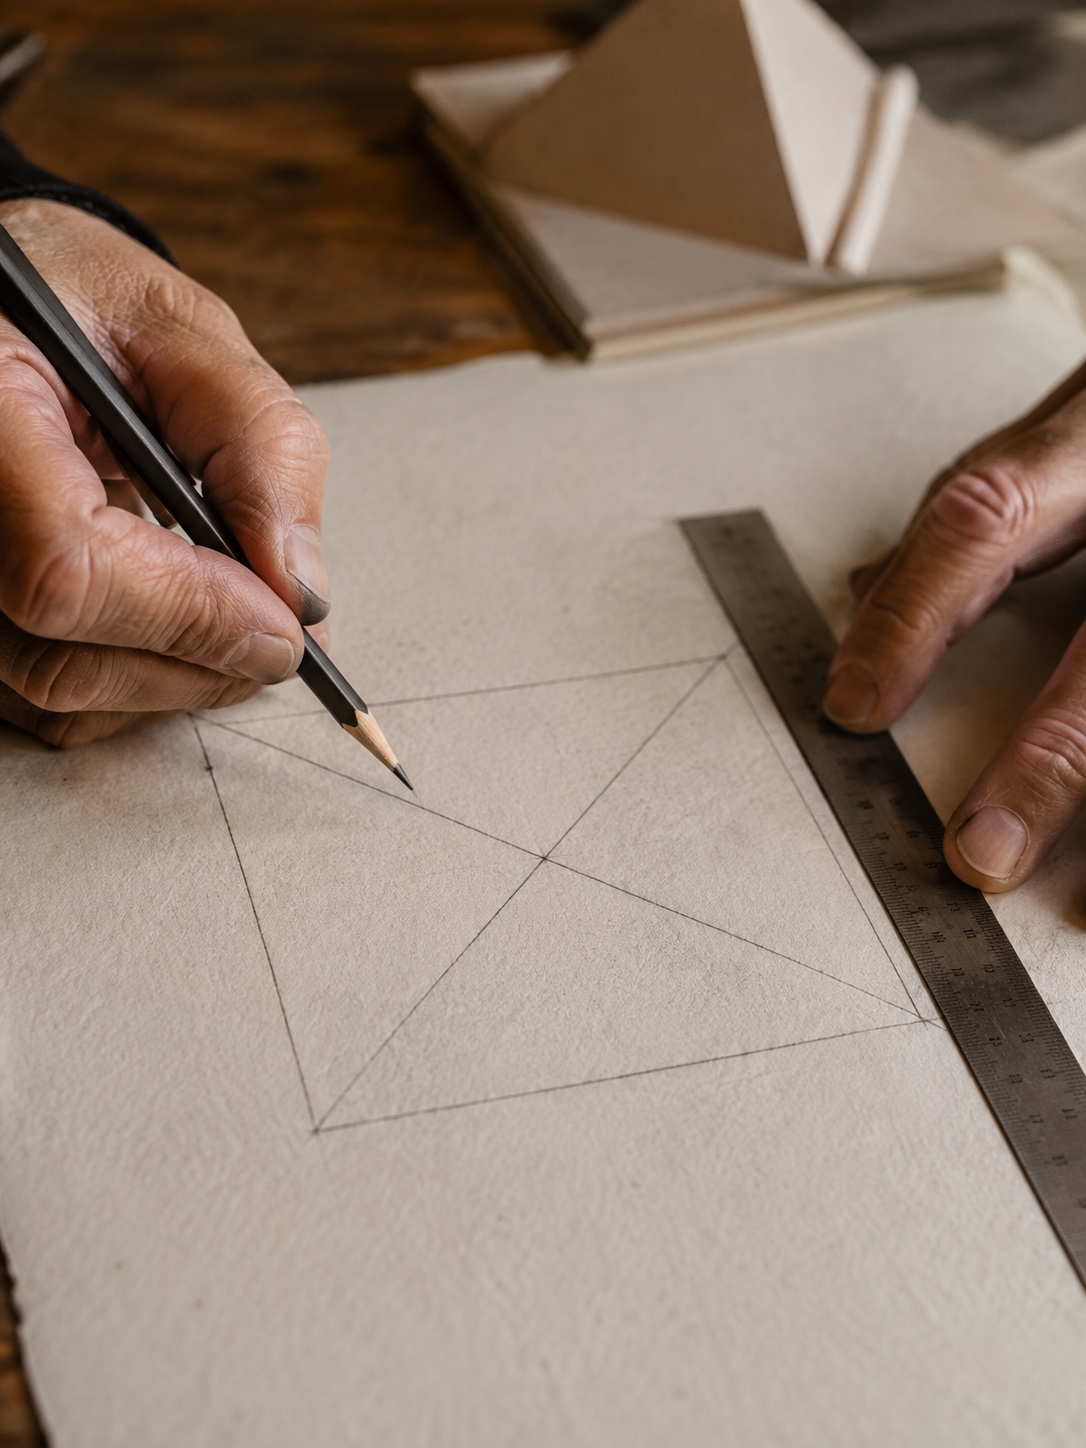
Locate the center point of your base — for a square base in perspective, this means finding the intersection of the two diagonals connecting opposite corners, not just eyeballing the middle. From that center point, draw a vertical line upward. Using the base-to-height ratio from the proportion section, mark your apex point along that vertical line — roughly 60% of the base width, measured from the true horizontal scale of your drawing, not the foreshortened perspective distance.
Connect the apex to each of the four base corners. These four edge lines are doing the most important visual work in the entire drawing; keep them straight and confident rather than sketchy, since any wobble here reads immediately as an amateur construction.
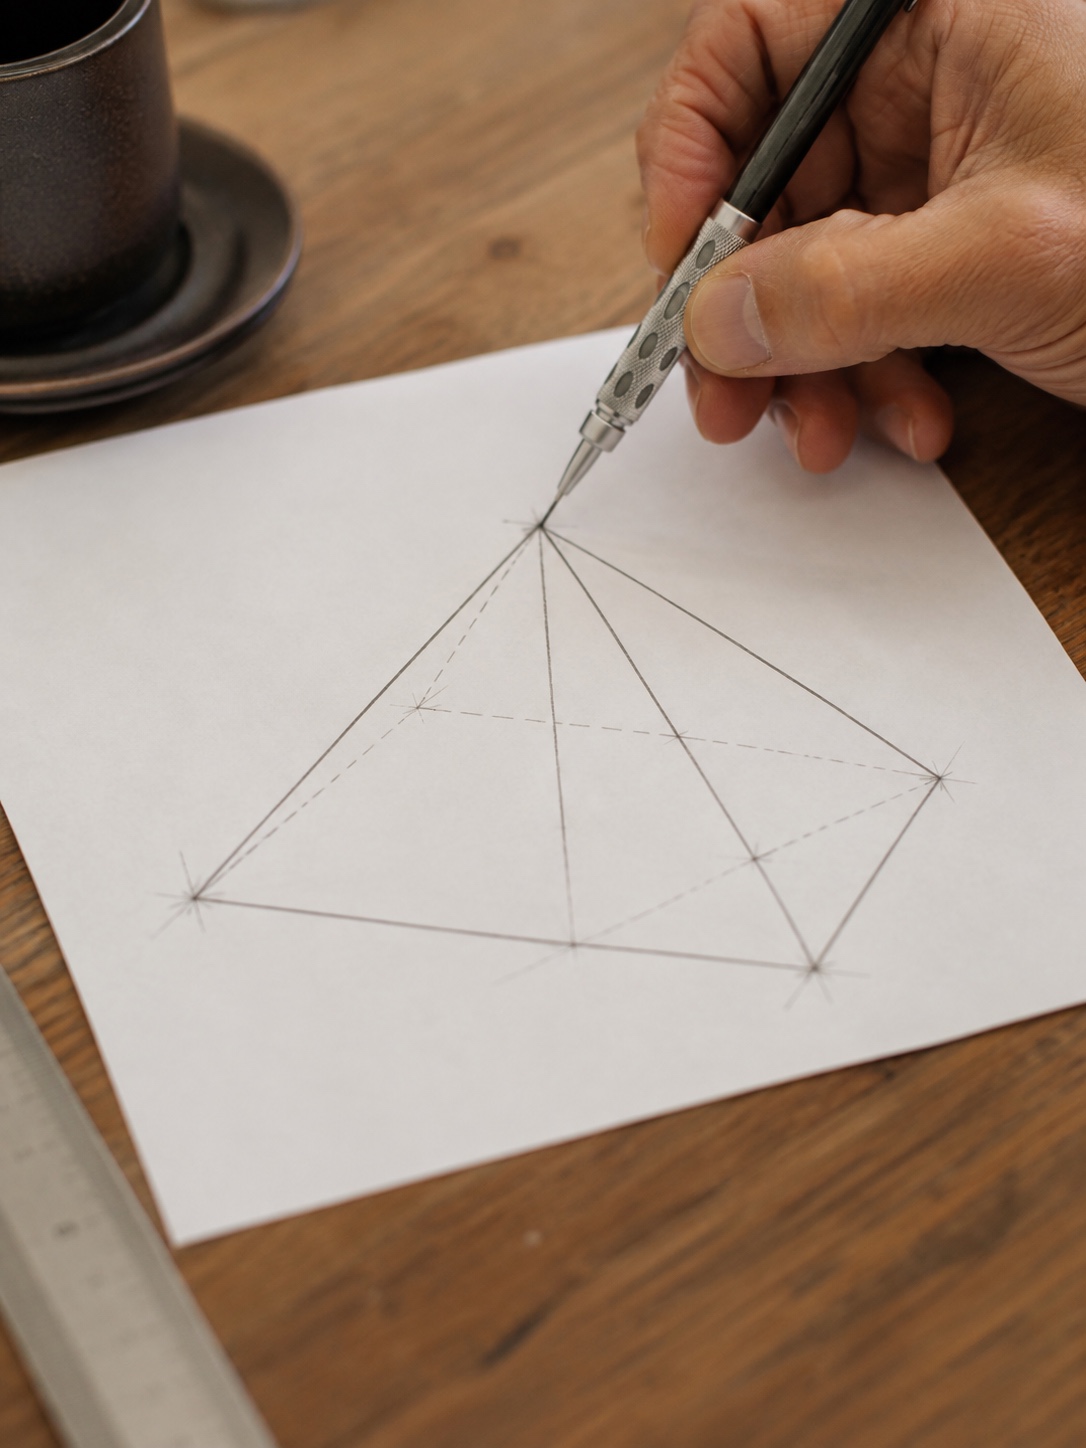
Step 3: Add the horizon and vanishing-point check
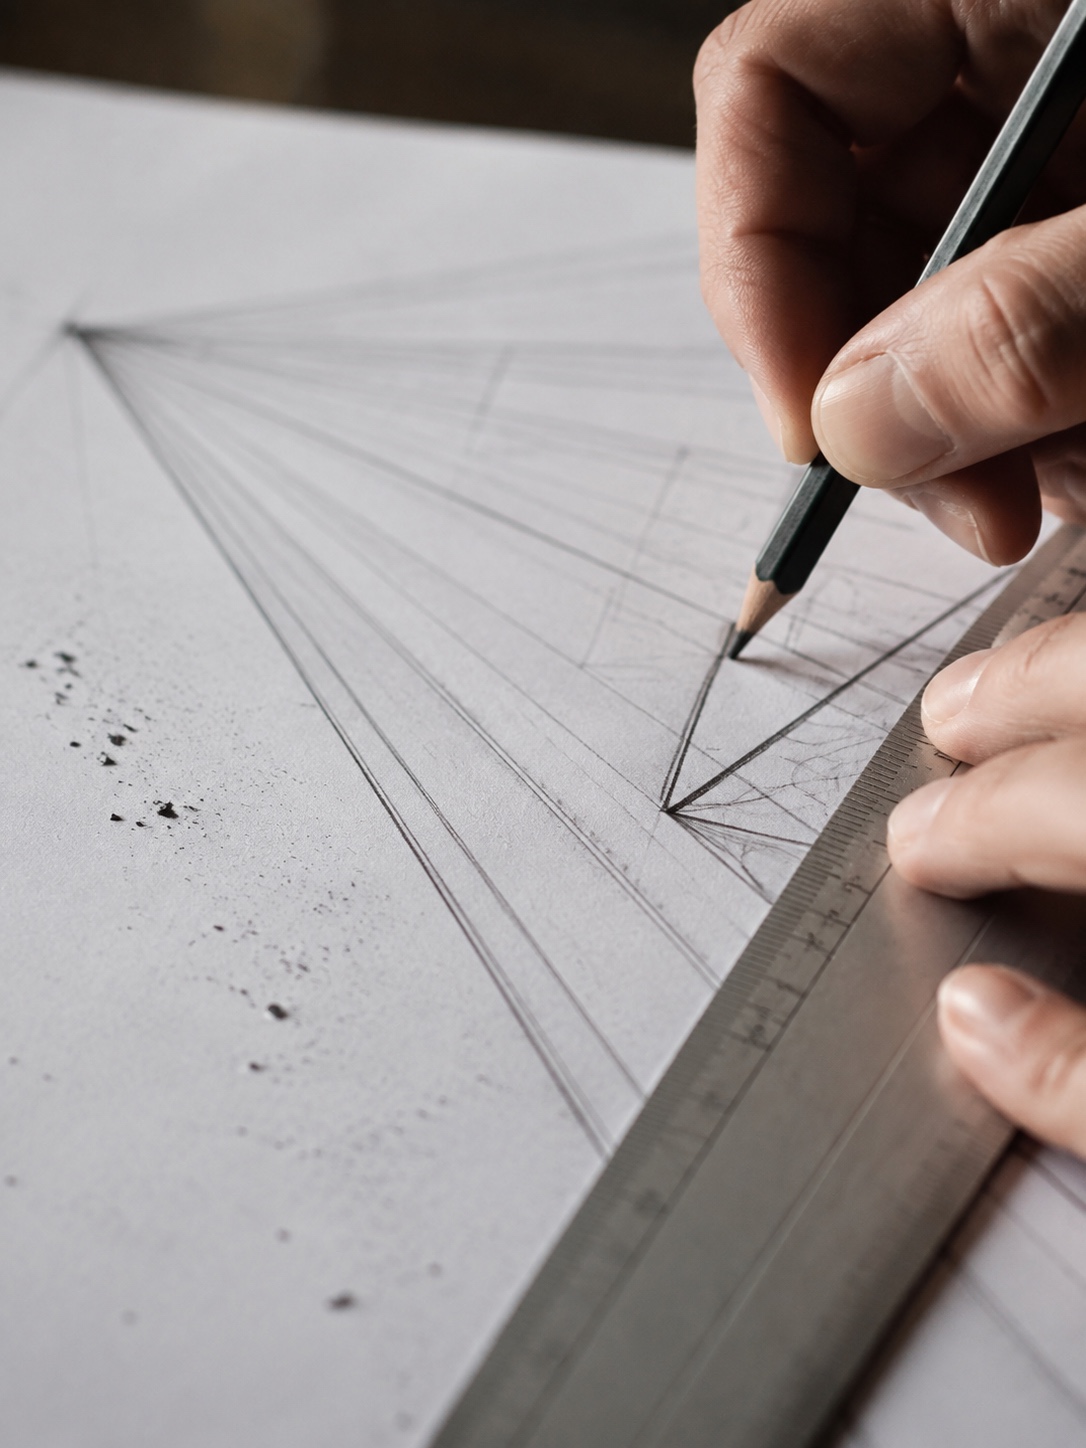
Before moving to refinement, go back and verify your construction against the horizon line and vanishing points you started with. Every edge that should recede into the distance needs to actually point toward one of your two vanishing points — this is the single most common failure point in perspective drawing, where an artist gets close but lets an edge drift slightly off-target. A five-second check here saves you from a drawing that looks almost right but sits in an uncomfortable uncanny zone most viewers can’t articulate but immediately sense.
This is also the moment to decide which faces of the pyramid are catching light and which are in shadow, since that decision depends entirely on where your implied light source sits relative to the vanishing points you’ve already established.
Step 4: Refine edges and clean up construction lines
Go over your final edges with a slightly heavier line weight than your construction lines, and erase the guide lines — the horizon, the vanishing point rays, the diagonal center-finding lines — once you’re confident the structure is locked in. I usually leave construction lines very light throughout the whole process specifically so this cleanup step is fast and doesn’t risk damaging the paper with heavy erasing.
At this stage your pyramid should already read as structurally convincing even with zero shading or texture added. If it doesn’t, the problem lives in steps 1-3, not in anything a good render can fix afterward.
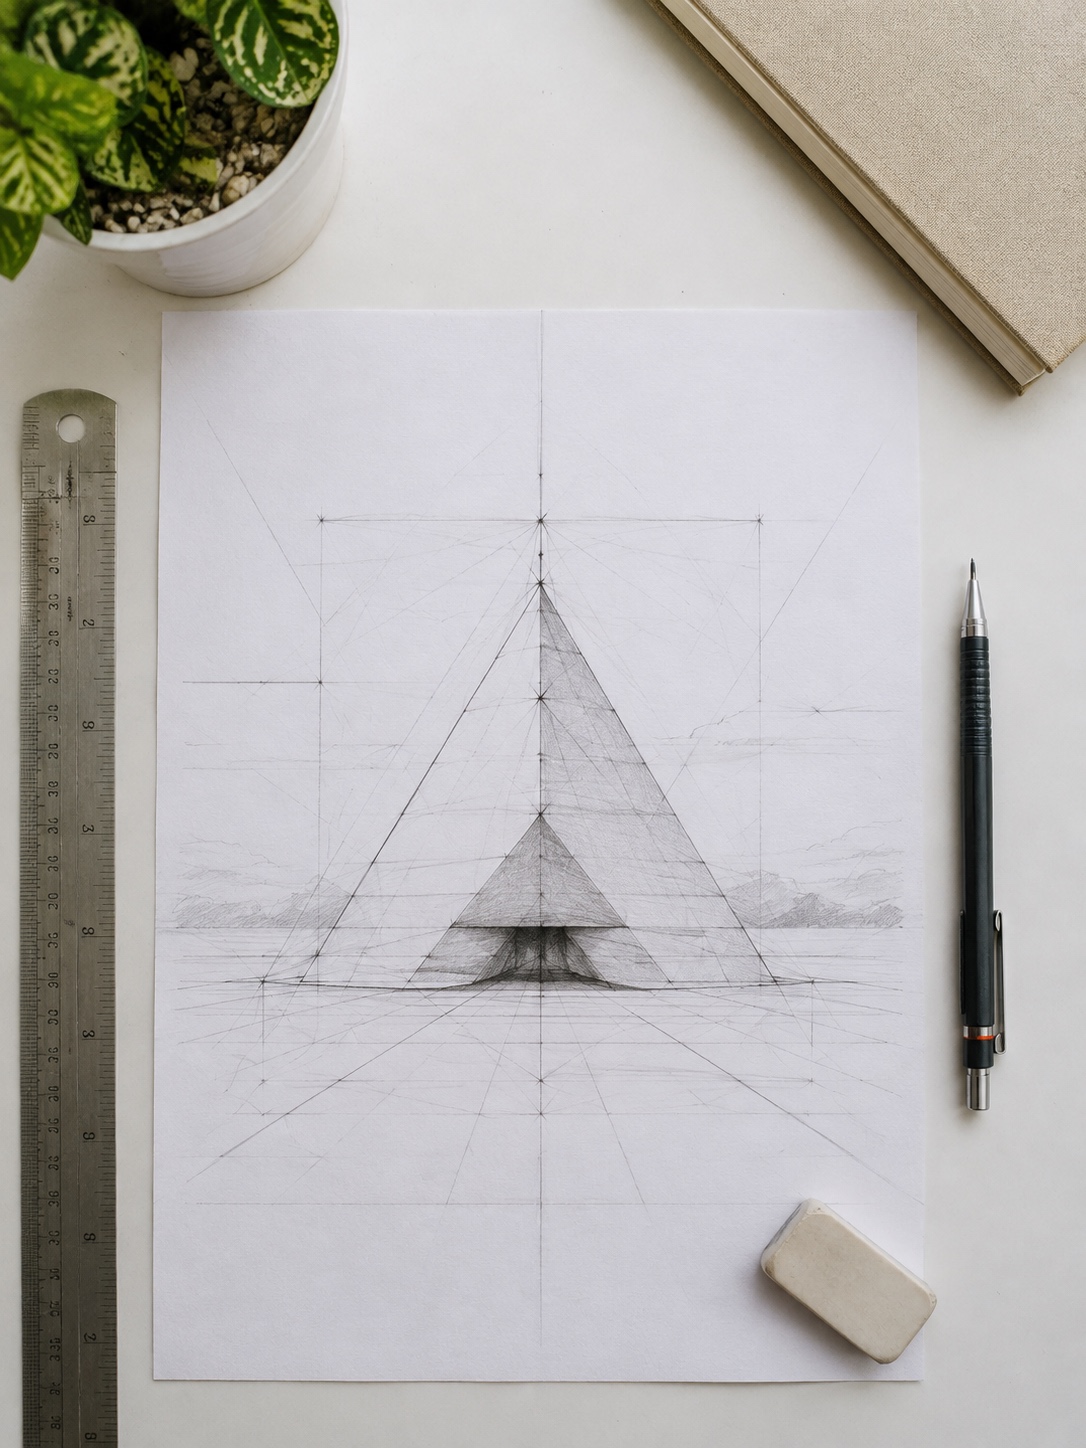
TIP: Keep construction lines very light from the start — a fast, clean eraser pass at Step 4 beats heavy erasing that damages the paper.
Egyptian smooth-faced vs. stepped (Djoser) pyramids — know what you’re drawing
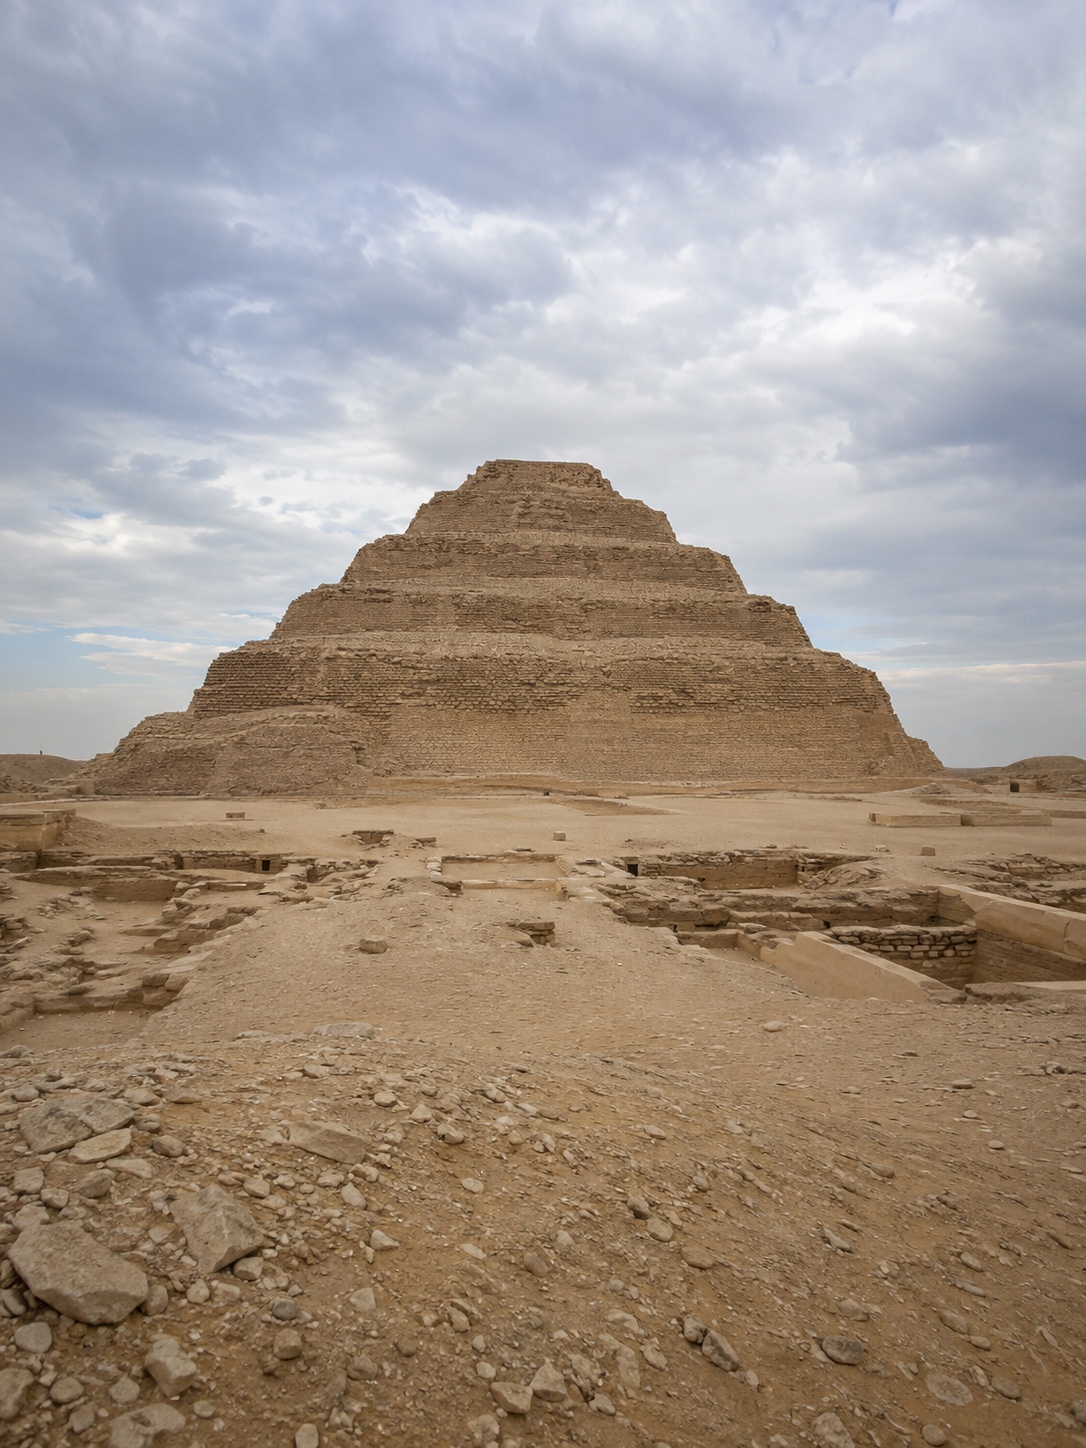
Almost every online tutorial treats “pyramid” as one universal shape, which flattens a genuinely interesting design distinction. The smooth-faced pyramids at Giza and the stepped Pyramid of Djoser at Saqqara aren’t just different states of preservation — they represent two different structural design approaches, built roughly a century apart, and drawing them accurately means understanding what actually separates them.
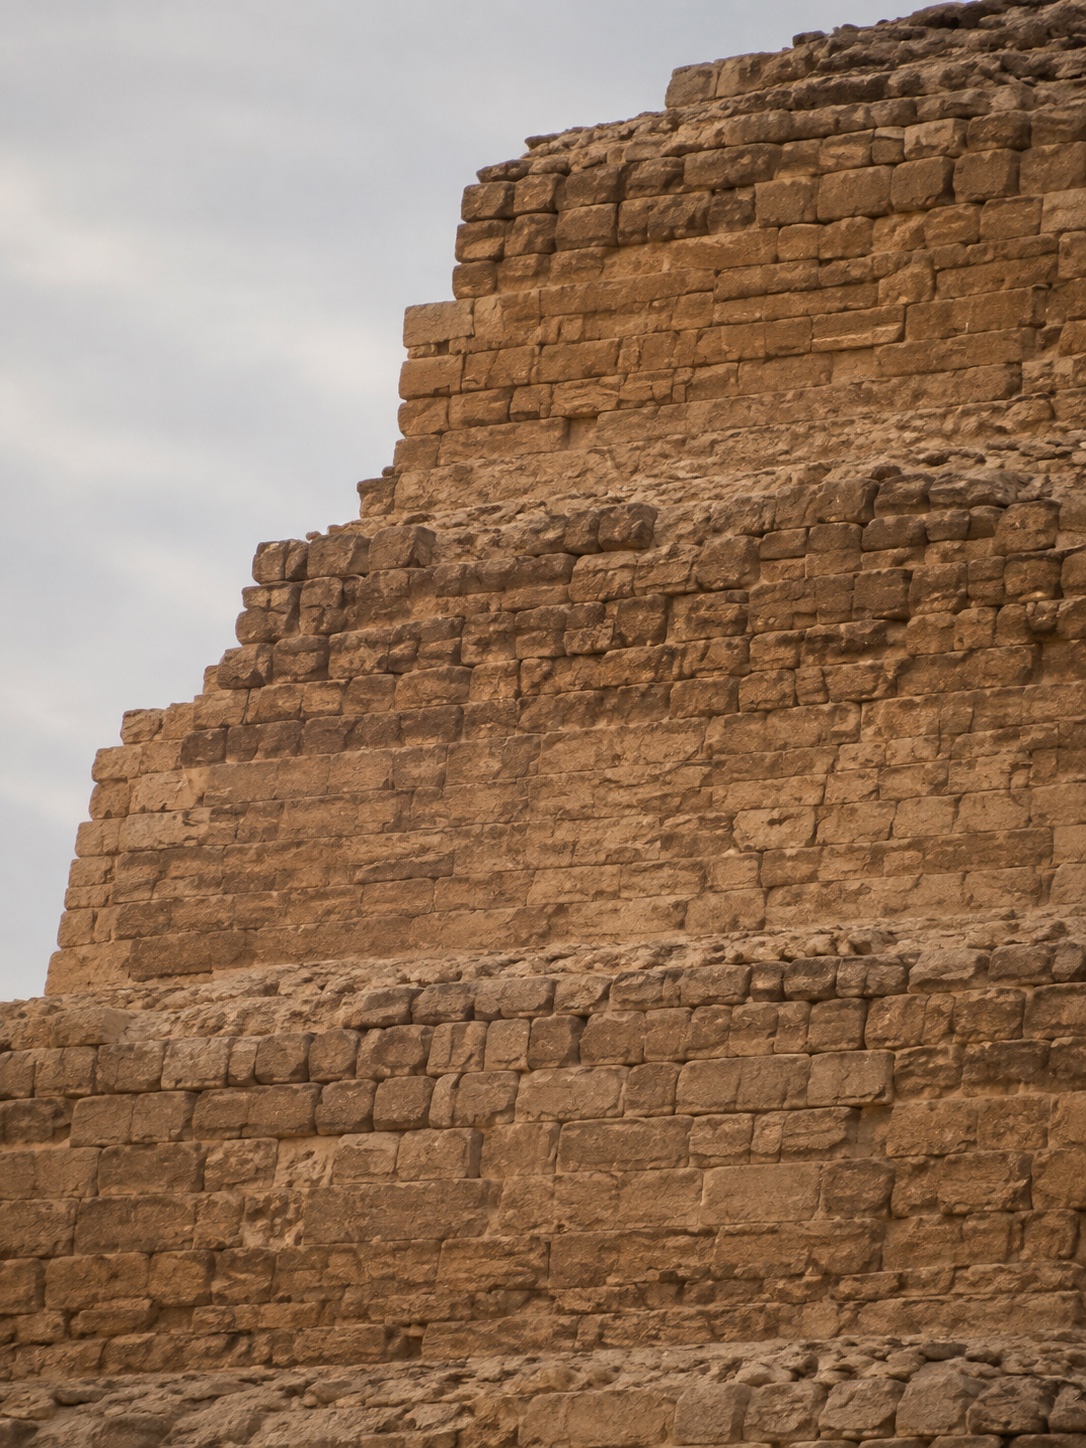
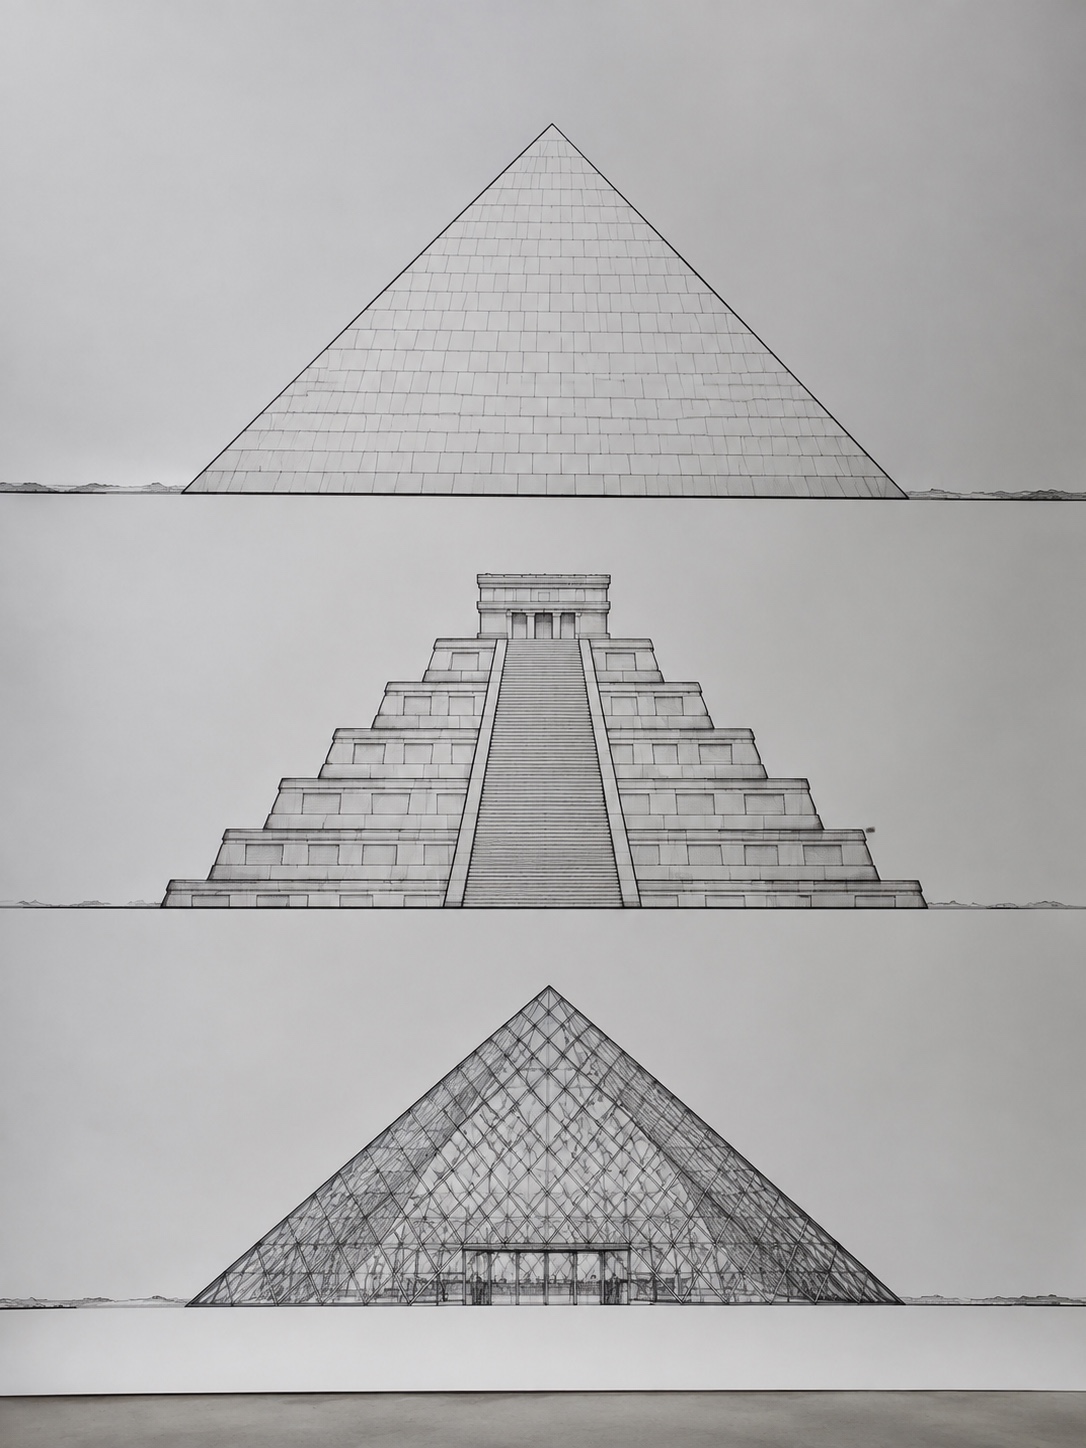
The smooth-faced Giza style is what most people picture: four flat triangular faces meeting at a single apex, originally clad in polished white limestone casing that made the whole surface read as continuous and unbroken (most of that casing has since eroded or been removed, which is why the pyramids look more stepped and rough today than they did originally). This is the form the proportion and perspective work from the last two sections builds toward directly.
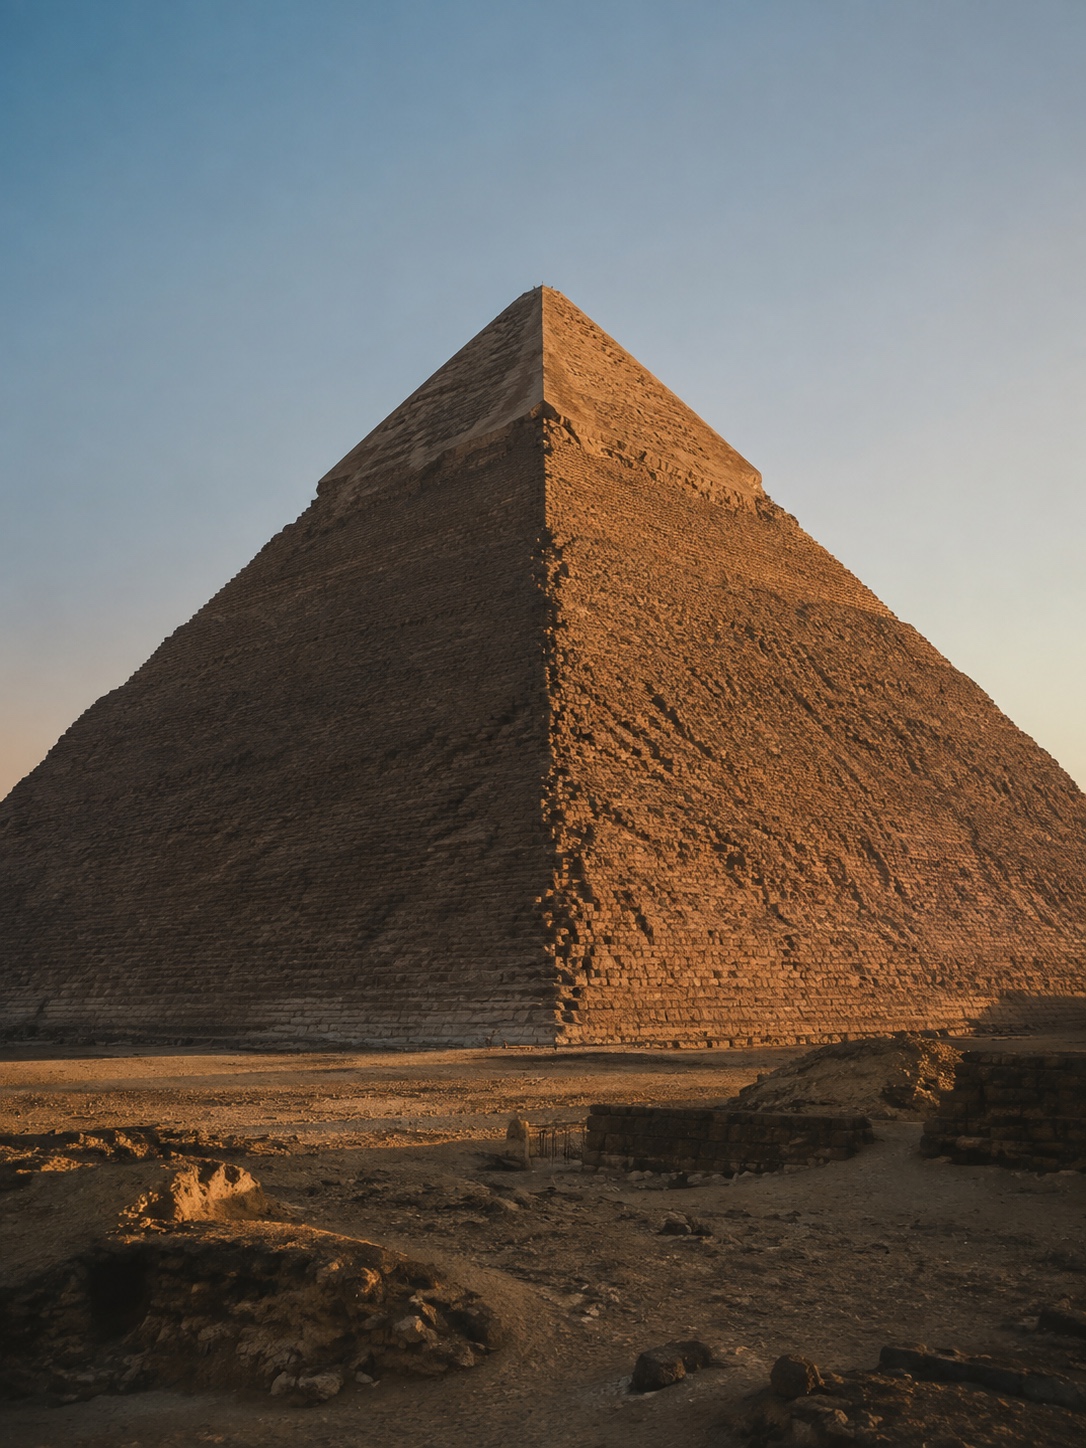
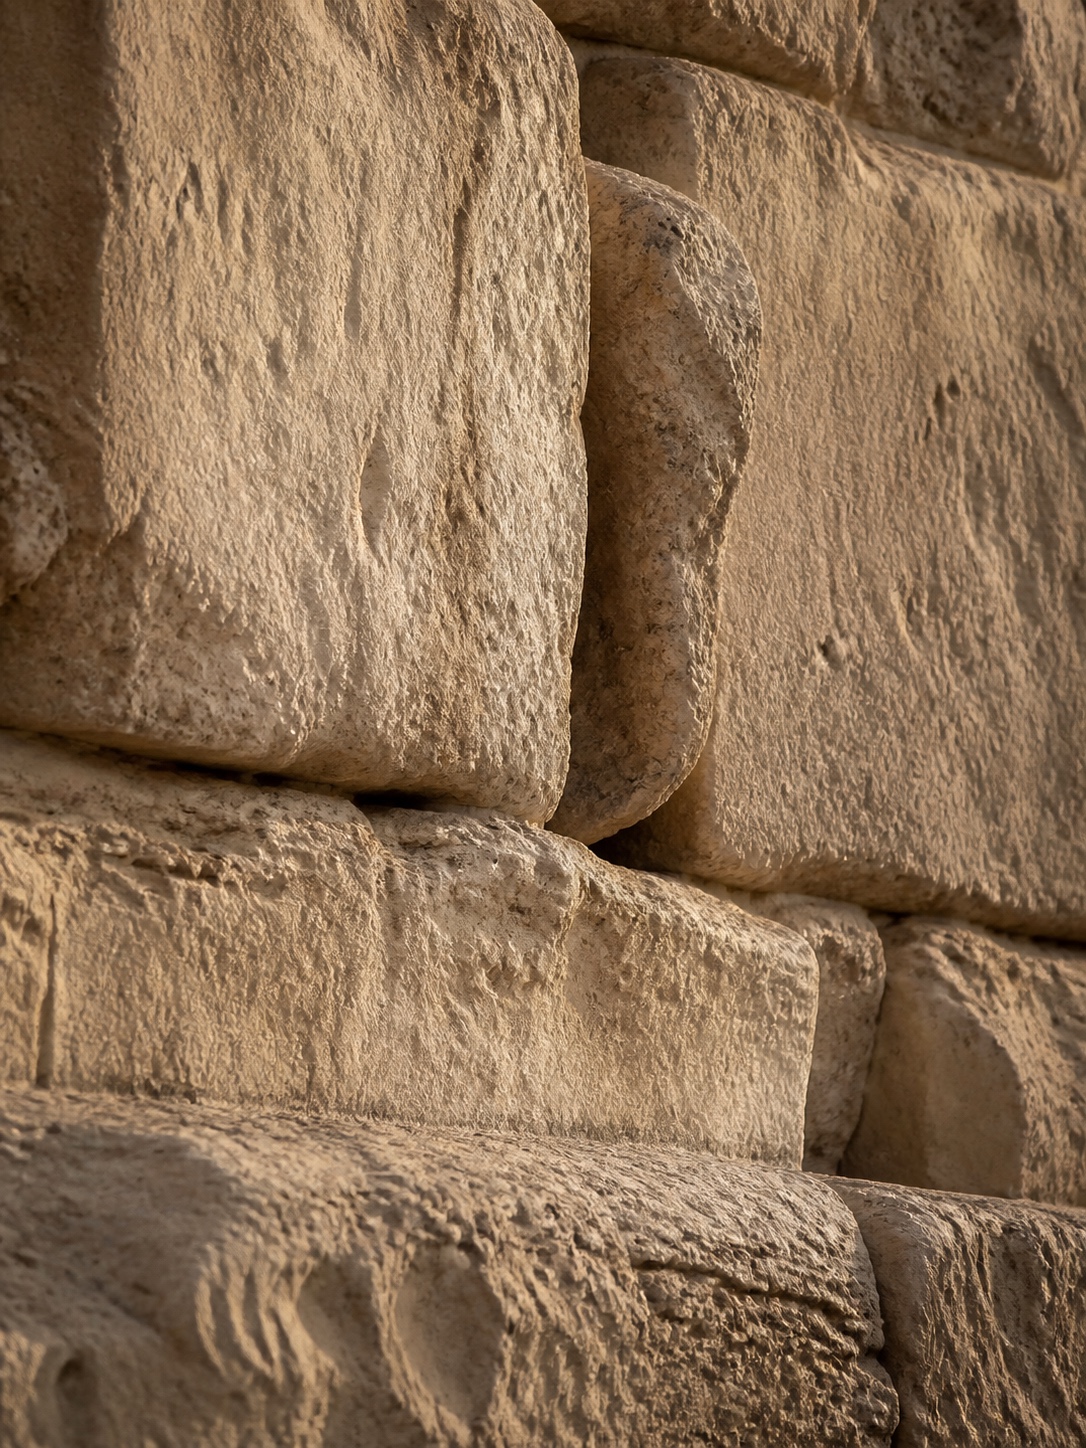
The stepped Djoser design came earlier and is structurally a different concept entirely — a series of progressively smaller rectangular platforms (mastabas) stacked on top of each other, six tiers in the surviving structure, creating a stepped silhouette rather than smooth triangular faces. If you’re drawing this version, your construction method changes: instead of four continuous edge lines from base to apex, you’re drawing a series of stacked rectangular boxes, each one inset from the one below, in the same two-point perspective you’d use for any other rectangular form.
I’d treat these as genuinely separate drawing exercises rather than variations on the same technique, because the underlying construction logic is different — one is edge-and-apex based, the other is stacked-volume based. Mixing the two approaches (adding visible steps to an otherwise smooth-faced construction, for instance) is a mistake I see constantly, and it usually comes from someone referencing a heavily eroded photo of Giza without realizing the erosion pattern isn’t the same thing as Djoser’s intentional stepped design.
Drawing the modern glass pyramid — the Louvre and contemporary architectural forms
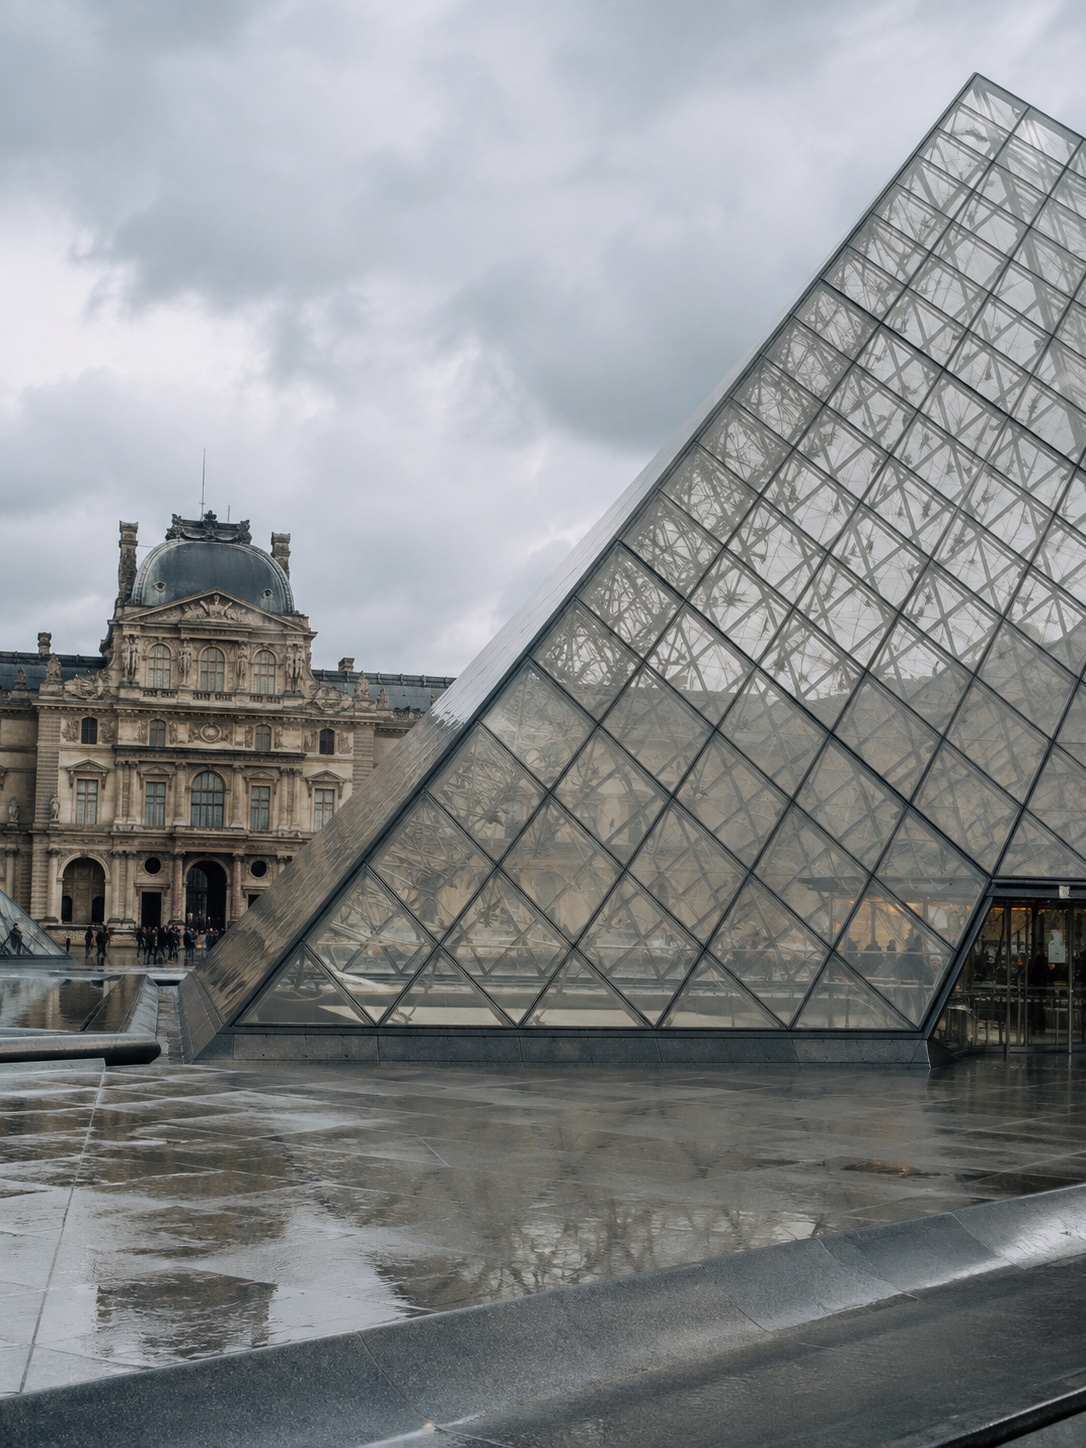
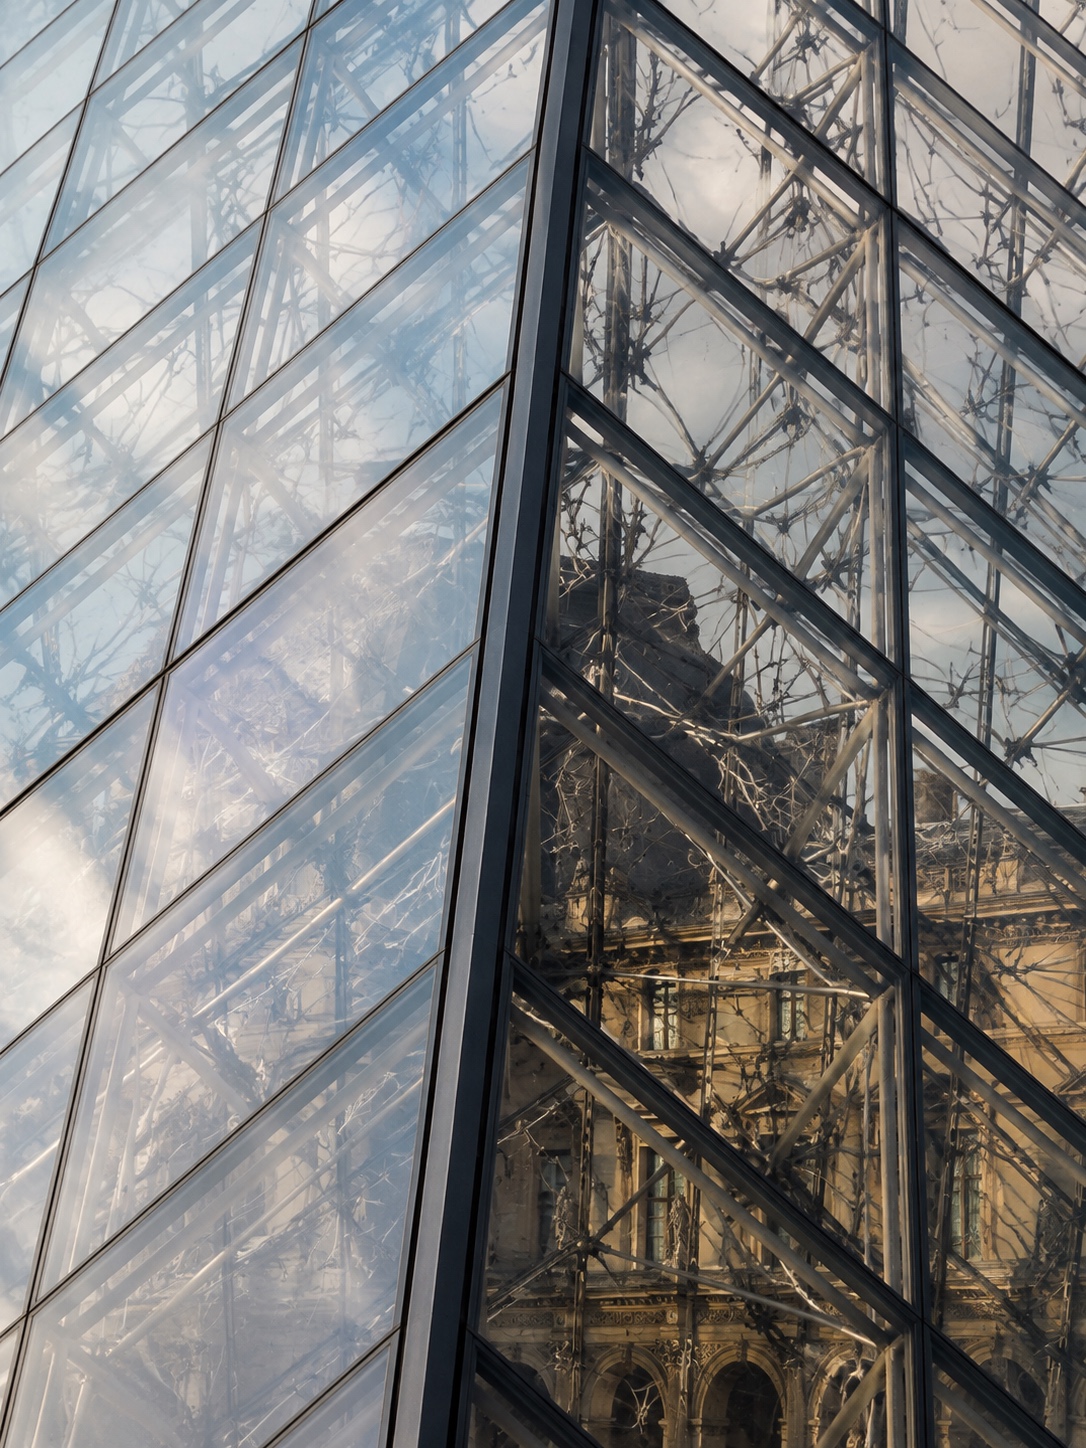
The Louvre Pyramid, completed in 1989, uses the exact same proportion and perspective logic covered so far — the construction method doesn’t change just because the material does. What changes entirely is the rendering approach, and that’s where most people run into trouble if they try to sketch it using stone-shading habits.
Glass doesn’t absorb and diffuse light the way stone does — it transmits, reflects, and refracts, often doing all three on the same surface simultaneously depending on viewing angle. The Louvre Pyramid’s structure is also genuinely different from a solid stone form: it’s a steel space-frame lattice with triangular and diamond glass panels set into it, not a continuous smooth surface. That grid is worth constructing deliberately rather than treating the whole pyramid as one flat plane of glass — sketch a light structural grid across each face first, following the same two-point perspective lines you used for the overall form, before adding any reflective detail.
Rendering technique for glass surfaces
Where stone shading builds up gradually from light to dark, glass rendering works more in isolated value jumps — a bright reflected highlight can sit directly next to a dark, nearly black panel where the glass is reading as transparent straight through to a shadowed interior. Don’t blend between these values the way you would with stone; the abrupt jump is what actually reads as glass. I’d add a few implied reflections of the sky or surrounding architecture across scattered panels rather than uniformly across the whole surface — real glass facades almost never reflect with perfect consistency panel to panel, and that inconsistency is part of what sells the material.
Why this is worth drawing as a design exercise, not just a landmark sketch
The Louvre Pyramid is a genuinely interesting case study in how a strict geometric form can carry two completely different material identities depending on execution — the same proportions that read as ancient and monumental in stone read as contemporary and transparent in glass. That’s a useful thing to internalize as a design principle beyond this one drawing: the underlying geometry of a form and the material identity built on top of it are two separate decisions, and changing one doesn’t require changing the other.
Rendering stone texture and realistic shading
Once the construction is locked in, shading is what actually sells a pyramid as a real three-dimensional stone object rather than a flat geometric outline. This is also where most tutorials stop entirely, treating a single flat color fill as “finished.”
Establishing your light source first
Before adding a single shadow, decide where your implied light source sits — upper left, upper right, directly overhead. This single decision determines which of the pyramid’s visible faces reads as lit and which reads as shadowed, and it needs to stay consistent with the perspective and vanishing points you established during construction. A common mistake is shading intuitively without committing to a specific light direction, which produces faces that don’t logically relate to each other in value.
Graphite technique
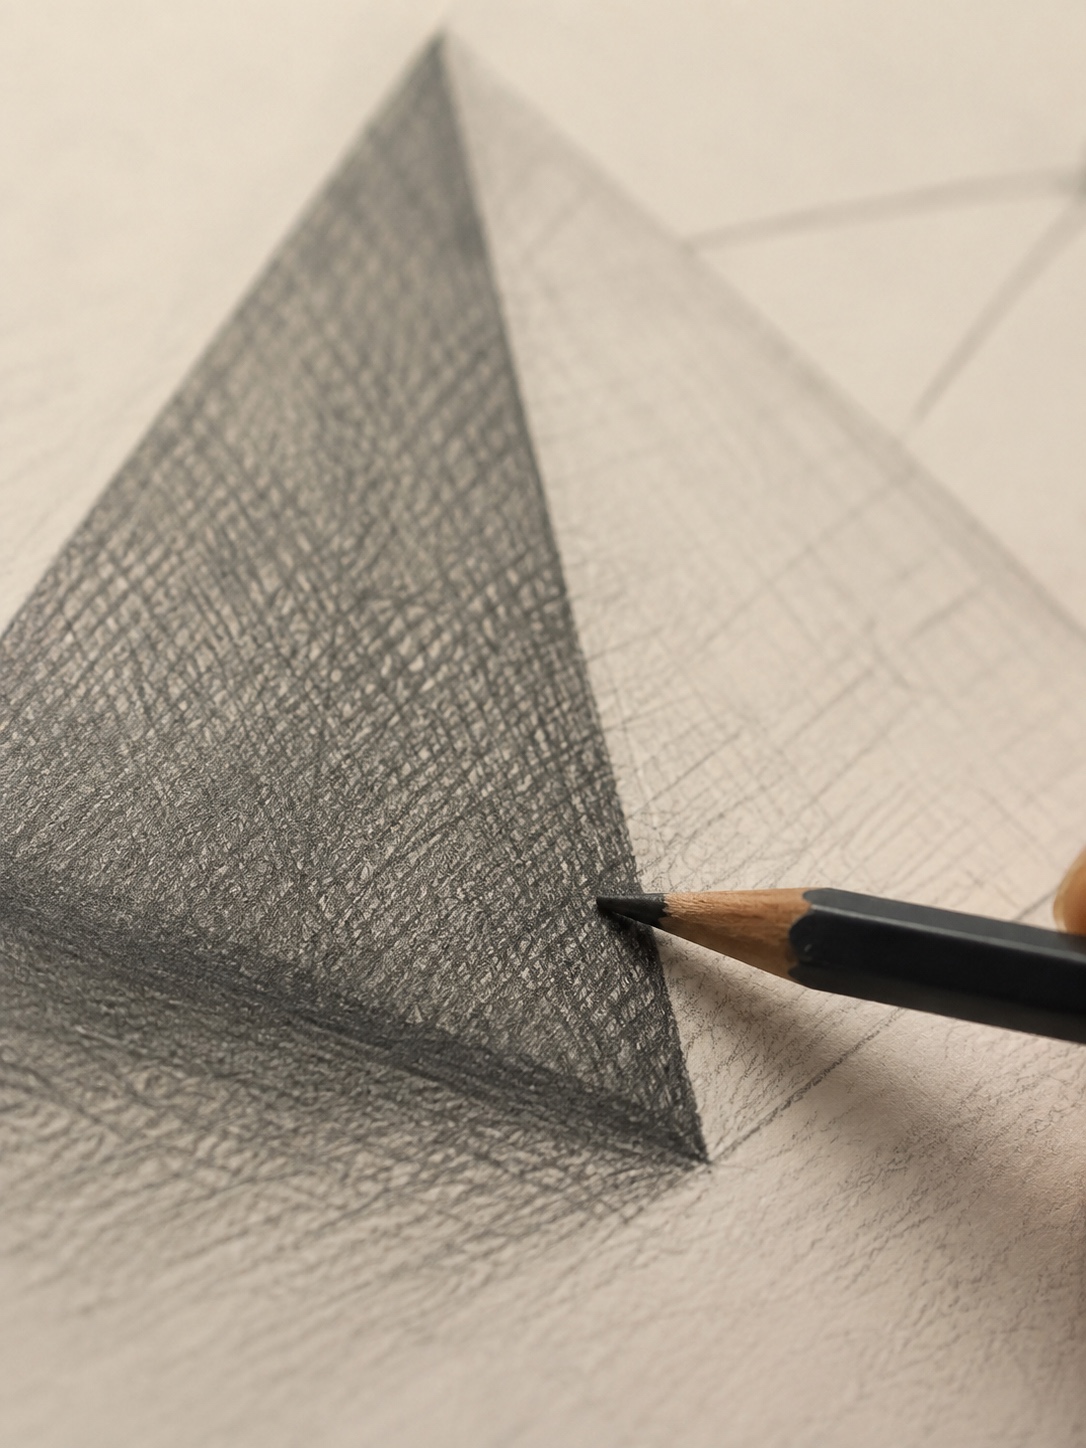
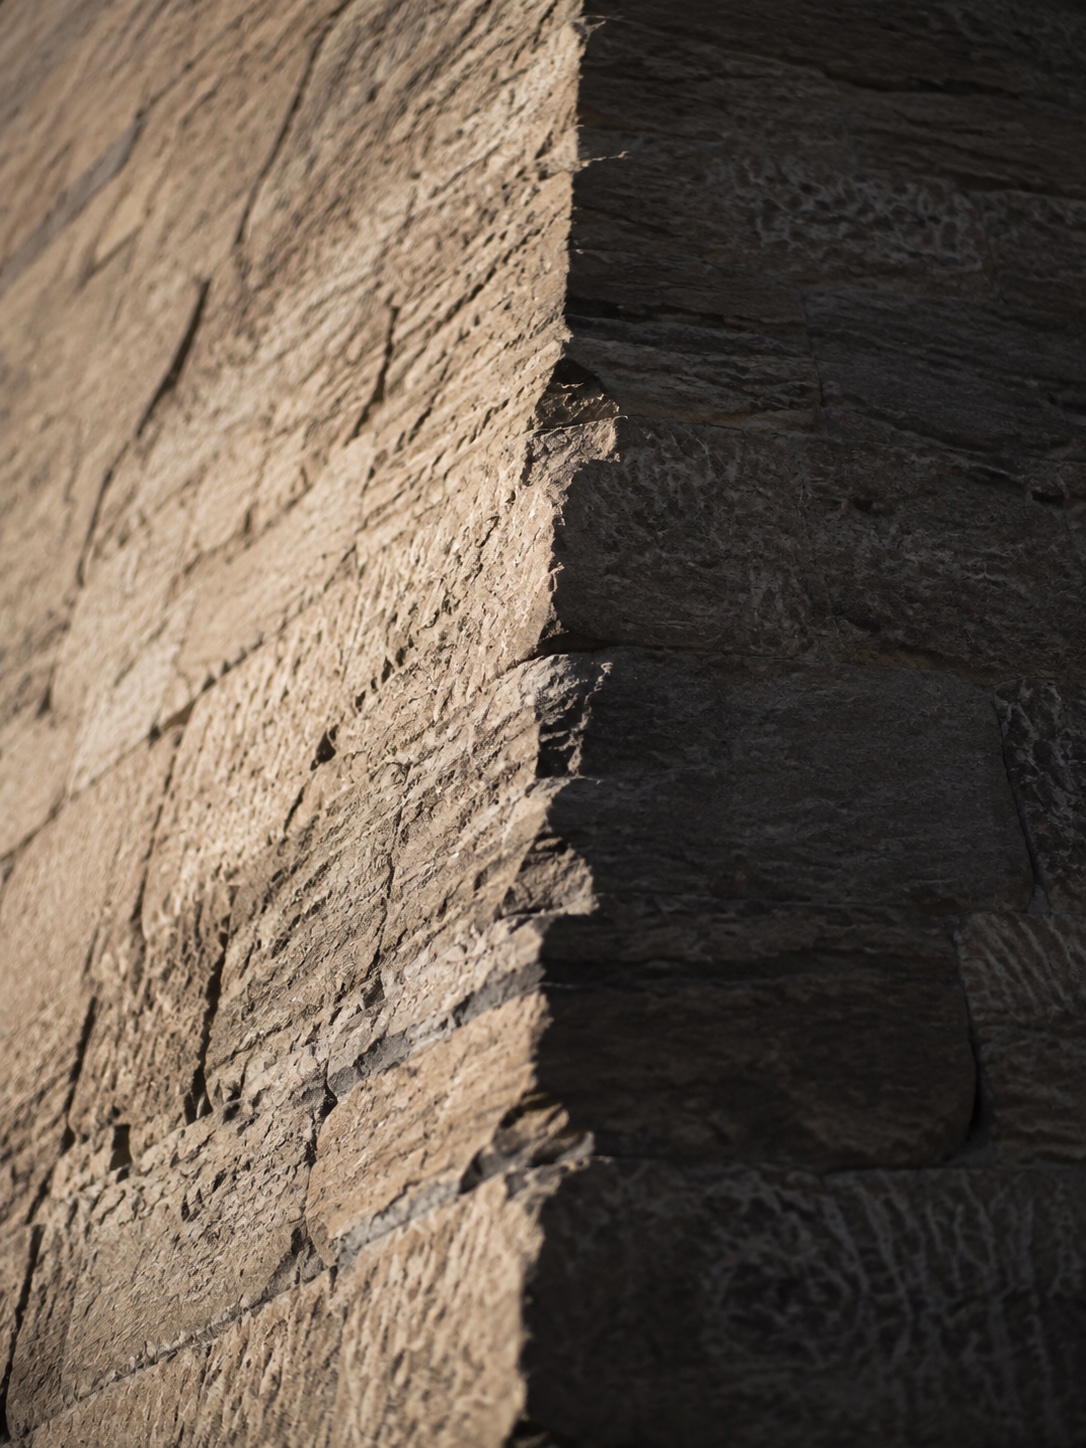
Work in three distinct value zones rather than a single gradient: a lit face rendered lightly with the paper’s texture doing most of the visual work, a mid-tone face at roughly 40% value using cross-hatching or controlled shading strokes, and a shadowed face pushed genuinely dark, close to your darkest available value. Stone doesn’t have a smooth, even surface, so let some texture variation show within each face — light irregular marks suggesting weathering and block seams, rather than one perfectly flat tone. A blending stump can soften transitions slightly, but resist blending so much that the face loses all texture; real stone reads as matte and irregular, not polished.
Marker and colored pencil technique
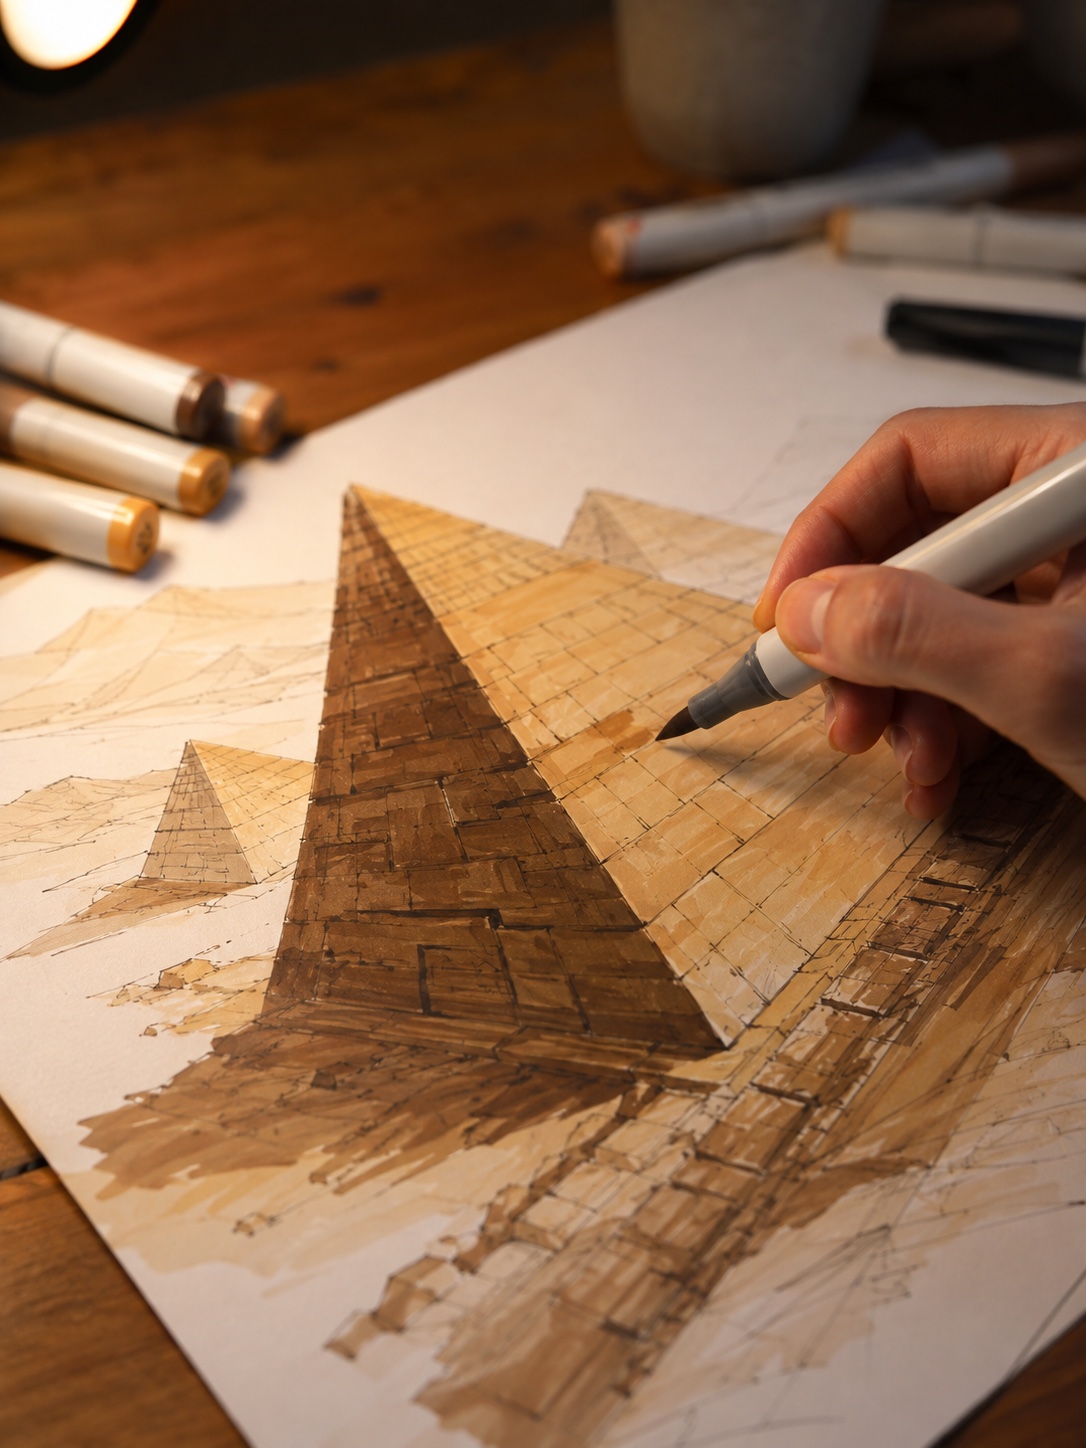
Lay down your lit face first in the lightest tone available, then layer progressively darker tones for the mid and shadow faces using the same base hue family — variations of tan, ochre, and umber work well for limestone. The edges between faces should stay crisp and defined rather than blended, since a pyramid’s faces are flat planes meeting at hard edges, not a curved surface with soft transitions. This is a meaningfully different rendering logic than something like the curved fur or fabric work you’d do elsewhere — flat-plane geometry wants hard value breaks at every edge.
Digital rendering
Use a hard-edged brush for the same reason — soft, textured brushes read as organic material, not cut stone. Block in your three base values first as flat fills, then add texture and weathering detail as a separate pass on top, using a low-opacity textured brush just for surface irregularity rather than for establishing the core value structure. Keep your edges between faces perfectly crisp; a soft edge between two adjacent pyramid faces is one of the fastest ways to undercut an otherwise well-constructed drawing.
Fixing the mistakes that make pyramid drawings look flat or wrong
If a pyramid drawing still looks subtly off after all this, it’s almost always one of three issues. Here’s the troubleshooting pass worth running before calling it finished.
Mistake 1: Face angle guessed rather than measured
This is the most common issue by a wide margin. If your pyramid looks too squat or too spiky, go back and check your base-to-height ratio against the roughly 60% relationship covered earlier. A pyramid that “looks a little off” in a way that’s hard to name is almost always a proportion problem, not a rendering problem.
Mistake 2: Edges that don’t actually converge on your vanishing points
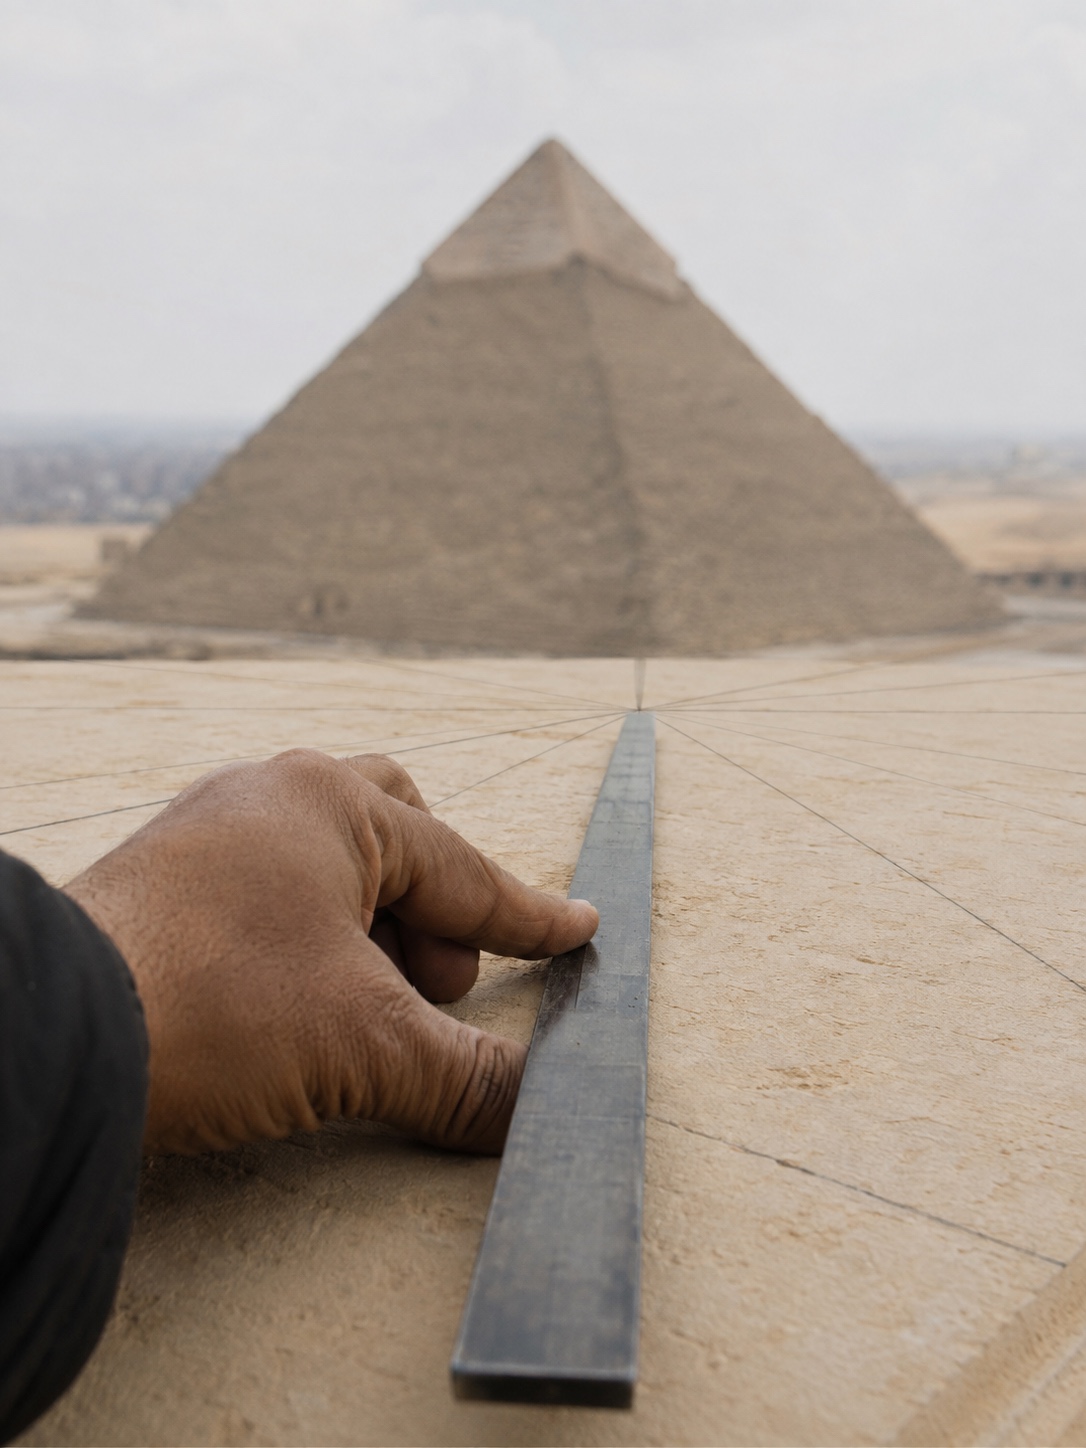
This is the perspective error that produces the uncanny “almost right” feeling. Take a ruler or straightedge and physically check whether your receding edges point toward the vanishing points you established in step one — even a small drift is enough to register as wrong to a viewer who couldn’t tell you why.
Mistake 3: Shading without a committed light source
Flat, evenly-lit faces or shading that doesn’t logically relate face to face almost always traces back to skipping the light-source decision before rendering. Go back to the three-value system from the shading section and make sure every face’s value actually makes sense relative to a single, consistent light direction. Our sketching techniques for beginners guide covers light-source consistency as a foundational skill if this concept feels new.
Run this three-point check against your construction lines before adding final detail. In my experience, proportion and perspective errors are invisible to catch after the fact but obvious once you know specifically where to look — which is exactly why building the check into the process from step one saves far more time than fixing it at the end.
Final thoughts
A convincing pyramid drawing comes down to proportion and perspective more than anything else — get the roughly 51.8-degree face angle right, construct genuine two-point perspective instead of a flat triangle, and commit to a consistent light source before shading. Whether you’re drawing a smooth-faced Egyptian form, a stepped Djoser-style structure, or a modern glass pyramid like the Louvre, the same underlying construction logic carries through; only the material rendering changes.
If this clicked for you, the same perspective and proportion principles apply directly to any other geometric architectural form worth sketching next — our mountains drawing guide is a natural follow-up for practicing depth and form with a completely different subject.
More pyramid drawing reference images
FAQ
Q: How do you draw a simple pyramid?
A: Start with two vanishing points on a horizon line, construct a foreshortened square base using perspective lines to both points, then find the base’s center and draw a vertical line up to your apex point — roughly 60% of the base width in height for Giza-accurate proportions. Connect the apex to all four base corners to complete the form.
Q: How do you draw a 3D pyramid?
A: Use two-point perspective rather than a flat triangle: place two vanishing points on a horizon line, construct the base so its edges recede toward both points, then add height and connect the apex to the base corners. This creates genuine three-dimensional depth instead of a flat geometric shape.
Q: What’s the real angle of the Great Pyramid’s faces?
A: The Great Pyramid of Giza’s faces rise at approximately 51.8 degrees from the base. This translates to a height-to-base ratio of roughly 60%, which is the proportion shortcut worth using when constructing any Giza-style pyramid drawing.
Q: How do you draw a pyramid in two-point perspective?
A: Place two vanishing points on a horizon line, spaced fairly wide apart, then draw all base edges so they recede toward one point or the other. The apex connects to all four base corners with straight edge lines that also respect the same perspective logic as the base.
Q: What’s the difference between a pyramid and a stepped pyramid?
A: A true pyramid (like Giza) has four continuous flat triangular faces meeting at a single apex. A stepped pyramid (like Djoser at Saqqara) is built from stacked, progressively smaller rectangular platforms, creating a tiered silhouette rather than smooth triangular sides — a genuinely different construction method, not just a style variation.
Q: How do you shade a pyramid to make it look realistic?
A: Commit to one light source direction first, then render each visible face in a distinct value — light, mid-tone, and shadow — based on its angle relative to that light. Keep edges between faces crisp rather than blended, since a pyramid’s flat planes meet at hard edges, not soft transitions.
Q: Can beginners draw a pyramid in perspective?
A: Yes, as long as the vanishing points and base construction come before anything else. Most beginner attempts fail not from lack of skill but from skipping straight to the triangle outline without establishing genuine perspective first — get the vanishing points and base right, and the rest follows more easily than expected.
- 117shares
- Facebook0
- Pinterest117
- Twitter0
- Reddit0