Drawing fall leaves is a simple and fun way to capture the beauty of autumn. Anyone can learn to draw fall leaves by using easy shapes and adding small details like veins and edges. Whether you want simple leaves or more realistic ones, it just takes a few clear steps to create a great leaf drawing.
Many types of leaves, like oak, maple, and simple curved leaves, have their own shape that you can practice. With basic supplies like pencils and erasers, you can start by sketching these shapes and slowly add texture and color. This makes the process easy and enjoyable for all skill levels.
Fall leaves come in many colors and styles, which makes drawing them exciting and creative. By following step-by-step instructions, anyone can bring those autumn vibes to life on paper and even use colors to make their leaves stand out.
Key Takeaways
- Using simple shapes helps create different types of fall leaves.
- Basic tools like pencils and erasers are enough to start drawing.
- Adding veins and color enhances the look of the leaves.
Materials Needed for Drawing Fall Leaves
Drawing fall leaves requires the right materials to bring out the colors and details. The choice of paper and basic tools affects how well the leaves look. Using the right colored pencils or markers helps capture autumn shades accurately. Adding optional supplies can create extra textures for a more realistic effect.
Best Paper and Tools
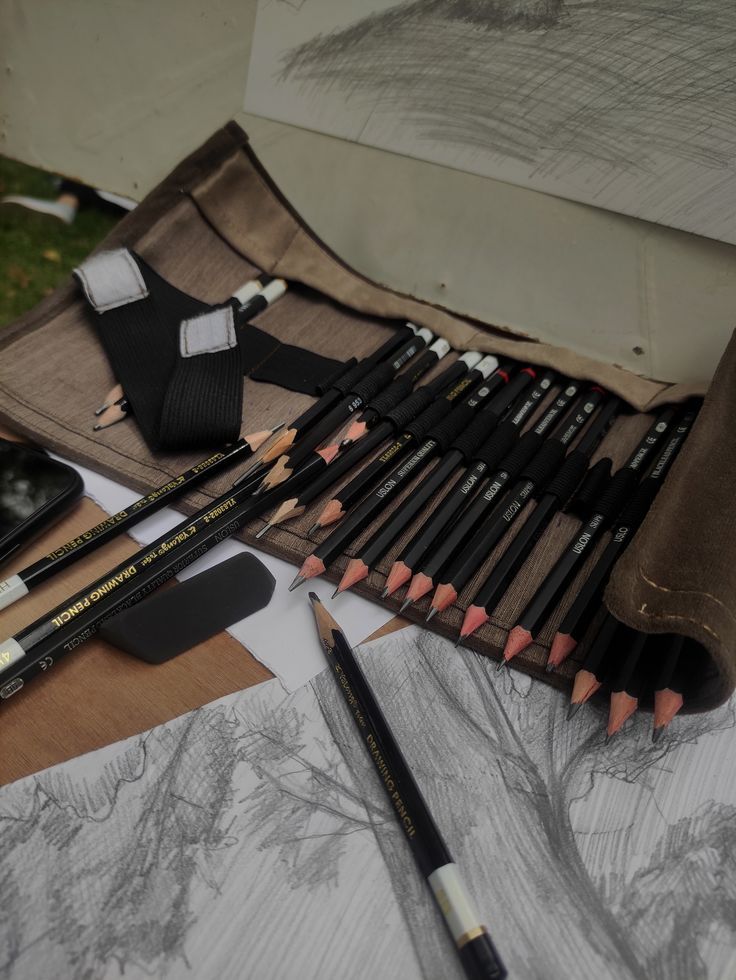
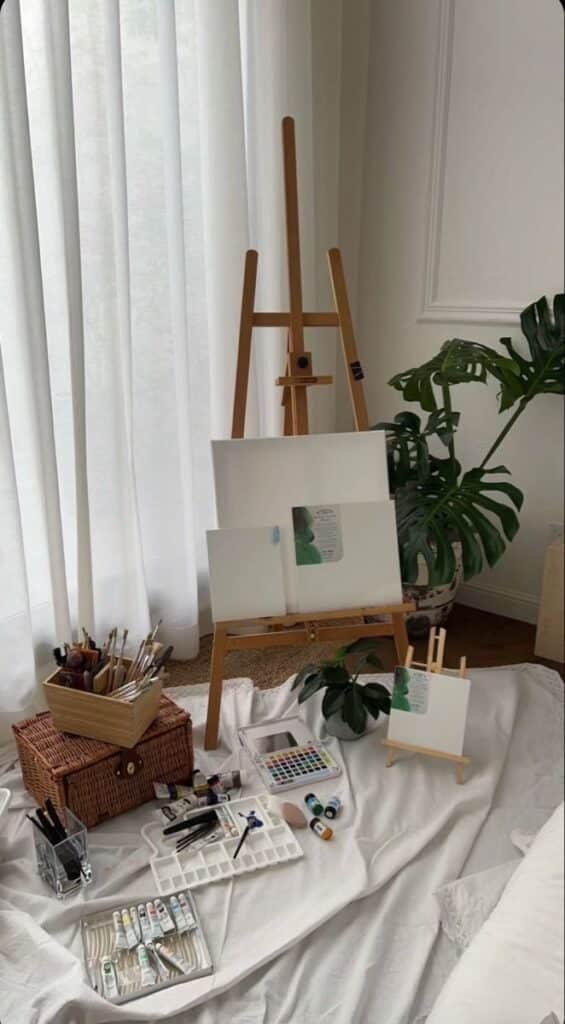
Using smooth but sturdy paper works best for leaf drawings. A medium-weight drawing paper, around 80-100 lb (120-150 gsm), is ideal because it holds color well without warping. A sketchbook or loose sheets of this paper are both good options.
For tools, a sharp pencil for sketching outlines is key. A 2B or HB pencil is a good choice because it draws clear lines without being too dark. An eraser is important to fix mistakes gently without tearing the paper. A pencil sharpener keeps the tip fine for detailed work.
Recommended Colored Pencils and Markers
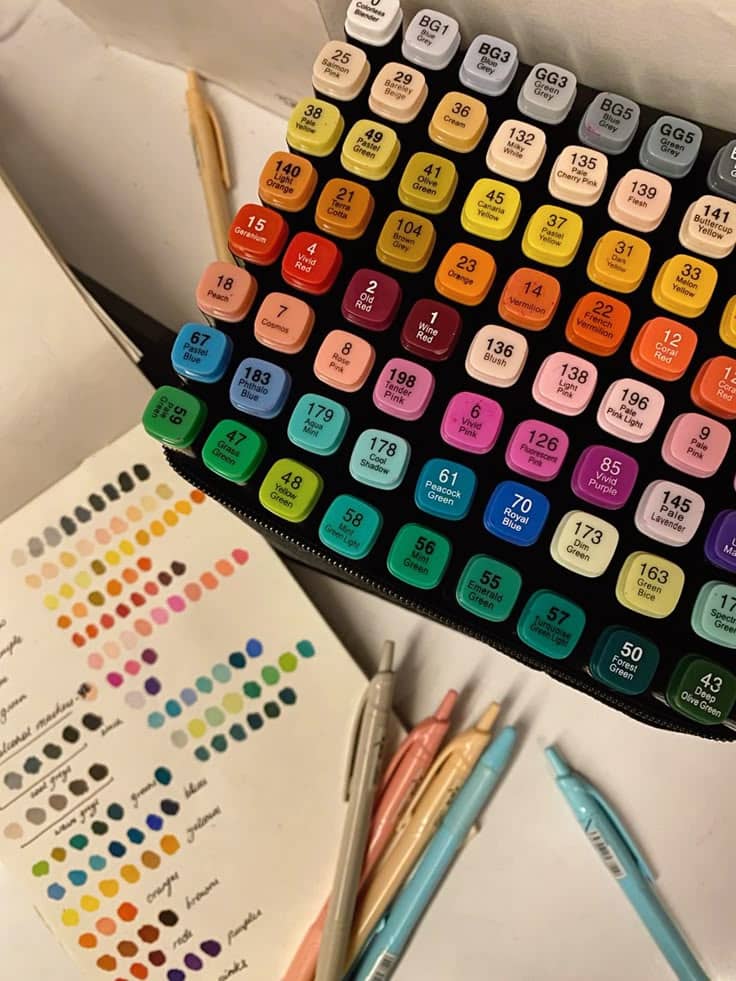
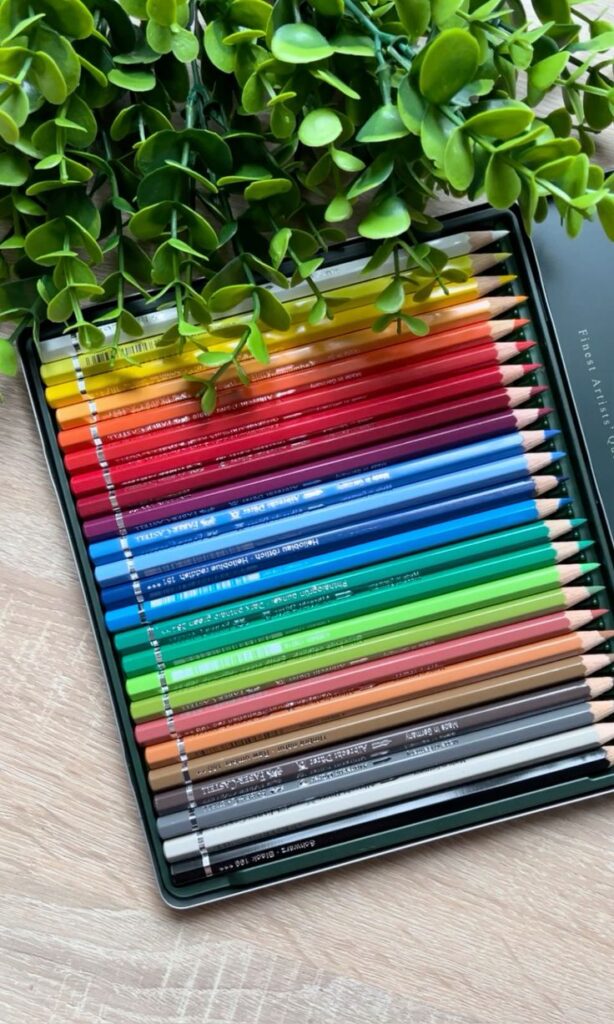
Colored pencils that blend colors smoothly work well for fall leaves. Brands that offer a wide range of reds, yellows, oranges, and browns allow for natural autumn shades. Soft or wax-based pencils are easier to layer and mix.
Markers with fine tips can enhance fall leaves with bold, vivid colors. Alcohol-based markers give smooth coverage and rich color but may bleed through thin paper. Using marker paper or layering markers over colored pencils can improve results.
A basic color set might include:
- Red shades (scarlet, crimson)
- Yellow (golden, mustard)
- Orange (burnt orange, amber)
- Brown (sepia, rust)
- Green (olive, dark green)
Optional Supplies for Texture
Adding texture to fall leaves can make drawings more interesting. Using a blending stump or tortillon helps smooth colored pencil layers for soft shading.
White gel pens or colored pencils can add highlights and details like veins. For rough or aged leaf surfaces, lightly scraping the paper with a craft knife can create bark-like texture.
Some artists use watercolor pencils or light washes of watercolors for extra depth. However, that needs thicker paper designed for wet media. Using these extras depends on the style and effect the artist wants to achieve.
Step-by-Step Guide to Drawing Fall Leaves
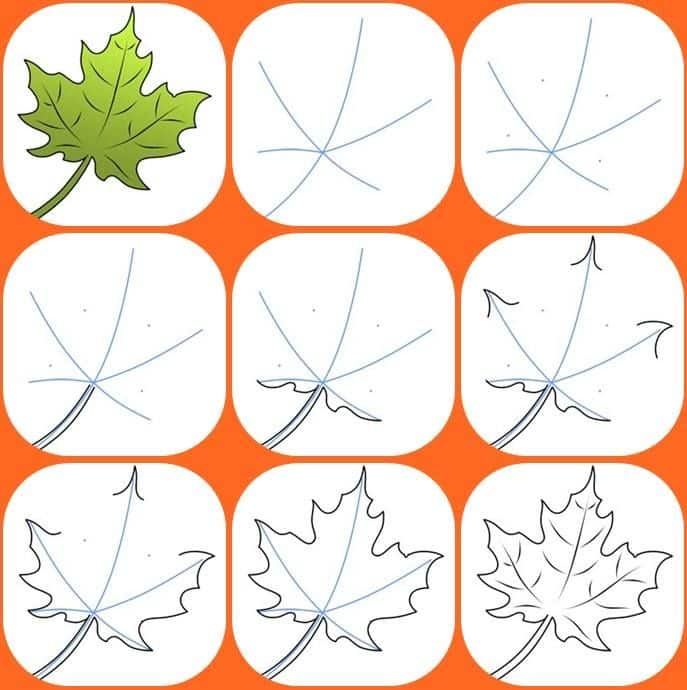
Drawing fall leaves starts with simple shapes and builds up with lines and texture. Paying attention to the veins and details makes the leaves look natural. Shading adds depth, and coloring brings out the rich, warm tones of autumn.
Sketching Basic Leaf Shapes
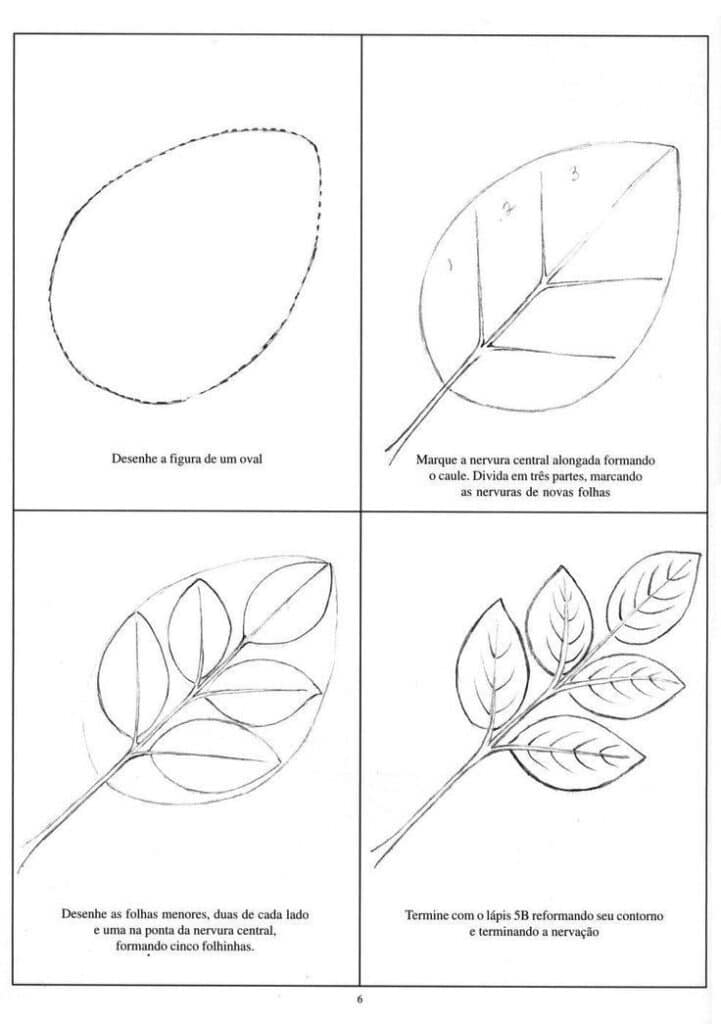
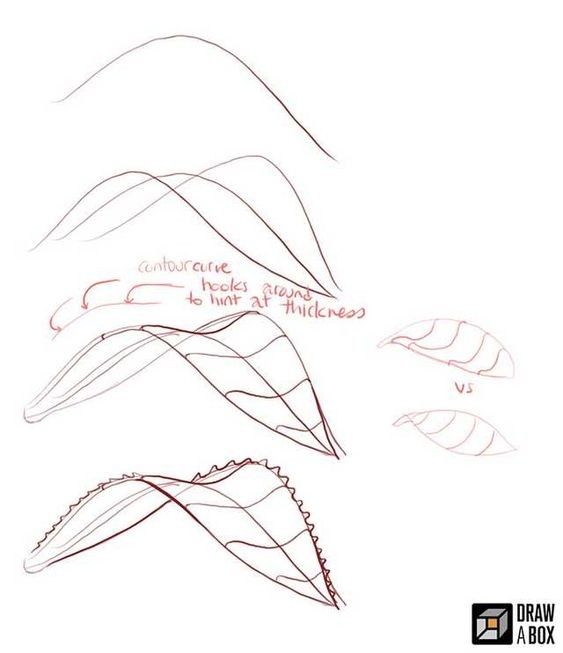
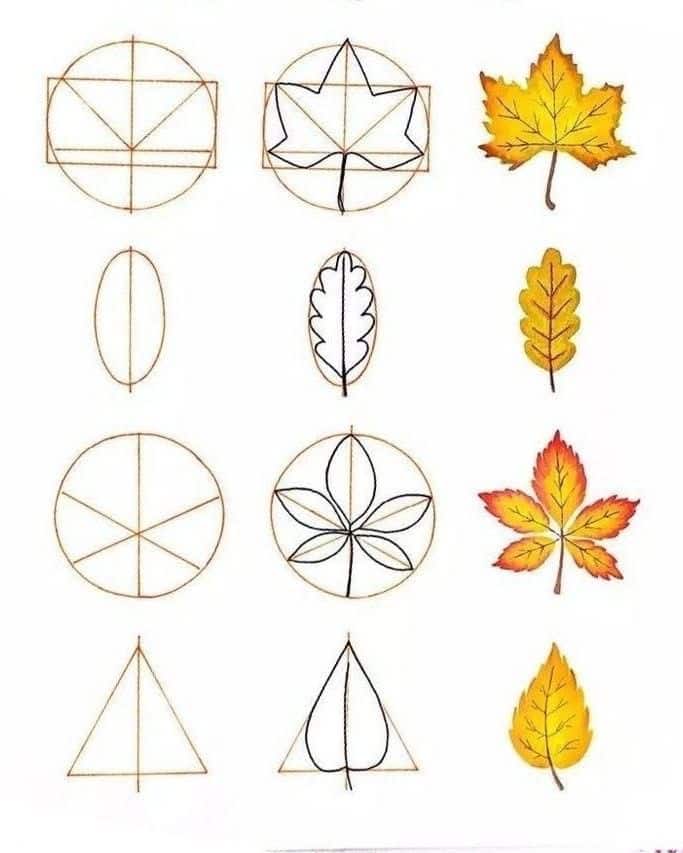
He or she begins by choosing the type of leaf to draw, such as maple or oak. Using light pencil strokes, they sketch the overall shape. Most fall leaves have a broad outline with pointed or rounded edges.
It helps to break the leaf into simple shapes like ovals, circles, or triangles first. Once the basic shape is laid out, the artist adjusts the outline by adding small bumps or smooth curves. This stage is about creating the structure without heavy detail.
Adding Veins and Details
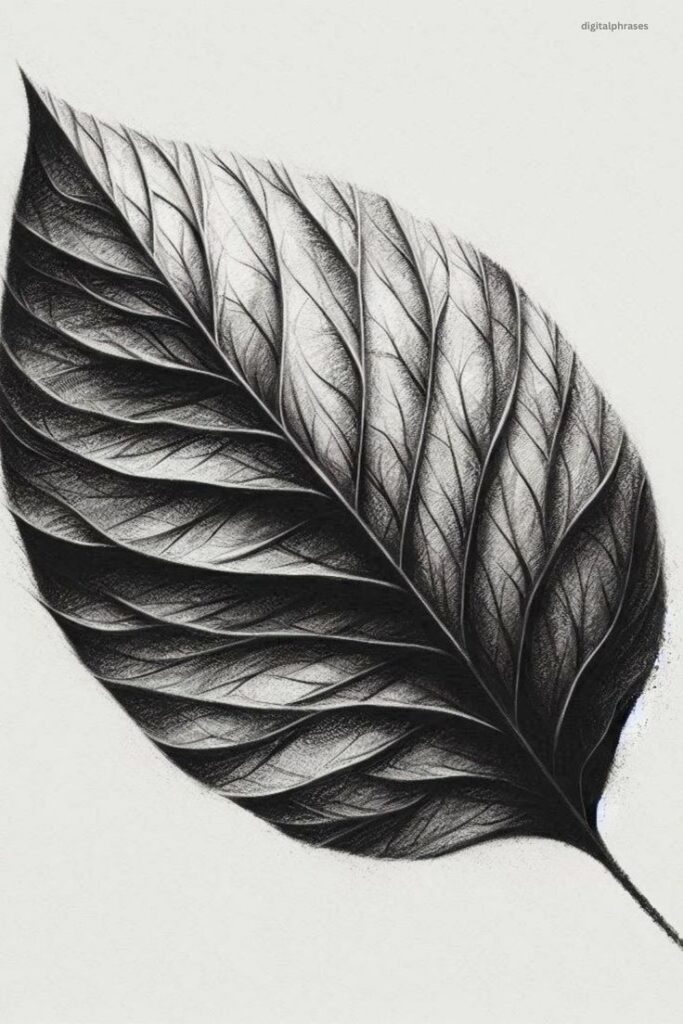
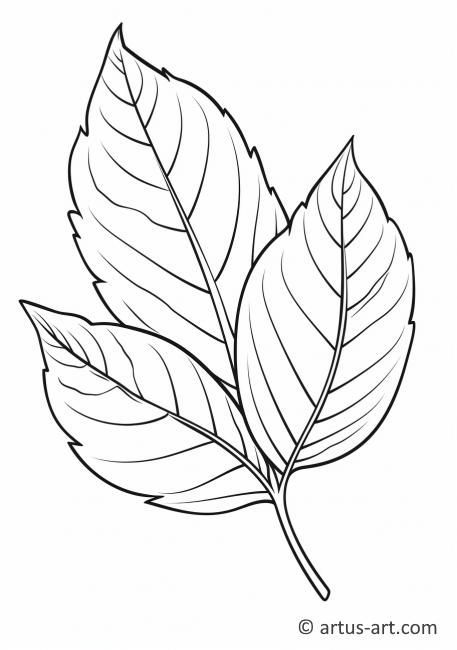
Next, they add veins starting from the center of the leaf, which is called the midrib. The main veins branch out from this line toward the edges. Smaller secondary veins fill in between the main veins.
Adding small irregularities, like tiny tears or spots on the leaf edge, makes the drawing more realistic. Light, fine lines show the texture without overpowering the leaf’s shape. This step gives the leaf its character.
Shading for Realism
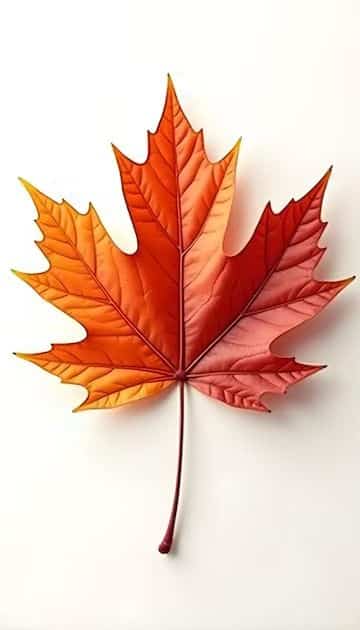

Shading brings the leaf to life by showing where light and shadow fall. He or she uses soft pencils or shading tools to darken the areas near the veins and under folds. Lighter parts show where the light hits the surface.
Shading should follow the natural curves of the leaf to create volume. Blending helps smooth transitions between light and shadow. This adds a 3D effect, making the leaf look less flat.
Coloring Techniques for Fall Hues
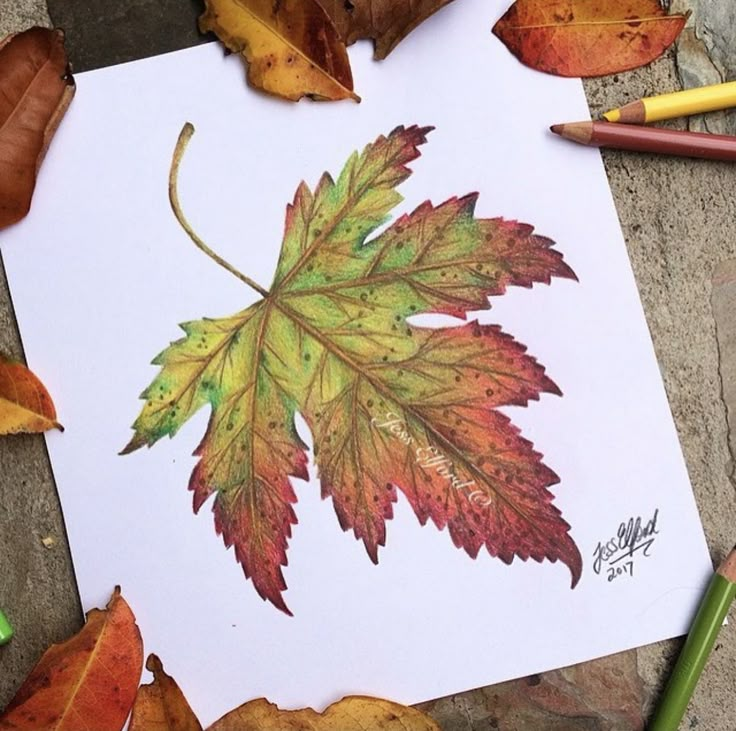
To capture autumn colors, they use warm tones like red, orange, yellow, and brown. Layering colors lightly builds a rich blend. Using colored pencils or markers, the artist starts with a base color and adds darker shades on the edges or veins.
Blending colors softly is key to mimicking real leaf color changes. Some artists add small spots of a contrasting color to show leaf aging. Bright highlights or white spaces give the leaf a fresh look.
Tips for Enhancing Your Fall Leaf Drawings
To make fall leaf drawings look more lifelike, attention to color, texture, and background is key. Using smooth color transitions, adding layers for depth, and placing leaves in a setting all help bring the artwork to life.
Blending Colors Smoothly
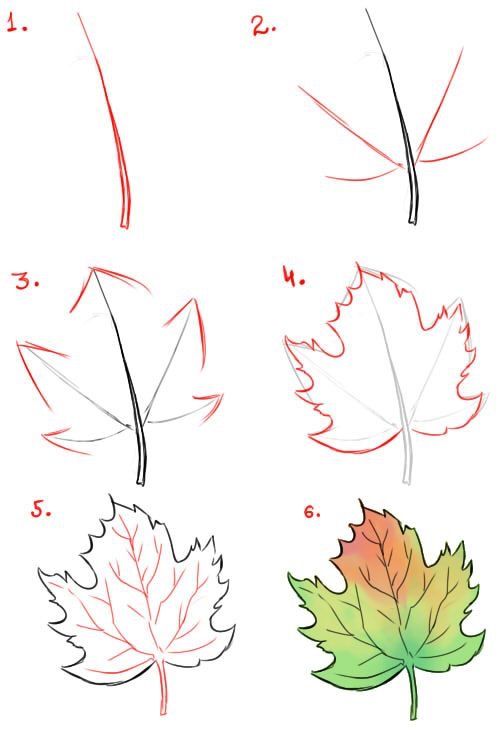
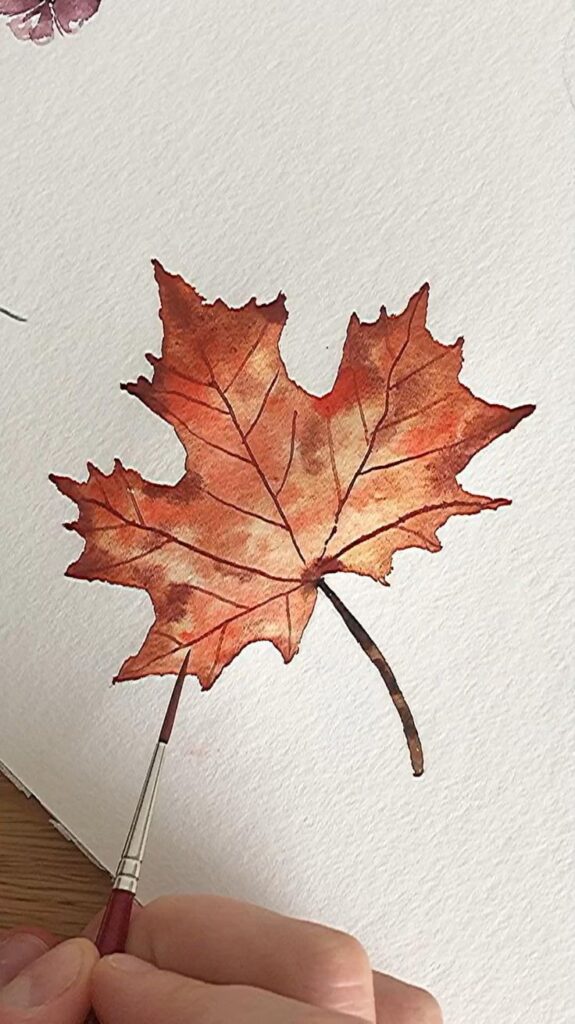
Smooth color blending helps show the natural color changes in fall leaves. Artists often use soft pencils, pastels, or colored pencils to gently mix colors where one shade fades into another.
To blend, start with light colors and build layers slowly. Use a blending tool like a stump or a soft cloth to smooth out harsh lines. This creates a softer, more realistic effect.
Colors like red, orange, yellow, and brown should overlap naturally. Small touches of green or dark brown add variety, showing parts of the leaf that are still changing or drying out.
Creating Depth with Layering
Layering adds depth to a drawing by building multiple levels of color and detail. Artists begin with a simple sketch, then add layers of shading, veins, and texture.
Each layer should be light at first, then gradually darker. This helps avoid muddy colors. Adding veins with a sharp pencil or thin pen gives the leaf an authentic look.
Different leaf edges and folds can be emphasized by changing the pressure on the pencil. Lighter pressure creates soft highlights, while heavier pressure adds shadows and dimension.
Incorporating Background Elements
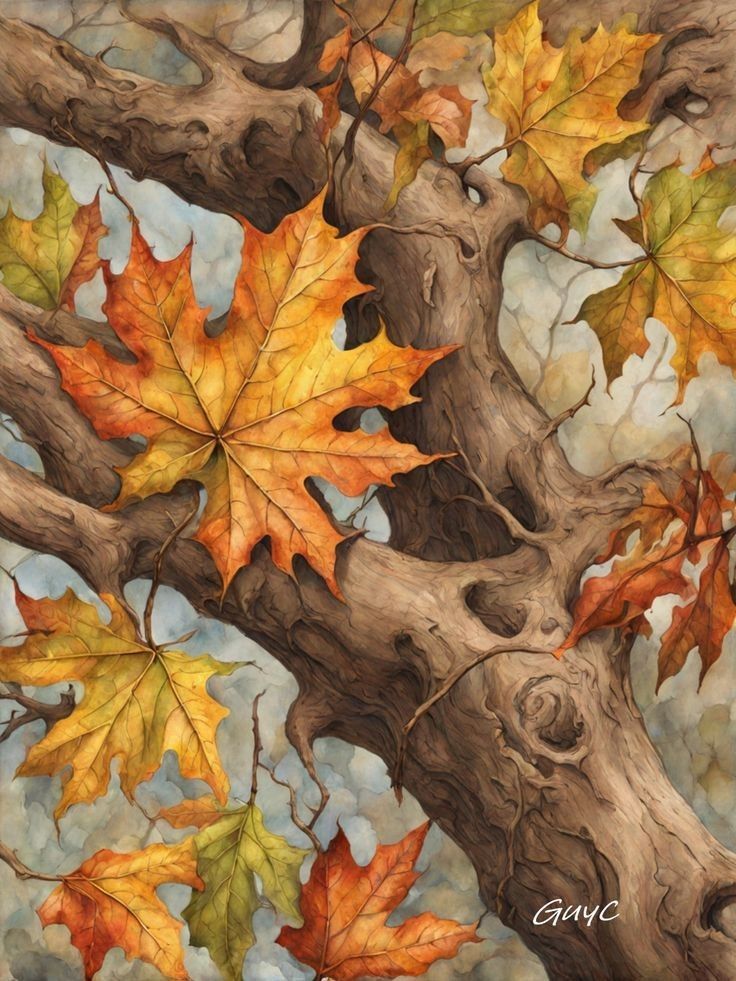
Adding background elements can make a fall leaf drawing more interesting and give it a setting. Simple shapes like branches, acorns, or scattered leaves work well without taking attention away from the main leaf.
Using soft, muted colors for the background helps the leaf stand out. Artists can use light washes or soft shading for a gentle backdrop.
Placing leaves at different angles or overlapping some helps create a natural, random fall scene. Keeping the background less detailed than the leaf keeps the focus clear.
- 298shares
- Facebook0
- Pinterest298
- Twitter0
- Reddit0

Is there a lower level than a beginner? I can’t draw so prettily 😍