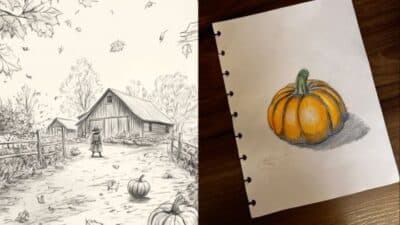
Making the jump from traditional paper drawing to digital art opens up a world of creative possibilities that many artists find both exciting and overwhelming. While your fundamental drawing skills remain the same, digital art introduces new tools, techniques, and workflows that can transform how you create. The key to successful transition lies in choosing the right hardware and software combination while gradually adapting your traditional techniques to digital workflows.
Digital drawing offers unique advantages that paper simply cannot match. You gain access to unlimited colors, layers for non-destructive editing, and the ability to undo mistakes instantly. Your workspace becomes infinitely customizable with brushes that can mimic watercolors, oils, pencils, or create entirely new textures impossible with traditional media.
The learning curve might feel steep initially, but your existing drawing fundamentals provide a solid foundation. Understanding pressure sensitivity, familiarizing yourself with digital brushes, and learning layer management will quickly bridge the gap between your paper experience and digital mastery. With the right approach, you can maintain the natural feel of traditional drawing while unlocking powerful digital capabilities.


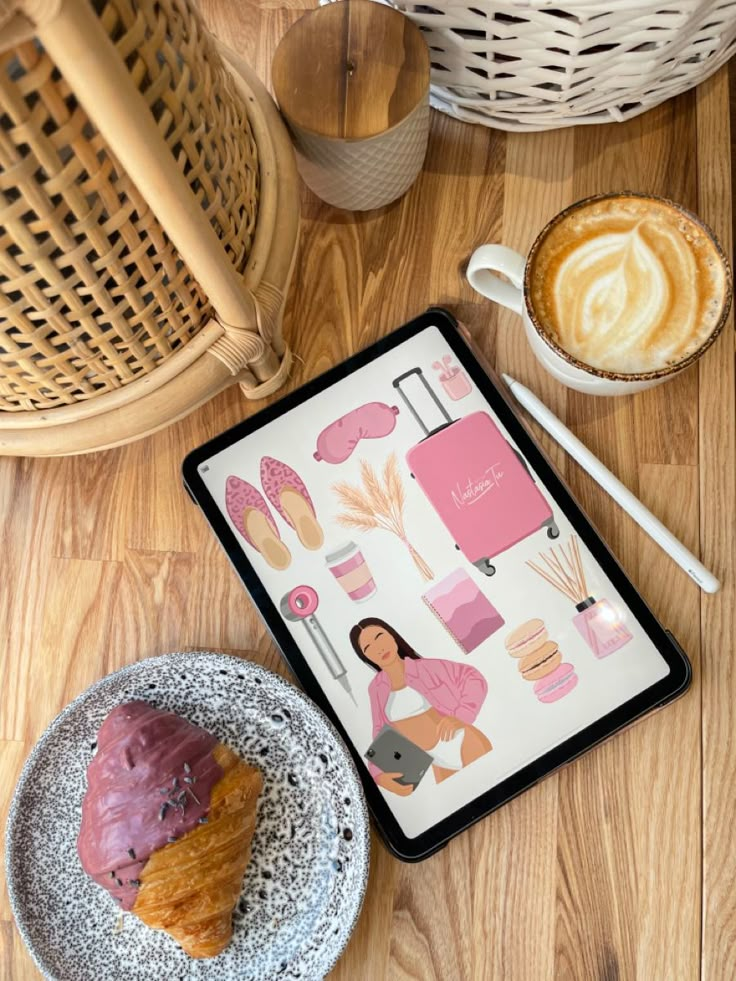
Key Takeaways
- Choose hardware and software that match your budget and drawing style preferences
- Your traditional drawing skills transfer directly, but digital tools require learning new technical workflows
- Practice with layers, pressure sensitivity, and digital brushes to develop fluency in the digital medium
Understanding the Transition from Paper to Digital
The shift from traditional drawing to digital art involves adapting familiar skills to new tools while learning to work with layers, digital brushes, and screen-based canvases. Success depends on recognizing what transfers directly from paper and developing strategies to overcome the unique challenges of digital illustration.
Similarities and Differences Between Traditional and Digital Drawing
Your fundamental drawing skills remain valuable when learning digital art. Composition, proportion, and color theory work the same way on screen as they do on paper.
Key Similarities:
- Basic drawing principles stay consistent
- Hand-eye coordination skills transfer directly
- Understanding of light, shadow, and form applies equally
The main differences center around tool behavior and workflow. Digital brushes respond to pressure differently than physical pencils or pens. You can adjust opacity, blend modes, and brush settings with precision impossible in traditional media.
Notable Differences:
- Layers allow non-destructive editing and experimentation
- Undo function removes fear of making mistakes
- Zoom capabilities enable detail work at any scale
- Color mixing happens through digital tools rather than physical pigments
Screen texture feels different from paper. Your stylus glides smoothly across glass or plastic surfaces without the familiar resistance of textured paper.
Overcoming Common Challenges When Shifting to Digital
Hand-eye coordination presents the biggest initial hurdle in digital illustration. Looking at your screen while drawing on a tablet below creates disconnect between your hand movement and visual feedback.
Start with simple exercises. Draw basic shapes and lines repeatedly until the screen-tablet relationship feels natural. This builds muscle memory specific to digital tools.
Common Technical Challenges:
- Pressure sensitivity requires calibration and practice
- Lag time between stylus movement and screen response
- Accidental palm touches on the tablet surface
- Menu navigation interrupts drawing flow
Enable palm rejection settings on your device. Learn keyboard shortcuts for frequently used tools to minimize menu clicking. Practice with pressure sensitivity settings until they match your natural drawing style.
Many artists initially try to replicate traditional techniques exactly. Instead, embrace digital-specific features like layers and blend modes. These tools offer creative possibilities unavailable in traditional media.
Building Confidence With New Tools
Begin with familiar subjects and simple compositions. Draw objects you’ve sketched many times on paper to focus on tool mastery rather than creative decisions.
Experiment with different brush types systematically. Start with basic round brushes that mimic pencils or pens. Gradually explore textured brushes, watercolor effects, and specialty tools as your comfort level increases.
Confidence-Building Steps:
- Master basic brush controls – opacity, size, hardness
- Practice layer management – organizing, naming, grouping
- Learn essential shortcuts – undo, zoom, rotate canvas
- Create simple studies – value sketches, color swatches
Set realistic expectations for your learning curve. Most artists need several weeks of regular practice before digital tools feel natural. Your traditional drawing skills will accelerate this process significantly.
Create a personal reference sheet with your preferred settings. Document brush configurations, layer blend modes, and color palettes that work well for your style. This eliminates repetitive setup time and maintains consistency across projects.


Choosing Your Digital Drawing Tools
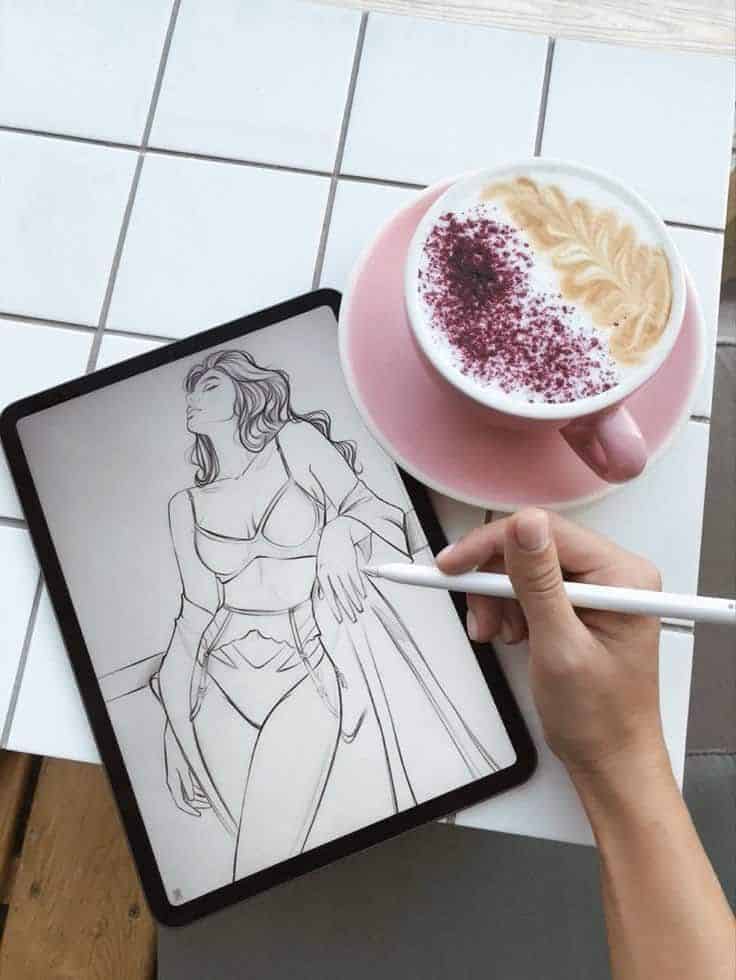
The right hardware forms the foundation of your digital art journey, with three main components requiring careful consideration: your drawing device, stylus, and display setup. Each piece works together to replicate the natural feel of traditional drawing while offering digital advantages.
Selecting the Right Drawing Tablet or Device
Pen tablets offer the most affordable entry point into digital art. The Wacom Intuos provides excellent pressure sensitivity and durability for beginners. You draw on the tablet surface while watching your screen, which takes practice to master.
Display tablets let you draw directly on the screen. The Wacom Cintiq series delivers professional-quality results but comes with a higher price tag. These devices eliminate the hand-eye coordination challenge of traditional graphics tablets.
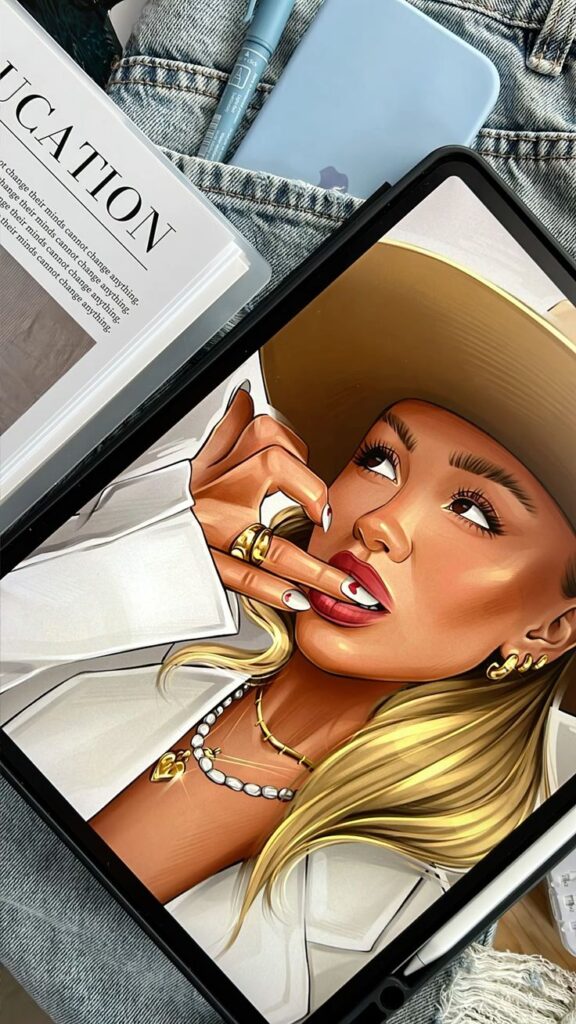
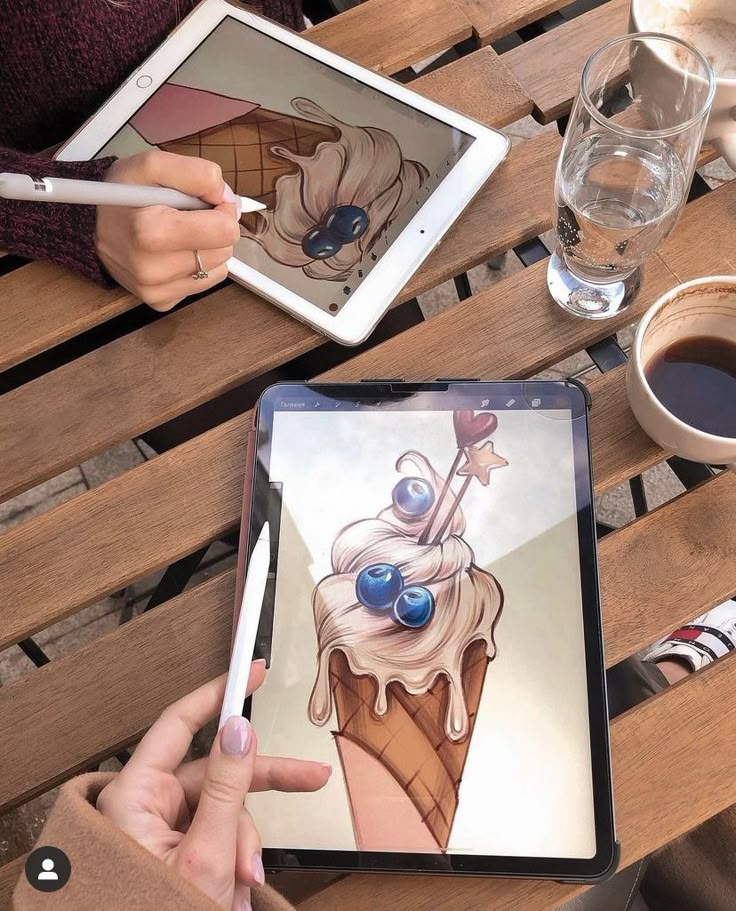
The iPad Pro with Apple Pencil has become increasingly popular among artists. It combines portability with powerful drawing apps like Procreate. The iPad offers a complete mobile studio solution.
Android tablets with stylus support provide budget-friendly alternatives. Look for devices with active stylus technology and pressure sensitivity levels above 2048.
Consider your workspace and mobility needs. Drawing tablets require a computer connection, while iPads work independently.
Essential Stylus Features and Types
Pressure sensitivity determines how your stylus responds to drawing pressure. Look for styluses offering 4096 pressure levels or higher for smooth line variation. This feature mimics traditional pencil behavior.
The Apple Pencil works exclusively with iPads and offers exceptional palm rejection. It charges magnetically and provides tilt sensitivity for shading effects.
Wacom styluses don’t require charging and offer customizable buttons. The Pro Pen 2 includes an eraser end and excellent accuracy across Wacom devices.
Active styluses for Android tablets vary in quality. Samsung’s S Pen delivers reliable performance on Galaxy tablets with built-in pressure sensitivity.
Passive styluses work on any touchscreen but lack pressure sensitivity. These basic tools suit simple sketching but limit artistic expression.
Battery life matters for rechargeable styluses. Check charging methods and consider backup options for extended drawing sessions.
Monitors and Display Tablets for Artists
Color accuracy is crucial for digital art. Look for monitors covering at least 99% sRGB color space. IPS panels provide better color consistency than TN displays.
Screen size affects your drawing experience. 13-inch display tablets work well for detailed illustration, while 22-inch models suit concept art and larger compositions.
Resolution impacts detail visibility. 1920×1080 serves as the minimum standard, but 2560×1440 or 4K displays offer sharper line definition.
Anti-glare coatings reduce reflections but may affect color vibrancy. Glossy screens show colors more accurately but can cause eye strain under bright lighting.
The Wacom Cintiq remains the professional standard for display tablets. Models range from 13 to 32 inches with various feature sets.
Pen displays from XP-Pen and Huion offer budget alternatives to Wacom products. These options provide similar functionality at lower prices but may have different driver software.
Consider your desk space and ergonomic needs. Adjustable stands help maintain comfortable drawing positions during long sessions.


Exploring Digital Drawing Software and Apps
The right drawing software can make your transition from paper to digital much smoother. Beginner-friendly apps like Procreate offer intuitive interfaces, while professional tools like Adobe Photoshop provide advanced features for complex artwork.
Top Drawing Applications for Beginners
Procreate stands out as the most beginner-friendly option for iPad users. Its simple interface mimics traditional drawing tools while offering digital advantages like unlimited layers and easy mistake correction.
Krita provides an excellent free alternative for desktop users. You’ll find brush engines that feel natural and customizable workspaces that adapt to your workflow.
Clip Studio Paint bridges the gap between beginner and professional use. It offers comic creation tools and animation features that grow with your skills. The software includes thousands of brushes and materials.
Adobe Photoshop remains the industry standard for digital art. While it has a steeper learning curve, its comprehensive toolset handles everything from simple sketches to complex illustrations.
Comparing Popular Software and Platforms
| Software | Platform | Price | Best For |
|---|---|---|---|
| Procreate | iPad only | $12.99 | Beginners, sketching |
| Krita | Desktop | Free | Digital painting |
| Clip Studio Paint Pro | Desktop/Mobile | $50 | Comics, animation |
| Adobe Photoshop | Desktop/Mobile | $22.99/month | Professional work |
| Affinity Designer | Desktop/Mobile | $69.99 | Vector illustration |
Procreate excels in portability and ease of use. You can draw anywhere with your iPad and Apple Pencil.
Clip Studio Paint Pro offers the most drawing-specific features. Its brush engine and comic tools surpass most competitors.
Adobe Photoshop provides unmatched versatility but requires more learning time. It handles both raster and basic vector work.
Budget-Friendly and Free Tools
Krita delivers professional-quality features without any cost. It supports custom brushes, advanced layer management, and animation tools.
GIMP offers basic drawing capabilities alongside photo editing tools. While primarily designed for photo manipulation, it handles simple illustration tasks.
Affinity Designer provides a one-time purchase alternative to subscription-based software. At $69.99, it focuses on vector illustration with clean, professional results.
Corel Painter often goes on sale for under $200. It specializes in natural media simulation, making digital brushes feel like real paint and pencils.
Many drawing apps offer free trials. Test Adobe Photoshop, Clip Studio Paint, and Corel Painter before committing to purchases.


Key Digital Drawing Techniques for Beginners
Digital drawing introduces three fundamental concepts that transform how you create art: layers for organizing elements, brushes with pressure sensitivity for natural strokes, and powerful editing tools that let you experiment freely.
Getting Comfortable With Layers and Brushes
Layers function like transparent sheets stacked on top of each other. You can draw different elements on separate layers without affecting others.
Start with a rough sketch on your bottom layer. Create a new layer above it for your line art. Add another layer for colors underneath your lines.
Basic layer workflow:
- Background layer (always at bottom)
- Color/painting layer
- Line art layer
- Detail/highlight layer (on top)
Digital brushes simulate traditional tools but offer more control. Most software includes basic brushes like pencil, pen, and paintbrush.
Experiment with brush opacity to create lighter strokes. Lower opacity lets previous strokes show through. Brush size affects line thickness and coverage area.
Try different brush textures for varied effects. Textured brushes add grain similar to charcoal or pastels.
Mastering Pen Pressure Sensitivity
Pen pressure sensitivity detects how hard you press your stylus against the tablet. Light pressure creates thin, faint lines while heavy pressure produces thick, bold strokes.
Most tablets recognize 2,048 to 8,192 pressure levels. This range gives you precise control over line weight and opacity.
Practice pressure control with these exercises:
- Draw lines from light to heavy pressure
- Create gradual transitions between thick and thin
- Sketch circles with varying line weights
Adjust pressure sensitivity in your software settings. If lines appear too sensitive, decrease the pressure curve. If you need to press too hard, increase sensitivity.
Digital painting relies heavily on pressure sensitivity for brush strokes. Light pressure builds up color gradually while heavy pressure applies full opacity immediately.
Undo, Redo, and Other Digital Advantages
The undo function (Ctrl+Z or Cmd+Z) removes your last action instantly. Most programs store 20-100 undo steps, letting you backtrack through multiple changes.
Redo (Ctrl+Y or Cmd+Y) brings back undone actions. Use this when you undo too many steps accidentally.
Transform tools let you resize, rotate, and move elements after drawing them. Select your artwork and drag corner handles to resize proportionally.
Copy and paste duplicate elements quickly. Draw one leaf, then copy it multiple times for a full tree.
The eyedropper tool samples colors from existing artwork. Click any pixel to match that exact color for consistent palettes.
Zoom lets you work on fine details up close, then zoom out to see the full composition. Most software supports infinite zoom levels.
Developing Essential Art Fundamentals Digitally
Digital platforms offer unique advantages for mastering core artistic principles through specialized tools, layers, and instant adjustments. You can practice shape construction with vector tools, explore perspective using digital grids, and experiment with color relationships through non-destructive editing methods.
Shape, Line, and Composition Exercises
Basic Shape Construction Start with simple geometric forms using your software’s shape tools. Create circles, squares, and triangles, then combine them to build complex objects like houses or characters.
Practice line confidence by drawing continuous strokes without lifting your stylus. Use pressure sensitivity to vary line weight naturally.
Composition Fundamentals Apply the rule of thirds by enabling grid overlays in your digital canvas. Position focal points along intersection lines for stronger visual impact.
Experiment with these composition techniques:
- Leading lines – Use brush tools to create paths that guide the viewer’s eye
- Framing – Build natural frames within your artwork using shapes or shadows
- Balance – Distribute visual weight evenly across your canvas
Layer different elements separately to test various arrangements quickly. This allows you to move components without redrawing entire sections.
Digital Perspective and Structure
One-Point Perspective Practice Create a vanishing point on your canvas and use digital rulers or perspective guides. Draw boxes, buildings, and corridors that converge toward this single point.
Most software includes perspective grid tools that automatically align your strokes to correct angles. These guides help maintain accuracy while you develop your spatial understanding.
Two-Point and Three-Point Systems Place two vanishing points on opposite sides of your canvas for more dynamic scenes. Practice drawing buildings, furniture, and vehicles using these reference points.
Digital Advantages for Perspective Transform tools let you adjust perspective after drawing. Select objects and use perspective warp to correct proportional errors instantly.
Layer your construction lines separately from your final artwork. Hide these guides when finished but keep them for reference during the drawing process.
Foundations of Color Theory in Digital Art
Digital Color Wheels and Harmony Use your software’s color picker to explore complementary, analogous, and triadic color schemes. Most programs display these relationships automatically when you select base colors.
Create swatches for each color scheme and save them as custom palettes. This builds a library of harmonious combinations for future projects.
Value and Saturation Control Practice grayscale studies first to understand light and shadow relationships. Convert your colored artwork to grayscale to check if your values read correctly.
| Color Property | Digital Tool | Practice Method |
|---|---|---|
| Hue | Color wheel picker | Create monochromatic studies |
| Value | Brightness slider | Work in grayscale mode |
| Saturation | Saturation slider | Compare muted vs vibrant versions |
Color Temperature Effects Warm colors (reds, oranges, yellows) advance visually while cool colors (blues, greens, purples) recede. Use this principle to create depth in your digital compositions.
Layer warm highlights over cool shadows to enhance three-dimensional form. Adjust color temperature using digital tools rather than mixing physical pigments.
Learning Resources and Practice for Continued Growth
Digital art mastery requires consistent practice with the right learning materials and community support. Success comes from structured online education, daily drawing routines, and connecting with fellow digital artists who share techniques and feedback.
Online Courses and Tutorials
Structured learning platforms offer comprehensive digital art education for paper artists transitioning to digital formats. Skillshare provides beginner-friendly courses covering digital drawing fundamentals and software-specific techniques.
YouTube tutorials give you free access to expert instruction. Search for courses covering your chosen software like Photoshop, Procreate, or Krita. Many professional digital artists share step-by-step processes.
Software-specific training helps you master tool functionality. Adobe offers official Photoshop tutorials that cover layer management and digital painting techniques. Procreate’s learning hub provides iPad-specific drawing guidance.
| Platform Type | Best For | Cost Range |
|---|---|---|
| Skillshare | Comprehensive courses | $99-168/year |
| YouTube | Free tutorials | Free |
| Official software sites | Tool mastery | Free-$30/month |
Practice-focused courses teach fundamental skills like line control, shading, and color theory adapted for digital mediums. Look for courses that include downloadable practice files and assignments.
Building a Daily Drawing Habit
Start with 15-minute sessions to establish consistency without overwhelming yourself. Focus on basic exercises like line practice, simple shapes, or quick gesture drawings using your digital tools.
Digital warm-up exercises prepare your hand for screen drawing. Practice drawing straight lines, circles, and curves to build muscle memory different from paper drawing. Use pressure sensitivity exercises to understand your stylus response.
Sketch paper ideas digitally by recreating your traditional drawings on screen. This bridges your paper experience with digital techniques while building software familiarity.
Track your progress using digital portfolios or progress journals. Many apps allow you to save time-lapse videos of your drawing process for later review and improvement identification.
Set specific goals like mastering one new digital technique weekly. Focus on areas like brush control, layer usage, or color blending that differ significantly from traditional methods.
Connecting With the Digital Art Community
Join online art communities like DeviantArt, ArtStation, or Reddit’s digital art forums. These platforms provide feedback, inspiration, and technique sharing from experienced digital artists.
Participate in digital art challenges such as Inktober or daily drawing prompts adapted for digital mediums. These events encourage regular practice while connecting you with other learners.
Share your work regularly to receive constructive criticism and encouragement. Post your transition progress from paper to digital to inspire others making similar changes.
Follow digital artists whose styles interest you. Many professionals share tutorials, process videos, and tips specific to digital art creation on social media platforms.
Ask specific questions about digital techniques in community forums. Experienced artists often provide detailed answers about software features, stylus techniques, or workflow optimization that you won’t find in standard tutorials.
- 0shares
- Facebook0
- Pinterest0
- Twitter0
- Reddit0
