Drawing realistic hair can be tricky, but breaking it down into simple steps makes it easier to manage. Many artists struggle with capturing the flow, volume, and texture that give hair a natural look. The key is to focus on four main elements: volume, flow, value, and texture.
By understanding how light hits hair and practicing shading techniques, anyone can improve their skills. This process helps add depth and shine, making hair look lifelike instead of flat. With some patience and practice, drawing realistic hair becomes less intimidating and more rewarding.
Understanding Hair Anatomy
Drawing realistic hair starts with knowing what hair is made of and how it behaves. This helps artists create depth and texture that look natural. Key details include the hair’s layers, the way it grows, and the common problems artists face.
Types of Hair Structure
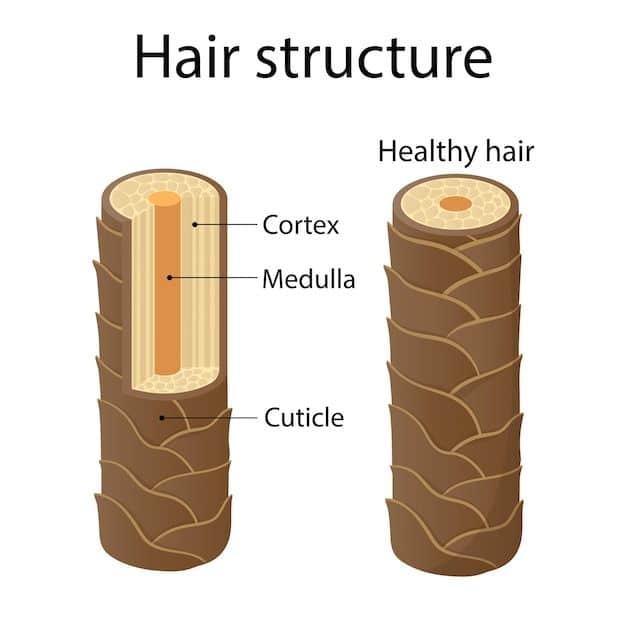
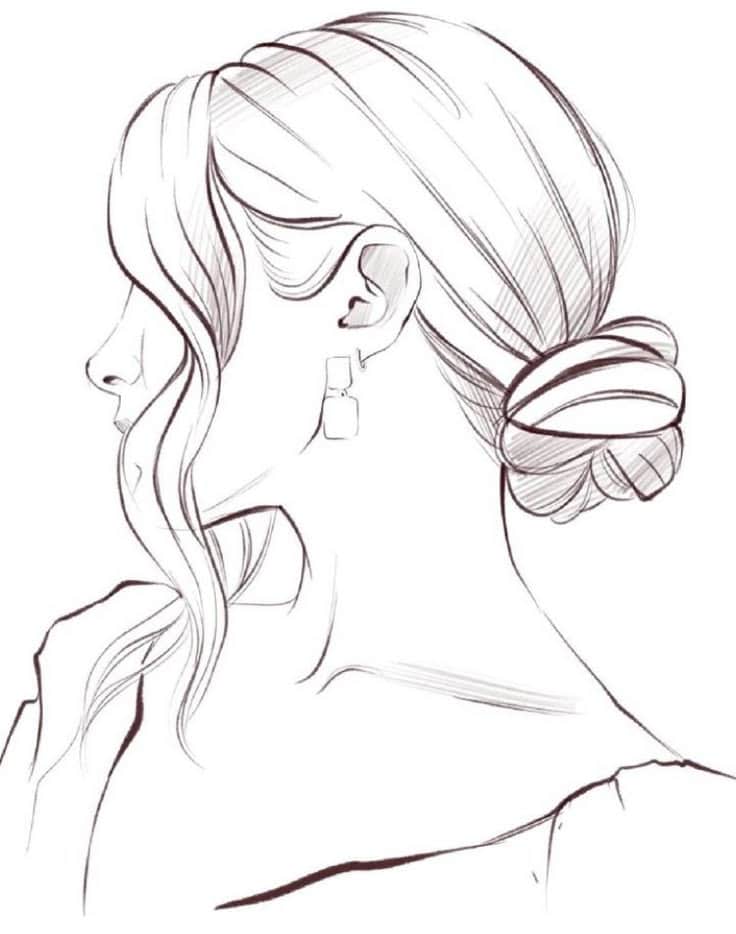
Hair has several layers that affect its look and feel. The outer layer, called the cuticle, protects the hair and gives it shine. It looks like tiny overlapping scales.
Underneath is the cortex, which gives hair strength and texture. This layer holds most of the hair’s color and thickness.
Some hair also has a medulla, a central core found in thicker strands. It is often missing in finer hair types. Understanding these layers helps artists decide how to add light and shadow.
Natural Flow and Growth Patterns
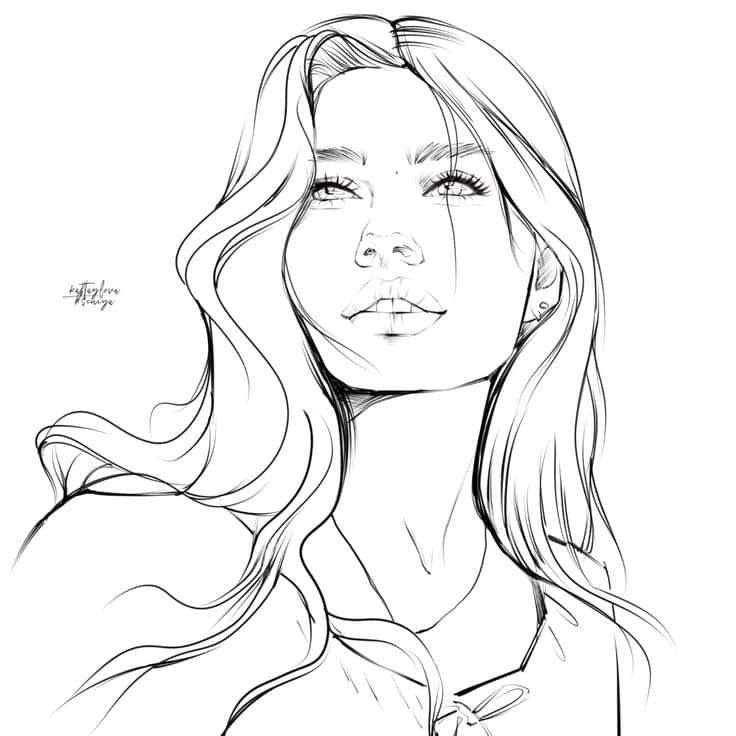
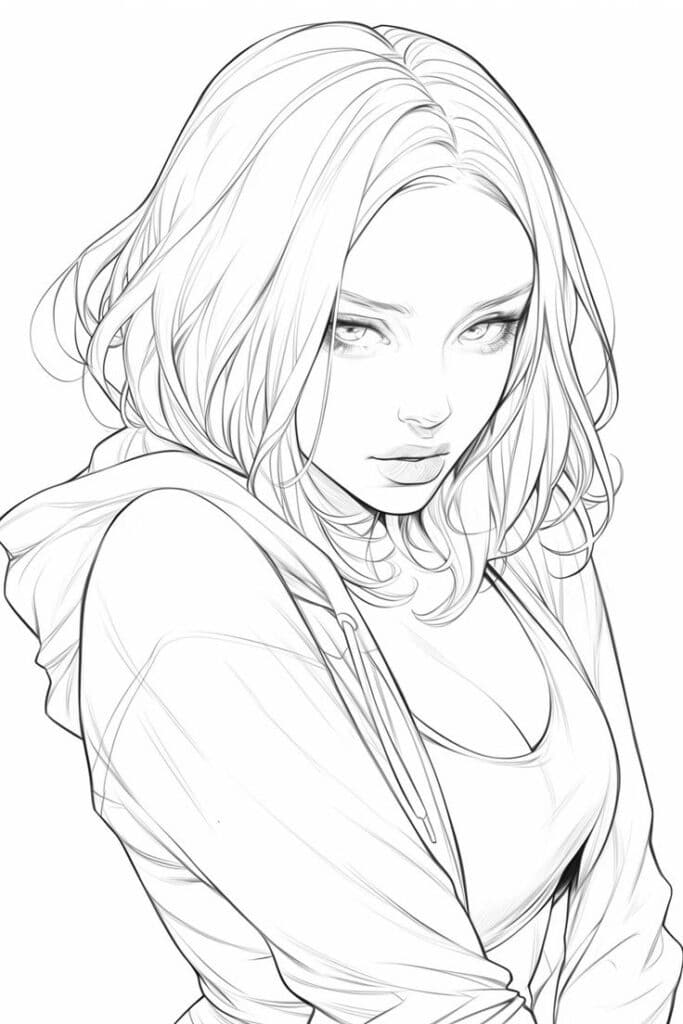
Hair grows in specific directions and forms patterns. It groups into locks or clumps that flow naturally from the scalp.
Common patterns include parts, cowlicks (small whorls where hair changes direction), and waves. Light hits hair in different ways depending on its shape and flow.
Studying these patterns helps artists draw hair that looks soft and believable. Ignoring them can make hair look stiff or flat.
Common Challenges in Hair Drawing
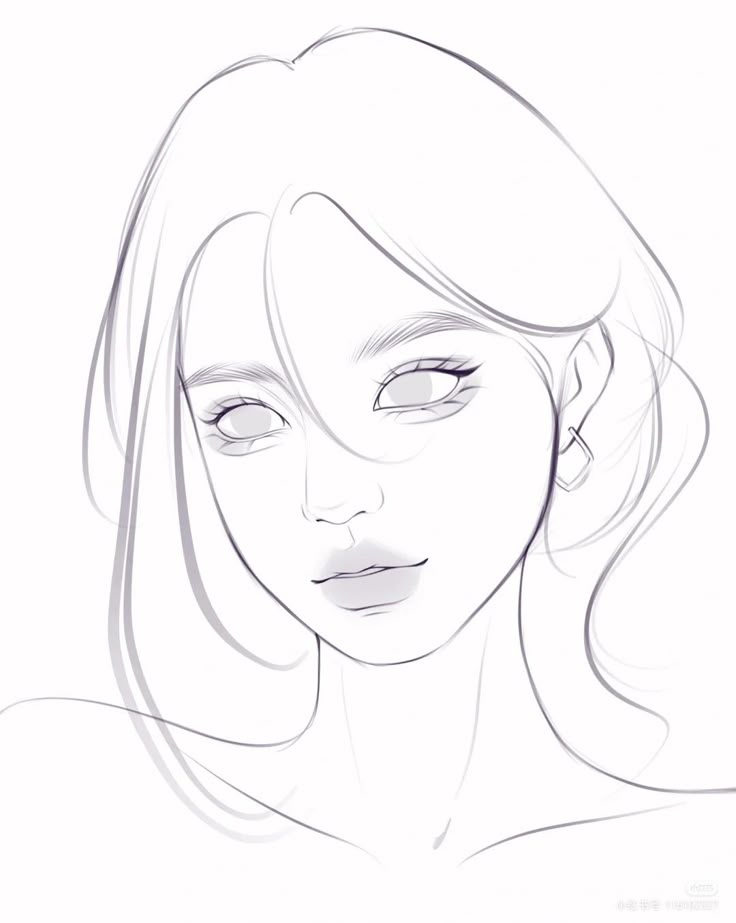

Many artists struggle with drawing realistic hair because it’s made of many fine strands that move in different directions.
A major challenge is avoiding drawing every single hair. Instead, artists use groups of strands and focus on overall shape, flow, and volume.
Another problem is showing light and shadow correctly. Hair reflects light in thin lines, so shading needs to be delicate to avoid a blocky look.
Learning these challenges helps improve the final drawing’s realism.
Essential Tools and Materials
Drawing realistic hair requires careful selection of pencils, papers, blending tools, and erasers. Each tool affects the texture, depth, and details of the hair, so using the right materials is key to creating natural and believable strands.
Choosing the Right Pencils and Papers
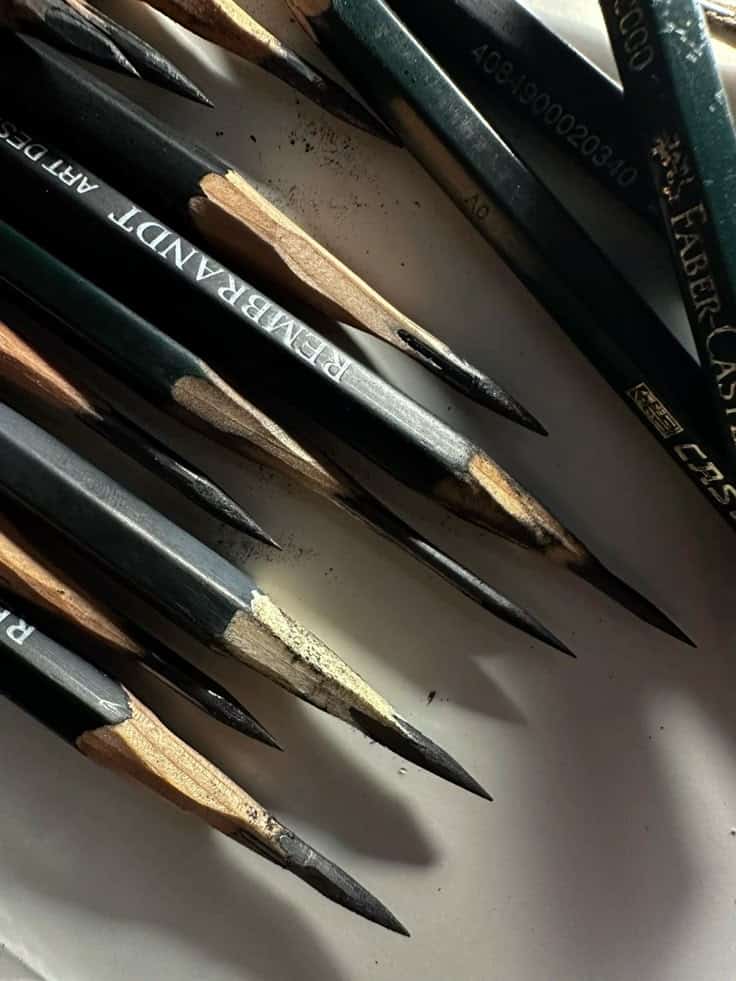
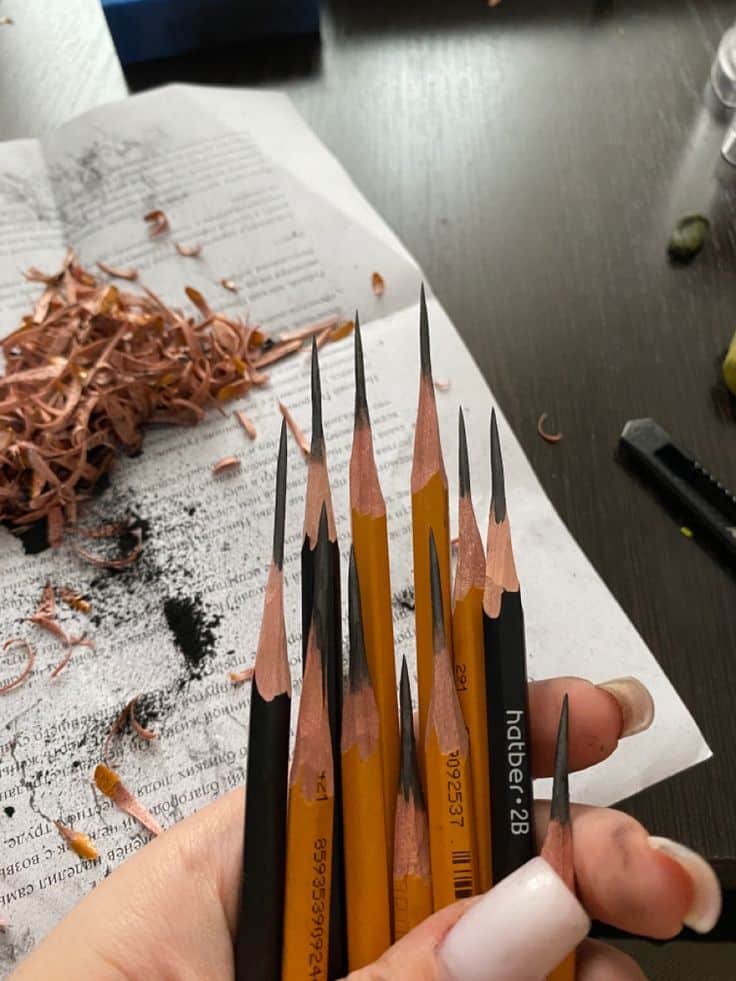
The choice of pencils is critical. Artists often use a range of graphite pencils from hard (H) to soft (B). Hard pencils (like 2H) are great for light, fine lines such as initial hair strands. Softer pencils (like 4B or 6B) help create darker shades and shadows, which add volume.
Paper texture also matters. Smooth papers work well for fine details and soft shading. Rough or textured papers can add natural-looking grain for curly or wavy hair but may make fine lines harder to control. Choosing acid-free paper prevents yellowing over time, keeping the artwork fresh.
Blending Tools Explained
Blending helps smooth shading and transitions between strands. Common tools include blending stumps, tortillons, and soft brushes. Blending stumps are tightly rolled paper sticks good for controlled blending in small areas.
Soft brushes allow gentle blending without erasing pencil marks. Cotton swabs or tissues can also be used but may create less precise effects. It’s important to blend lightly to keep texture visible and avoid making the hair look flat.
Using Erasers for Highlights
Erasers do more than fix mistakes; they create highlights in hair drawing. A kneaded eraser can be shaped into a fine point to lift graphite and create individual light strands or subtle reflections.
Vinyl or plastic erasers remove larger dark areas cleanly, useful for bright highlights. Lightly dabbing with the kneaded eraser adds texture and shine without harsh lines. Using erasers this way helps give hair a natural, realistic glow by balancing dark and light areas.
Planning Your Hair Drawing
Drawing realistic hair starts with a clear plan. This means setting up basic shapes and lines to guide the flow, volume, and parts of the hair before adding details. Planning helps keep the hair looking natural and prevents mistakes later.
Creating Light Sketch Guidelines
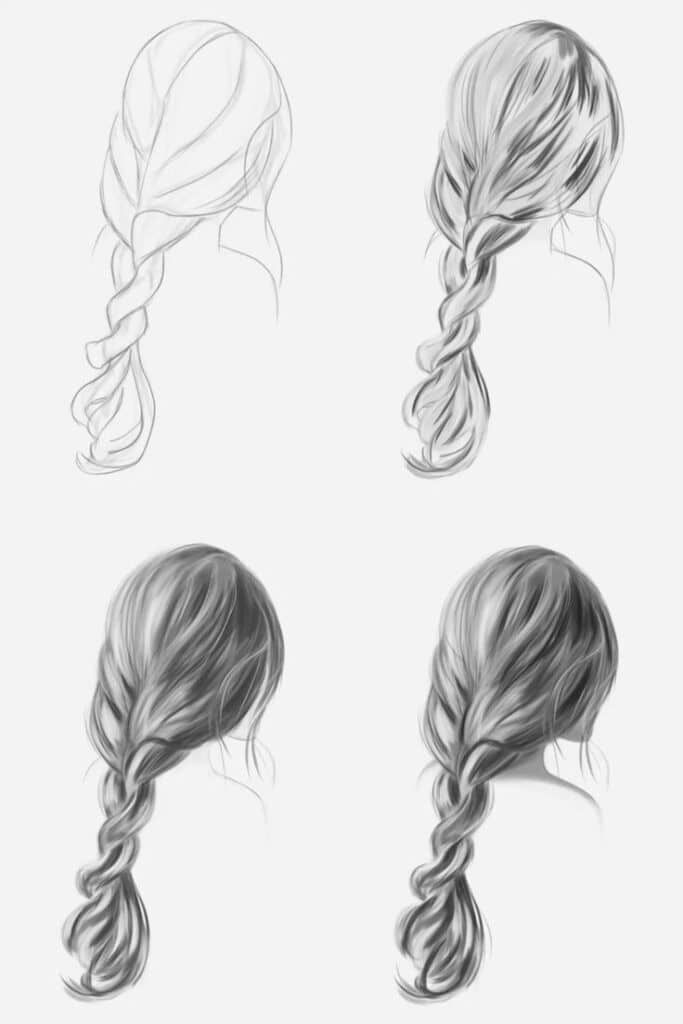
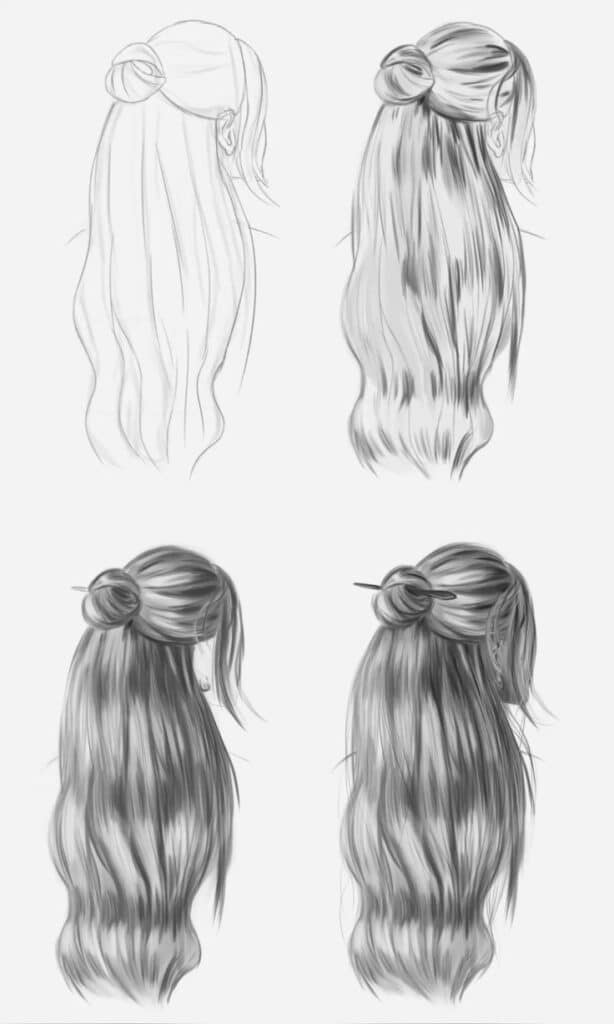
The artist begins by drawing the outline of the head lightly in pencil. This acts as the base shape where the hair will sit. It can be an oval or shaped closely to the reference photo.
Next, very light lines show the direction the hair will flow. These lines are quick and loose to capture general movement instead of details. Using a soft pencil helps keep the sketch clean and easy to adjust.
The purpose is to build a roadmap for the hair strands. It helps avoid drawing hair that looks stiff or falls in the wrong direction. Keeping these initial marks faint makes sure they won’t show through later shading.
Mapping Volume and Direction
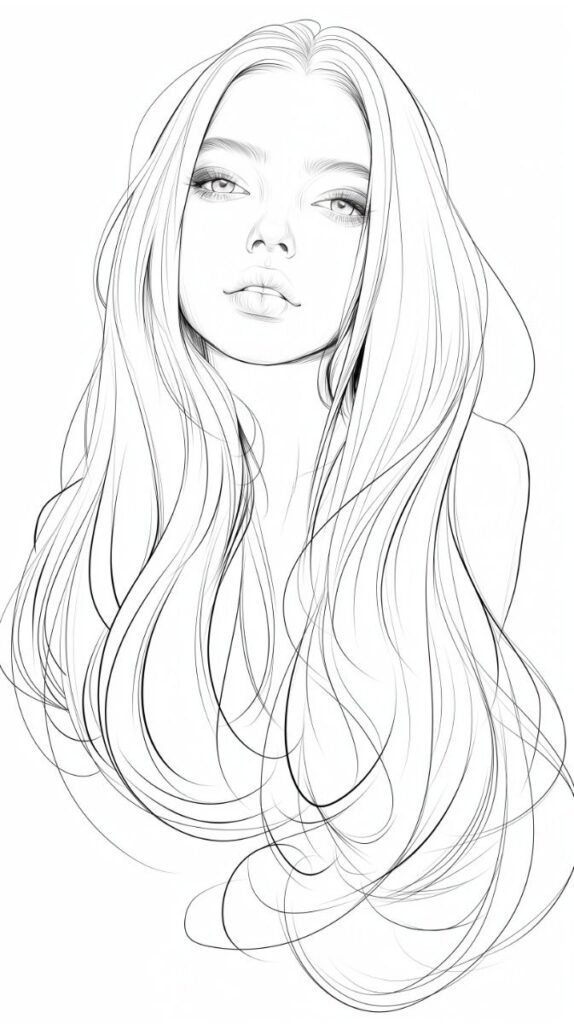
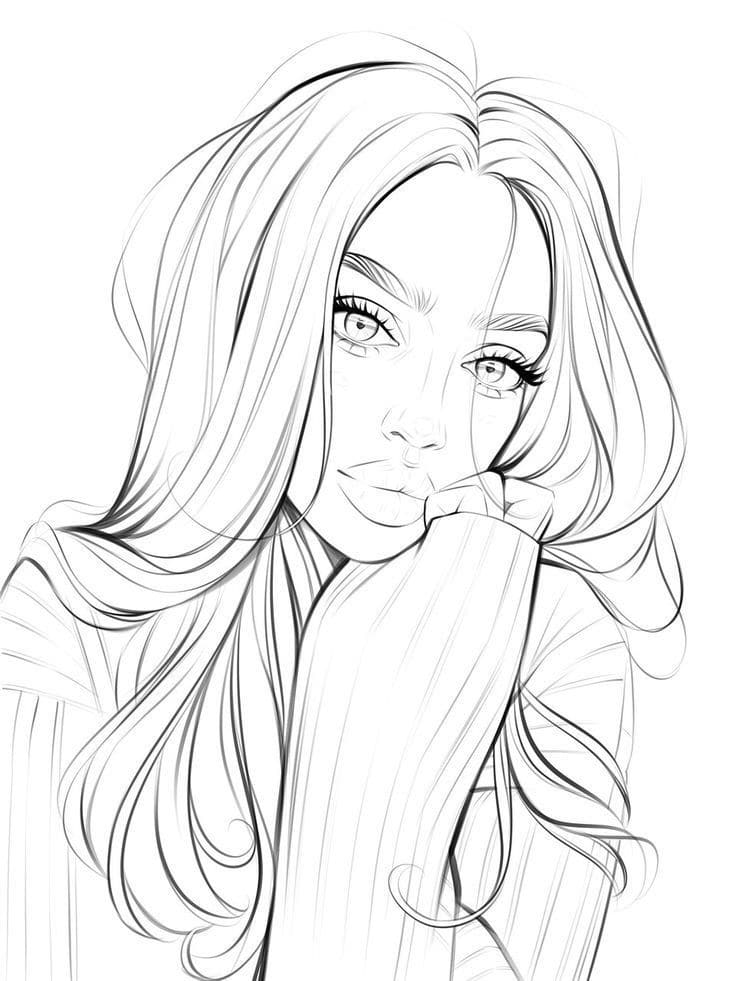
After sketching guidelines, the focus shifts to drawing the hair’s volume. The artist imagines the hair as a 3D form hugging the head. Volume is marked by simple shapes around the skull, like waves or lumps.
Direction is important here. Hair flows from roots toward ends, often in curves or gentle waves. Marking these paths helps in placing shadows and highlights correctly.
This step also shows how thick or thin the hair looks. It helps balance areas with tight curls or smooth straight sections. Using light shading to indicate volume zones keeps track of how hair lifts or falls.
Breaking Hair Into Sections
To handle complexity, the artist divides hair into sections. This breaks down long strands into manageable chunks such as bangs, top layers, and side locks.
Each section has its own direction and flow, so separating them improves control. It also helps when adding texture later since artists can focus on one part at a time.
Labeling or lightly outlining these sections in the sketch is helpful. It prevents confusion and keeps the drawing organized. Sections also guide where highlights or shadows will be strongest.
This step makes drawing large, detailed hair easier and more realistic by focusing on smaller shapes within the whole.
Techniques for Realistic Hair Texture
Creating realistic hair texture involves careful control of shading, detail, and blending. Artists focus on adding depth, drawing strands precisely, and softening harsh lines for natural flow.
Layering and Building Depth
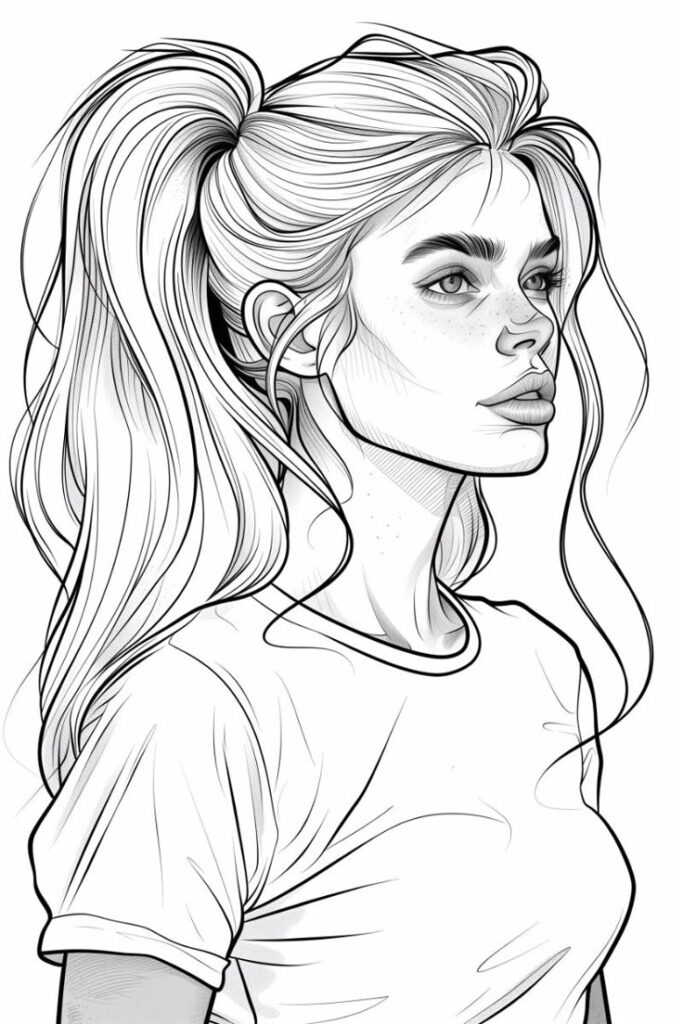
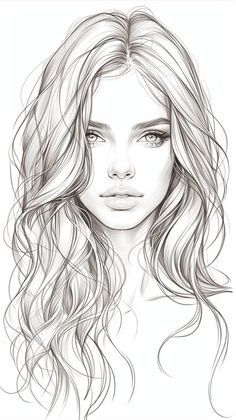
Artists start by sketching the general shape of the hair with light strokes. Layers are built gradually, moving from light to darker tones. This layering helps show volume and the way light hits different parts.
Using a range of pencil pressures and hardness gives contrast between shadows and highlights. Darker layers go where hair clumps or falls in shadow. Lighter layers appear on areas that catch light.
Building depth also means drawing sections of hair that overlap. This overlap adds complexity and keeps the hair from looking flat.
Drawing Individual Strands
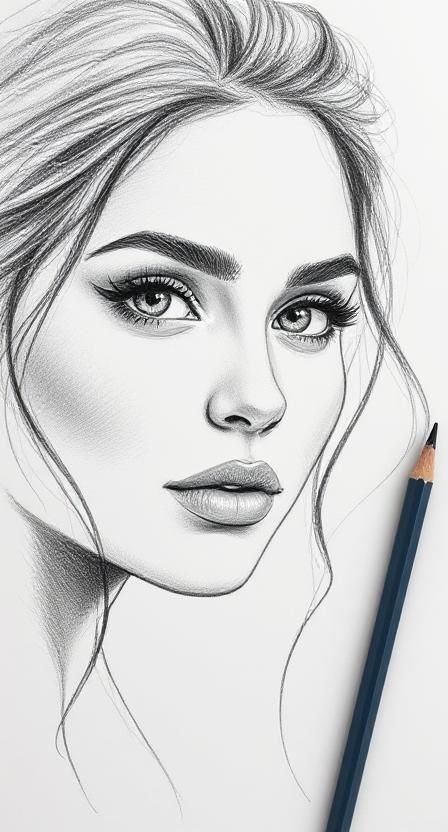
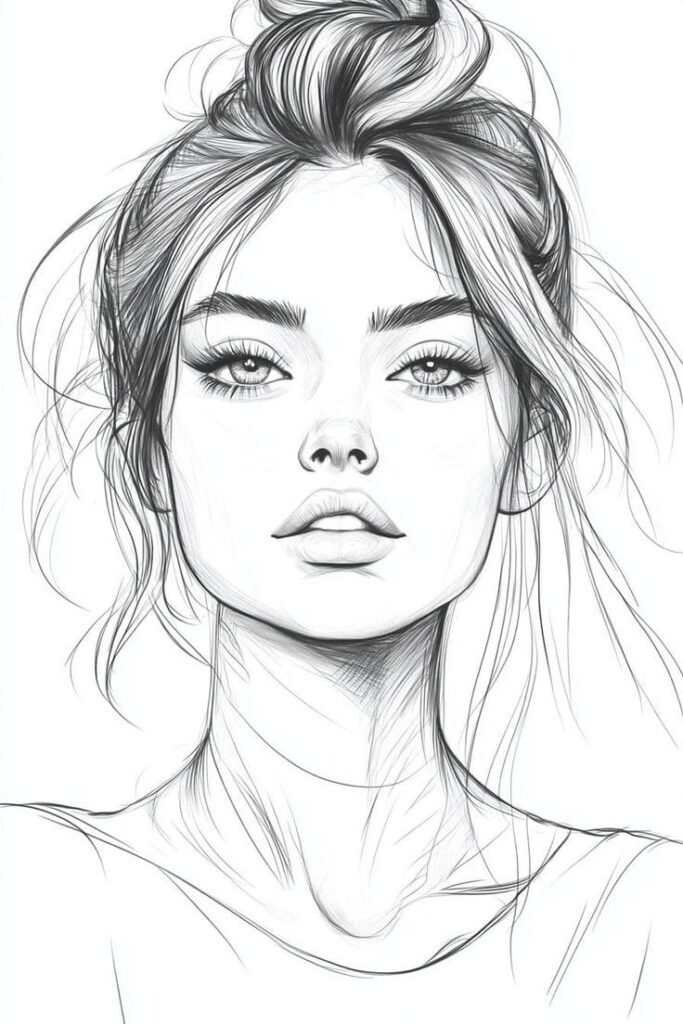
Instead of making the hair one solid shape, artists draw individual strands or small groups. These strands follow the natural flow and direction of hair growth.
Using quick, confident strokes creates thin lines that add texture. Vary the pressure and length to avoid uniformity. It’s important to capture where hair parts or bends.
Too many strands can overload the drawing. Focus on key strands and keep others implied with shading.
Blending for Softness
Blending smooths the transition between light and dark areas. It removes harsh edges without losing the texture created by strands.
Tools like blending stumps or soft tissues help gently soften lines. Artists avoid over-blending because it can make hair look flat or blurry.
Blending also helps show softer, finer hair, especially around the hairline. It supports the layered strokes by connecting shadows and highlights naturally.
Adding Details and Finishing Touches
Adding details and finishing touches brings hair drawings to life. It focuses on creating natural light effects, soft edges, and strong contrasts. These final steps give hair depth, texture, and realism.
Enhancing Shine and Highlights
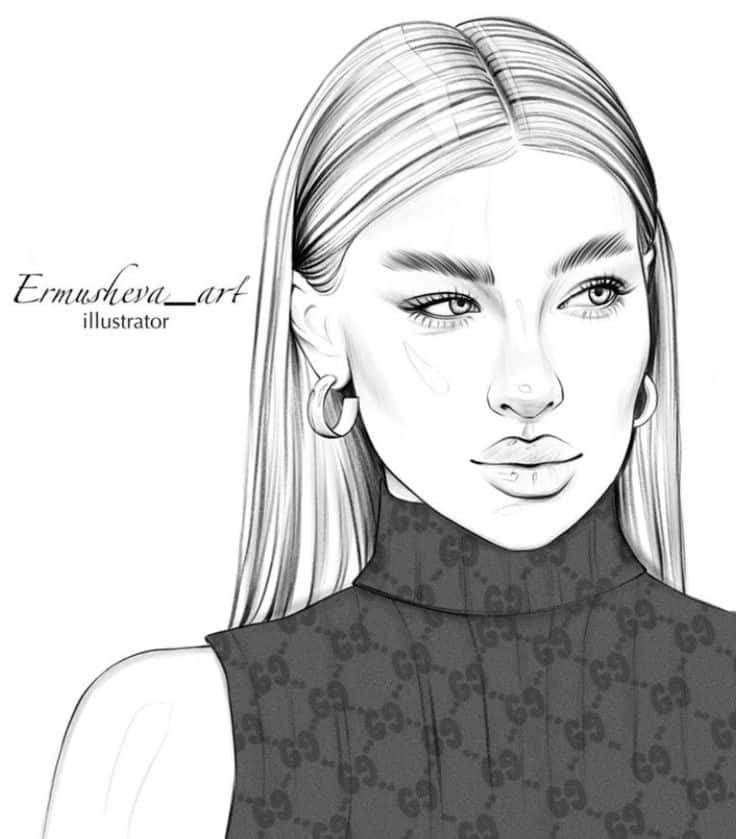
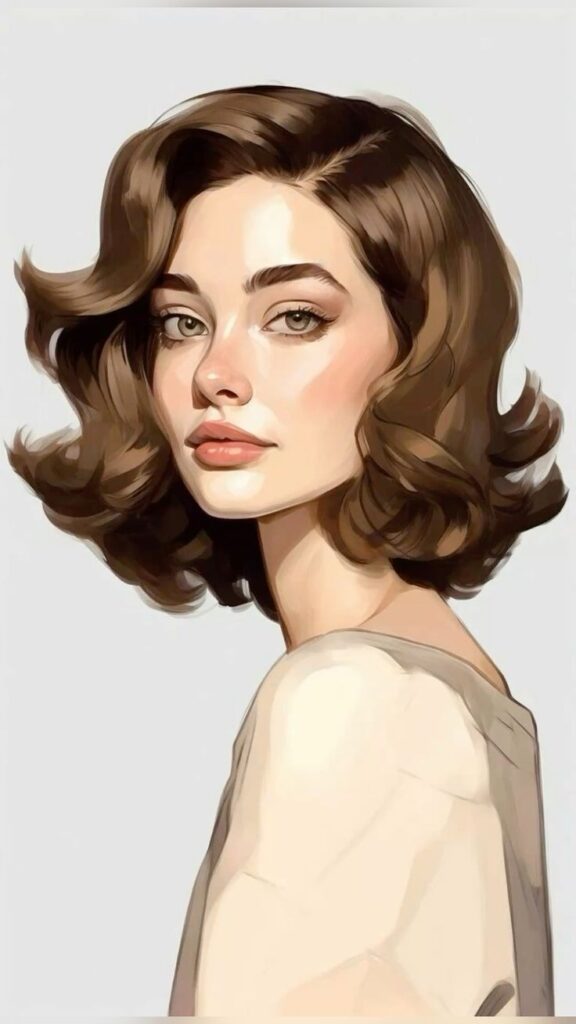
To create shine, the artist looks for where light naturally hits the hair. Highlights should be smooth and follow the curve of the strands. Using a kneaded eraser or a white pencil can lift out or add bright spots on the hair.
Smaller bright areas or strands add sparkle and dimension. It helps to press lightly and build highlights gradually. Including subtle reflections makes hair look soft and alive.
Avoid overdoing highlights; too much can flatten the image. Keep shine areas focused on the top layers or places that bend.
Refining Edges and Flyaways
Edges outline where the hair meets the skin or background. Using light, soft strokes for the hairline avoids harsh lines. This keeps the start of the hair looking natural.
Adding flyaway hairs breaks up uniform edges. These tiny stray strands make hair feel loose and realistic. They can cast faint shadows on the main hair.
Using a fine pencil or tiny eraser points can create crisp strands over darker areas. This adds texture and movement. Flyaways also help show different layers of hair.
Deepening Shadows
Shadows give hair form and volume. The artist darkens areas where hair overlaps or folds. This contrast separates layers and defines curls or waves.
Using a soft pencil or blending tool creates smooth shadow transitions. Strong shadows near the roots, underneath layers, or behind strands work best.
Deep shadows balance the highlights and keep the drawing from looking flat. Gradual shading gives hair a rounded, three-dimensional look.
Shadows also help place hair in space, showing which parts are closer or farther from light.
- 394shares
- Facebook0
- Pinterest393
- Twitter1
- Reddit0
