Drawing on an iPad has become a compelling choice for digital artists and hobbyists of all skill levels thanks to its precision, portability, and intuitive interface. With the right app and tools, you can turn your iPad into a powerful digital sketchbook for everything from quick doodles to professional illustrations. Whether you are just starting out or looking to elevate your workflow, the iPad offers options to suit your needs and style.
Exploring the variety of compatible iPad models, Apple Pencil support, and drawing applications can help you unlock your creative potential. Modern drawing apps offer an impressive array of brushes, effects, and customization, letting you experiment and express your ideas with ease. As you continue to learn and refine your technique, you’ll discover just how versatile and productive iPad drawing can be.
Key Takeaways
- You can draw effectively on an iPad with the right hardware and app.
- The iPad offers a range of tools and accessories for different artist needs.
- The right approach can help you grow and streamline your digital art workflow.
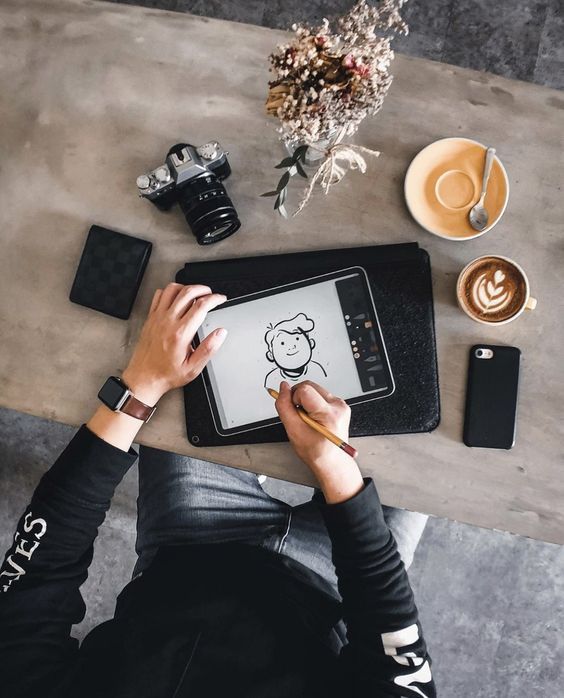

Getting Started With iPad Drawing
To begin drawing on your iPad, you’ll need the right tools and a clear process. With some hands-on tips, you can get comfortable using your Apple Pencil and digital art apps to create high-quality illustrations and sketches.
Essential Tools and Devices
Choosing the right iPad model makes a difference. If possible, select an iPad that supports the Apple Pencil (1st or 2nd generation), such as the iPad Air, iPad Pro, iPad mini (recent models), or iPad (standard 9th/10th generation).
Apple Pencil is almost essential for precise, pressure-sensitive drawing. It connects via Bluetooth. Make sure your device is compatible.
You’ll also need a drawing app. Popular choices include:
- Procreate (paid, feature-rich)
- Adobe Fresco (free with premium options)
- Autodesk Sketchbook (free)
A matte screen protector can help replicate the feel of paper and reduce glare.
| Tool | Purpose | Recommendation |
|---|---|---|
| iPad | Drawing Surface | Compatible with Apple Pencil |
| Apple Pencil | Stylus for precision | 1st or 2nd gen |
| Drawing App | Creative software | Procreate, Fresco, Sketchbook |
| Screen Protector | Improves tactile feel | Optional, matte style |
How To Draw on iPad: Step-By-Step Guide
- Connect your Apple Pencil: Attach or pair the Pencil following Apple’s instructions. Confirm it’s charged and working.
- Install and open a drawing app. Create a new canvas. Set your preferred size and resolution.
- Familiarize yourself with tools: Most apps include brushes, erasers, layers, and color palettes. Try changing brush size, flow, and opacity.
- Start with simple shapes: Sketch circles, lines, and squares to practice control. Use layers to keep elements editable.
- Add detail gradually: Refine your drawing by zooming in and using smaller brushes.
- Experiment: Modify opacity, blend layers, and test different textures for unique effects.
Use undo/redo gestures to quickly correct mistakes. Most apps allow you to pinch to zoom for detailed work.
Tips for Better Results
Keep your Apple Pencil tip clean to avoid screen scratches. Frequent charging helps maintain performance.
Customize pressure settings in your drawing app. This gives you more control over line thickness and opacity.
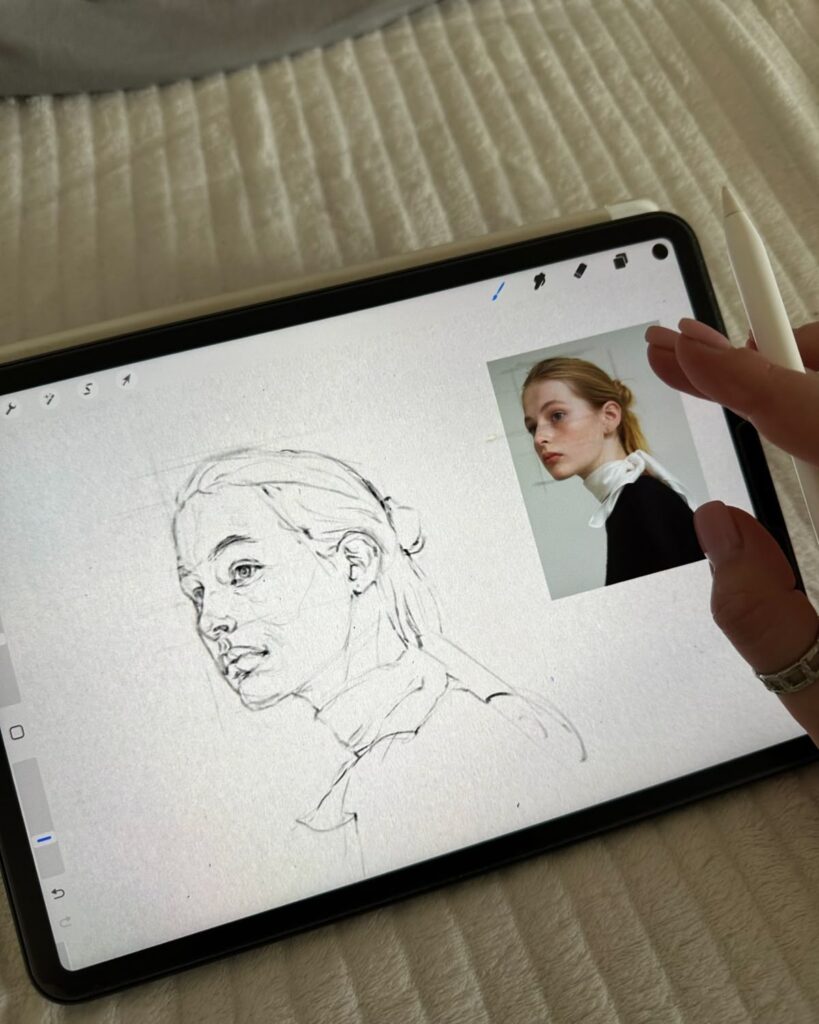
Consider using reference images. Import these onto a separate layer or split your screen for easy viewing.
Save versions of your work as you go. Use different layers for outlines, shading, and color fills.
Practice drawing daily objects—like mugs or shoes—to develop hand-eye coordination. Adjust brush settings and try new tools regularly to build skill and unlock your creativity.
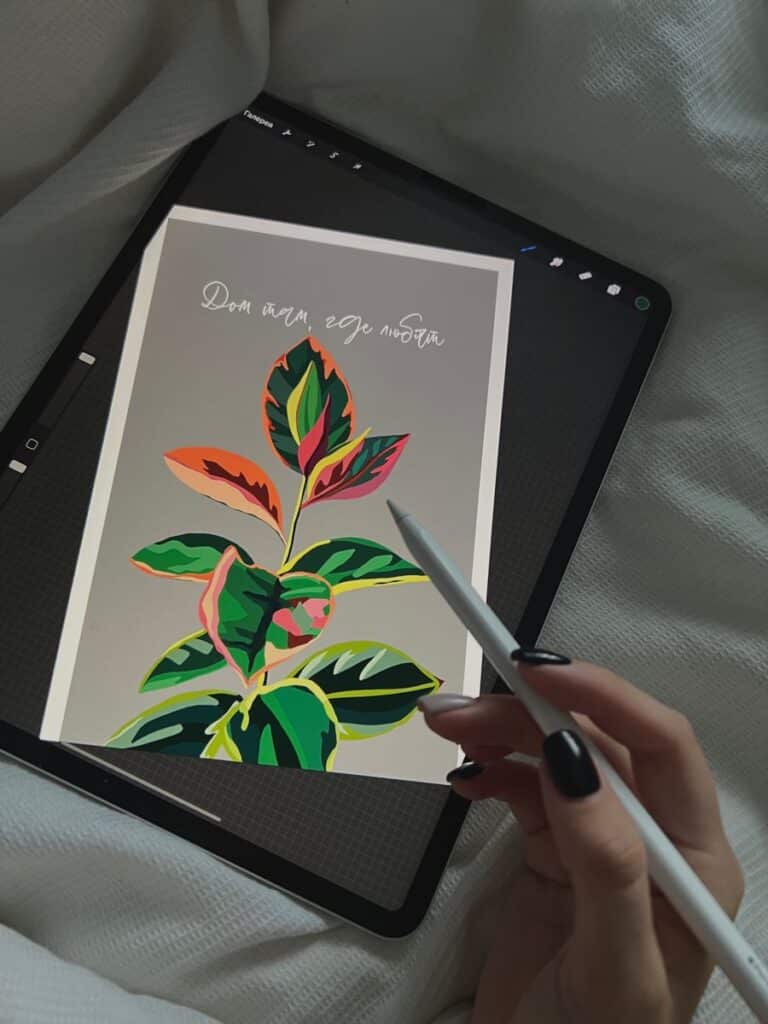
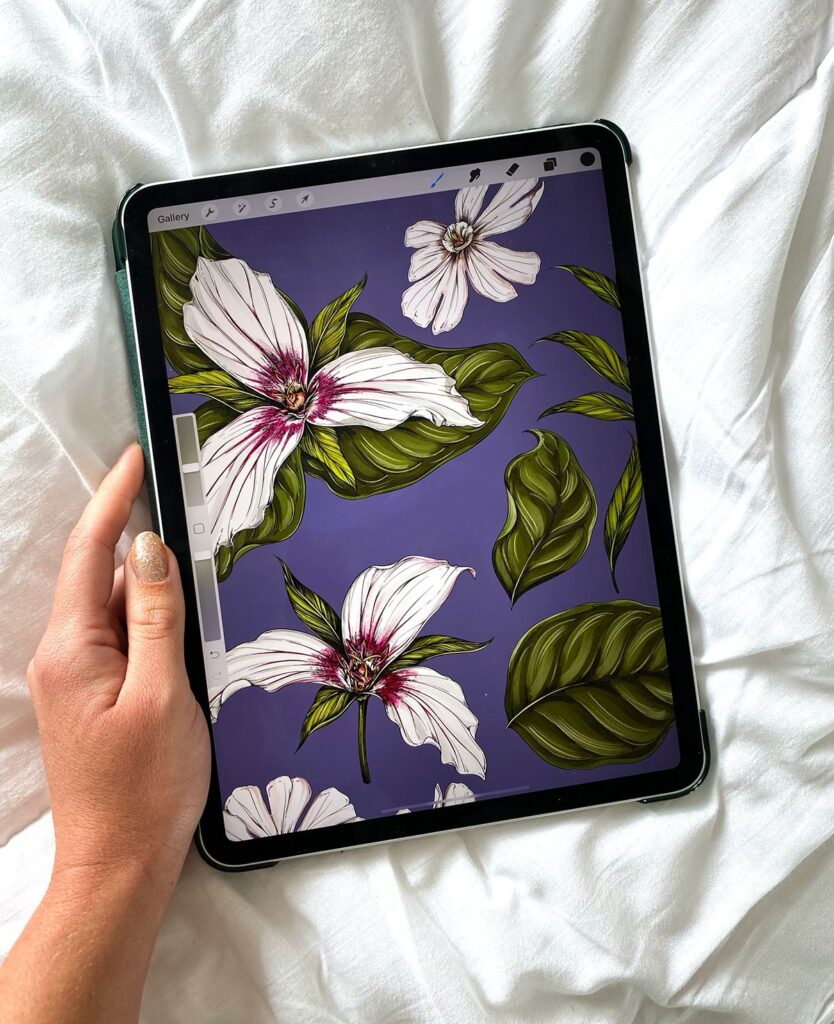
Choosing the Right iPad and Accessories
Picking the best iPad and tools for drawing depends on your artistic needs, Apple Pencil support, and what extra accessories help your workflow. Model performance, screen quality, and compatibility with styluses and keyboards are major factors to keep in mind.
Best iPad Models for Drawing
For digital art, iPad Pro models stand out due to their large displays (11″ and 12.9″), fast processors, and high refresh rate screens. The latest iPad Pro uses the M4 chip, making it efficient for complex drawing apps and 3D work.
If portability matters, the iPad Air offers nearly Pro-level performance with a slightly smaller display and a lower price. It supports Apple Pencil (2nd gen) and suits most drawing needs.
The standard iPad (10th generation) is a budget-friendly pick. It works well for sketching and beginners, though its display and processor are less advanced. The iPad Mini is compact and great for travel, but has a smaller workspace.
| Model | Screen Size | Apple Pencil Support | Price Range | Pro Motion Display |
|---|---|---|---|---|
| iPad Pro | 11″/12.9″ | 2nd/3rd Gen | $$$-$$$$ | Yes |
| iPad Air | 10.9″ | 2nd Gen | $$-$$$ | No |
| iPad (10th) | 10.9″ | 1st Gen | $-$$ | No |
| iPad Mini | 8.3″ | 2nd Gen | $$ | No |
Apple Pencil Compatibility and Features
Your iPad model will determine if you need the Apple Pencil (1st, 2nd, or USB-C model). The newest iPad Pro and Air support the Apple Pencil (2nd gen and USB-C), which attaches magnetically and charges wirelessly on the tablet. This version includes double-tap shortcuts and low-latency input.
The iPad (10th gen) uses either the original Apple Pencil (1st gen, charged via adapter) or the newer USB-C Apple Pencil, which lacks pressure sensitivity and wireless features. This makes it less ideal for nuanced shading and advanced workflows.
Key Apple Pencil features:
- Pressure sensitivity (except USB-C model)
- Tilt recognition
- Palm rejection
- Quick pairing and charging (2nd gen & USB-C)
Using the correct stylus ensures tools like pressure sensitivity, shortcut gestures, and latency improvements are available for your chosen model.
Keyboards and Other Useful Accessories
Adding a keyboard like the Magic Keyboard or Smart Keyboard Folio can make your iPad more versatile, especially for tasks like editing layers, file management, or using hotkeys in drawing apps. The Magic Keyboard offers a stable stand, trackpad, and great typing experience, though it adds weight.
Other beneficial accessories include robust cases for protection, screen protectors (especially matte or “paperlike” films for a more pen-on-paper feel), and stands that improve drawing ergonomics. USB-C hubs allow you to connect SD cards, external storage, or other peripherals for a more desktop-like setup.
A good pair of Bluetooth headphones can reduce distractions in noisy environments while drawing. Prioritizing accessories that align with your creative process can help maximize your iPad’s usefulness as an art tool.
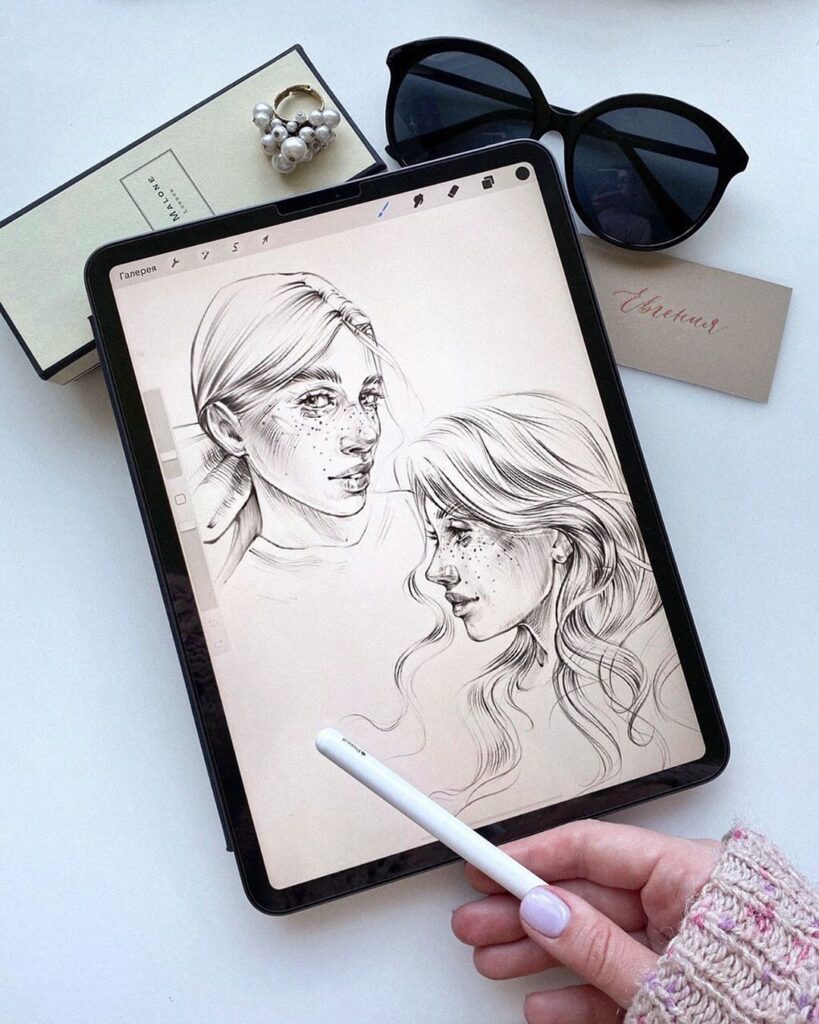
Top Drawing Apps for iPad Artists
iPad artists have access to a variety of professional-grade drawing apps, each offering unique tools and workflows. With choices ranging from Procreate’s extensive brush library to Adobe Fresco’s blend of vector and raster capabilities, you can find an app tailored to your creative needs.
Procreate Overview
Procreate is one of the most widely used drawing apps for iPad. Its interface is intuitive, making it accessible whether you are a beginner or an experienced artist.
This app features a vast brush library, layer support, customizable shortcuts, and advanced tools for time-lapse recording. The quick performance and responsive Apple Pencil integration enable precise, real-time sketching and coloring.
Procreate supports high-resolution canvases, over 100 customizable brush settings, and professional export options, such as PSD compatibility. Users can also access blending modes, color adjustments, and animation assist, making Procreate versatile for illustrations, comics, and concept art.
Adobe Fresco Features
Adobe Fresco is designed for artists who need both raster and vector brushes in a single workspace. You can use its live brushes to mimic real-world paint and watercolors.
Fresco integrates with Adobe’s Creative Cloud, letting you seamlessly move files between Photoshop, Illustrator, and Fresco. This cross-app compatibility is beneficial for professional workflows.
The interface is clean and customizable, and pressure-sensitive Apple Pencil support lets you achieve nuanced strokes. Fresco also includes layers, masking, and powerful drawing aids like symmetry tools, which are particularly useful for detailed illustrations and graphic design.
Other Popular Drawing Apps
Beyond Procreate and Fresco, you have access to other respected drawing tools. Notable options include:
- Astropad Studio: Turns your iPad into a graphics tablet for Mac, offering real-time stylus input and support for desktop design software.
- Clip Studio Paint: Popular with comic and manga creators, featuring advanced pen stabilization and a vast material library.
- Autodesk SketchBook: Known for a user-friendly layout, unlimited layers, and industry-grade drawing tools available for free.
- Affinity Designer: Focuses on vector illustration and layout, providing precise control for graphic design or UI work.
Each app brings a unique feature set, catering to digital painters, sketch artists, illustrators, and designers.
Comparing Drawing App Options
The drawing app you choose depends on your workflow and end goals. Here’s a quick side-by-side comparison:
| App | Strengths | Best for |
|---|---|---|
| Procreate | Brush variety, speed, animation | Illustrators, general artists |
| Adobe Fresco | Vector/raster, cloud syncing | Designers, workflow with CC |
| Astropad Studio | Mac integration, real-time input | Desktop users, pros |
| Clip Studio Paint | Comic tools, pen stabilization | Comic/Manga artists |
| SketchBook | Free, simplicity, layers | Beginners, sketching |
Consider file compatibility, ease of use, cloud features, and specific tools such as animation support or pen pressure sensitivity. Try free trials where available to test how each app fits with your personal drawing habits.
Advanced Techniques and Productivity
To elevate your iPad digital art, you need to harness advanced techniques that increase both creative control and efficiency. Leveraging layers, custom tools, and powerful mixed media approaches helps streamline your process from concept to completion.
Using Layers and Custom Brushes
Layers give you the flexibility to separate lines, colors, and effects when working on your artwork. With most iPad drawing apps, you can add, rename, and reorganize layers easily, keeping your workflow organized. Adjustment layers and layer blending modes offer more control over highlights and shadows.
Custom brushes are another powerful asset. Many apps, like Procreate, allow you to import or design your own brushes, simulating traditional mediums such as pencil, watercolor, or ink. Experimenting with custom brushes can help you discover new textures and styles.
Here’s a quick comparison:
| Feature | Benefit |
|---|---|
| Layers | Non-destructive editing |
| Custom Brushes | Unique textures and marks |
Combining layers and custom brushes makes complex compositions and detailed rendering more accessible for digital artists.
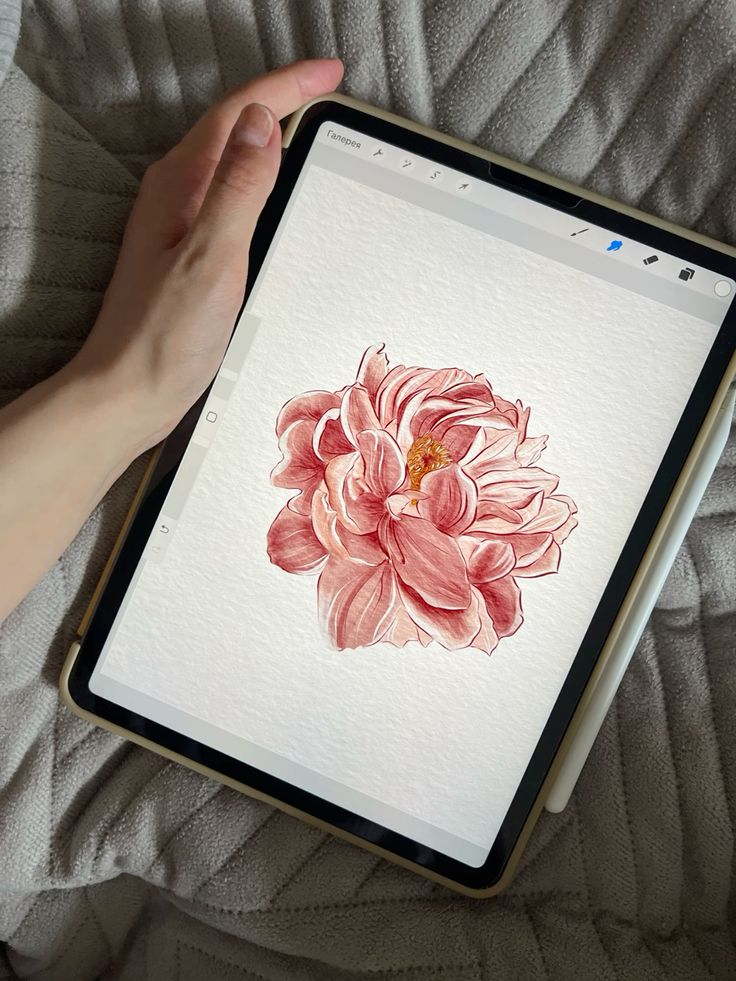
Integrating Photos and Mixed Media
The iPad facilitates seamless integration of photos into your digital art. You can import reference images or textures directly into your canvas, which enhances both realism and creative possibilities. Overlaying photos allows you to build mixed media pieces or trace initial sketches for accurate proportions.
Using tools like masking and blending, you can merge photographic elements with drawn layers to create depth and dimension. Adding handwritten notes or visual annotations directly on your canvas is straightforward, making it easier to plan and refine your concepts.
Mixed media workflows can include collaging, painting over photos, or even editing screenshots for rapid idea development. This approach encourages creativity and technical exploration beyond standard drawing techniques.
From Sketches to Finished Artwork
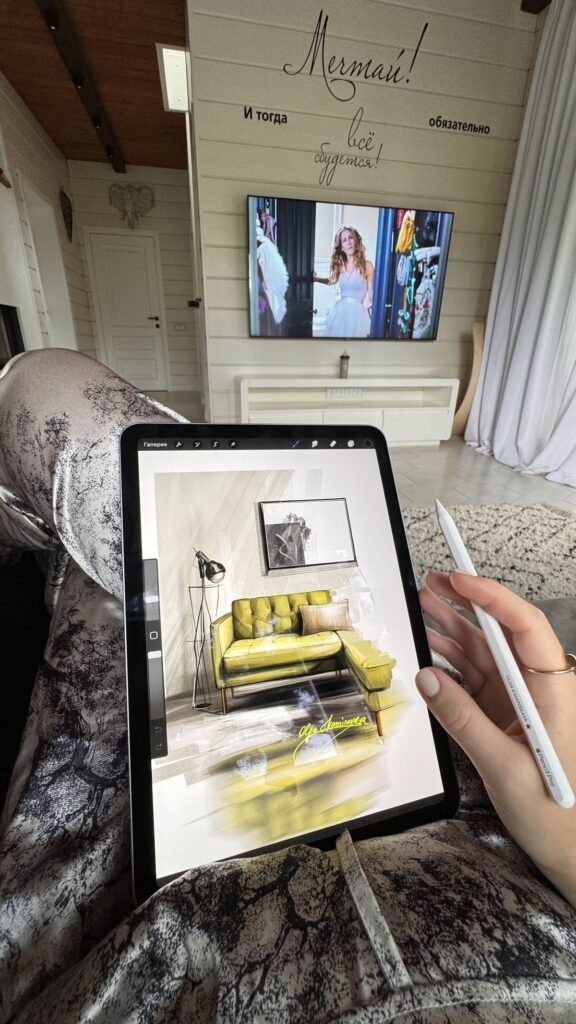
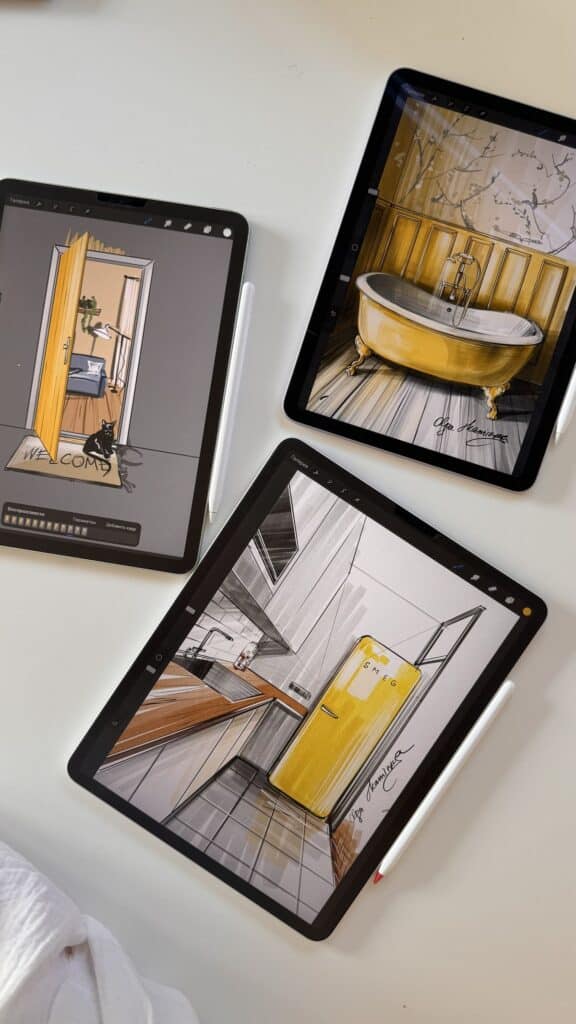
Transforming a basic sketch into a polished piece involves a series of methodical steps. Start with a rough digital sketch, then use layers for line refinement, color blocking, and details. Take advantage of the undo/redo system for rapid adjustments and exploration without risk.
Color correction, shading, and highlights should be assigned to different layers, ensuring each aspect of your art is easy to tweak independently. Custom brushes come into play again for rendering surface textures and fine details.
Setting up a template or using pre-organized files can speed up repetitive tasks and standardize your process. A structured approach lets you move efficiently from draft to final artwork, supporting high productivity and consistent quality in your digital creations.
Expanding Your Workflow Beyond iPad
Using your iPad for digital art doesn’t mean your workflow has to end there. Seamless integration with other devices and smart sharing options allow you to streamline projects and collaborate more easily.
Connecting iPad With Mac and Sidecar
You can use your iPad as a drawing tablet for your Mac thanks to Sidecar, a feature built into macOS and iPadOS. Sidecar lets you mirror or extend your Mac’s desktop, turning the iPad into a second display that fully supports Apple Pencil input.
This setup works especially well for apps like Photoshop, Illustrator, and Affinity Designer. Tasks such as sketching, fine detail work, and color adjustments feel natural since the Apple Pencil is highly accurate.
To enable Sidecar, both devices need to be signed in with the same Apple ID and must have Bluetooth, Wi-Fi, and Handoff turned on. There’s no need for a cable, though a wired connection can improve stability.
If you want more customization or are using a Windows device, third-party tools such as Astropad Studio allow similar integration. These apps offer extra features for pressure sensitivity and shortcut customization.
Drawing With iPhone and Other Devices
Drawing on your iPhone is more limited compared to iPad, but it can be helpful for rough sketches, quick notes, or on-the-go edits. Most iPad drawing apps, including Procreate and Adobe Fresco, offer iPhone versions.
While the iPhone doesn’t support the Apple Pencil, it works with finger touch and some third-party styluses. This makes precision work harder, but you can still create usable drafts and sync files to your iPad or Mac for refinement.
For those using other tablets or graphics devices, many apps support cloud sync or import/export across platforms. This means your artwork isn’t locked to just one device. Consider using services like iCloud Drive, Adobe Creative Cloud, or Dropbox for easy transfers.
Transferring and Sharing Your Art
Exporting your artwork from the iPad is straightforward. Most apps support common file types such as PNG, JPG, PSD, and PDF, so you can share or continue work on another platform.
You can transfer files using AirDrop, iCloud Drive, email, or by connecting your iPad to your Mac with a cable. AirDrop is fast and doesn’t require an internet connection. iCloud Drive enables automatic syncing, making files available on all your Apple devices.
For broader collaboration, apps often offer integration with services like Google Drive or Dropbox. Sharing links to your work or exporting directly to social media can also speed up feedback and revisions. Selecting the right transfer method depends on your workflow needs and which devices you use most frequently.
- 83shares
- Facebook0
- Pinterest83
- Twitter0
- Reddit0


