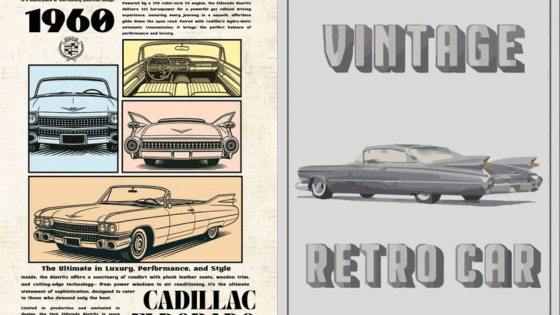
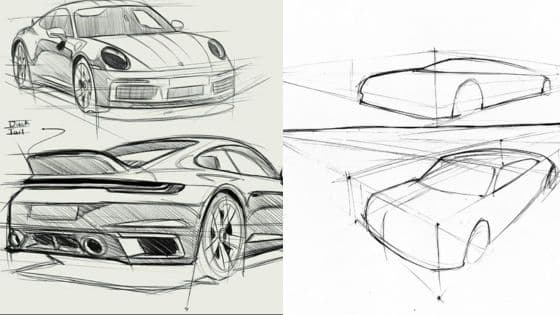
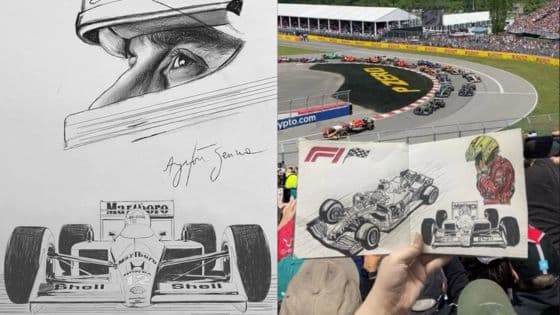
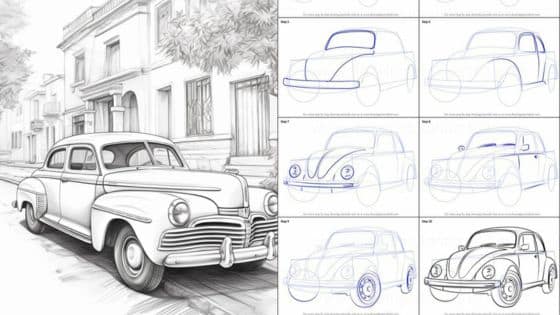
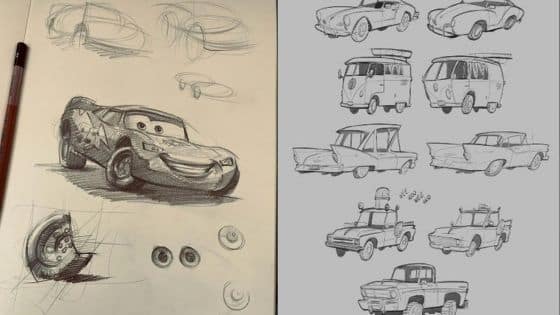
Imagine looking at a blank page and watching the lines become the shape of a car, each detail forming the story of how a vehicle is designed. Automotive drawings are a key part of how cars go from idea to finished product. They are detailed illustrations that show what a car will look like, how its parts fit together, and how it can be made.
People use these drawings for many reasons—designers sketch new concepts, engineers plan how parts connect, and students learn to create their own vehicles through hands-on drawing. Today, technology like CAD software and even YouTube videos make these skills more accessible, opening up new ways for anyone to create or share designs. As car design keeps changing, these drawings stay at the center, blending creativity with precision.
Key Takeaways
- Automotive drawings help turn car ideas into real designs
- Digital tools and videos support learning and sharing car sketches
- Car drawings connect art, engineering, and new technology
Fundamentals of Automotive Drawings
Automotive drawings give car designers the visuals and details they need to move ideas into real vehicles. These drawings share information about the car’s look, size, and parts so the team can work together.
Definition and Purpose


Automotive drawings are technical illustrations that show how different parts of a car look and fit together. These images serve as visual guides for car designers, engineers, and production teams.
Automotive drawings can include quick concept sketches, detailed technical plans, or computer-generated blueprints. They help move design ideas from paper to working prototypes. Each drawing highlights important features such as shape, size, or how parts connect.
The main purpose of these drawings is to communicate information. They provide details about how a car is supposed to be built. They help spot design issues before production, saving time and money.
Key Components of Automotive Drawings
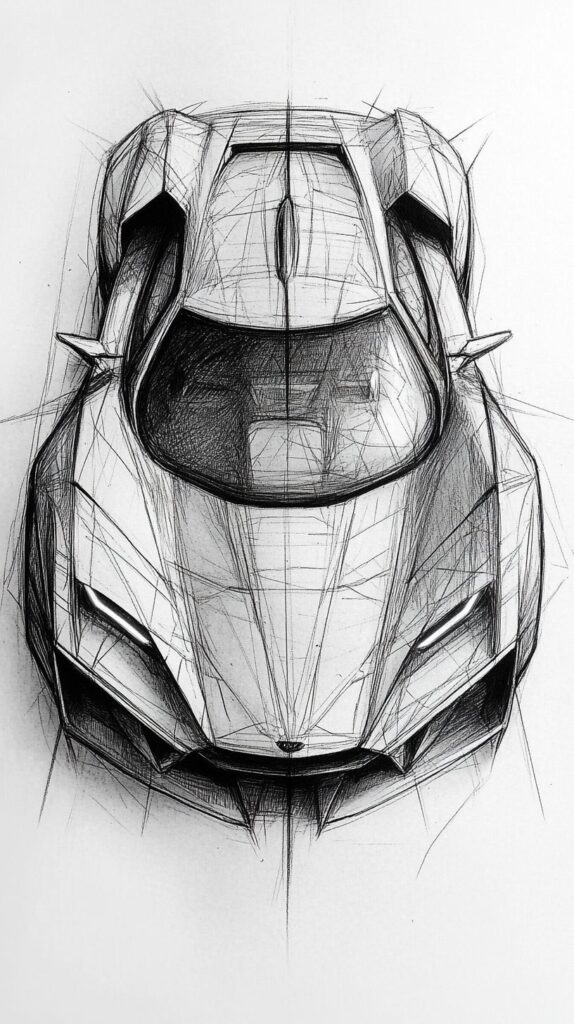
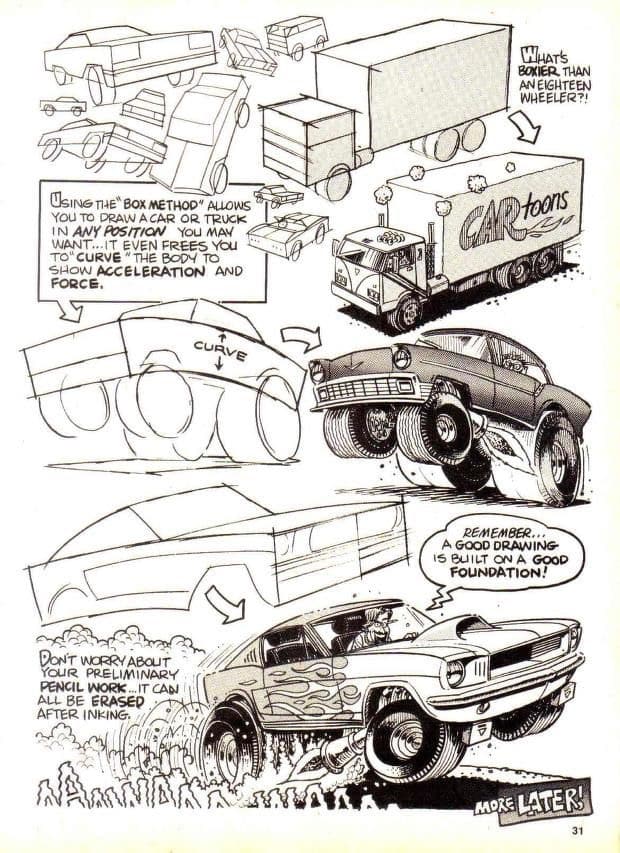
Automotive drawings use several key elements to show information:
- Views: Drawings often include top, side, and front views. Each view gives a different angle.
- Dimensions: Measurements show the length, width, and height of parts.
- Annotations: Labels and notes give extra details, such as material type or part numbers.
- Sectional Views: These cutaway images show what’s inside a part or system.
- Symbols: Standardized symbols are used for bolts, welds, and other features.
Good automotive drawings must be clear, accurate, and easy to understand. Car designers use these drawings to make decisions about how things will look and work.
Role in Car Design


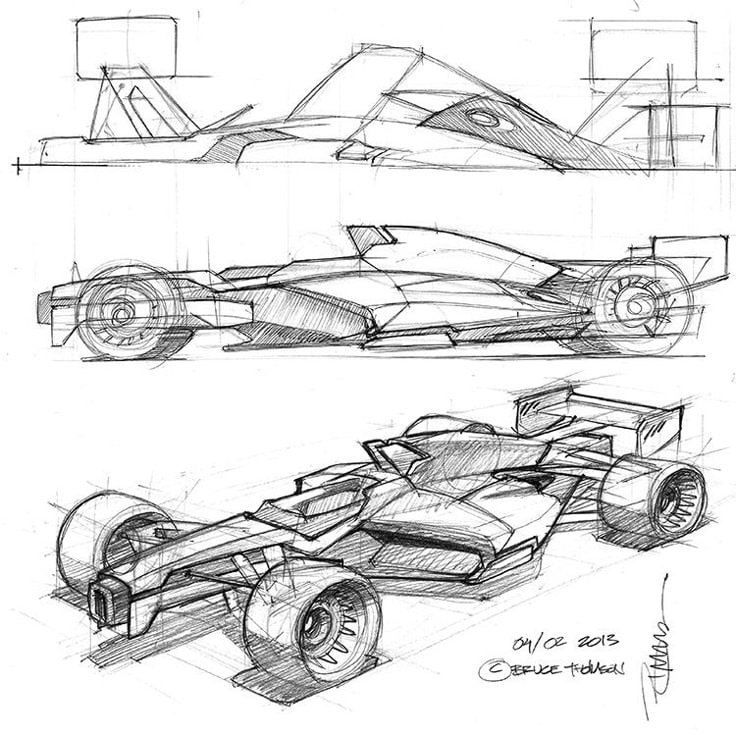
Automotive drawings are essential for every part of car design. Car designers use sketches to develop new ideas quickly. These sketches let designers explore shapes and styles before any real car is built.
Once an idea is selected, detailed technical drawings guide the engineering team. These drawings make sure everything fits together and works safely. They explain how to build the car and what materials to use.
Automotive drawings also help teams communicate. Designers, engineers, and factory workers all depend on these images to make sure they understand the plan. This keeps mistakes low and helps create cars that meet the original design vision.
Types of Automotive Drawings

Automotive drawings are divided into different types, each serving a specific use. They help designers, engineers, and other team members communicate ideas clearly throughout the car design process.
Blueprints and Technical Drawings


Blueprints and technical drawings provide accurate, scaled details of car parts and assemblies. These drawings use lines, symbols, and measurements to specify dimensions, materials, and how pieces fit together.
A typical blueprint includes front, side, and top views, which show every important angle. Technical drawings must follow set standards so that anyone in the industry can read and use them without confusion.
These drawings are used to guide manufacturing and assembly. They are usually created using computer-aided design (CAD) software, which increases accuracy and allows for faster updates.
Key features:
- Precise dimensions and tolerances
- Multiple views for clarity
- Standardized symbols and notes
Blueprints and technical drawings are essential when turning design ideas into real car parts.
Concept Illustrations

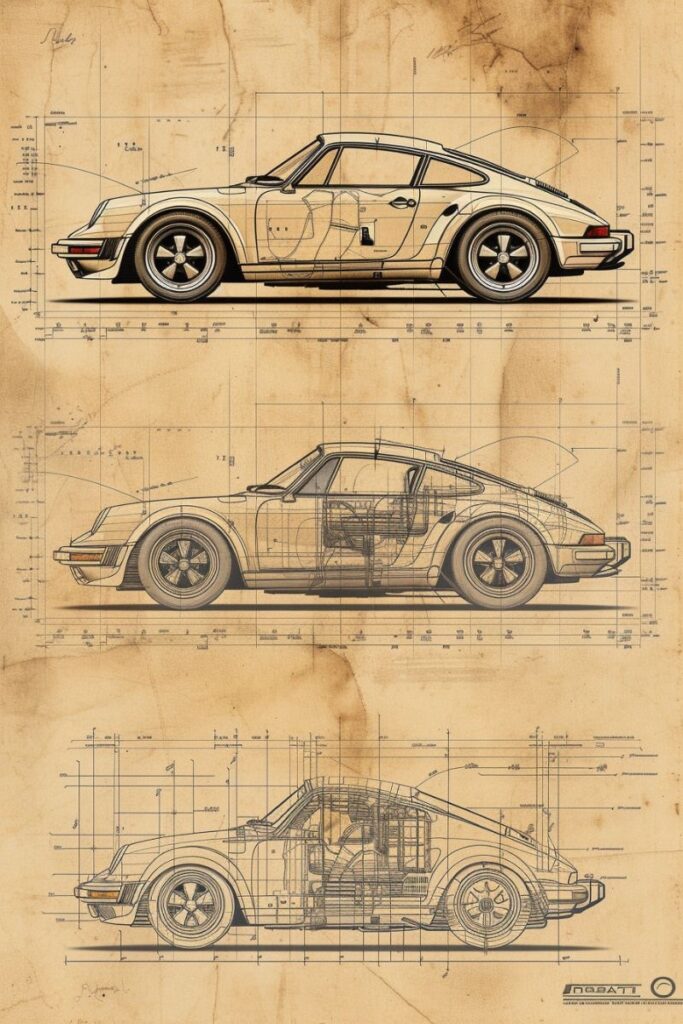
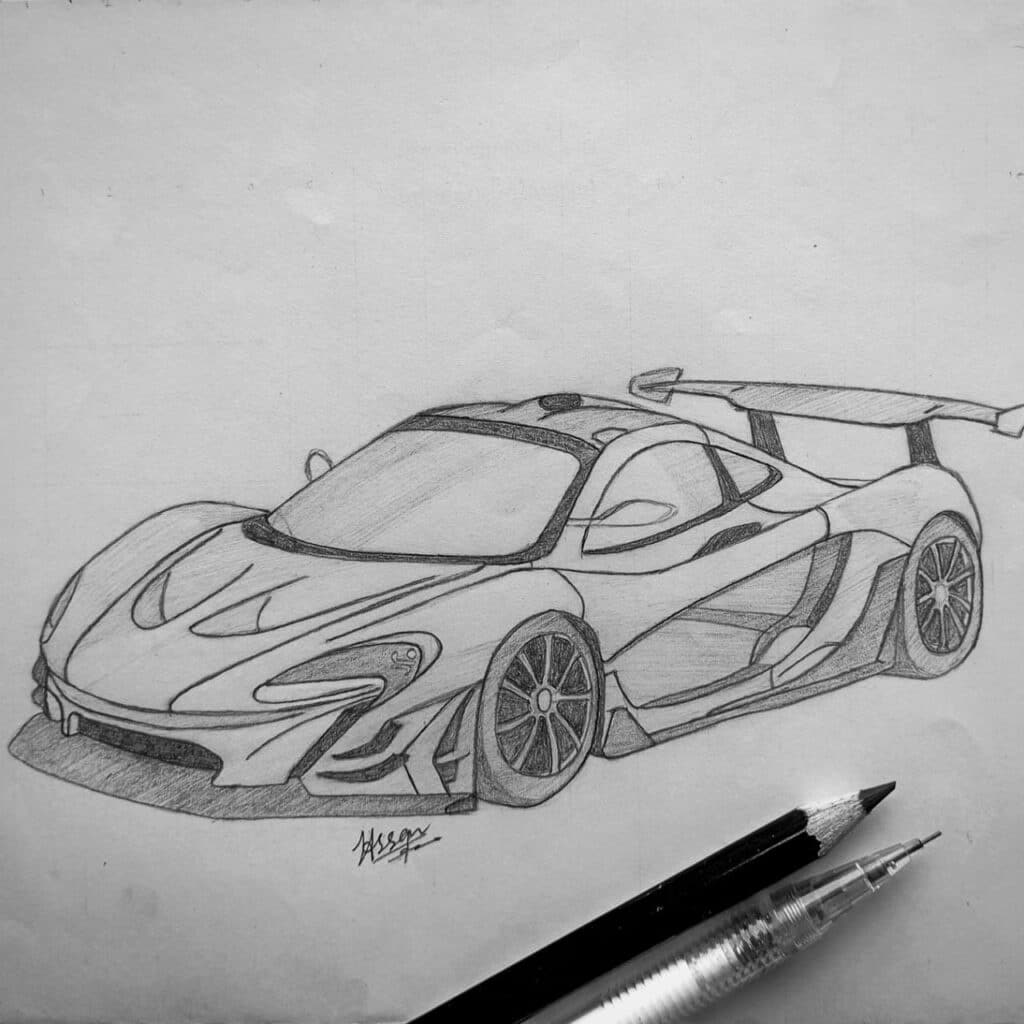
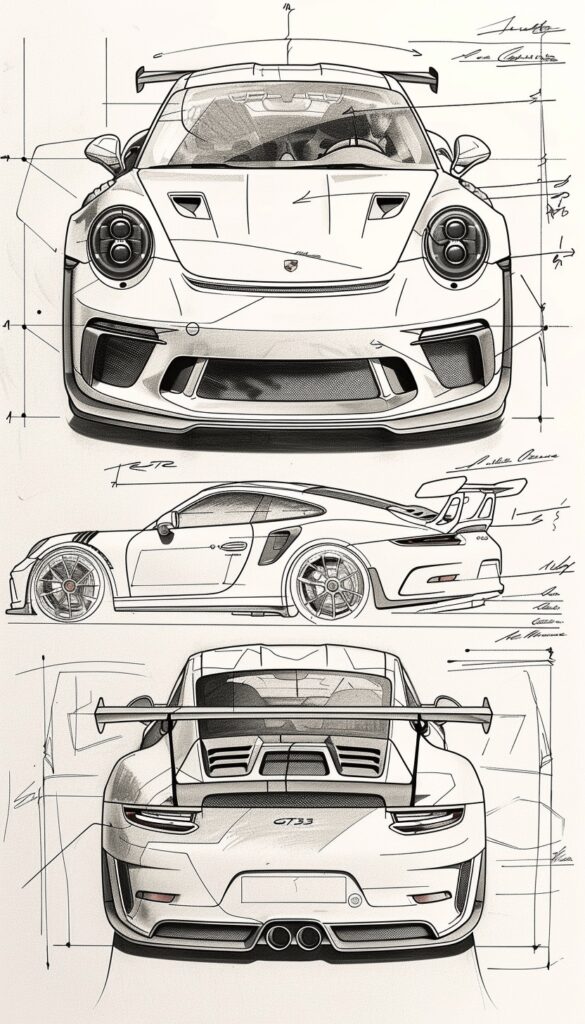
Concept illustrations, or sketches, help designers explore and share new ideas during the early stages of car design. These drawings are not as strict as technical blueprints. Instead, they focus on showing the shape, style, and personality of the vehicle.
Designers might use pencils, markers, or tablets to sketch curves, proportions, and key features. These sketches can be rough and quick, or more detailed if shared with a bigger audience.
Concept illustrations let teams discuss changes before moving forward. They are common in design reviews and brainstorming sessions.
Important qualities:
- Show overall look and feel
- Emphasize style over technical detail
- Support fast changes and new ideas
Rendered Visuals
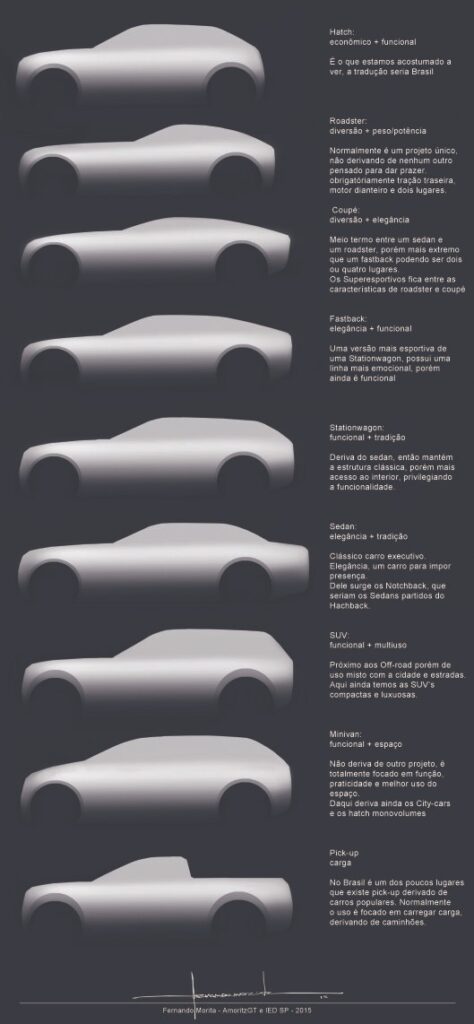

Rendered visuals are realistic images made from 2D drawings or 3D digital models. They are often created using software that adds color, texture, lighting, and reflections to make the design look like a finished vehicle.
Renderings help teams visualize the final product and spot problems in areas like paint, materials, or shape. They also make it easier to share ideas with people who may not understand blueprints, like marketing teams or customers.
Rendered visuals can include:
- Photorealistic images
- 3D walkthroughs
- Animated videos
These visuals support presentations, advertisements, and public reveals, allowing viewers to see what the final car will look like before it is built.
Techniques for Creating Automotive Drawings
Automotive drawings often rely on a mix of simple shapes, accurate lines, and careful shading to bring car designs to life. Both hand and digital methods are used to create pictures that look realistic and clear.
Sketching Silhouettes

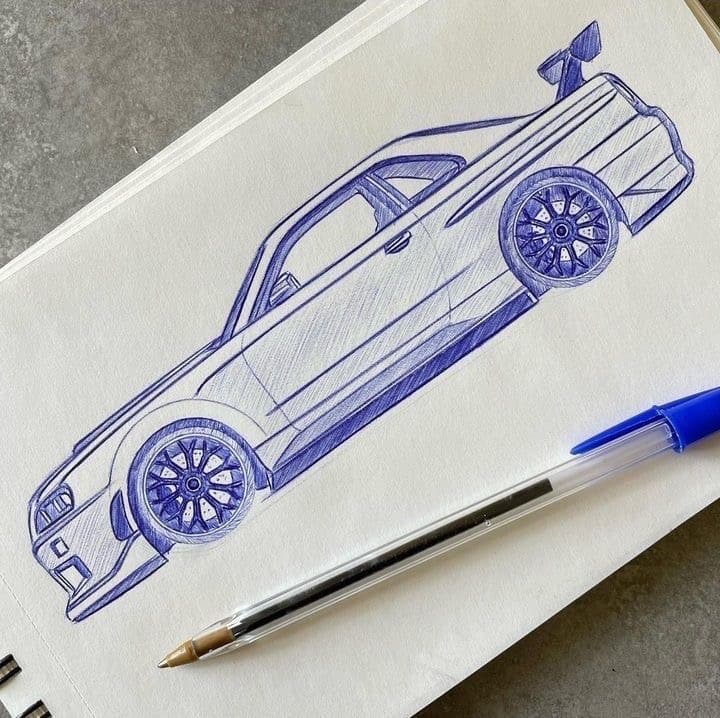
The silhouette is the outline shape of a car seen from the side. Designers start with this to quickly show a car’s overall style and size.


They use soft pencils or digital brushes to draw the main lines. Short strokes help them focus on proportions without getting lost in details. They often sketch several silhouettes side-by-side to compare ideas or to see which shape looks better.
Steps for sketching a car silhouette:
- Draw a ground line.
- Sketch the wheel arches.
- Connect the roofline, hood, and rear.
- Refine the curves until the shape looks appealing.
Designers often look at existing cars for reference but adjust lines to create something new. Even at this simple stage, the silhouette gives a feeling of what the final car could become.
Using Vectors for Precision


Vectors are digital lines and curves created with software tools. They are used to draw clear shapes and adjust designs with perfect accuracy.
Programs like Adobe Illustrator or specialized CAD tools let designers resize lines, change angles, and fix mistakes without redrawing. Each part of the car, like windows, doors, or lights, can be managed as separate vector shapes.
Main advantages of vectors:
- Easy to edit without losing quality
- Scalable to any size
- Perfect for making blueprints or plans
Designers can print large images or share files with engineers. Vectors make it easy to move from early sketches to technical drawings used in car production.
Representing Three-Dimensional Appearance
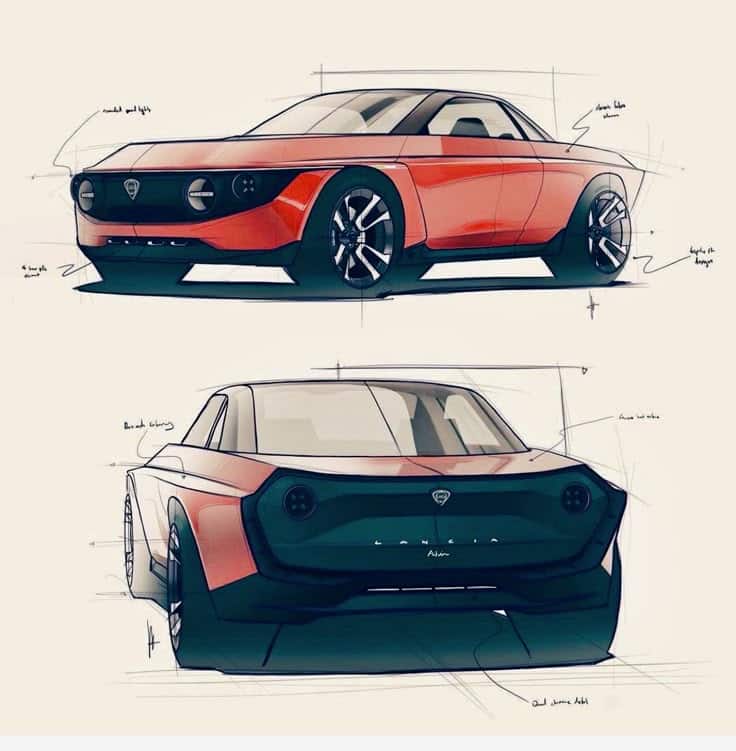

A flat drawing can look more realistic if the designer creates a sense of depth and volume. Shading, perspective, and highlights help show the three-dimensional appearance of a car.
Designers first choose the viewing angle, such as front, side, or three-quarter view. They use darker shades to show areas away from the light and leave white spots for reflections. Outlines get thicker or thinner to suggest which parts are closer or further away.
Sometimes, designers move from a hand sketch to a computer to build a 3D model. Software can help turn 2D shapes into forms that look solid and real. This step is important for showing how the car might appear in real life, even before it is built.
Tools and Software Used by Car Designers

Car designers rely on a mix of traditional tools and modern software. Each option offers unique benefits for creating, reviewing, and refining automotive drawings.
Traditional Drawing Tools


Car designers often start with classic drawing tools. Sketchbooks, pencils, rulers, and markers are common items found in any design studio. These tools encourage rapid idea development and allow designers to explore shapes quickly.
Tape drawing is another important method, especially in automotive studios. Designers use thin strips of tape on large boards to outline a car’s shape at full scale. This helps teams see the size and flow of the design in real life.
Key items in traditional car design:
| Tool | Use |
|---|---|
| Pencils & Markers | Quick sketches and bold outlines |
| Tape | Full-scale profiles and curves |
| Rulers/Templates | Straight lines and standard shapes |
| Sketchbooks | Collecting and refining ideas |
Physical tools make it easy for designers to brainstorm and share concepts with colleagues before moving to digital platforms.
Digital Drawing Applications
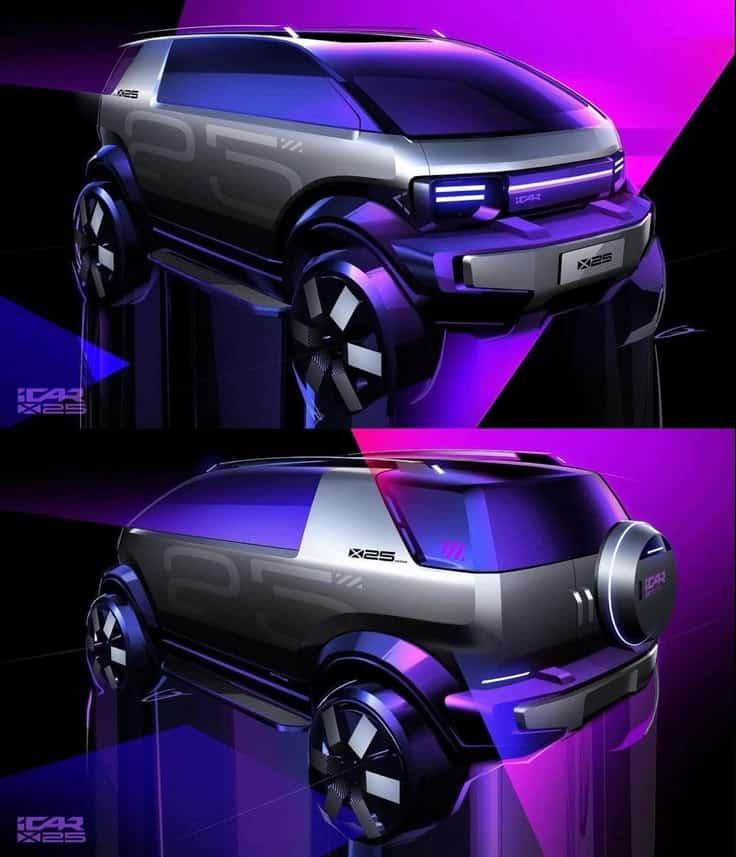
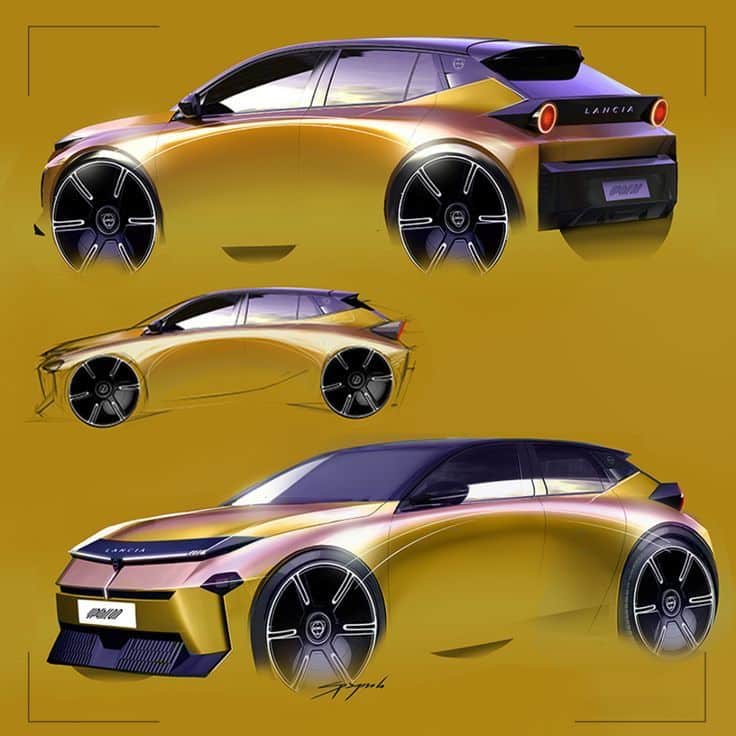
Today, most car designers use digital tools for both concept work and final drawings. Programs like Autodesk Alias and Adobe Photoshop are popular for sketching and rendering. These allow designers to adjust lines, shapes, and colors with precision.
Computer-Aided Design (CAD) software supports detailed modeling and helps move drawings from 2D sketches into 3D visualizations. Designers can rotate, zoom in, and modify their models in real time. This makes feedback and revisions fast and straightforward.
Main digital tools in car design:
- Autodesk Alias: 3D modeling for shapes and surfaces
- Adobe Photoshop: Digital sketching and rendering
- CAS (Computer-Aided Styling) Software: Styling and surface development
- Wacom Tablets: Drawing interface for artists
Digital applications help designers create complex drawings, share files with teams, and prepare designs for manufacturing.
Automotive Drawings in Education and Industry

Automotive drawings help students and professionals understand every part and shape in vehicle design. They are used to teach drawing skills and help create real car parts for the industry.
Role in Automotive Design Courses
Students use automotive drawings to learn about car design and the details of each vehicle part. Courses often include both hand drawing and Computer-Aided Design (CAD).
Students use these drawings to practice showing the:
- Front
- Side
- Top
- Sectional views
They learn to read and create drawings that show measurements, shapes, and how parts fit together. In vocational and technical schools, drawing is an important part of automotive engineering classes. It helps students build the skills needed for jobs in car design and repair.
Teachers also use drawing as a way to test if students truly understand how cars are built.
Applications in Professional Settings


In car factories and design studios, workers and engineers use automotive drawings every day. These drawings guide the making of car parts, moldings, and assembly lines.
CAD is now common for creating, sharing, and editing automotive drawings. It helps save time and improves accuracy. Drawings provide step-by-step instructions for building vehicles and checking quality.
Lists of uses in the industry:
- Prototypes: Designers make and test vehicle ideas with drawings.
- Production: Workers follow drawings to assemble cars.
- Safety checks: Engineers use drawings to inspect for problems and ensure safety requirements are met.
These drawings are a key tool in turning car designs into real vehicles.
Visual Storytelling and Illustrations


Automotive drawings use images and short videos to share ideas, show design features, and explain how cars work. Both illustrations and videos help viewers imagine the shape, function, and look of a vehicle with ease.
Creating Impactful Visuals
Illustrations in car design focus on clear outlines, shading, and accurate details. Designers use strong lines to show a car’s shape and style. Simple color palettes help highlight special features like headlights, wheels, or grilles.
Key techniques for strong visuals:
- Use of contrasting colors to separate parts
- Accurate proportion and scale
- Adding shadows for depth
- Keeping unimportant details light or faded
Sometimes, drawings turn into quick storyboards. These storyboards can show how a car moves, how it might look in different settings, or even how different audiences could interact with the car.
Use of Videos in Automotive Drawing
Short videos help design teams share changes, ideas, and how cars work. Videos can record the drawing process or show digital sketches step-by-step.
Many studios use time-lapse videos to show how a car’s design grows from a simple sketch into a full drawing. Animations help explain motion, such as how doors open or wheels turn.
Some videos combine illustrations and text to point out special car features. These videos help clients or teams understand design choices faster than viewing separate drawings.
Videos and moving images give life to flat sketches, making the design process more clear and engaging.
Trends and Innovations in Automotive Drawing

Automotive drawing methods have changed with new technology and design ideas. These changes affect how cars are imagined and planned before they are built.
Digital Advancements
Digital drawing tools are now a standard part of automotive design teams. Programs like Gravity Sketch, AutoCAD, and Adobe Illustrator let designers create precise sketches and 3D models. These tools allow for quick changes, easy sharing, and collaboration, especially when teams work in different places.
Some companies use virtual reality (VR) to help designers “walk around” their cars and make adjustments in real time. This also helps engineers spot problems before building. Table 1 shows a quick comparison of popular digital tools:
| Tool | Main Use | Benefit |
|---|---|---|
| Gravity Sketch | 3D concept sketching | Realistic, fast editing |
| AutoCAD | Precise drafting | Technical detail |
| Adobe Illustrator | Styling and rendering | Easy touch-ups |
Digital advancements also help save time and reduce costs, as fewer physical models are needed.
Emerging Styles and Techniques


Automotive drawings are showing more creative design styles. Designers now blend sharp edges with rounded forms for stronger visual impact, a method influenced by trends in recent decades. They focus more on making cars aerodynamic while still looking attractive.
Techniques like layering, shading, and applying color digitally help highlight features such as body lines, grills, and headlights. There is also a move toward sketching detailed interiors earlier in the design process, not just car exteriors.
A list of new drawing techniques includes:
- Layered digital sketches for depth
- Highlighting reflections for realism
- Fast concept sketches to test ideas
These methods make the drawings more useful for both design teams and clients, as they can better understand what the finished car will look like.
Showcasing and Sharing Automotive Drawings
Sharing automotive drawings helps designers get feedback, build connections, and find new chances for work. Both digital and in-person methods are used for showing these drawings, and each has its own benefits.
Online Platforms and Communities
Many designers post their automotive sketches and renderings on online platforms. Websites like Behance, ArtStation, and Instagram have active design communities where users share work, follow trends, and get advice from peers. Some groups focus only on car design.
Online forums and groups let designers:
- Discuss progress and learn from others
- Collect feedback quickly
- Stay updated on industry news
Some digital tools, like Gravity Sketch and 3D VR programs, let people show 3D models, making sharing more interactive. Designers can also join contests or group projects, making the experience less lonely and more motivating.
Presenting Work to Clients
When showing work to clients, the goal is clarity and impact. Full-size printed layouts or large digital displays can help the client see every detail. Designers often explain sketches in stages, starting with rough ideas and moving to more polished views.
A clear table or comparison list can show choices:
| Design | Features | Purpose |
|---|---|---|
| A | Sleek | Sport Vehicles |
| B | Roomy | Family Cars |
Presentations might include both hand-drawn and computer-made images. Using video or live sketching can make things easier to understand. In some cases, showing 3D models on screens lets clients see the car from every angle. This helps them make decisions and ask questions on the spot.
- 2.0Kshares
- Facebook0
- Pinterest2.0K
- Twitter3
- Reddit0


