Photography is an art form that allows you to express creativity through visual storytelling. Whether you’re a seasoned photographer or just starting out, finding fresh ideas for photoshoots can sometimes be challenging. The beauty of photography lies in discovering inspiration everywhere—from everyday objects around your house to the natural world outside your window.
Looking for new photography concepts doesn’t always require elaborate setups or models. Simple items like water drops, coins, or even paper can transform into fascinating subjects when viewed through your lens. For those days when you have no one to photograph, consider exploring abstract photography, architecture, food styling, or long exposures—these genres can yield stunning results while helping you develop new technical skills.
Experimenting with different environments can also spark creativity. Try setting up a milk bath photoshoot with flowers, capturing rim light on vintage home fixtures, or simply documenting the changing patterns of sunlight throughout your living space. These accessible ideas can be implemented right away using whatever camera equipment you already have on hand.
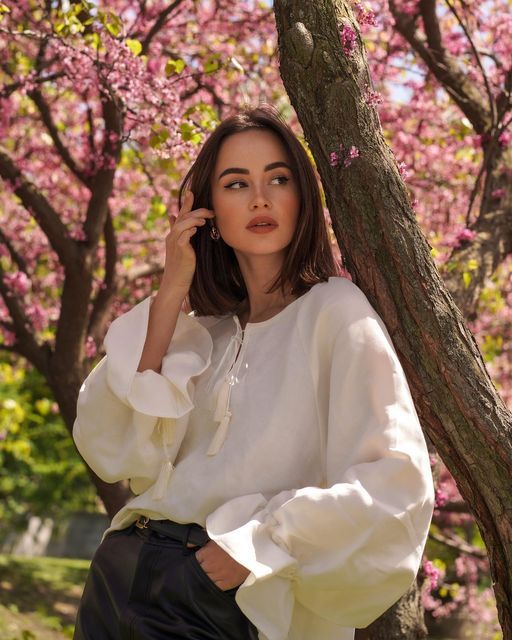
Key Takeaways
- Inspiration for photography shoots can be found in everyday objects and locations around your home, no special equipment required.
- When you have no portrait subjects available, explore alternative genres like abstract, architectural, or food photography to keep developing your skills.
- Experimenting with lighting, composition, and simple props can transform ordinary scenes into extraordinary photographic opportunities.
Getting Started With Photography Shoot Ideas
Diving into photography is an exciting journey where creativity meets technical skill. The right approach can transform ordinary moments into extraordinary images that tell compelling stories.
Understanding the Basics of Photography
Before jumping into creative shoot ideas, it’s important to grasp some fundamentals. Start by learning about the exposure triangle – aperture, shutter speed, and ISO. These three elements control how light enters your camera and ultimately determines the look of your photos.
Try shooting in different lighting conditions to understand how they affect your images. Morning and evening golden hours provide soft, flattering light that’s perfect for beginners.
Practice the rule of thirds by placing your subject at the intersection points of an imaginary grid dividing your frame into thirds. This simple technique can dramatically improve your composition skills.
Experiment with black and white photography to train your eye to see contrast, texture, and form without the distraction of color. This exercise helps develop your artistic vision.
Choosing the Right Equipment
You don’t need expensive gear to start creating beautiful images! A basic DSLR or mirrorless camera with a kit lens is perfectly adequate for beginners. Even smartphone cameras can produce impressive results with proper technique.
Consider investing in a tripod for stability when shooting in low light or experimenting with long exposures. It’s an affordable accessory that can significantly expand your creative options.
Memory cards and spare batteries are essential items for any photography outing. Nothing ends a productive shoot faster than running out of storage or power!
As you progress, think about adding a prime lens (fixed focal length) to your kit. These lenses typically offer wider apertures, allowing for those beautiful blurry backgrounds (bokeh) that make subjects pop.
Importance of Planning Your Shoot
A successful photo shoot rarely happens by accident. Take time to research locations beforehand, checking weather conditions and optimal times for lighting.
Create a simple shot list of images you’d like to capture. This helps you stay focused and ensures you don’t miss important shots, especially when photographing people or events.
Consider the story you want to tell through your images. What emotion or message do you want to convey? Having this clarity before shooting guides your creative decisions.
Don’t be afraid to look for inspiration online or in photography books. Studying the work of photographers you admire can spark ideas for your own projects.
Remember that planning also includes preparing your equipment. Charge batteries, format memory cards, and clean your lenses before heading out to shoot.
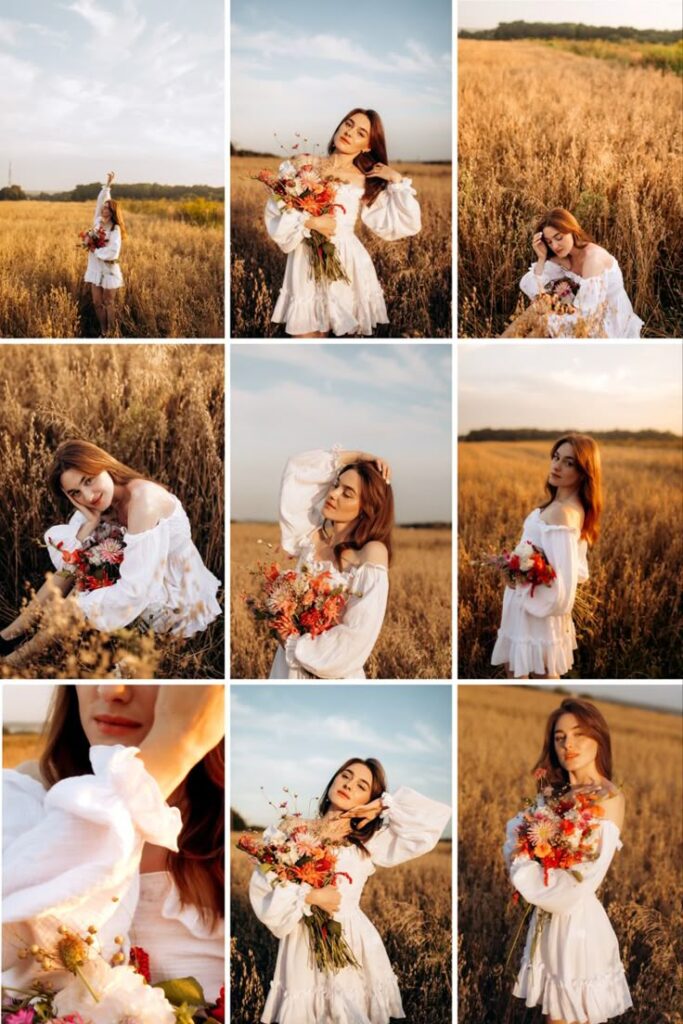
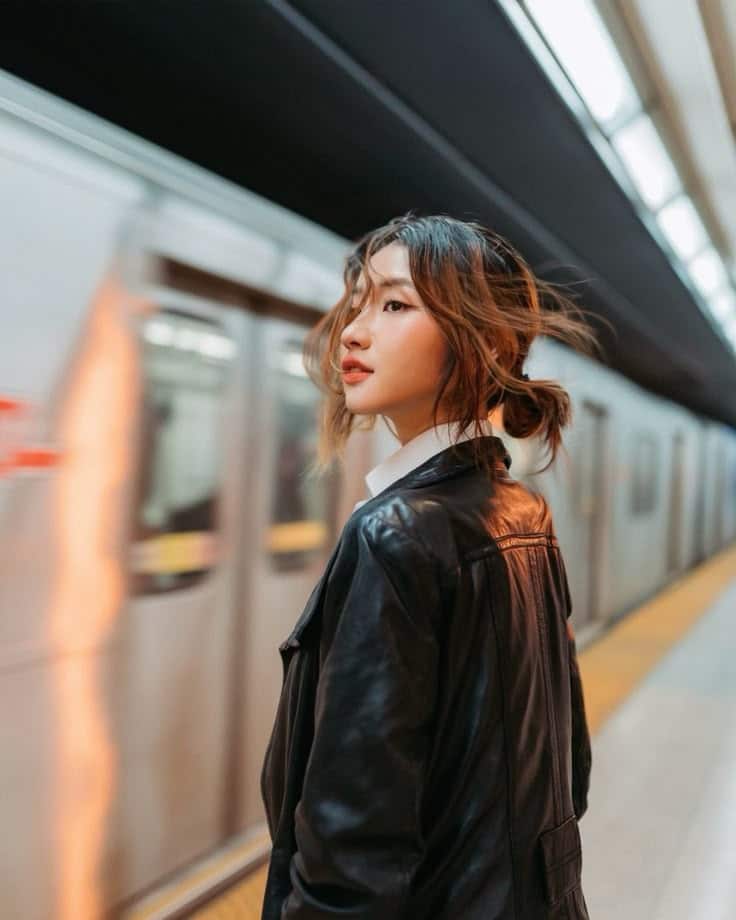
Creative Photography Shoot Ideas
Photography is all about expressing creativity and capturing unique perspectives. These ideas will help you break out of creative ruts and try something new with your camera, whether you’re a beginner or experienced photographer.
Portrait Photography Inspirations
Milk bath photography creates ethereal portraits with stunning visual appeal. Fill a bathtub with water, add milk (or a milk alternative), and arrange flowers or fruit around your subject for a dreamy, romantic effect.
Play with unconventional lighting to create dramatic portraits. Try using a flashlight, string lights, or even the glow from a smartphone to illuminate your subject’s face from unexpected angles.
Double exposure portraits blend two images together for artistic results. You can achieve this in-camera with some models or during post-processing by layering a portrait with texture images like trees, cityscapes, or abstract patterns.
Silhouette portraits against bright windows or sunset skies create powerful, emotive images. Position your subject in front of your light source and expose for the background to turn your subject into a distinctive dark shape.
Outdoor and Nature Photo Ideas
Forced perspective photography creates optical illusions that play with size and distance. Try positioning a friend so they appear to be holding the sun or leaning against a distant mountain.
Water reflection shots double the beauty of your scene. Look for still ponds, puddles after rain, or even bring a mirror outdoors to create your own reflective surface.
Macro photography reveals the hidden world around you. Explore your backyard or local park with a macro lens or close-up filters to capture intricate details of flowers, insects, or interesting textures.
Long exposure waterscapes smooth rushing streams or crashing waves into silky, dream-like compositions. Use a tripod and ND filter for best results, experimenting with different shutter speeds to find the perfect flow effect.
Thematic and Seasonal Concepts
Valentine’s-themed photo shoots incorporate romantic elements like rose petals, fairy lights, or heart-shaped props. Create intimate portraits of couples or stylized still-life arrangements celebrating love.
Seasonal transitions make compelling photo series. Document a single location through all four seasons, capturing how light, color, and mood transform throughout the year.
Household item photography challenges you to find beauty in ordinary objects. Photograph rimlocks, cast iron hinges, or the edge of paper with dramatic lighting to transform everyday items into artistic compositions.
Creative self-portraits let you be both photographer and subject. Set up themed shoots inspired by different eras, art movements, or emotions. Use a timer or remote trigger, and don’t be afraid to express different aspects of your personality.
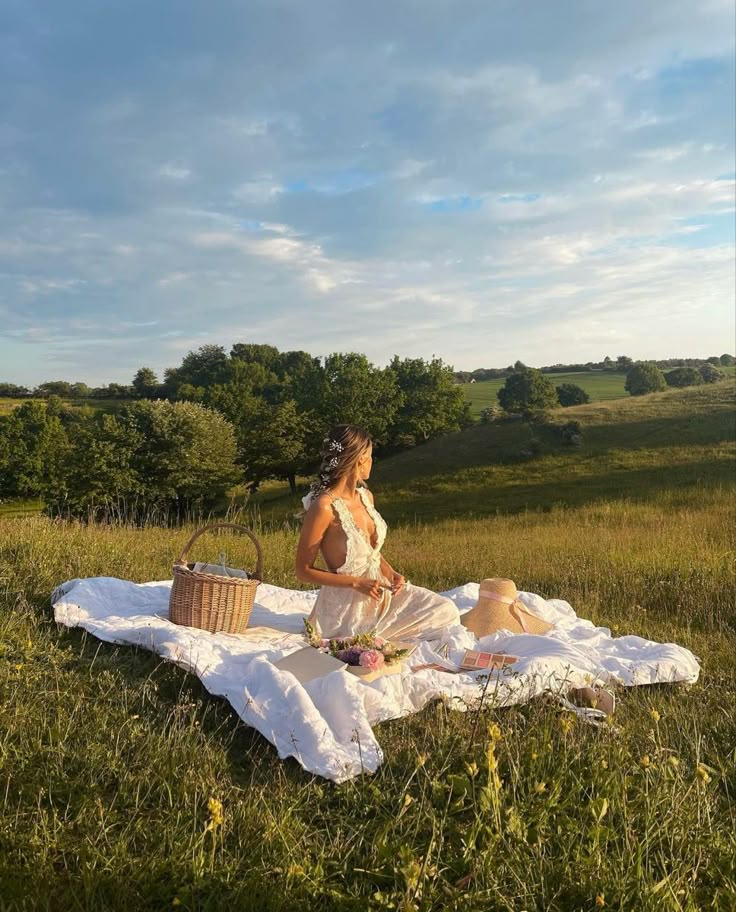
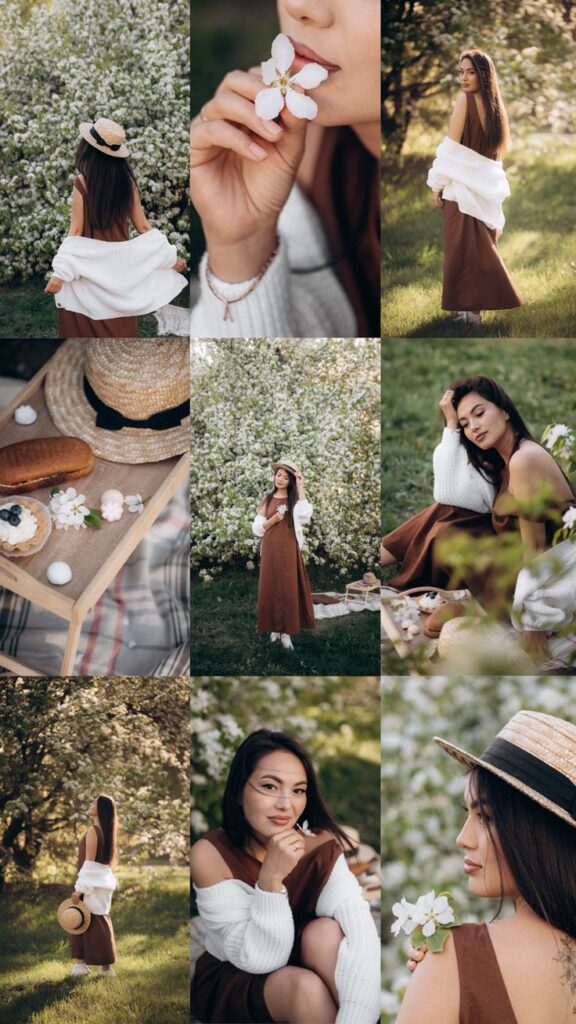
Enhancing Photos With Props, Outfits, and Color
The right accessories, clothing choices, and color schemes can transform ordinary photos into captivating visual stories. These elements work together to create depth, convey emotion, and highlight your subject in meaningful ways.
Selecting Props for Creative Impact
Props add personality and context to your photoshoots while giving your subjects something to interact with naturally. Consider items that tell a story or match your theme—like vintage furniture for retro shoots or colorful balloons for celebratory sessions.
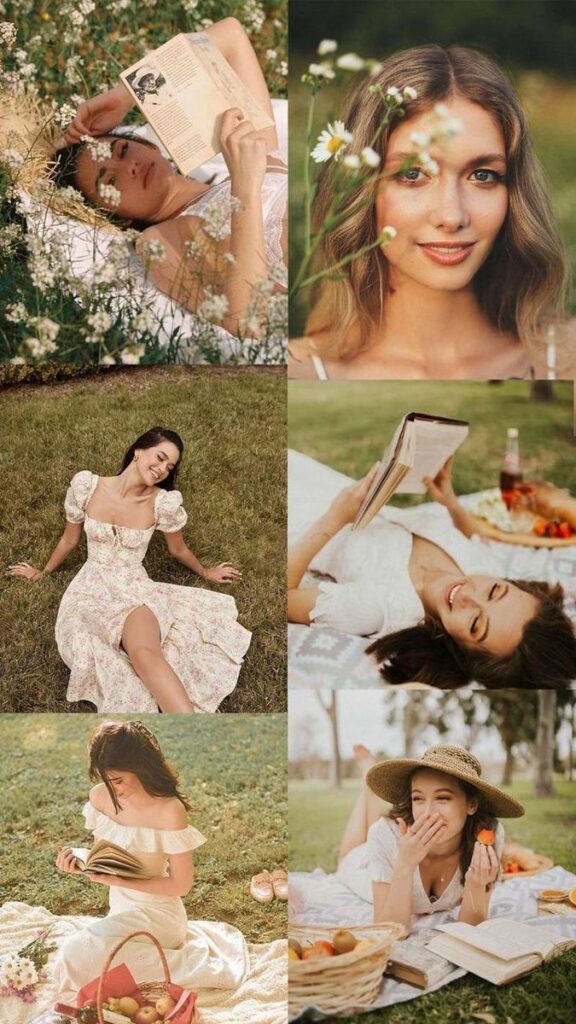
Everyday objects like coffee cups, books, and flower bouquets can make photos feel more authentic and lived-in. These simple items give hands something to do, creating more natural poses.
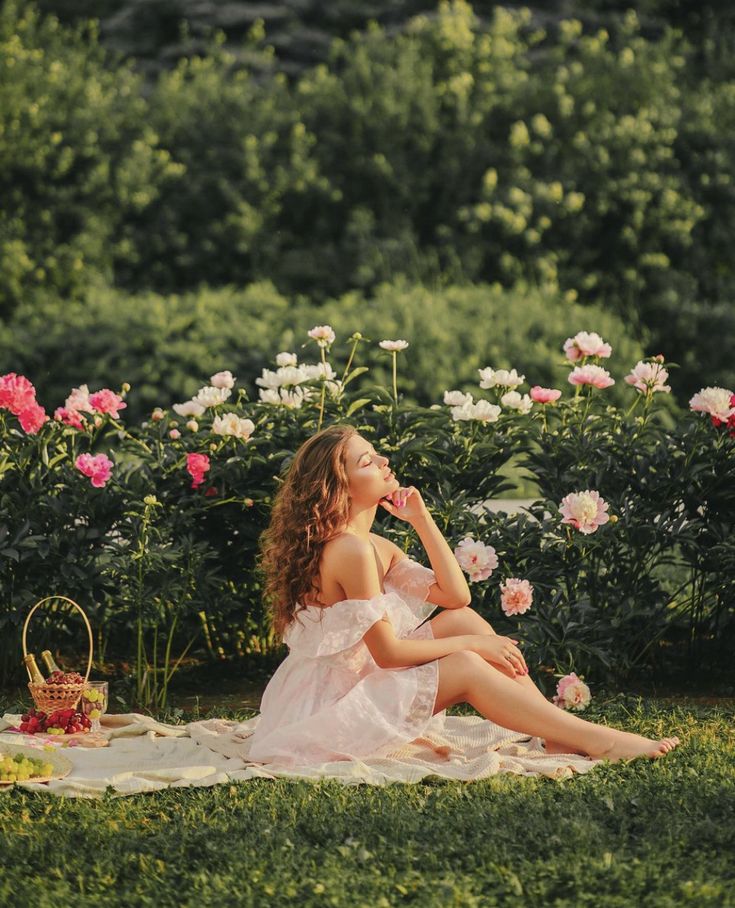
For outdoor sessions, try incorporating seasonal elements—fallen leaves in autumn, picnic baskets in summer, or umbrellas for rainy day shoots.
DIY props can add unique touches without breaking your budget. Handmade signs, paper crafts, or repurposed household items often create more meaningful images than store-bought alternatives.
Remember to keep props proportional to your subject. Oversized props can overwhelm smaller subjects, while tiny details might get lost in wider shots.
Coordinating Matching Outfits
Clothing choices significantly impact the mood and cohesion of your photos. For group shots, aim for complementary rather than identical outfits—think coordinated color families instead of everyone wearing the same shirt.
When advising clients on outfits, suggest they:
- Choose clothes they feel comfortable and confident in
- Avoid busy patterns that distract from faces
- Select timeless pieces over trendy items that may look dated quickly
Simple accessories like hats, scarves, or statement jewelry can transform basic outfits into dynamic looks. These elements add visual interest without requiring complete wardrobe changes.
For themed shoots, subtle nods to the concept often work better than costume-like outfits. A touch of vintage in a retro shoot feels more sophisticated than head-to-toe period clothing.
Crafting a Cohesive Color Palette
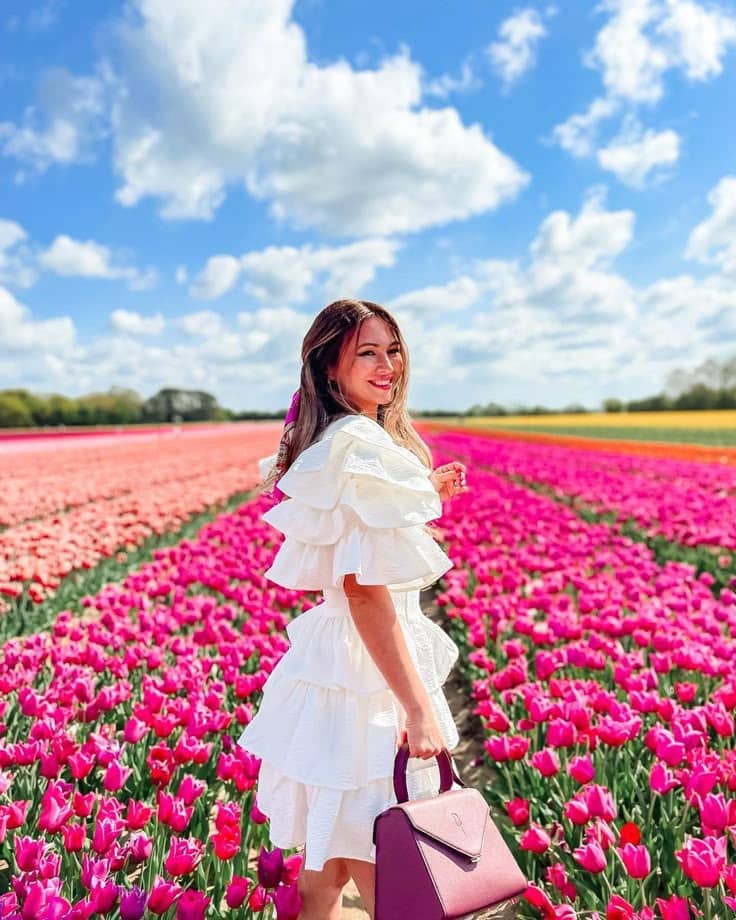
Your color choices set the emotional tone of your images and create visual harmony. Start by selecting 2-3 core colors that complement your location, theme, and the season.
Consider these color relationships for different effects:
- Complementary colors (opposite on color wheel): vibrant, eye-catching
- Analogous colors (next to each other): harmonious, peaceful
- Monochromatic schemes: sophisticated, minimalist
The location itself influences your palette. Beach sessions work beautifully with soft blues and neutrals, while urban environments might call for bolder contrasts and deeper tones.
Pay attention to how colors interact with different skin tones. Some shades naturally enhance complexions, while others can create unflattering casts.
Use color intentionally to guide the viewer’s eye toward your subject. A pop of bright color against a neutral background immediately draws attention to the most important elements in your frame.
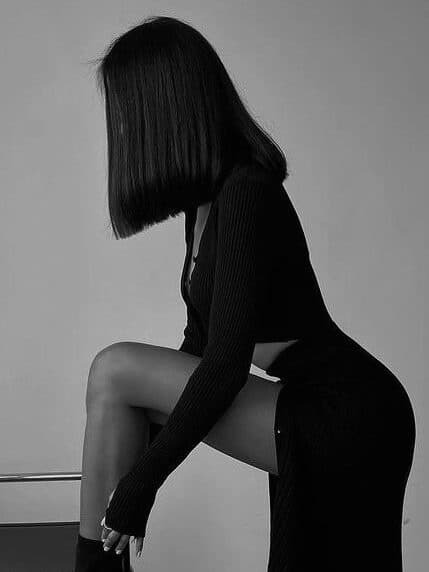
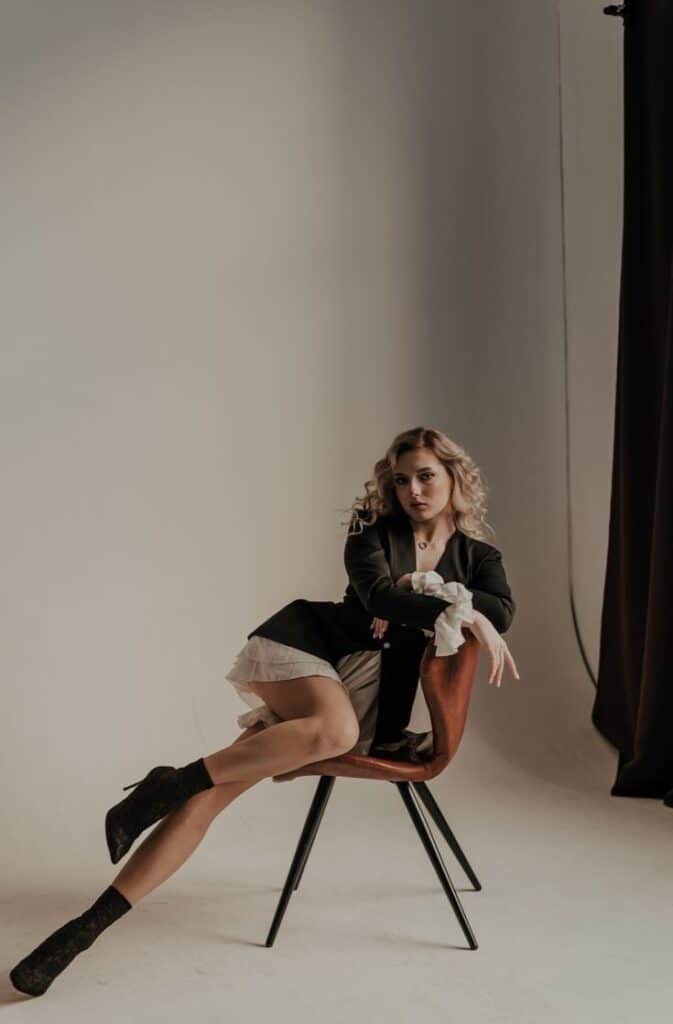
Mastering Composition and Lighting
The foundation of captivating photography lies in understanding how to arrange elements within your frame and manipulate light to create mood and dimension. These skills transform ordinary scenes into extraordinary visual stories.
Composing Striking Images
The rule of thirds is your best starting point for composition. Imagine your frame divided into nine equal segments by two horizontal and two vertical lines, then place key elements along these lines or at their intersections.
Leading lines are another powerful tool to guide your viewer’s eye through the image. Look for natural paths, roads, fences, or even shadows that can direct attention to your subject.
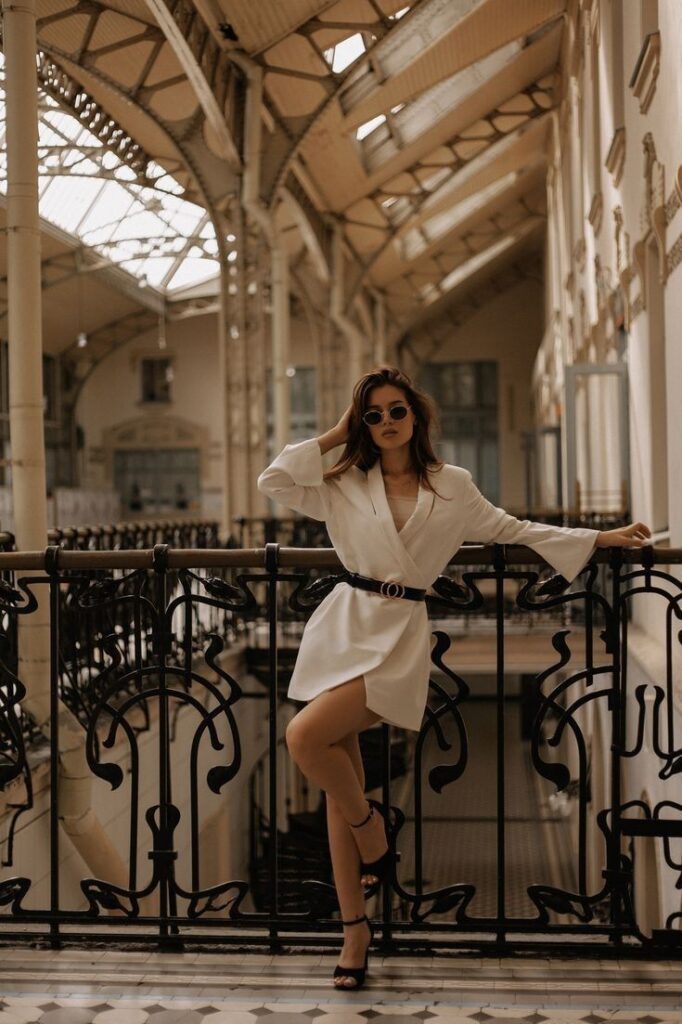
Frame your subjects creatively! Use doorways, windows, tree branches, or architectural elements to create a natural frame within your composition.
Don’t be afraid to play with perspective. Try shooting from above, below, or at eye level with your subject to create different moods and storytelling opportunities.
Remember that negative space can be just as important as your subject. Sometimes a minimalist approach with plenty of empty space creates a stronger emotional impact than a busy frame.
Using Natural Light Effectively
The golden hours—shortly after sunrise and before sunset—provide warm, soft light that flatters almost any subject. During these times, the low angle of the sun creates gentle shadows and a golden glow.
Window light is perfect for indoor portraits. Position your subject at a 45-degree angle to the window for dimensional lighting that highlights facial features beautifully.
Cloudy days offer their own magic! Overcast skies create a giant natural softbox, diffusing light evenly and eliminating harsh shadows. This is ideal for portraits and capturing rich colors.
Watch how backlight creates dramatic silhouettes or halos around your subject. Shooting toward the light source (while being careful not to damage your eyes) can create dreamy, atmospheric images.
Learn to read the direction and quality of light before you shoot. Is it harsh or soft? Directional or diffuse? These characteristics will determine your exposure settings and composition choices.
Exploring Artificial Lighting Options
A simple speedlight flash opens up countless creative possibilities. Try bouncing the flash off walls or ceilings to create softer, more natural-looking light instead of pointing it directly at your subject.
LED continuous lights are fantastic for beginners because what you see is what you get. They allow you to adjust positioning and intensity while seeing the effects in real-time.
Don’t underestimate household lamps! Strategic placement of floor lamps, desk lights, or even string lights can create beautiful, moody lighting for portraits and still life photography.
Experiment with color gels placed over your light sources to add creative color casts to your images. This simple technique can transform an ordinary scene into something magical.
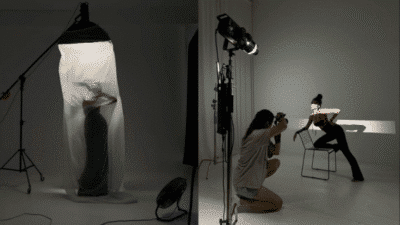
Light modifiers like softboxes, umbrellas, and reflectors are worth their weight in gold. They help shape light, control shadows, and add dimension to your subjects without requiring expensive equipment.
Editing and Post-Production Tips
Transforming your raw images into polished masterpieces is where your creative vision truly comes to life. The right post-processing approach can dramatically enhance your photography while maintaining authenticity.
Overview of Post-Production Workflow
Start by organizing your images in a logical system that works for you. Create folders by date, location, or subject to easily locate files when needed.
Back up your photos immediately after a shoot. Consider using the 3-2-1 rule: three copies, two different media types, with one copy stored offsite.
When culling images, make your first pass quick and decisive. Flag the strongest shots and delete obvious mistakes to streamline your workflow.
Develop a consistent editing sequence—begin with adjustments like exposure and white balance before moving to more detailed edits. This methodical approach ensures nothing gets overlooked.
Try creating different versions of the same shot with varied edits. This helps you visualize different creative directions and select the most impactful version.
Creative Editing With Adobe Photoshop
Adobe Photoshop offers powerful tools for transforming your images. Start with basic adjustments in Camera Raw before moving into the main interface for detailed work.
Learn to use adjustment layers instead of direct edits. These non-destructive tools let you experiment freely while preserving your original image data.
Master selection tools to make precise edits to specific areas. The Object Selection tool and Select Subject feature use AI to simplify complex selections.
Try creating layer masks to blend multiple exposures or selectively apply effects. This technique is perfect for challenging lighting situations or creative composites.
Experiment with color grading using Curves adjustment layers. You can create unique looks by adjusting individual RGB channels rather than overall color.
- 539shares
- Facebook0
- Pinterest539
- Twitter0
