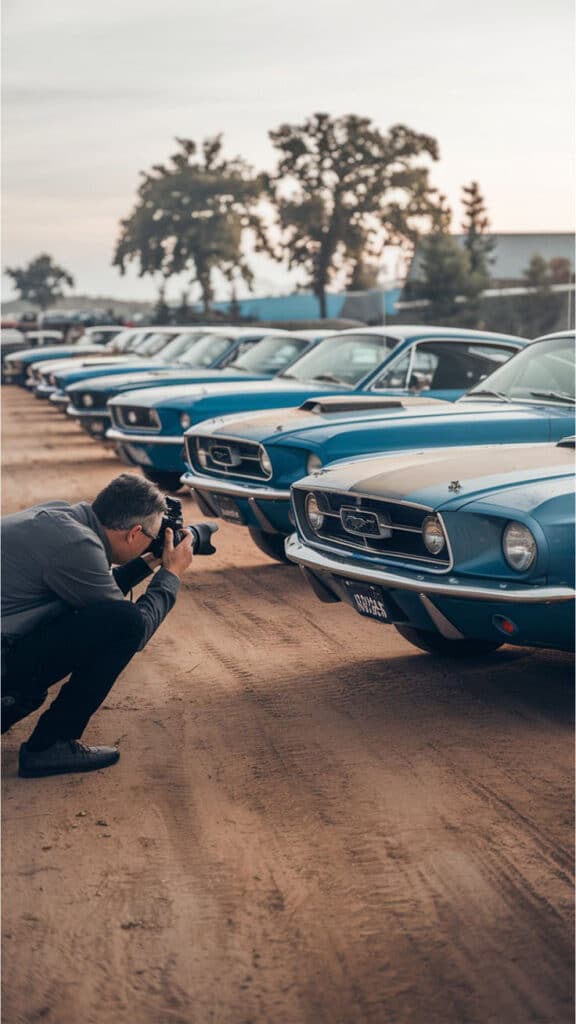
Car photography is about capturing the car’s shape, personality, and details clearly. The best way to take great car photos is to focus on lighting, angles, and background to highlight the vehicle’s features. Knowing how to use your camera settings can also make a big difference in the final image.
Choosing the right location and time of day matters a lot for car pictures. Proper lighting helps bring out the car’s colors and shapes without harsh shadows. Paying attention to composition keeps the car as the main focus and makes the photo more interesting.
Learning how to capture motion or still shots, along with editing afterward, can improve your images. Avoiding common errors like distracting backgrounds or bad light will help produce cleaner photos and show the car at its best.
Key Takeways
- Using good lighting and angles highlights the car’s best features.
- A clear background and strong composition strengthen each photo’s impact.
- Adjusting camera settings and editing improves overall image quality.
Essential Camera Equipment
Car photographers need gear that handles fast movements, sharp details, and varying light. Key equipment includes a camera body suited for high speed and image quality, lenses that capture wide angles and close-ups, and support tools to keep shots steady.
Choosing the Right Camera Body

A good camera body is important for sharp and clear car photos. DSLR or mirrorless cameras with fast autofocus and high burst rates are best. These features help capture fast-moving cars without blur.
Full-frame sensors offer better image quality, especially in low light. Cameras like the Canon EOS R5 or Sony A7 IV are popular choices. They balance speed, resolution, and reliability.
Durability matters too. Cameras with weather sealing resist dust and moisture, useful when shooting outdoors. A good grip and ergonomic design help with handling during long shoots.
Best Lenses for Car Photography
Lenses affect the look and detail of car photos. A versatile zoom lens, such as a 24-70mm f/2.8, lets photographers switch between wide shots and close-ups quickly. It helps in tight spaces and wide scenes.
Telephoto lenses like 70-200mm f/2.8 are ideal for capturing cars from a distance, making fast cars look powerful. Wide-angle lenses (around 16-35mm) create dramatic perspectives, showing the car in its environment.
Prime lenses with wide apertures (like 50mm f/1.8) provide sharp images and strong subject focus. Fast lenses also work better in low light and help create blur effects in backgrounds.
Tripods and Stabilization Gear
Tripods stabilize shots, especially in low light or for motion blur effects. Lightweight, portable tripods are best for moving between locations easily.
Gimbals or monopods help keep the camera steady while following moving cars or shooting from tricky angles. They reduce shakes that can ruin detail in fast-paced shots.
Using a remote shutter release or timer minimizes camera shake during long exposures. Stabilization gear is essential for sharp and professional images, even in challenging shooting conditions.
Mastering Camera Settings
Camera settings impact the sharpness, clarity, and overall quality of car photos. Adjusting aperture, shutter speed, and ISO correctly can make the difference between a good shot and a great one.
Optimal Aperture for Sharpness
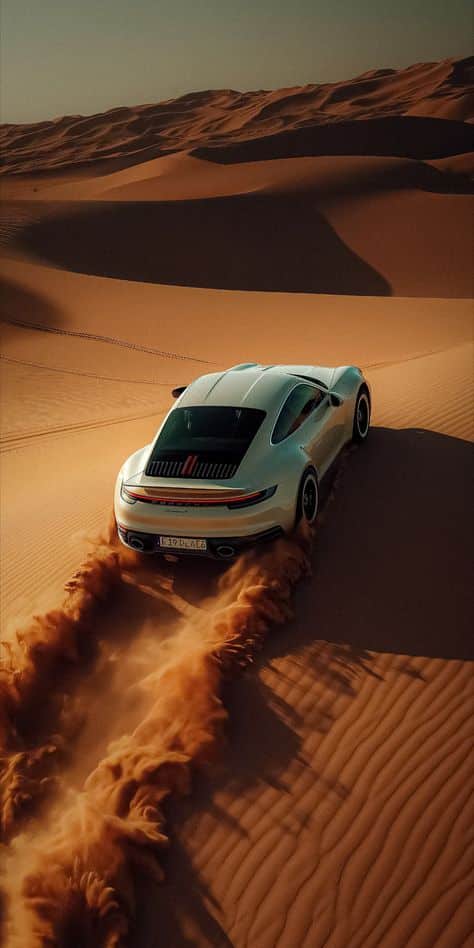
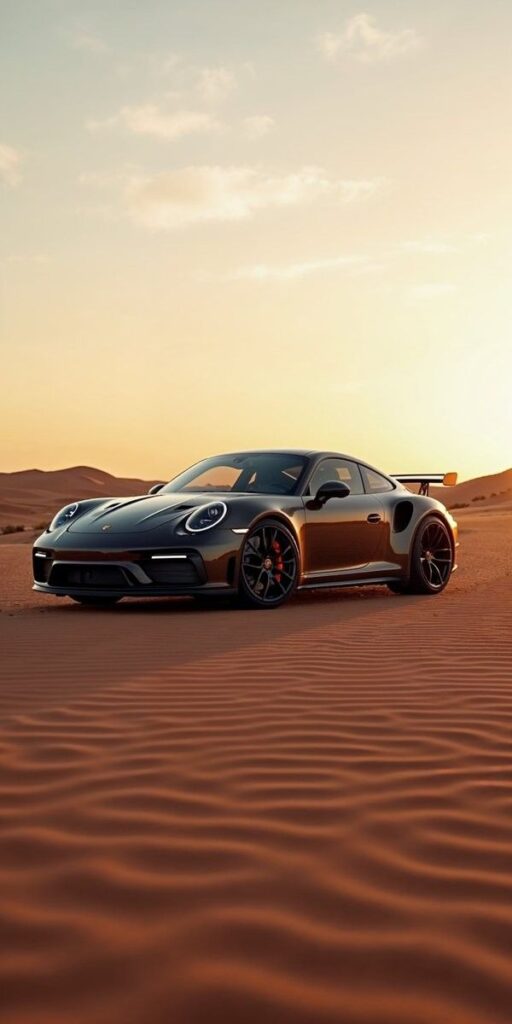
Choosing the right aperture is key to sharp car images. Most lenses are sharpest between f/5.6 and f/8. This range provides a balance between depth of field and image clarity.
Using a wider aperture like f/2.8 can blur the background, highlighting the car but may reduce sharpness on the edges. A smaller aperture like f/11 or f/16 increases depth of field but can cause slight softness due to diffraction.
For single-car shots, use mid-range apertures for maximum detail. For group shots or scenes where everything should be in focus, a smaller aperture may be better.
Shutter Speed Techniques
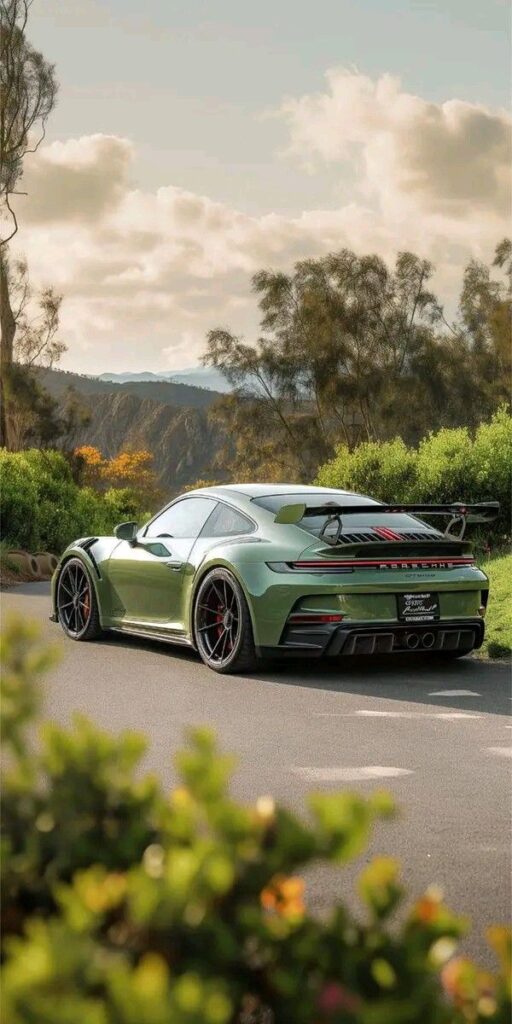

Shutter speed controls motion capture. For still cars, a speed of 1/125 second or faster avoids blur from hand shake.
For moving cars, faster speeds like 1/1000 second freeze motion clearly. Slow shutter speeds like 1/30 second can create motion blur effects, showing speed or action if done carefully.
Use a tripod or steady surface when using slow shutter speeds to avoid camera shake.
Understanding ISO in Different Lighting
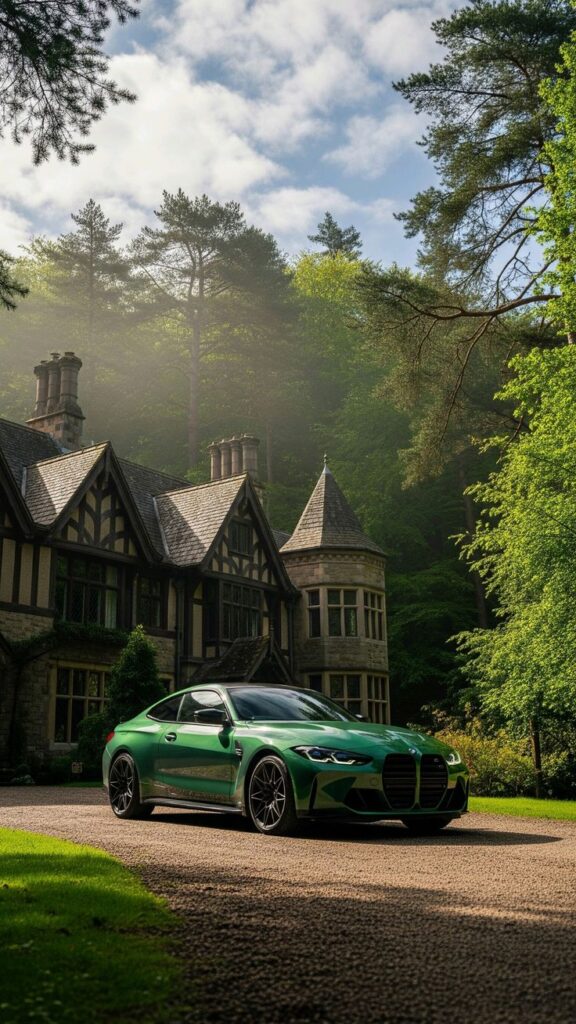

ISO affects the camera’s sensitivity to light. In bright daylight, use low ISO values like 100 or 200 to keep images clean and noise-free.
In low light or cloudy conditions, increasing ISO to 400 or 800 helps keep shutter speeds fast enough to avoid blur. Higher ISO values can add grain or noise, lowering image quality, so use them sparingly.
Modern cameras handle moderate ISO well, but it’s best to keep ISO as low as possible while maintaining proper exposure.
Lighting Strategies
Good lighting controls the way a car looks in photos. It affects shape, color, and reflections. Using the right type of light and tools can make the car’s details stand out or soften harsh shadows for a balanced image.
Natural Light vs Artificial Light


Natural light gives the car a true color look and can create strong highlights and shadows. Photographers must watch the position of the sun to avoid glare on the windshield or shiny areas. Overcast days are great for soft, even lighting without harsh reflections.
Artificial light offers control and consistency. Studio lights or LED panels let the photographer shape light direction and intensity. This works well indoors or at night. Using multiple lights can reduce shadows and highlight key details like the car’s curves and textures.
Golden Hour Shooting
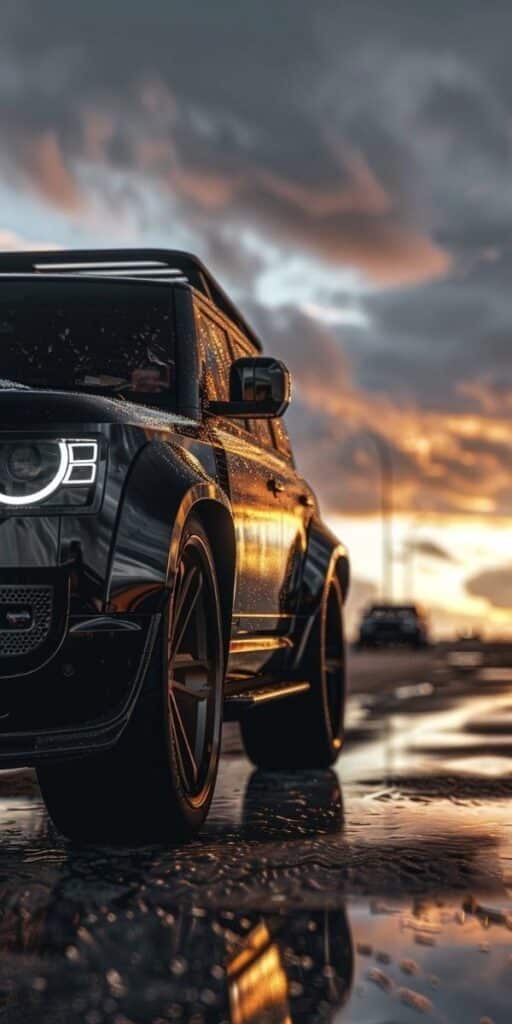
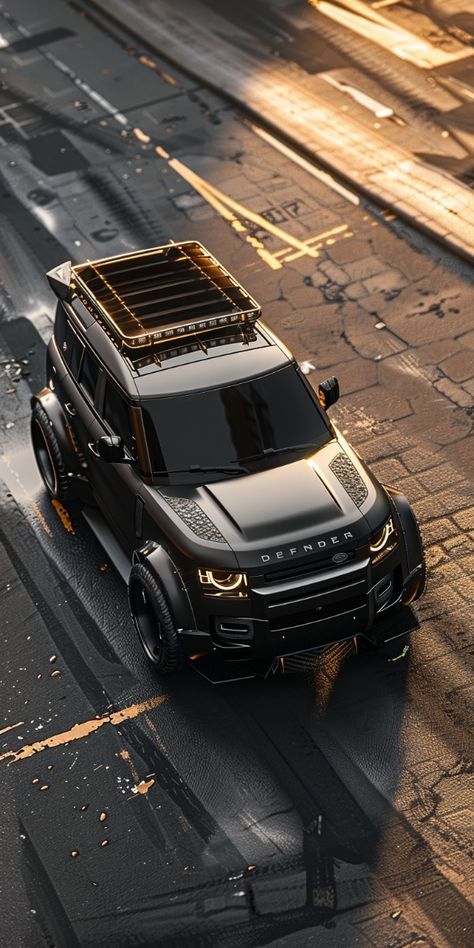
The golden hour occurs shortly after sunrise or before sunset. Light during this time is warm, soft, and low in the sky, which helps show the car’s shape clearly.
Colors appear richer and more natural during golden hour. Shadows are longer but not too harsh, which adds depth. Photographers often prefer this time because it avoids midday glare and brings out fine details.
Using Reflectors and Diffusers
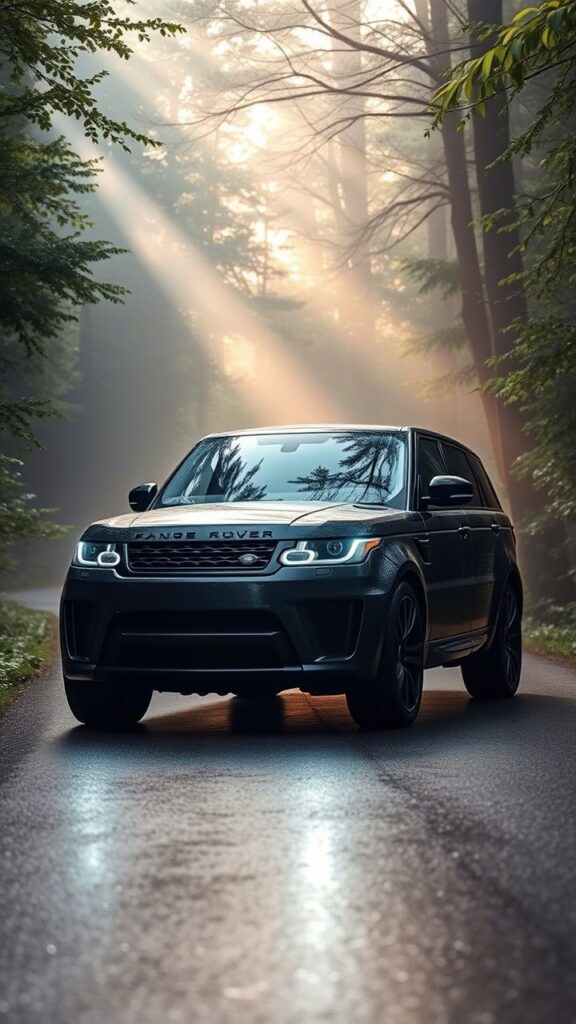
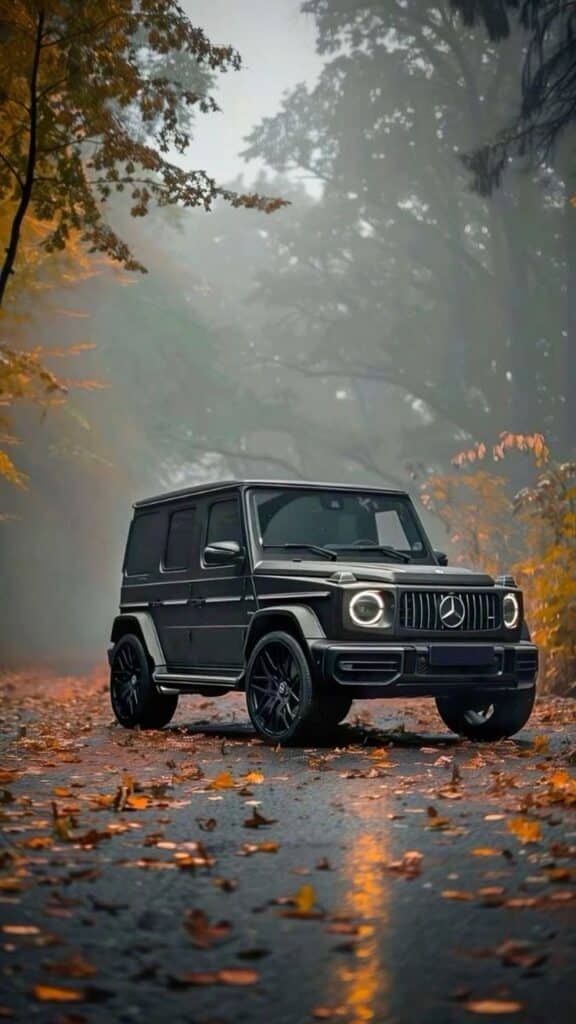
Reflectors bounce light back onto the car to fill in shadows. Silver reflectors add bright, cool light, while gold reflectors create warmer tones. White reflectors give soft, natural fill light. They help balance uneven sunlight or studio lighting.
Diffusers soften harsh light by spreading it evenly. They reduce bright spots and glare on shiny car surfaces. Using a diffuser outdoors or indoors creates smoother, more flattering light that shows the car without unwanted reflections.
Composition Techniques
Good composition guides the viewer’s eye and highlights the car’s best features. Using clear structure, the photographer can create balanced and interesting shots that show the car in its best light. Position, background, and angle all play important roles.
Rule of Thirds Application


The rule of thirds divides the frame into a 3×3 grid. Placing the car or key details along these lines makes the photo more balanced and pleasing.
For cars, the photographer often places the car’s front or a strong line like the hood along one of these vertical lines. Horizontally, the horizon or road usually fits well on one of the grid’s lines too.
This technique avoids placing the car dead center, which can feel static. Instead, it helps create movement and interest in the photo.
Framing with the Environment

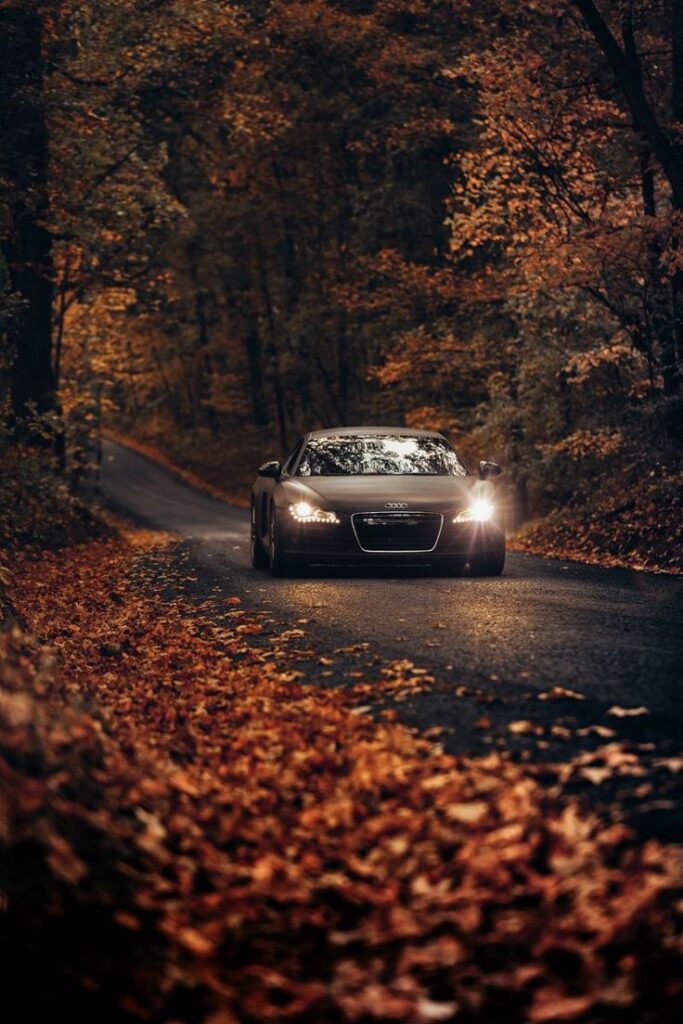
Framing uses natural or built elements around a car to focus attention. Trees, arches, or buildings can act like borders around the car.
This technique adds depth and context. For example, a car parked under a tree can be framed by the branches, making the shot feel more connected to its setting.
Photographers should look for shapes or lines in the environment that lead the eye straight to the car. Avoid cluttered backgrounds and aim for simple frames to keep the focus clear.
Dynamic Angles and Perspectives

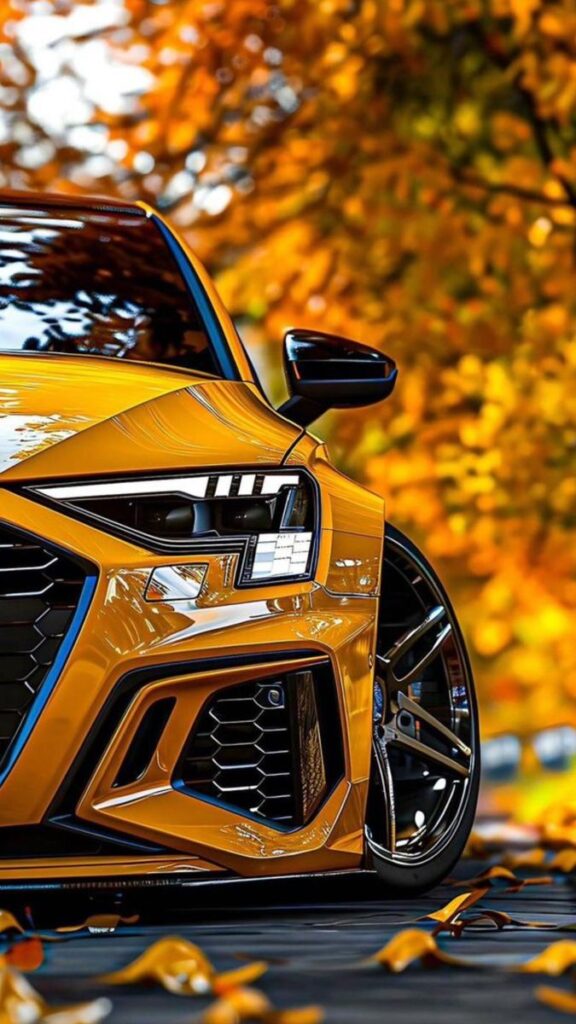
Shooting from low or high angles changes how a car looks. Low angles often make cars appear larger and more powerful.
Diagonal or three-quarter views show both the front and side of the car, providing more detail and depth. Straight-on angles can look flat but work well for symmetry.
Changing perspective breaks the usual eye level view, making photos more engaging. Experimenting with angles helps capture the car’s shape, lines, and personality.
Capturing Motion and Action
Capturing cars in motion requires specific techniques to show speed or freeze action sharply. Adjusting shutter speed and camera movement affects how motion appears in a photo.
Panning for Motion Blur
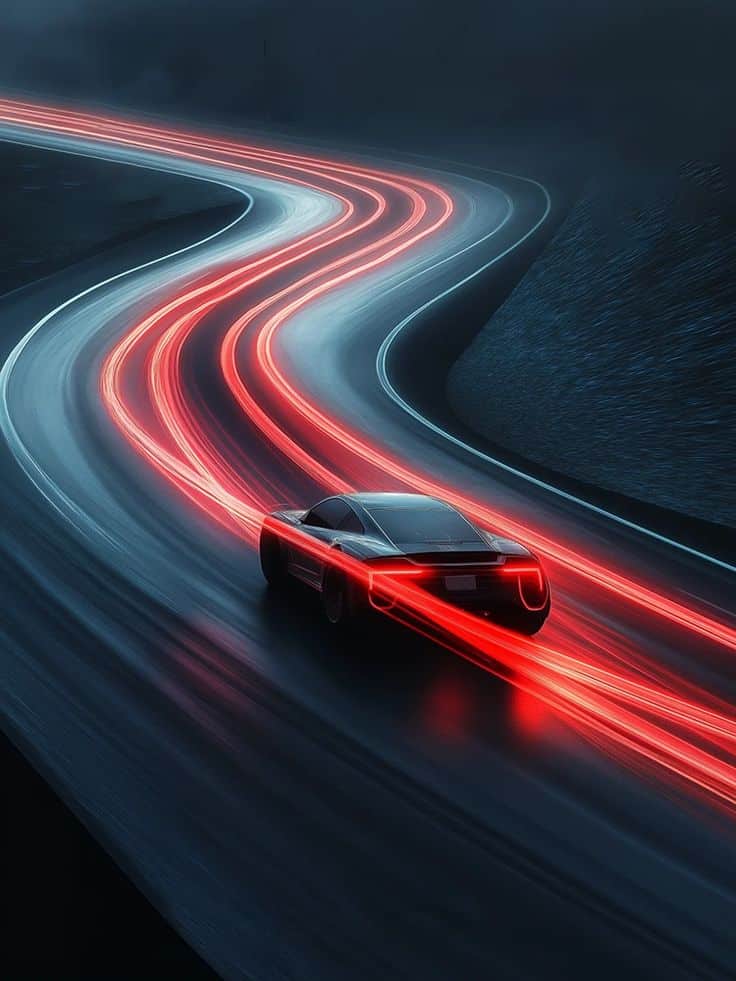

Panning involves moving the camera to follow a moving car while using a slower shutter speed. This keeps the car sharp but blurs the background, showing motion clearly.
A shutter speed between 1/30 and 1/60 seconds works well for panning. The photographer must track the car smoothly during exposure to avoid jerky lines or blur on the car.
Using continuous autofocus helps keep the car in focus while moving. A steady hand or tripod with a pan head can improve stability.
Freezing Fast-Moving Cars
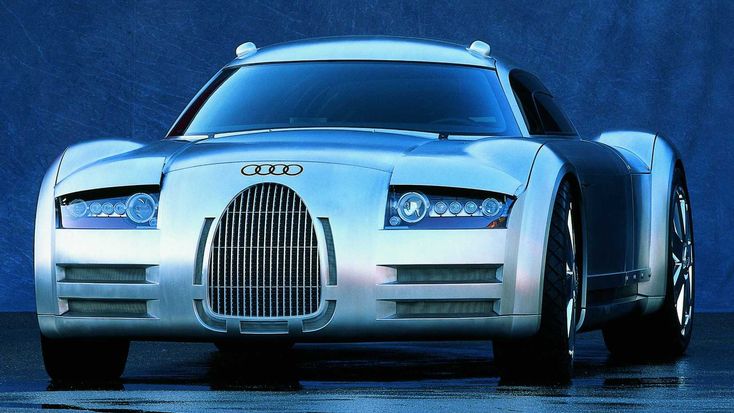
To freeze a car sharply, use a fast shutter speed, typically 1/1000 seconds or faster. This stops the motion and captures clear details like tires and reflections.
Good lighting or increasing ISO helps achieve fast shutter speeds. Burst mode lets photographers take rapid shots, increasing the chance of a sharp image.
A wide aperture allows more light, which supports faster shutter speeds. Using autofocus tracking ensures the camera follows the car’s movement for sharp focus.
Highlighting Car Details
Capturing a car’s unique parts brings out its character. Attention to specific features and close-up shots helps show quality and craftsmanship clearly.
Focusing on Key Features

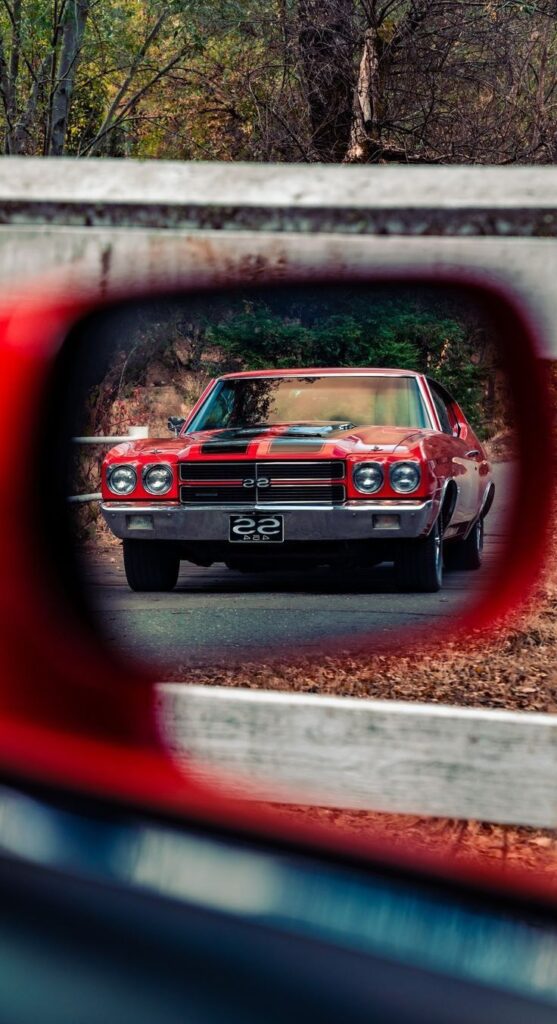
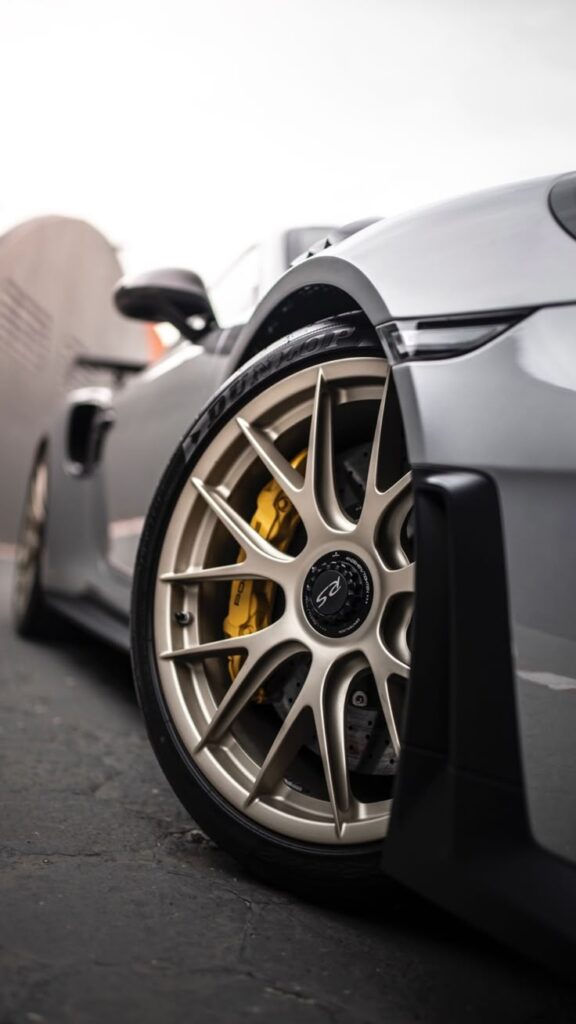
It is important to highlight parts that define the car’s style. Areas like headlights, wheels, and grills often reveal a lot about the car’s design.
Photographers should use angles that emphasize shape and texture. For instance, shooting headlights slightly from the side can show the light’s form and detail.
Using natural light helps prevent harsh shadows on key features. Early morning or late afternoon light is softer, highlighting details without glare.
Macro Shots of Emblems and Textures
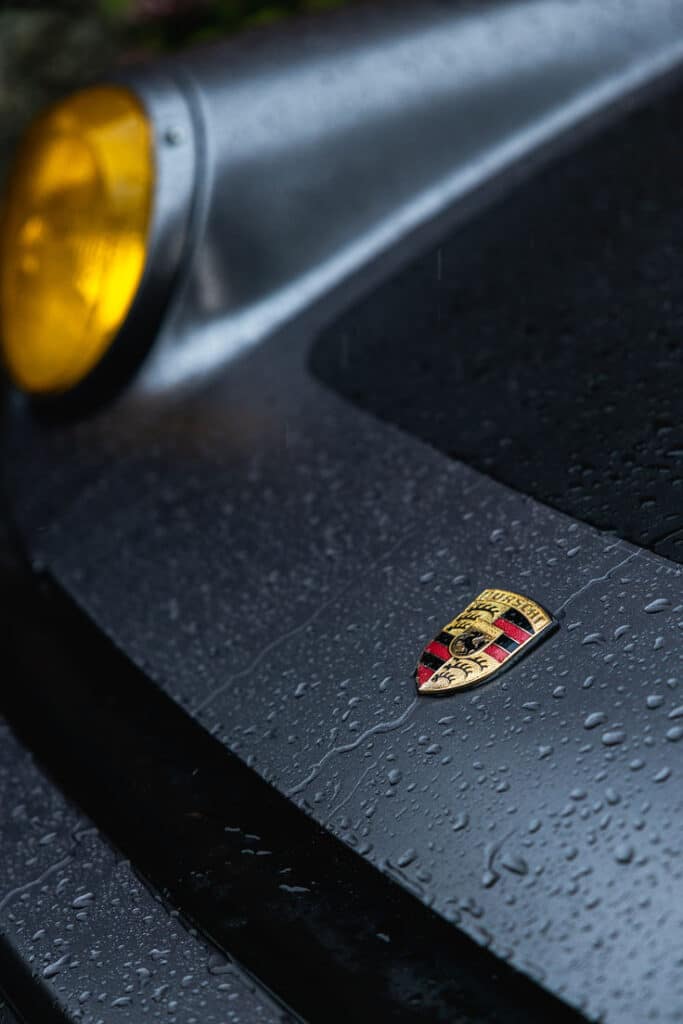

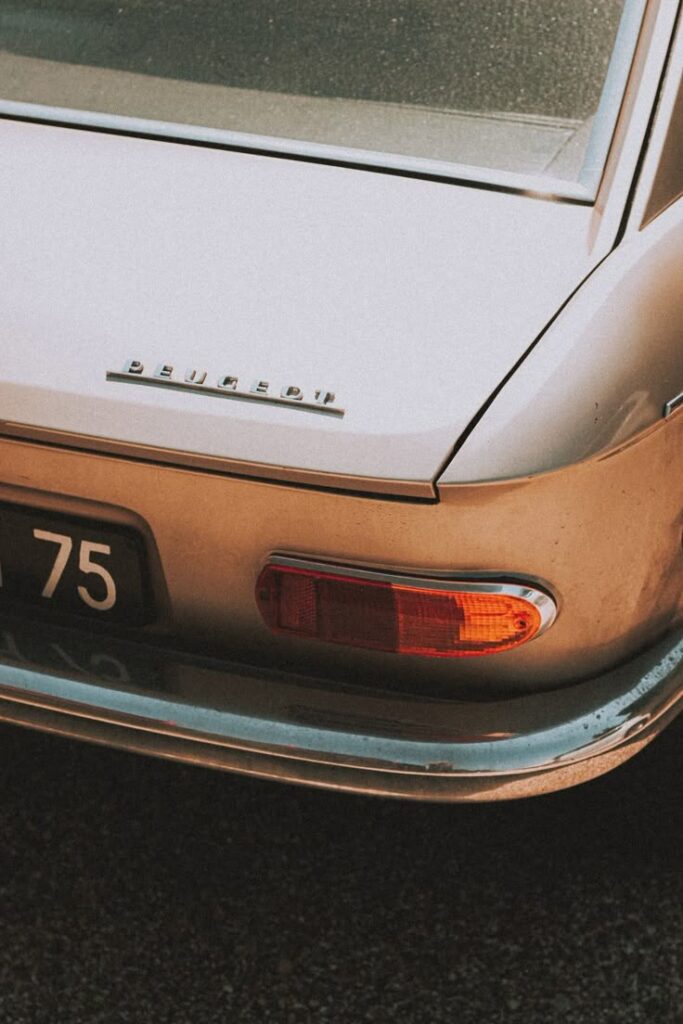
Close-up shots of badges, emblems, and surface textures show finer details. These shots bring attention to craftsmanship and branding.
Using a macro lens or the camera’s macro mode is essential for sharp detail. Focus carefully on the emblem or texture for the best clarity.
Textures like leather seats, metal finishes, or tire treads add interest. Capturing these makes photos feel more immersive and detailed.
Proper lighting close to the subject can bring out surface depth and contrast. Soft side lighting works well to avoid flat images.
Location and Background Selection
Choosing the right place and background is key to making car photos look professional. The choice affects how the car stands out and whether the image feels clean or cluttered.
Scouting Ideal Locations
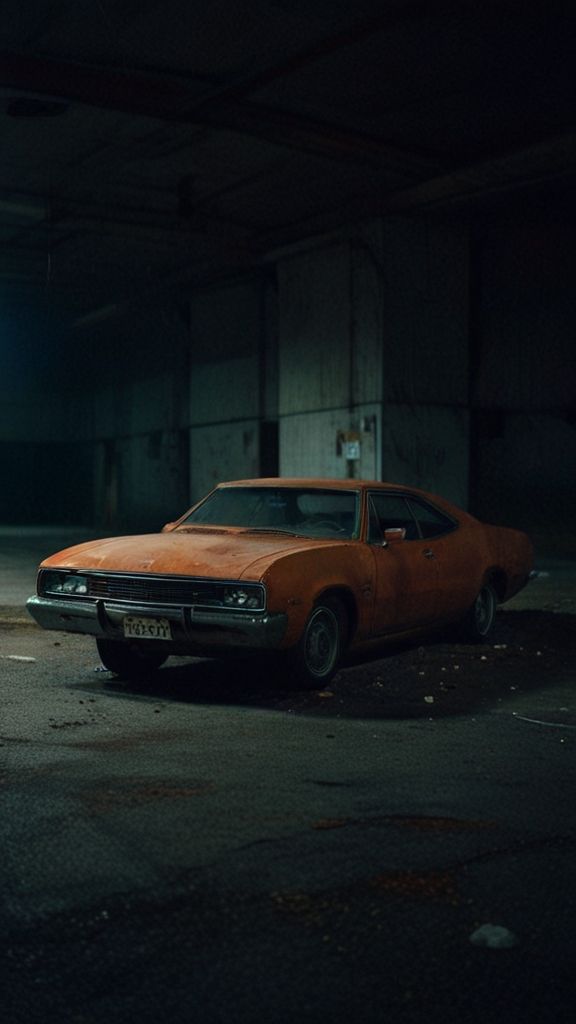
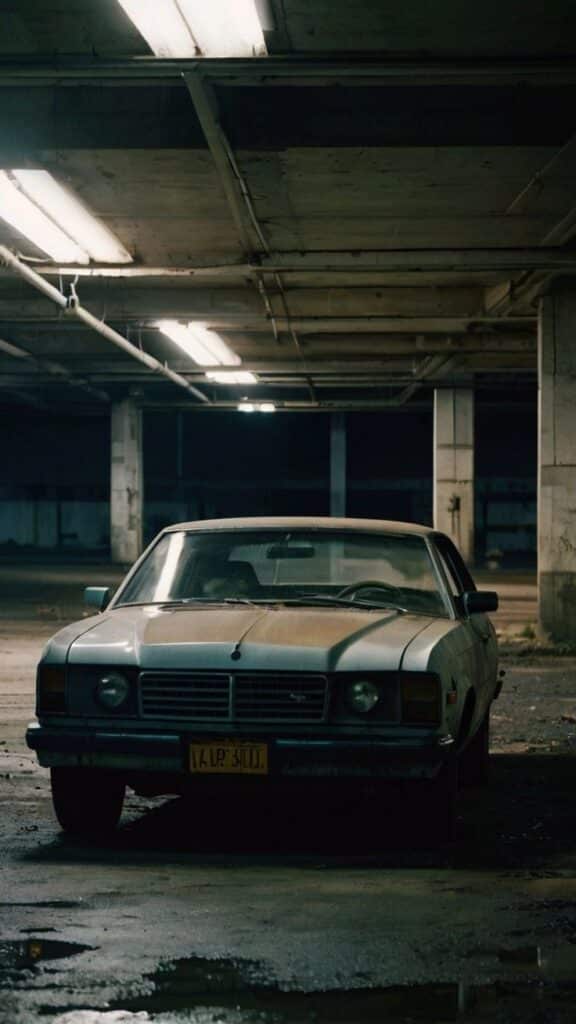
Finding good locations often means looking for spots with wide, open spaces or interesting textures like old brick walls or smooth concrete. Parking lots, empty roads, and scenic overlooks work well. The area should not be crowded or too bright.
Time of day matters. Early morning or late afternoon provides softer light and fewer people. This helps avoid harsh shadows and unwanted reflections on the car’s surface.
Managing Distractions in Backgrounds
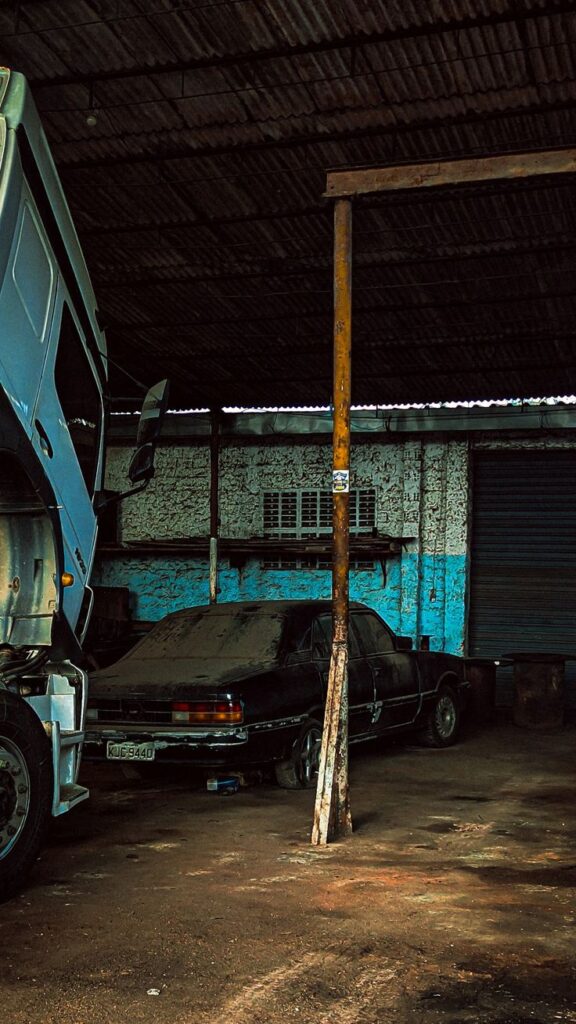
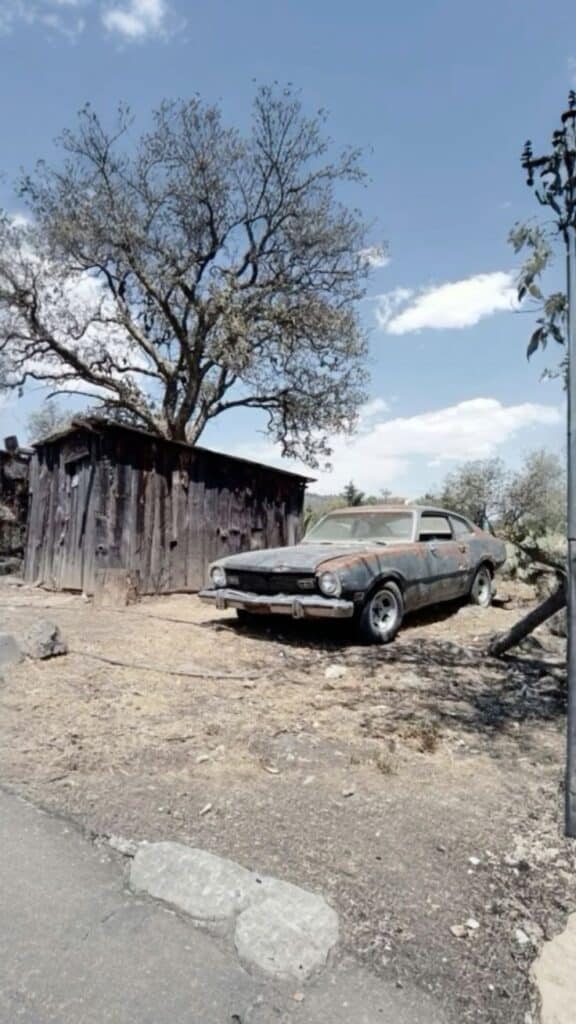
Distractions can ruin a photo. Things like trash cans, poles, or random cars should be moved out of the frame when possible. If they cannot be removed, changing the angle or zoom can hide them.
Background colors and shapes should not compete with the car. Neutral or uniform backgrounds like plain walls or calm landscapes keep attention on the vehicle. Using a shallow depth of field can blur busy backgrounds effectively.
Editing and Post-Processing Tips
Editing sharpens the image by fixing colors, removing distractions, and improving details. These steps make the car look as close to real life as possible while keeping it visually appealing.
Color Correction Essentials
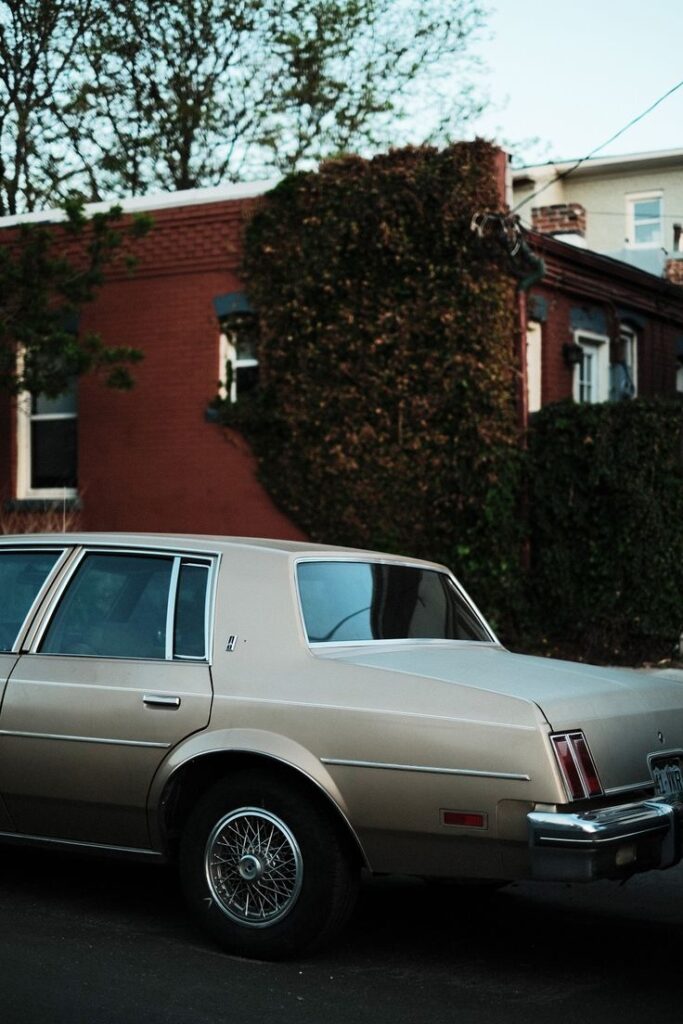

Color correction balances the colors so the car’s paint looks natural. Adjusting white balance removes unwanted color casts caused by lighting conditions.
Increasing vibrance boosts dull colors but avoids oversaturation. It helps the car’s paint stand out without looking fake.
Using targeted tools, like HSL sliders, allows changing specific colors. For example, the red paint can be made richer without affecting other parts of the photo.
Adjusting shadows and highlights recovers detail in bright or dark areas. This helps show reflections on the car clearly without losing texture.
Retouching Reflections and Imperfections

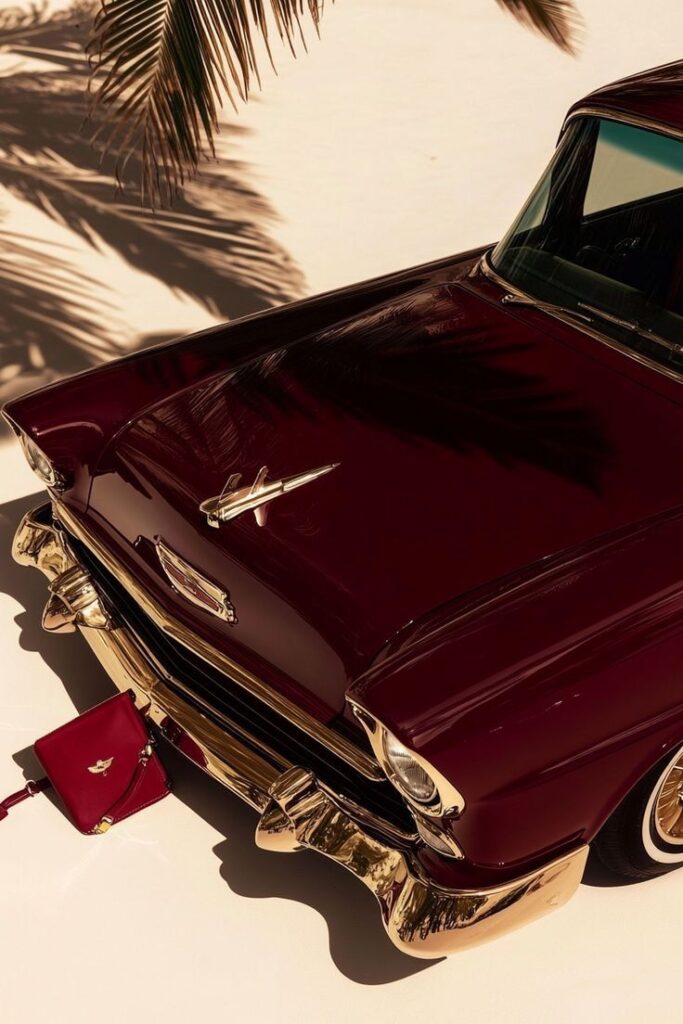
Reflections on a car can distract if they show unwanted objects. Tools like the clone stamp or healing brush remove these reflections carefully.
Small scratches, dust, and dirt spots on the car’s surface should be cleaned up. This keeps the finish looking smooth and polished.
Avoid over-editing reflections on curved surfaces. It can make the car look unnatural.
Work in small areas and zoom in to make precise edits. This prevents accidentally changing important details like logos or trim.
Enhancing Contrast and Clarity


Increasing contrast improves the separation between lights and darks. This adds depth to the car’s body and makes shapes more defined.
Clarity adjustments sharpen midtones and add texture. It enhances details like grills, tires, and badges.
Avoid pushing clarity too high. It can create harsh edges and noise in the photo.
Use local adjustments if available. Boost contrast and clarity only on the car, not the background, to keep the focus clear.
Showcasing Your Car Photography
Creating a strong presence for car photos involves organizing work professionally and reaching the right audience. Effective presentation helps attract clients, fans, or collaborators.
Building an Online Portfolio

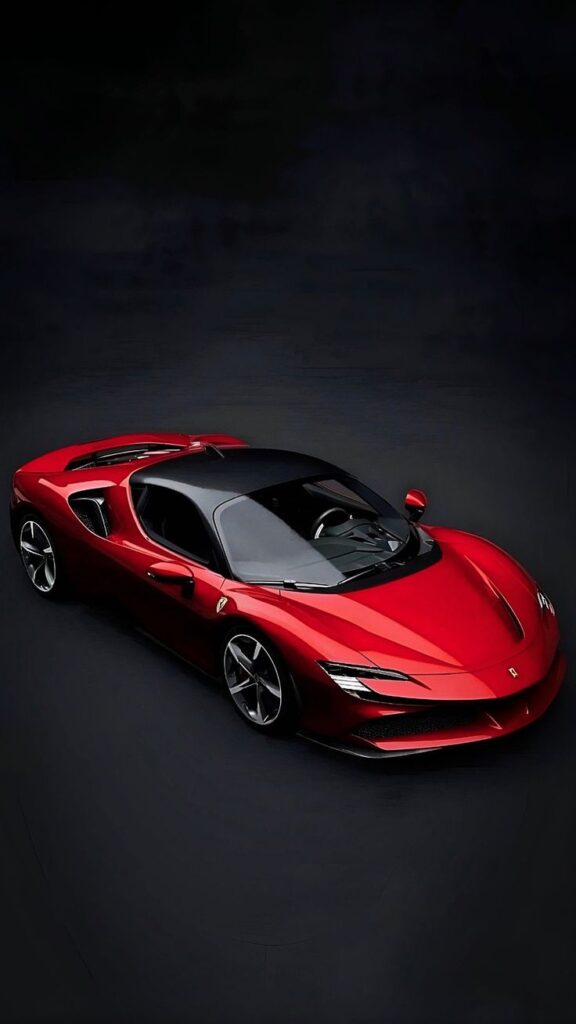
A clear, easy-to-navigate portfolio is essential. It should include high-quality images that display a variety of angles and lighting styles.
Photographers should use websites like Squarespace, Wix, or Adobe Portfolio for simple setup. Group photos by car model, color, or shoot style to improve browsing.
Include brief captions with details like car make, location, and shooting conditions. This adds context and shows knowledge.
Keep the portfolio updated regularly with new work to demonstrate growth and relevance.
Sharing on Social Media Platforms
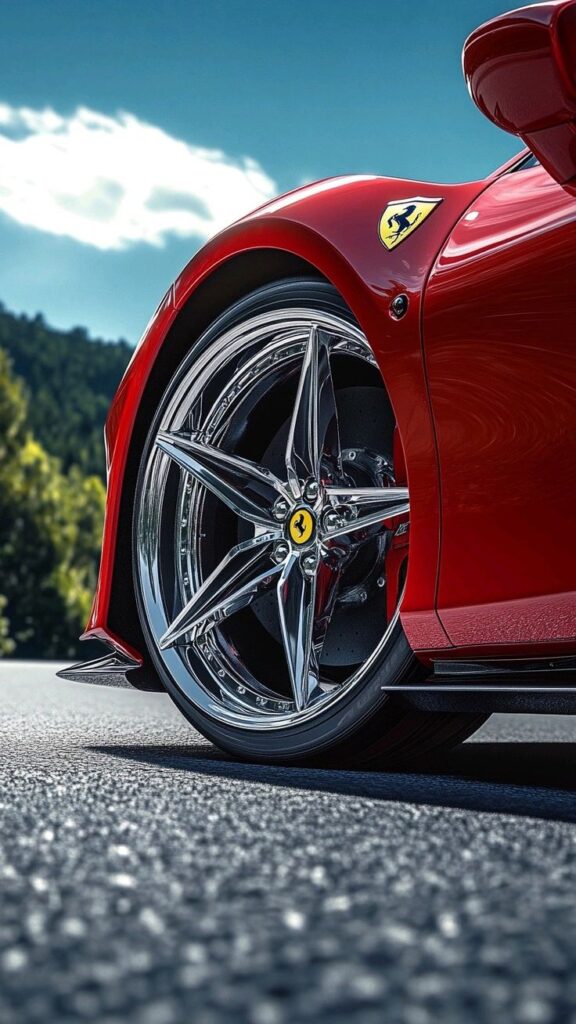
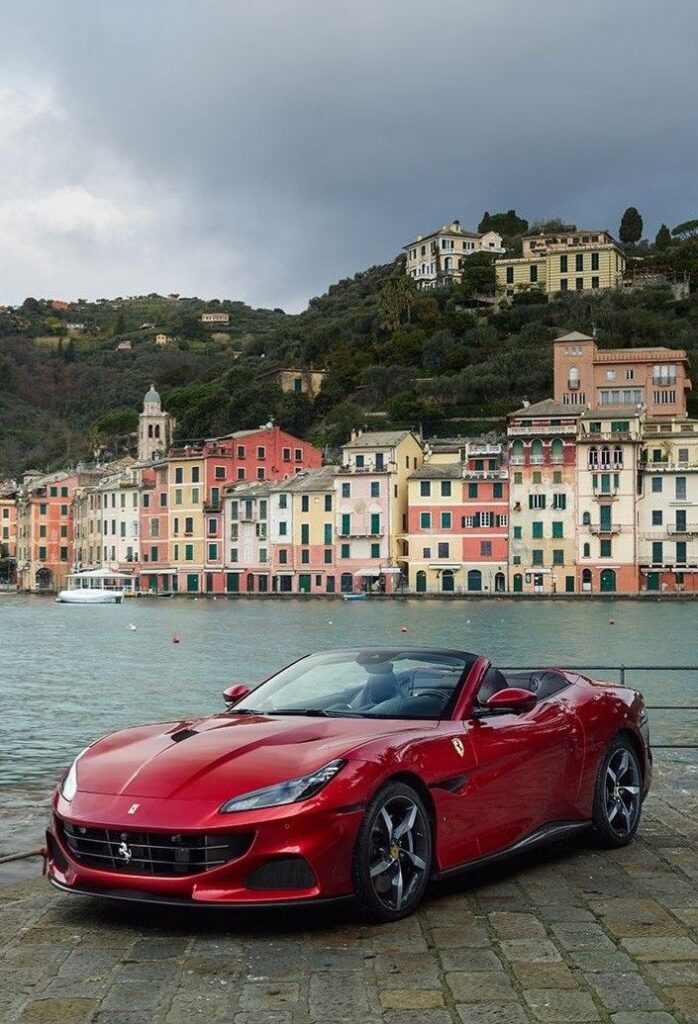
Social media helps reach a wider audience quickly. Platforms like Instagram, Facebook, and TikTok are popular for car photography.
Use relevant hashtags such as #CarPhotography, #AutoPics, or #CarShoot to increase visibility. Posting at peak times helps get more views.
Engage with followers by responding to comments and joining car photography groups. This builds a community and spreads content.
Posting short behind-the-scenes videos or tips can boost interest and make posts more dynamic.
Common Mistakes to Avoid
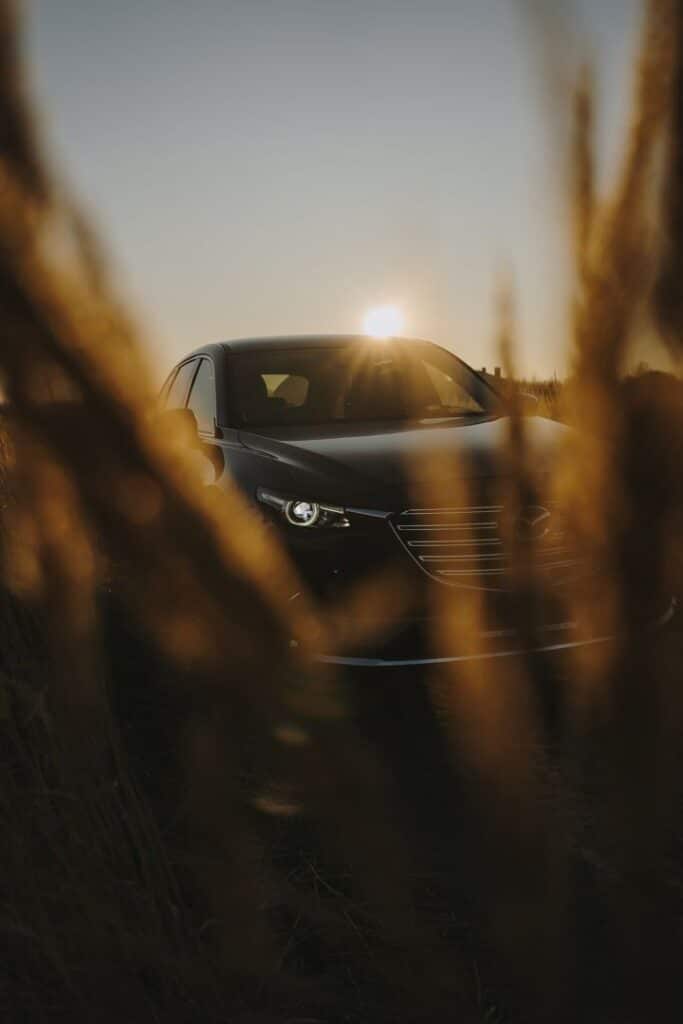

One common mistake is poor lighting. Many photographers shoot in harsh midday sun, creating strong shadows and bright spots. Soft, even light works best for car photos.
Another error is ignoring the background. A cluttered or distracting background can take attention away from the car. It is important to choose simple, clean surroundings.
Not paying attention to reflections can also hurt the photo. Shiny surfaces on the car can reflect unwanted objects or the photographer. Checking and adjusting angles helps reduce this problem.
Using the wrong camera settings is a frequent issue. Low shutter speed can cause blur, while high ISO can add noise. Proper settings keep the image sharp and clear.
Finally, poor composition weakens the picture. Centering the car every time gets boring. Using the rule of thirds or different angles improves the shot.
Key points to avoid:
| Mistake | Why It Hurts | How to Fix |
|---|---|---|
| Harsh lighting | Shadows and bright spots | Shoot in morning or evening |
| Distracting background | Takes attention away | Choose simple backgrounds |
| Unwanted reflections | Distracts from the car | Change shooting angle |
| Wrong camera settings | Causes blur or noise | Use proper shutter speed and ISO |
| Bad composition | Makes photos dull | Try varied angles and framing |
Advanced Car Photography Techniques
These techniques focus on creative lighting methods and capturing vehicles in low-light settings. Using specific tools and camera settings can help highlight the car’s shape and details.
Light Painting Cars
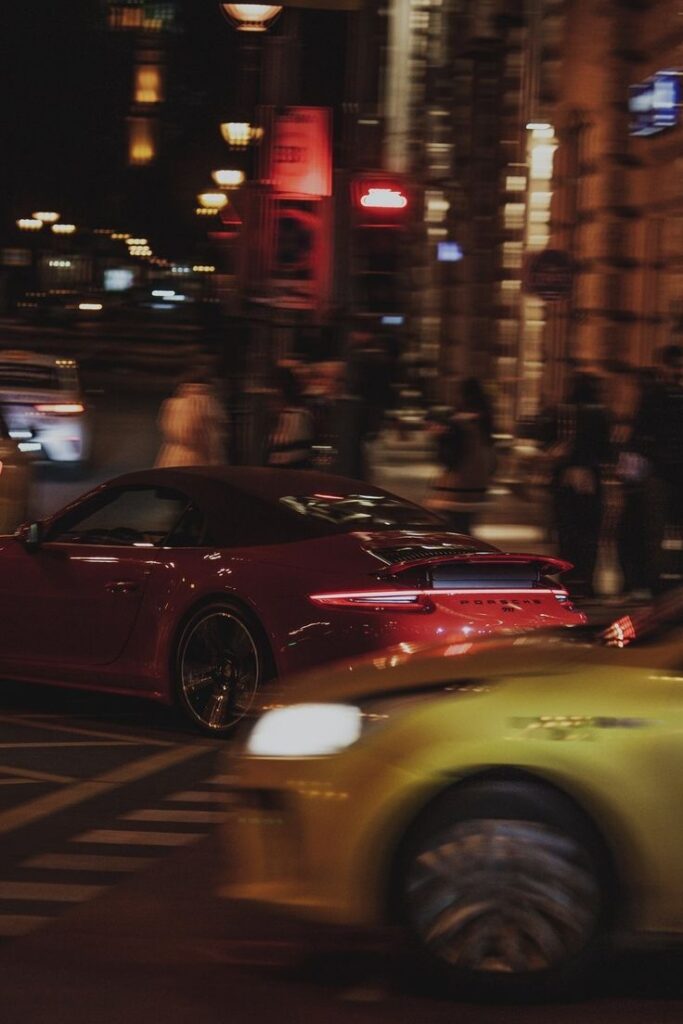

Light painting requires a dark environment and a long exposure. The photographer moves a light source, such as an LED or flashlight, around the car to highlight its contours.
Using slow shutter speeds between 10 to 30 seconds allows time to “paint” light onto the car. It is important to keep the camera perfectly still on a tripod to avoid blur.
Light painting emphasizes reflections and curves. Varying the light intensity and distance from the car changes how different surfaces glow. Multiple passes can add depth and detail.
The photographer should choose a light that produces a clean, consistent beam. Colored gels can be used to create mood but must be subtle to avoid overwhelming the car’s paint.
Night Car Photography


Night photography requires careful camera settings and planning. A tripod is essential to avoid hand-shake during long exposures.
Settings typically include a wide aperture (f/2.8–f/5.6) and ISO between 100-800 to reduce noise. Shutter speeds can range from a few seconds to 20 seconds depending on available light.
Using external light sources like street lamps or portable LED panels helps reveal details without harsh reflections. Balancing ambient light with car lights (headlights, interior) adds interest.
Angles are important: shooting from low positions and framing with city lights in the background enhances the atmosphere. Post-processing can also improve contrast and sharpness.
- 116shares
- Facebook0
- Pinterest113
- Twitter3
- Reddit0
