A black flush mount light is a small object doing a large job. It sits above eye level and shows from every doorway. Against a pale ceiling it reads like a single ink mark on clean paper. Get the diameter, finish and glow right and the room looks drawn. Get them wrong and the ceiling looks stained.
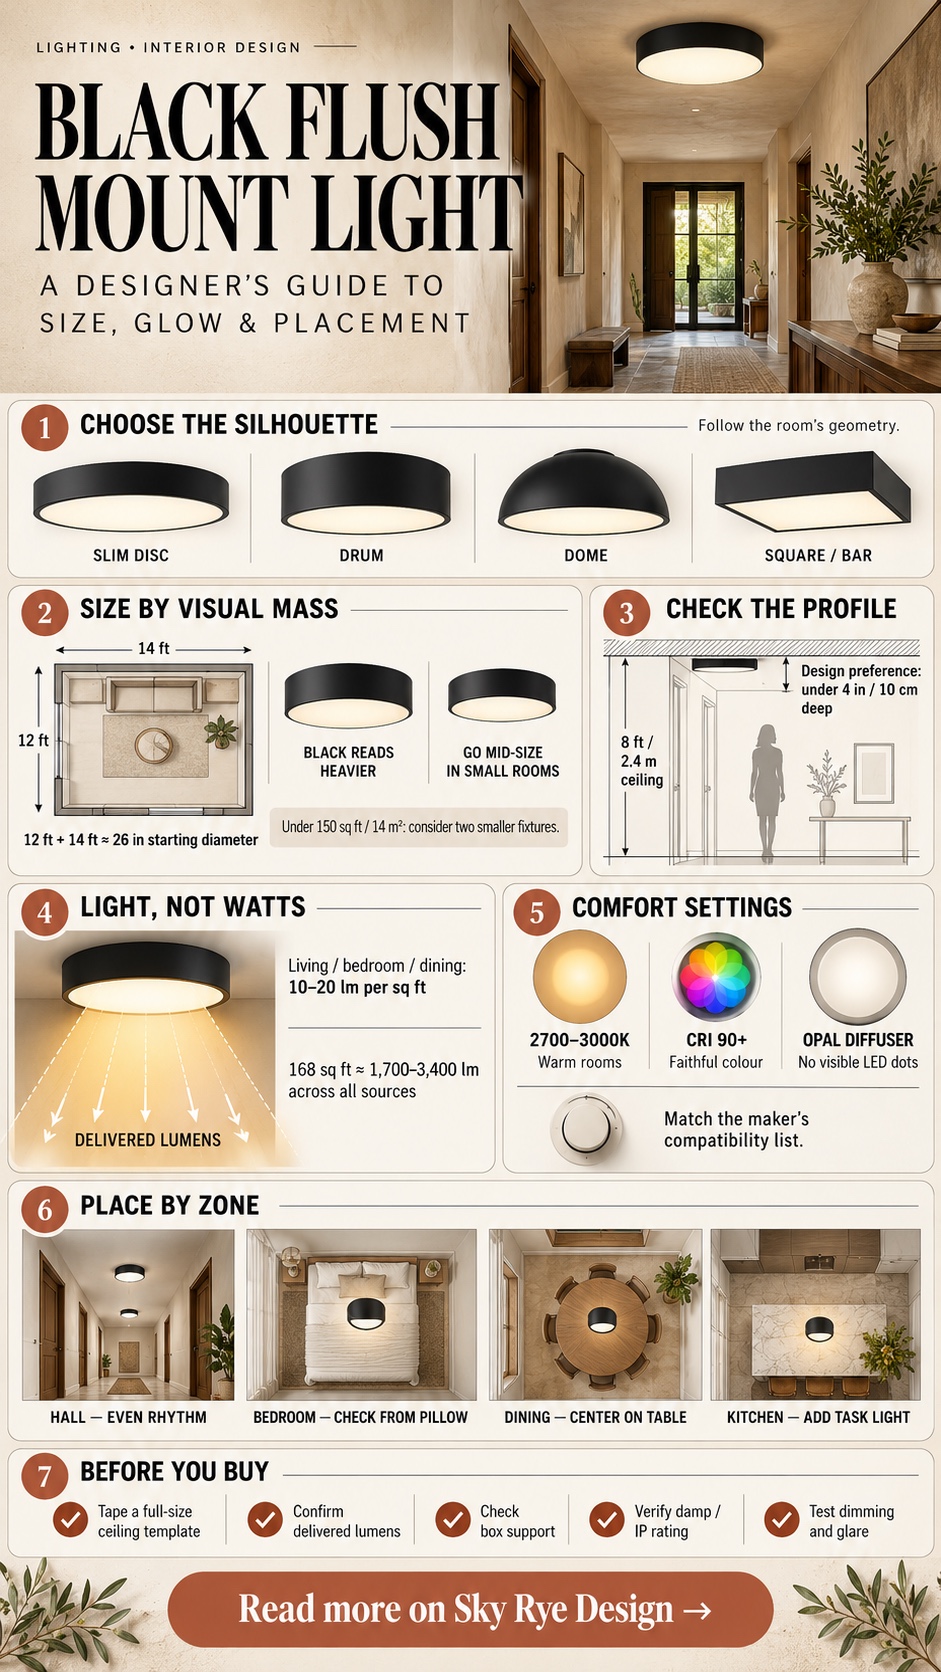
This guide covers how to choose black ceiling light fixtures that earn their spot: form, size, lumens, color temperature, CRI, dimming, glare, materials, cleaning, installation limits and room-by-room placement.
- Why a black flush mount light changes the ceiling plane
- Choose the form before the finish
- How to size and specify a black flush mount ceiling light
- Finish, cleaning and ceiling color
- Placement by room, daylight and zone
- Installation limits, renovation constraints and common mistakes
- FAQ
- Purchase workflow and final checklist
I come at it as a designer trained in composition and product form, so I’ll ask you to judge silhouette and proportion before you open a spec sheet. The spec sheet still matters. A beautiful fixture that’s too dim, or that buzzes on your dimmer, is a bad purchase.
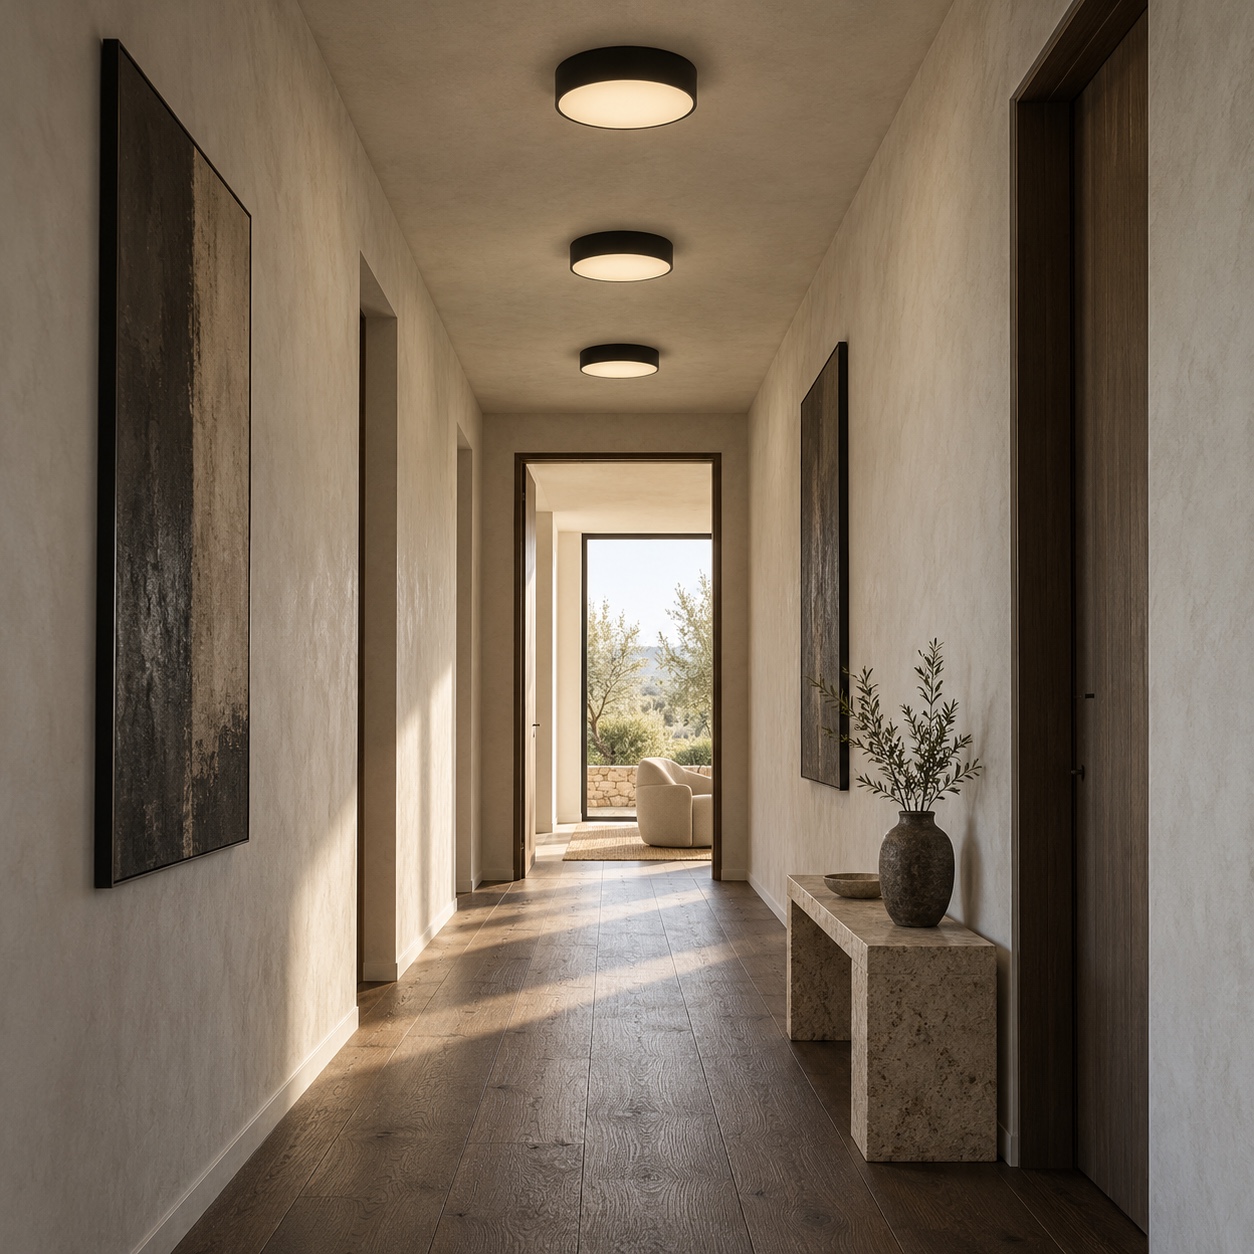
One boundary: chandeliers and pendants need their own sizing logic, so they’re not covered here.
Why a black flush mount light changes the ceiling plane
Short answer: a black fixture turns a blank ceiling into a composed one. It adds one high-contrast shape, so size and position matter far more than they do with a white fixture that disappears.
I read a ceiling fixture the way I’d read a product silhouette: outline first, surface second, light third. On a white ceiling the outline wins by a mile. Your eye lands on it before the sofa, the table or the art.
That’s why a modern black flush mount ceiling light works best as a deliberate graphic element. Try this test. Picture a black circle of the same size painted on the ceiling. If you wouldn’t paint it there, don’t mount it there.
Switched on, the picture changes. The diffuser glows and the black rim frames it, which gives the light a crisp edge. That edge can make the fixture feel brighter than the same glow in a white housing, so you may want a lower dimmer setting or a softer diffuser.
Against a darker ceiling the effect reverses. A black ceiling light in a modern, tone-on-tone scheme recedes into a soft shadow with a lit face. It’s moodier and more forgiving. But dark ceilings return less light to the room, so plan more output.
Choose the form before the finish
Pick the silhouette first. It decides how the fixture talks to your architecture. Round shapes echo rugs, tables and arched details. Square ones follow windows, tile grids and beams. Linear bars run with the longest wall.
Discs, drums and domes
A slim disc is the most forgiving black modern flush mount light. It’s quiet, it works under low ceilings, and it reads as a clean graphic circle. A drum adds a few inches of depth and a soft side glow, which suits bedrooms and living rooms with ceilings around 8 ft (2.4 m) or higher. A dome brings a curve that softens hard-edged rooms, though an oversized glossy one can drift toward retro.
Squares, bars and small groups
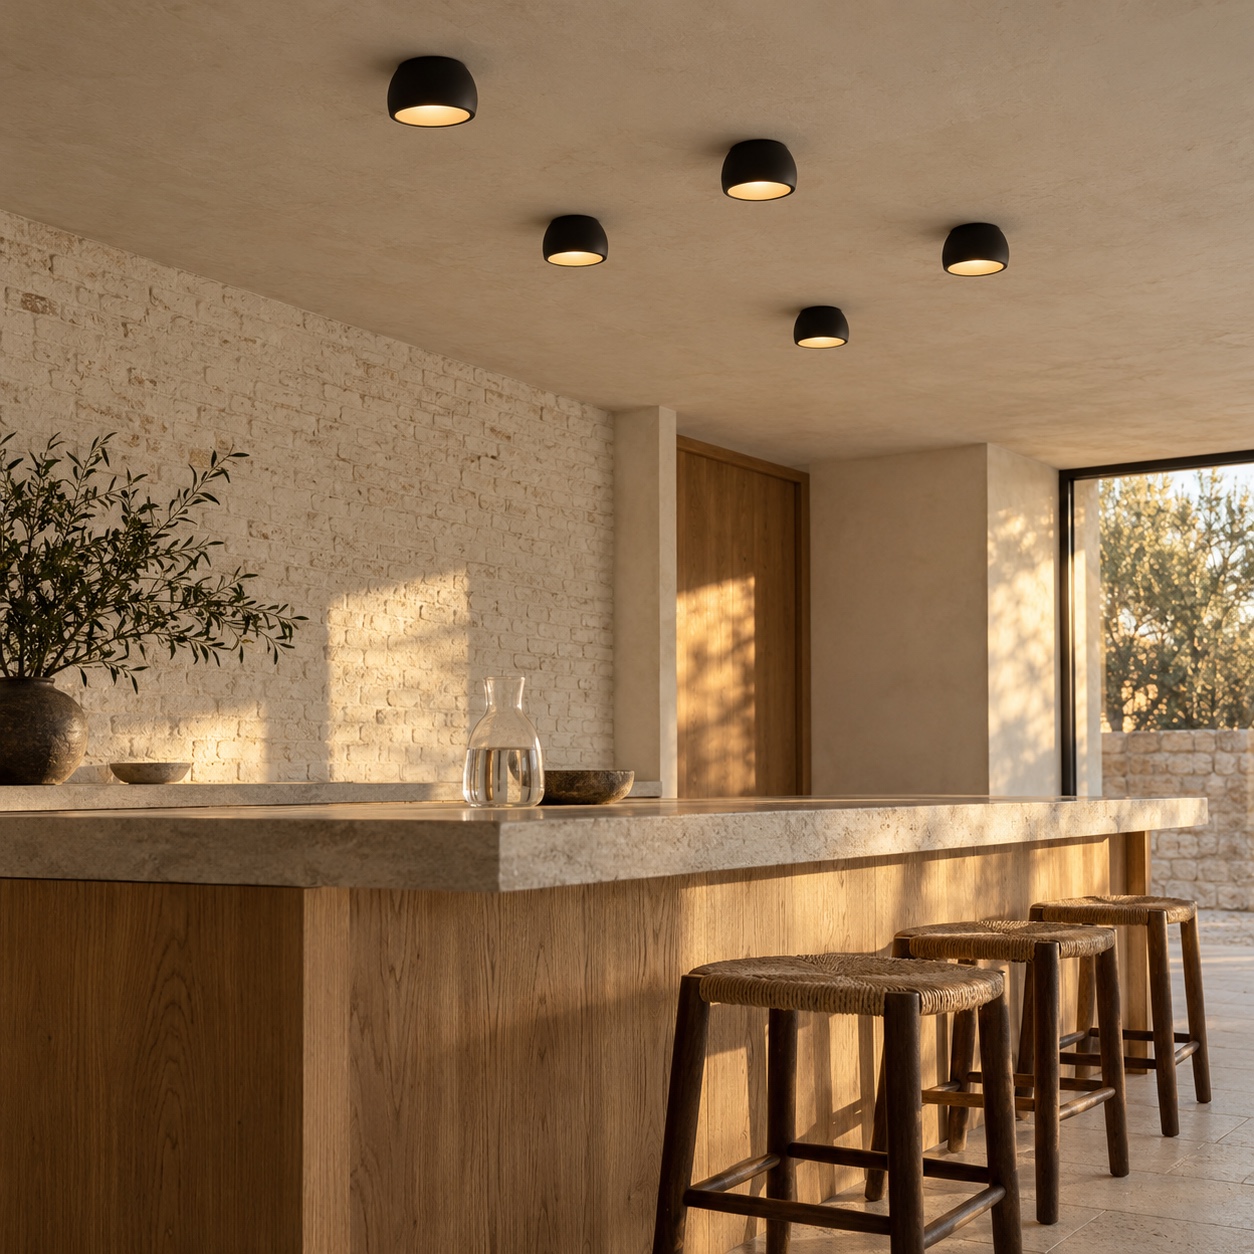
Square black flush mount light fixtures suit gridded kitchens and gallery-like corridors, as long as the edges line up with something real: a wall, a beam, a door frame. A linear bar stretches a narrow room visually. A group of small fixtures gives rhythm and even coverage in long halls and open plans. But spacing mistakes show instantly, because every fixture is a dark mark.
Let the room’s geometry decide
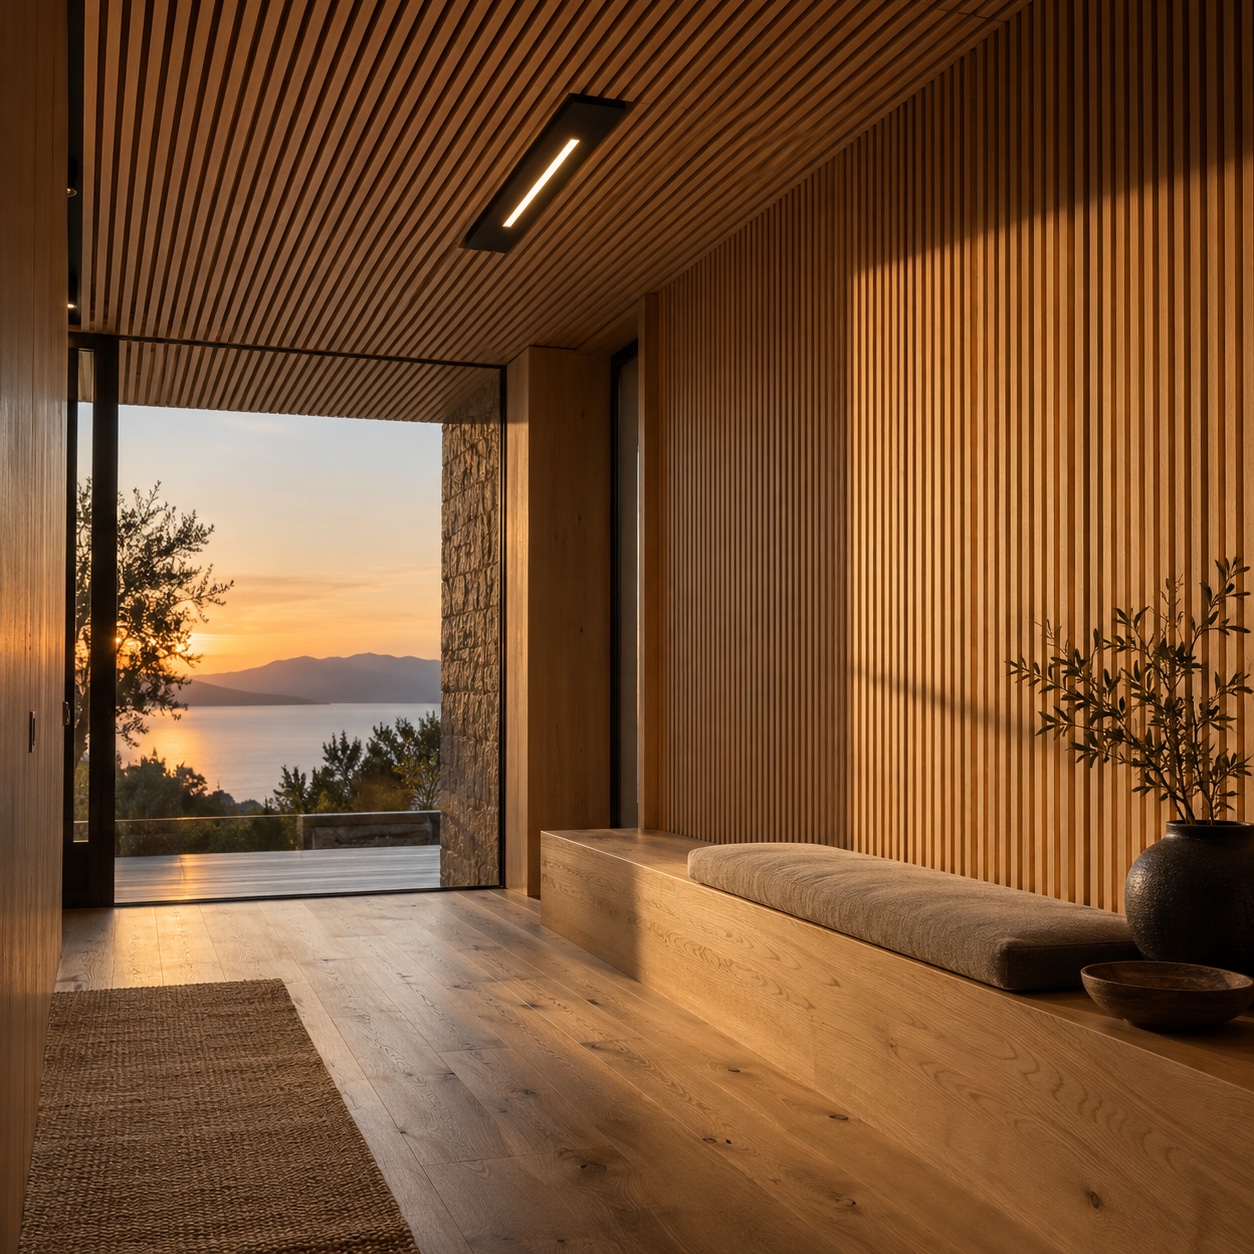
Look at the plan before you fall for a shape. A long, narrow room punishes a single round disc, which sits like a coin dropped in a corridor, so choose a bar or a short run of small fixtures. In an L-shaped room, treat each leg as its own zone. If beams, skylights or a sloped ceiling interrupt the plane, pick the fixture that aligns with the strongest line.
Use this table to shortlist black flush mount ceiling lights before you compare specs.
| Form | Best fit | Visual effect | Watch for |
|---|---|---|---|
| Slim disc | Hallways, entries, low ceilings | Flat graphic mark | Modest output on small units |
| Drum or cylinder | Bedrooms, living rooms, ceilings 8 ft+ | Volume and soft side glow | Looks heavy under low ceilings |
| Dome | Dining areas, softer rooms | Quiet curve | Retro feel if glossy or oversized |
| Square or rectangle | Kitchens, galleries, gridded layouts | Strong edges that follow architecture | Misalignment with walls or beams |
| Linear bar | Narrow corridors, islands | Directional line | Glare along the axis, crooked alignment |
| Small grouped fixtures | Long halls, open plans | Rhythm and even coverage | Uneven spacing |
How to size and specify a black flush mount ceiling light
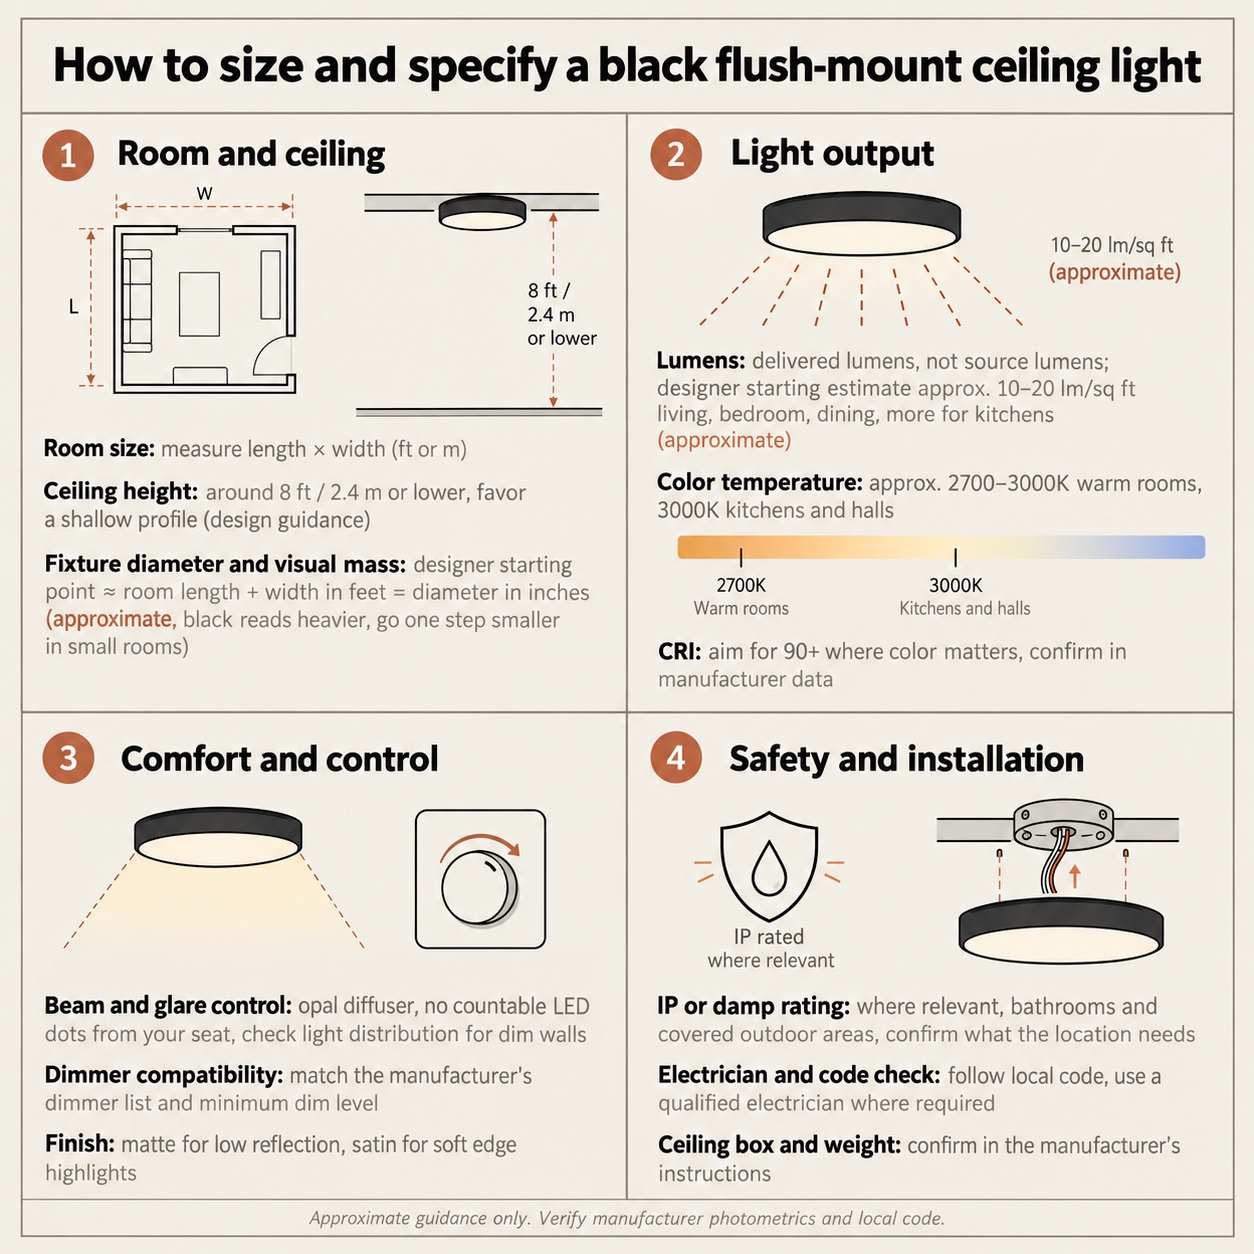
Size by visual mass, not diameter alone, then confirm output as delivered lumens. Black makes a fixture look heavier than its measurements, so in most rooms a black fixture one step smaller than its white equivalent looks better.
Diameter and visual mass
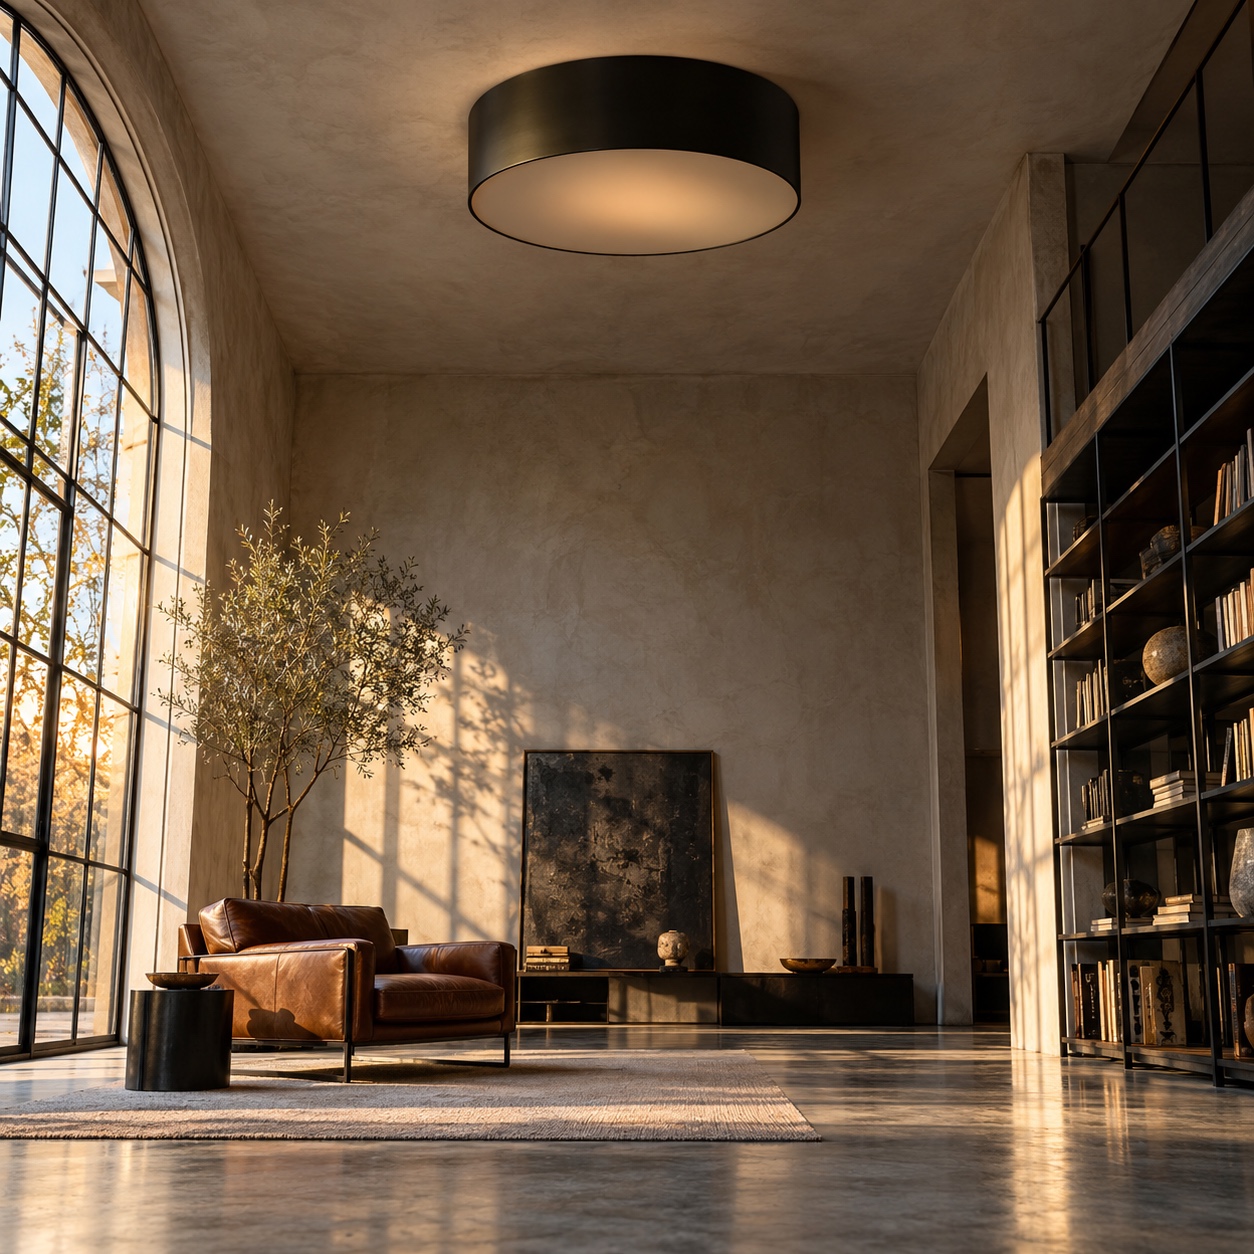
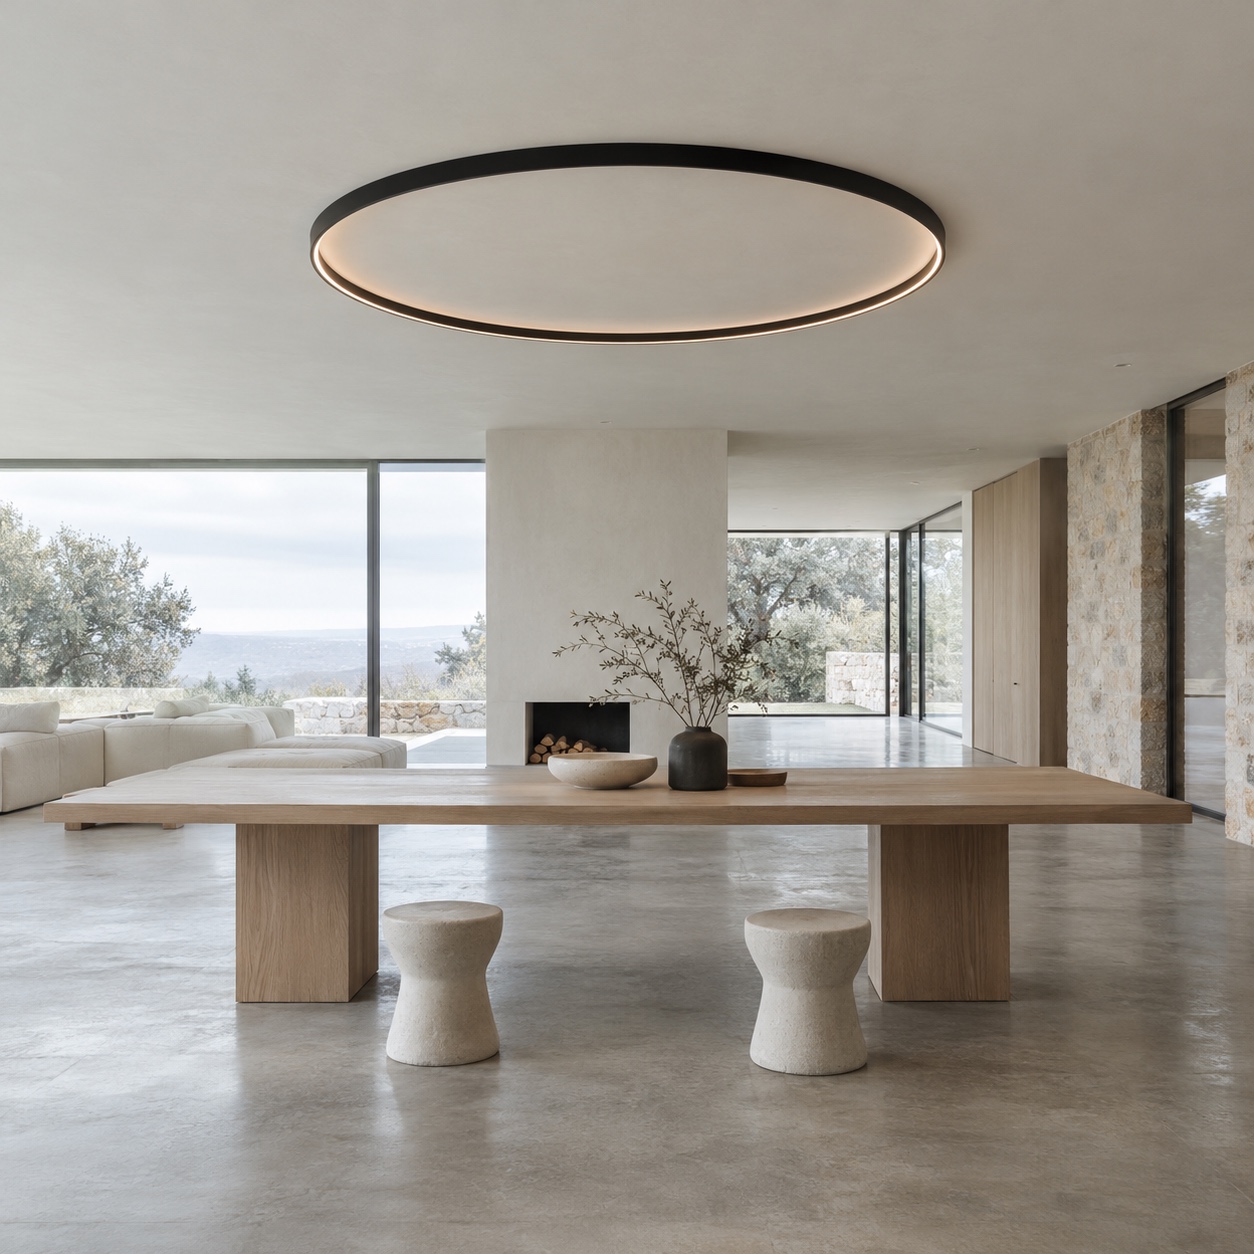
A widely repeated designer shortcut: add the room’s length and width in feet, and read the total as a starting diameter in inches. A 12 by 14 ft room gives about 26 in. That’s a rule of thumb, not a standard, and it assumes a light-colored fixture.
Black changes the math. A 26 in matte black disc carries serious visual weight. In rooms under roughly 150 sq ft (14 m²), I’d stay mid-range or split the load between two smaller fixtures. That’s my judgment as a designer, not a published rule.
A large black light fixture works when the room has volume to match: an open-plan space, a tall ceiling, or a clearly defined zone like a dining area. Depth counts too. Two fixtures with the same diameter feel completely different if one is 1.5 in deep and the other is 6 in.
Mounting height and clearance
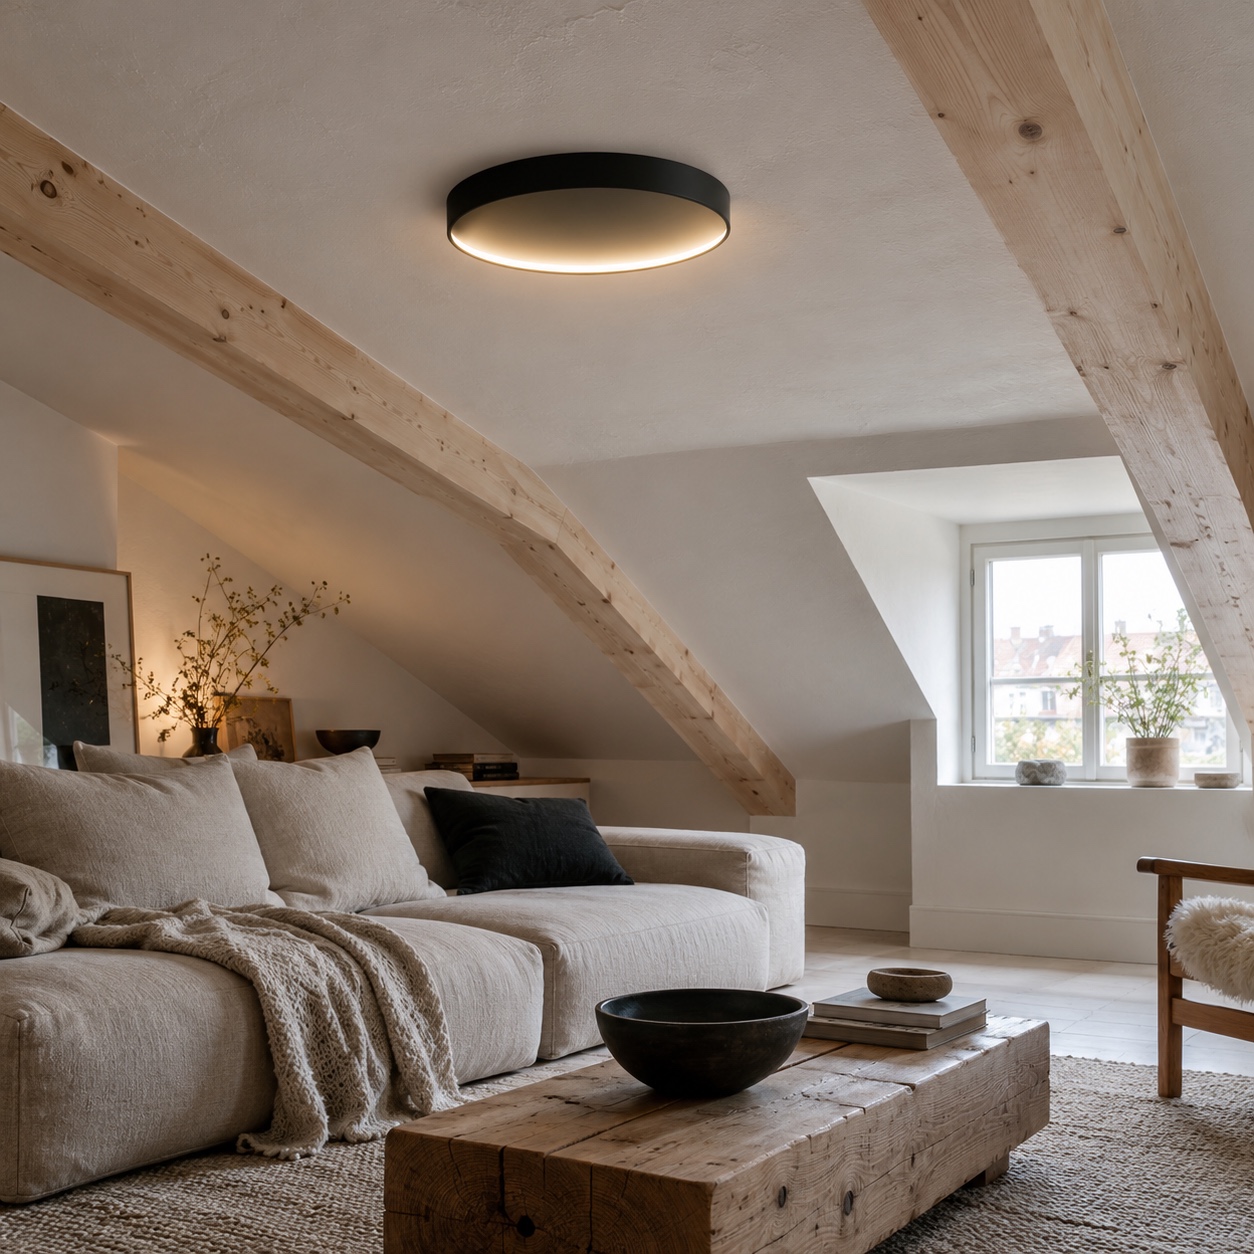
Flush mounts are the usual answer for ceilings around 8 ft (2.4 m) or lower. Above that, a shallow fixture can look stranded, so scale up the diameter rather than adding depth you don’t need. A black flush ceiling light on a lower ceiling looks best when it’s visually shallow, and I’d aim for under roughly 4 in (10 cm) as a design preference.
Headroom is a safety matter too. Keep the underside comfortably clear of heads in walkways and over stairs, and check the manufacturer’s instructions and local code for minimum clearances.
Delivered lumens versus source lumens
Judge brightness in lumens, not watts. But read the number carefully. Source lumens describe the LED module on its own. Delivered lumens describe what leaves the finished fixture after the diffuser, housing and optics have taken their share. The second number lights your room, and it’s lower. If a product page lists only one figure, ask the manufacturer which it is.
For a rough starting point, many designers plan about 10 to 20 lumens per square foot for living rooms, bedrooms and dining areas, and more for kitchens. These are starting estimates, not standards, and guidance varies. A 168 sq ft living room works out to roughly 1,700 to 3,400 lumens across all sources. Dark ceilings and walls absorb light, so lean toward the upper end there.
Beam spread and vertical illumination
A diffused black flush mount throws soft, wide light, mostly downward. That suits floors and tabletops. It’s less kind to faces, shelves and walls, which need vertical illumination, meaning light that lands on vertical surfaces. A flat disc tight to the ceiling can leave the walls dim, so the room feels smaller than the lumen count suggests. Drums and domes with side emission wash more of the wall. If the manufacturer publishes a light distribution diagram, look for a broad, even spread, and add a lamp or wall-washing source where the walls fall off.
Color temperature, CRI and dimming
Warm color temperatures around 2700K to 3000K suit most bedrooms, living rooms and dining rooms. Kitchens and halls can sit at 3000K. Cool 4000K next to black metal tends to feel clinical, but that’s taste, and one sample will settle it. Keep every fixture in a connected space at the same color temperature, because a black rim makes mismatches between glowing faces obvious.
For CRI, higher generally means more faithful color. Aim for 90 or above where wood, skin tones, food or art matter, and confirm the figure in the manufacturer’s documentation.
For dimming, read the compatibility list. Many LED fixtures specify a dimmer type, and a mismatch causes flicker, buzzing or a narrow range. Check the minimum dim level too. A fixture that jumps from off to bright won’t suit a bedroom.
Glare and diffusion
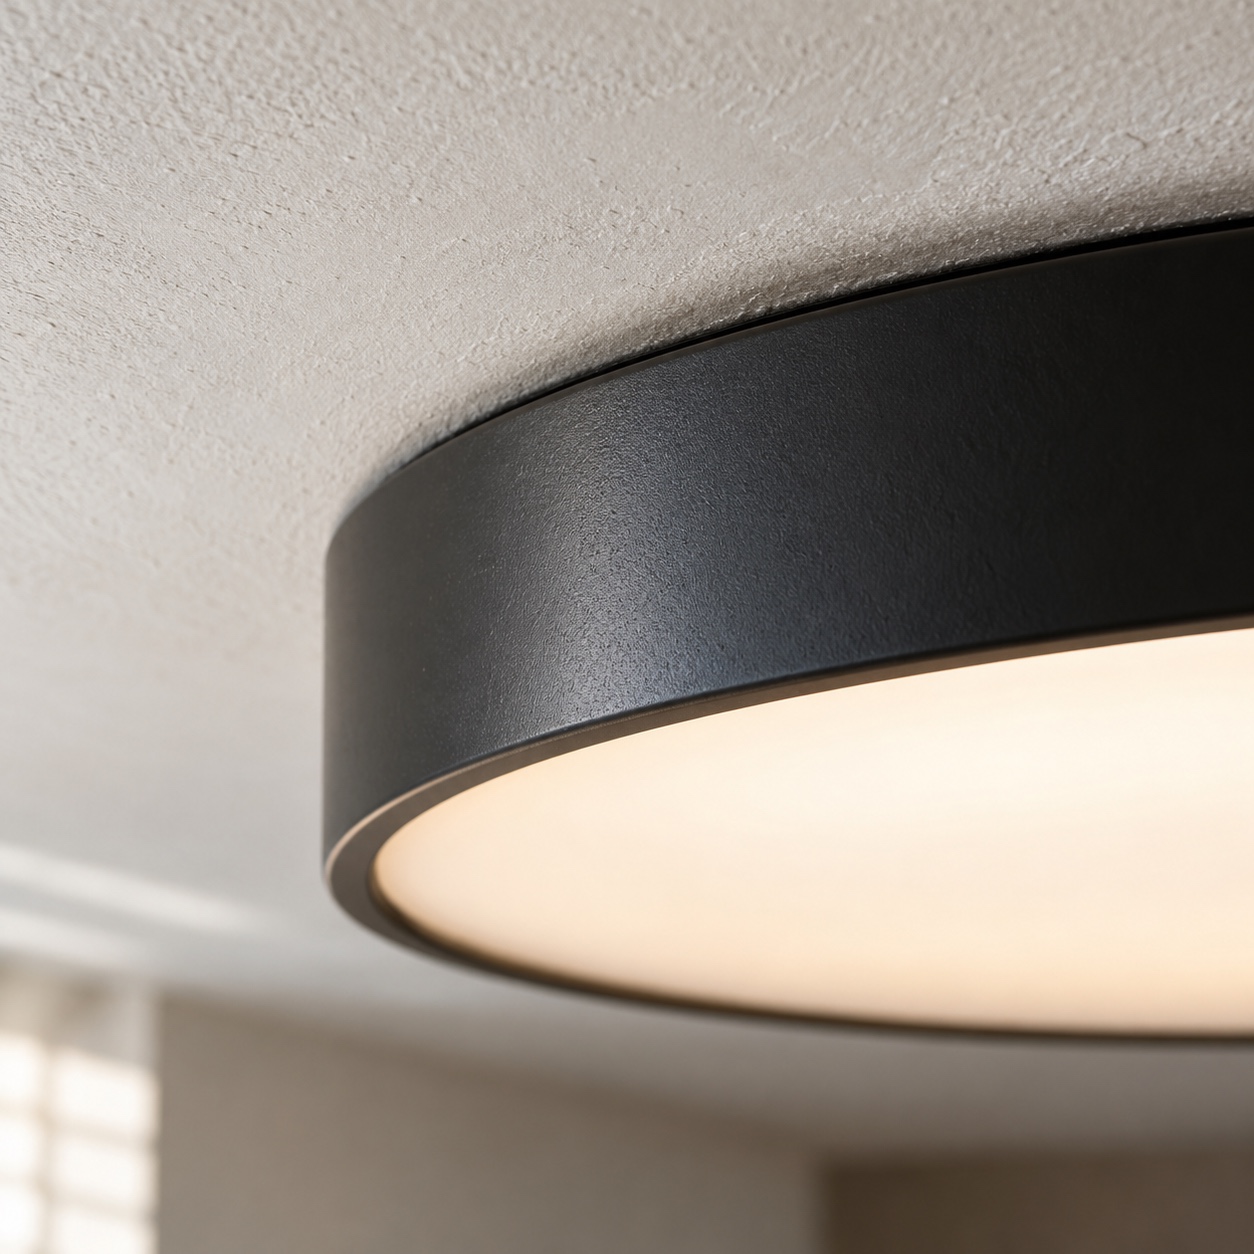
Black rims sharpen the edge of whatever glows inside. On a black flush light fixture with a thin diffuser, you’ll see individual LED dots, and the contrast makes them harsh. An opal diffuser or a recessed light source fixes most of that. Stand where you’d sit, or lie where you’d sleep, and look up at a sample. If you can count the LEDs, or the face looks like a hot plate, choose a softer diffuser or lower the output.
Finish, cleaning and ceiling color
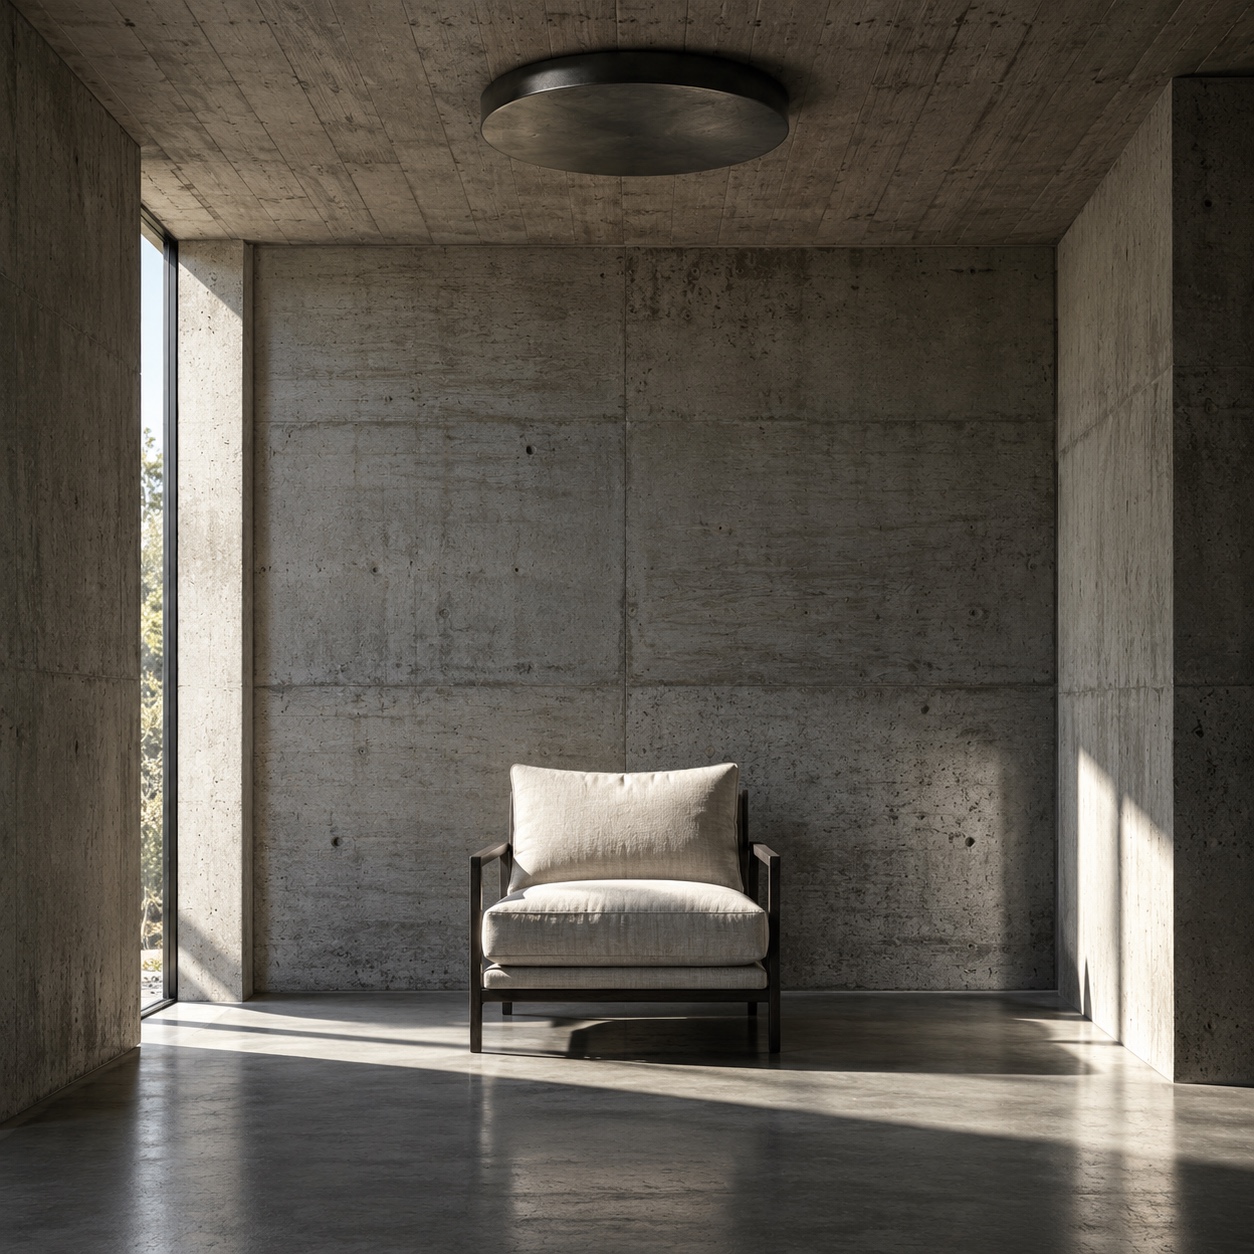
Matte hides fingerprints and kills reflections, so the fixture reads as a shape rather than an object. Satin catches a thin highlight along curved edges, which flatters drums and domes. Gloss reads as lacquer or ceramic and shows every speck of dust.
Durability and cleaning
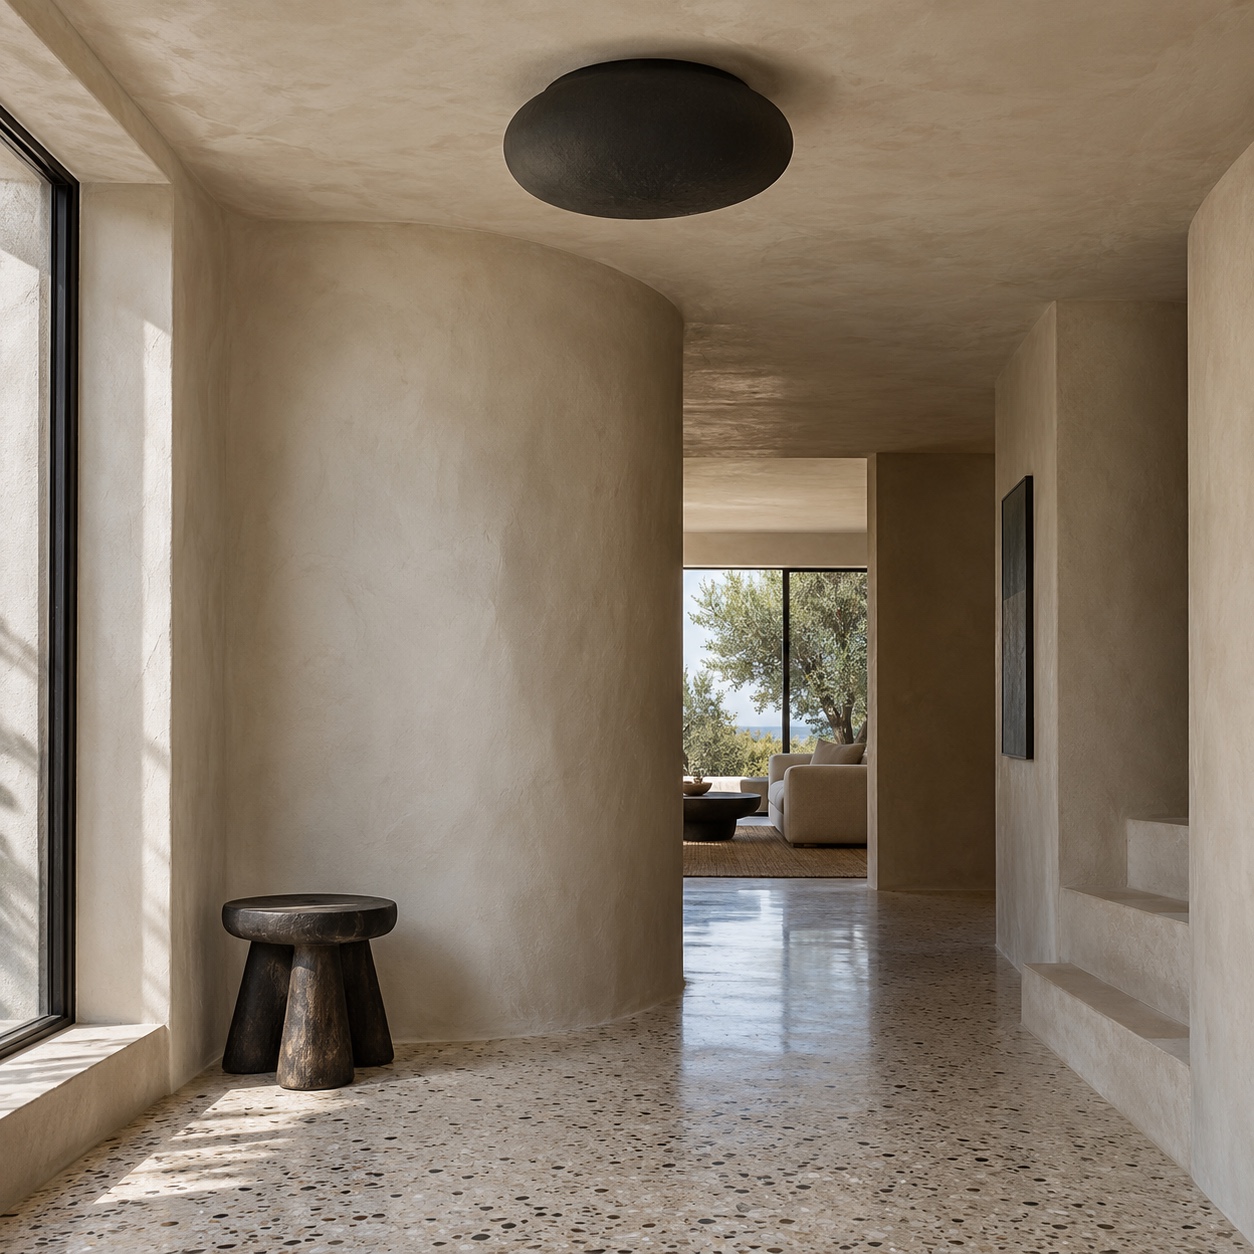
Powder-coated steel and aluminum are common finishes. In close-up photos, check edges and seams for gaps, ragged coating or visible plastic parts. Ask what the diffuser is made of, since some plastics can yellow or show seams over time.
Matte black shows dust more than people expect, especially in kitchens, where grease turns dust into a film. Switch the power off, then wipe with a soft microfiber cloth. Follow the manufacturer’s care instructions, and skip abrasive cleaners, because scrubbing can burnish a matte surface into shiny patches.
Ceiling color and coordination
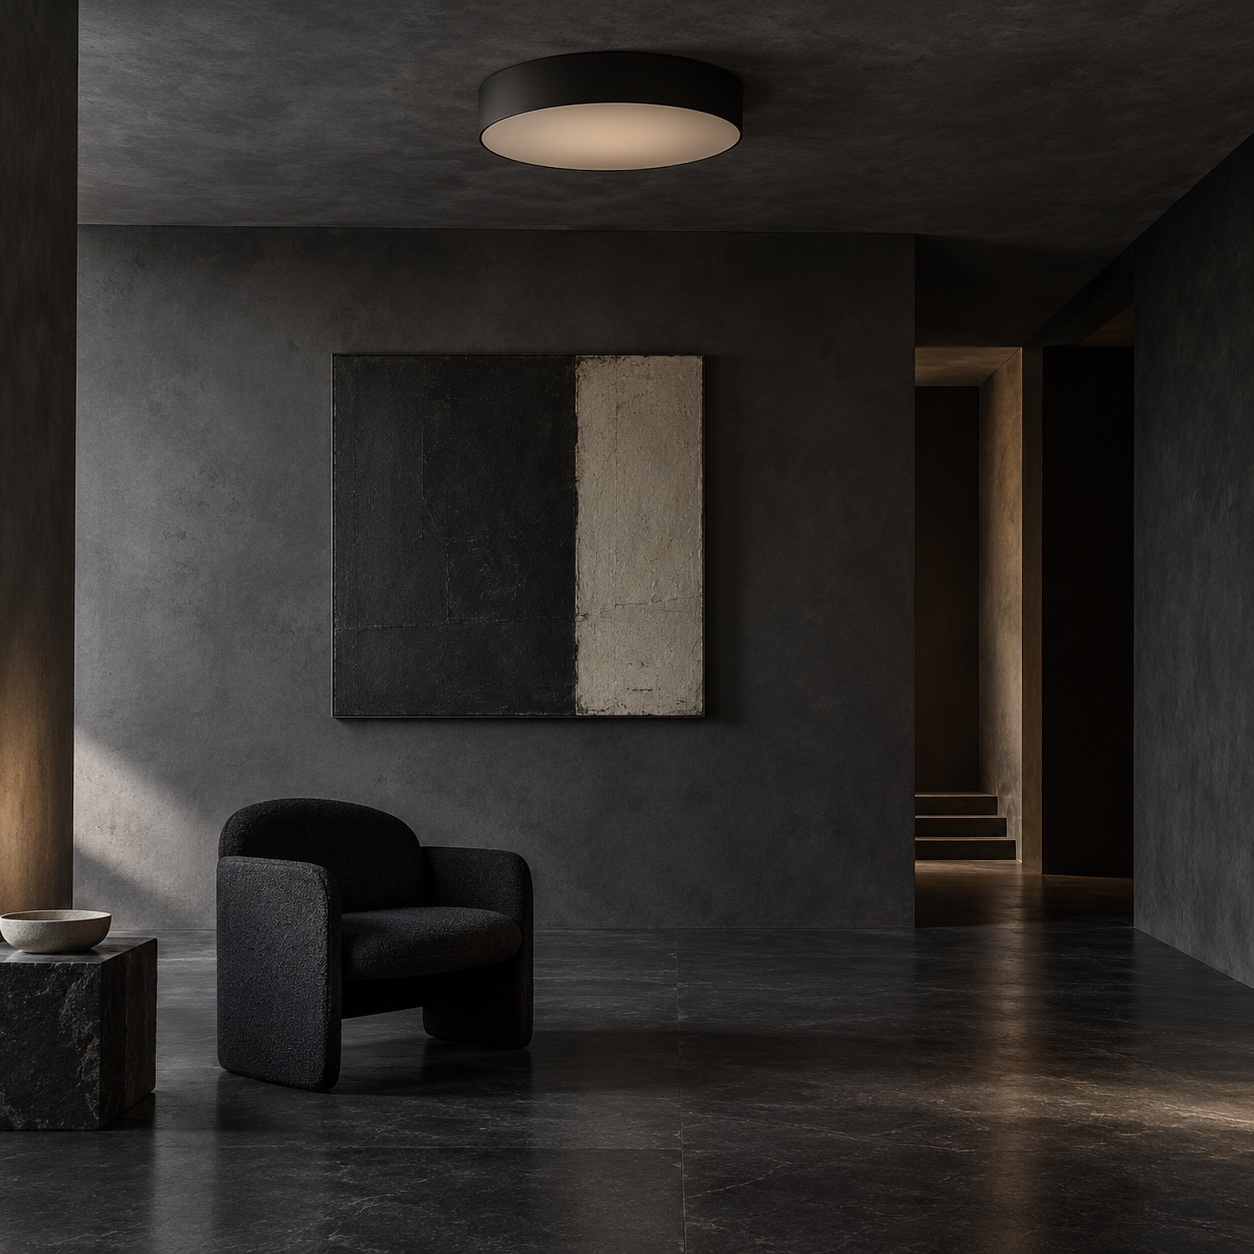
On a bright white ceiling, black gives maximum contrast and the most graphic look. Warm white or lime plaster softens it. On charcoal or deep green, go tone-on-tone and budget extra output, since dark surfaces return less light. Over timber slats, align the fixture with the slat direction so the shadow lines work with it.
A black fixture also spotlights ceiling flaws. The tight shadow around a dark canopy exposes wavy plaster and patched holes, so repaint or skim the ceiling first.
Match undertones with window frames, hardware and faucets. A blue-black fixture beside warm bronze looks off. If you search “ceiling lights black” in a catalog, remember that black ranges from graphite to near-brown, so judge color in daylight photos. Black contemporary ceiling lights often pair metal with opal glass, and a slightly different sheen from your hardware, say matte against satin, makes the repetition look intentional.
Placement by room, daylight and zone
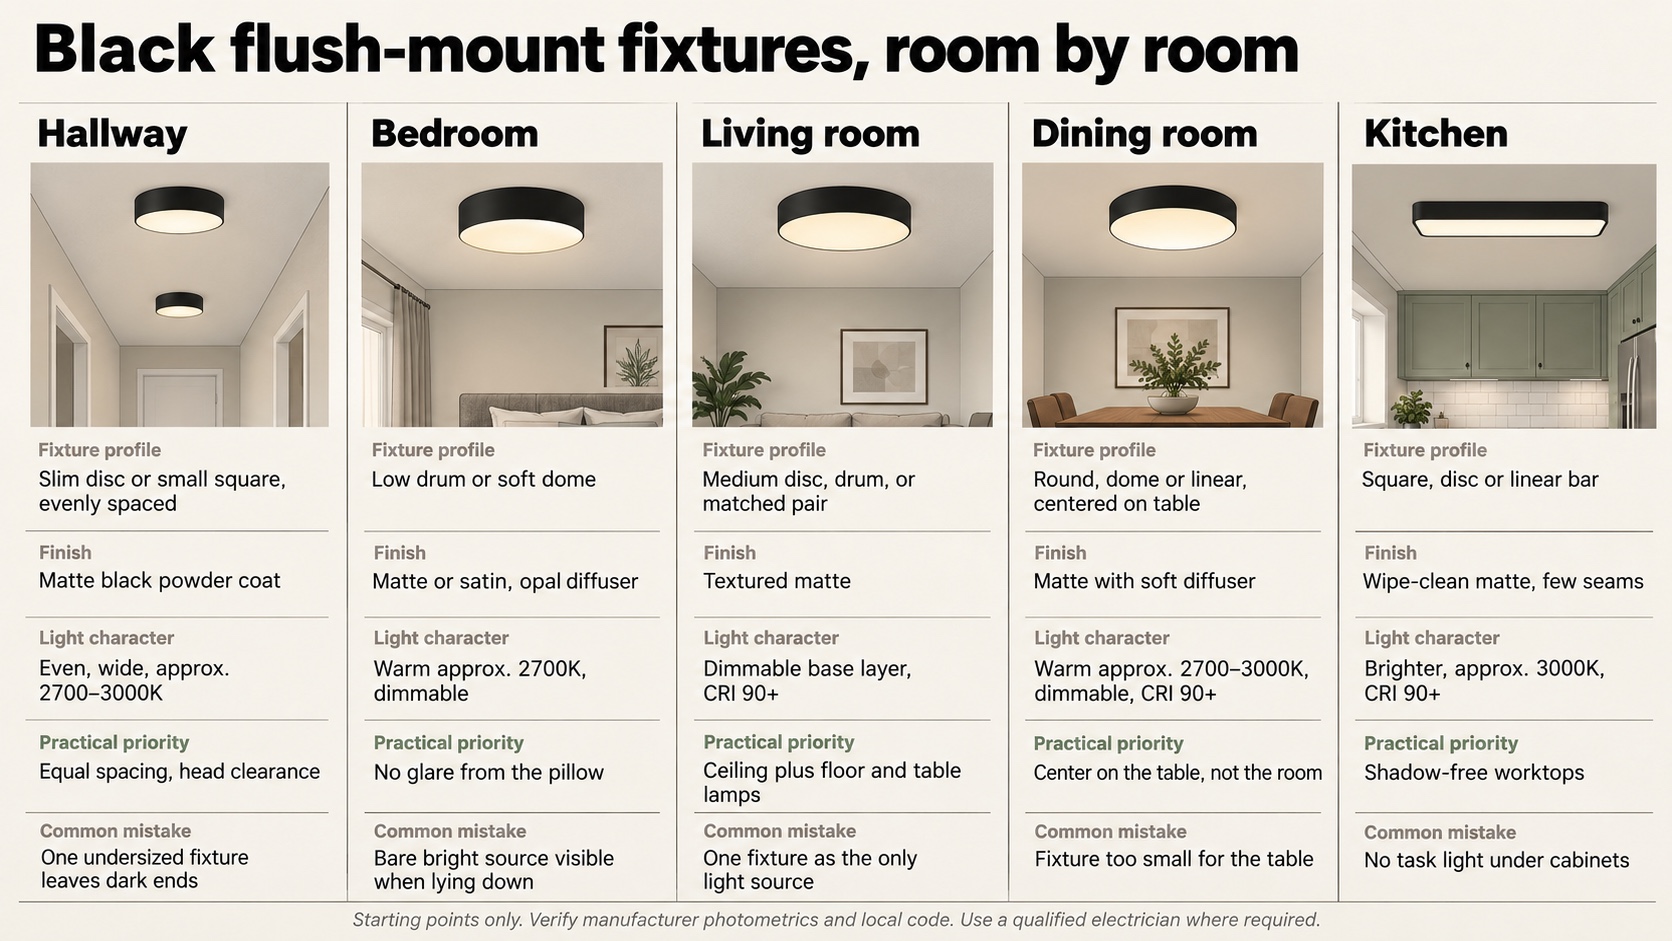
The same fixture behaves differently depending on where people look up at it.
Daylight and layers
Plan for the room at 4 p.m. and at 9 p.m. In daylight a black fixture is a graphic shape and the lamp barely matters. At night it becomes the light source and has to carry its share. A flush mount works best as the ambient layer, with task and accent light on separate switches or dimmers. For a fuller plan, see our guide to layering ambient, task and accent light in a living room.
Open-plan zoning

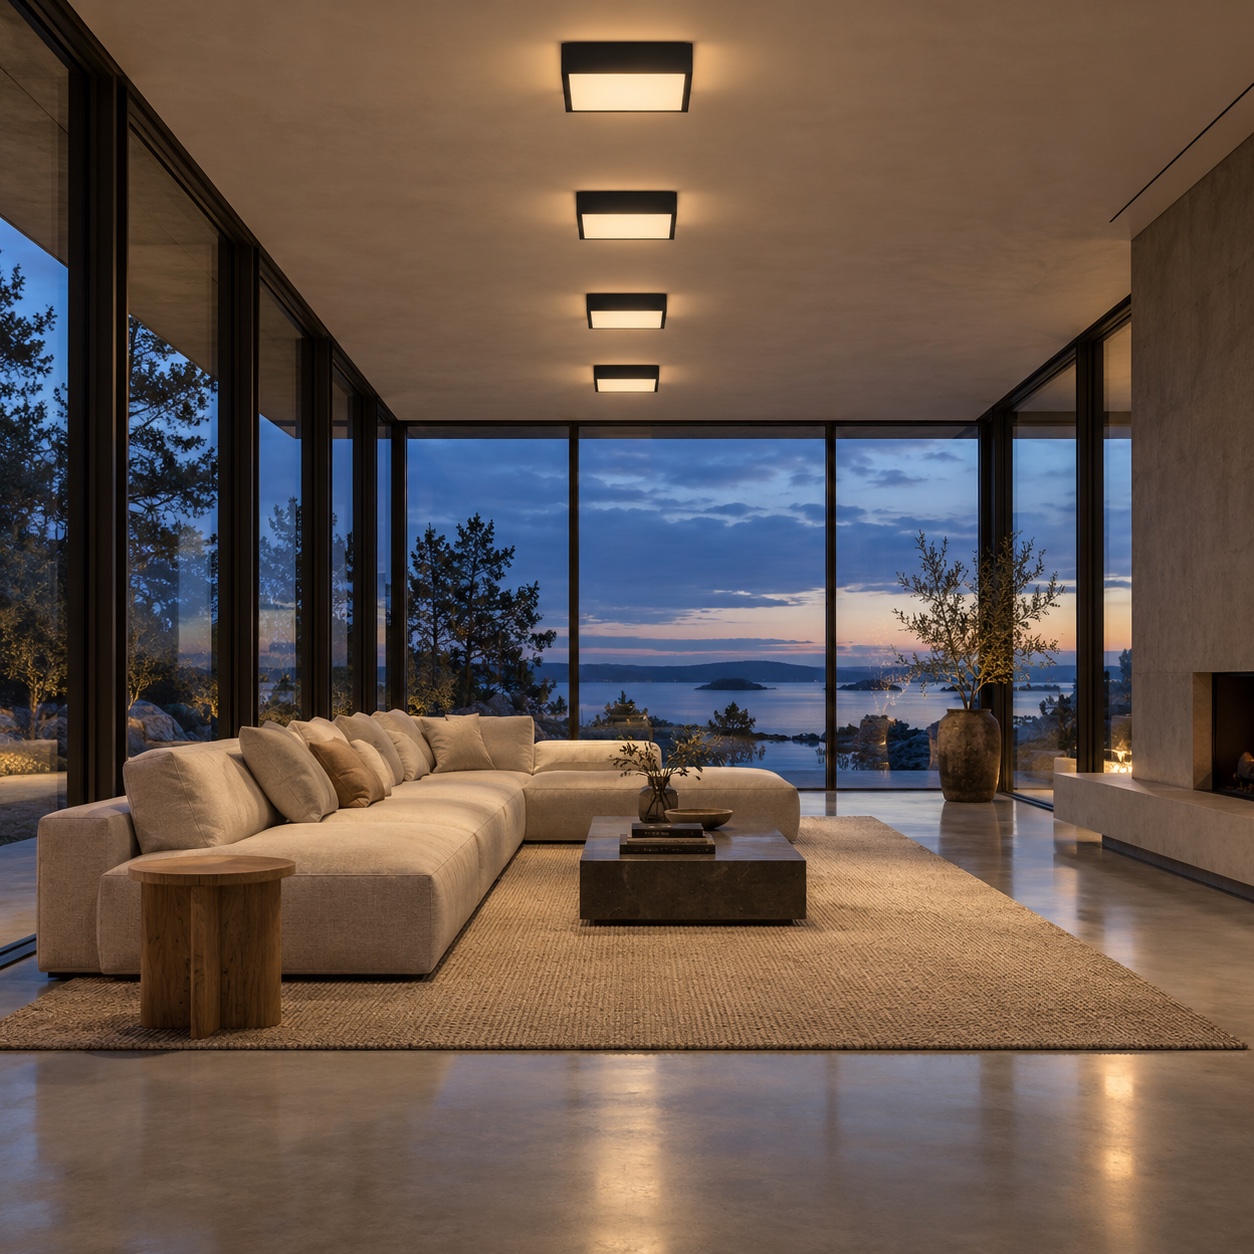
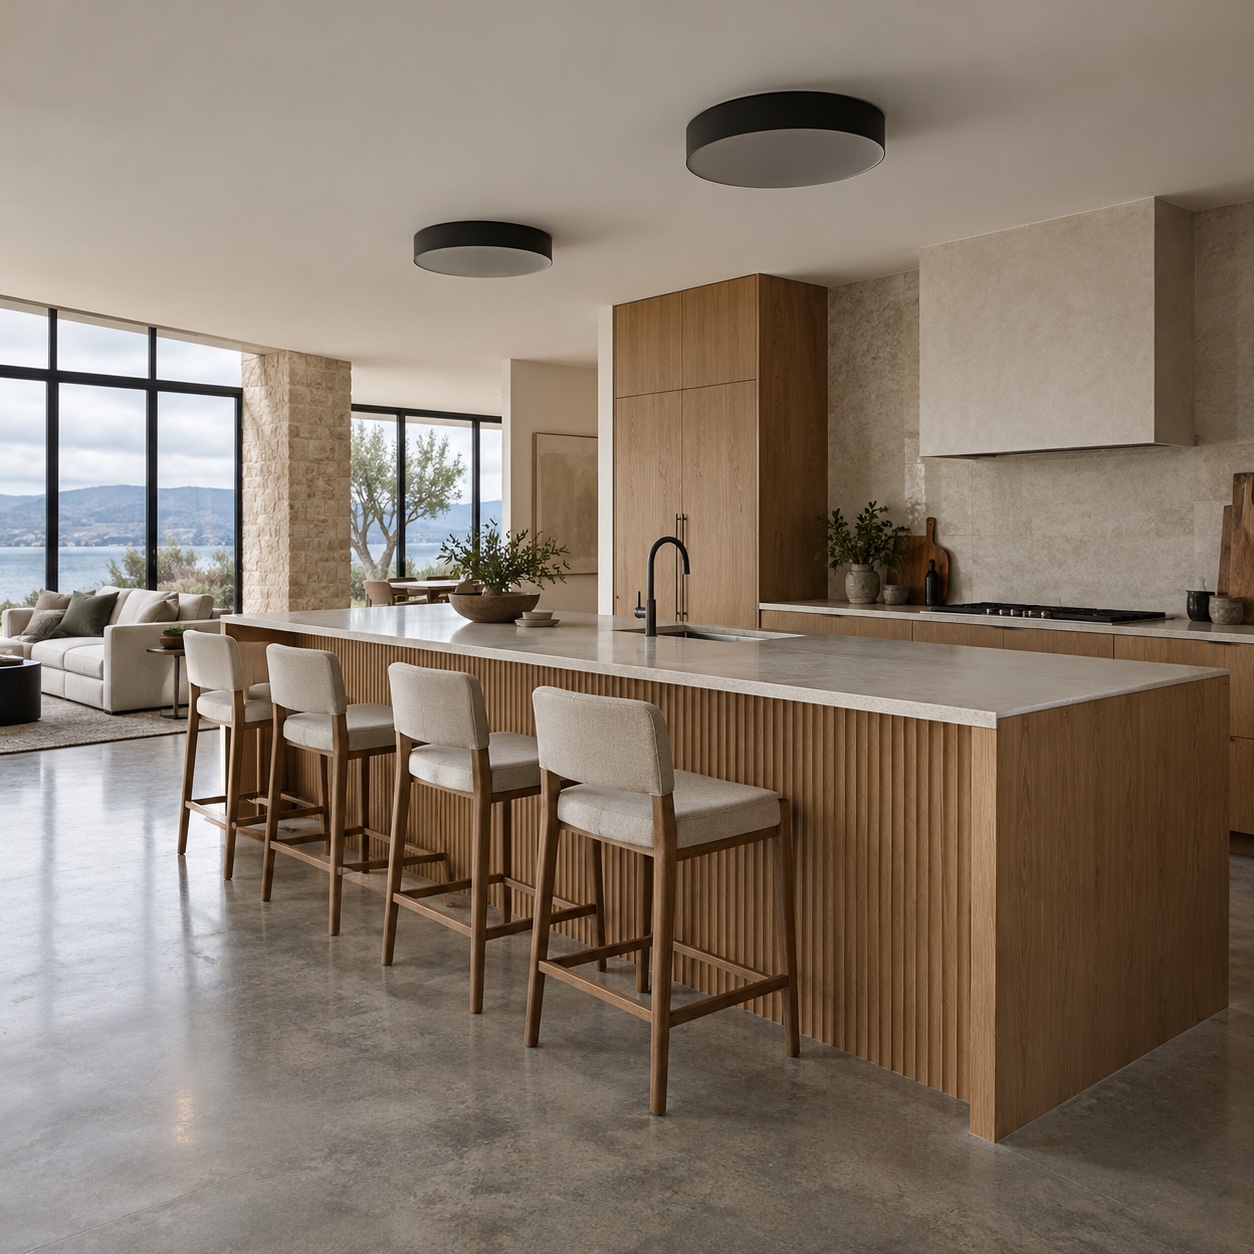
In open-plan rooms, use the ceiling to draw zones. Give the kitchen, dining and living areas their own fixtures, aligned on shared axes, each on its own dimmer. Repeat the same black form at different sizes, such as a larger disc over the dining table and smaller ones over the kitchen run, so the plan reads as one family. A single large fixture floating mid-space belongs to no zone.
Hallway and entry
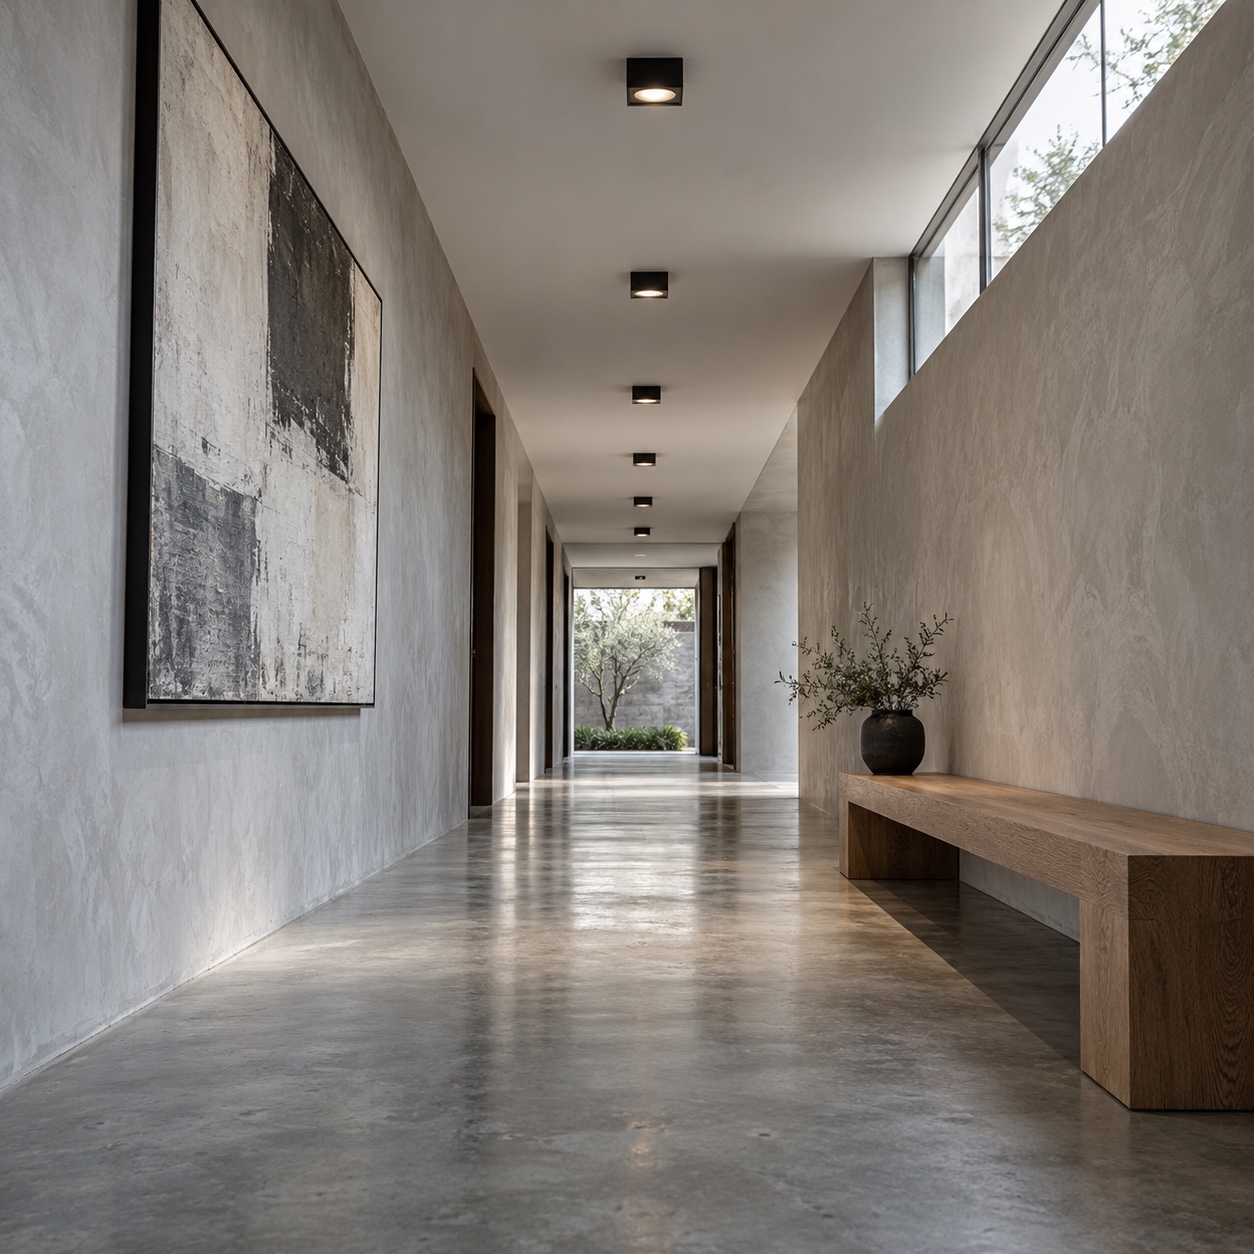
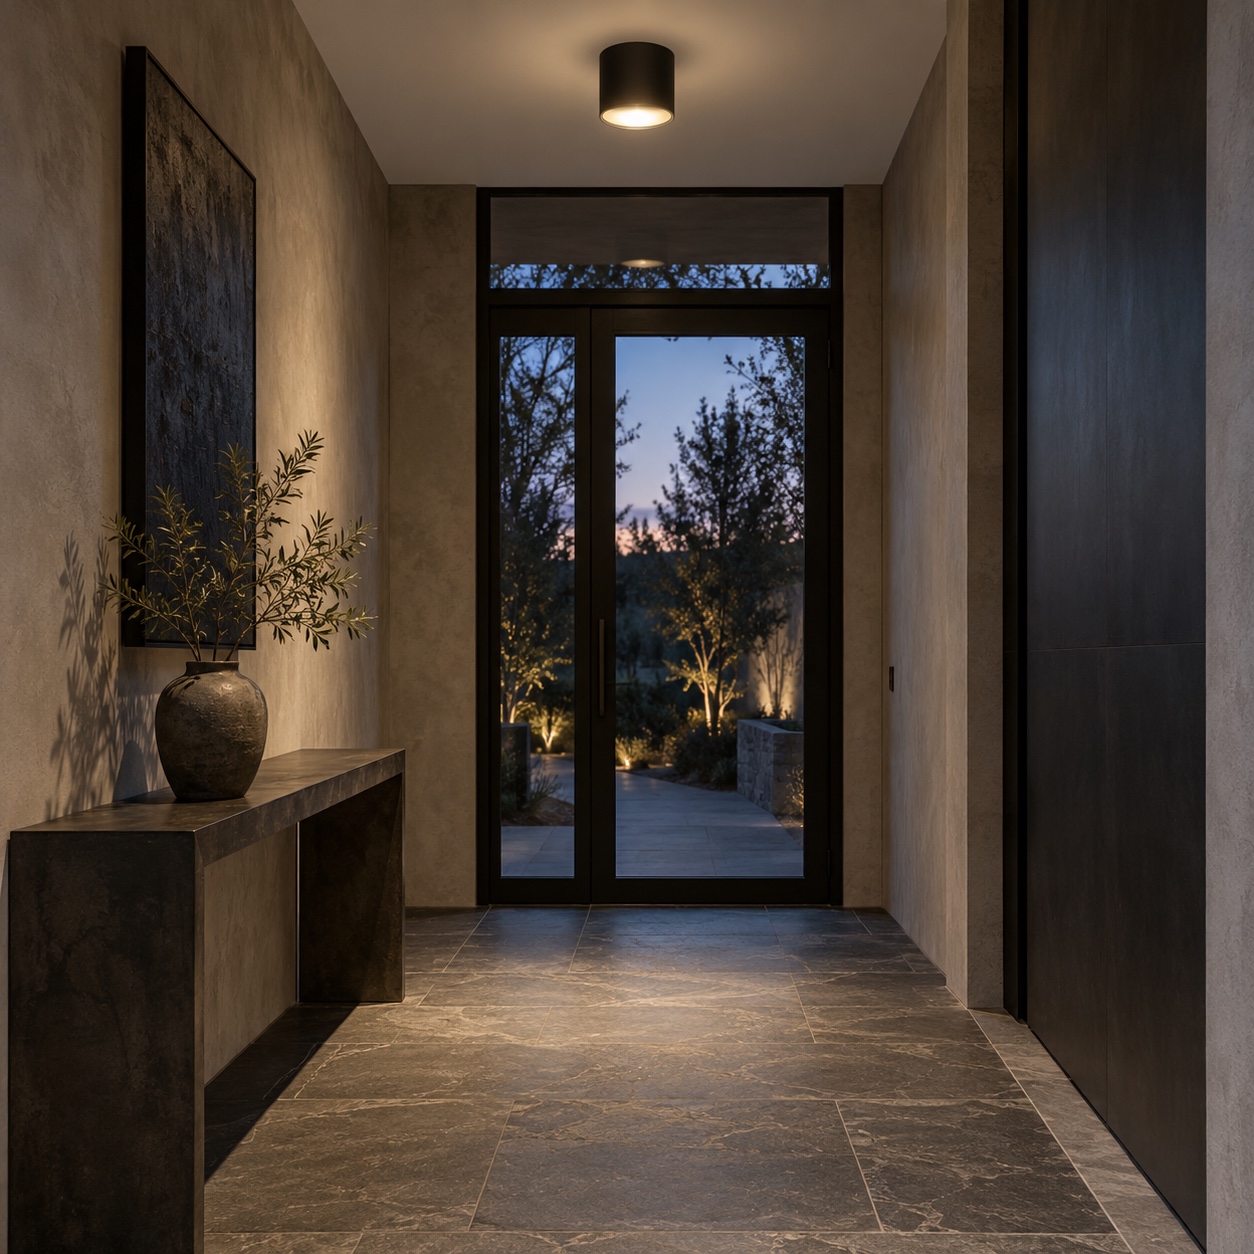
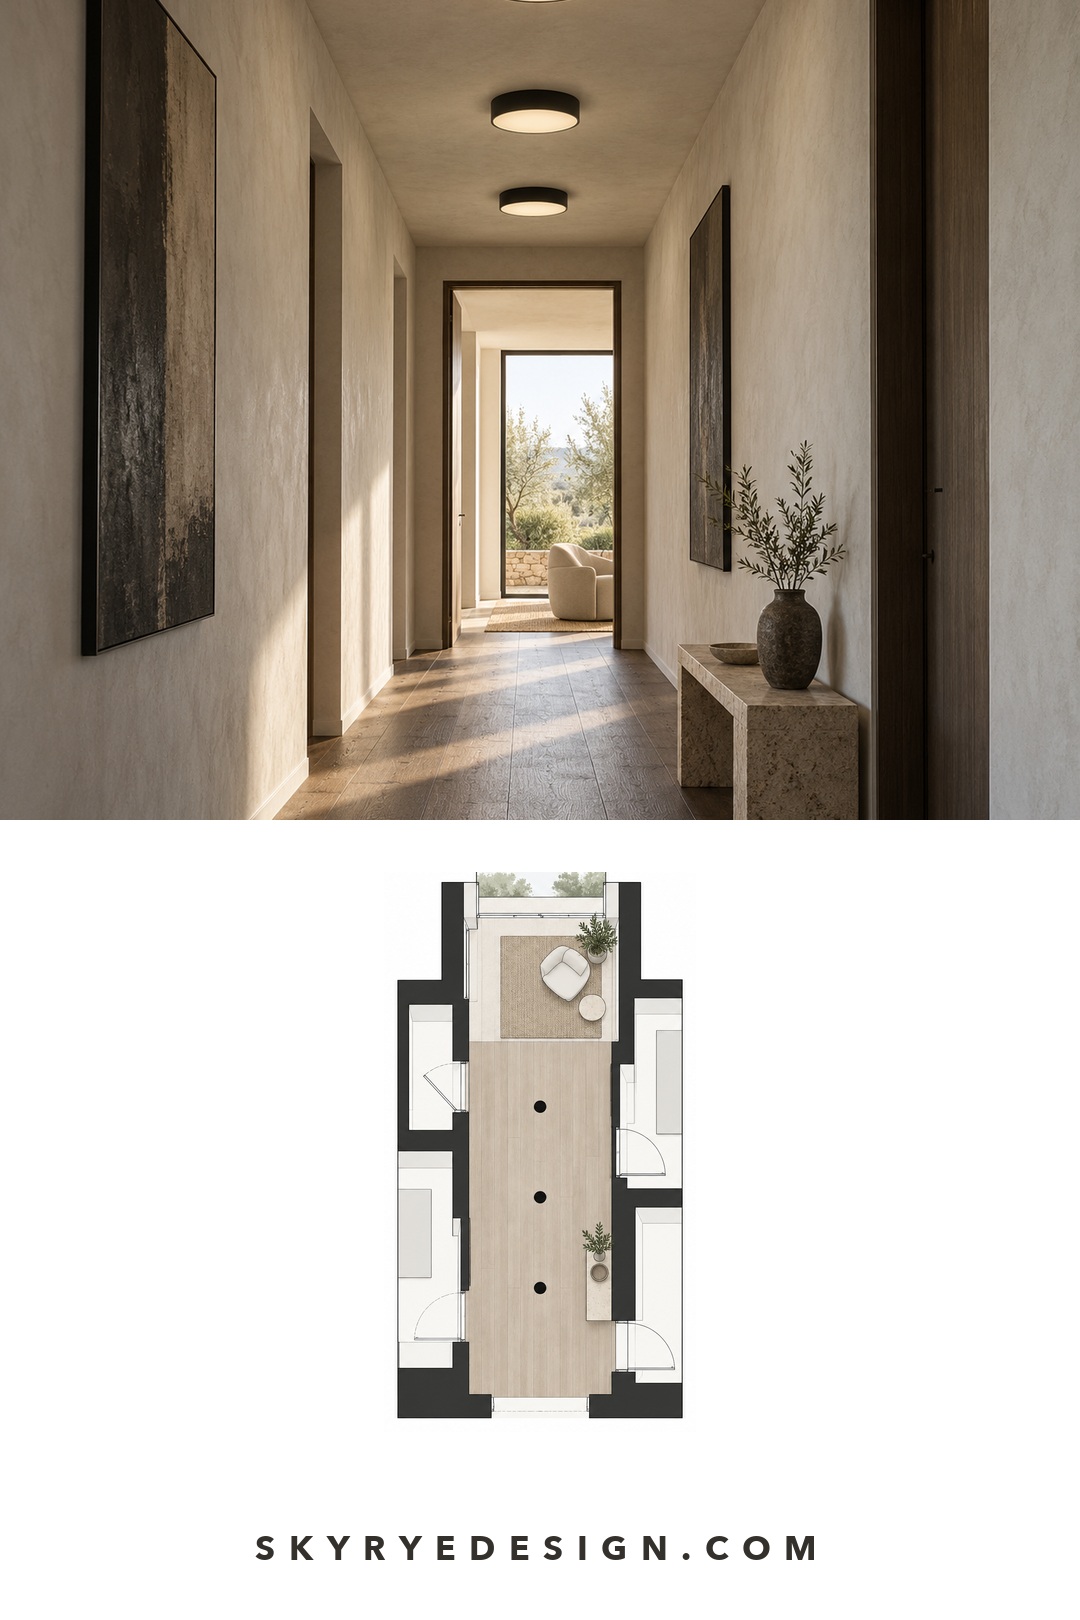
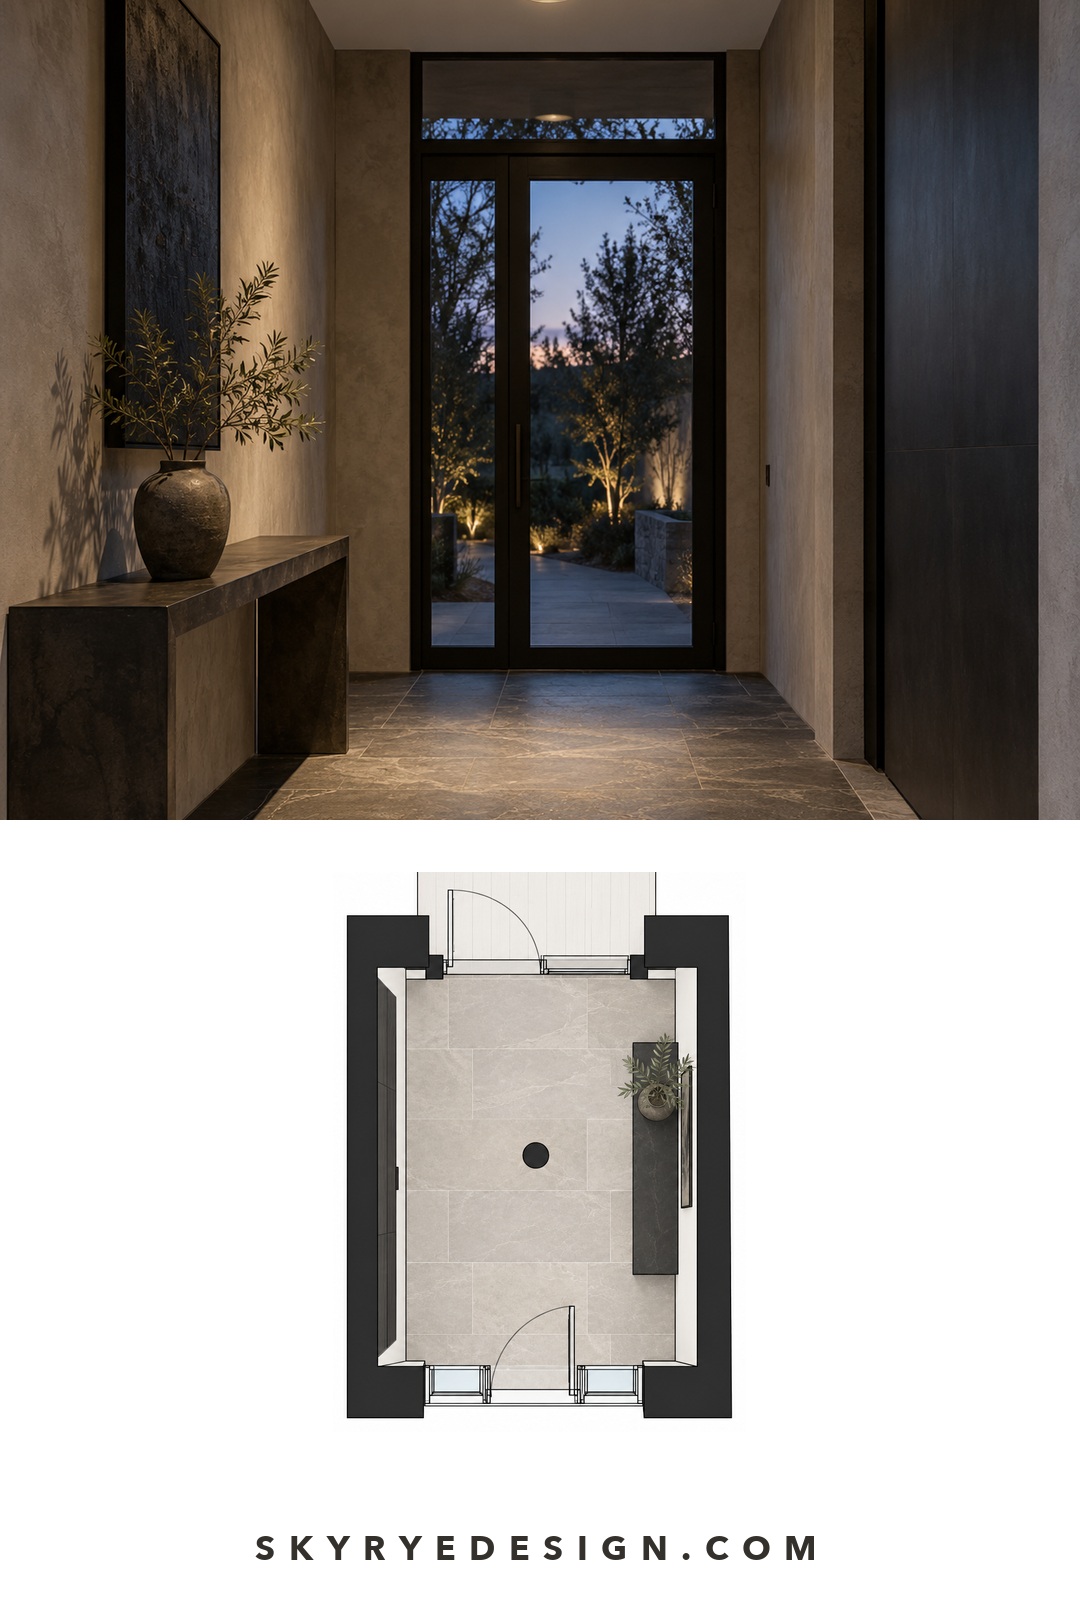
Black hallway light fixtures work best as a rhythm. Center them on the corridor, space them evenly, and keep the end fixtures about half a spacing interval from the end wall, which is common layout logic. Align with door openings where you can. For black hall light fixtures in an entry, one slightly larger disc over the drop zone gives arrival a focal point.
Bedroom
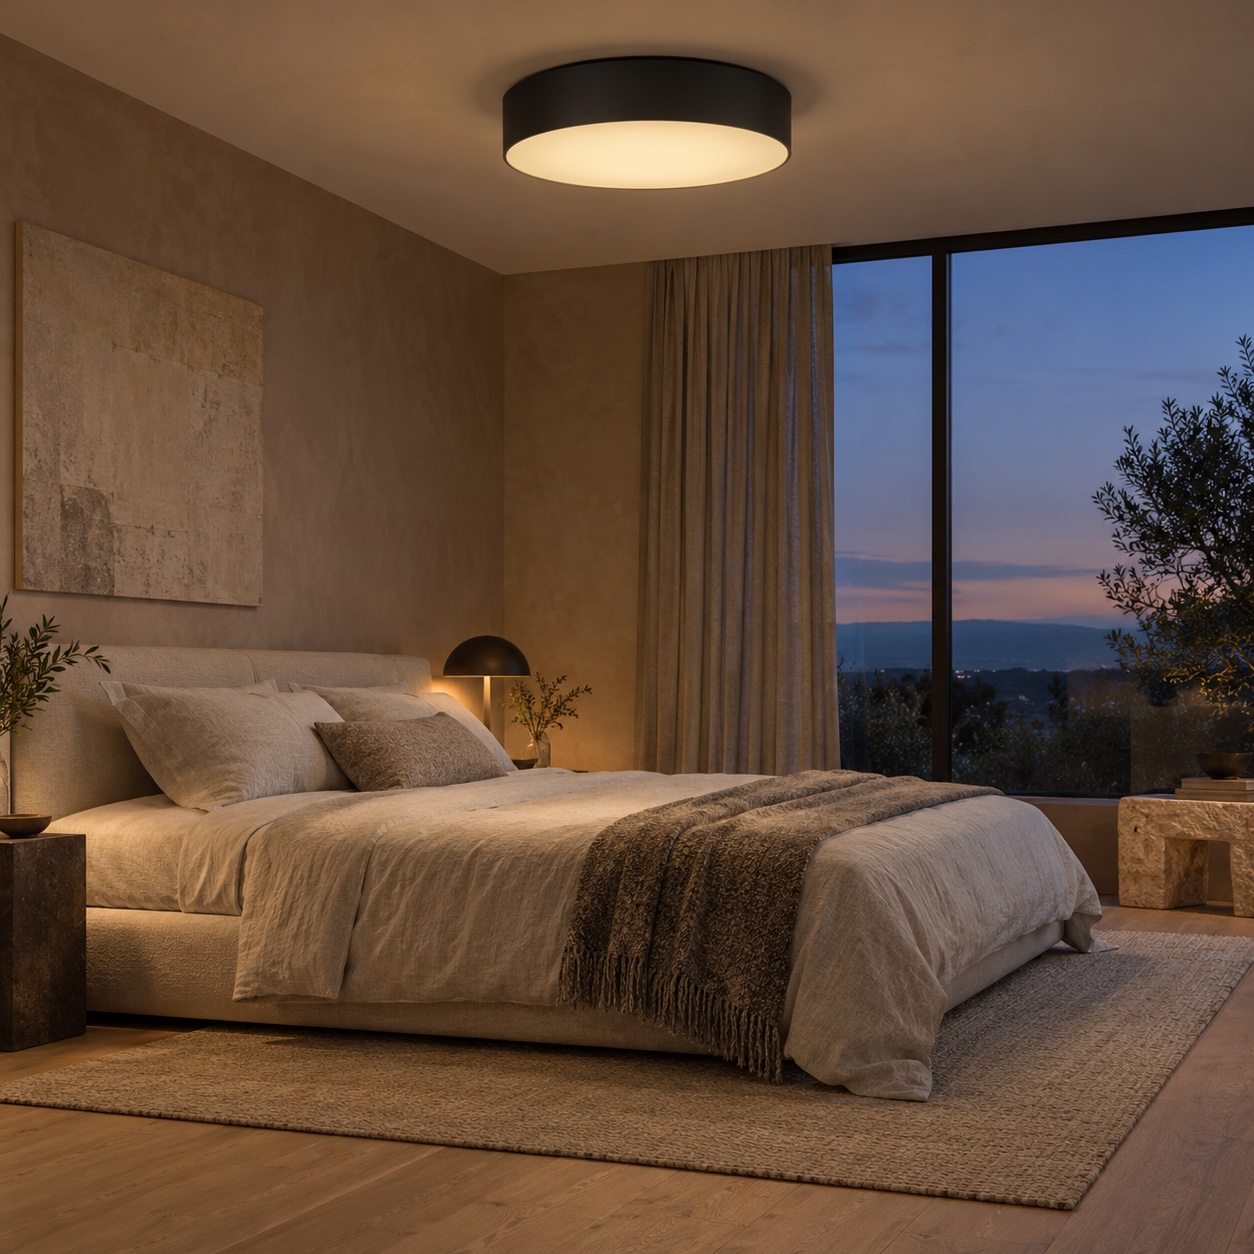
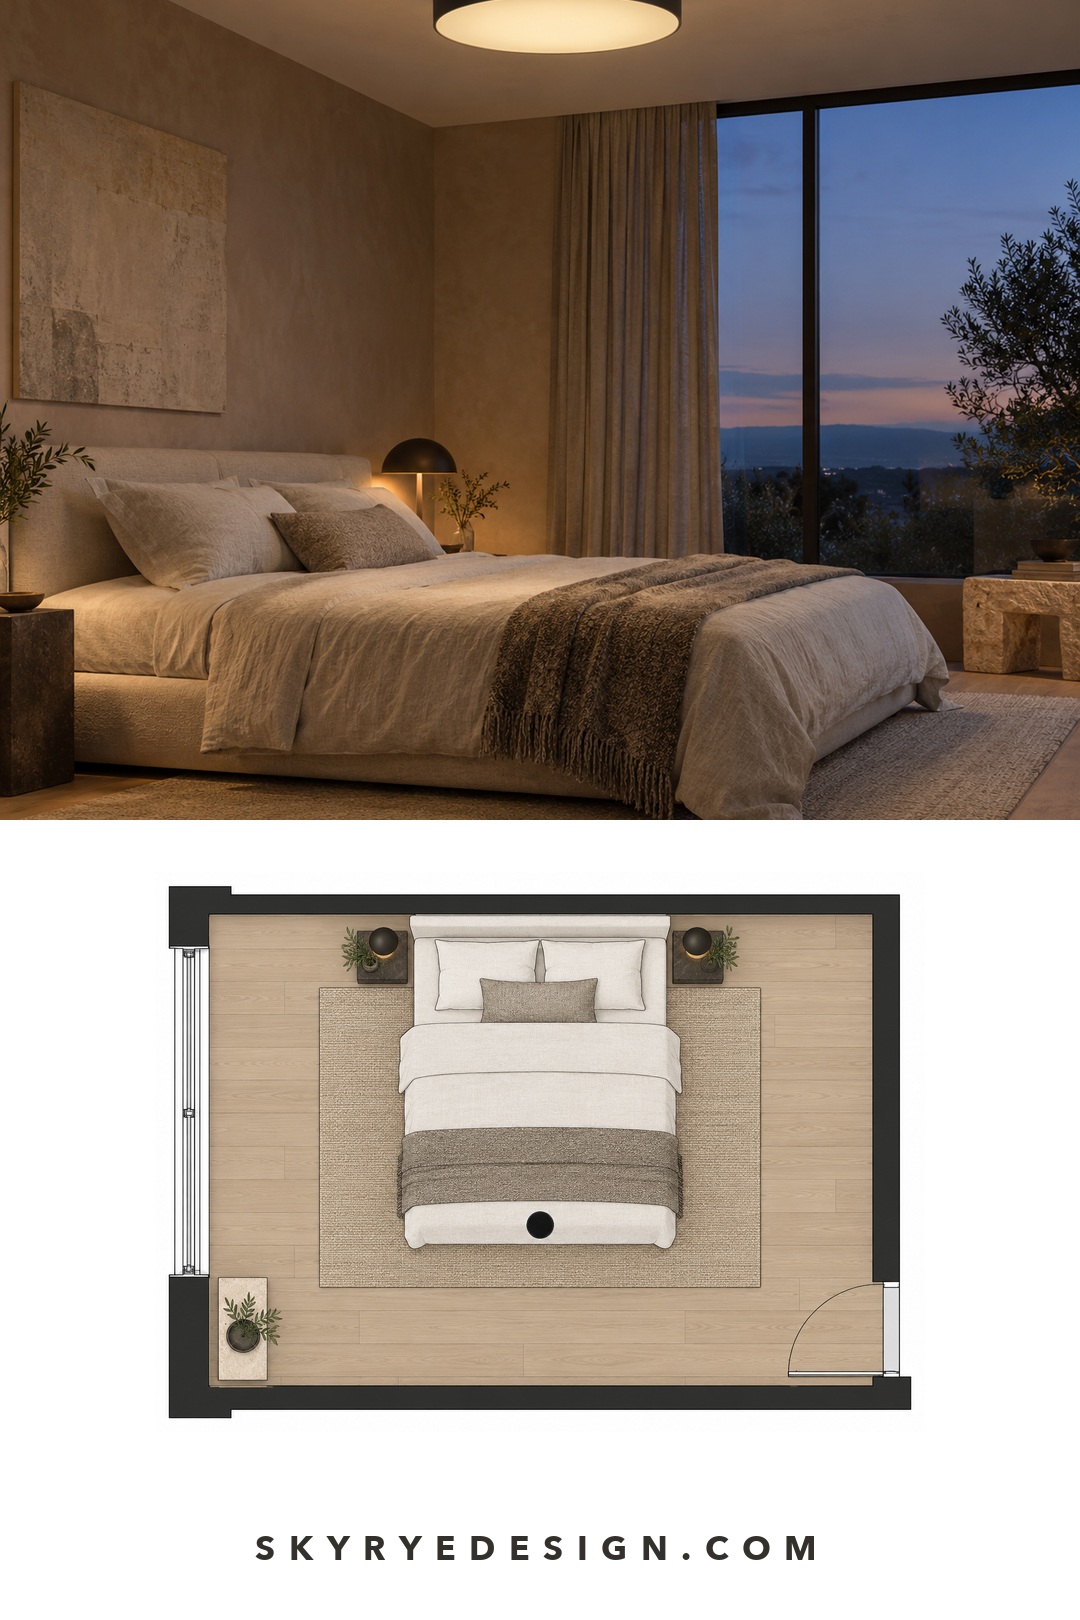
A black bedroom light fitting should be quiet. Choose a low drum or soft dome with an opal diffuser, 2700K and a dimmer. Bedroom light fixtures in black look best with bedside lamps doing the reading work. Check the view from the pillow, because that’s where glare lives.
Living room
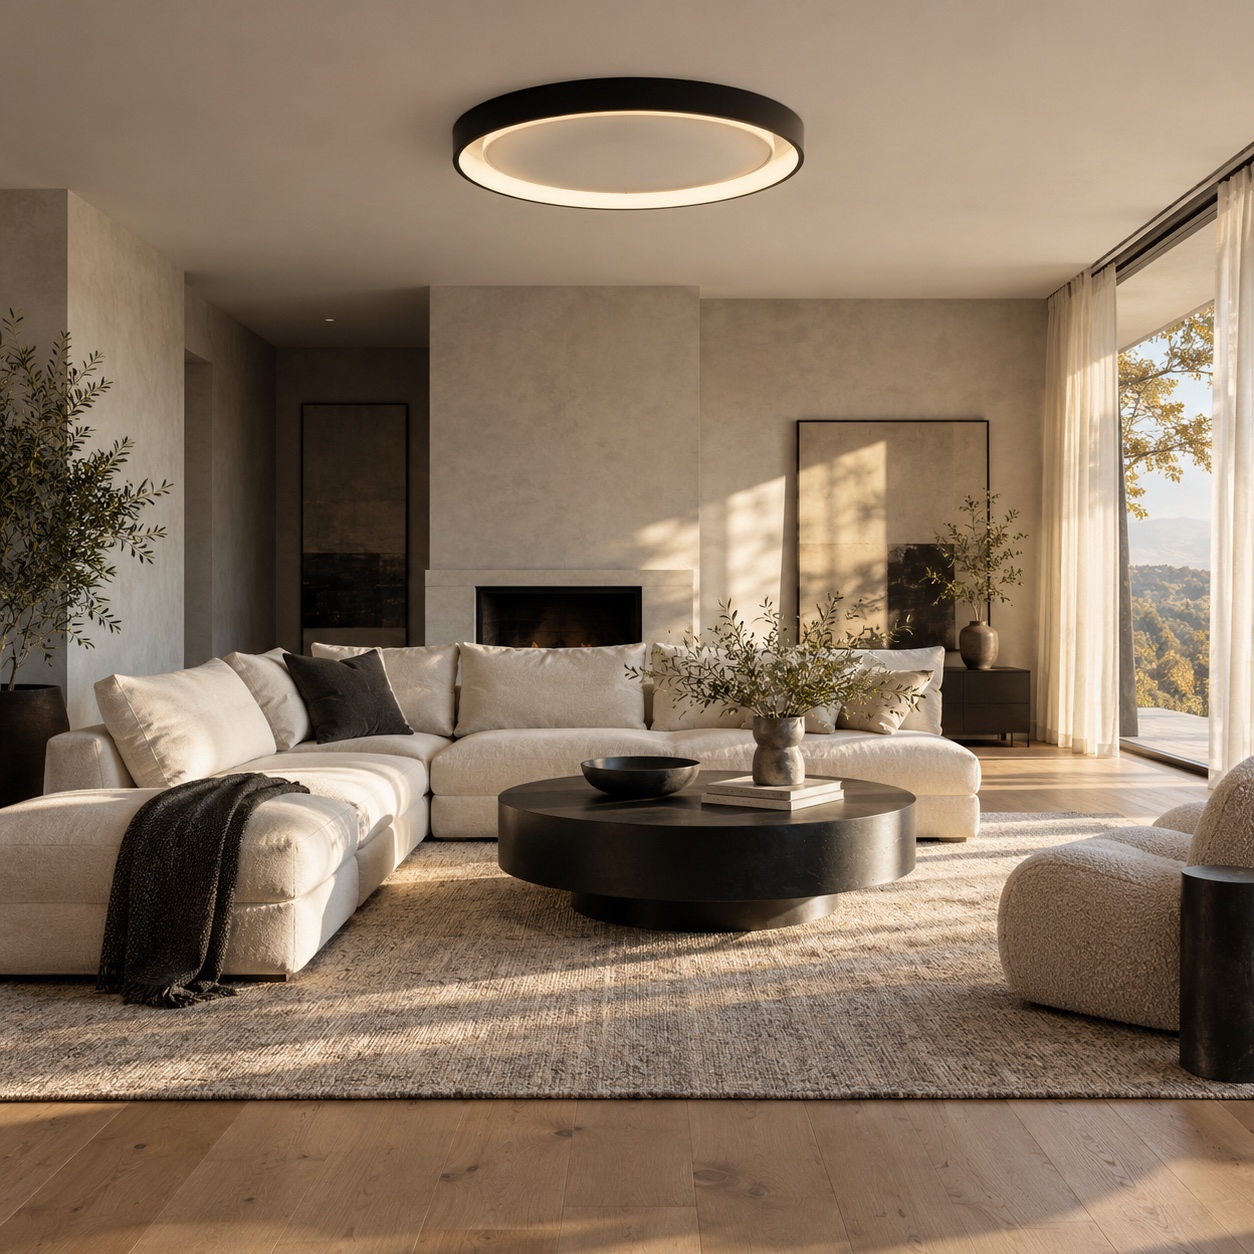
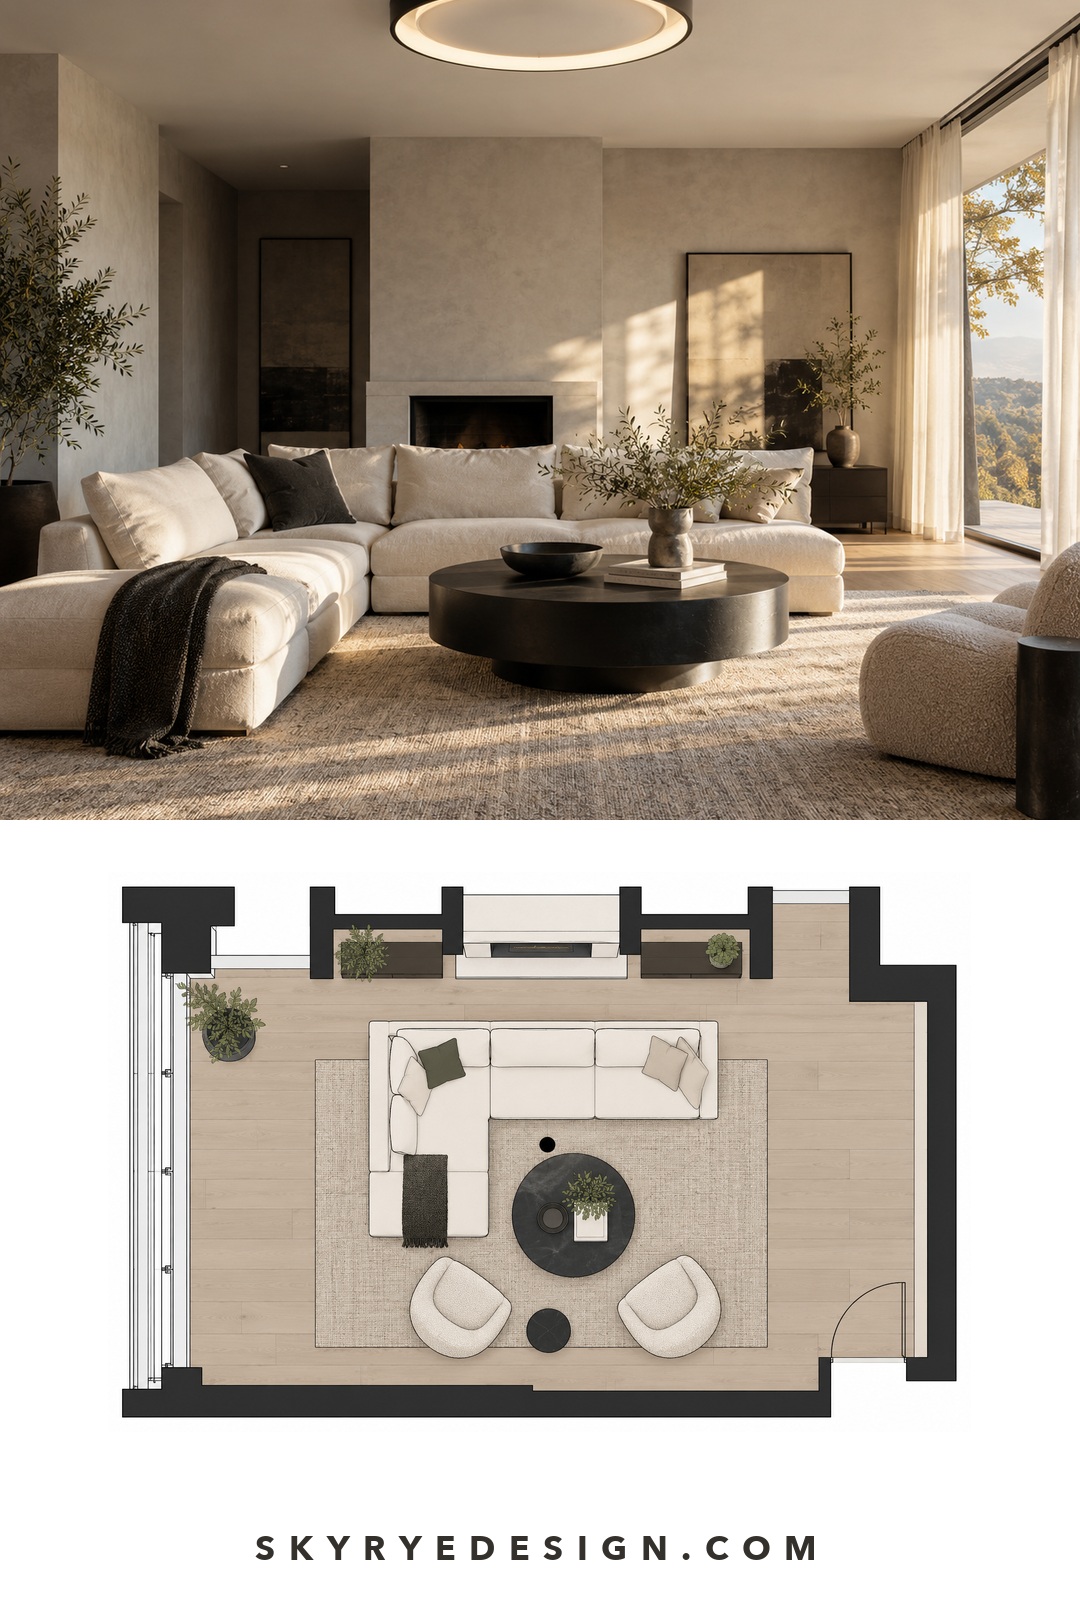
Black light fixtures for a living room should anchor a layer, not carry the whole room. Center the fixture on the seating group when that differs from the geometric center. Add floor and table lamps so the ceiling can run at a lower setting. Large rooms can take two matched fixtures along the longest axis.
Dining room
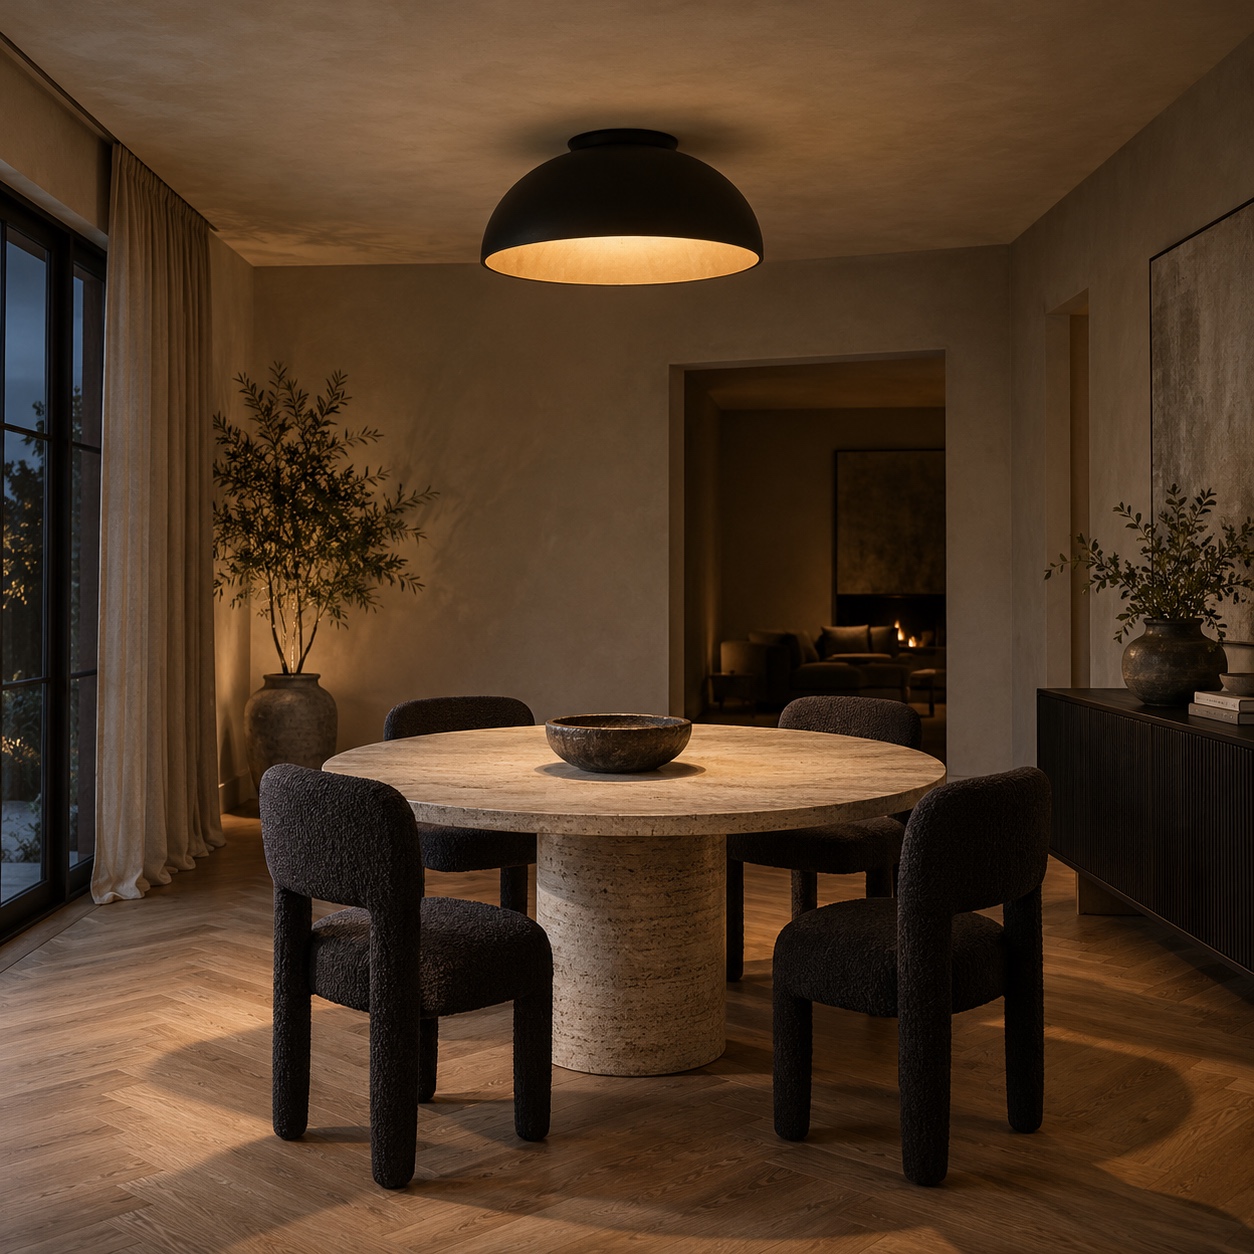
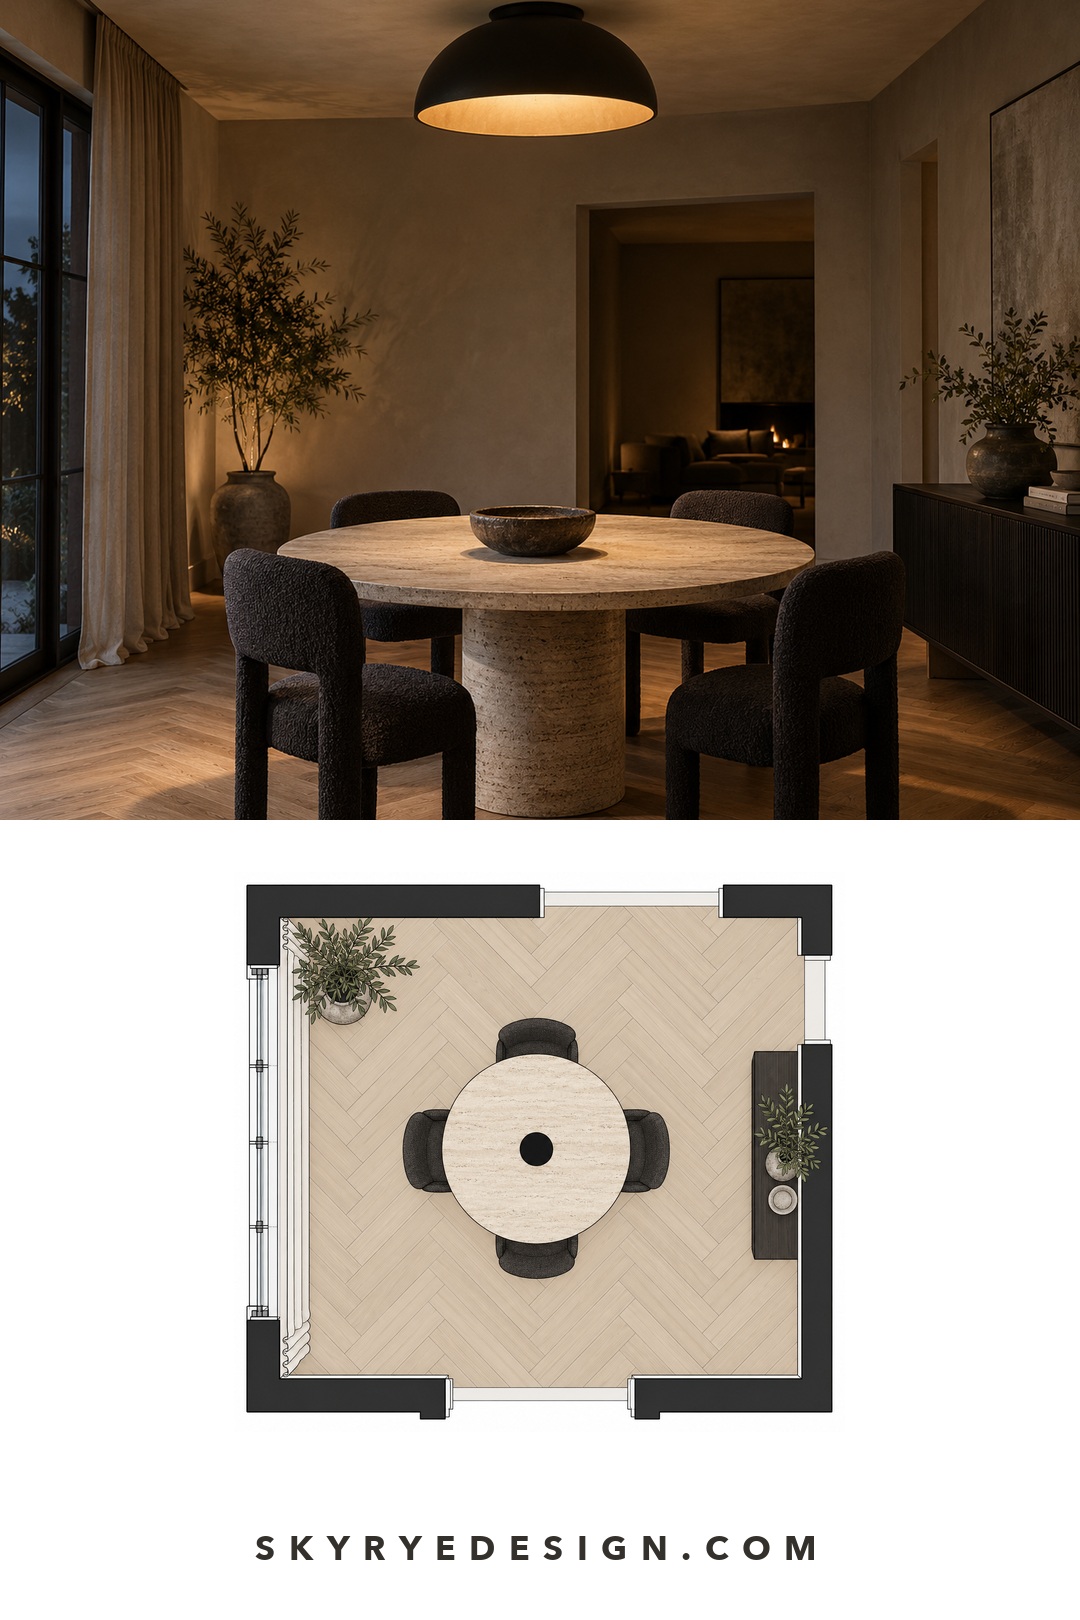
Black light fixtures for a dining room should be centered on the table, not the room. A common starting point for fixtures over a table is one-half to two-thirds of its width. With a flush mount I’d lean toward the upper end, because there’s no drop to create presence. Choose CRI 90 and a dimmer.
Kitchen
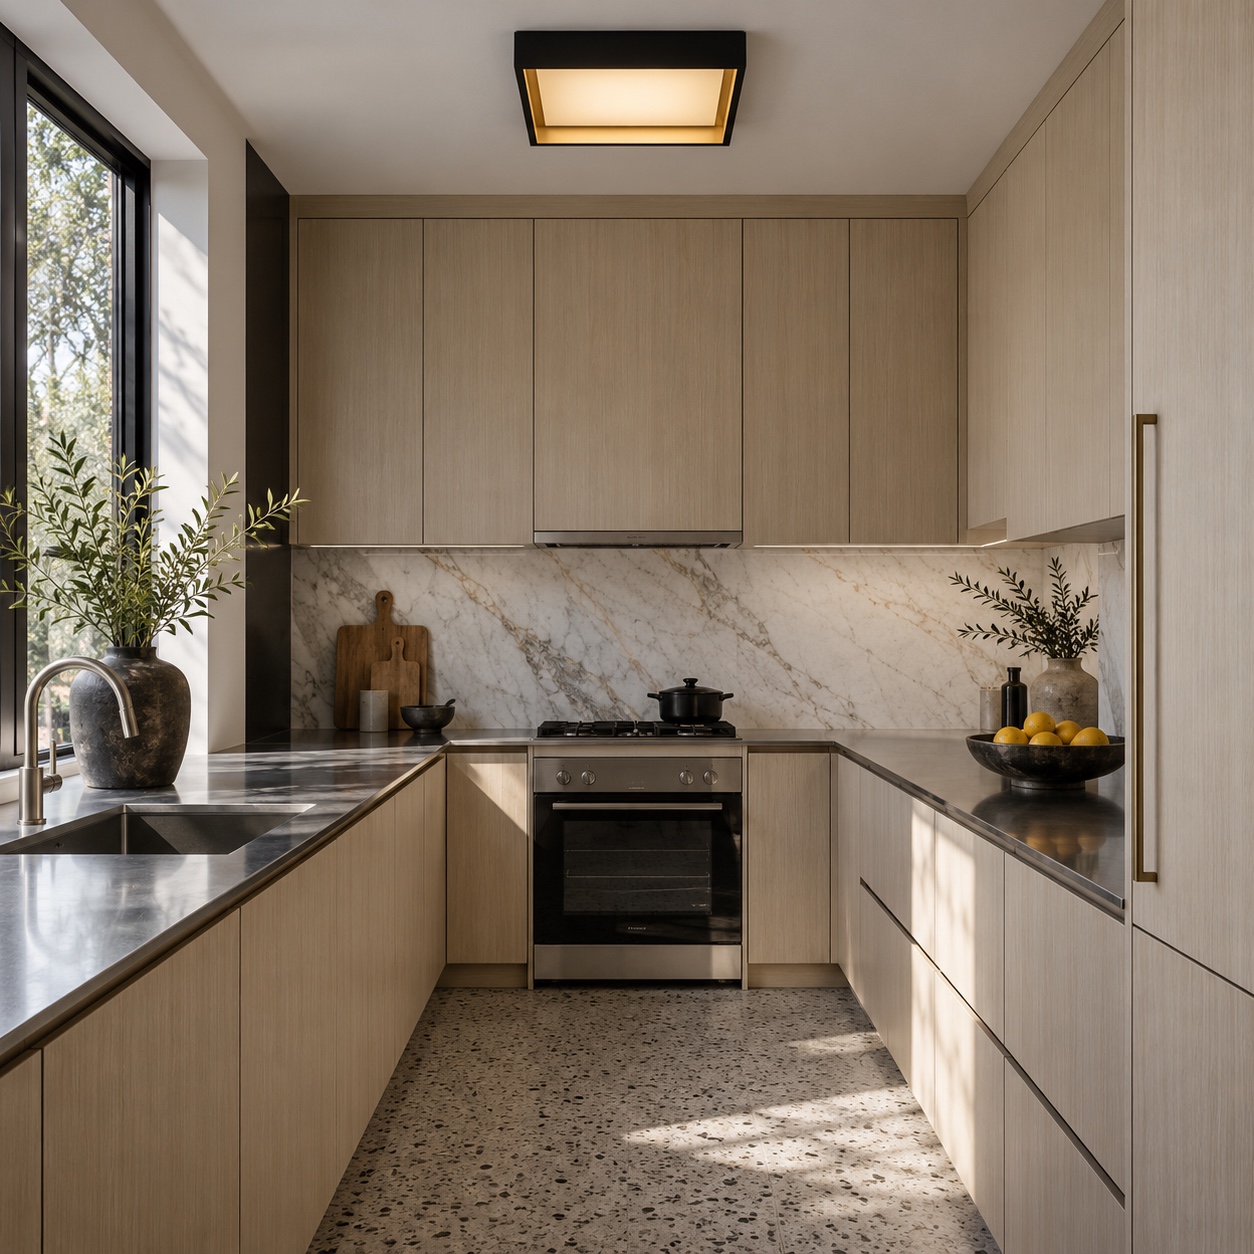
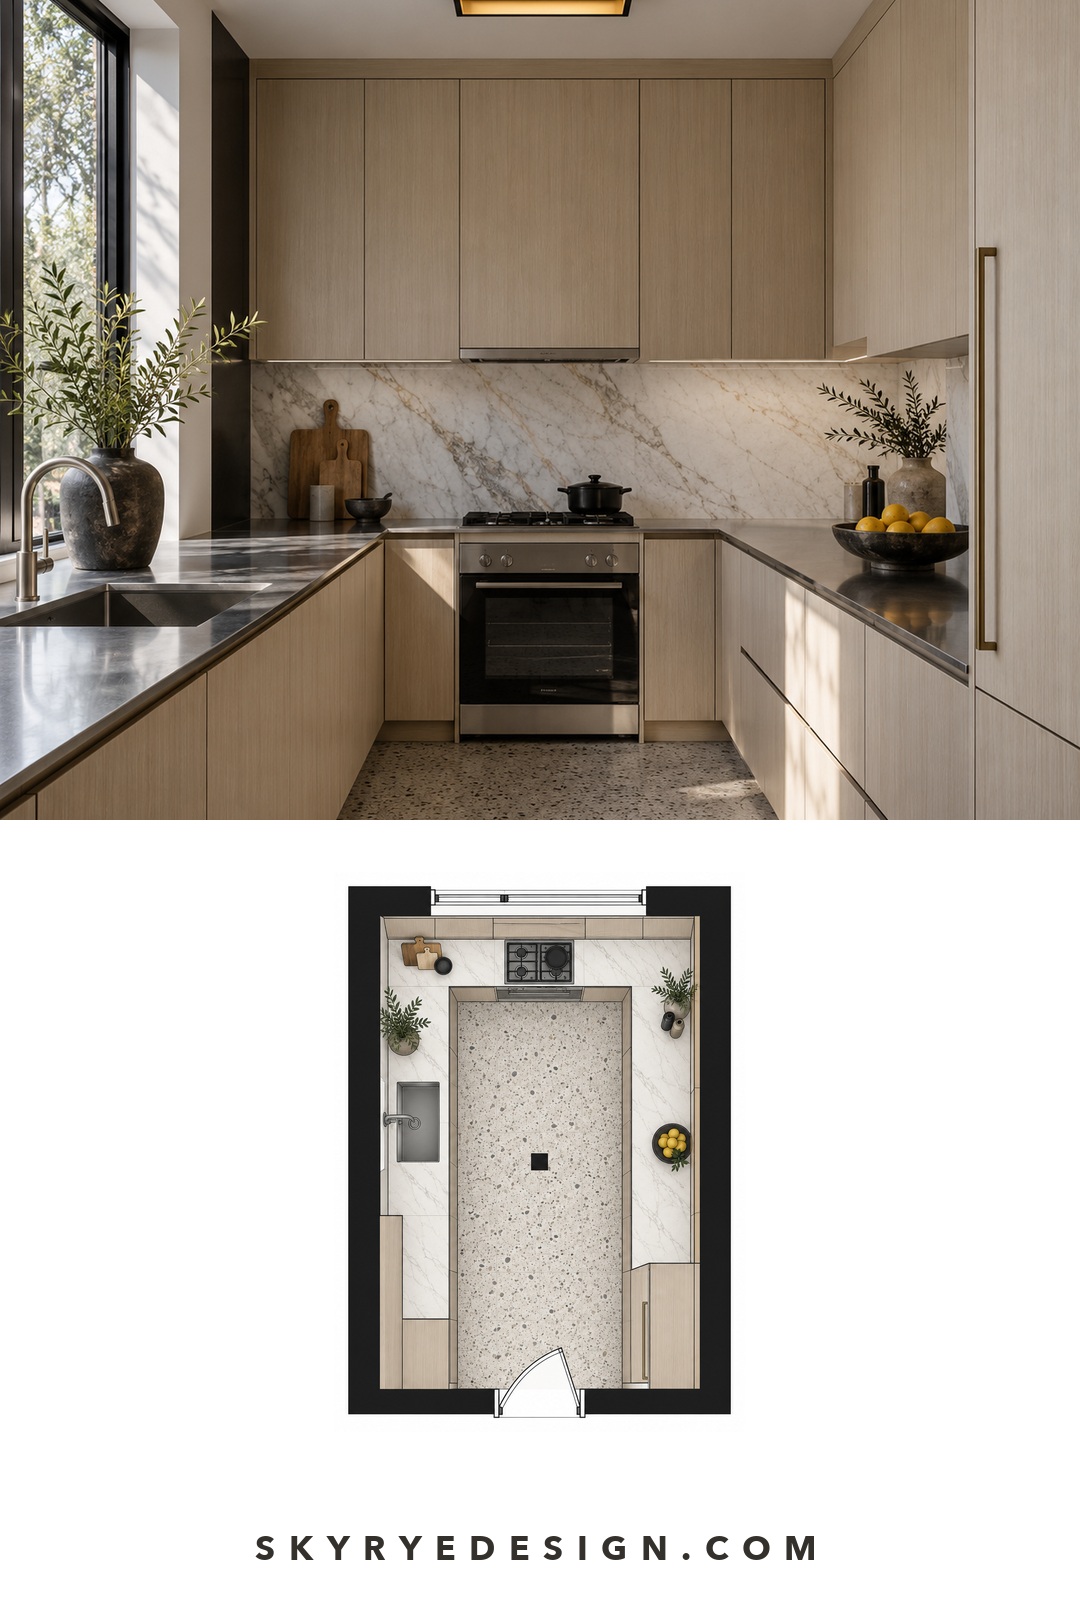
Matte black kitchen light fixtures need the most output of any room and the easiest cleaning. Look for 3000K, CRI 90+ and a wipe-clean finish with minimal seams. One fixture rarely lights worktops, since cabinets and your own body cast shadows, so plan a complete kitchen lighting layout alongside it. Over an island, a linear bar usually reads cleaner than a lone disc.
Installation limits, renovation constraints and common mistakes

Electrical installation must follow local code, and a qualified electrician should handle wiring, box support and any new circuits where required. Rules differ by region and change over time, so verify current requirements with your local authority and the manufacturer’s installation sheet before you buy.
Ceiling box and mounting
Check what the ceiling can hold before you fall for a heavy fixture. The box must be rated for the fixture’s weight, and the canopy has to fit it. Black flush mount ceiling light fixtures in metal can weigh more than they look, and plaster, drywall or old lath may need extra support. Bathrooms and covered outdoor spaces also call for a suitable damp, wet or IP rating, which describes protection against moisture and dust. Ask your electrician which rating the location needs.
Renovation constraints
Renovations add surprises. An existing box may sit off-center from where your design wants the fixture, and moving it can mean opening the ceiling. A new canopy may be smaller than the old one, leaving a paint ghost around it, and a dark rim will highlight the gap. Low ceilings limit depth, and insulation above the ceiling can limit which fixtures are suitable, so read the product instructions. If the existing switch is an old type, ask the electrician about a compatible dimmer before you choose a dimmable model.
Common mistakes and fixes
Most problems are visible before anything is wired.
| Problem | Likely cause | Fix |
|---|---|---|
| Fixture looks like a hole | Too small, or dark ceiling | Increase diameter or lighten the ceiling |
| Room feels dim | Low delivered lumens, dark ceiling | Check photometrics, add lamps |
| Dots or a hot face | Thin diffuser, exposed LEDs | Opal diffuser, lower output |
| Flicker or buzz | Dimmer mismatch | Match the manufacturer’s list, call an electrician |
| Looks cheap | Gloss plastic, visible seams | Matte or satin metal, study close-ups |
| Hallway looks spotty | Uneven spacing | Rebalance, half interval at the ends |
FAQ
Does a black flush mount light make a room look darker?
Not by itself. Delivered lumens, ceiling color and your other lamps decide how bright a room feels. A black rim does sharpen the contrast around the glow, which can make a lit fixture look intense. On a dark ceiling the room returns less light, so check delivered output and add floor or table lamps.
What size black flush mount ceiling light do I need?
Start with the designer shortcut: add the room’s length and width in feet and read the total as inches. A 12 by 14 ft room lands near 26 in. It’s a starting point, not a standard. Because black looks heavier, go mid-size or split into two fixtures in smaller rooms, and judge the result against the furniture below.
Is matte or satin black better?
Matte gives a flat graphic shape and little reflection. Satin adds gentle highlights on curved forms. Gloss shows dust and fingerprints. If your room already has glossy tile or lacquer, matte will feel calmer. Check close-up photos in daylight, and follow the maker’s cleaning advice so you don’t polish a matte surface by accident.
Which color temperature works with black fixtures?
Around 2700K to 3000K suits most homes, and kitchens and hallways can go to 3000K. Keep fixtures in the same space matched, since black rims make differences between glowing faces obvious. Look for CRI 90 or higher where materials and food matter, and confirm it in the manufacturer’s data.
Can I use one in a bathroom?
Only if it’s rated for the location. Bathrooms may require a specific damp, wet or IP rating depending on where the fixture sits and your local rules. Don’t assume a fixture that looks sealed is suitable. Read the listed rating on the product, and ask a qualified electrician which rating the location needs before you buy.
Can I install it myself?
That depends on where you live. Some jurisdictions let homeowners swap a fixture on a correctly rated box, and others require a licensed or registered electrician. Check local rules, switch the circuit off at the breaker, and hire a qualified electrician if the box, wiring or dimmer needs changes.
Purchase workflow and final checklist
- Cut a paper or tape template at the real diameter and stick it on the ceiling. View it from the doorway, your seat and the bed.
- Check the room’s geometry and zone, then pick the form that follows the strongest line.
- Confirm the ceiling box, ceiling construction, headroom and moisture rating with an electrician.
- Multiply room area by a lumen starting estimate, then compare it with the fixture’s delivered lumens.
- Choose 2700K to 3000K for most rooms, keep it consistent across connected spaces, and look for CRI 90+ where materials matter.
- Confirm dimmer compatibility and the minimum dim level from the manufacturer’s list.
- Check the diffuser for countable LEDs from where you’ll sit, and the light distribution for dim walls.
- Inspect the finish in close-up photos, plan how you’ll clean it, and order a sample if you can.
Decision rule: if the taped template looks right from the doorway, the fixture delivers the lumens your room calls for, and the diffuser hides the LEDs from your seat, buy the black flush mount light. If any one of those fails, change the fixture, not your expectations.
- 9shares
- Facebook0
- Pinterest9
- Twitter0
- Reddit0