A client of mine once installed a beautiful kitchen, cabinetry, island, stone worktop, all of it right, and then called me six months later asking why she still reached for her phone flashlight every time she chopped onions after dark. The kitchen had plenty of light. It just didn’t have any light where the actual work happened. That gap between total brightness and useful brightness is the entire subject of this guide.
Most kitchen lighting content stops at fixture ideas, pendants you might like, a nice photo of under-cabinet strips glowing warmly. Useful for inspiration, not much help for planning. A kitchen lighting layout is a different problem: where light goes, how much of it, in what order it switches on, and how it changes between a 7am coffee and an evening dinner party.
- What makes a good kitchen lighting layout?
- Start with the three main lighting layers
- Plan lighting around the kitchen island
- Use under-cabinet lighting without making the kitchen feel clinical
- Choose the right color temperature for day and night
- Add flexible controls and lighting scenes
- Common kitchen lighting layout mistakes
- FAQ
This is a planning guide, not a shopping list. It covers the three lighting layers every kitchen needs, how to size and space island pendants properly, where under-cabinet lighting earns its place, how to pick a colour temperature that doesn’t fight itself room to room, and the layout mistakes I see most often when a kitchen looks good in daylight and falls apart after sunset.
None of this requires an unlimited budget or a full rewire. Most of it just requires deciding the plan before the fixtures, which is the one step almost every guide, and almost every kitchen I’ve walked into after the fact, skips entirely.
What makes a good kitchen lighting layout?
A kitchen lighting layout is the plan for where light comes from, how much of it there is, and when each source is on, mapped against how the room actually gets used. It’s different from a kitchen lighting design in the decorative sense, layout comes first, fixture choice comes after.
Get the layout right and the fixture choice becomes almost easy, you’re just filling in the plan with the right shape and finish. Get it wrong and no amount of beautiful pendants or clever cabinet lighting will fix the underlying problem, because the light still isn’t landing where the work actually happens.
Why one central ceiling light is not enough
A single ceiling fixture, or a uniform grid of downlights doing the same job, lights the room evenly and lights nothing well. It puts the same amount of light on the worktop as it does on the empty floor space in front of the fridge, which means the one spot where you actually need strong, shadow-free light, the chopping board, gets exactly as much as everywhere else. Evenness sounds like a good goal until you realise a kitchen has zones that need very different amounts of light doing very different jobs.
I’ve walked into more than one kitchen where the ceiling downlights were installed on a symmetrical grid that had nothing to do with where the cabinets or island ended up. It looks tidy on the reflected ceiling plan. In the finished room, half the downlights land directly above head height at the counter, throwing your own shadow across the worktop, while the other half illuminate an aisle nobody stands in.
How kitchen zones shape the lighting plan
Before choosing a single fixture, map the kitchen into zones: prep and cooking, the sink, the island, any seating or dining area, and the walkway or transition into an open-plan living space. Each zone has a different lighting job. Prep and cooking need strong, even, shadow-free task light. The island might need both task light (if it’s used for chopping) and a decorative statement above it. A dining or seating zone wants warmer, dimmable ambient light that can drop low in the evening without anyone squinting at their plate.
This zone-first approach is really the same thing an electrician means by a lighting plan, but it’s worth doing as a design exercise before it becomes a wiring diagram. Sketch the kitchen from above, mark the zones, and only then start deciding what kind of fixture belongs in each one.
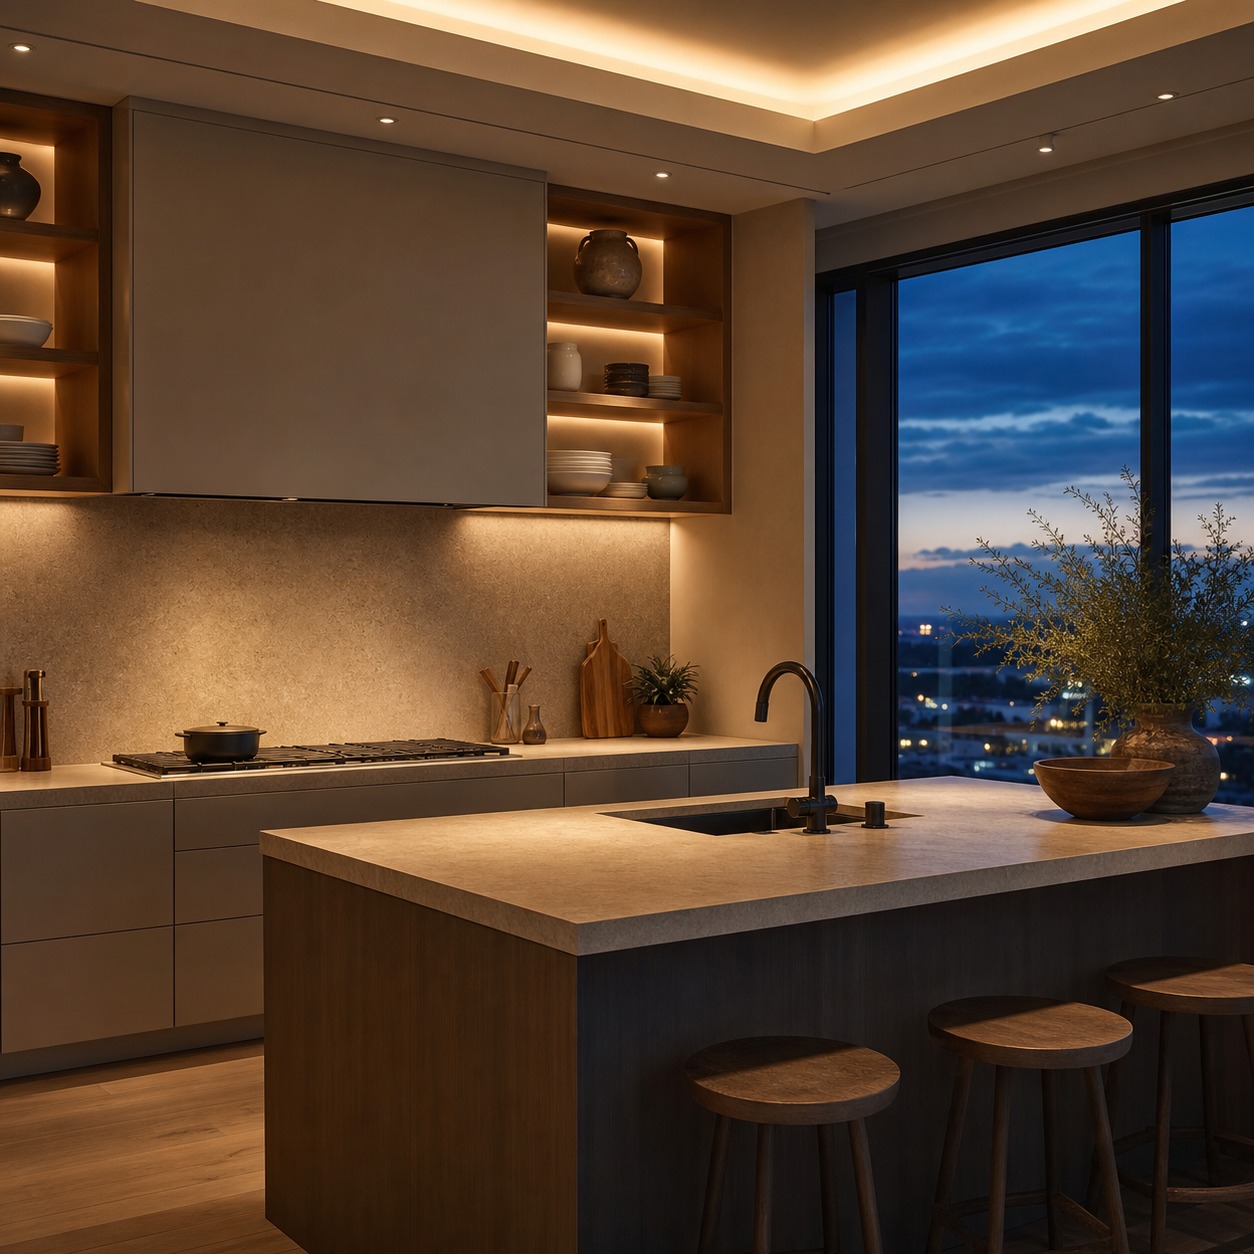
If the kitchen layout itself is still in flux, it’s worth working through the floor plan before finalising the lighting plan on top of it. our guide to kitchen floor plans covers how zones typically get arranged in the first place, and our kitchen interior design guide has broader material and layout direction if you’re planning the room from scratch rather than lighting an existing layout.
Start with the three main lighting layers
Professional lighting design in a kitchen works in layers rather than relying on one dominant source. Ambient, task, and accent light each do a different job, and a kitchen lighting layout is really just the plan for how those three layers combine.
Ambient lighting for general movement and comfort
Ambient light sets the room’s overall brightness, enough to move around comfortably without needing every other layer switched on. Ceiling fixtures, recessed downlights, and larger architectural fittings usually carry this role. The goal isn’t maximum brightness, it’s a comfortable baseline that supports the task and accent layers rather than competing with them.
How much ambient light a kitchen needs depends on more than square footage. Dark cabinetry and stone absorb far more light than pale finishes, so two kitchens of identical size can need genuinely different ambient lighting plans. Ceiling height and how much daylight the room gets during the day also shift the calculation, a north-facing kitchen with low ceilings needs a different ambient baseline than a south-facing one with a skylight.
It’s worth treating ambient light as the layer you can be most conservative with. It’s far easier to add a lamp or brighten a dimmer than to rip out an over-specified grid of downlights later, so when in doubt, plan the ambient layer slightly under what feels necessary in a bright showroom and let task and accent lighting fill in the difference where it’s actually needed.
Task lighting for worktops, sinks, hobs, and islands
Task lighting is where accuracy actually happens, chopping, reading a recipe, checking whether the pan’s ready. Worktops under wall cabinets are the classic failure point: ceiling light alone leaves them in shadow, because the cabinet itself blocks the light from above. Integrated under-cabinet lighting solves this directly by putting the light source right above the surface it needs to illuminate.
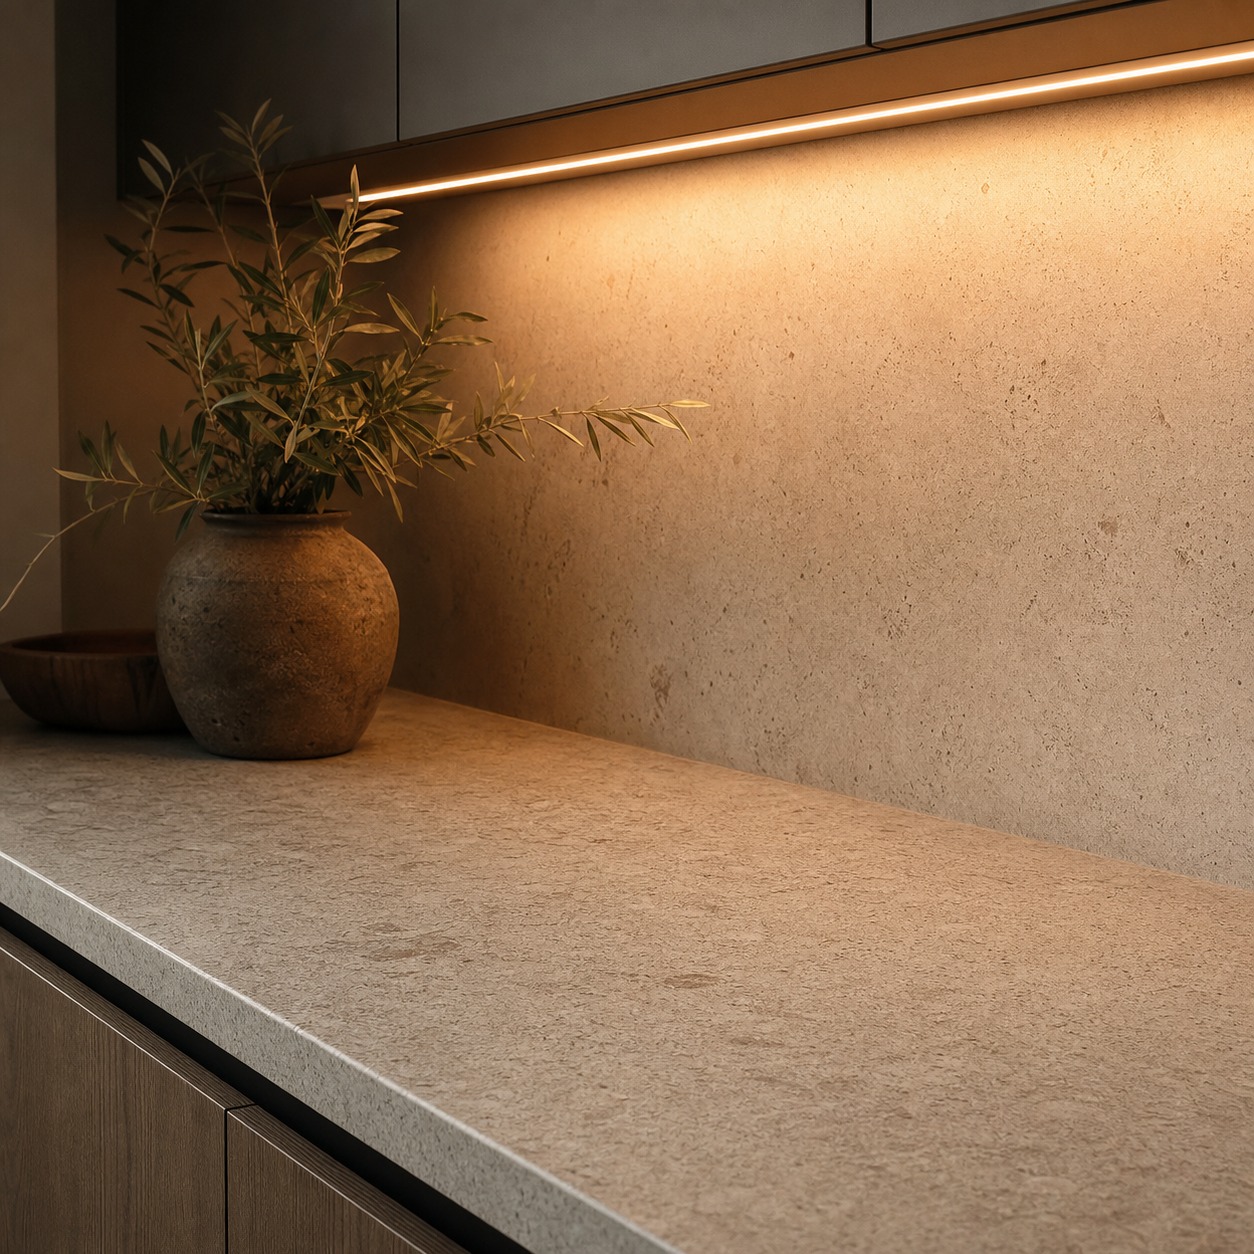
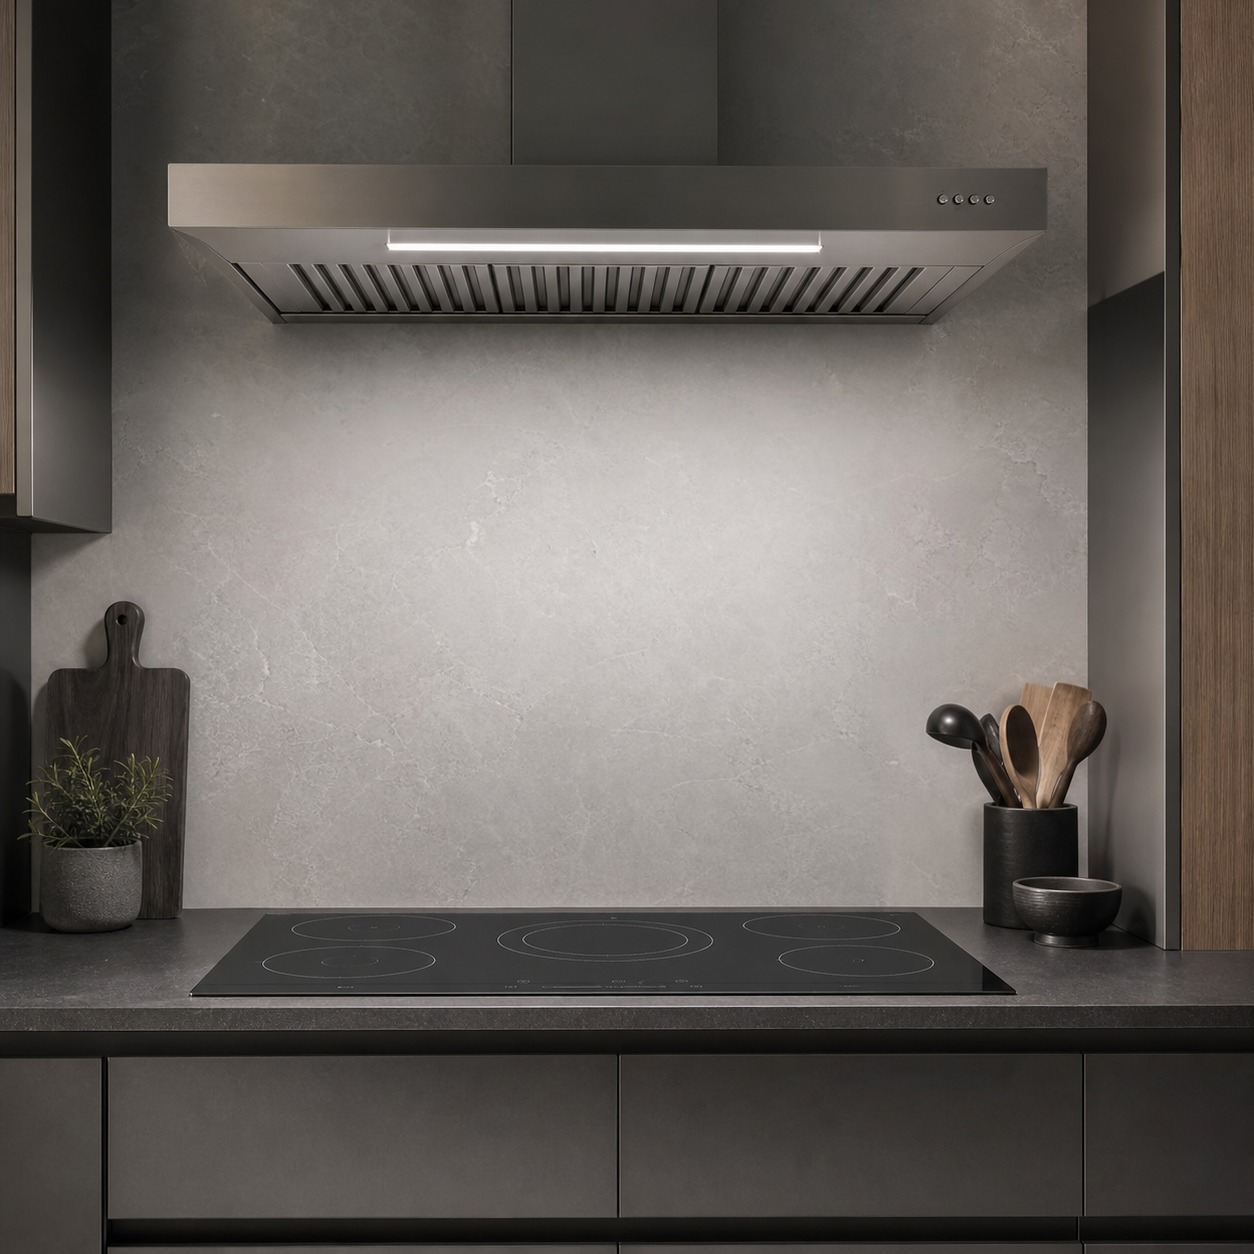
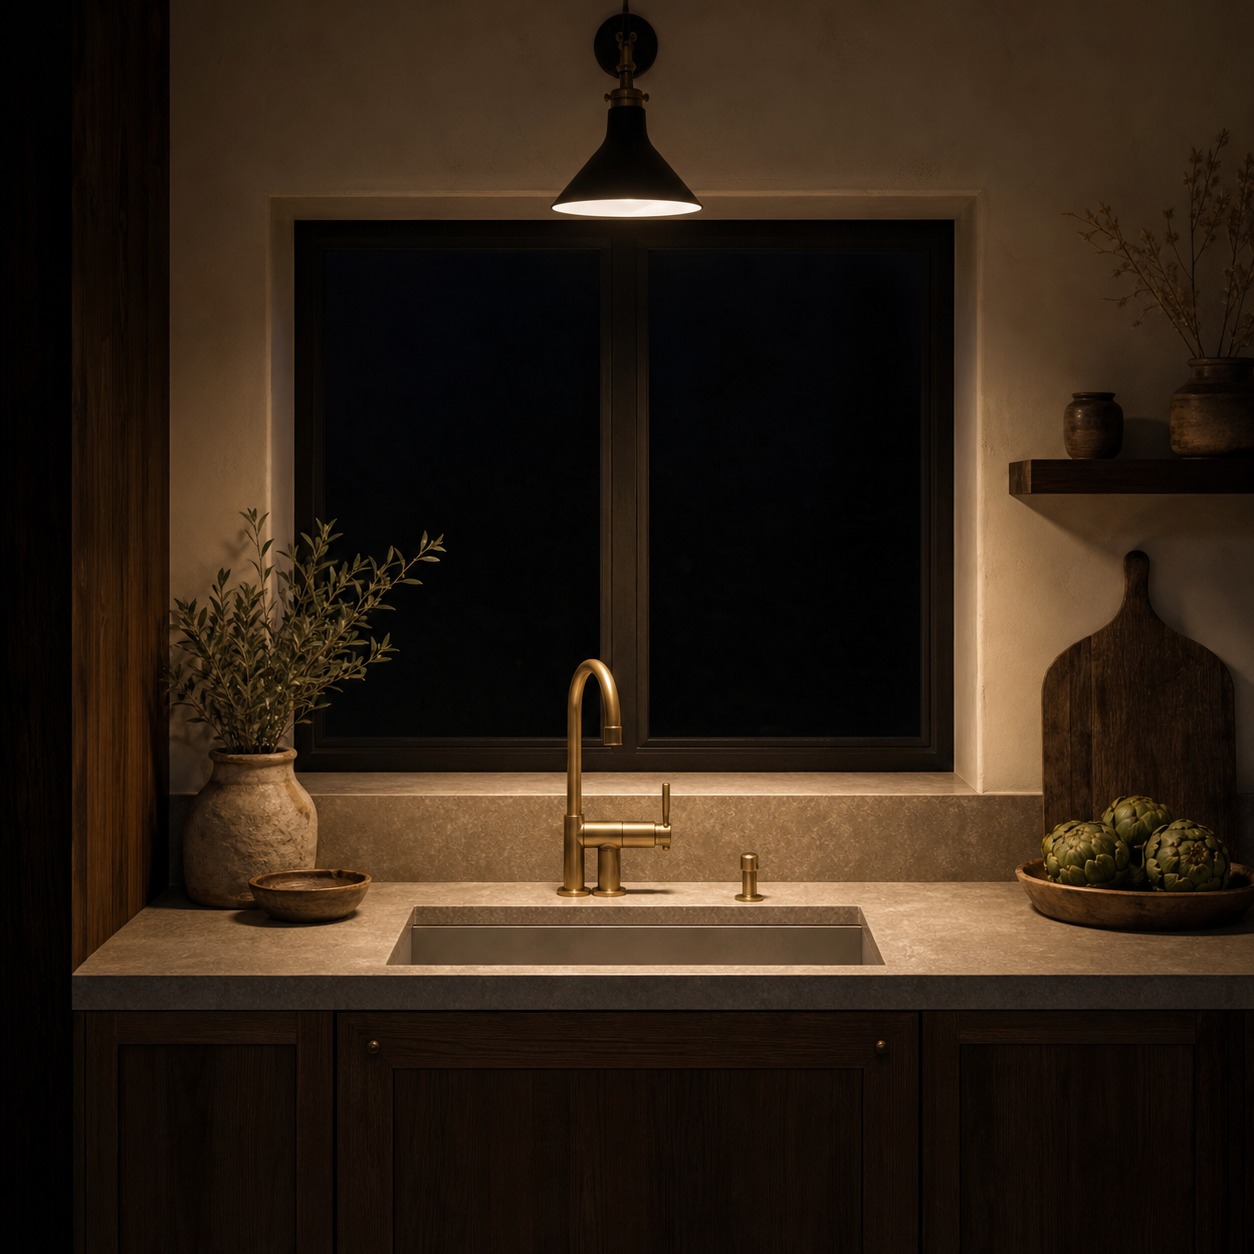
Positioning matters more than raw brightness here. A strong light mounted behind where you stand throws your own shadow across the exact surface you’re trying to see, which is worse than dim, evenly distributed light. Task fixtures need to sit in front of or directly above the work zone, not behind the person using it. The sink, the hob, and any island used for prep all deserve this same direct treatment, not just the main counter run.
A good check once the layout is roughed out: stand at each work zone at the time of day you’d actually use it most, and see whether your own shadow falls across the surface. If it does, the fixture needs to move, not just get brighter.
Accent lighting for shelves, cabinets, texture, and mood
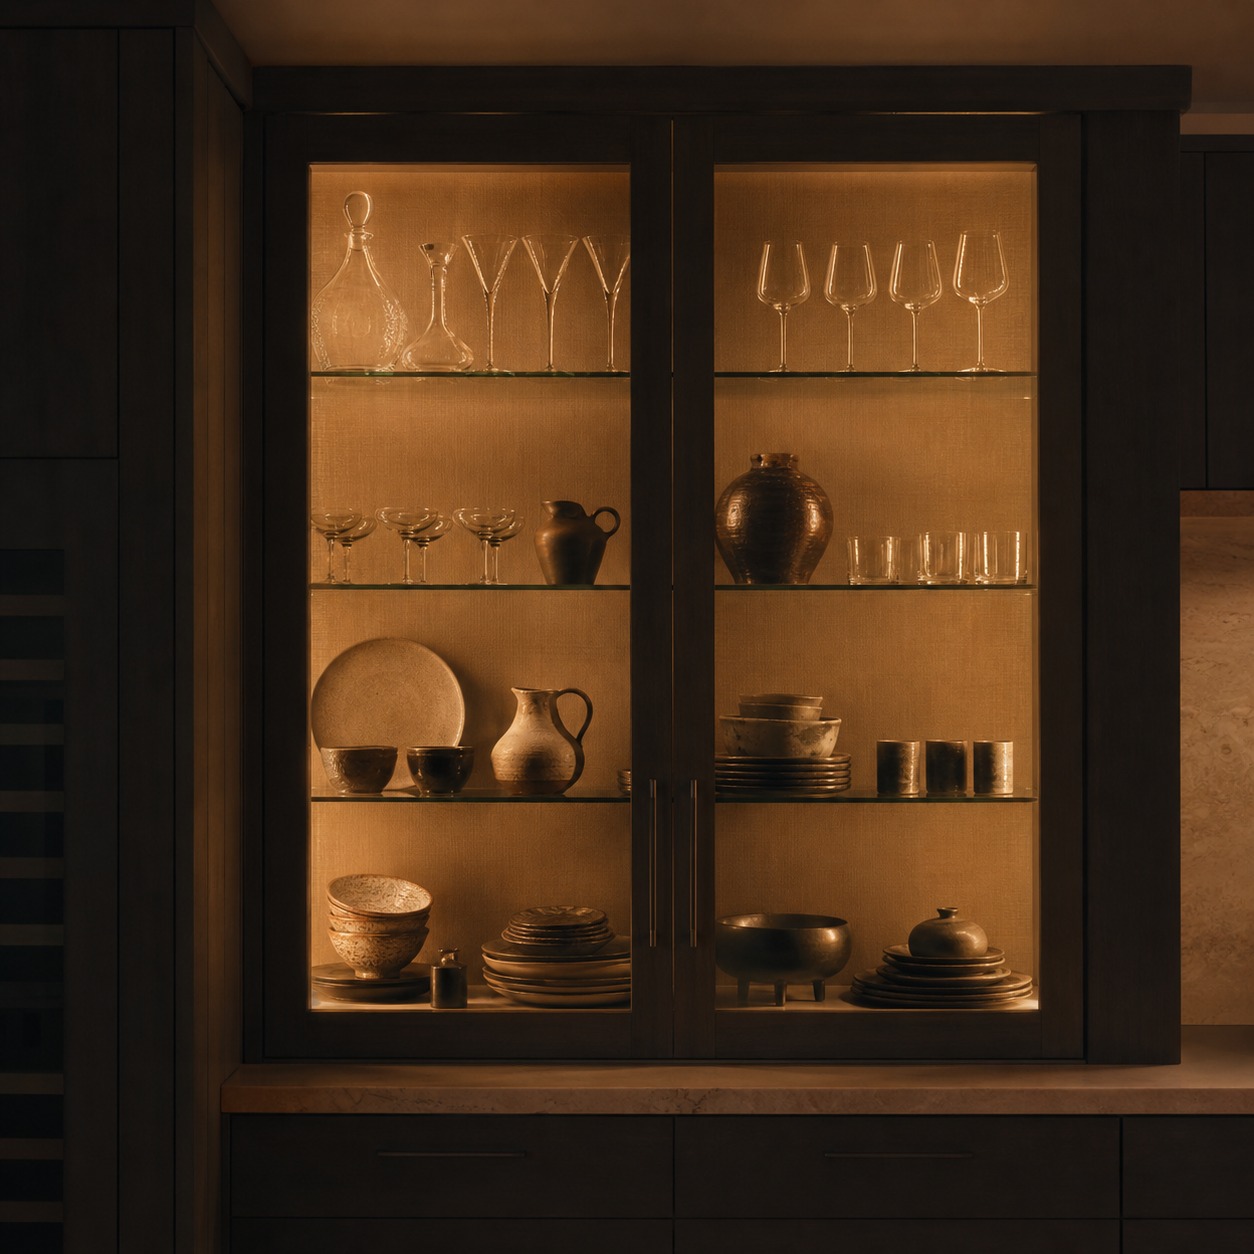
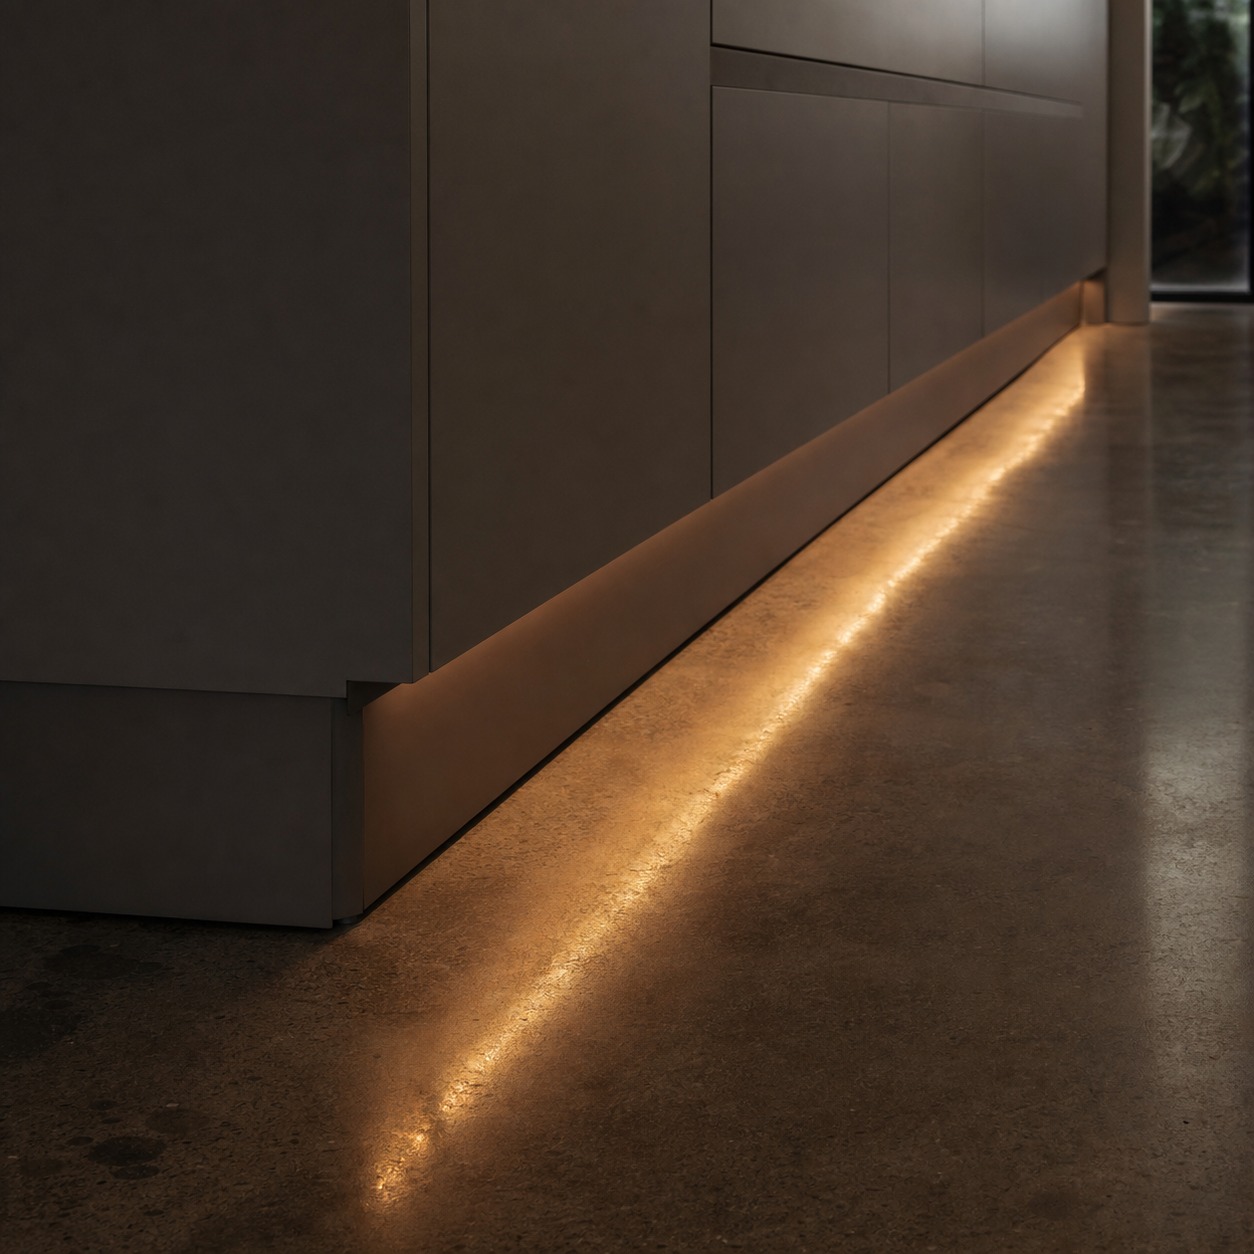
Accent lighting is where a kitchen lighting layout stops being purely functional and starts doing design work. Lighting inside glass-fronted cabinets, along open shelving, or in a recessed toe-kick beneath base units doesn’t add much practical brightness, but it adds depth, texture, and a sense that the kitchen was actually designed rather than just wired for visibility.
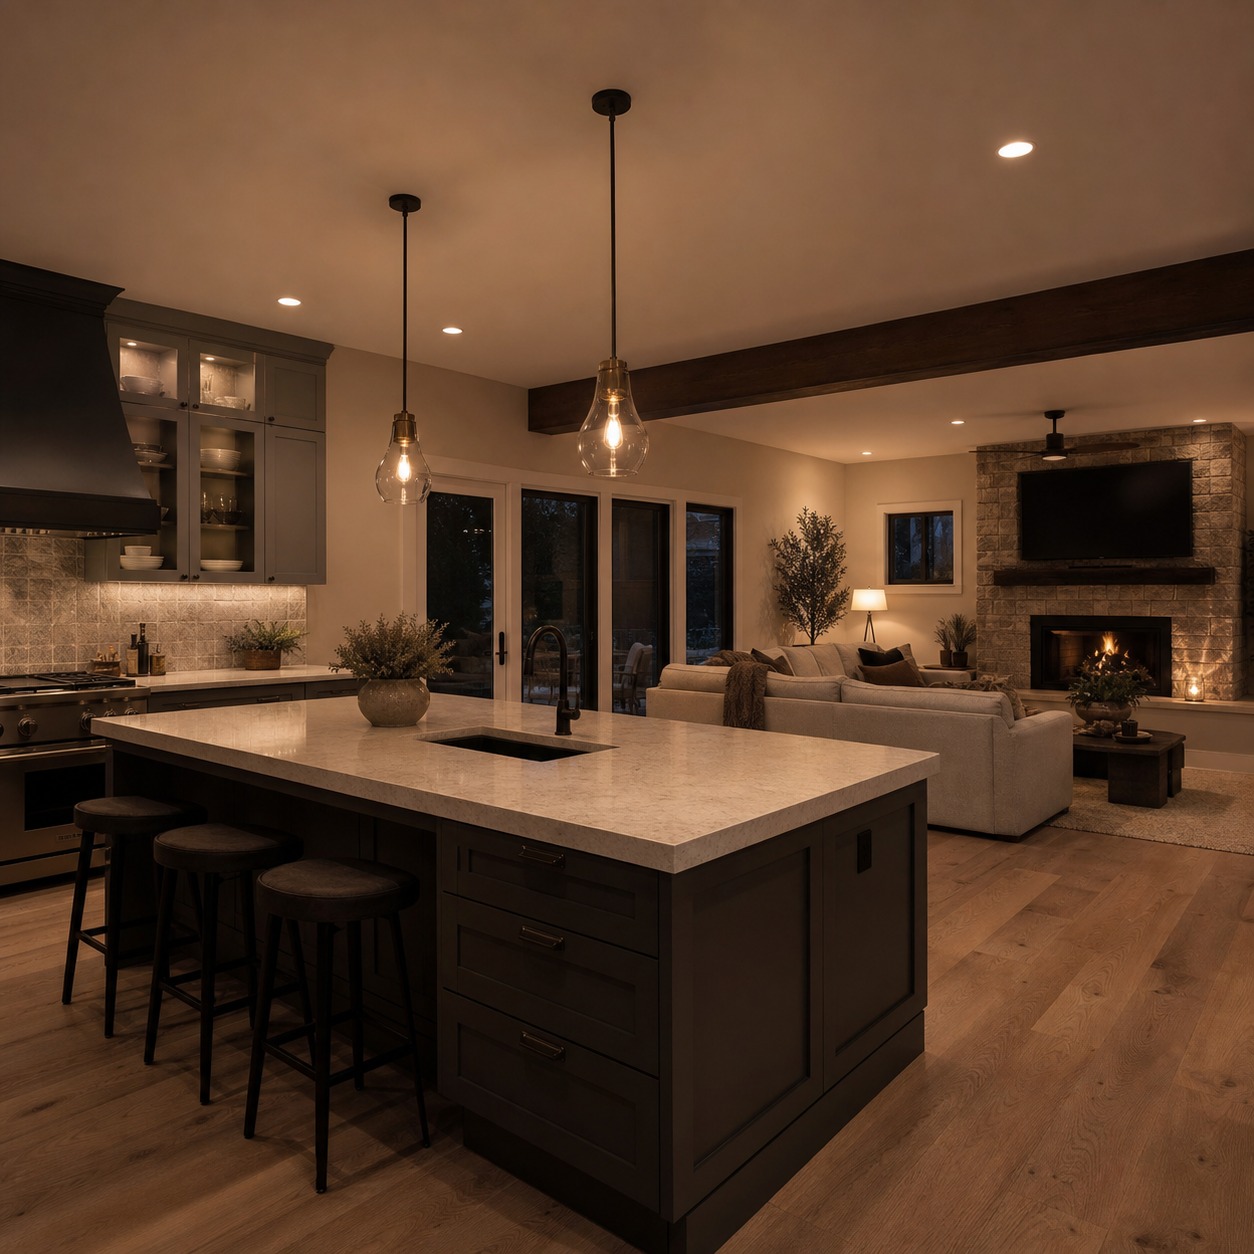
This is also the layer that carries the room after cooking is done. When ambient and task lighting switch off in the evening, a soft accent layer, cabinet interiors, a shelf, a toe-kick strip, can keep the kitchen feeling warm and considered rather than going completely dark or staying harshly lit for no reason. how lighting changes the mood of a home goes further into how these evening shifts affect a room’s atmosphere beyond the kitchen specifically, if you want to carry the same thinking into adjoining living spaces.
Plan lighting around the kitchen island
The island usually carries the most visible lighting decision in the whole kitchen, and it’s the one most often gotten wrong on proportion alone.
Pendant size, spacing, and hanging height
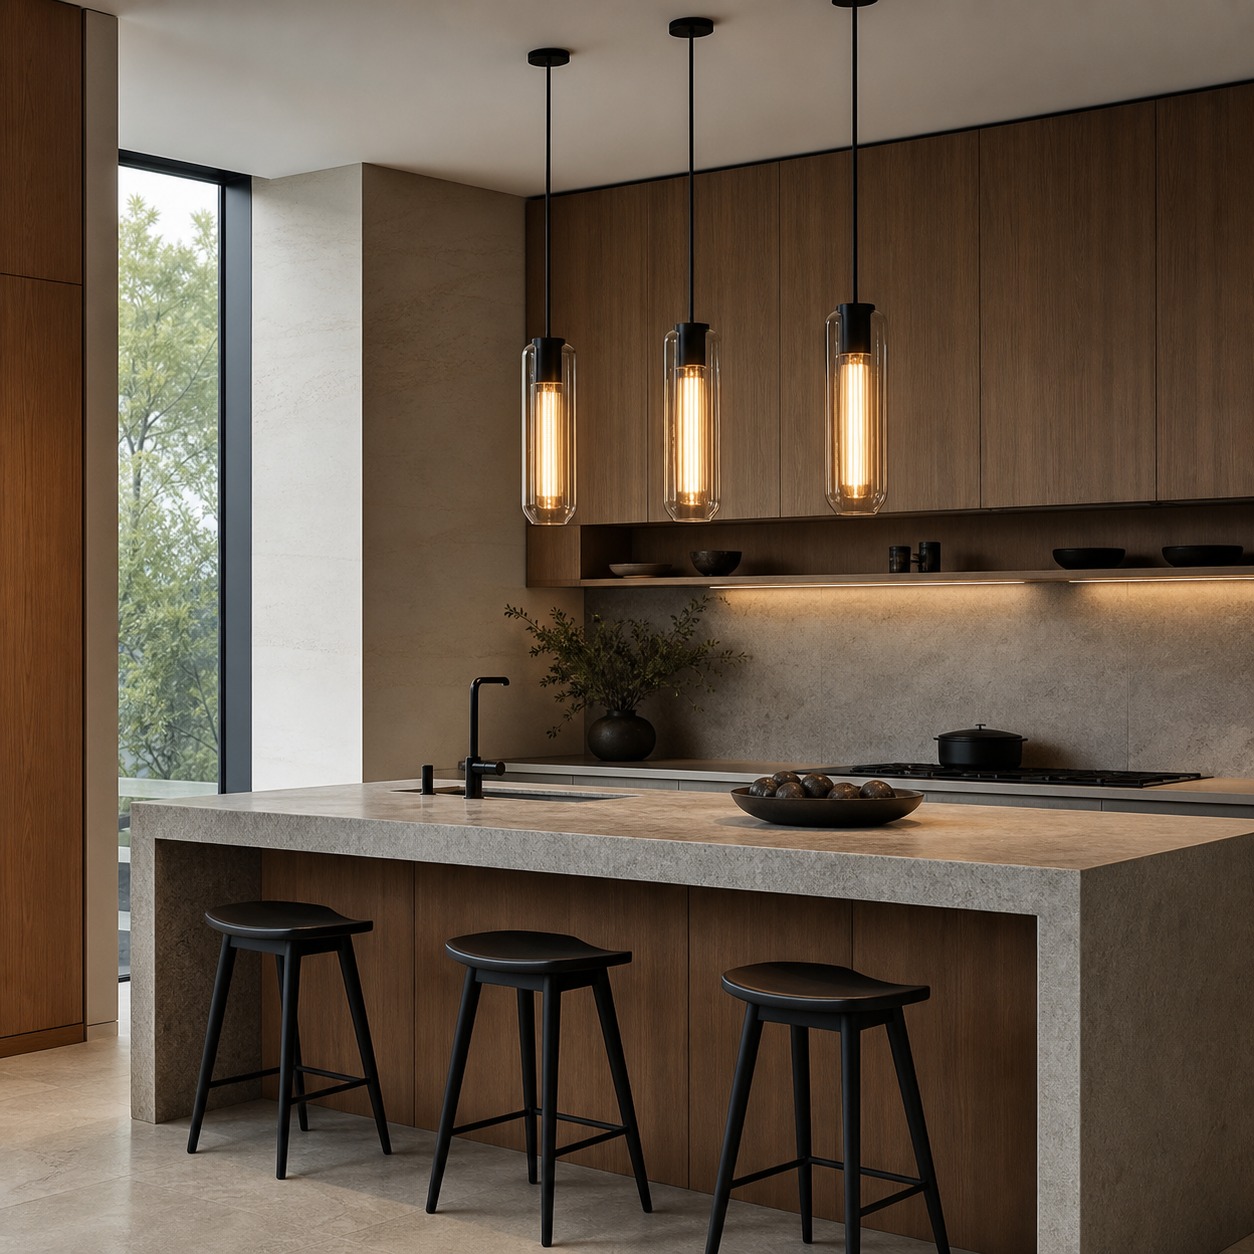
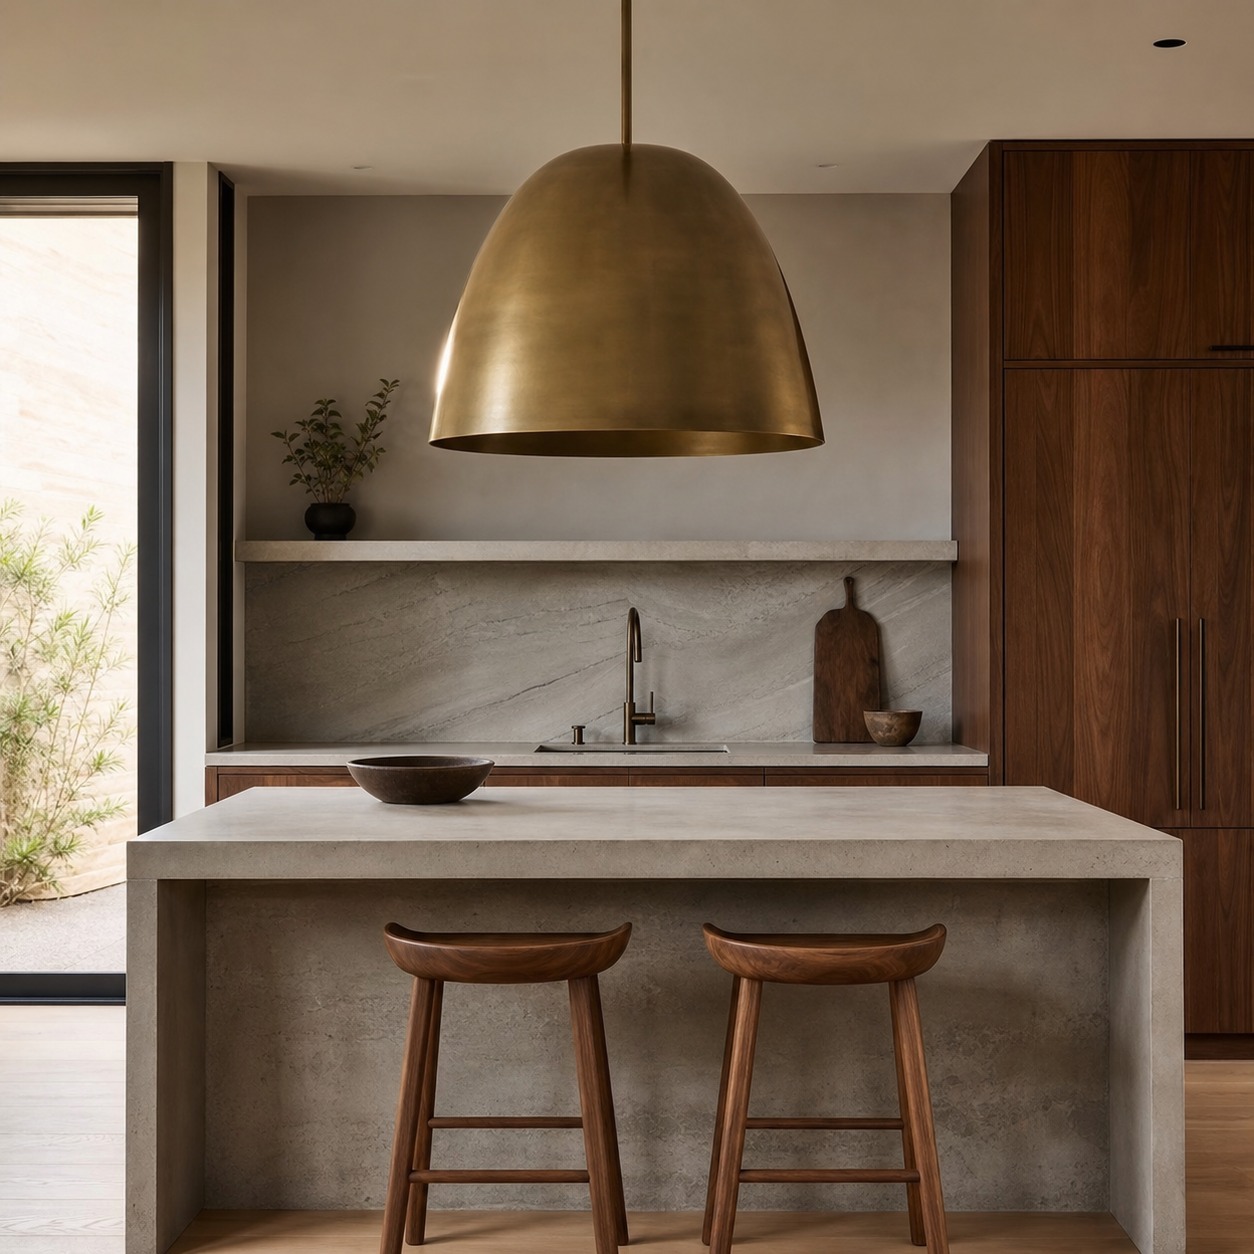
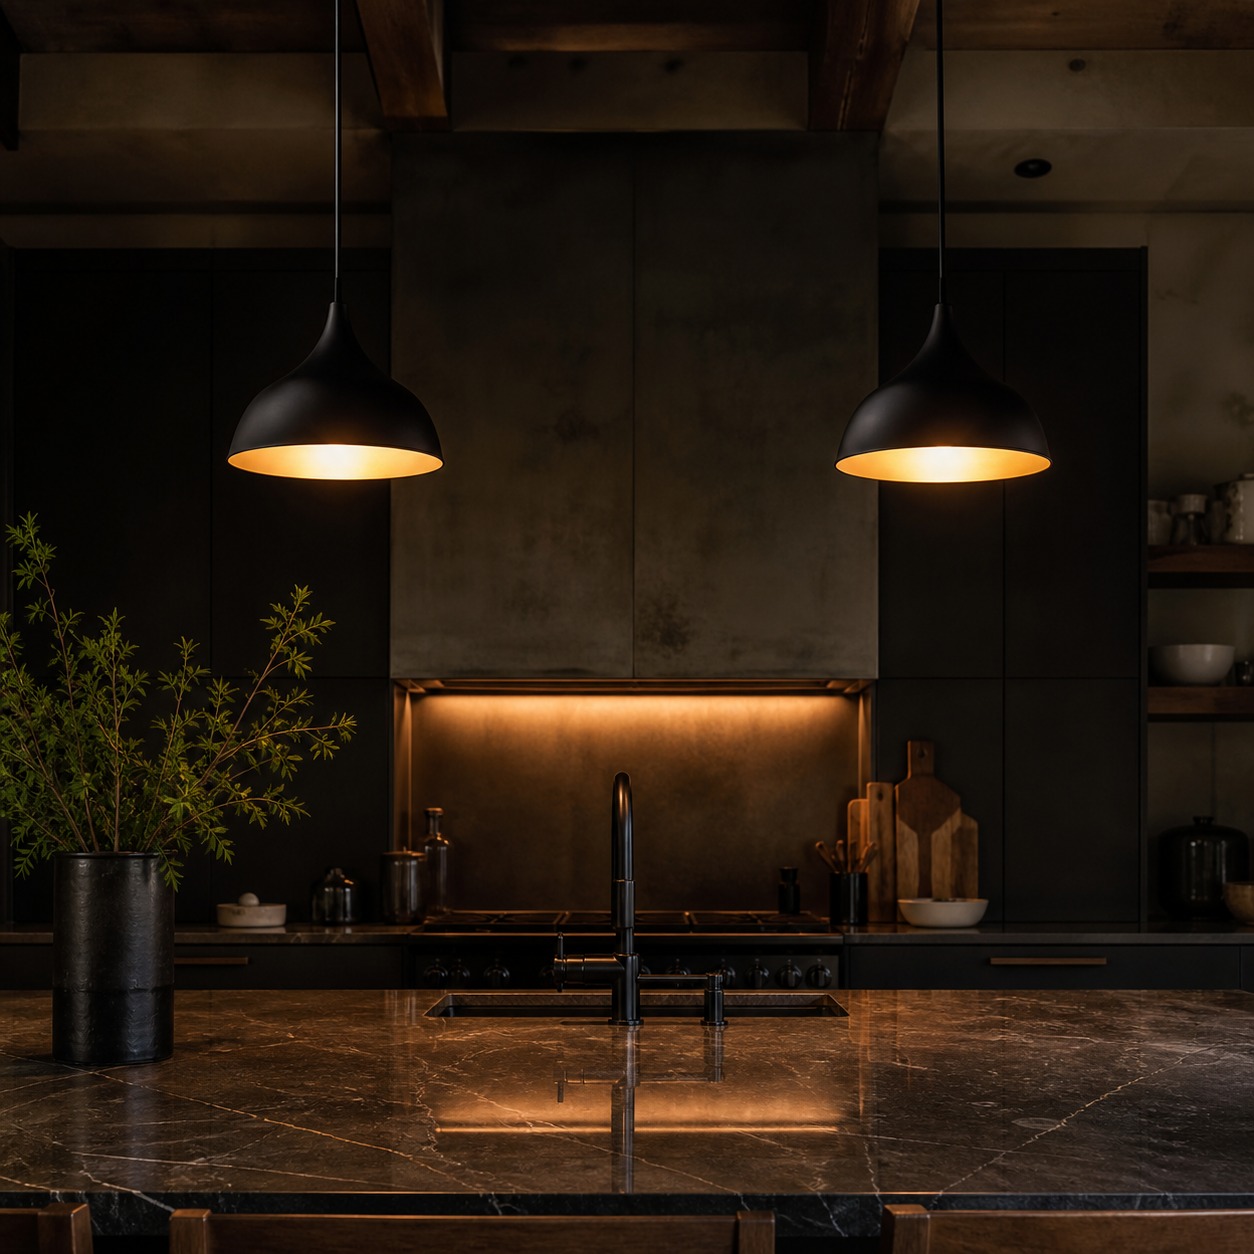
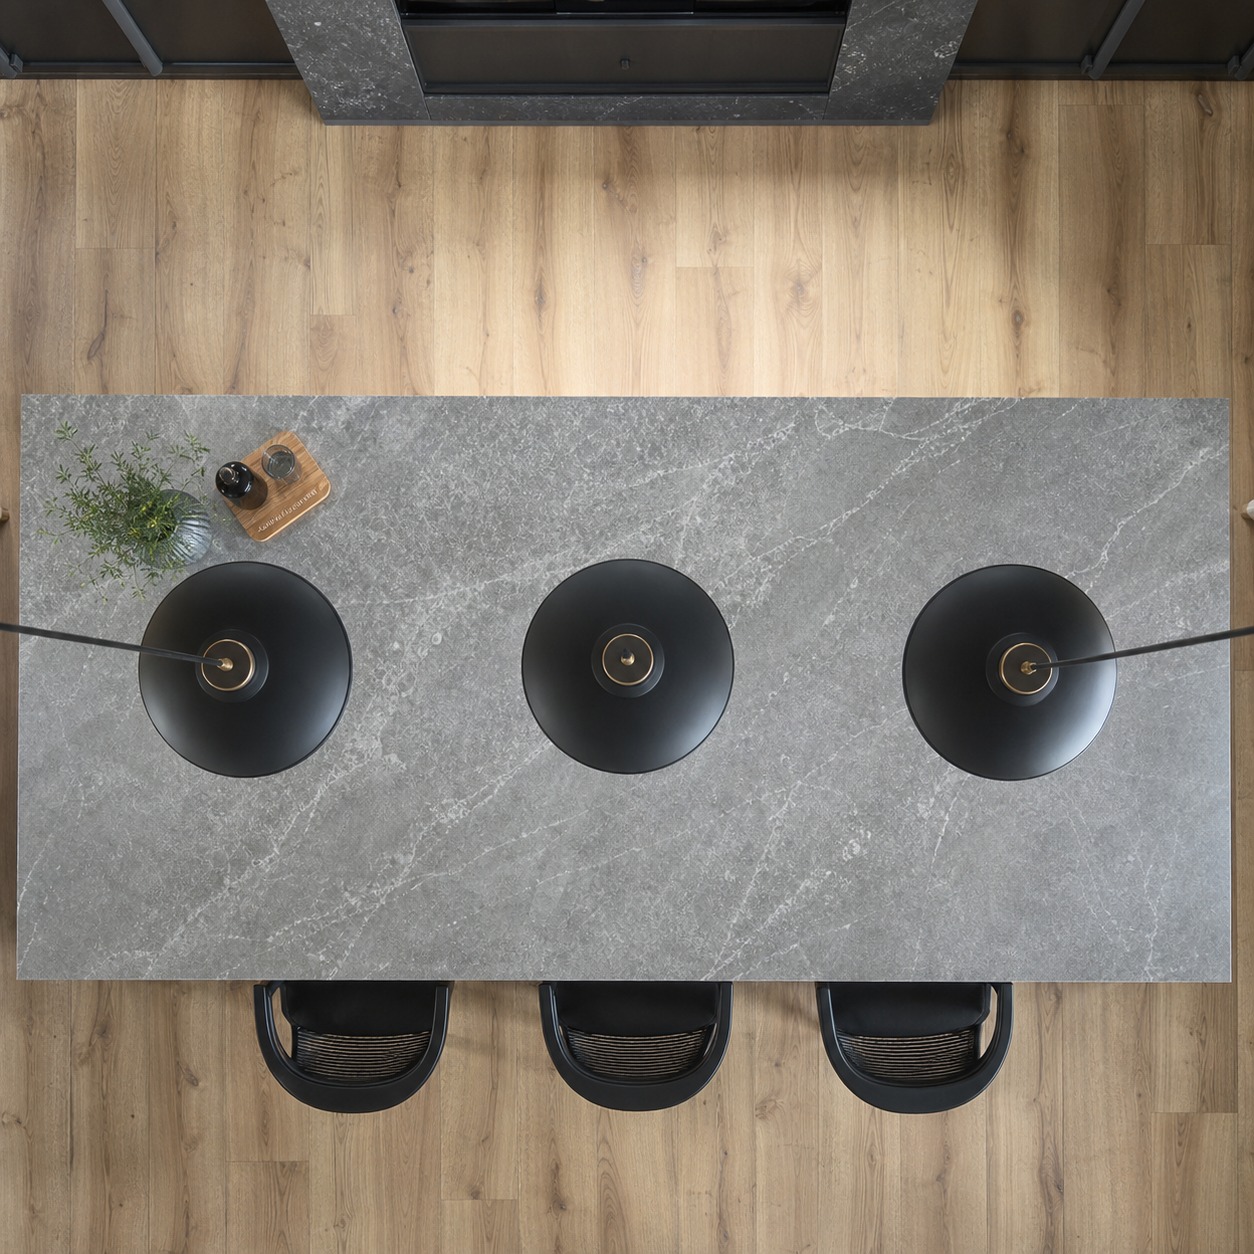
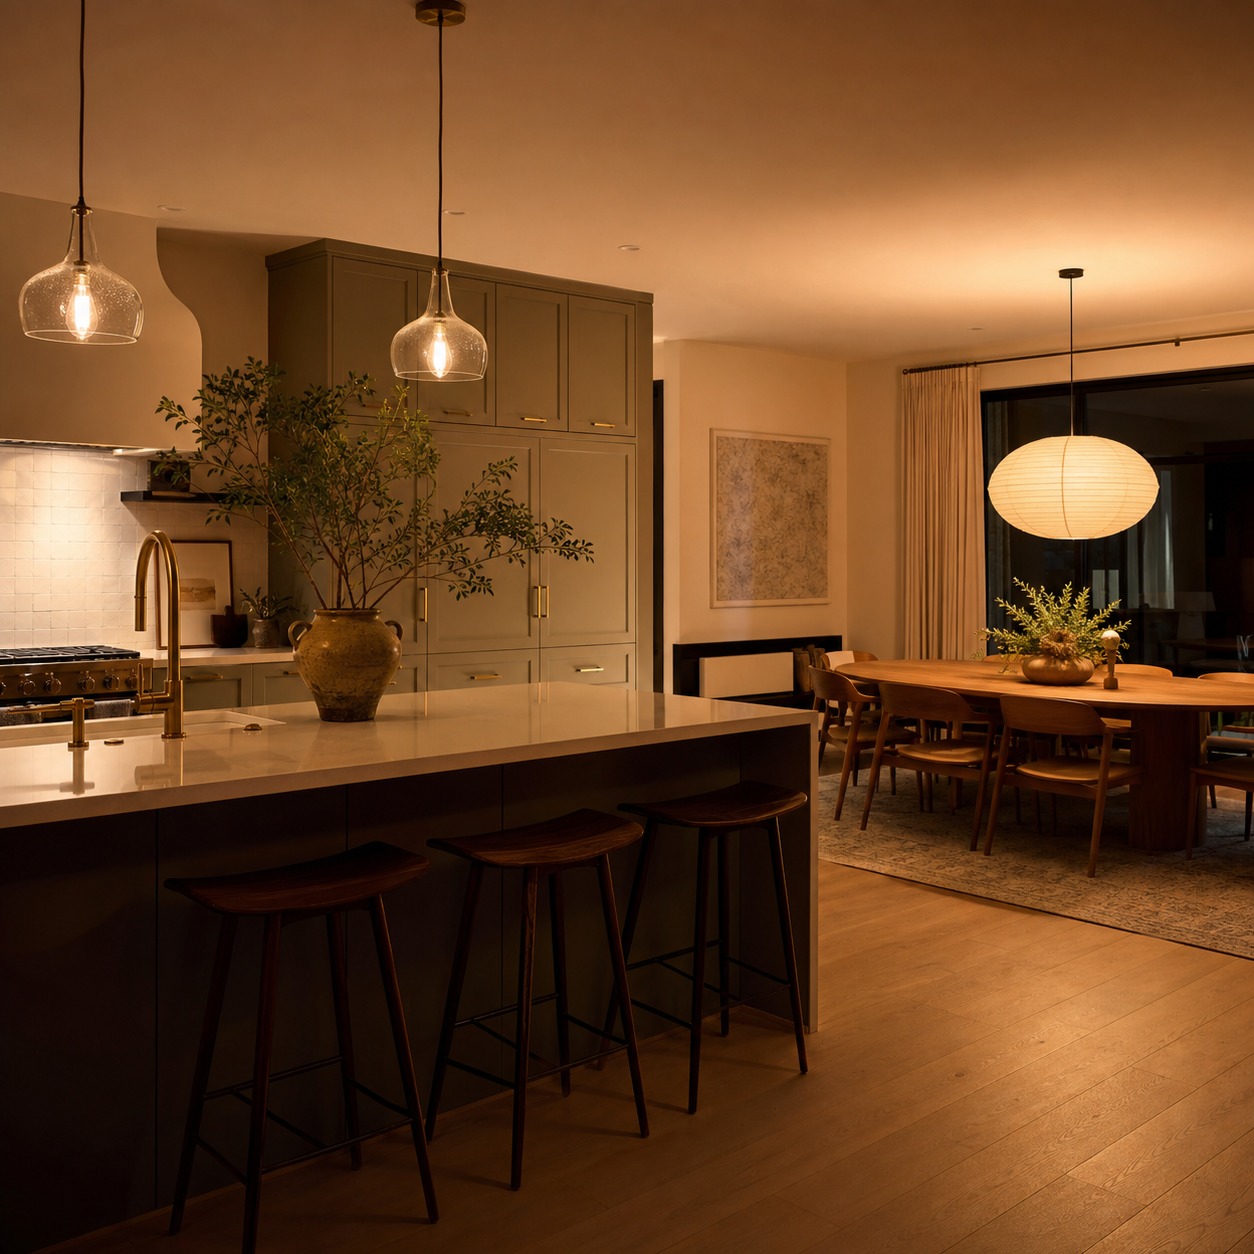
A pendant that looks right on a showroom floor can look lost above a six-foot island, or overwhelming above a four-foot one. As a rough starting point, total pendant diameter (adding up the width of all fixtures together) should read as roughly a third to half the length of the island section they’re lighting, though this is a guideline to sketch against, not a formula to apply blindly.
Spacing between multiple pendants matters as much as size. Even spacing that leaves the two end pendants too close to the island’s edges looks unbalanced in photos and in person. Centre the group over the section of island actually used for seating or prep, not over the island’s full length if cabinetry or an overhang takes up part of it. Hanging height typically sits around 75 to 90cm above the counter, low enough to feel connected to the surface, high enough that nobody’s ducking around it to see across the room.
When to use one large fixture vs several smaller pendants
A long island usually suits three or more smaller pendants in a row, giving even task light across the whole prep surface and a rhythmic visual line. A shorter or squarer island often looks better with one or two larger fixtures rather than forcing in a third pendant just because three is the familiar convention. The actual test is simple: stand at the island and check whether the light reaches every part of the surface you’ll use for prep, not just the centre.
If you’re shopping for pendants specifically, a wide range of contemporary fixtures designed for the kitchen are worth a look for scale and finish options, and our own more kitchen lighting ideas page has more visual direction if you want to see finished layouts before you commit to a fixture.
Tape the pendant’s actual diameter onto the ceiling before you order it. A circle of painter’s tape at the proposed hanging position tells you more about scale in five minutes than any product photo will.
Use under-cabinet lighting without making the kitchen feel clinical
Under-cabinet lighting solves a real problem, but it’s also the easiest layer to overdo until a kitchen starts looking more like a display case than a room someone cooks in.
Where under-cabinet lighting solves real shadows
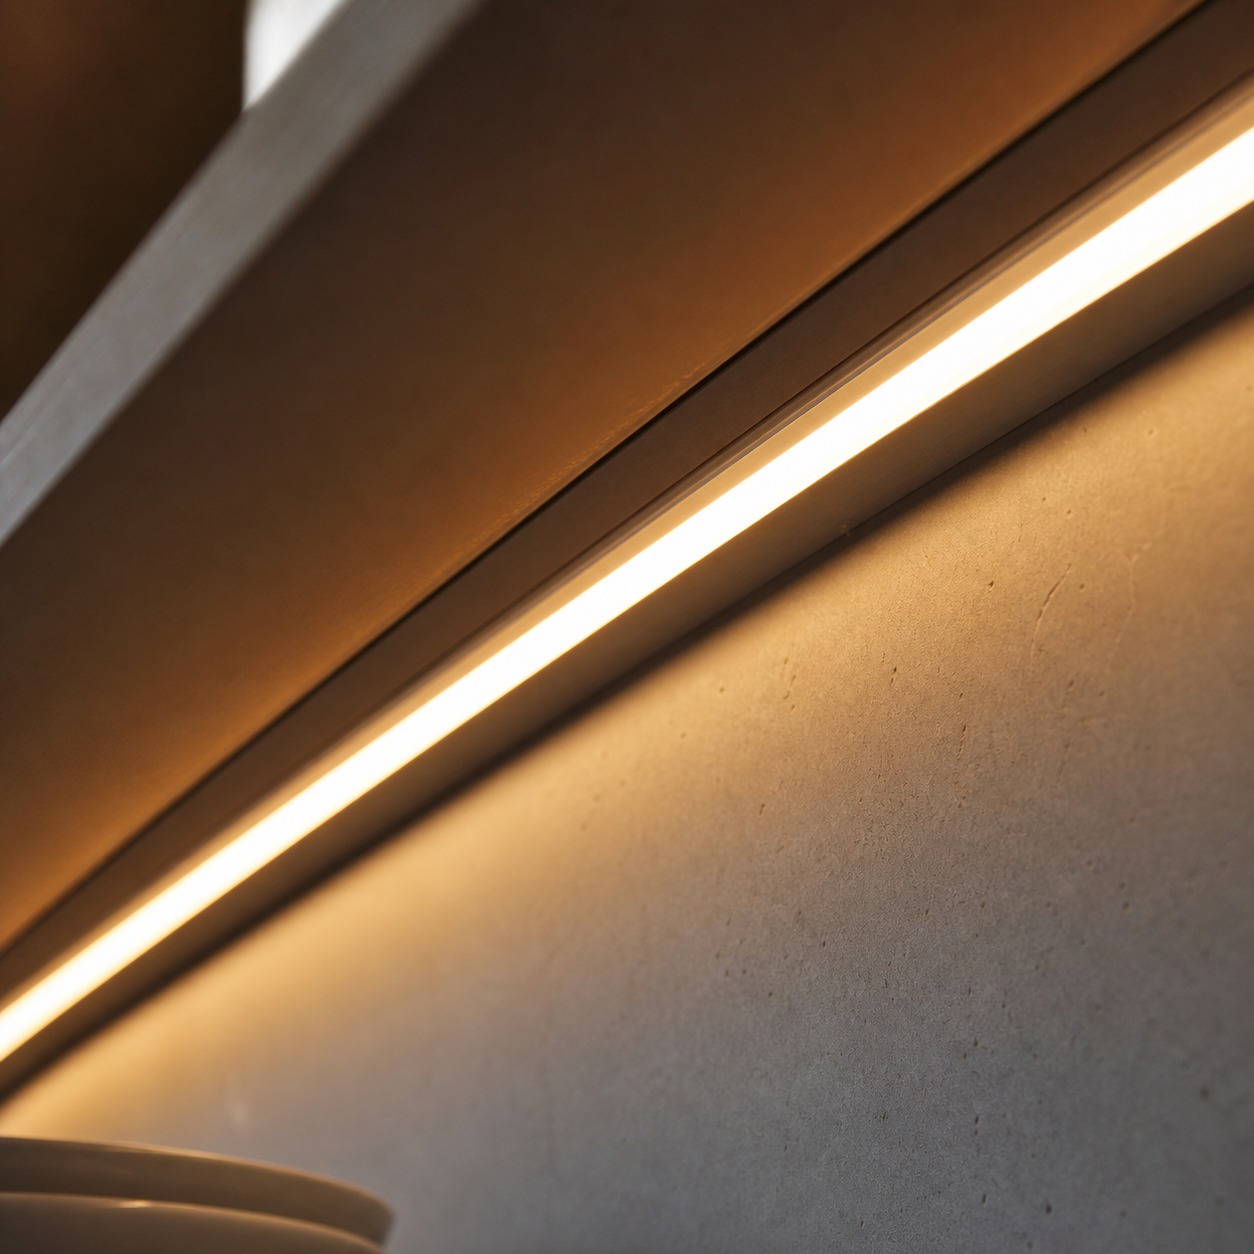
The specific shadow problem under-cabinet lighting fixes is straightforward: wall cabinets block ceiling light from reaching the worktop directly beneath them, so that strip of counter, exactly where most chopping and prep happens, stays dim no matter how bright the rest of the room is. A slim LED strip mounted under the cabinet front, angled slightly toward the back of the counter rather than straight down, puts light exactly where the task happens.
Why brightness and glare control matter as much as style
An under-cabinet strip that’s too bright or poorly diffused creates its own problem: glare bouncing off a glossy worktop or stainless steel splashback, which is arguably worse than the shadow it replaced. Look for fixtures with a diffuser lens rather than bare LED strips, and position the strip toward the front edge of the cabinet rather than tucked at the back, so the light angles down onto the counter instead of straight into your eyes as you lean over it.
Choose the right color temperature for day and night
Brightness gets most of the attention in kitchen lighting layout planning, but colour temperature has just as much effect on how the finished room actually feels.
Warm, neutral, and cool light in residential kitchens
Colour temperature is measured in Kelvin, and it determines whether light reads warm, neutral, or cool. Warmer light, roughly 2700 to 3000K, produces a relaxed, residential feel that suits dining and evening use. Cooler light, 4000K and above, reads crisp and highly functional, closer to what you’d find in a professional kitchen, and can feel sterile in a home setting if it’s the only option in the room. For most residential kitchens, something in the neutral-to-warm range, around 3000 to 3500K, balances clarity for prep work with comfort for everything else the room does.
Colour rendering matters alongside temperature. A light source with a high colour rendering index shows food, natural wood, and painted finishes closer to their true colour, while a poor one can make fresh produce look slightly grey or off, which matters more in a kitchen than almost any other room in the house.
It’s worth asking for the CRI rating specifically when you’re comparing bulbs or fixtures, since it rarely shows up on the front of the packaging the way wattage or Kelvin does. A CRI above 90 is a reasonable target for task lighting over a worktop or island, where colour accuracy actually affects how food looks while you’re preparing it.
Keeping color temperature consistent across fixtures
Mixing colour temperatures within the same visual field, a warm pendant above the island next to cool downlights on the ceiling, is one of the fastest ways to make an otherwise well-planned layout look unfinished. The eye notices the mismatch even if it can’t immediately name why the room feels slightly off. Specify the same Kelvin rating across ambient, task, and accent fixtures within a single zone, and only shift temperature deliberately, warmer over a dining nook, for instance, where you actually want a different mood.
Add flexible controls and lighting scenes
A kitchen doesn’t need the same amount of light at 7am, 1pm, and 9pm, but most kitchens are wired as if it does, one switch, one brightness, all day.
Separate circuits for prep, dining, entertaining, and evening use
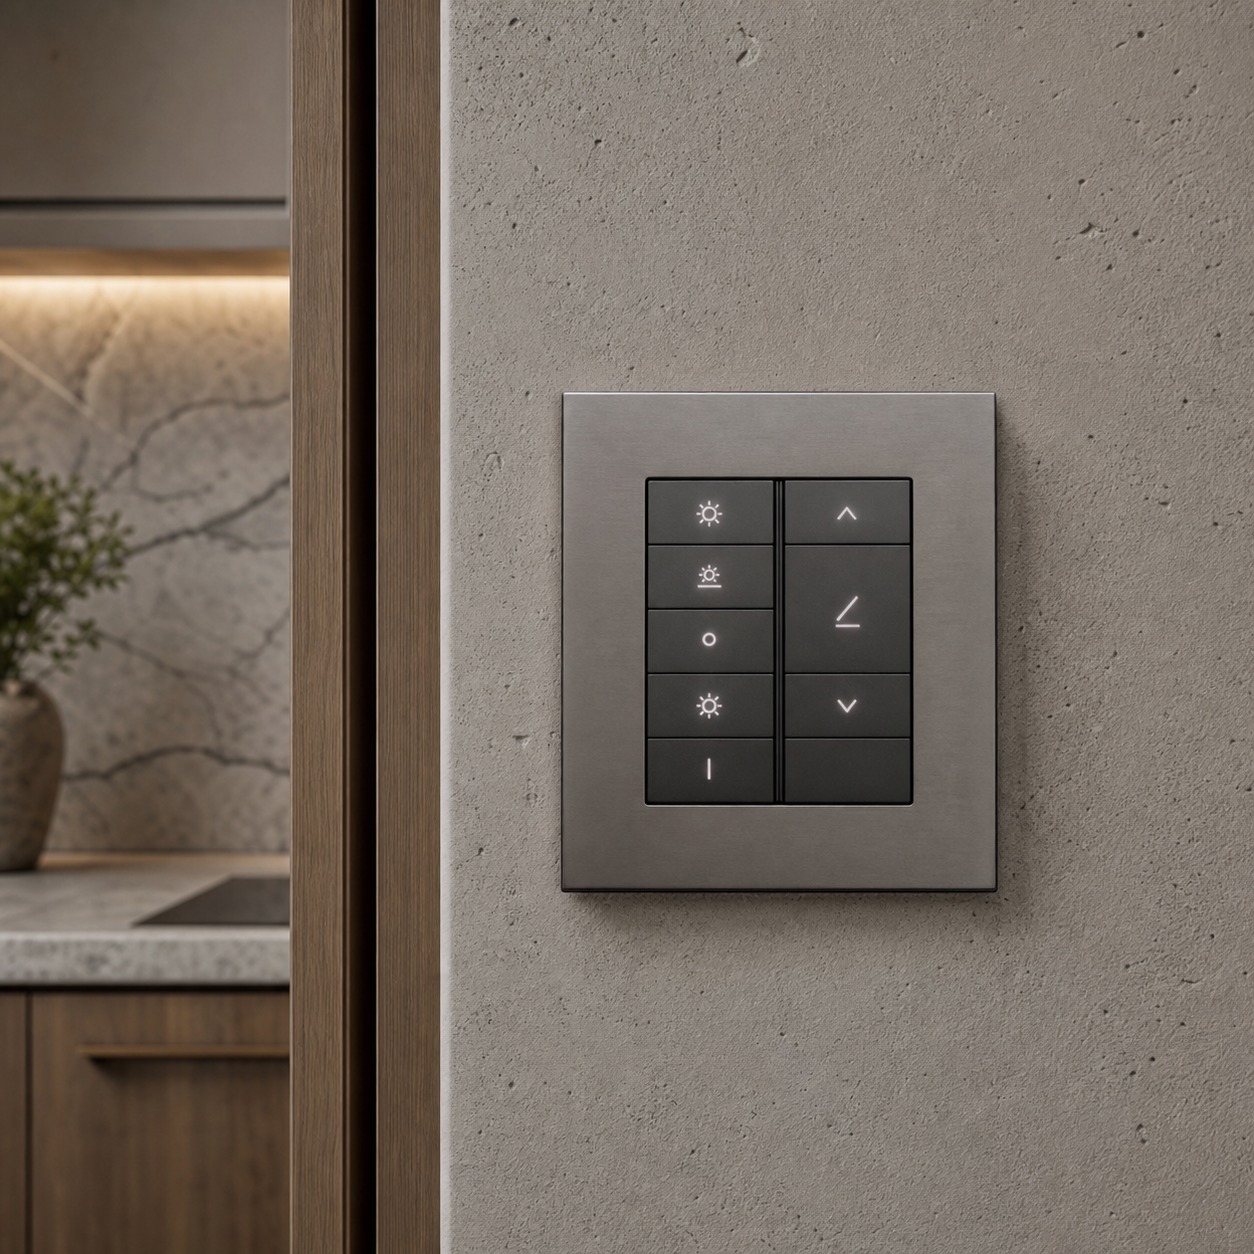
Splitting the layout into separate circuits, ambient ceiling light on one switch, under-cabinet task lighting on another, pendants and accent lighting on a third, turns a fixed lighting scheme into a genuinely flexible one. During prep, task and ambient light run together at full output. During a dinner party, ambient light can drop while pendants and accent lighting carry the room. None of this requires extra fixtures, just separate circuits planned before the walls close up.
Dimmers and smart presets for open-plan kitchens
Dimmers alone solve most of the flexibility problem cheaply. Smart controls add genuine convenience in larger or open-plan kitchens, where a single preset can adjust several zones at once for cooking, dining, or entertaining without adjusting each switch individually. This matters more in open-plan homes specifically, since a kitchen left at full daytime brightness after cooking finishes can dominate and flatten an adjoining living space that’s trying to feel relaxed in the evening.
Common kitchen lighting layout mistakes
The same handful of layout mistakes show up repeatedly, in kitchens at every price point, and almost all of them trace back to choosing fixtures before finishing the plan.
Overusing ceiling downlights
A uniform grid of downlights installed without reference to where cabinets, the island, or the sink will actually sit is the single most common mistake. It looks organised on a ceiling plan and performs poorly in the finished room, because the light doesn’t correspond to where anyone actually needs it. Plan downlight positions against the finished layout, not against a symmetrical grid.
Creating shadows on the work surface
This happens whenever a light source sits behind the person working rather than above or in front of the surface itself. It’s the direct cause of the under-cabinet shadow problem, but it also shows up with poorly placed ceiling fixtures and pendants hung too far back from an island’s working edge. Stand where you’d actually chop or cook and check whether your own body blocks the light before finalising any fixture position.
Choosing decorative fixtures without checking scale and output
A beautiful pendant chosen purely for its look, without checking its diameter against the island or its actual lumen output against the task it needs to support, is a common and avoidable mistake. Decorative fixtures need to be evaluated as part of the layout, not selected in isolation from a catalogue photo. If a pendant looks stunning but produces barely enough light to read a recipe by, it’s failed its job regardless of how good it looks switched off. our roundup of modern kitchens has a range of finished layouts worth studying for exactly this, how well-chosen fixtures actually integrate with the rest of the room rather than sitting on top of it as decoration.
FAQ
What is the best lighting layout for a kitchen?
The best layout combines three layers, ambient light for general comfort, task light directly over worktops, sinks, hobs, and islands, and accent light for cabinets, shelving, and mood, each on its own switching circuit. There’s no single fixture count or arrangement that works for every kitchen; the layout should follow the room’s actual zones rather than a fixed template.
How many lights should a kitchen have?
It depends far more on zones than on room size alone. A kitchen typically needs ambient ceiling coverage across the whole room, dedicated task lighting over every prep surface (worktops, island, hob, sink), and at least one accent layer for evening use. Counting individual bulbs matters less than making sure every functional zone has direct task light and every layer has its own switch.
How far apart should kitchen island pendant lights be?
For multiple pendants above an island, even spacing that centres the group over the section actually used for seating or prep works best, typically leaving the end fixtures set a little in from the island’s edges rather than flush with them. Total pendant width, added together, should read as roughly a third to half the length of the island section being lit.
What color temperature is best for kitchen lighting?
A neutral-to-warm range, roughly 3000 to 3500K, works well for most residential kitchens, balancing clarity for prep tasks with comfort for dining and evening use. Keep the same colour temperature consistent across ambient, task, and accent fixtures within one zone to avoid a fragmented, mismatched look.
Do I need under-cabinet lighting in a kitchen?
If there are wall cabinets above a worktop, under-cabinet lighting solves a real and common shadow problem, since ceiling light alone can’t reach the counter directly beneath the cabinet. It’s less essential over an open island or a run of counter with no overhead cabinetry, where ceiling or pendant task lighting can do the job instead.
- 82shares
- Facebook0
- Pinterest82
- Twitter0
- Reddit0