Look at a violin as a designed object and its familiar outline starts to raise questions. Why the narrow waist? Why spruce on the front and maple on the back? Why does a small change in the neck or chin rest alter how it feels to play?
Violin design brings shape, materials, finish and fit into one compact object. The familiar acoustic violin owes much to historical makers, but the instrument you hold also depends on current choices: how its plates are carved, how its fittings are made and how carefully it is set up.
- What is violin design?
- Why a violin looks the way it does
- Violin shape: curves, arching and f-holes
- Violin wood: what each material contributes
- Varnish and finish: appearance is only part of the story
- Ergonomics: where design meets the player
- Reading craftsmanship beyond the price tag
- What good design means for a first violin
- Frequently asked questions
- What to take from a violin
This guide follows those decisions from the silhouette to the points where the instrument meets the player. It also explains what visible details can tell you about craftsmanship, and which questions need a teacher, player or violin maker to answer.
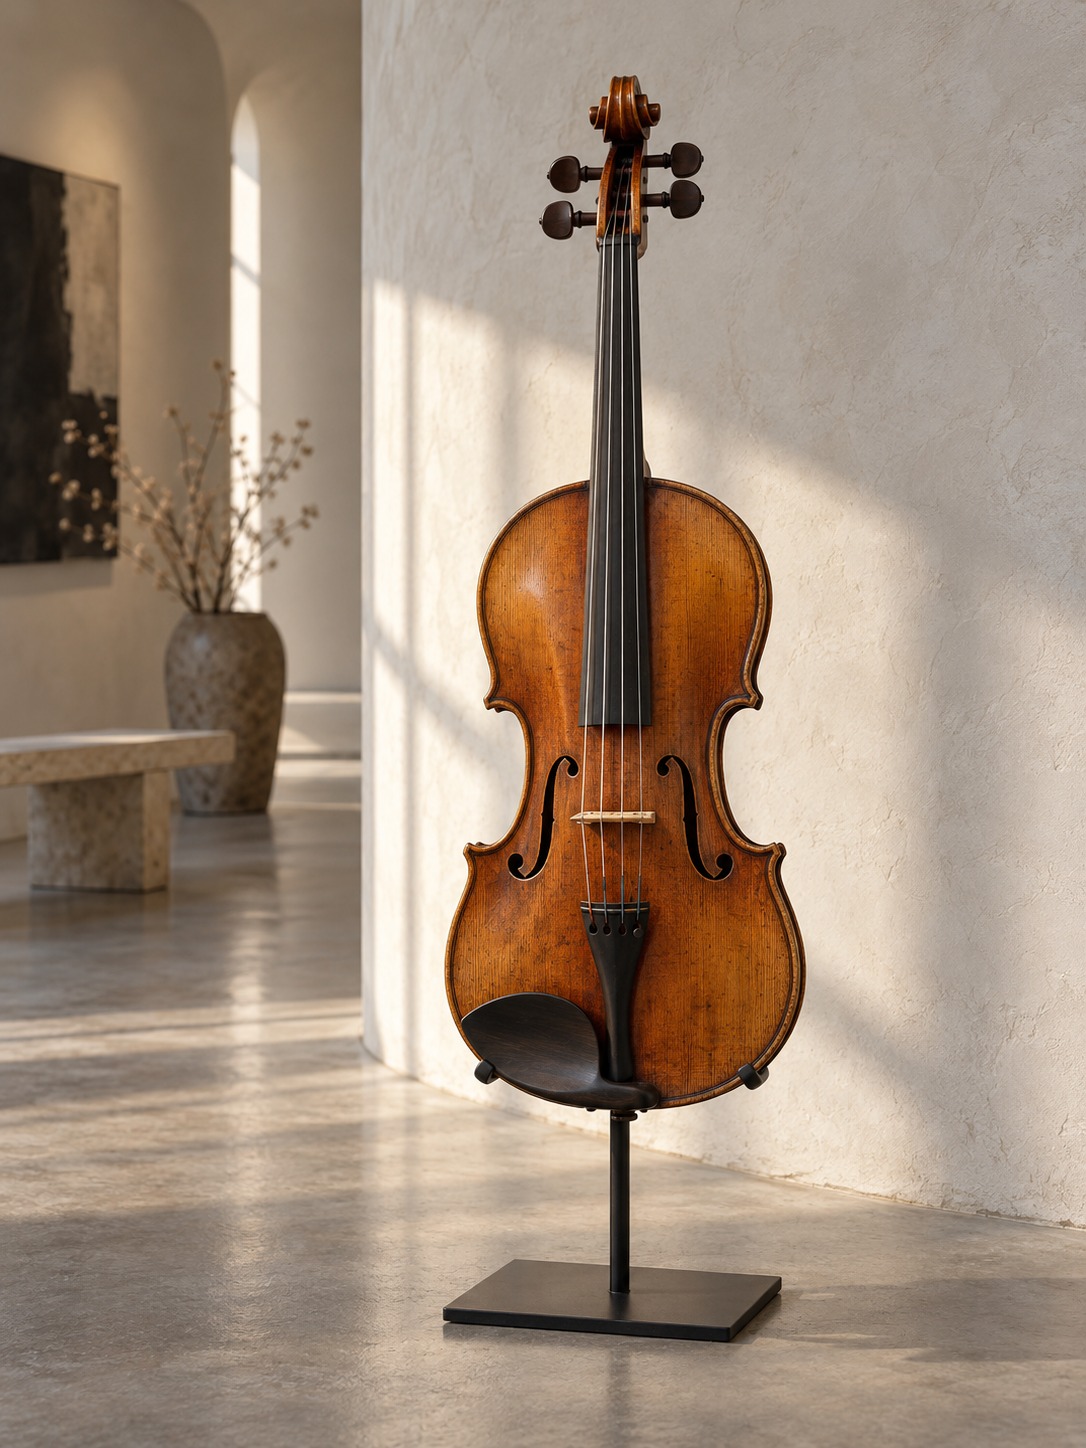
What is violin design?
Violin design combines body shape, arching, f-holes, wood, varnish and fittings to make an instrument that produces sound, withstands string loads and fits the player. The ribs join the arched top and back into a hollow body. The bridge transfers string vibration to that body; its plates and enclosed air contribute to the sound. The neck and fittings make the instrument usable. Two violins with similar outlines can still feel and sound quite different.
Why a violin looks the way it does
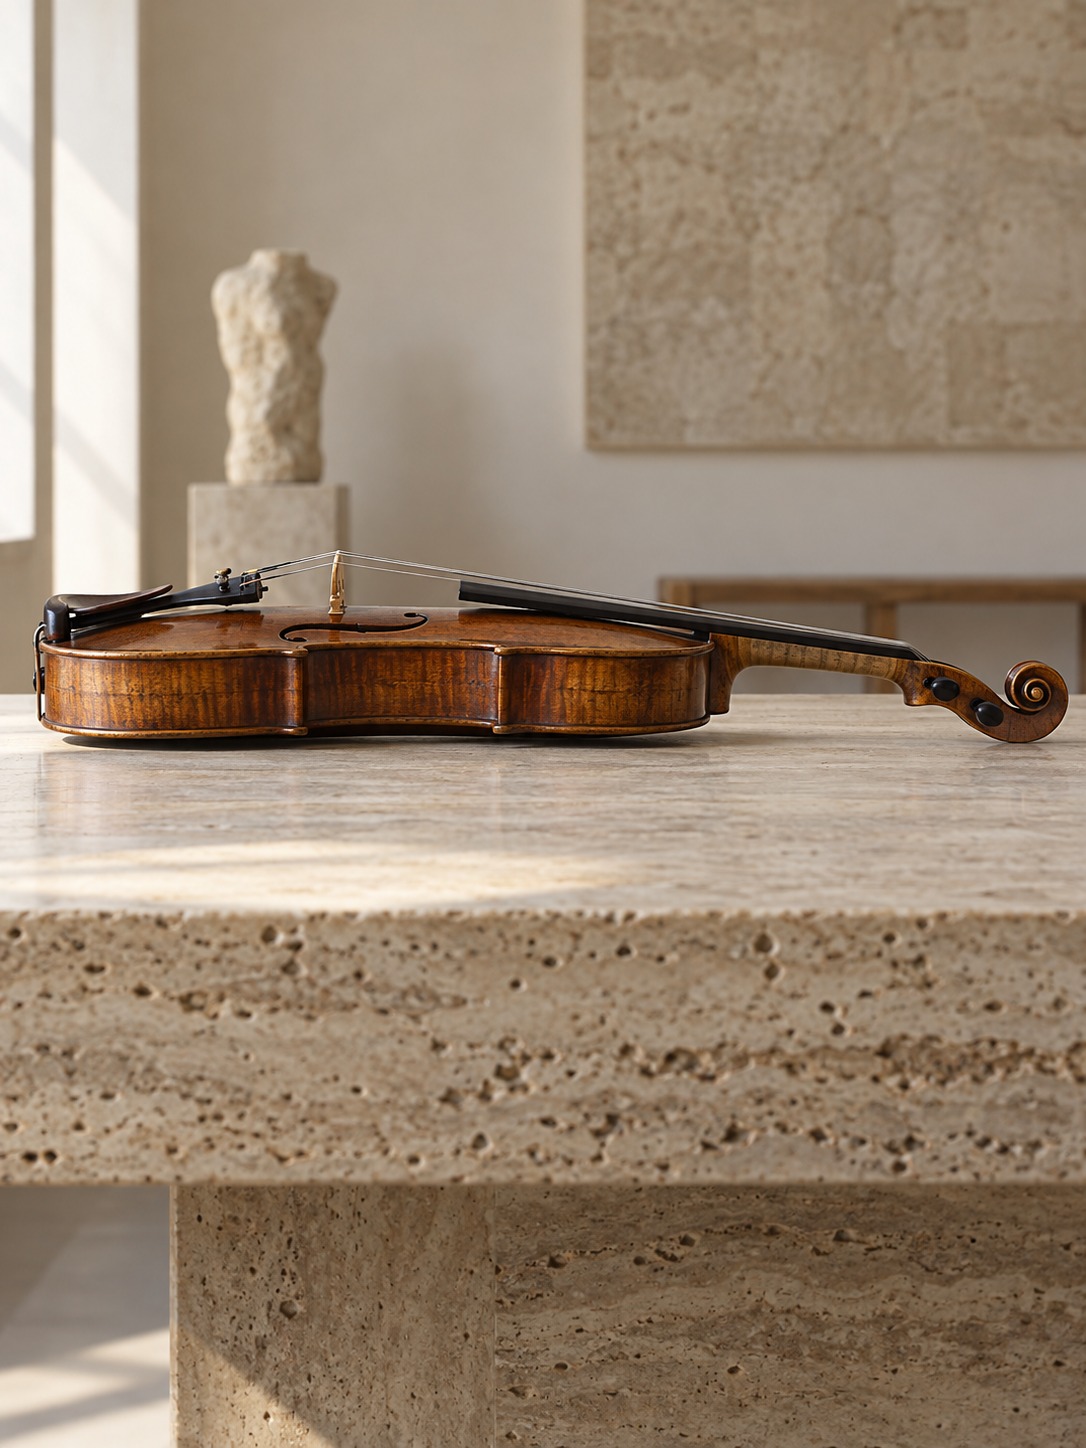
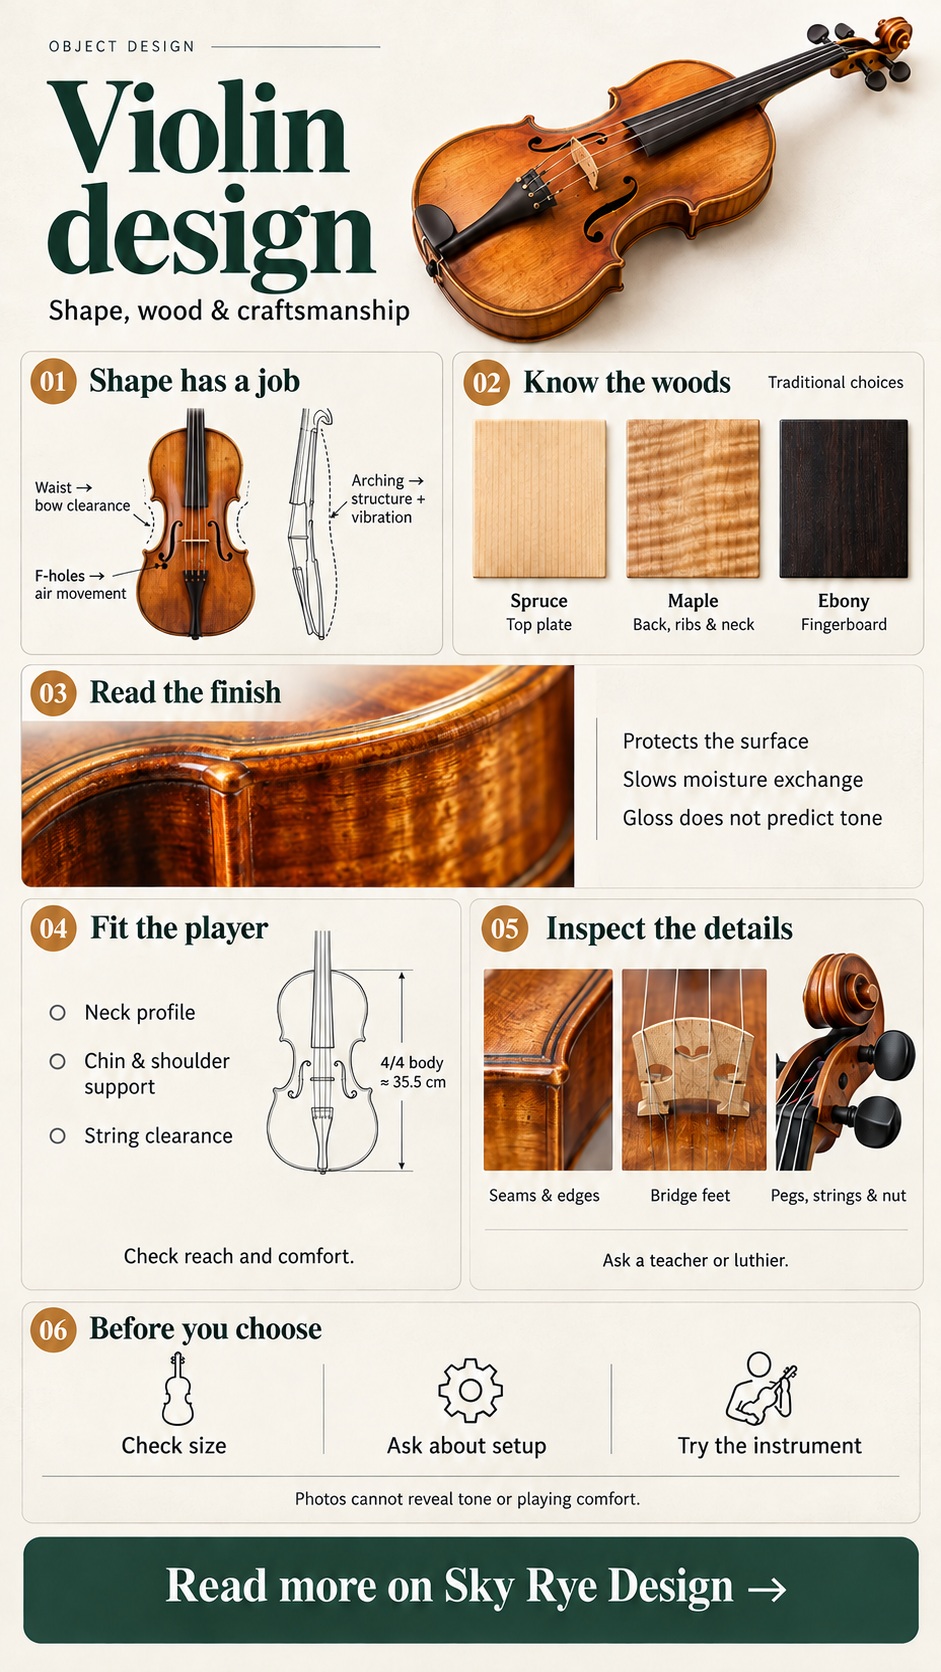
Start with the silhouette. The narrow waist, or C-bouts, gives the bow clearance when playing the outer strings. Above and below it, the wider bouts provide room for the vibrating plates and enclosed air. The outline brings these requirements together in a form that is easy to recognize.
From the side, the top and back rise in shallow arches. Their curvature helps thin wooden plates carry loads, and it affects how they vibrate. A curved car panel offers a useful visual comparison: curvature changes how a sheet behaves without simply making it thicker. A violin plate, though, must also respond as part of an acoustic system.
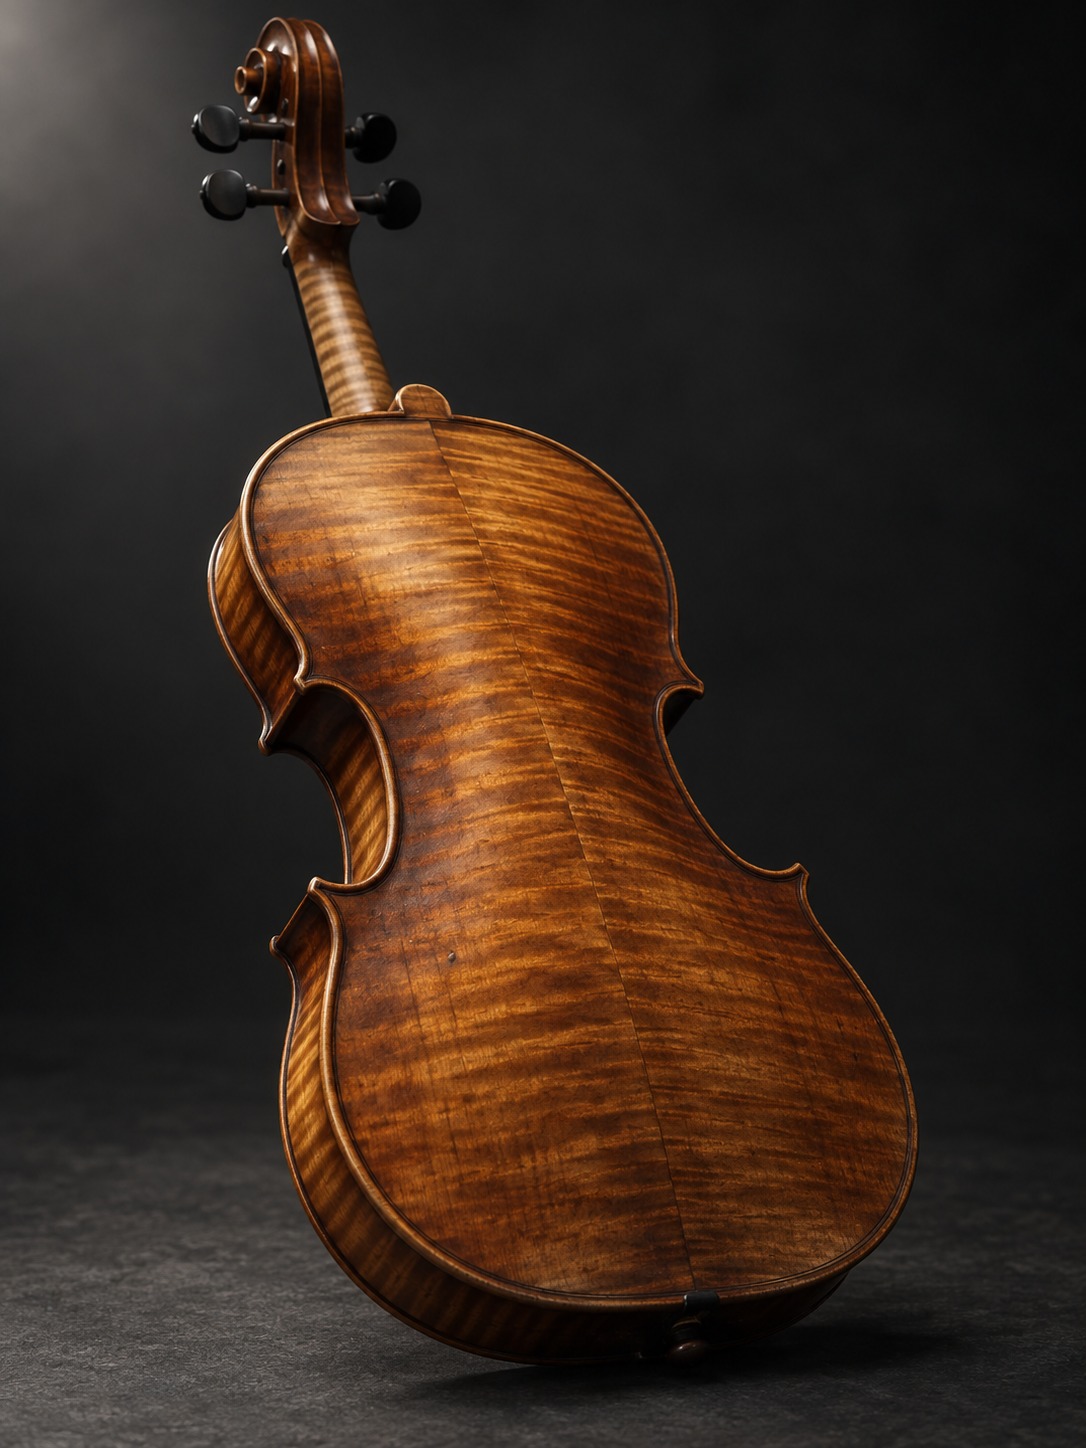
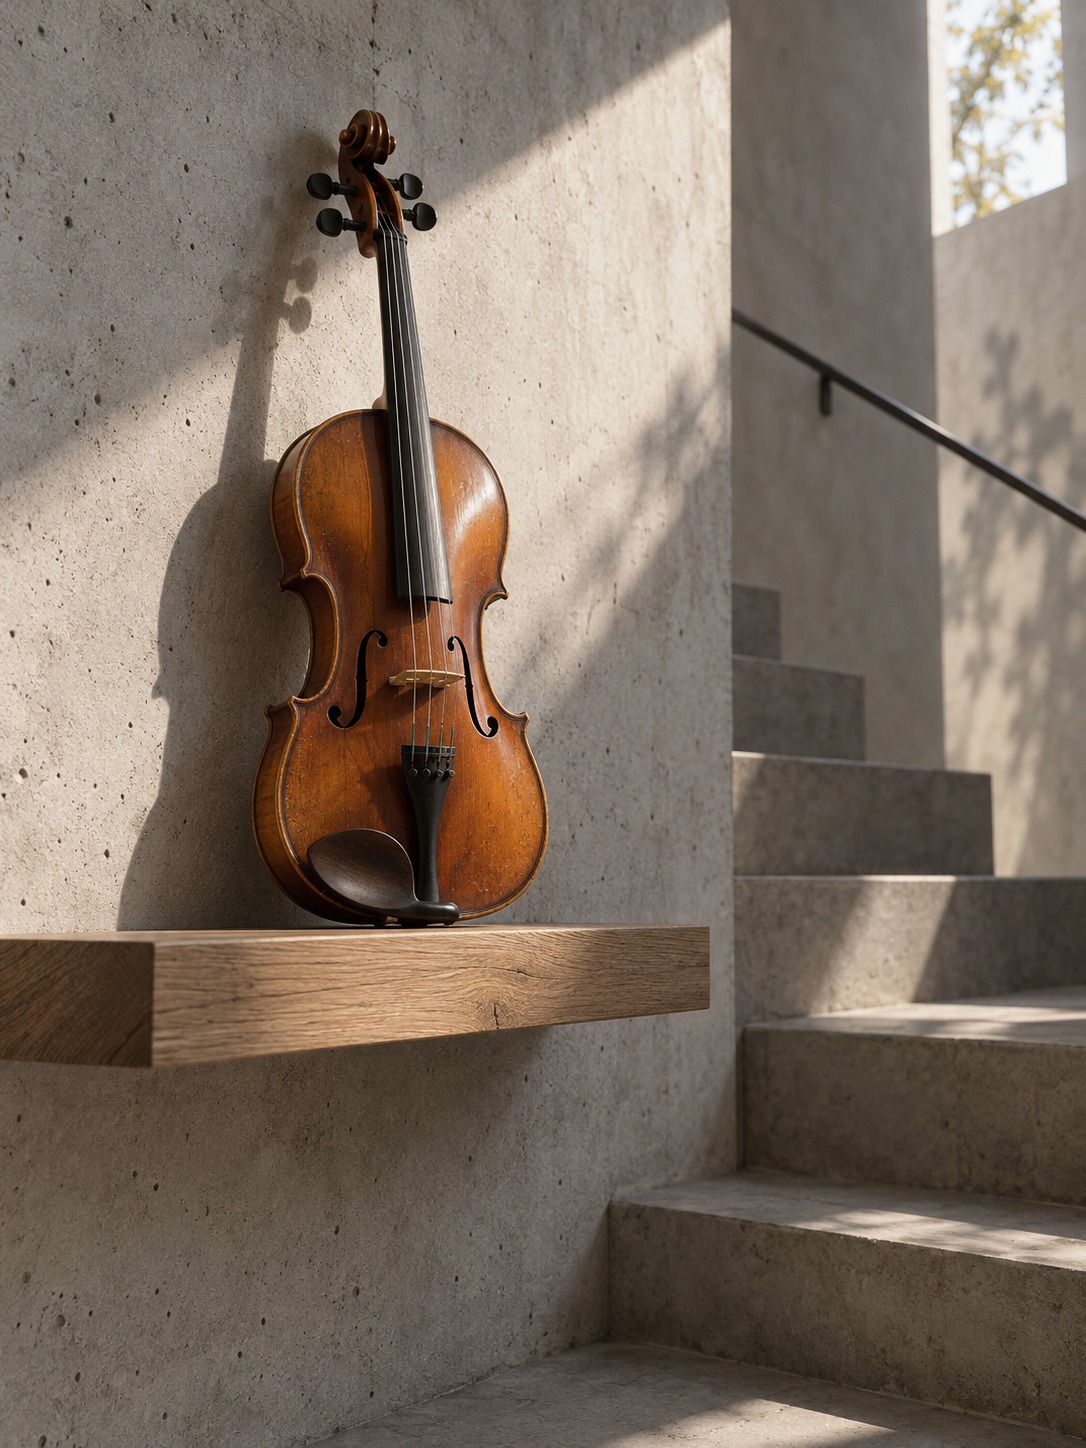
Side lighting makes those curves easier to study. Watch the reflection travel across the surface and notice changes near the edges. This reveals form and finish; it cannot establish the quality of the sound, and small irregularities are not automatically defects.
For a closer study of the proportions, see our lesson on how to draw a violin. The relationship between form and use also runs through industrial design explained; here, the violin makes that relationship visible.
Violin shape: curves, arching and f-holes
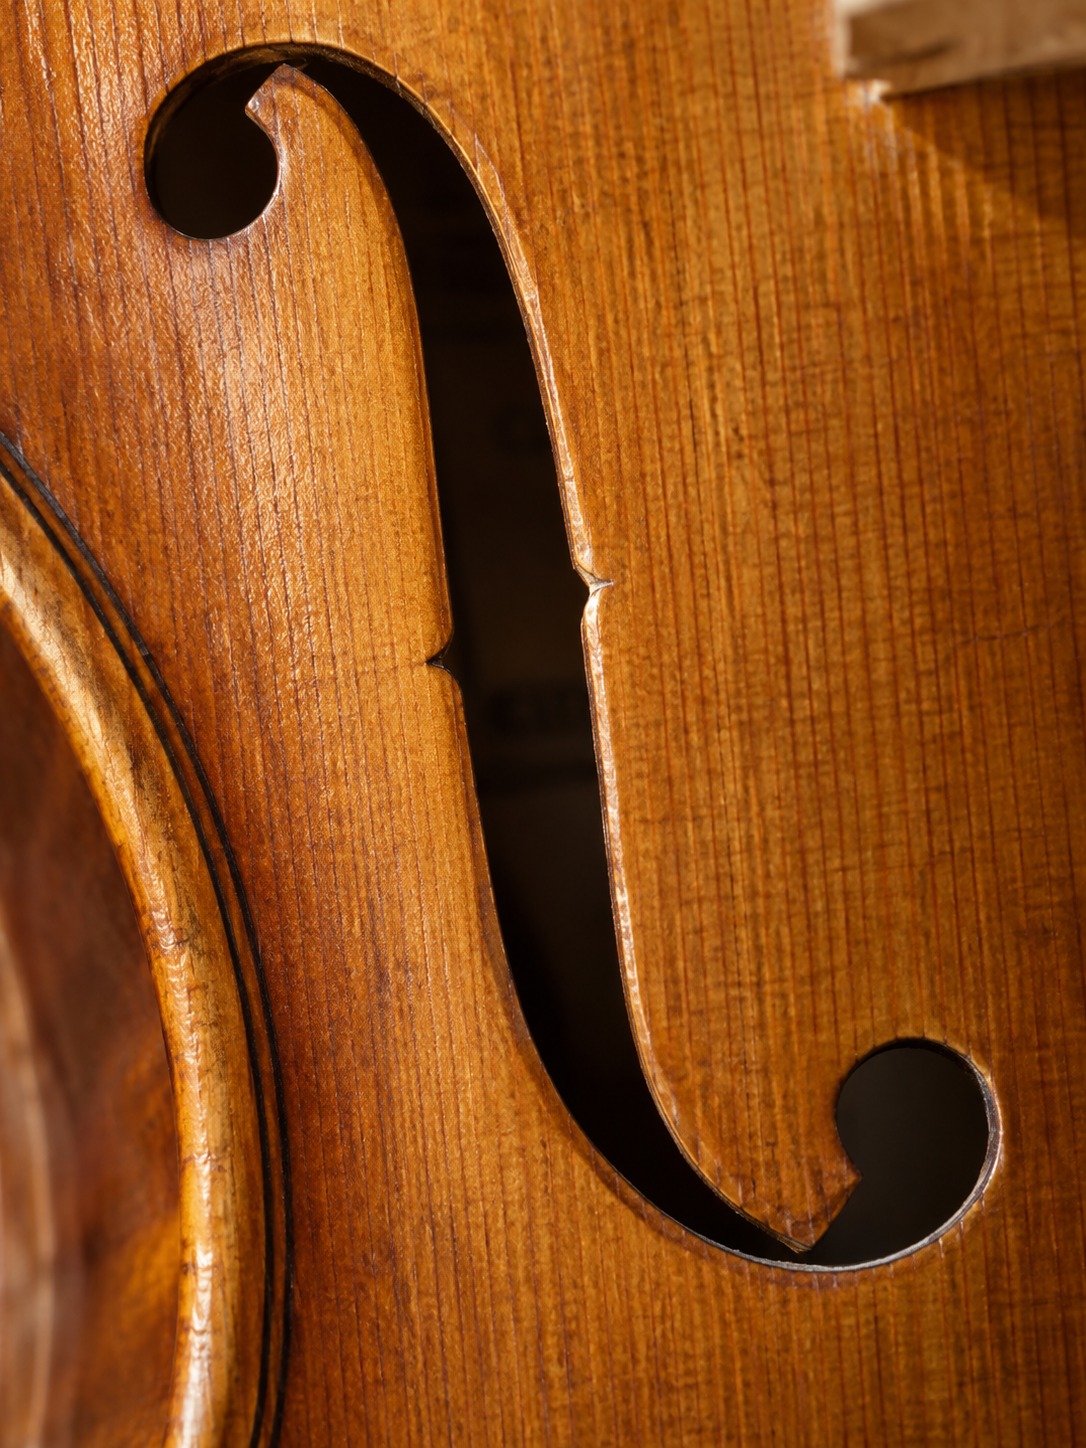
The f-holes do more than decorate the front. These openings connect the air inside the body to the outside and affect the behavior of the surrounding top plate. Their shape is both an acoustic feature and a recognizable part of the violin’s appearance.
A 2015 study reported by MIT News examined sound-hole development and measurements of hundreds of Cremonese-era violins. The researchers found that elongated f-holes radiate sound more efficiently than round openings of comparable area in their analysis. That does not mean a larger or longer hole will improve any violin: the opening works with the rest of the body.
The team also modeled how small variations introduced as makers copied instruments could have contributed to the form’s development. From a design perspective, it is an example of gradual refinement rather than evidence of one perfect blueprint.
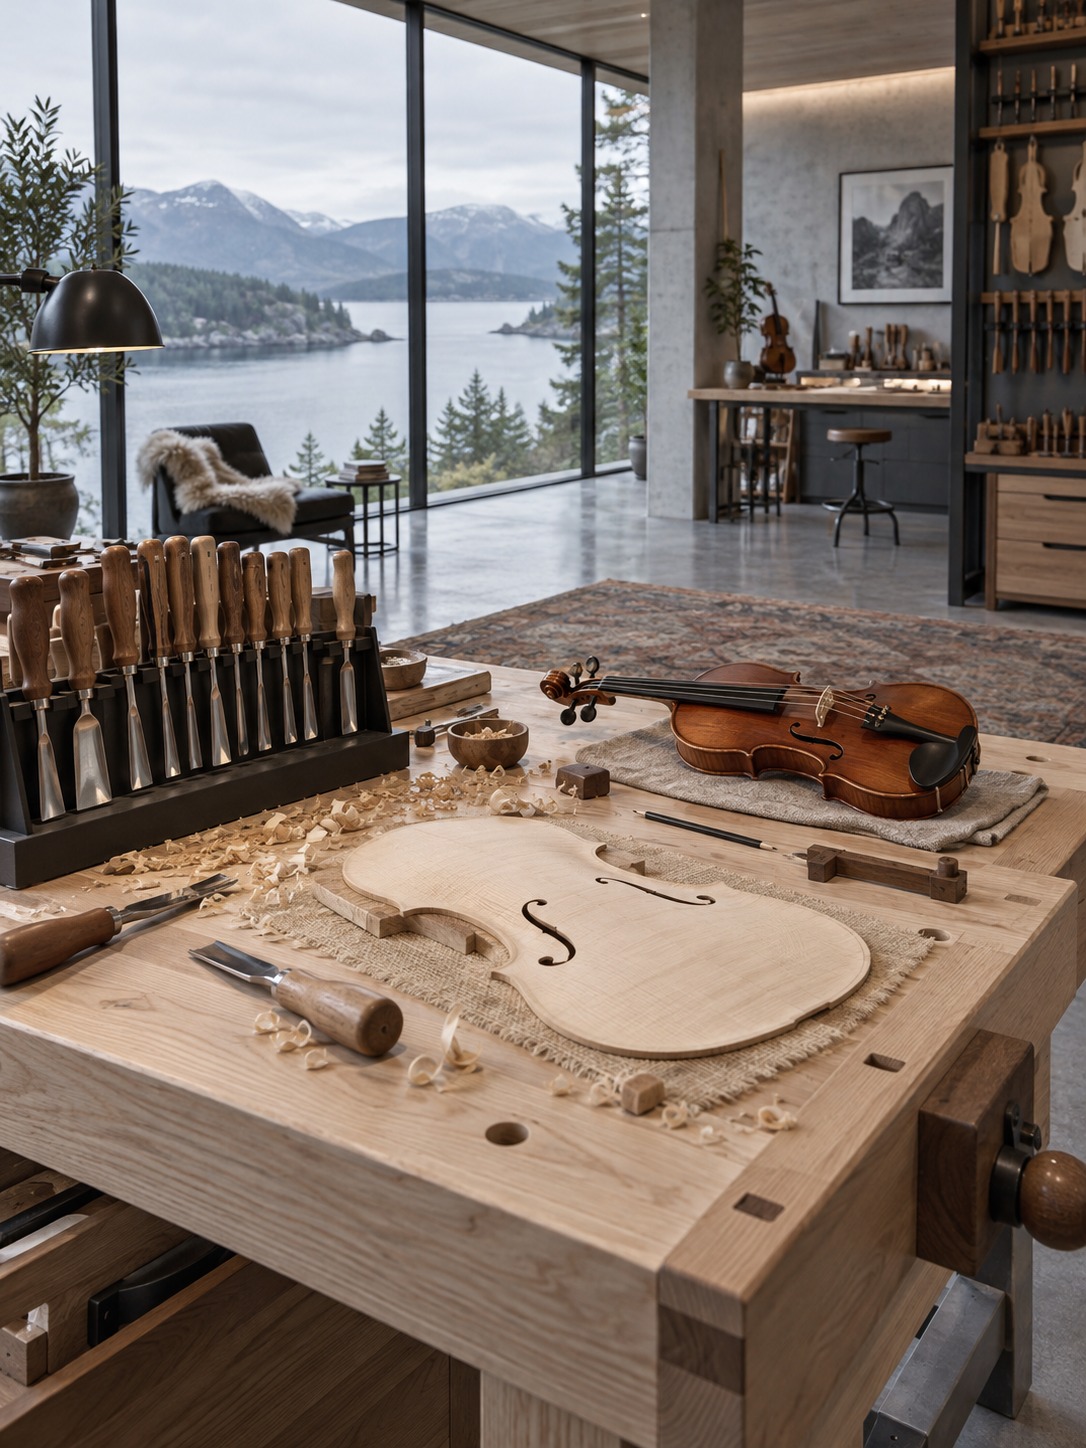
What is function, and what is tradition?
Several features serve more than one purpose:
Playing and structure. The waist, arching, neck angle and bridge geometry affect clearance, loads or playing feel. Their dimensions need to work together.
Tradition and identity. The carved scroll gives the end of the pegbox a distinctive finish and lets a maker express their style. Its familiar spiral is not required for the strings to vibrate.
Decoration with a structural role. Purfling, the narrow inlaid border near the plate edges, frames the outline and can help limit the spread of cracks from the edge. It does not make the plate immune to damage.
A useful way to study the object is to ask what a change would affect. Replacing a carved scroll with a simpler end changes its appearance; changing the f-holes alters part of the acoustic system.
Violin wood: what each material contributes
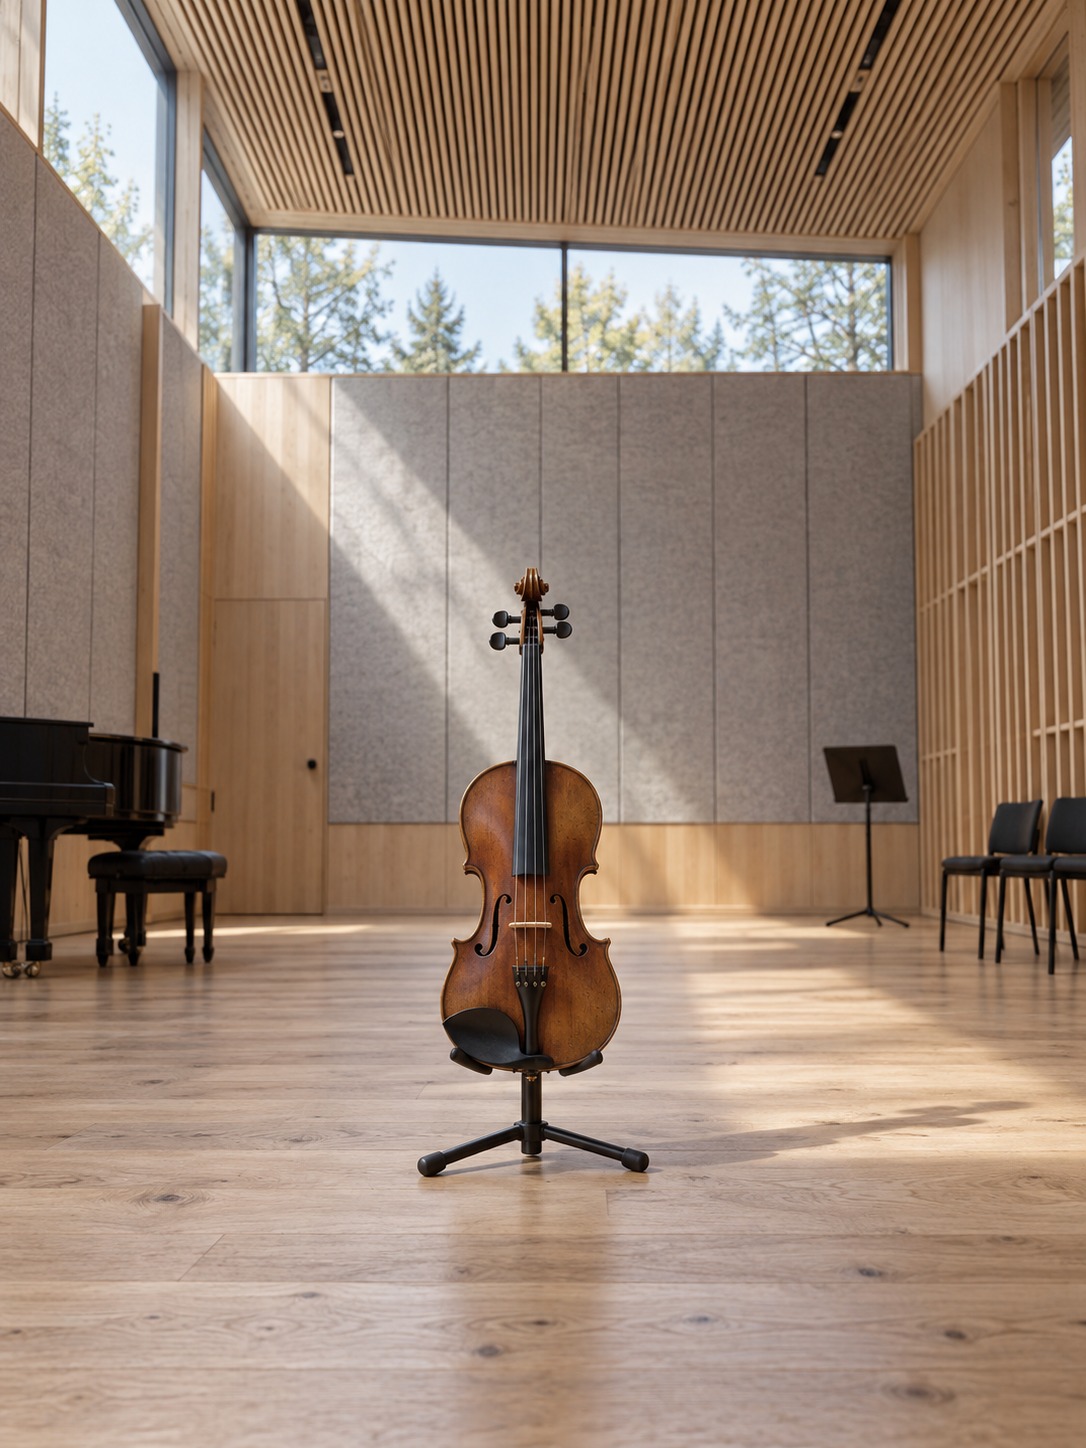
These are common material choices in traditionally built acoustic violins. Individual makers and modern instruments may use alternatives.
| Part | Typical material | Role | Visible detail |
|---|---|---|---|
| Top plate | Spruce | Vibrates as part of the resonant body | Straight grain along the body |
| Back, ribs and neck | Maple | Forms the body and supports the neck; the back also vibrates | Figured maple may show rippling bands |
| Fingerboard | Ebony | Provides a wear-resistant playing surface | Dark surface beneath the strings |
| Pegs and chin rest | Ebony, rosewood, boxwood or alternatives | Hold tuning or support contact with the jaw | Shaped to their different tasks |
| Bridge | Maple | Transfers string vibration to the body | Carved cutouts and feet fitted to the top |
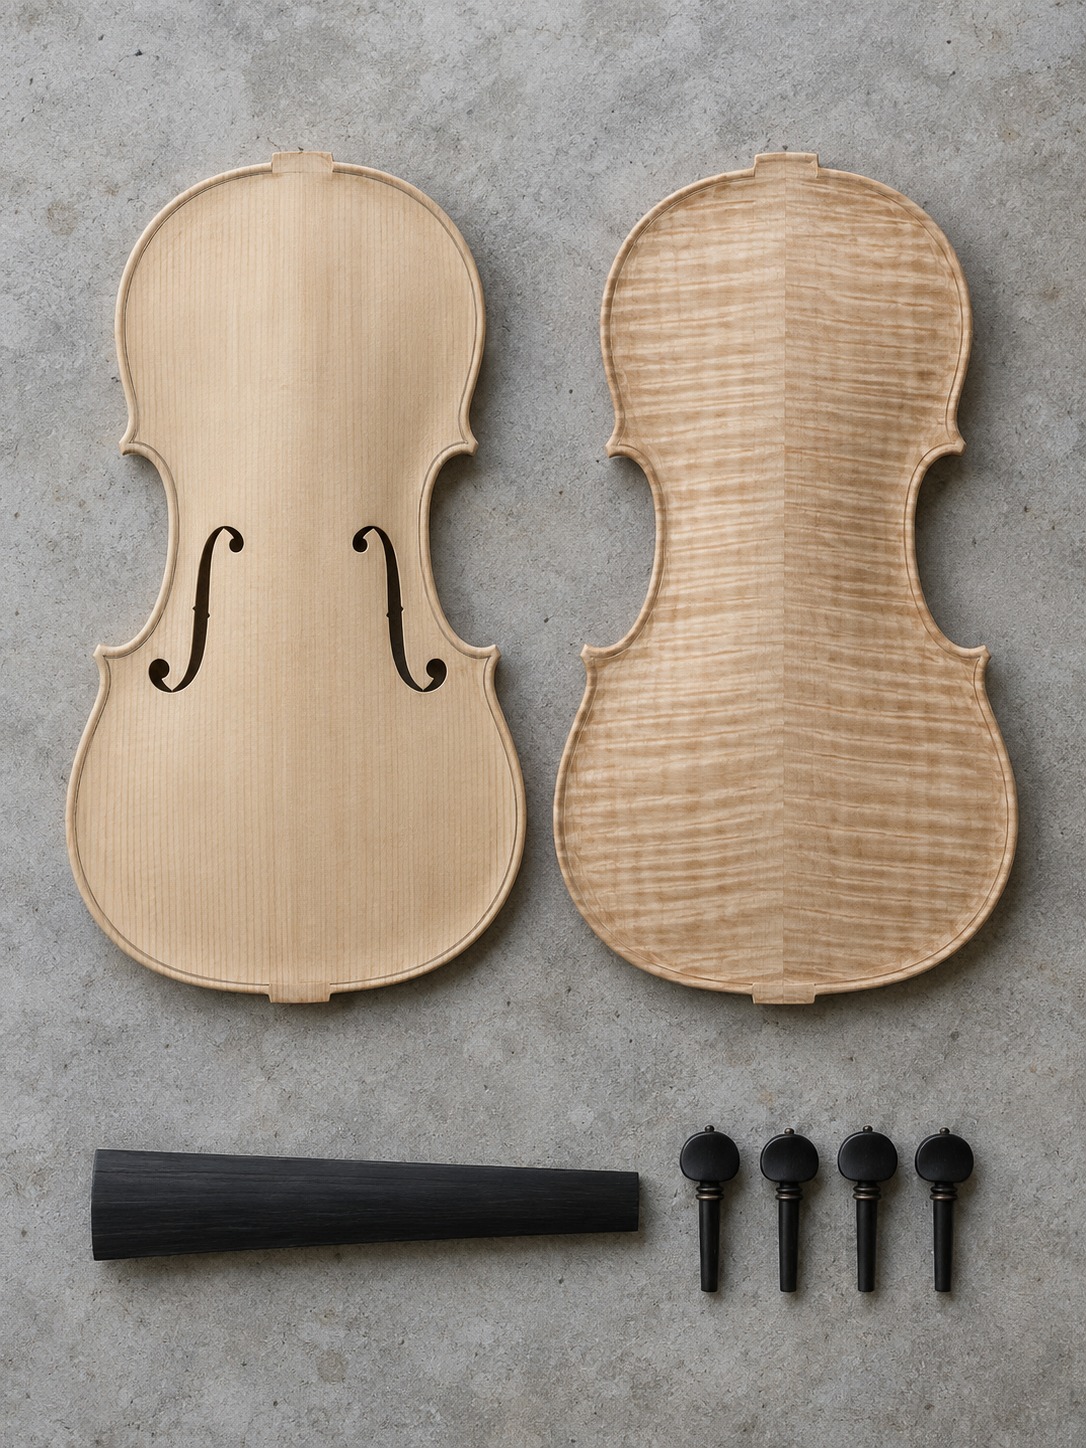
Spruce and maple in the body
Spruce is a common top-plate wood because it offers useful stiffness at a low weight. Maple is typically used for the back, ribs and neck. The back participates in the instrument’s vibration; it is more than a surface that reflects sound. The woods also create visual contrast: spruce usually shows straight grain, while figured maple can have rippling bands across the back.
The labels hardwood and softwood do not rank musical quality. Spruce is a softwood, yet it is standard in fine violin making. Selection, grain orientation, carving and the completed instrument matter together. Laminated plates use bonded layers and differ from carved solid wood. If construction matters to your purchase, ask for the maker’s specification; a photograph of the finish may not reveal it.
Fingerboard, pegs and fittings
Ebony is traditionally used for fingerboards because it resists wear. Conventional wooden pegs, often ebony, rosewood or boxwood, hold through friction and need an accurate fit. Modern geared pegs and synthetic fittings can also work well. Material names alone tell you less than whether a fitting works smoothly and suits the player.
Check fit before admiring finish. A polished peg is little help if it slips or binds. In a shop, ask someone to demonstrate that the pegs turn smoothly and hold the tuning, rather than forcing an unfamiliar mechanism yourself.
Varnish and finish: appearance is only part of the story
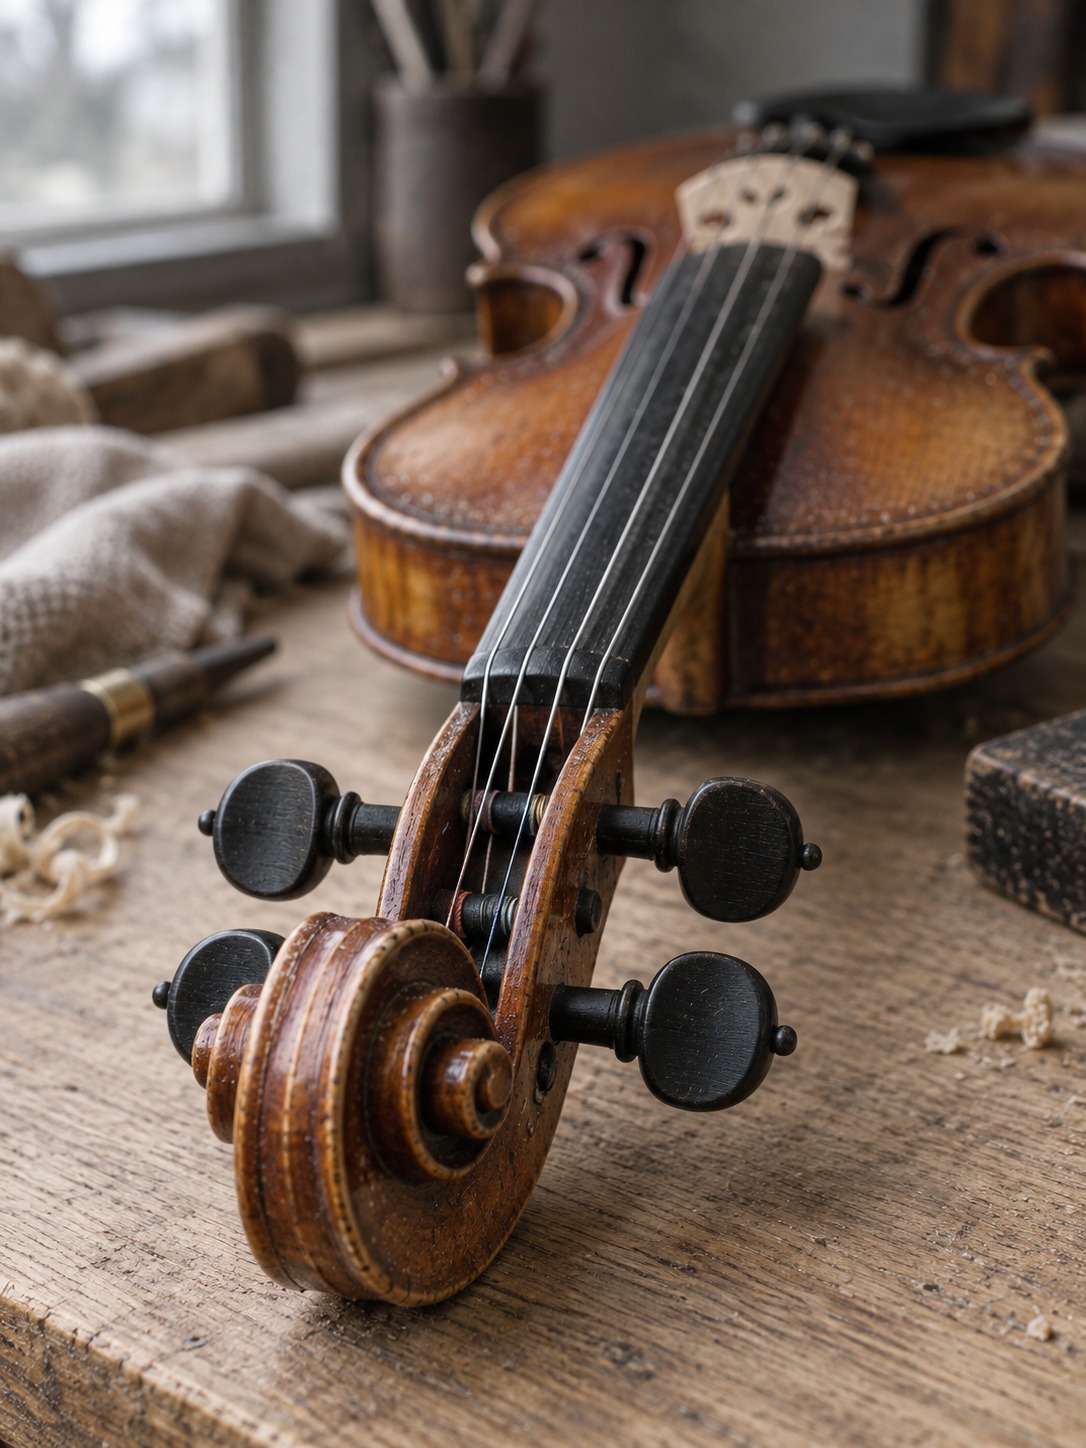
Varnish helps protect the wood from handling and slows moisture exchange; it does not make the violin waterproof or unaffected by humidity. Its color and transparency also shape the appearance, from pale gold to deep red-brown, revealing or obscuring the grain beneath.
Gloss alone tells you little about sound. A finish’s composition, application and interaction with the wood matter more than whether it looks shiny in a photograph. A glossy violin is not automatically poor, and a matte or antiqued finish is not a guarantee of careful construction.
Look for details you can discuss with a seller: pooled varnish, loose flakes, chips or unexpected changes around the edges. Interpret them in context. Wear, restoration and deliberate antiquing can all affect the surface, so a mark needs an explanation before it becomes a verdict on workmanship.
Antiquing gives a new instrument the appearance of wear, often through variations in color and sheen. It is a visual choice. It does not establish the instrument’s age, history or playing quality.
Ergonomics: where design meets the player
Comfort depends on the player as well as the object. The violin sits at the jaw and shoulder while the left hand moves along the neck. Fractional sizes help accommodate different reaches, especially for children. A full-size 4/4 violin commonly has a body about 35.5 cm long, but a size label cannot replace a fitting with a teacher or specialist shop.
Look at three aspects of fit:
- Neck profile. Its shape and surface should allow the hand to move comfortably.
- Chin rest and shoulder support. Their shape and height need to suit the player. Preferences vary, and a shoulder rest is not compulsory for everyone.
- String clearance. The height of the strings above the fingerboard affects the effort needed to stop a note.
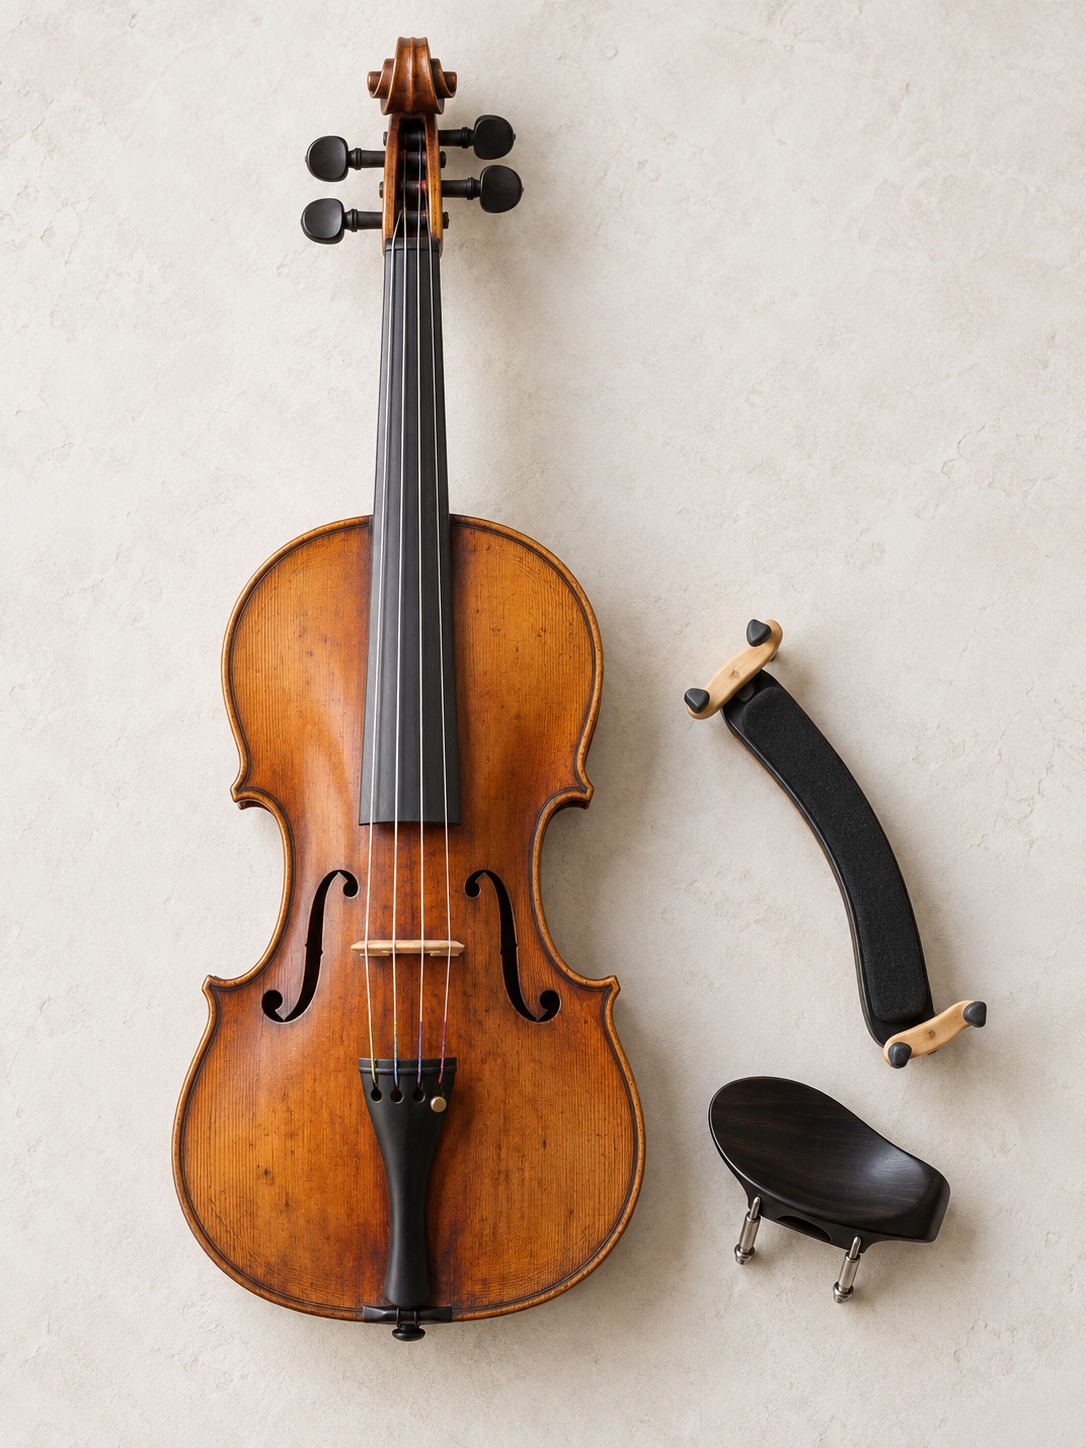
Excessive string height can make playing harder; too little clearance can cause buzzing. A luthier considers the bridge, nut, fingerboard and strings together. Setup also includes the pegs and soundpost. These adjustments belong in the assessment of the finished instrument, not as an afterthought once it has been bought.
The useful test is practical: can the player hold the instrument and move without unnecessary gripping or reaching? A teacher can help separate a fit problem from a technique that is still developing.
Reading craftsmanship beyond the price tag
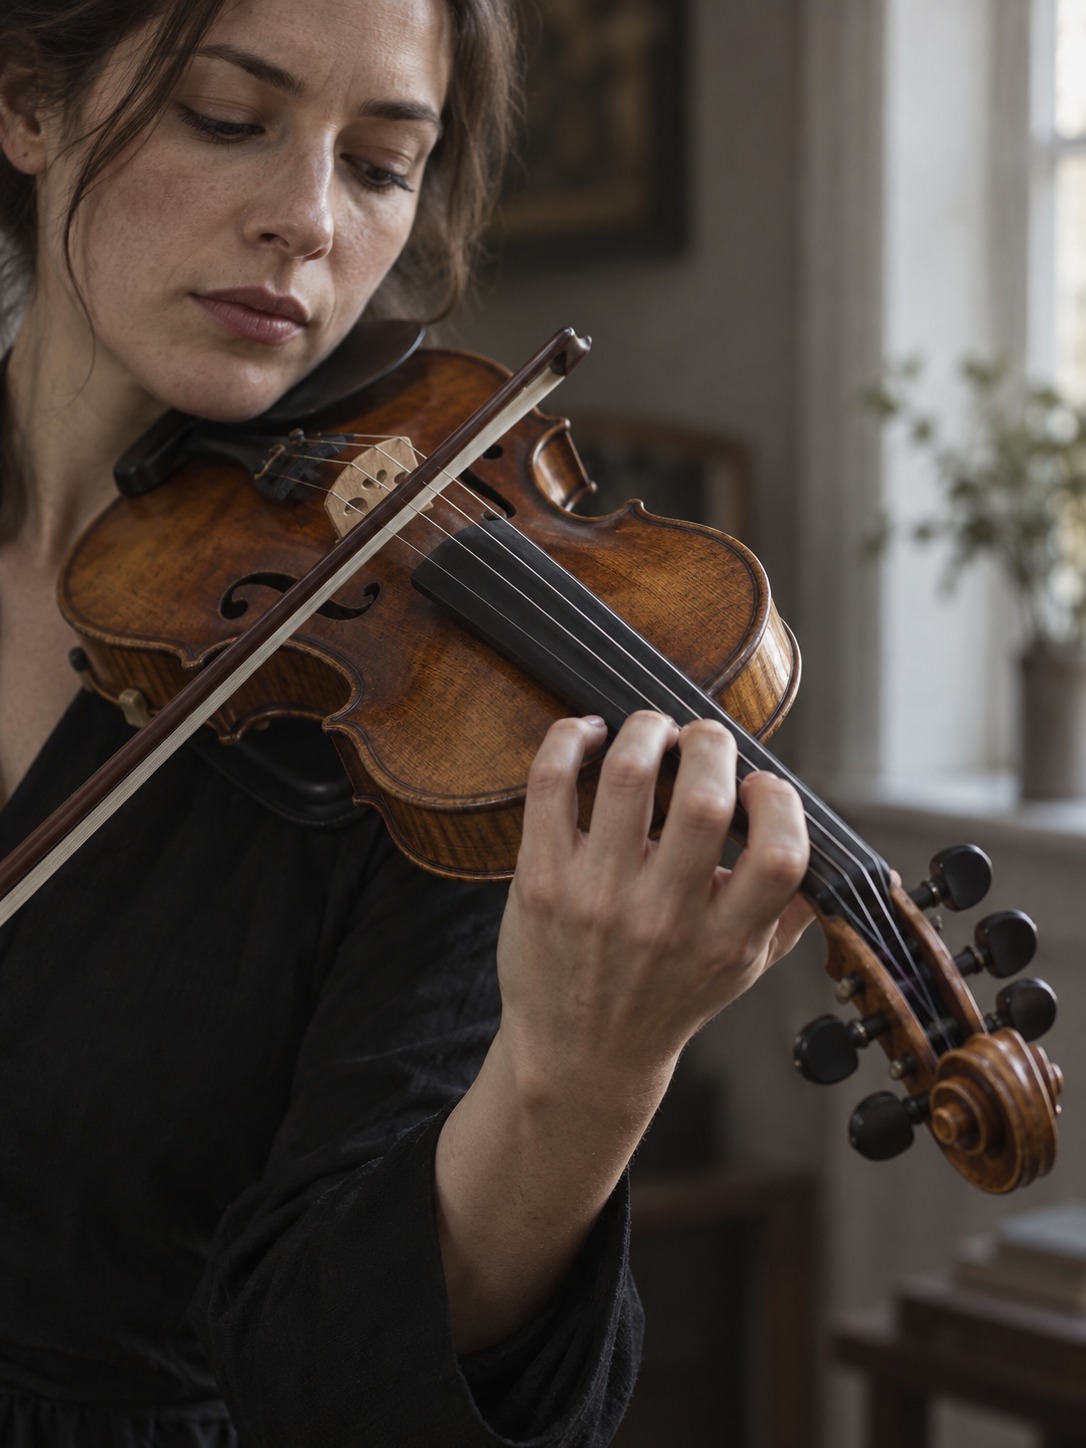
Craftsmanship is the quality of execution. You can inspect some of it without musical training, as our article on how craftsmanship affects the value of design products discusses. A visual inspection gives you questions to ask; it does not replace an assessment of condition and playability.
Start with these six checks:
- Seams. Look for open joints where the top or back meets the ribs, and ask about any repairs.
- Edges and purfling. Check for damage and loose inlay. Small handmade variations need context rather than an automatic rejection.
- Neck joint and scroll. Look for cracks, movement or signs of repair. Visible tool marks alone do not prove poor workmanship.
- Bridge. Its feet should fit the top, and it should not appear warped or leaning. Have a professional assess its position instead of pushing it yourself.
- Pegs. Ask for a tuning demonstration to check that they move and hold as intended.
- Strings and nut. Look for damaged strings and ask about any binding or buzzing during a playing test.
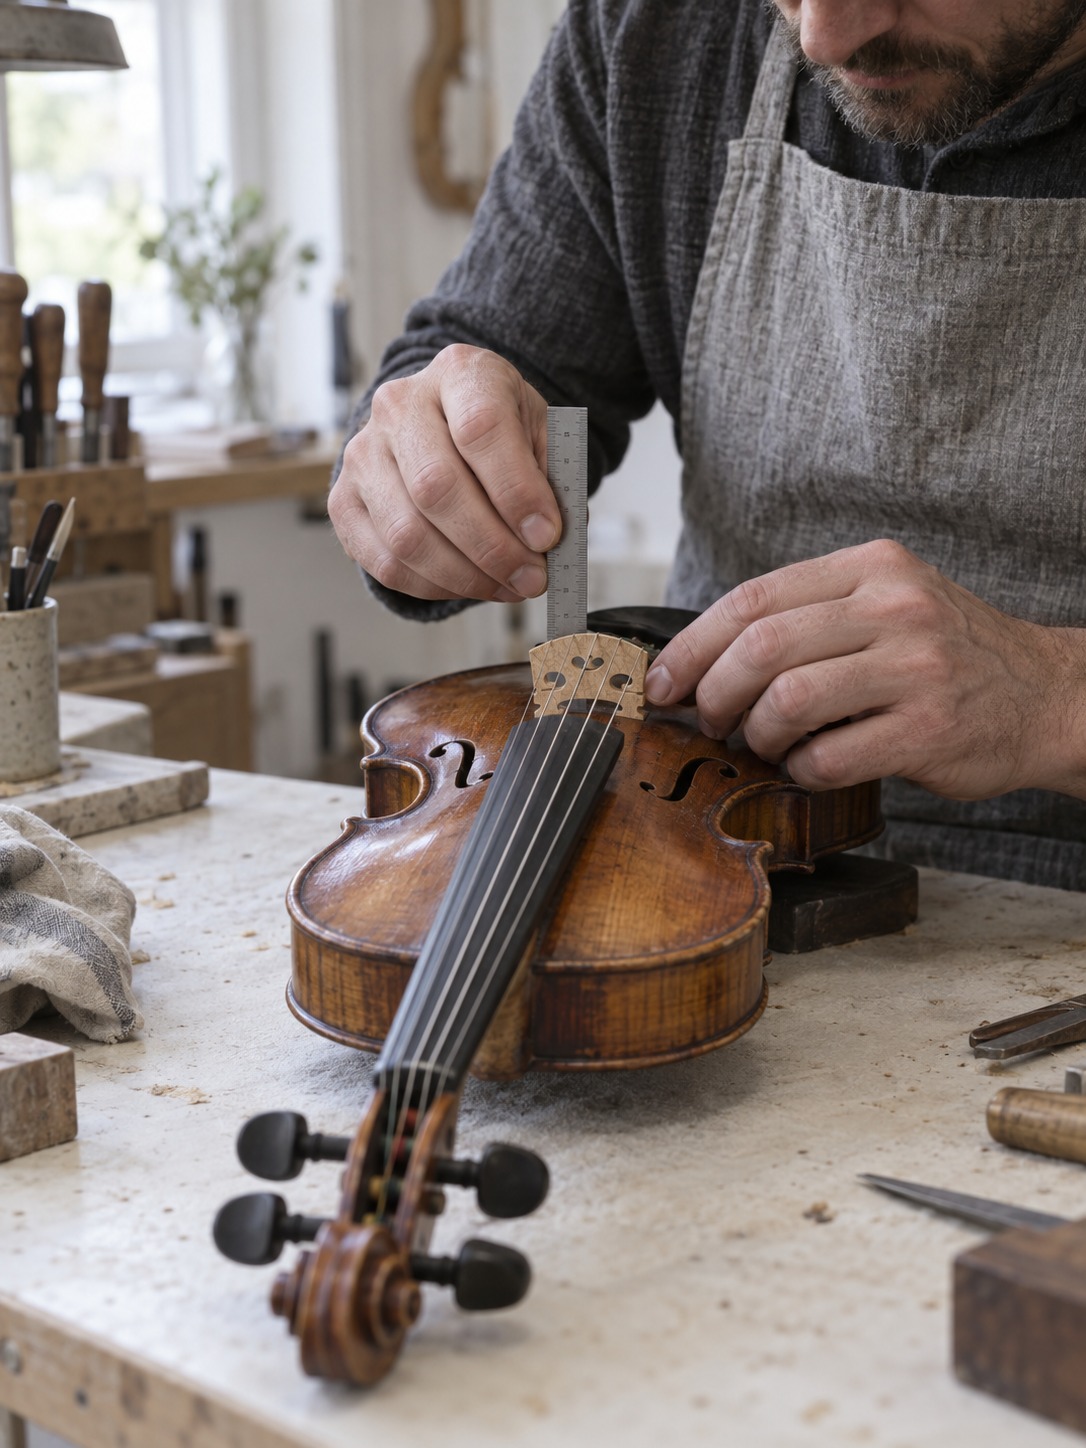
Surface neatness cannot tell you the thickness of the hidden plates or predict the tone. Use visible details to guide the conversation with the maker or seller, not to infer what you cannot see.
Bring a teacher or experienced player if possible. Trying the violin can reveal how readily it responds, whether notes speak evenly and whether the setup feels comfortable.
Treat price tags as a starting point for comparison. Materials, labor, maker reputation, condition and history can all influence price. For a beginner, a modest instrument with a suitable setup may be a better fit than a more expensive one that is difficult to play. Include setup and support in the budget.
What good design means for a first violin
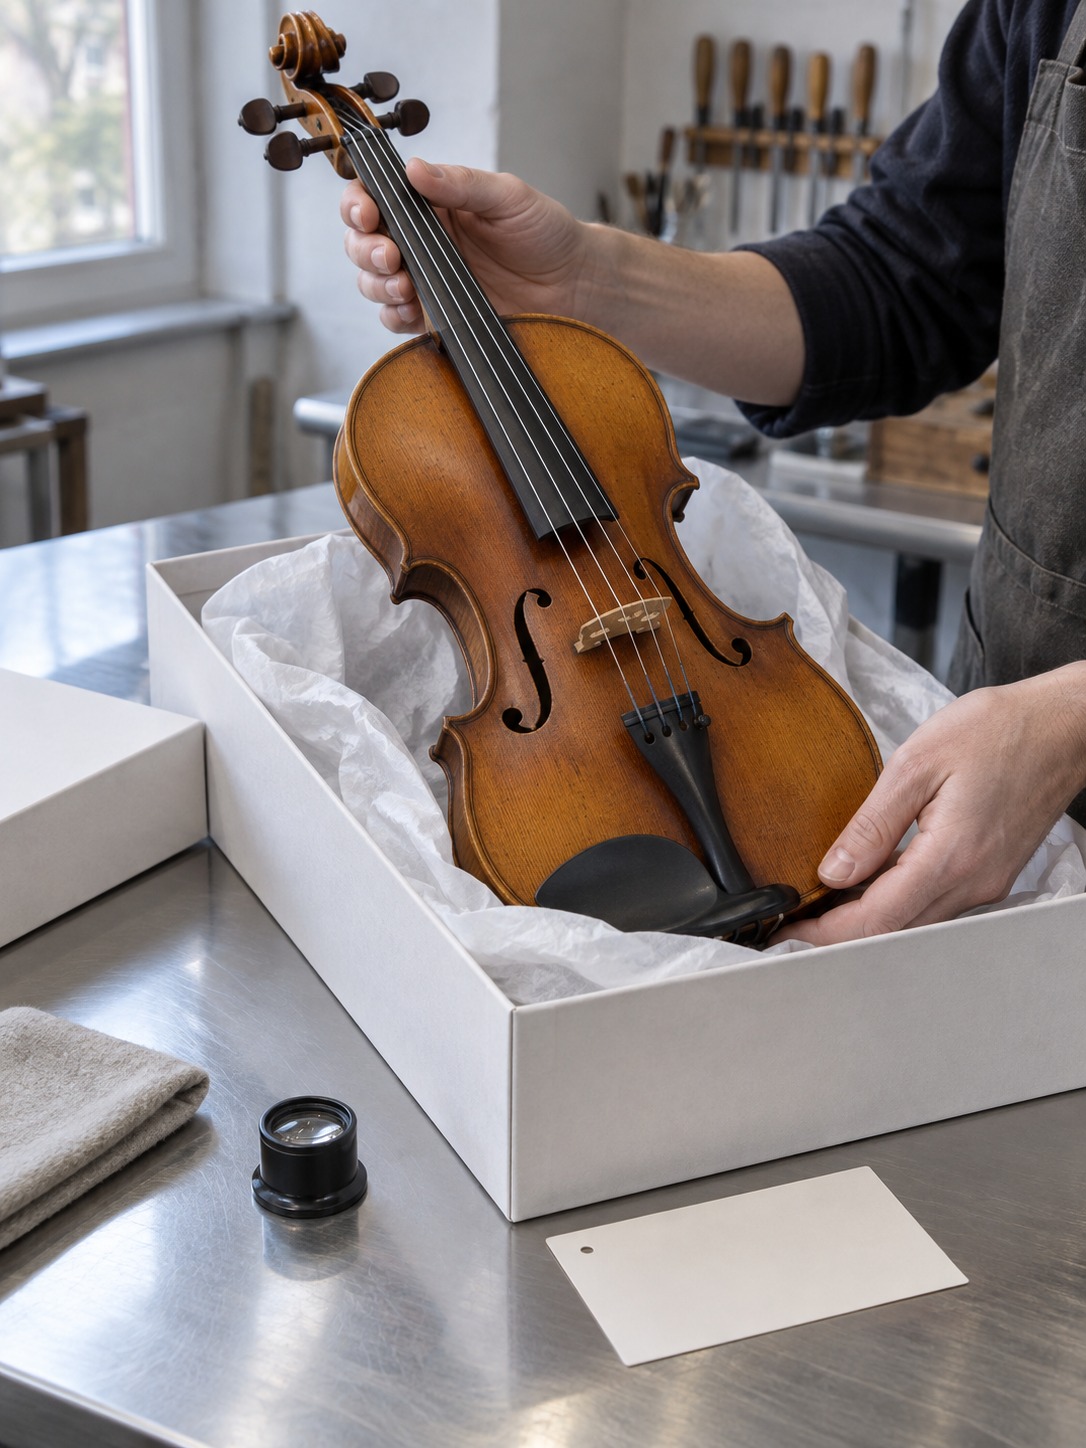
For a beginner, useful design means a suitable size, comfortable reach, reliable tuning and a setup that makes practice manageable. These details matter more than decorative finish or a prestigious name.
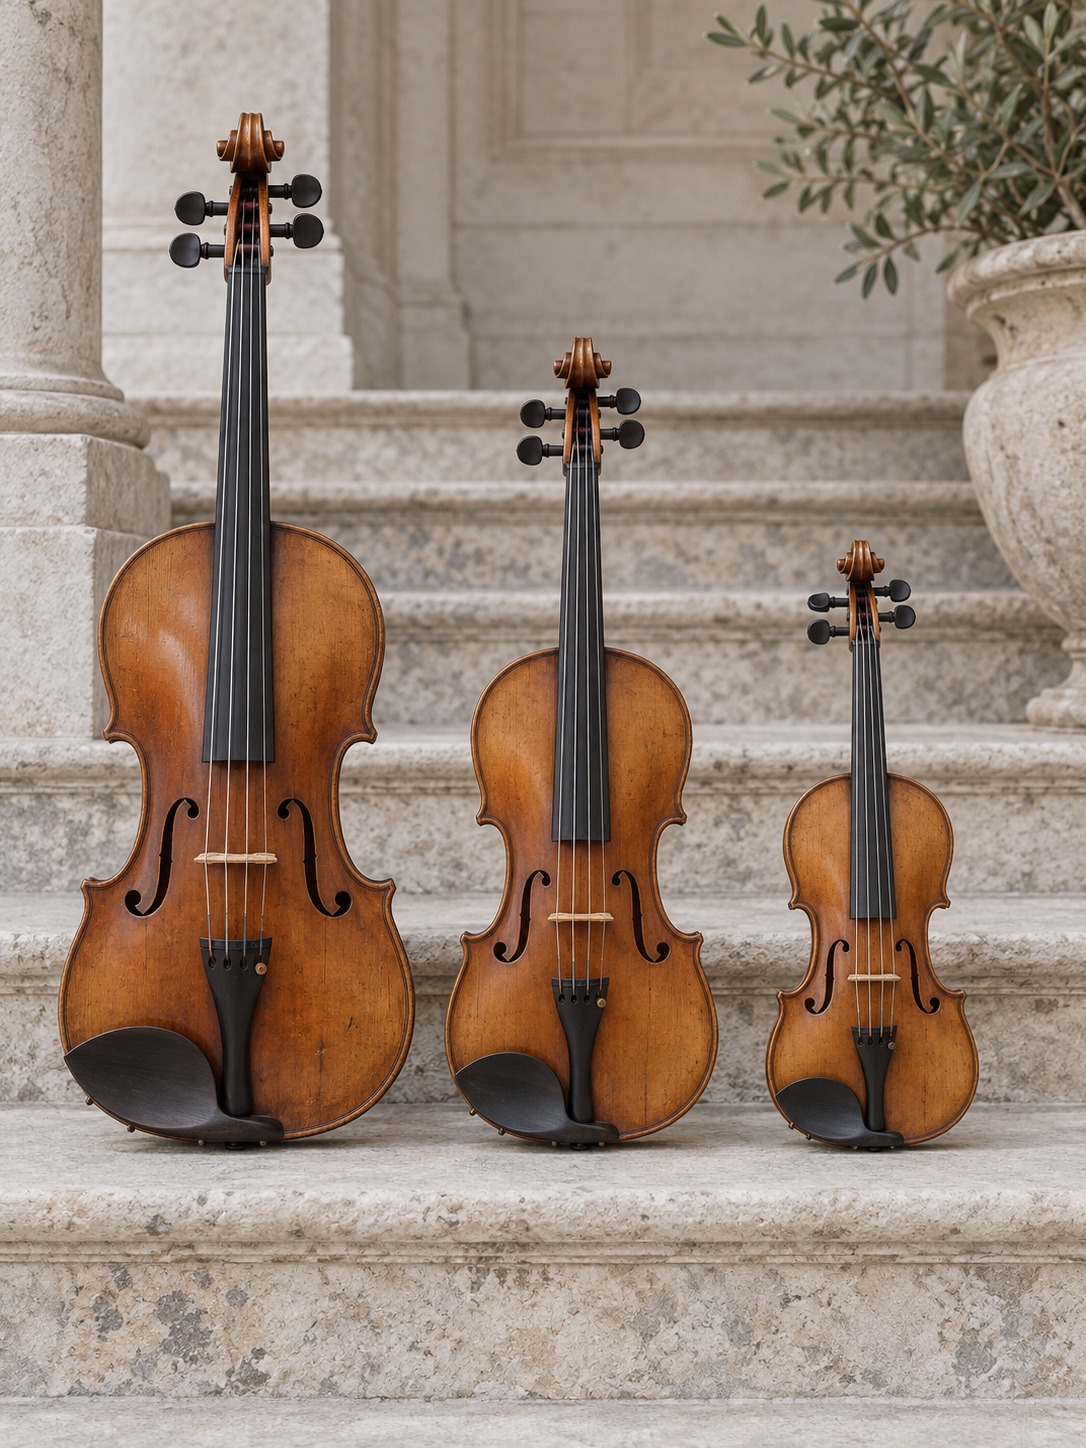
When comparing a cheap violin with other options, ask what the shop actually checks before delivery. Does the price include setup? Can it be adjusted locally? What are the trial and return terms? A lower price can be workable when the instrument meets the player’s needs; it is not a reason to skip those checks.
A separate guide to buying a beginner violin can help you build a shortlist. Check current specifications and terms with the seller, then ask a teacher to assess the size and setup of the instrument you are considering.
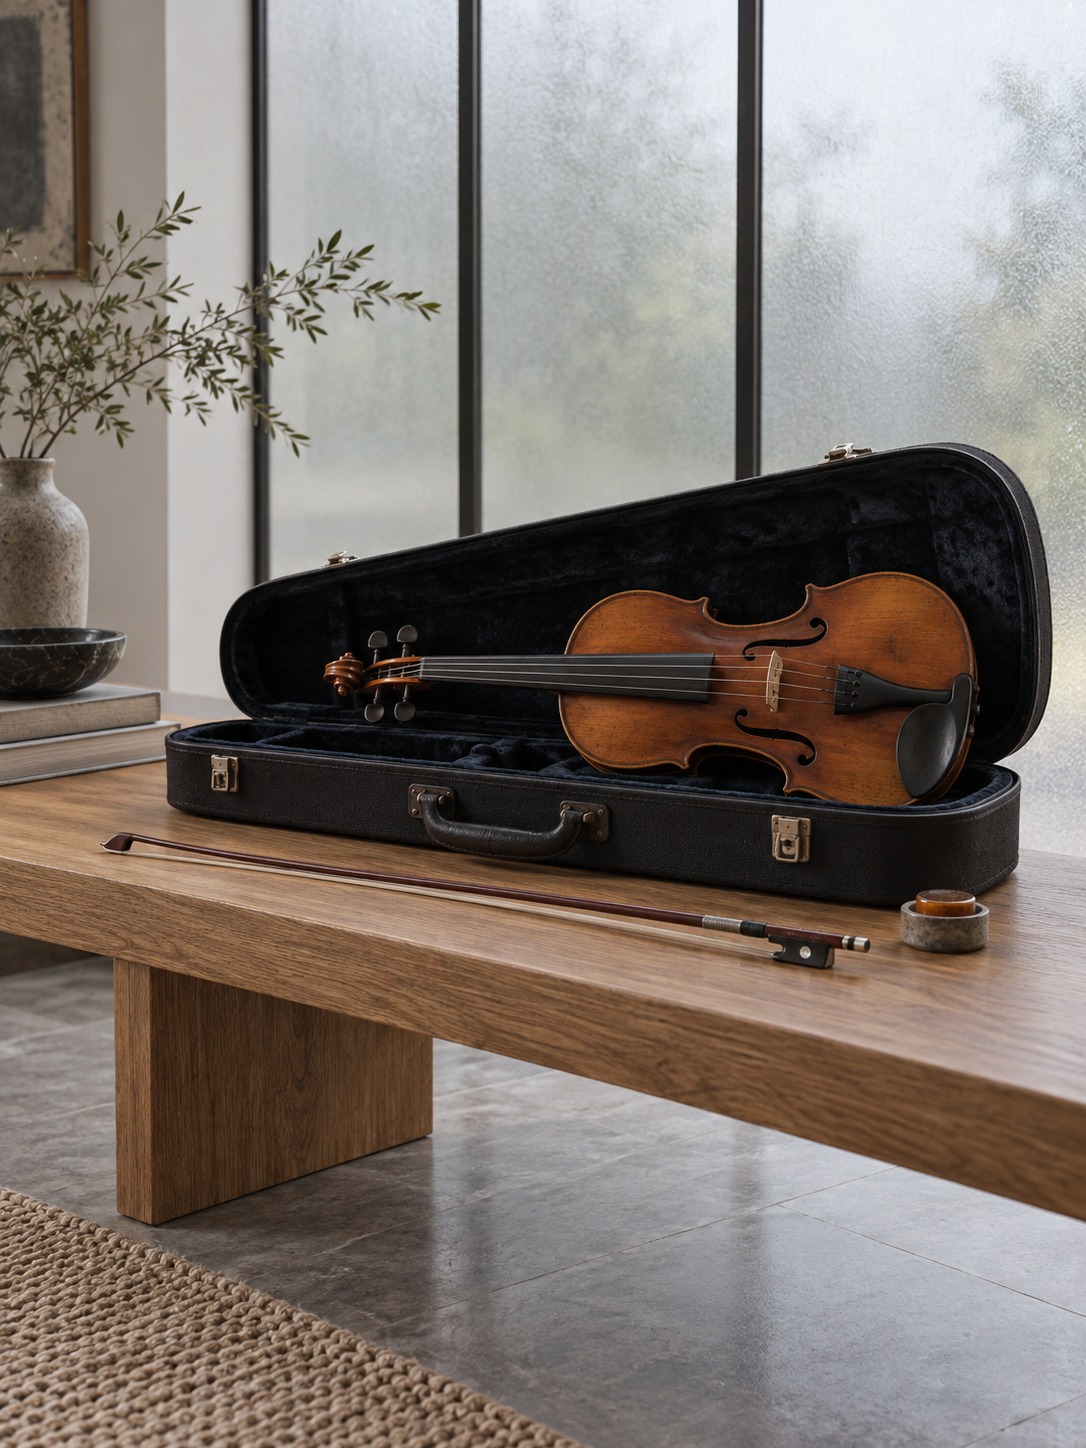
Check the accessories too: a protective case, an undamaged bow with proper camber and usable hair, and rosin. Add a shoulder rest if the player needs one. The bow should have its designed curve, rather than a perfectly straight stick. The whole kit affects the first weeks of practice.
Frequently asked questions
Why are violins shaped the way they are?
The narrow waist gives the bow clearance, while the wider bouts provide room for the vibrating plates and enclosed air. Arching helps the thin plates carry loads and affects their vibration. Historical makers refined a form that combines these requirements.
What wood is a violin made of?
Traditional acoustic violins commonly use spruce for the top and maple for the back, ribs and neck. The fingerboard is often ebony; pegs and chin rests may use ebony, rosewood, boxwood or alternative materials. Wood selection and construction matter alongside the species.
What does violin varnish do?
Varnish helps protect the surface from handling and slows moisture exchange, while adding color and depth. It does not waterproof the instrument. Its appearance can reveal surface details, but gloss or color alone cannot tell you how a violin sounds.
Does a more expensive violin always mean better design?
No. Price can reflect labor, materials, maker reputation, condition and history. A modest instrument with a suitable setup can serve a beginner well. Compare fit, condition and playing feel, with help from a teacher or luthier.
How do I know which violin size fits?
Reach and comfort matter more than age alone. A teacher or specialist shop can measure the player and check the fit of different fractional sizes. Avoid choosing an oversized violin for a child simply to allow room to grow.
Can I tell a violin’s quality from photos?
Photos can reveal some damage, finish details and visible joints. They cannot reliably establish tone, tuning stability, hidden condition or playing comfort. Ask about setup and return terms, and arrange an assessment by a teacher or luthier.
What to take from a violin
A violin rewards close observation. The waist makes space for the bow, the curved plates combine structure with vibration, and the fittings connect the instrument to the player. Tradition gives it a familiar appearance, while construction and setup determine much of the individual experience.
Next time you can examine one with its owner’s permission, compare the front, side and back. Sketch the outline, trace the changes in curvature and note where materials meet. Then ask a player what those details feel like in use. That is where looking at an object becomes understanding its design.
Vlad is a product and industrial designer with 15+ years of experience across automotive, jewelry, and digital design, based in Kyiv. He writes the design and drawing guides at Sky Rye Design.
- 7shares
- Facebook0
- Pinterest7
- Twitter0
- Reddit0