I’ve drawn a lot of symmetrical things for a living. Alloy wheel concepts, jewelry pendants, interface icons. Almost all of them share one trick: you don’t draw the whole shape, you draw one slice and let geometry repeat it. That’s also the fastest way to learn how to draw an easy snowflake, and it’s why most beginner attempts go wrong. People try to freehand six arms one after another, and by arm four everything has drifted.
- Quick answer: how to draw an easy snowflake
- What you need to draw a snowflake
- Why snowflakes have six arms
- Study real crystals before you draw
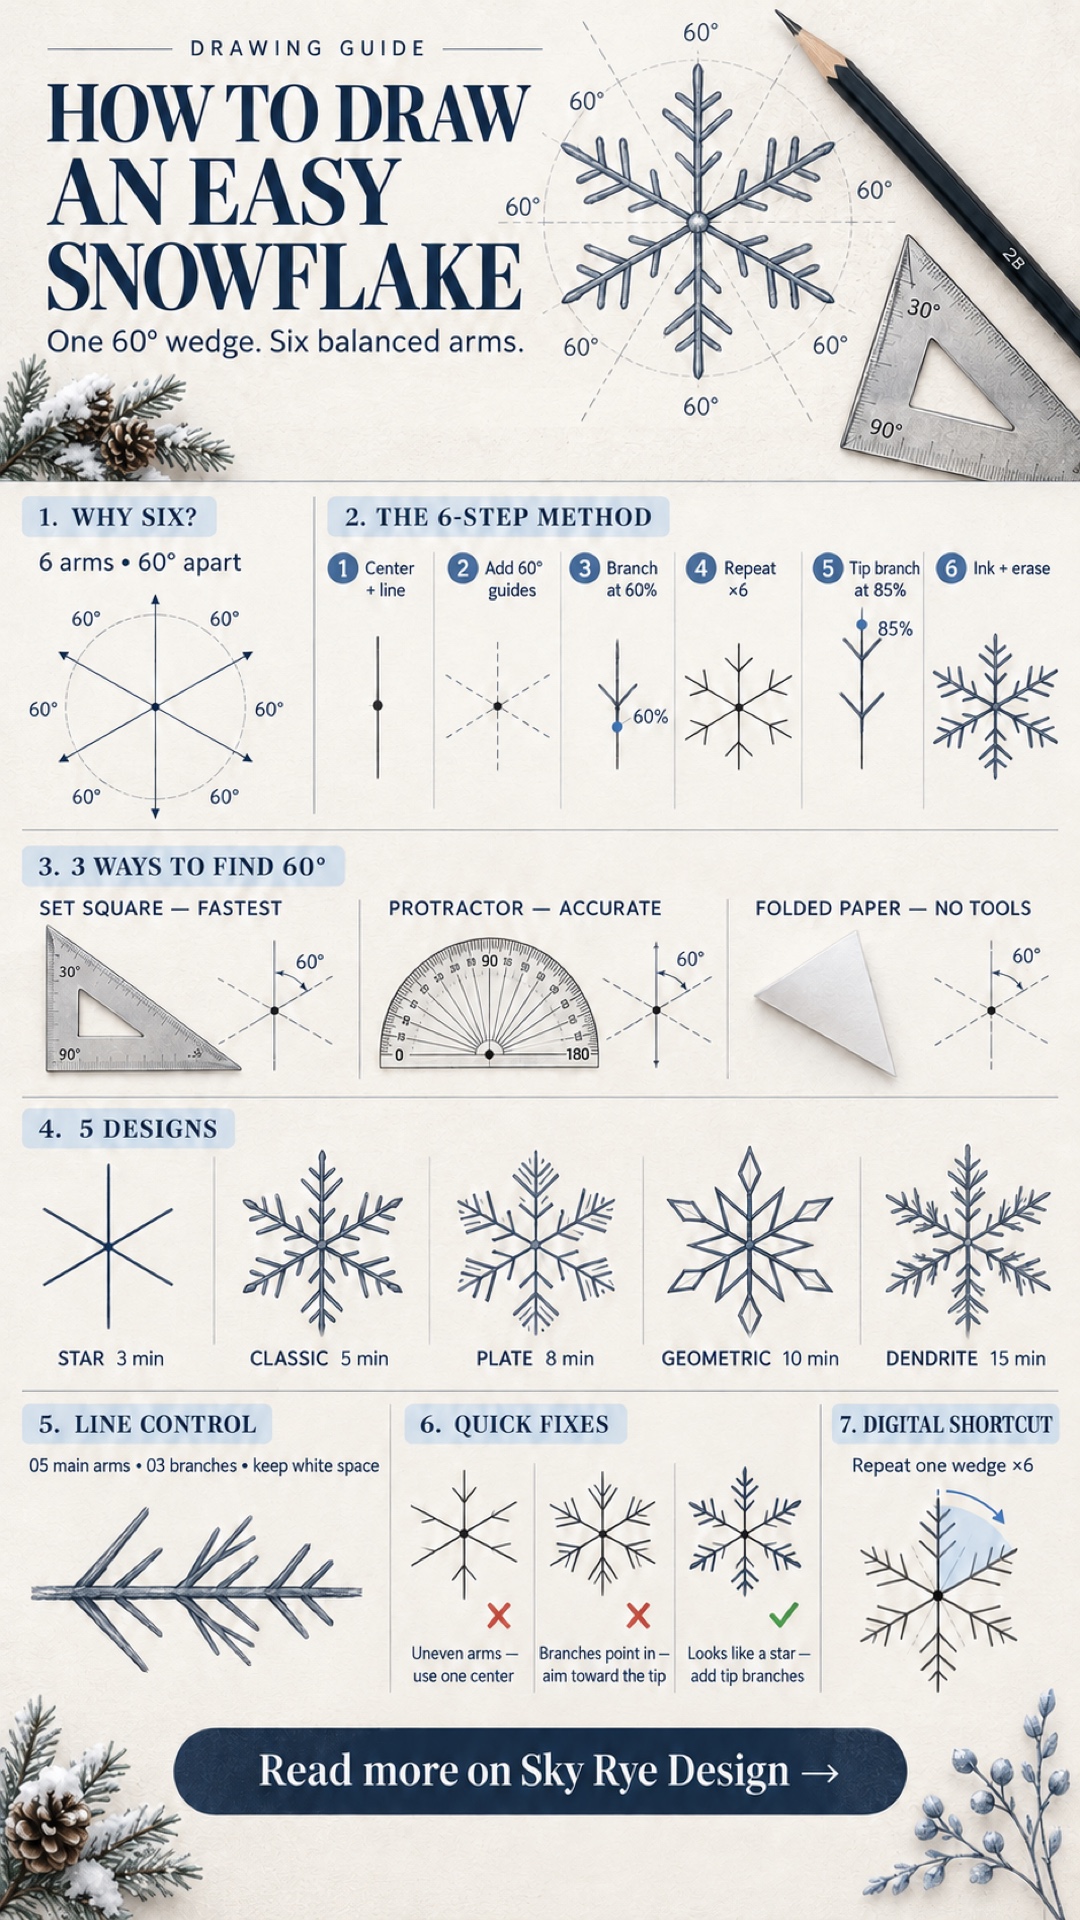
- How to draw an easy snowflake in 6 steps
- Three ways to get 60° right
- Five easy snowflake designs, from 3 minutes to 15
- Line weight, negative space, and shading
- Common mistakes and how to fix them
- Draw a snowflake digitally with radial symmetry
- Using your snowflake in modern projects
- Frequently asked questions
- Your next snowflake
This tutorial fixes that. You’ll build a snowflake from a single 60° wedge, in six steps, with nothing fancier than a pencil, a ruler, and a fine liner. Then I’ll show you five designs from 3 minutes to 15, the mistakes I see most, and a digital method that uses radial symmetry so you never measure anything.
Quick answer: how to draw an easy snowflake
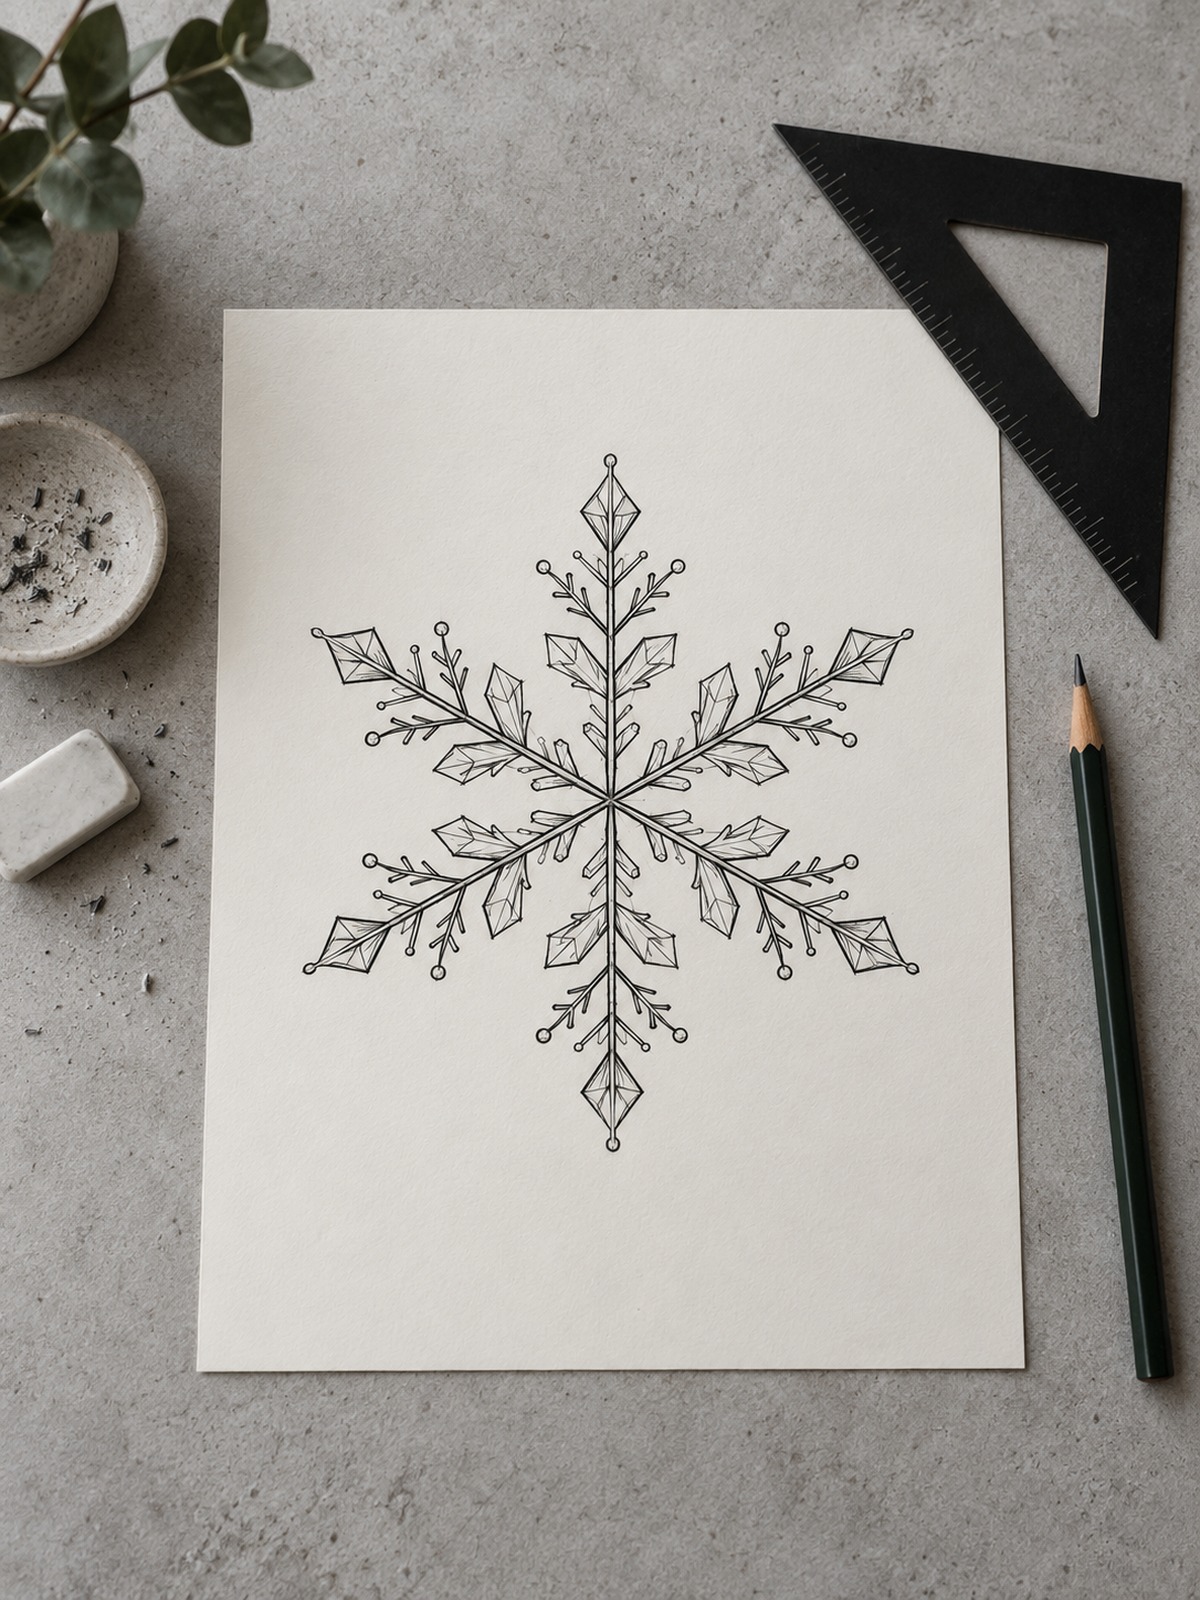
To draw an easy snowflake, mark a center point and draw three straight lines through it, each 60° apart, to make six equal arms. Add a short V-shaped branch on each arm, a little further from the center than halfway.
Repeat the same branch on all six arms, then add a smaller pair near the tip. Trace over the pencil with a fine liner, erase the guidelines, and leave plenty of white space between the branches. The whole thing takes about five minutes. The 60° spacing is the part that matters, because real snow crystals grow in six directions, and your eye notices when the angles are off before it can tell you why.
What you need to draw a snowflake
You can do this on the back of an envelope. But a few cheap choices make it noticeably easier.
For pencil, I use a 2H for guidelines because it erases cleanly and doesn’t smudge into the ink. For the final lines, a Pigma Micron 03 or a Staedtler pigment liner gives a crisp, even stroke. A 05 is better if you want the snowflake bold enough to read from across a room.
Paper matters more than people expect. Smooth cartridge or Bristol board lets the liner glide. Rough sketchbook paper catches the nib and wobbles your line, which is exactly what you don’t want on thin branches. A 9 x 12 inch sketchbook page gives you room for a snowflake about 15 cm across, a good size for learning.
For the angles, you have three options, and I’ll cover each below: a 30-60-90 set square, a protractor, or a folded sheet of paper. A compass is optional but useful for later designs.
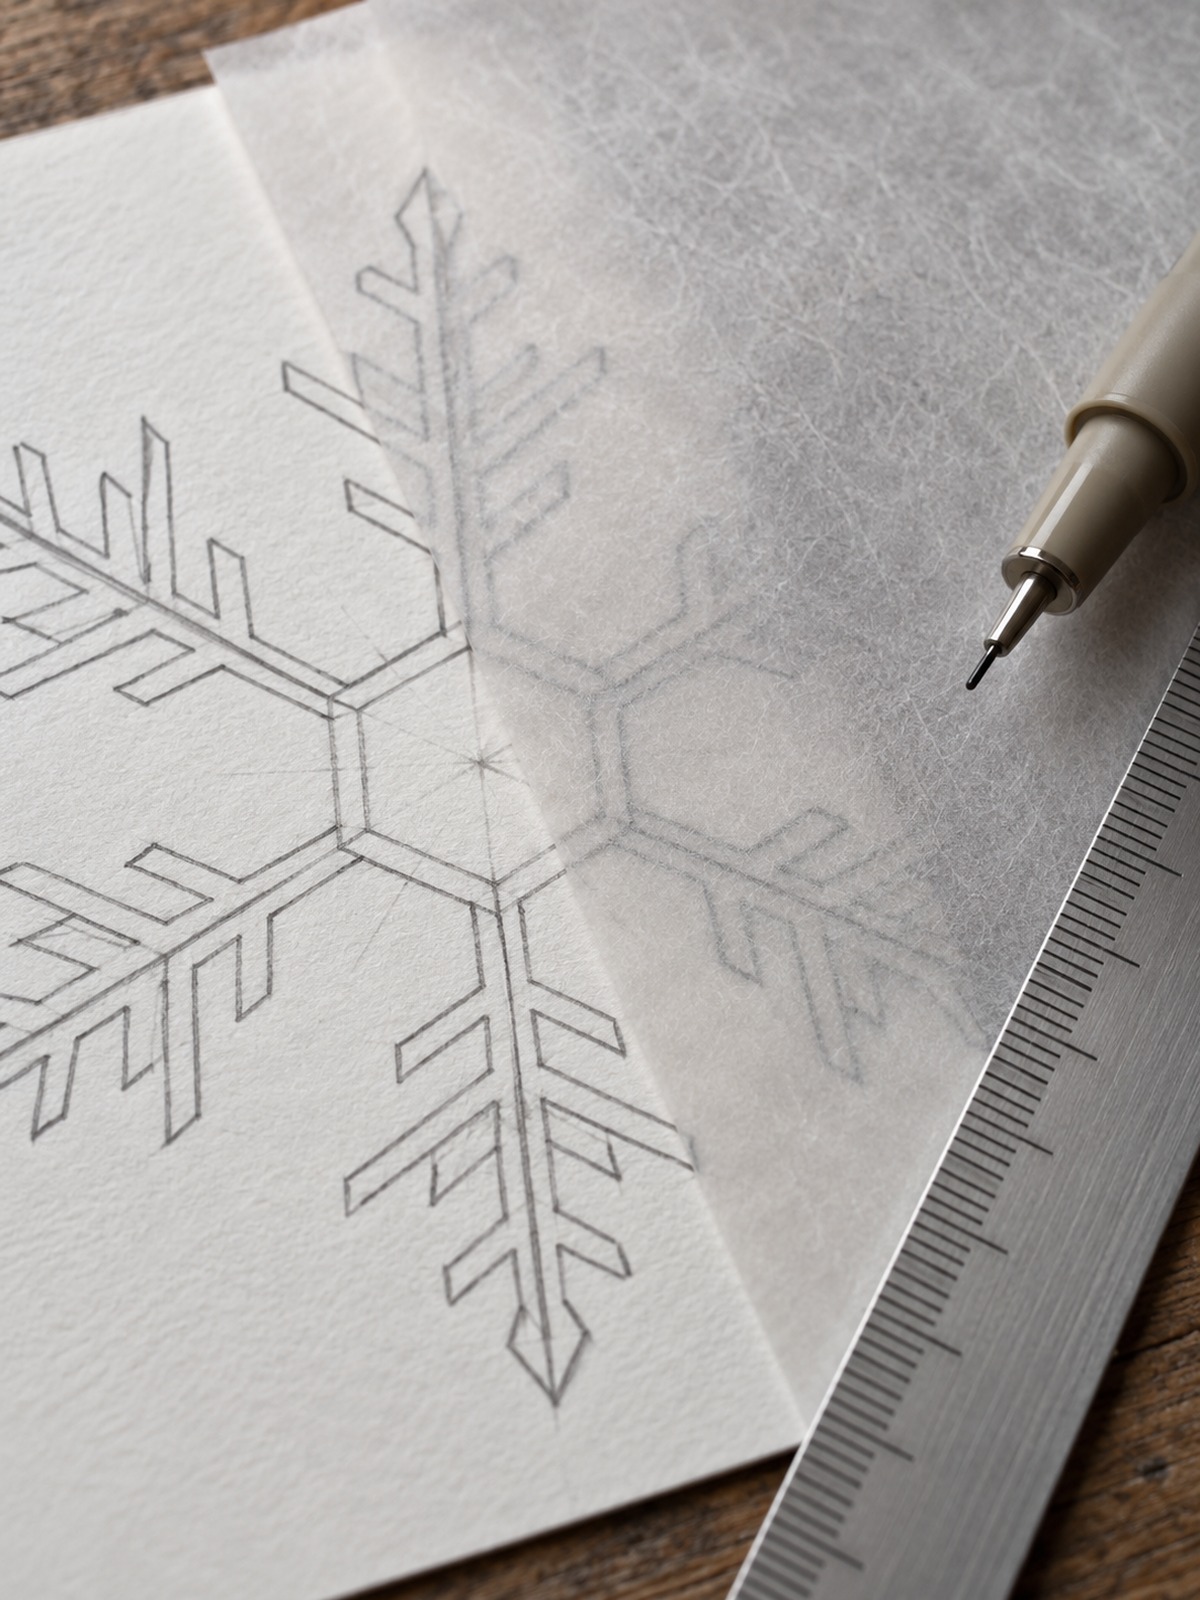
One more thing. Keep a scrap of tracing paper nearby. Once you draw one good arm, trace it and flip it. It’s the paper version of what I do in software, and it saves real time.
Why snowflakes have six arms
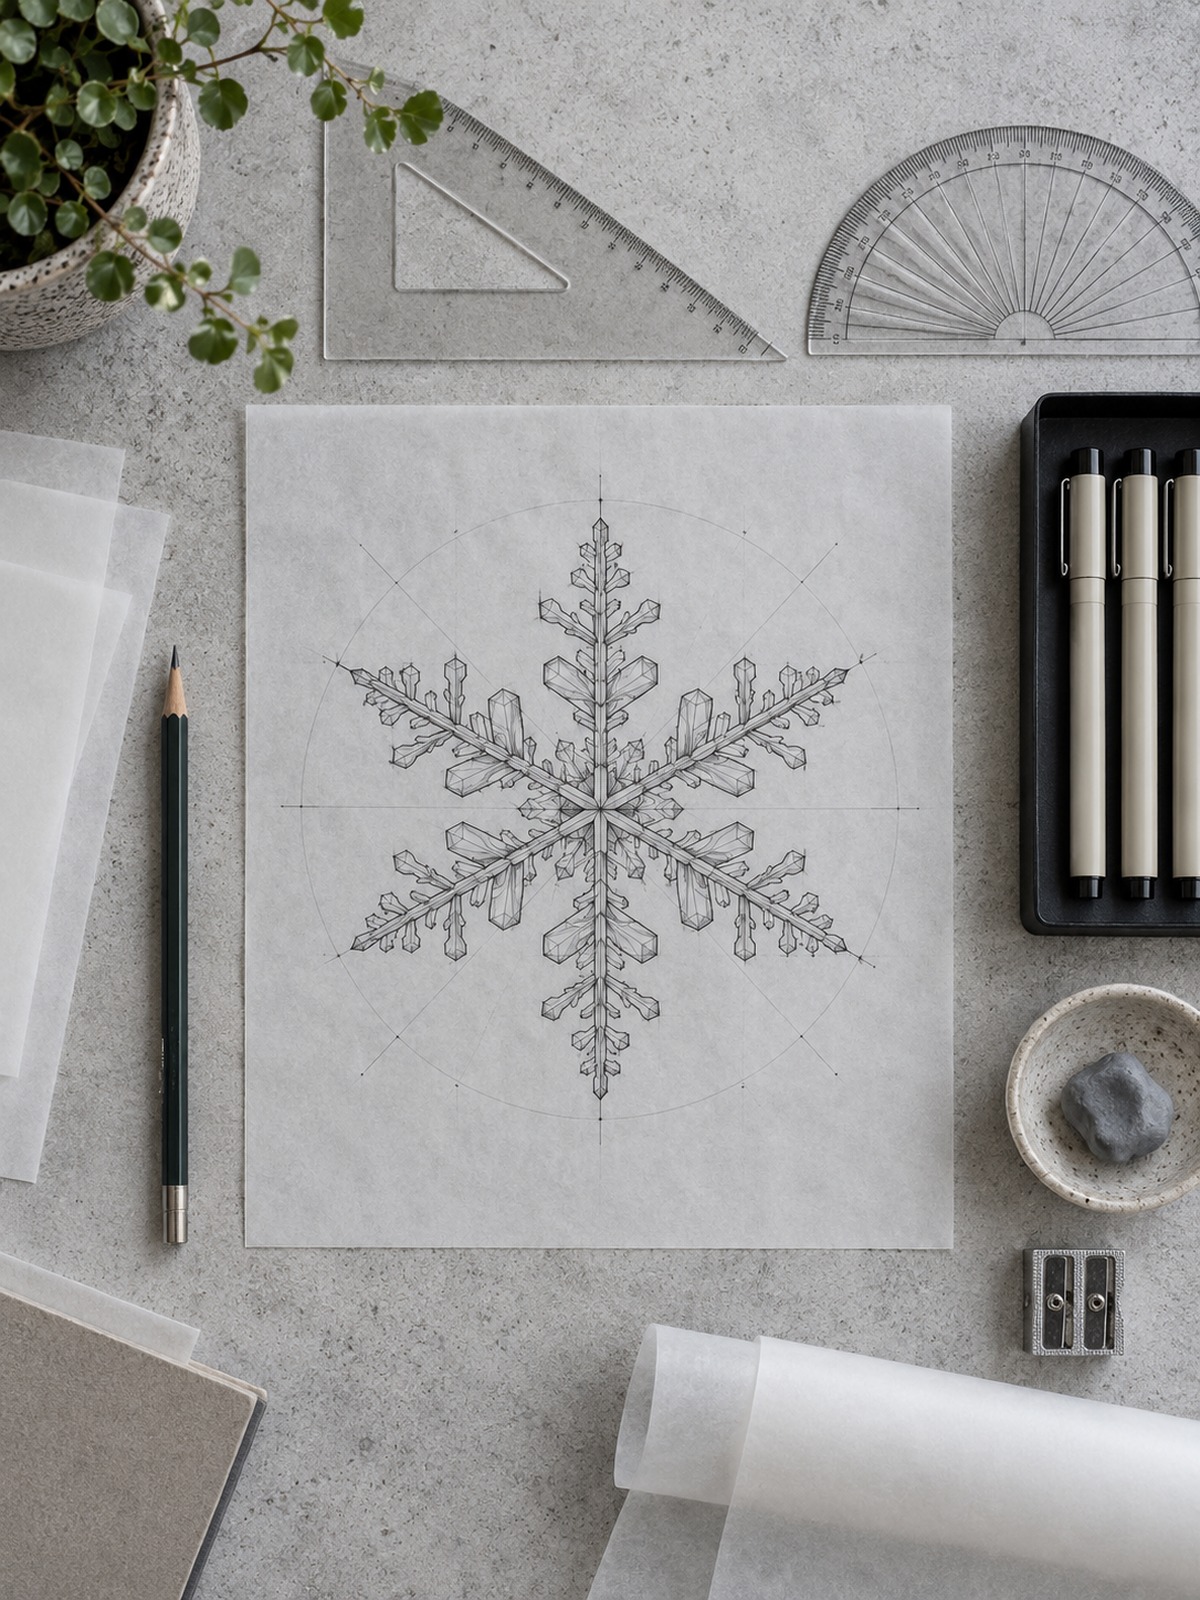
Here’s the short version. Ice forms a hexagonal lattice, so a snow crystal grows outward along six directions spaced 60° apart. That’s physics, not decoration.
Wilson Bentley, a Vermont farmer, photographed his first snow crystal through a bellows camera in 1885 and went on to capture more than 5,000 of them. Later, Caltech physicist Kenneth Libbrecht grew crystals in a lab and showed that temperature and humidity change the shape. Thin plates form in one temperature band, long needles in another, and the branching, fern-like type called a dendrite appears around minus 15 °C.
Why does this matter for a drawing? Because it gives you rules, and rules make a drawing believable. Each arm should match the others, because all six grew in the same air at the same moment. Branches angle outward at 60° from the arm, echoing the whole shape. If you draw a snowflake with five arms or eight, it reads as a star or a flower, not snow.
I’ve noticed this in car design too. A grille or wheel pattern feels “right” when its internal angles repeat the logic of the overall form. Snowflakes work the same way.

Study real crystals before you draw
Spend five minutes looking at Bentley’s plates in the public domain or Libbrecht’s photographs at snowcrystals.com. Notice three things. First, branches rarely start at the center; the first one usually sits a third of the way out. Second, the arms are not perfectly identical in real life, only close. Third, the tips are often blunt, not sharp. Copy those habits and your drawing will feel observed rather than invented. It’s the same thing I teach about drawing cars from life: look at the object for longer than you think you need to, then draw.
One caution. You’ll see claims that no two snowflakes are alike. The honest version is that complex ones almost never repeat, while simple plates can look near-identical. For drawing purposes, it means you have permission to vary a design slightly from arm to arm if you want a hand-made feel, as long as the angles stay locked.
How to draw an easy snowflake in 6 steps
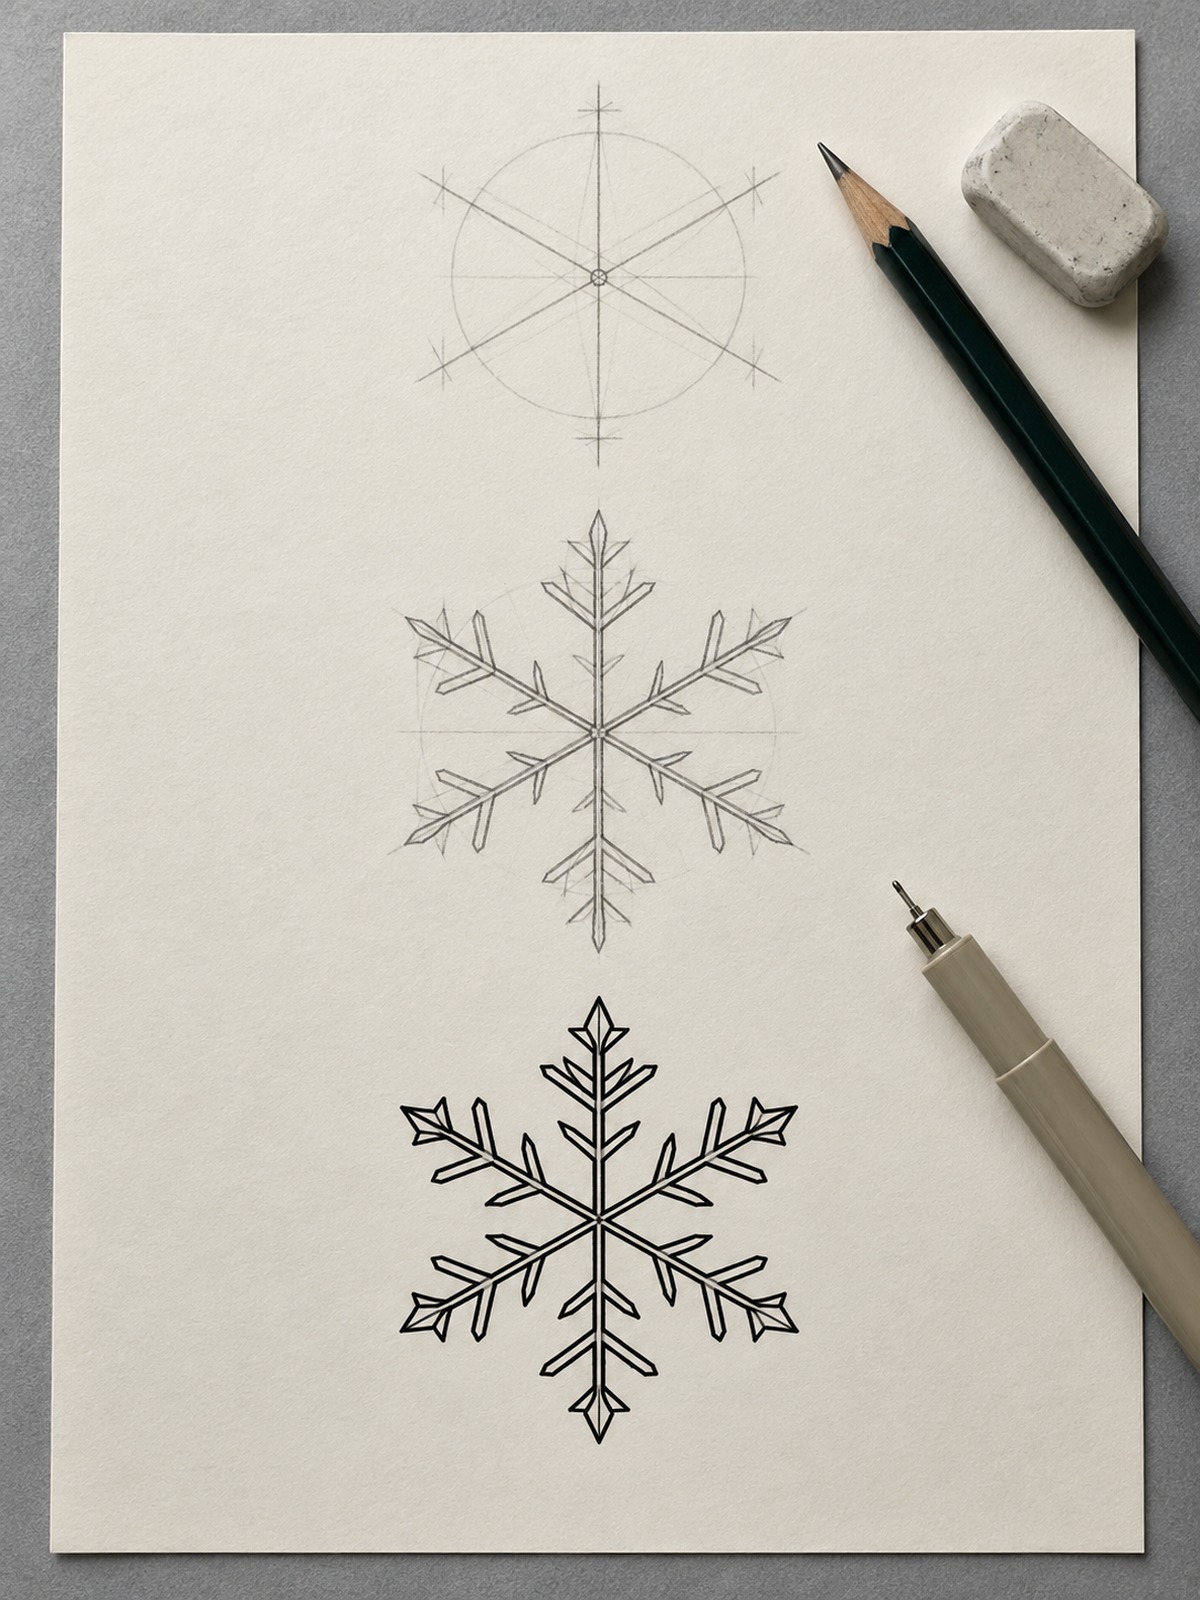
This is the core method. Use a 2H pencil until step six, when the liner comes out.
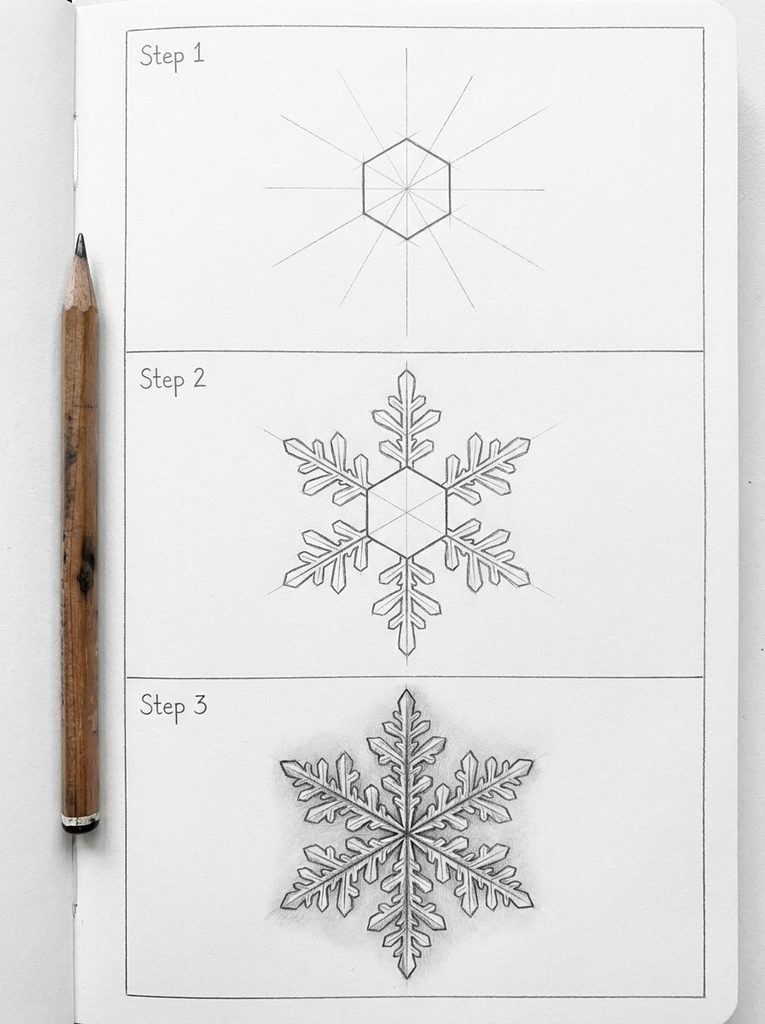
Step 1: mark the center and draw the first line
Place a dot in the middle of the page. Draw a straight vertical line through it, about 12 cm long (6 cm each side). Light pressure. You’ll erase this later.
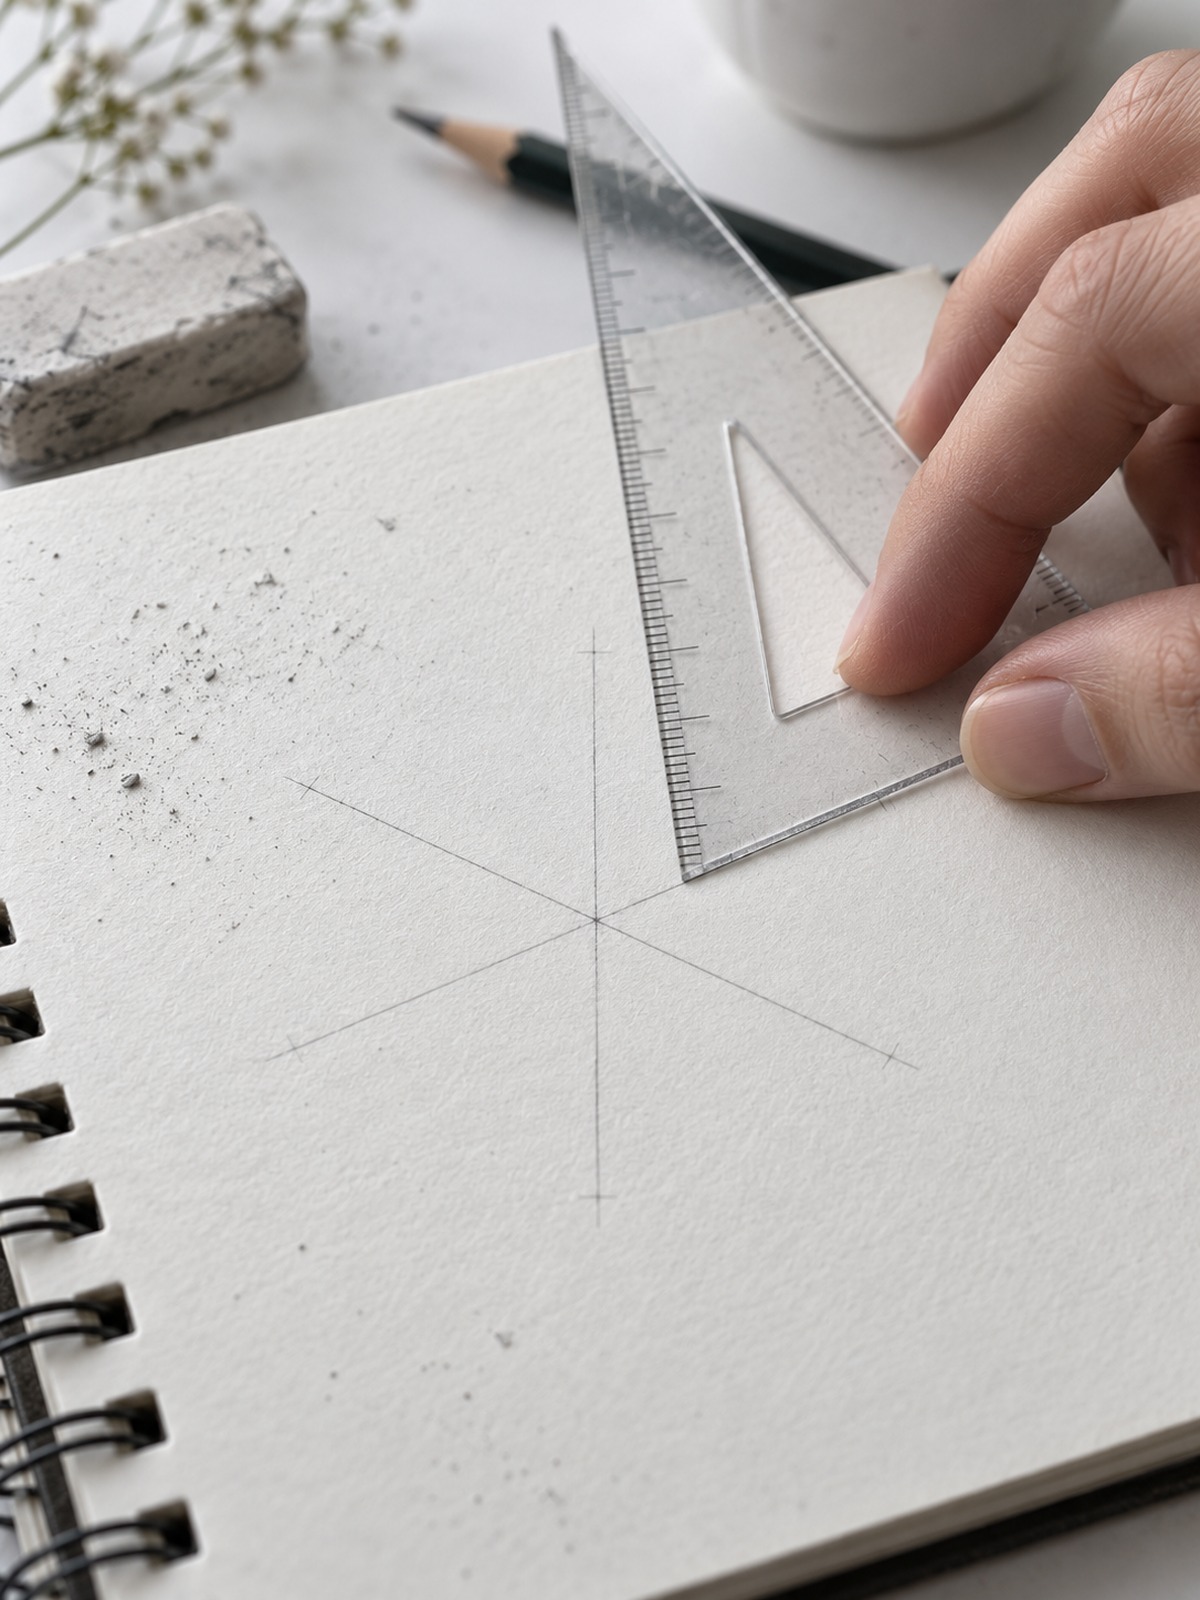
Step 2: add the 60° lines
Rotate your set square or protractor so it measures 60° from the vertical line, centered on the dot. Draw a second line through the center. Then draw a third line at 60° the other way. You now have six arms, each 60° from its neighbors, and the center looks like an asterisk with six spokes.
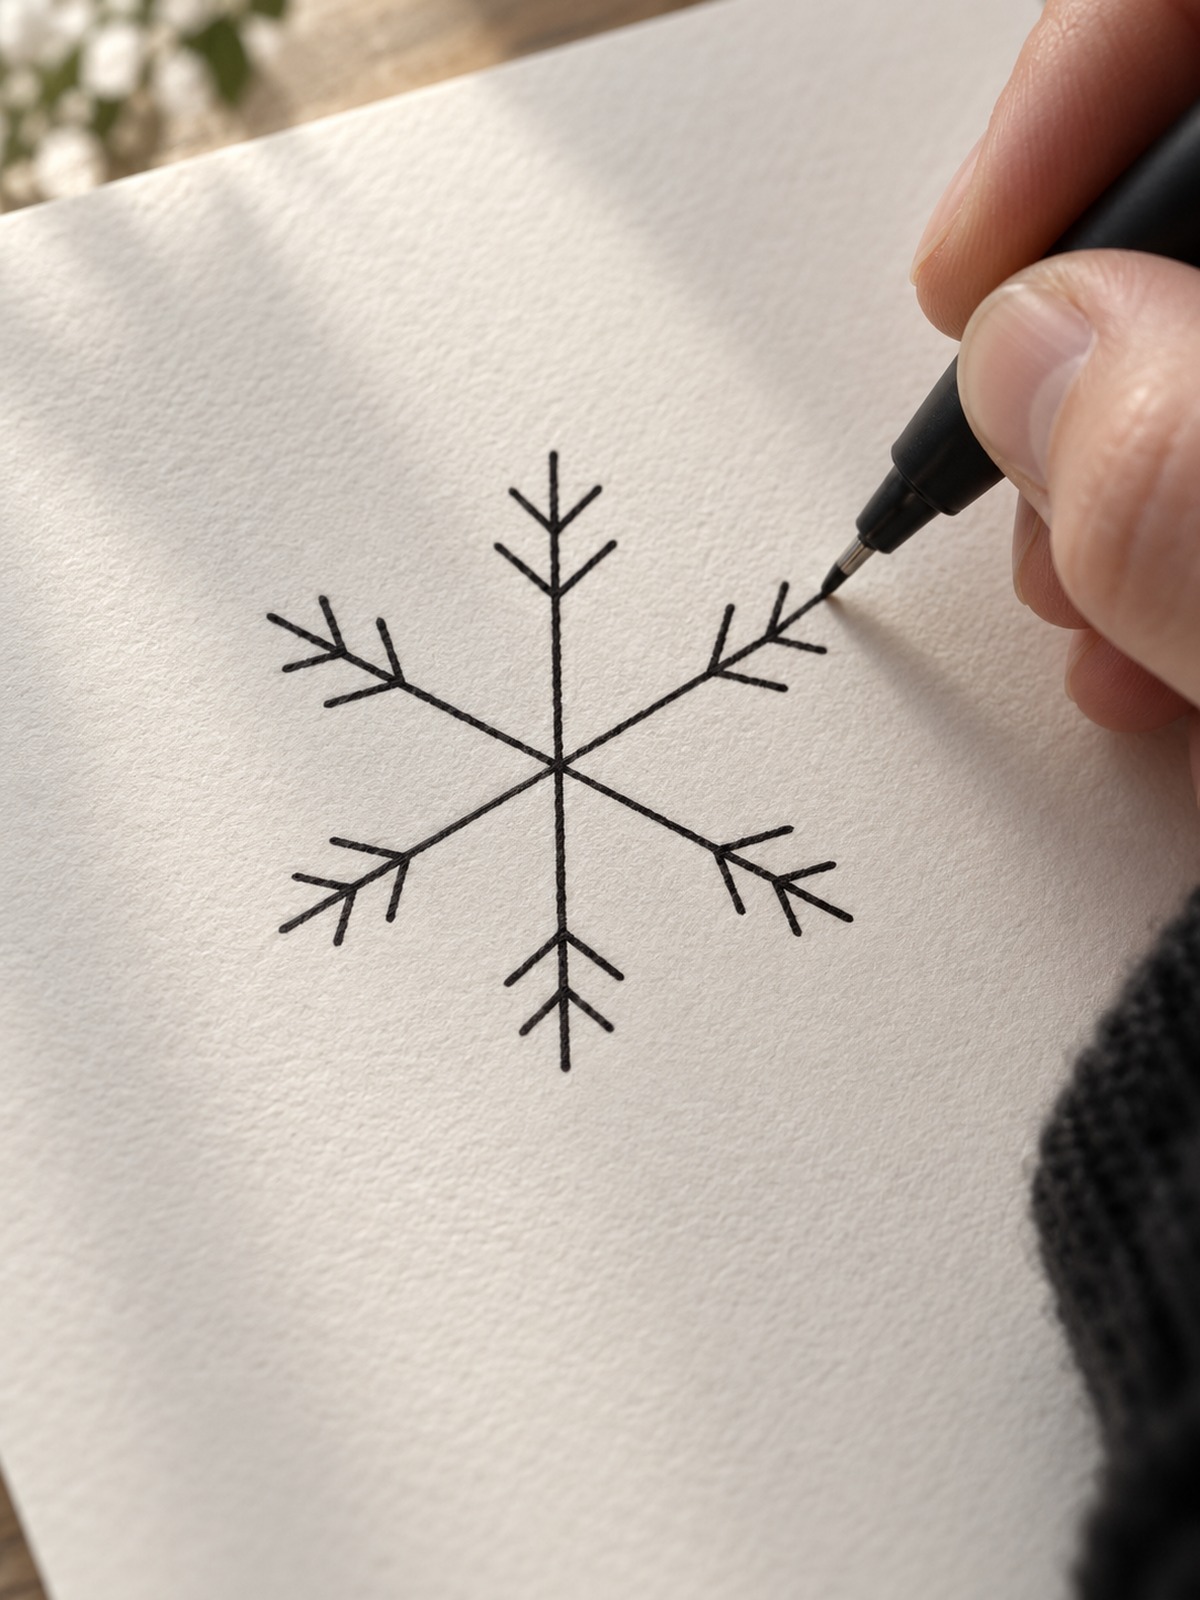
Step 3: place the first branches
Pick a point about 60 percent of the way out along one arm. Draw a short line angled up and away from the arm at 60°, about 1.5 cm long. Mirror it on the other side to form a V. The V should point toward the tip, like a tiny arrow, not toward the center.
Step 4: copy the branch to all six arms
Use the same distance and the same length on every arm. A strip of paper marked with two tick marks makes this fast. Hold it along each arm and mark the branch point. Consistency beats beauty here.
Step 5: add the tip branches
About 85 percent of the way out, add a second, smaller V, around 0.8 cm per side. Finish each arm with a small diamond or a simple end cap. This is where a plain star becomes a snowflake.
Step 6: ink, erase, and refine
Switch to your fine liner. Trace each arm first, then the branches. Draw from the center outward, so your hand doesn’t drag across wet ink, and let it dry for a minute or two. Then erase the pencil guidelines. Check the silhouette: are all six tips the same distance from center? If one arm looks stubby, add a tiny extension. Small corrections here make the drawing feel designed rather than traced.
If you’re wondering about timing, a beginner usually needs 10 to 15 minutes on the first try. By the third, it drops to about five.
Three ways to get 60° right
Most tutorials say “draw six lines” and leave it there. That’s where the trouble starts. Here are three reliable ways to get the angle, ranked by how much equipment you need.
The set square method
A 30-60-90 triangle has a 60° corner built in. Line up the corner on your center dot, draw along one edge, flip the triangle, and draw along the other. Three lines through the center done in under a minute. A 15 cm plastic set square is inexpensive and lasts for years. If you do any drawing at all, buy one.
The protractor method
A half-circle protractor lets you mark 0°, 60°, and 120° around the center, then connect the dots through the center. It’s slower, but it works with anything you already own.
The folded paper method
Fold a square sheet in half, then in thirds, the way you would for a paper snowflake. The creases give you six equal wedges without measuring. Unfold, place a dot at the center, and trace the creases lightly. It’s the method most of us learned in school, and it still works. If you want paper-cutting variations, the kids Christmas craft ideas post covers cut snowflakes with step photos.
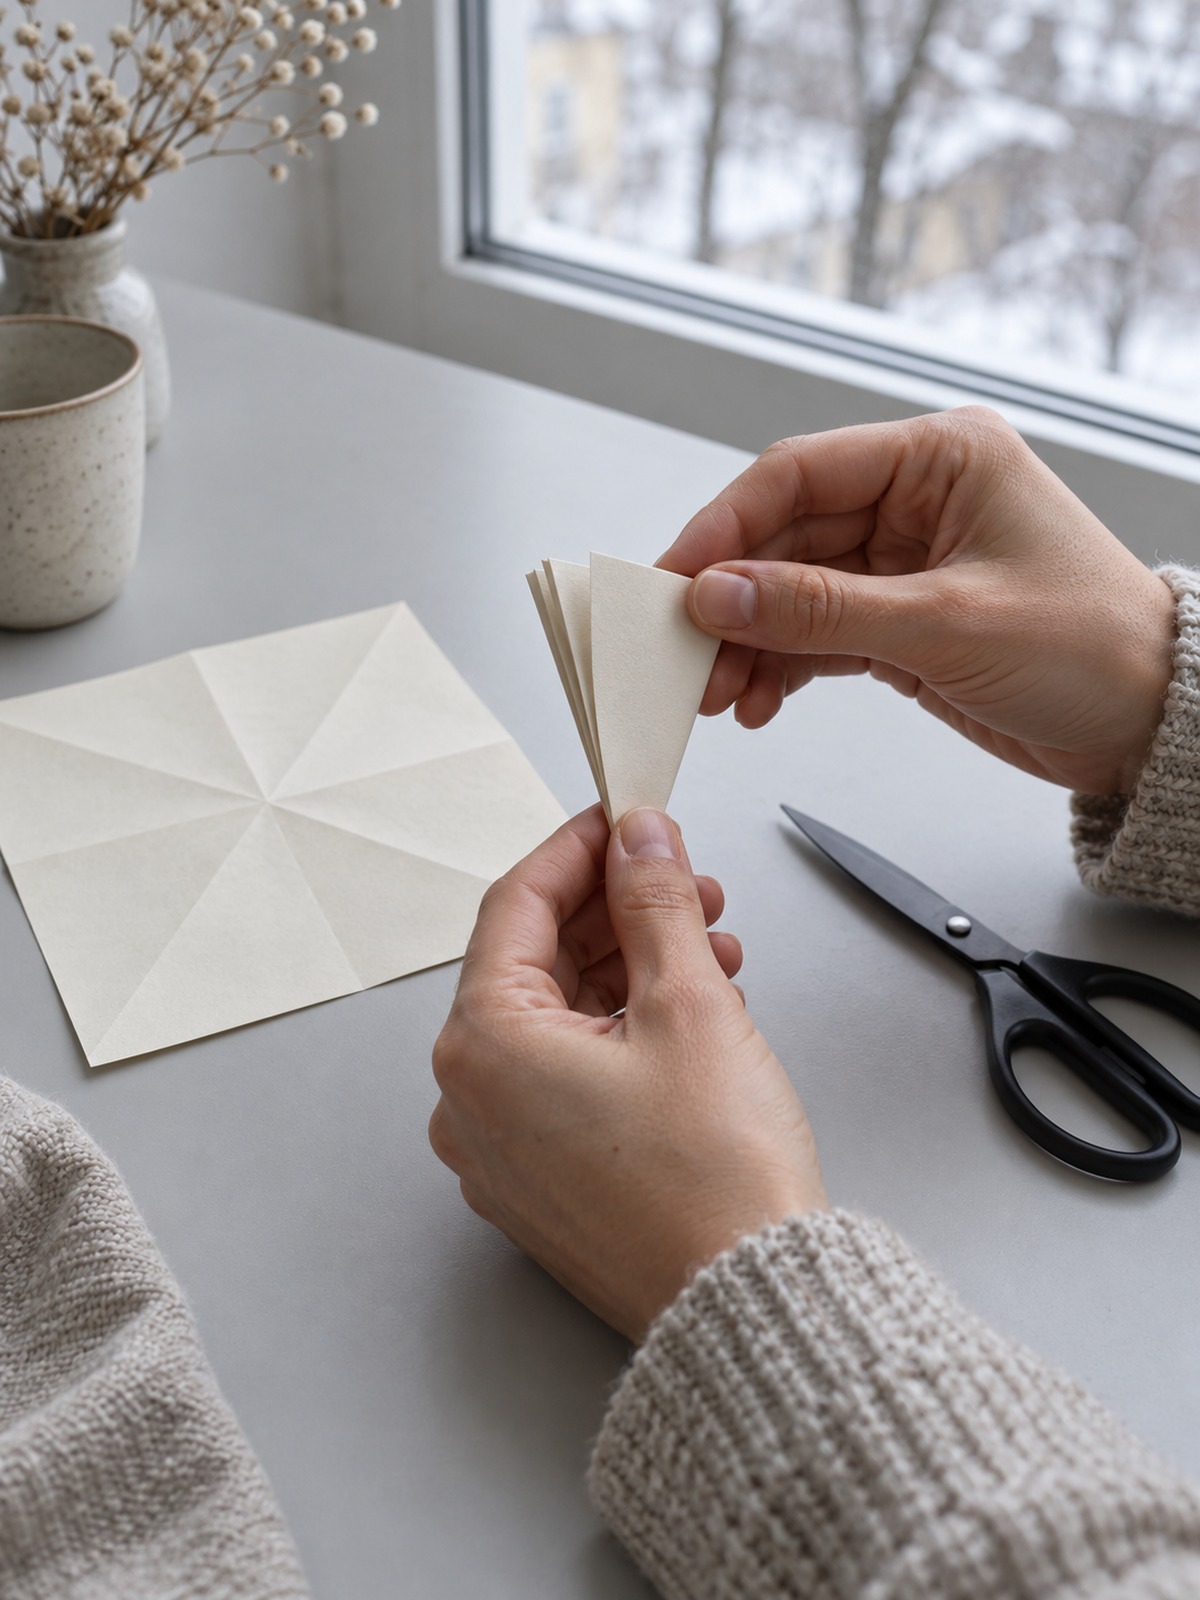
The honest tradeoff: folded paper is the most forgiving but the least precise. The set square is the fastest once you own one. I reach for the set square nearly every time.
Five easy snowflake designs, from 3 minutes to 15
Once the basic six-step version feels comfortable, change one variable at a time. Here are five designs, with realistic times for a beginner.
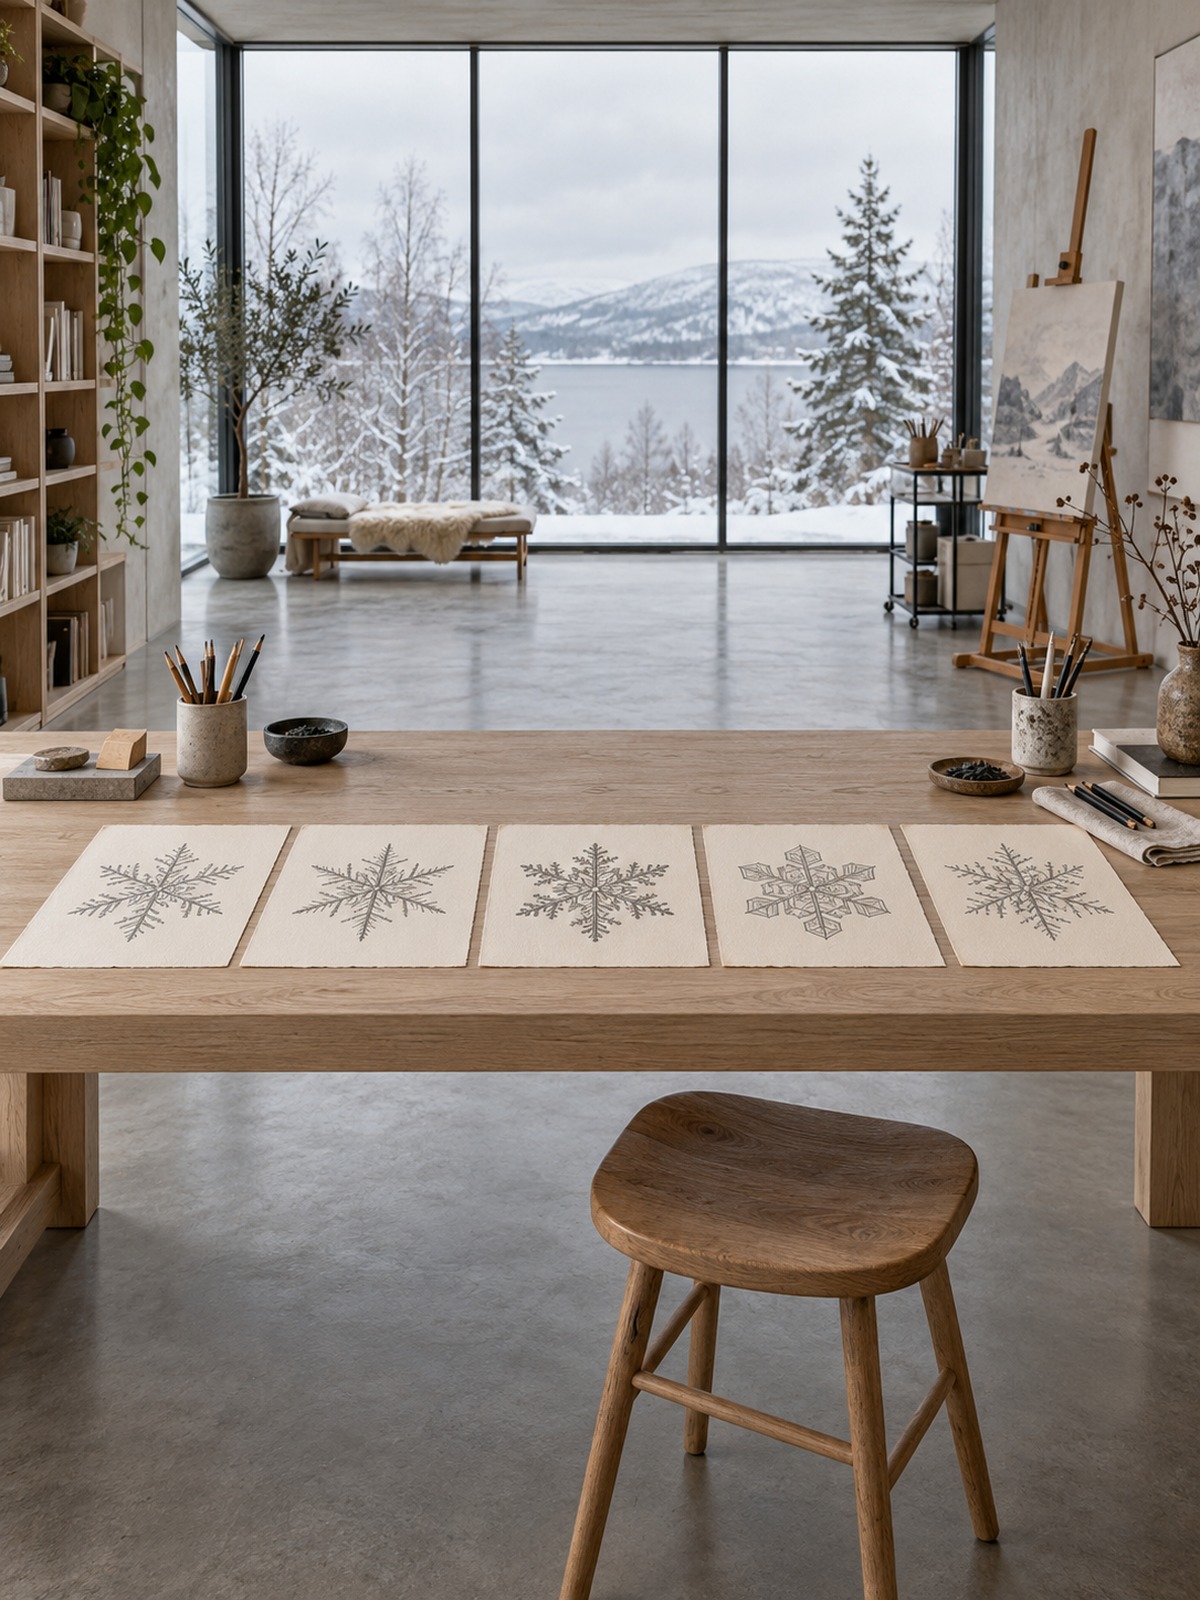
| Design | Time | What changes | Best for |
|---|---|---|---|
| Simple star snowflake | 3 min | Six lines, no branches | Warming up, kids |
| Classic branch snowflake | 5 min | V-branches at 60% and 85% | Cards, bullet journals |
| Plate snowflake | 8 min | Draw a hexagon, then six inner spokes | Clean modern look |
| Dendrite (fern-like) | 15 min | Three to four branch pairs per arm | Detail lovers |
| Geometric line snowflake | 10 min | Straight lines only, no curves | Posters, logos |
The plate snowflake
Start with a hexagon. Lightly draw one using your six arm endpoints and connect them. Inside, repeat a smaller hexagon at half the size. Add spokes from the center to each corner. This one looks surprisingly modern, almost like a floor plan, and it’s the design I’d pick for a minimalist card.
The dendrite
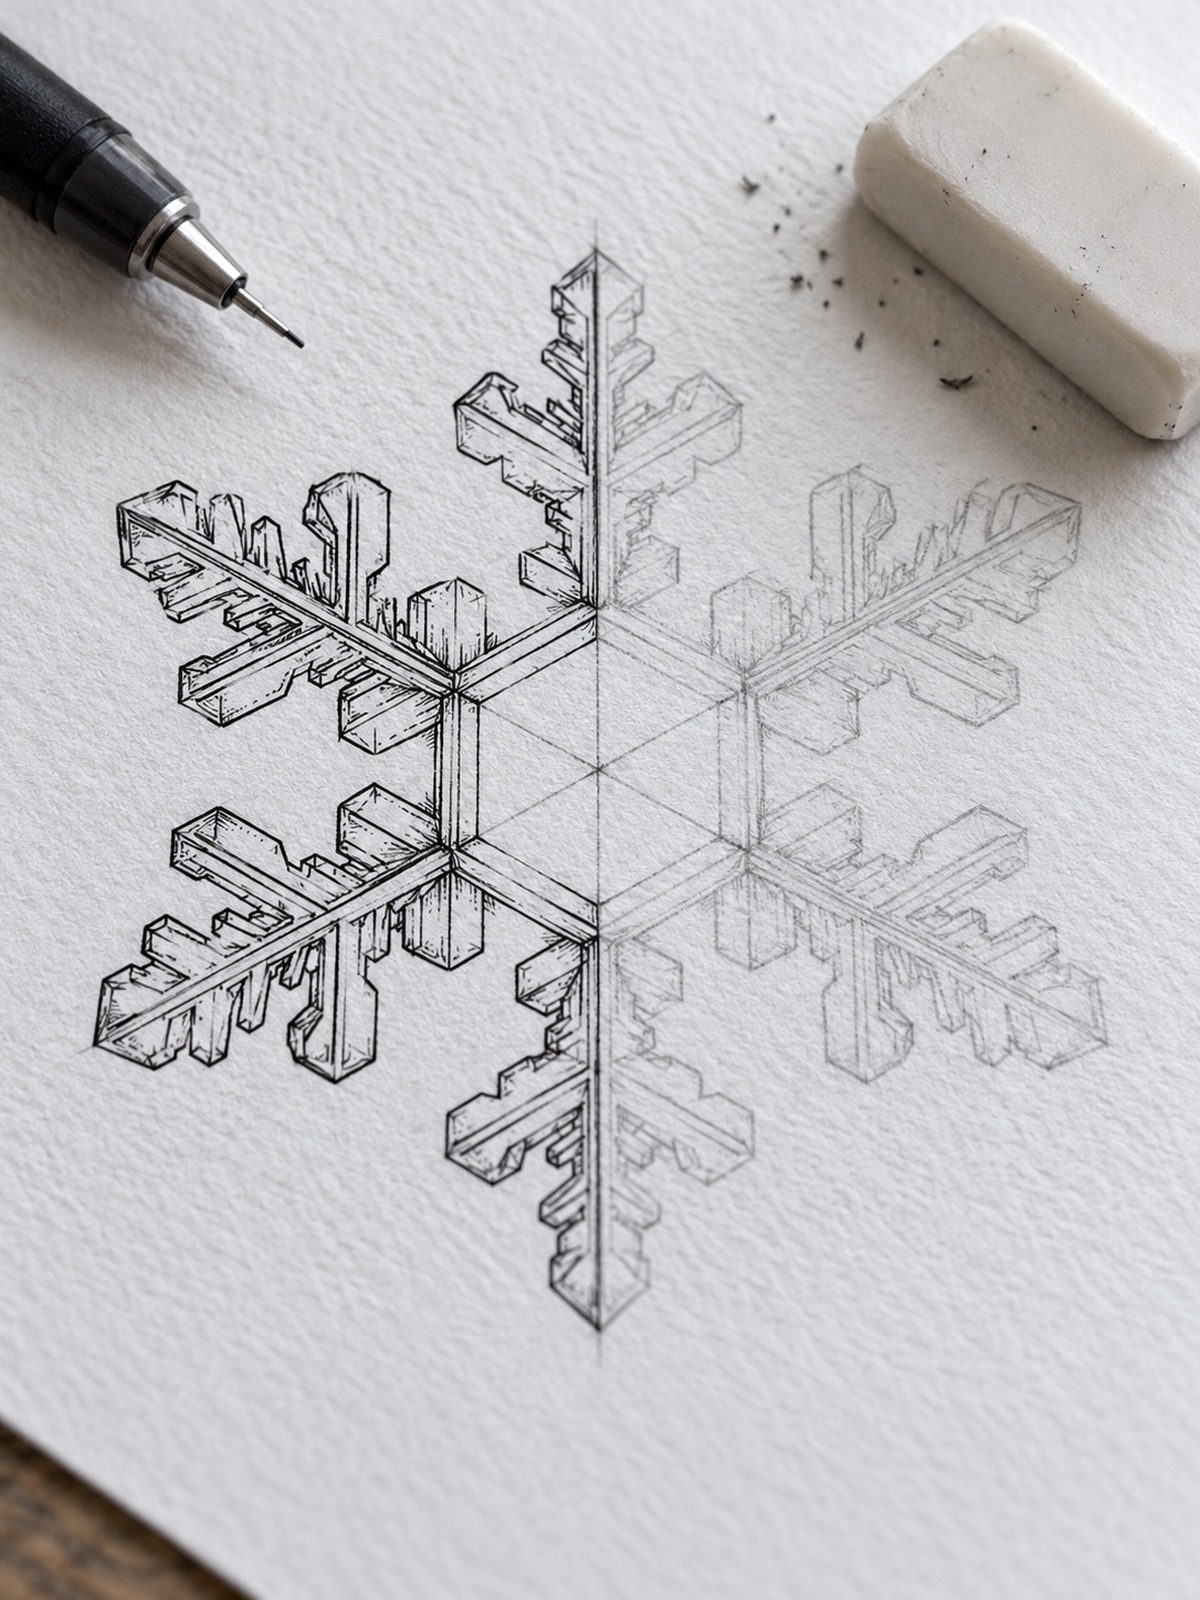
Add three to four branch pairs per arm instead of two, and make them shorter as they approach the tip. The trick is shrinking each pair by about 20 percent. Do the math on your first arm and write down the lengths: say 1.6, 1.3, 1.0, 0.8 cm. Then every other arm is just a copy.
The geometric version
Replace the branches with straight lines and add a small circle at the center. It reads as an icon, and it translates well into other work. The snowflake in my bullet journal doodles collection is closer to this style, because small doodles need fewer lines to stay readable.
Line weight, negative space, and shading
This is the part almost no easy tutorial covers, and it’s the part that makes a snowflake look professional.
Vary your line weight
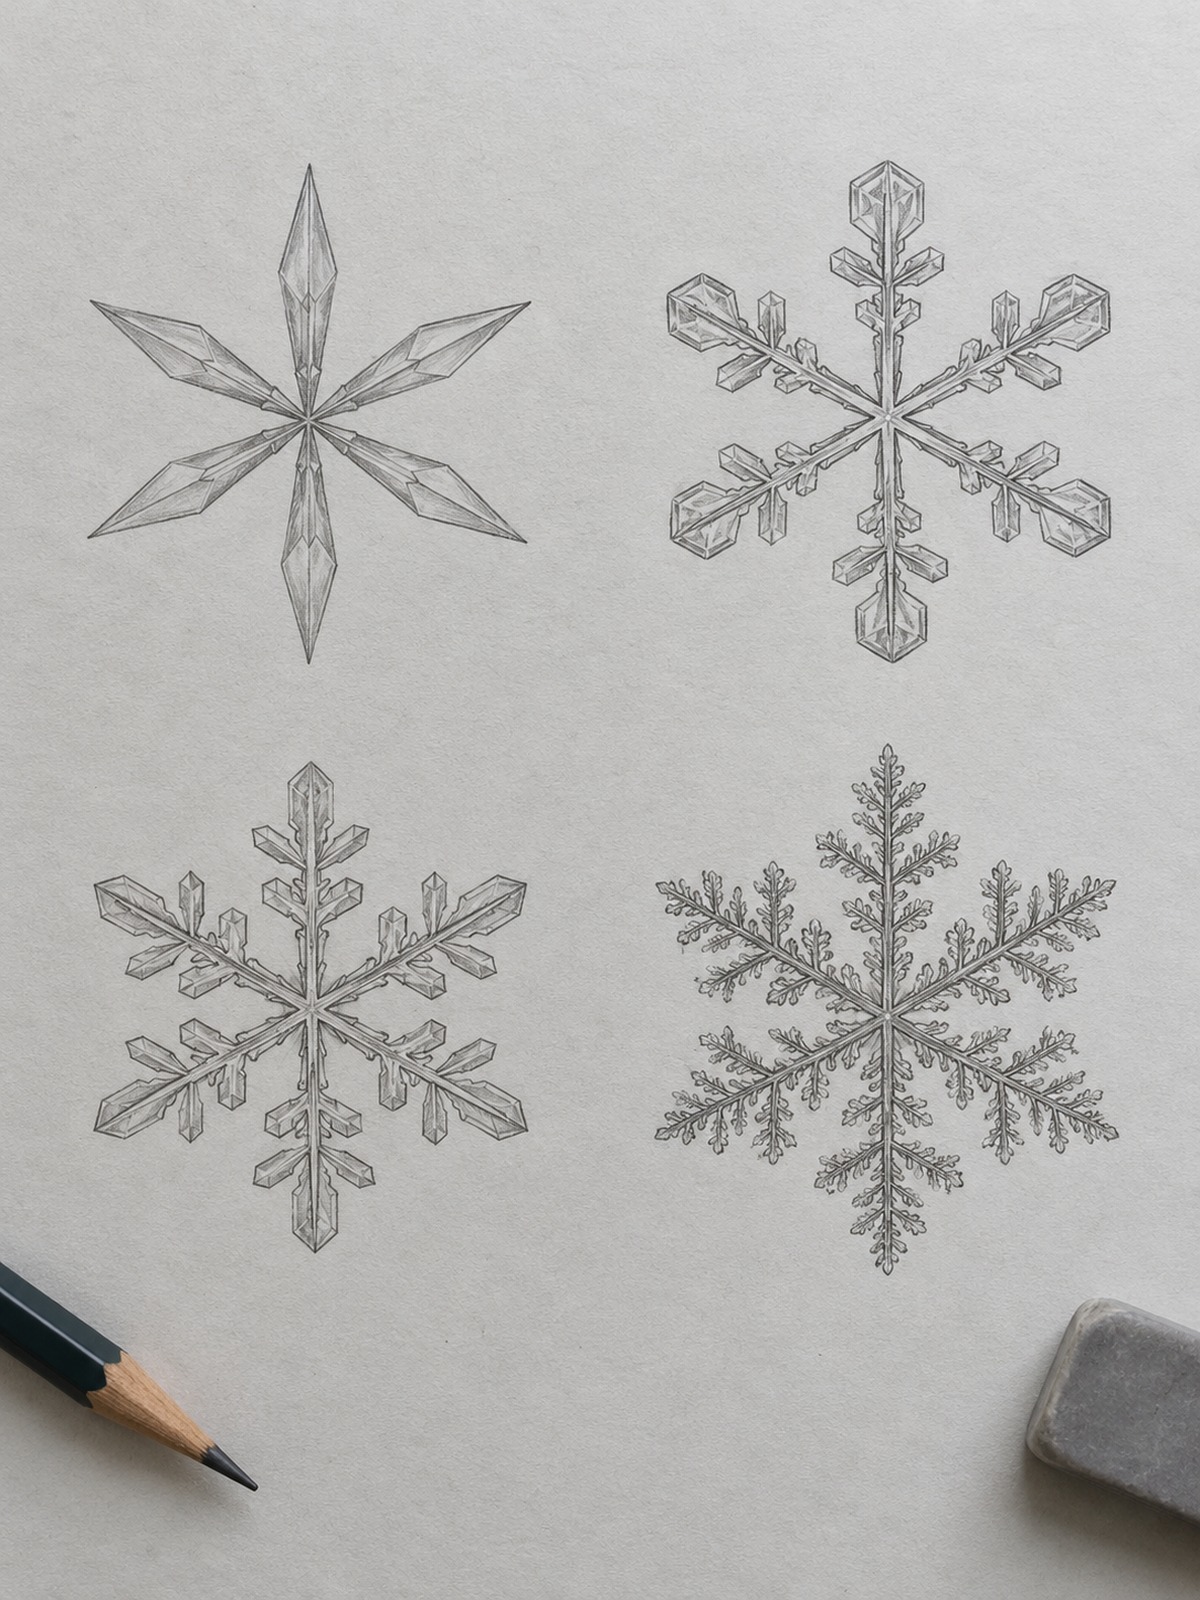
Draw the six main arms with a 05 liner and the branches with a 03. The hierarchy gives the shape depth without any shading. In automotive sketching, we do the same: thicker lines for the silhouette, thinner for the surface details.
Respect negative space
Beginners fill every gap. Don’t. The white space between branches is half the snowflake. As a rule, leave a gap at least as wide as your line thickness, ideally two or three times wider. If the branches crowd each other, the drawing turns into a blob when printed small.
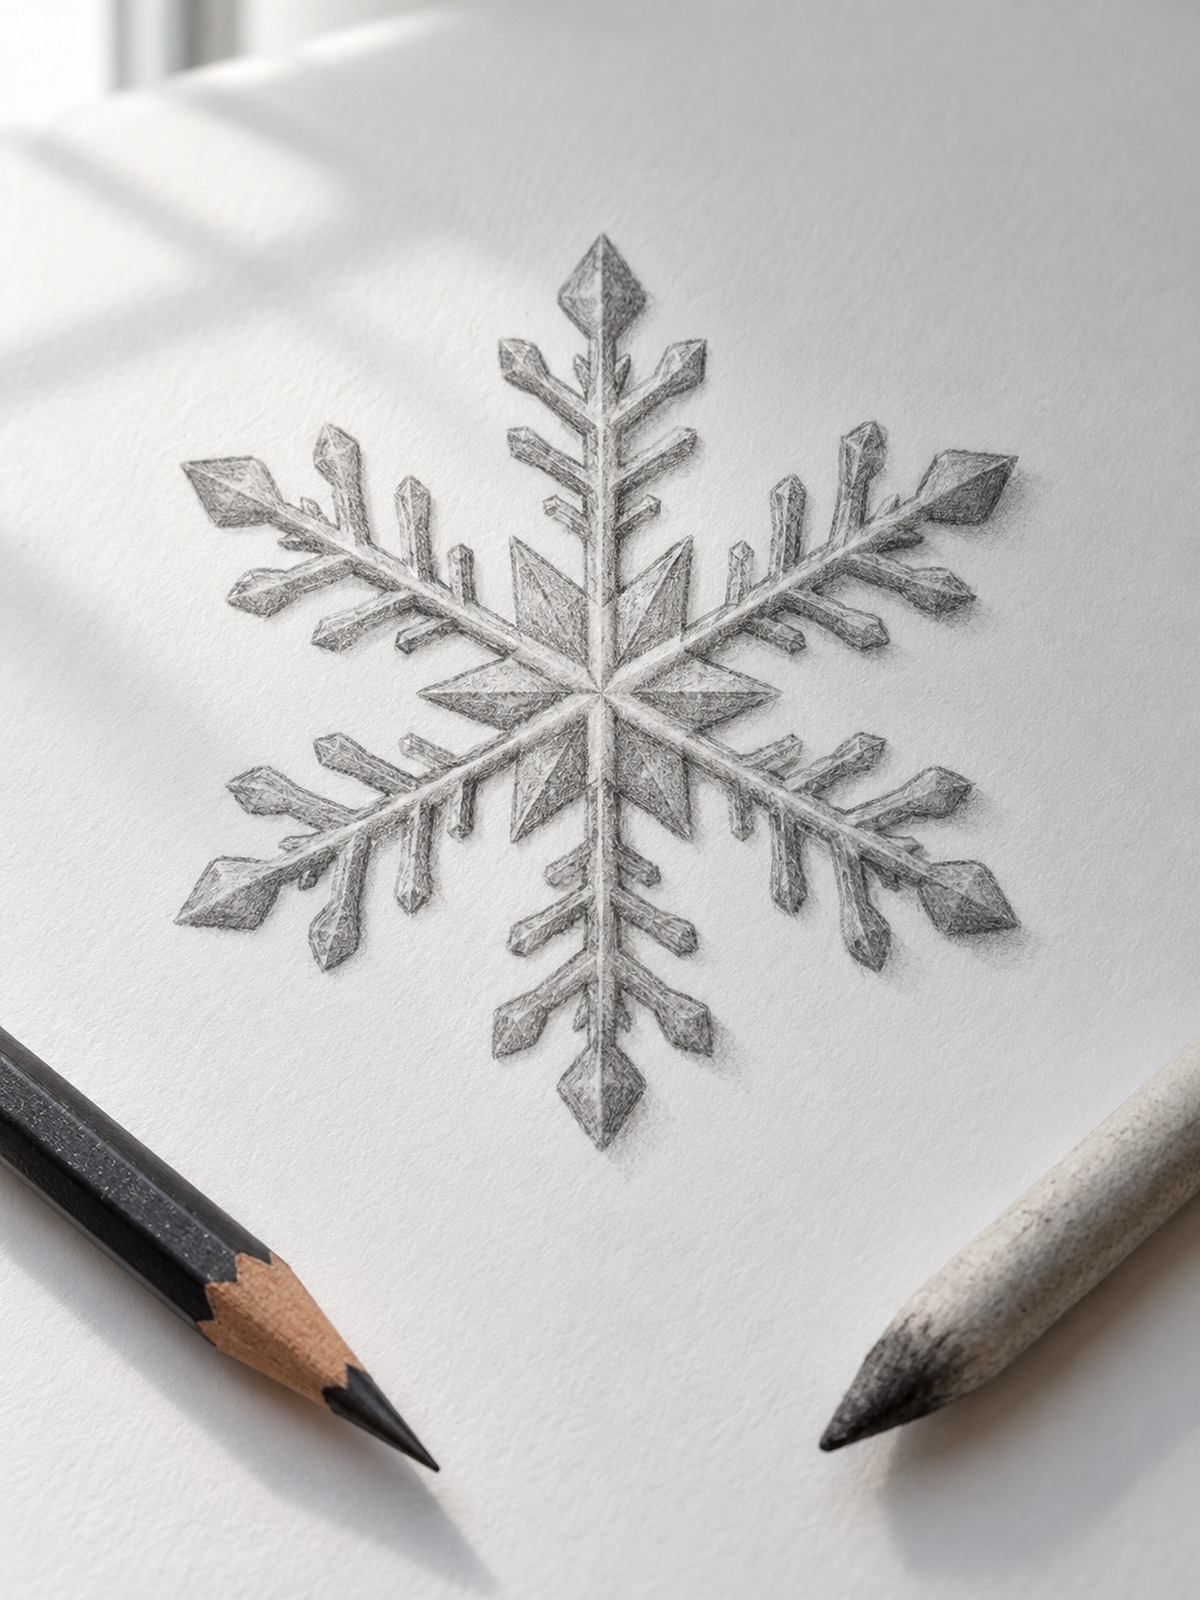
Shade with a simple light source
If you want volume, decide where light comes from, say the upper left. Add a thin shadow line along the lower-right edge of each arm. A 4B pencil works for soft shadows, or you can use a gray marker at about 30 percent. Keep it subtle. A snowflake is a flat, translucent object, so heavy shading makes it look like metal.
Try a color pass
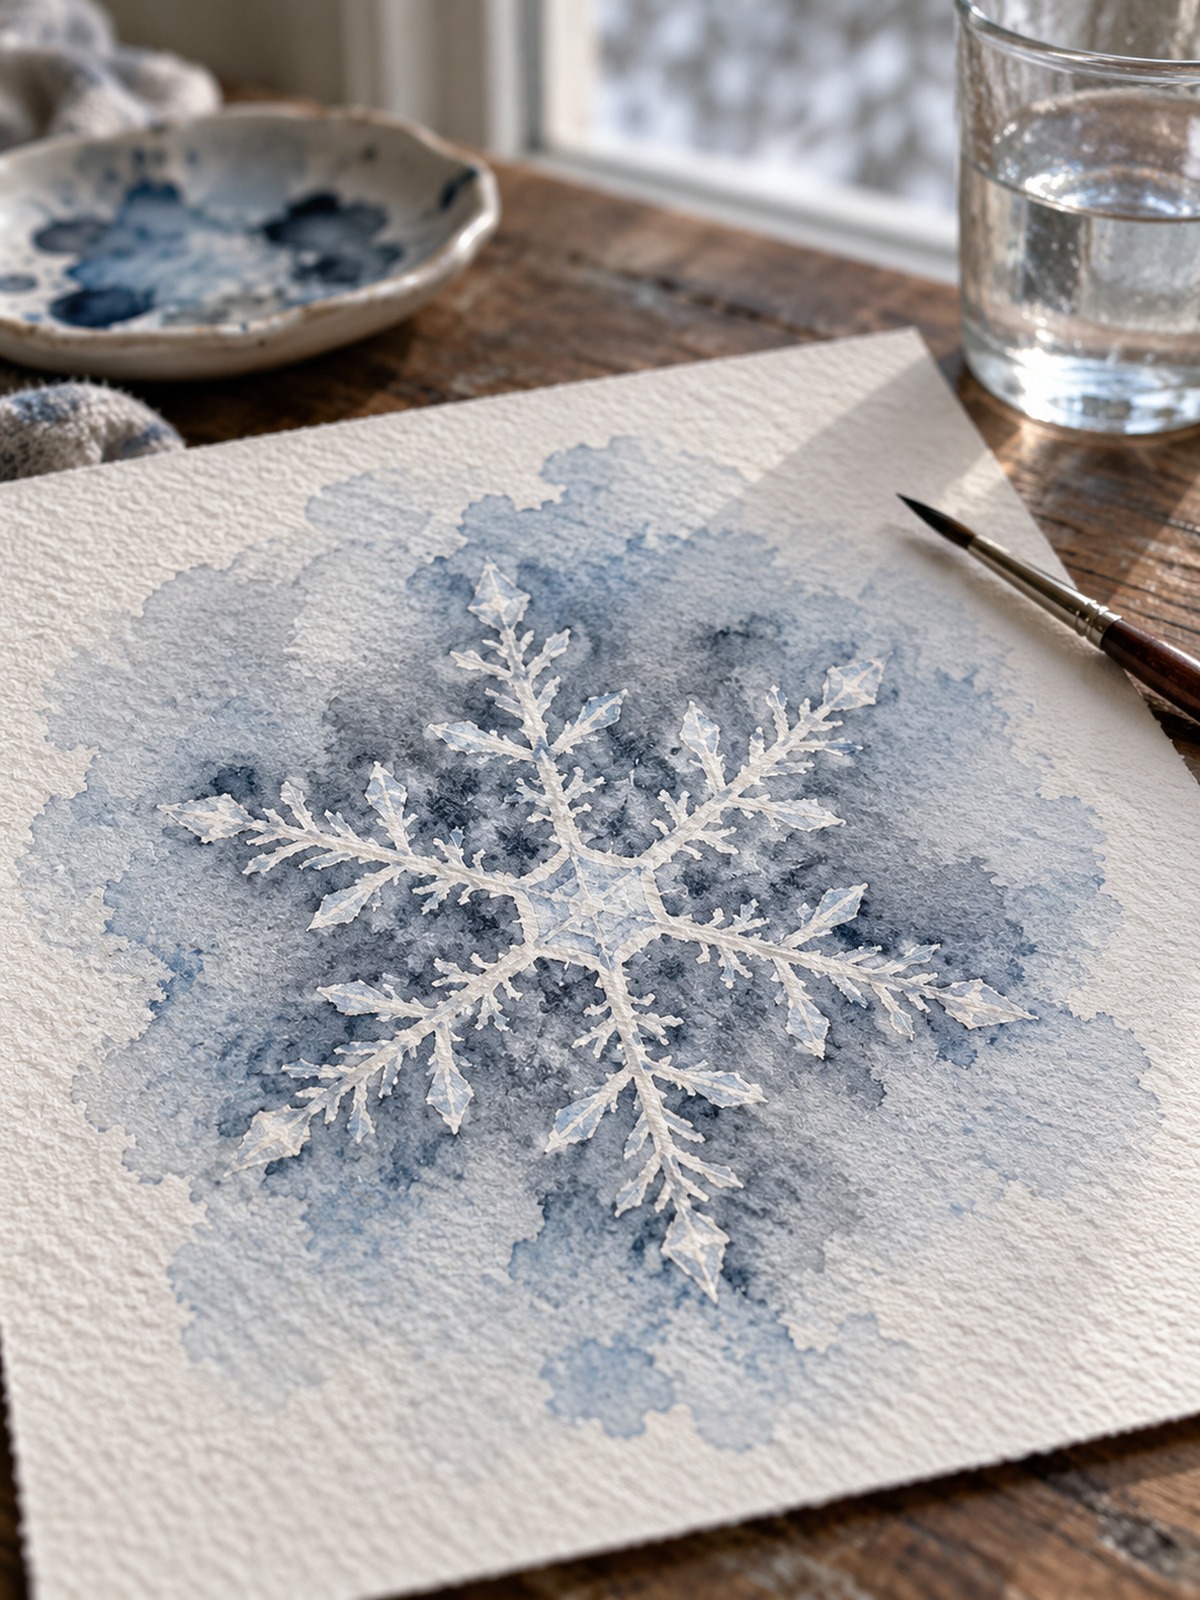
A single cool-gray or pale blue wash behind the snowflake makes the white paper show as light. I like a Winsor & Newton watercolor wash in Payne’s gray, thinned out until it’s barely there. Leave the snowflake itself unpainted.
Common mistakes and how to fix them
After watching many beginners draw this, the same problems keep appearing.
The arms are uneven. This is almost always a guideline problem. Check that all three guidelines cross at exactly one dot. If they miss, the whole shape drifts. Redraw the guidelines before you ink.
The branches point the wrong way. A branch that points toward the center looks like a feather. Turn it around, so the V opens toward the tip.
Everything is the same size. Real snowflakes have a visible rhythm. Make branches smaller as they move outward.
The lines wobble. Slow down, and draw from your shoulder rather than your wrist for long strokes. For short branches, rotate the paper instead of your hand.
The snowflake feels flat. Add line weight variation (see above) or a tiny center detail, like a hexagon or a dot cluster.
It looks like a star. Add the second set of branches near the tip. That’s the single change that most improves the result.
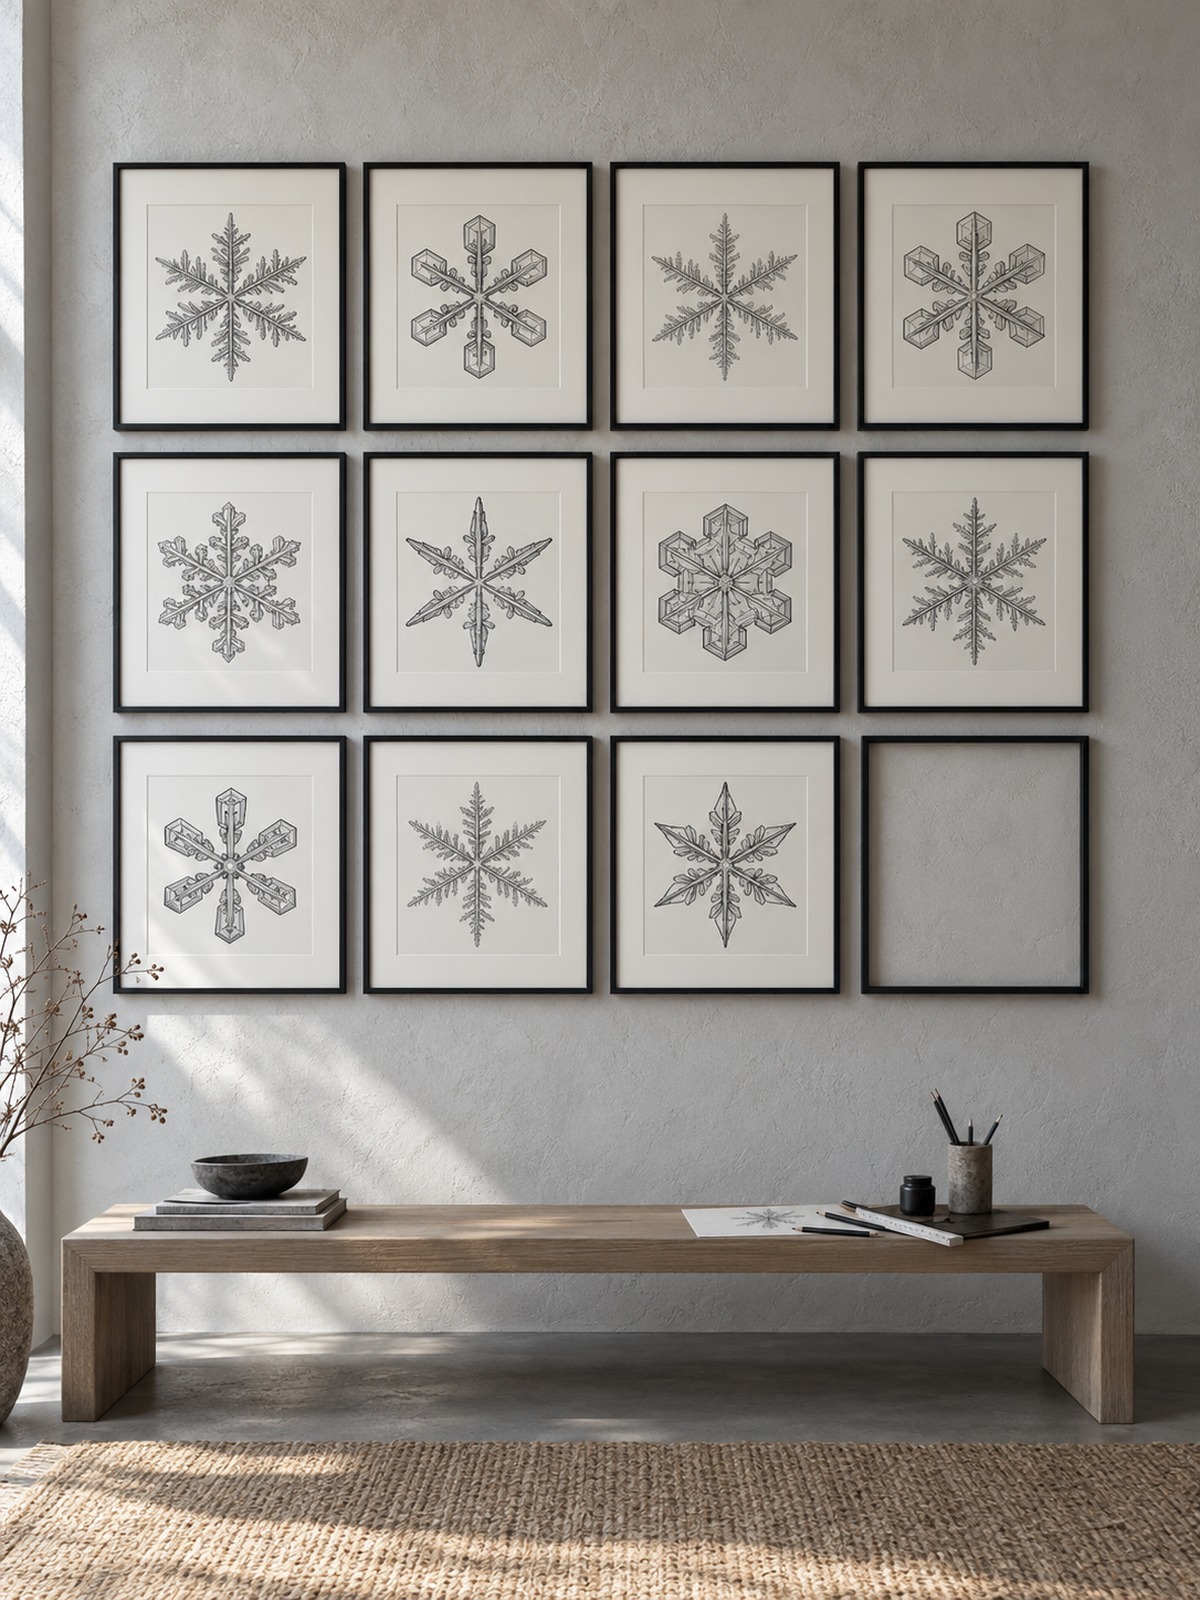
One more tip: if one arm turns out perfect, trace it onto tracing paper and use it as a template for the others. It’s not cheating. It’s what a designer would do.
Draw a snowflake digitally with radial symmetry
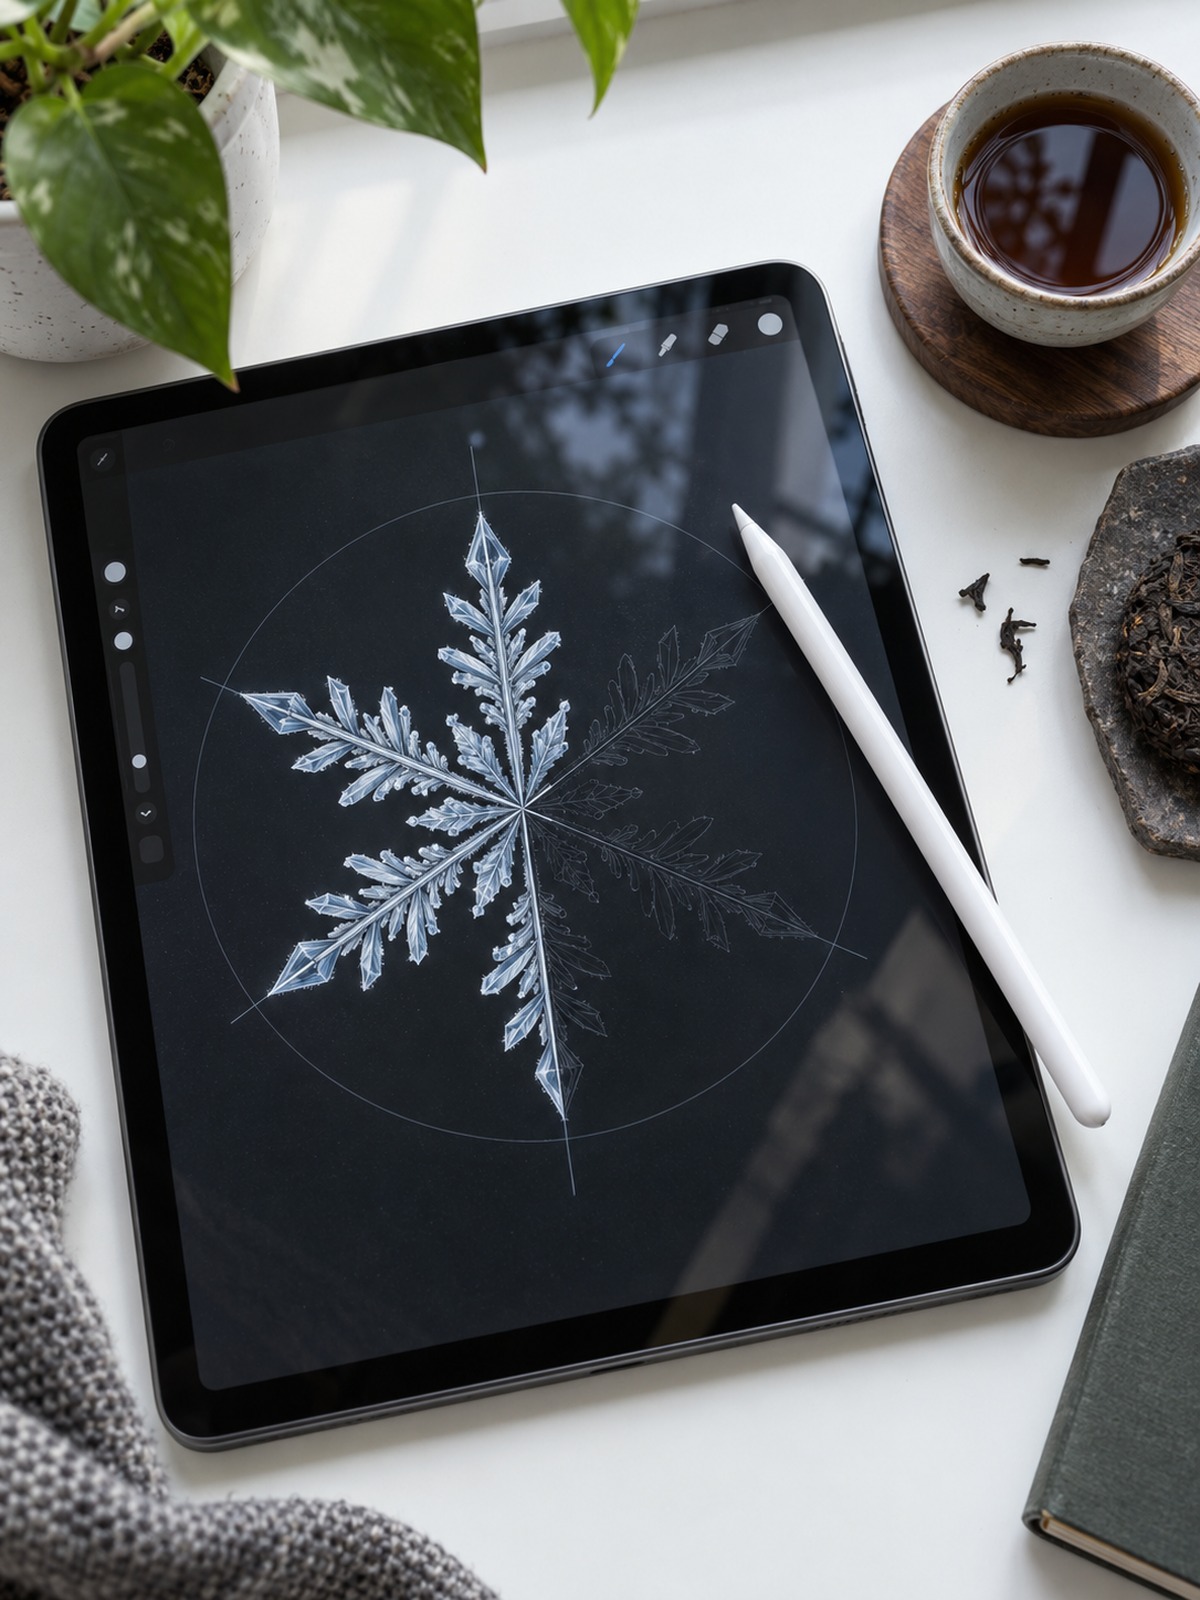
If you prefer a tablet, symmetry tools do the work of the set square.
In Krita, the Multibrush tool in Symmetry mode can repeat six brush instances around a center, so a mark in one wedge appears around the full design. Procreate’s Radial guide uses eight segments, so it is not a direct six-arm option. In Adobe Illustrator, draw one arm, rotate a copy 60° around the center, then repeat the transform. In Clip Studio Paint, set the Symmetrical ruler’s Number of lines to 6.
A few small settings help. Use a hard round brush at 100 percent opacity for crisp lines. Keep your canvas at 3000 x 3000 px or larger if you plan to print. Draw on a separate layer from the guide.
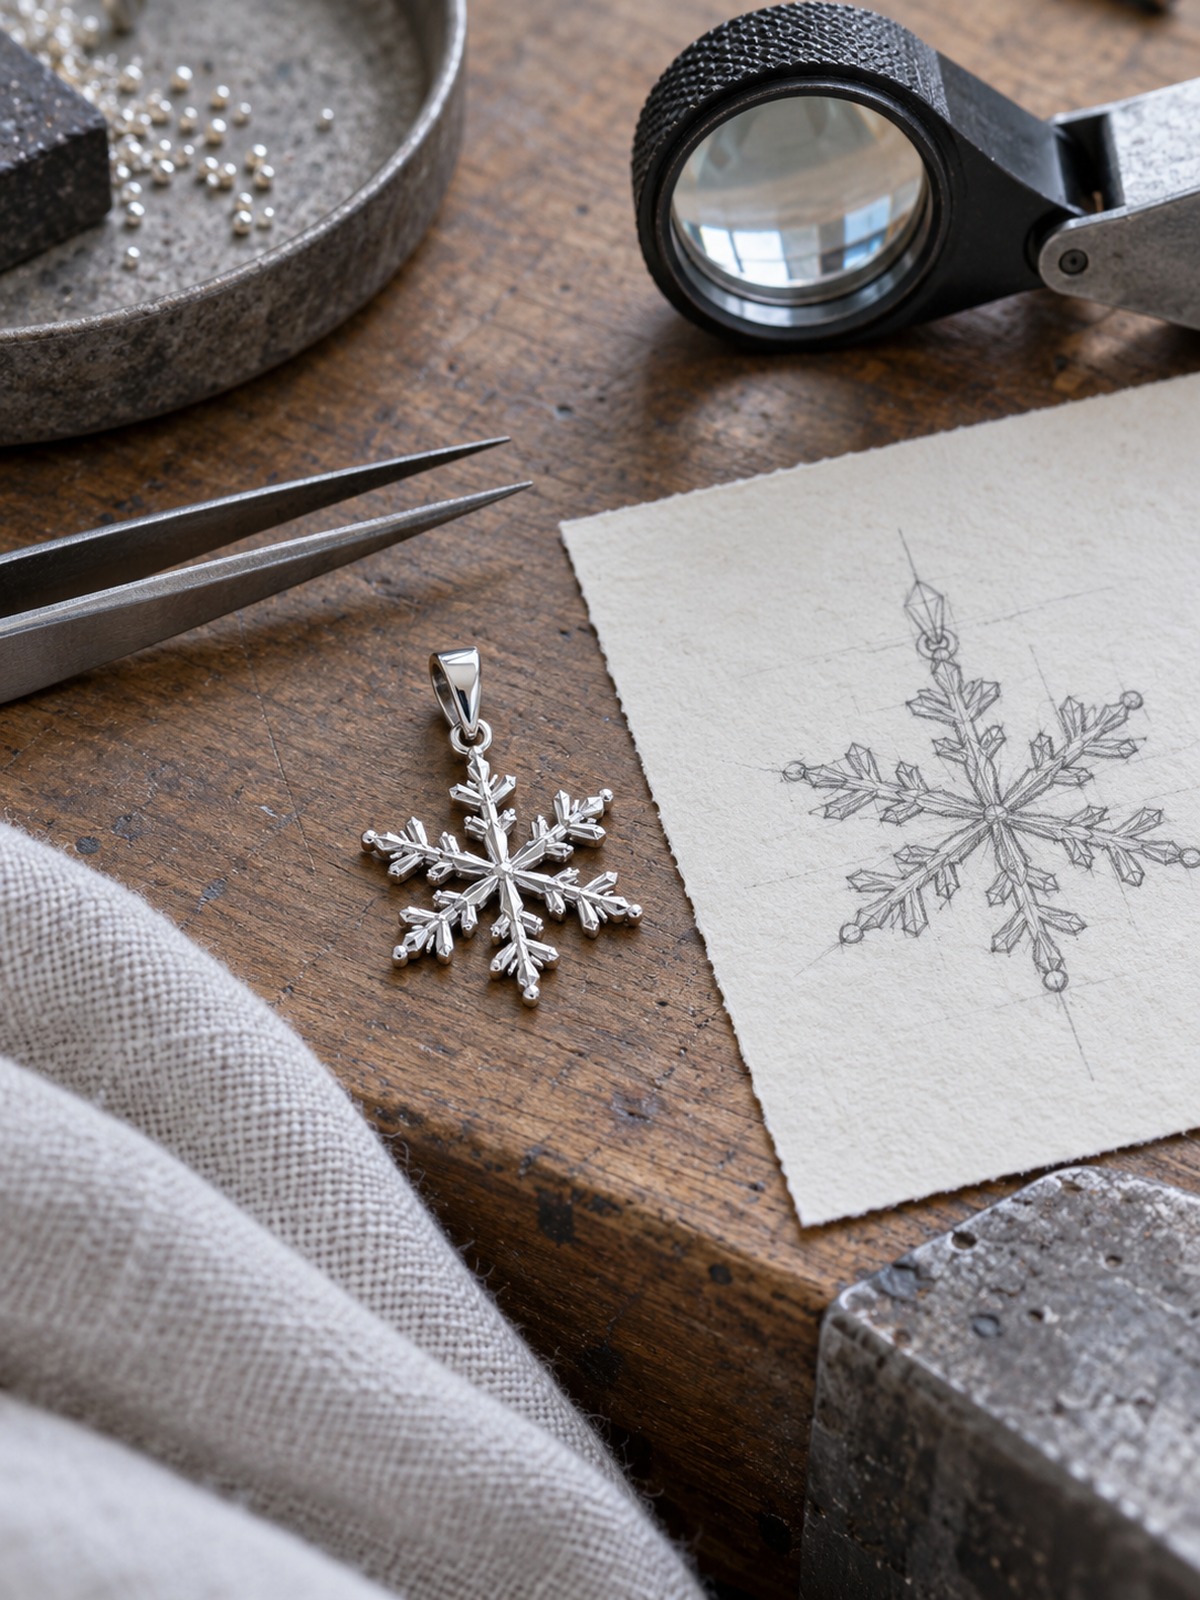
I use this kind of workflow on jewelry patterns. A pendant is small, so the geometry has to be exact, and a radial tool catches errors my eye would miss at 100 percent zoom. Freehanding six-fold symmetry on a tablet is slow and rarely lands; letting the software repeat the wedge takes a few minutes.
Using your snowflake in modern projects
A simple snowflake is more flexible than it looks, and the geometric styles fit contemporary design well.
Cards and gift tags
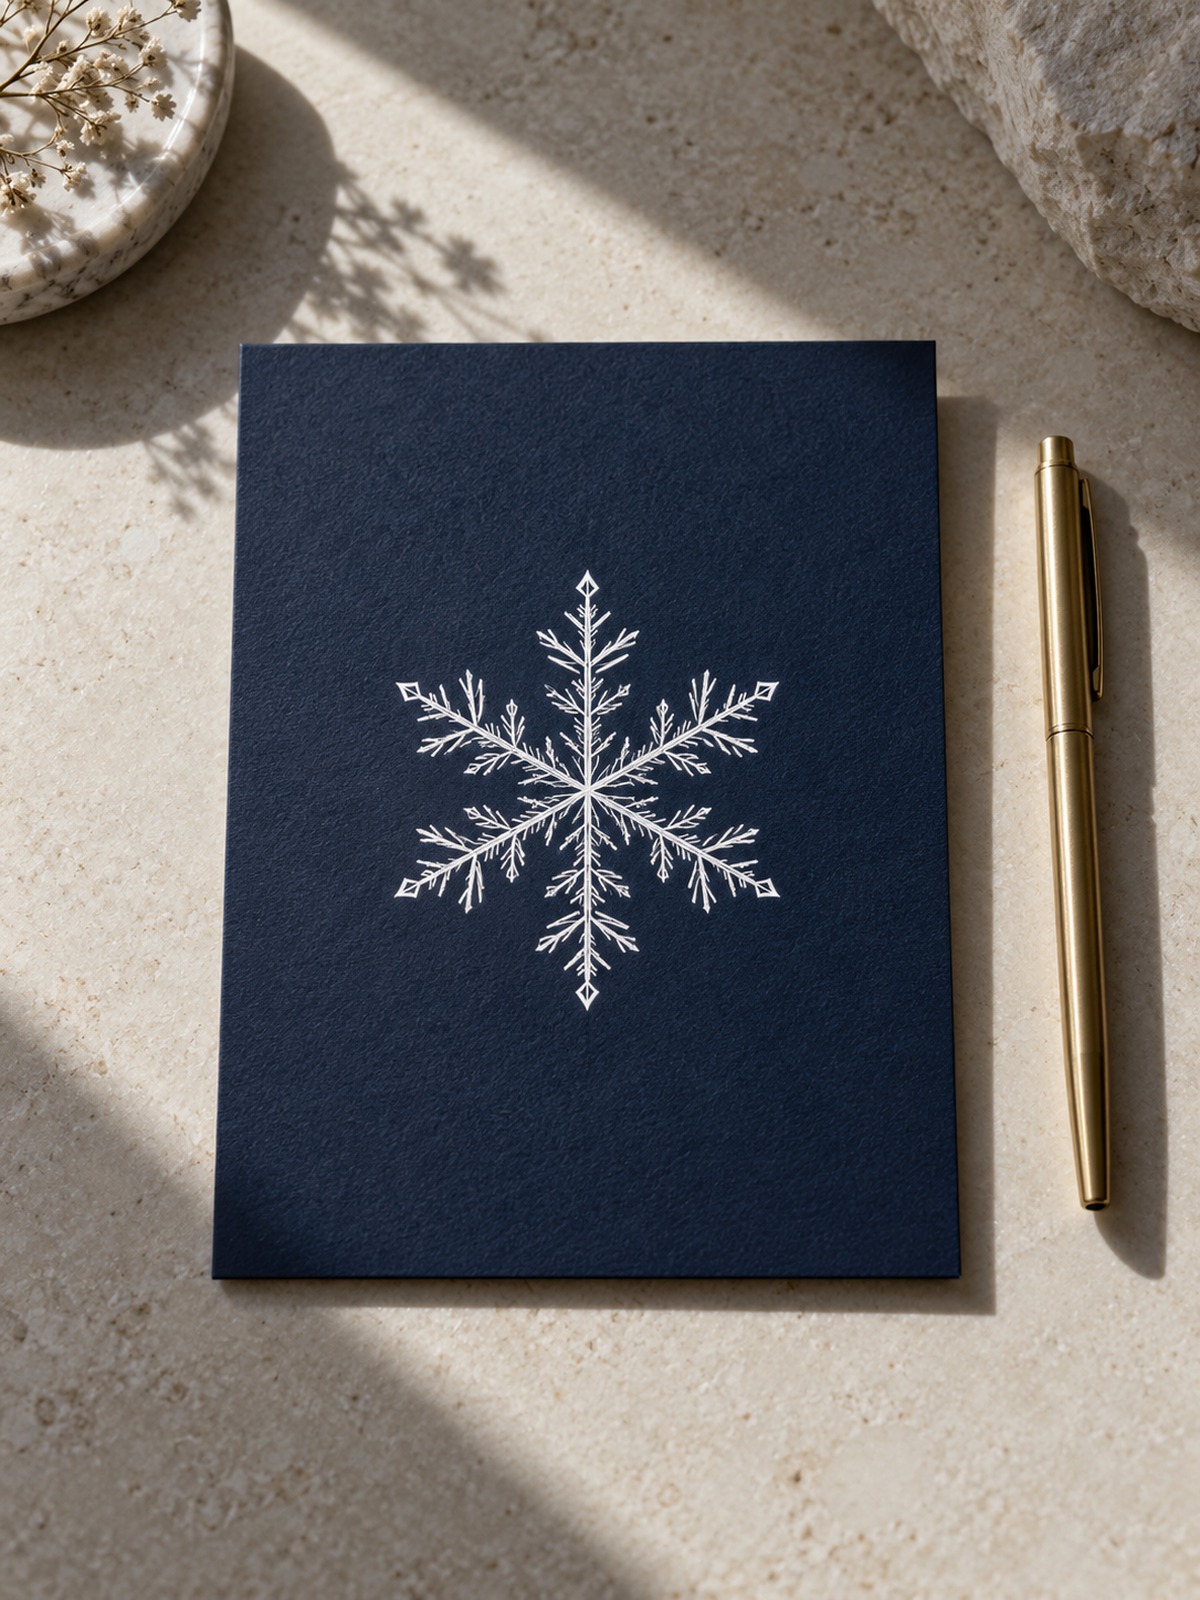
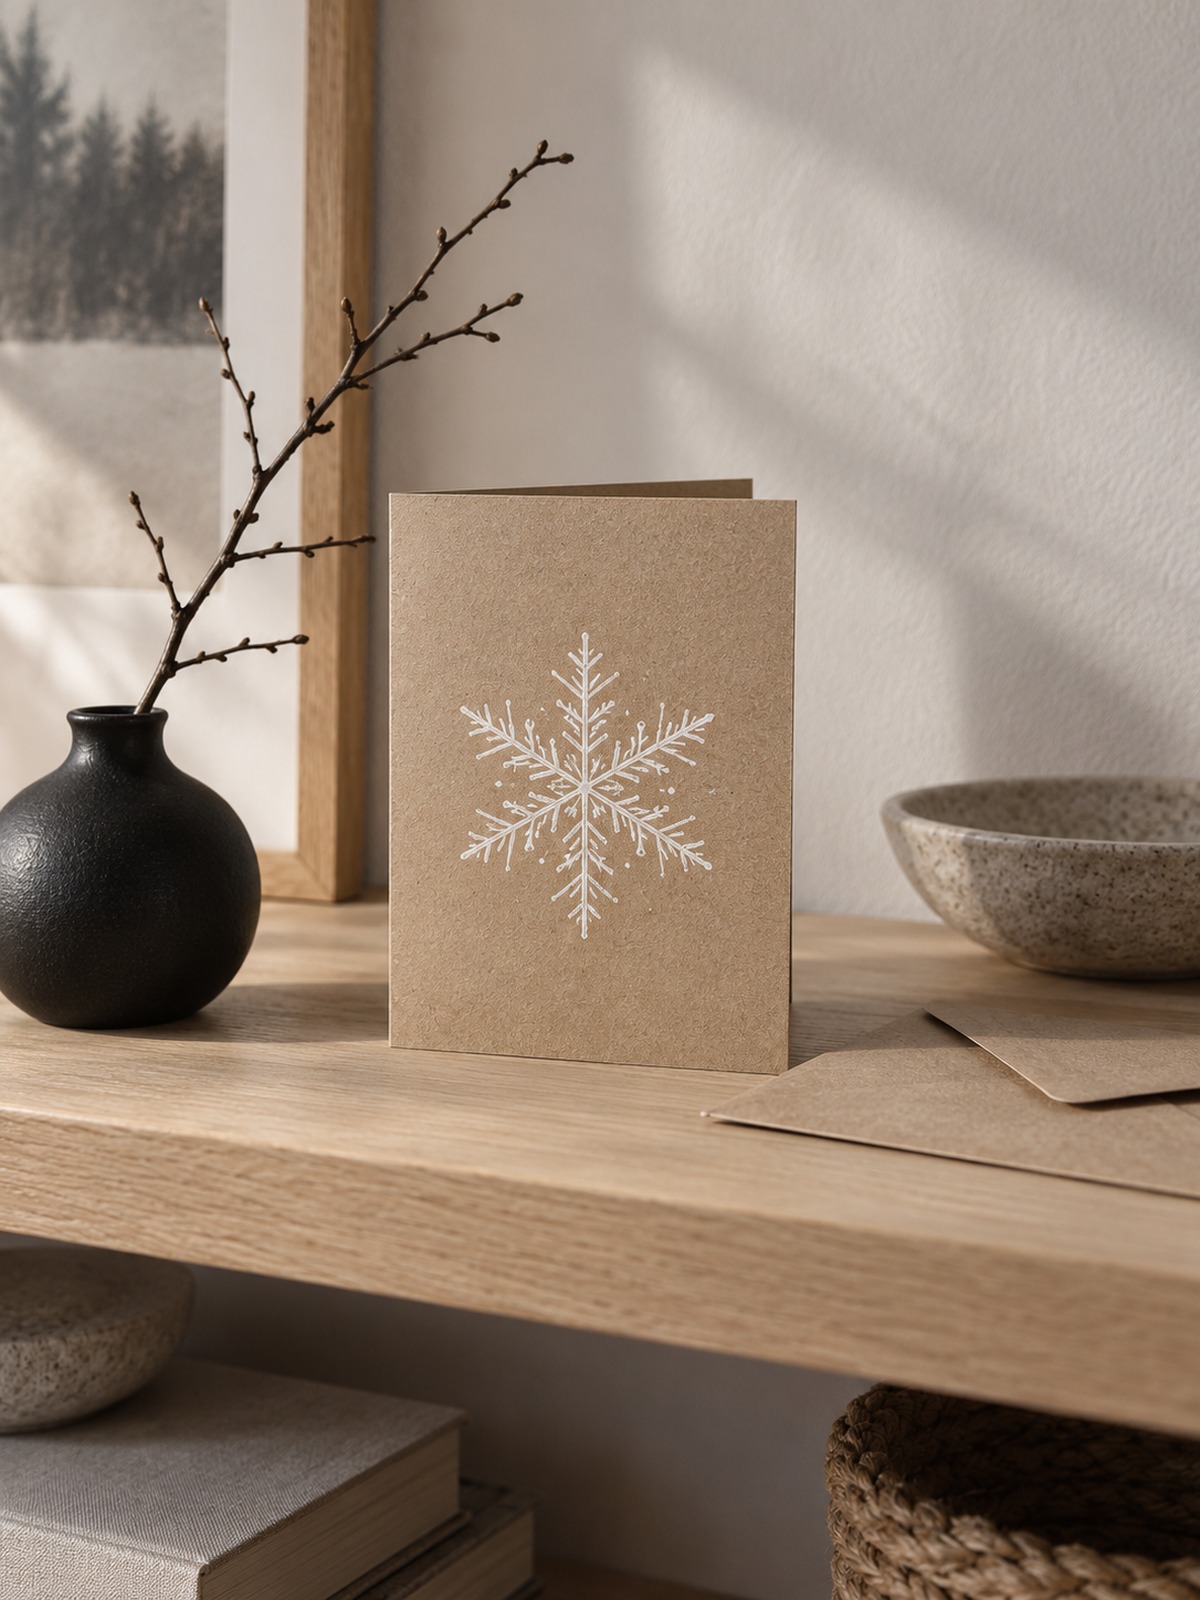
Ink the snowflake in black on kraft paper or white on navy cardstock. A single centered snowflake with generous margins feels like something from a Scandinavian design shop. Skip the glitter.
Window and wall graphics
Scale a plate or geometric snowflake to 40 to 60 cm and cut it from white vinyl for a window. Repeating one design in a few sizes reads as intentional, like a considered studio installation, rather than a craft project.

Pairing with other winter drawings
If you’re building a winter set, a snowflake works beside other seasonal subjects. I covered how to draw Christmas lights, and there’s a matching Christmas lights coloring page if you want something for kids to color while you draw.
Practice routine
Draw one snowflake a day for a week, changing one thing each time: the branch count, the line weight, the hexagon. By day seven you’ll have a mini portfolio and a sense of what you like. In Kyiv winters, I fill a sketchbook page with these on cold evenings, with a pot of Shu Pu-erh next to me. It’s a small ritual, and it trains your eye for symmetry better than most exercises I know.
Frequently asked questions
How do you draw a simple snowflake for beginners?
Draw three lines crossing at one point, spaced 60° apart, to make six arms. Add a V-shaped branch on each arm, then a smaller one near the tip. Ink over it and erase the pencil. A first attempt takes about 10 minutes, and subsequent ones take five.
Why do snowflakes have six sides?
Water molecules in ice bond in a hexagonal pattern, so snow crystals grow in six directions, 60° apart. Temperature and humidity change the shape of the arms and branches, but the six-fold structure stays the same.
How do I make all six arms look identical?
Use a 30-60-90 set square for the angles and a marked strip of paper for branch positions. Draw one arm, trace it onto tracing paper, and flip the tracing for the rest. Digital radial symmetry does the same automatically.
What is the easiest snowflake to draw?
The simple star snowflake is the easiest: six lines, no branches. The classic branch snowflake in this tutorial is the best next step, because it adds just two V-shaped branches per arm.
What pen should I use for snowflake drawings?
A 03 or 05 fine liner such as a Pigma Micron works well, with a 2H pencil for guidelines. Use smooth paper like Bristol board so thin branch lines stay crisp.
Can I draw a snowflake without a ruler?
Yes. Fold a square of paper into six wedges, trace the creases lightly, and draw along them. It’s less precise than a set square, but it works well enough for a first try.
Your next snowflake
Start with the six steps, but don’t stop at one. Draw the same snowflake three times: once plain, once with different line weights, once with extra negative space. The difference between those drawings is the difference between a doodle and a design.
If you make one you like, pin it, print it, or put it in a card. Then pick another design from the table and try it tomorrow.
Vlad is a product and industrial designer with 15+ years of experience across automotive, jewelry, and digital design, based in Kyiv. He writes the drawing tutorials at Sky Rye Design.
- 0shares
- Facebook0
- Pinterest0
- Twitter0
- Reddit0