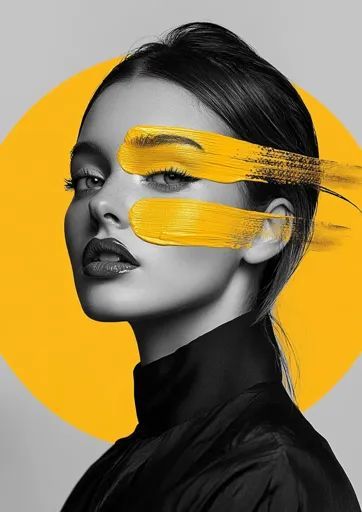
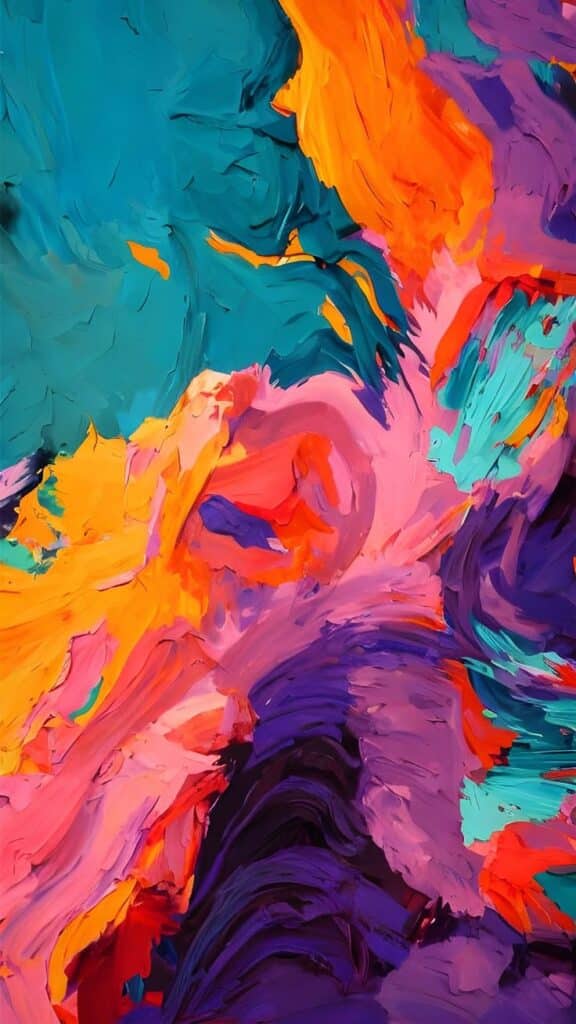
Abstract art opens the door to endless creativity, especially when you blend digital tools with imaginative effects. With Photoshop, you can easily create mesmerizing liquid paint effects that transform ordinary photos into eye-catching works of abstract art. Whether you’re new to digital art or looking for a fun new technique, this liquid paint style will let you explore bold colors, swirling forms, and interesting textures.
By combining easy-to-use filters, blending modes, and custom brushes, you’ll discover that the process is both simple and rewarding. The best part is that every artwork turns out unique, allowing your creativity to shine through each step. If you want to turn a simple image into something dynamic and striking, this guide will give you everything you need to get started.
Key Takeaways
- You’ll learn simple steps to set up Photoshop for liquid paint effects
- Easy tools, colors, and blending modes help create original abstract art
- You’ll finish by refining, adding effects, and exporting your unique masterpiece
Essential Tools and Setup in Photoshop
Before you start experimenting with abstract liquid paint effects, a few setup steps are crucial. Selecting proper canvas settings, brushes, and color modes will help you get smooth, vibrant results in Adobe Photoshop.
Choosing the Right Canvas Size
The canvas size you pick determines your artwork’s detail and flexibility. For digital art intended to be displayed online, a typical size like 1600 × 1080 pixels at 72 dpi is a strong starting point. This provides a good balance between detail and performance.
If you plan to print your work, opt for larger dimensions and a higher resolution, such as 3000 × 2000 pixels at 300 dpi. Using a larger canvas lets you add finer details and prevents any loss of quality during resizing or printing.
You can always crop or resize later, but starting with more pixels gives you extra creative room. To create your canvas, use File > New and input your preferred dimensions. For abstract artwork, working on a landscape canvas can give your liquid effects more space to flow.
Key Brushes for Liquid Effects
The Brush Tool in Photoshop is essential for painting and blending liquid textures. Start with basic soft round brushes for smooth blends, then explore custom brushes for texture. Many artists use wet or watercolor brushes, available in the Brush Library or from downloadable packs.
To enhance fluidity, utilize Photoshop’s Smudge Tool and Mixer Brush Tool. The Smudge Tool helps blend colors and push paint around, mimicking real liquid paint. Adjust brush hardness, opacity, and flow for greater control.
For more intricate lines or dripping effects, experiment with the Pen Tool for paths and the Gradient Tool for smooth transitions. A mix of default brushes and custom shapes provides endless possibilities for abstract styles.
Setting Up Color Modes and Resolution
Your art’s color mode shapes how colors are displayed and printed. For most digital artwork, work in RGB mode (Image > Mode > RGB Color). This mode supports vibrant colors ideal for screens.
If your project is intended for print, choose CMYK mode from the start, since CMYK reflects how printers reproduce colors. Keep in mind color shifts can occur when converting between modes.
Select your resolution based on output. 72 dpi works for web, but use 300 dpi for print to ensure crisp results. Double-check your settings when creating a new document so your final image stays sharp and vibrant.
| Purpose | Recommended Canvas Size | Color Mode | Resolution (dpi) |
|---|---|---|---|
| Web/Screen | 1600 x 1080 px | RGB | 72 |
| 3000 x 2000 px (or larger) | CMYK | 300 |
Taking a moment to set up your workspace ensures your creative process remains smooth and your final artwork looks polished.
Creating the Liquid Paint Effect
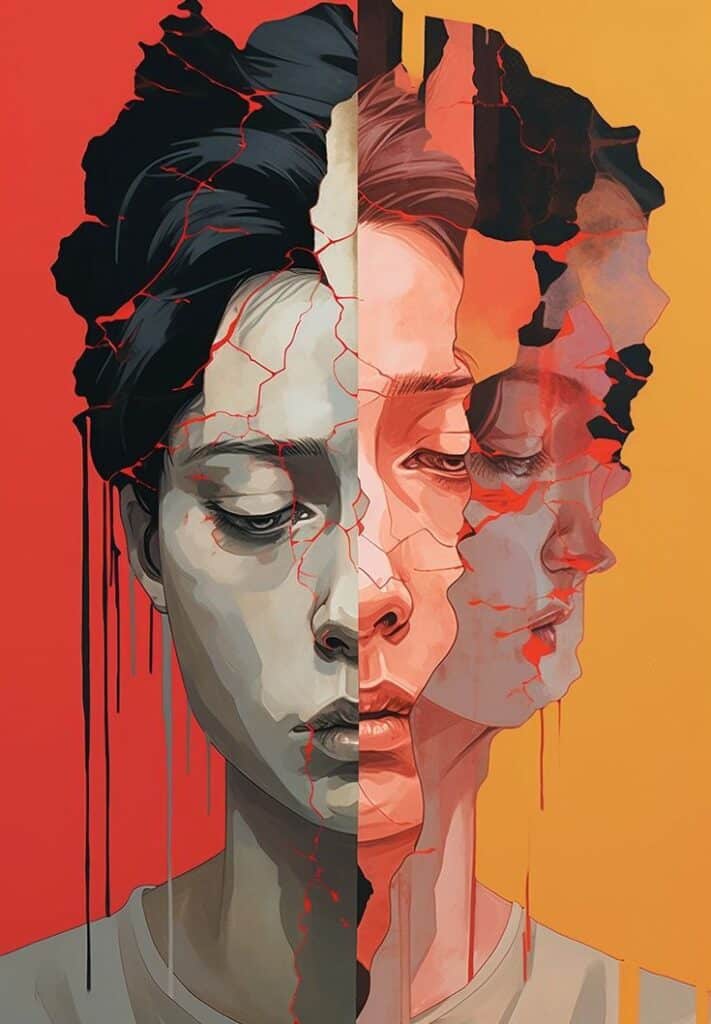
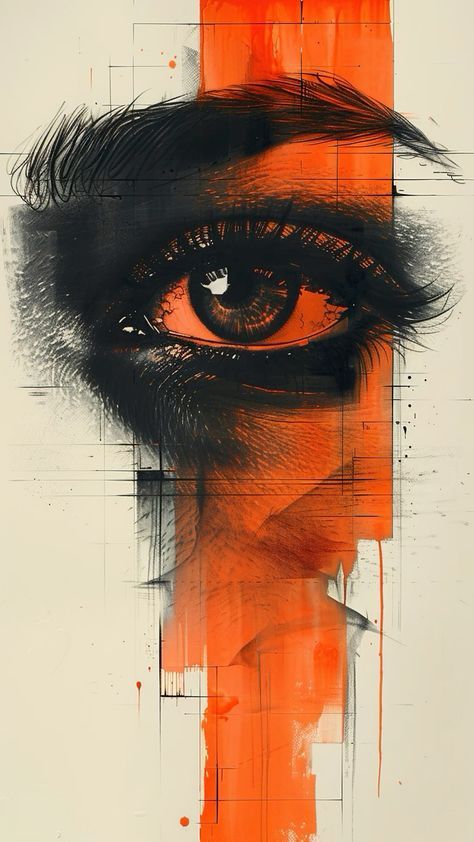
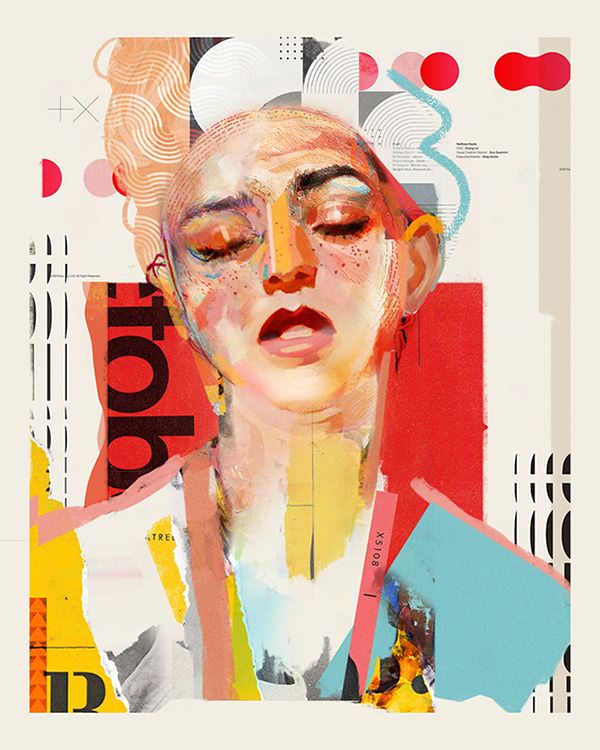
Crafting a liquid paint effect in Photoshop blends digital creativity with powerful image manipulation tools. You’ll focus on distorting your images, reshaping edges, and layering effects to create striking, abstract results.
Using the Liquify Tool and Liquify Filter
Start by selecting the Liquify Tool from the Filter menu. This tool is essential for producing swirls, waves, and smooth flows that mimic the look of liquid paint.
Within the Liquify dialog, use the Forward Warp Tool to drag and push parts of your image. Adjust the brush size based on the scale of the liquid effect you want. For larger, sweeping motions, increase the brush; for finer details, use a smaller size.
Make gentle, controlled strokes so the manipulations stay natural. If you make a mistake, use the Reconstruct Tool to reverse changes in specific areas without undoing your entire progress.
Experiment with the Twirl and Pucker tools for more dramatic, abstract distortions. Remember, the Liquify Filter is entirely non-destructive if you use a Smart Object, so you can always edit your changes later.
Manipulating Edges with Warp and Distortion
After initial liquify adjustments, give the edges even more character with Warp and Distort transforms. Select the layer and choose Edit > Transform > Warp to mold areas into curves and waves, refining the flow and direction of the paint effect.
Dragging the control points lets you shape the abstraction as needed. For sharper or angular changes, switch to the Distort or Perspective options under Transform. These provide straight-line transformations perfect for modern, abstract lines.
If you’re working with text or graphics, warping can simulate drips or melting edges. To maintain clarity, avoid over-distorting essentials elements, as overly warped edges can become visually confusing and lose their impact.
Use these transforms alongside the liquify changes to create a dynamic balance between controlled manipulations and organic, liquid motion in your abstract art.
Blending Multiple Layers for Depth
Building depth is essential for a rich liquid effect. Duplicate your main layer several times, applying different liquify or warp effects to each and setting unique blending modes like Overlay, Multiply, or Soft Light.
Stagger layers with different opacities to mimic layers of translucent paint. Mask out sections of certain layers with a layer mask so only parts of each effect come through, giving your artwork a multi-dimensional feel.
Look for interesting interactions where colors and patterns from different layers overlap. Experiment with gradients, custom brushes, and patterns to introduce even more depth.
Blending multiple layers creates complexity and makes your liquid abstract art more visually striking and appealing.
Adding Color, Gradients, and Blending Modes
Bringing your liquid paint effect to life depends on careful use of color, well-blended gradients, and bold adjustments to each layer’s blending mode and opacity. A few targeted tweaks to saturation and brightness can instantly change the vibe and clarity of your artwork.
Applying Gradients for Stunning Color Transitions
Using the Gradient Tool in Photoshop lets you blend colors smoothly and create dynamic transitions. Select the Gradient Tool from the toolbar, then choose a gradient type—linear, radial, or angle—based on the look you want for your liquid flows.
Try layering multiple gradients on separate layers to add complexity. For more dimension, modify the colors and transparency stops in the gradient editor. Blending modes such as Overlay or Soft Light combine gradients with background shapes, producing vivid, painterly shifts.
Create movement by applying gradients along the direction of your “liquid” swirls. Adjust the angle, scale, or color sequence until the transition feels natural. Subtle use of complementary colors often results in pops of contrast without overwhelming the piece.
Experimenting with Layer Opacity
Adjusting layer opacity changes how solids and colors blend together, giving you control over paint transparency and depth. Lowering opacity on a brushstroke layer makes colors appear more fluid, letting background details show through. Increasing opacity creates bold, saturated stripes that catch the eye.
For gradual fades, create separate paint shapes or smears on different layers. Set each to a different opacity value (for example, 40%, 60%, 80%). This staggered approach creates a sense of depth and overlapping liquid movement.
Pairing opacity tweaks with different blending modes—such as Multiply for shadows or Screen for highlights—gives even more flexibility. Use the Layers panel to swiftly switch and compare results as you refine your design.
Enhancing Visual Impact with Saturation and Brightness
Fine-tuning saturation and brightness lets you control the intensity and mood of each color in your abstract art. Use the Hue/Saturation adjustment or Brightness/Contrast tools for quick, global changes. For selective edits, add adjustment layers above the specific color regions.
Boosting saturation intensifies vivid, colorful streaks, while dialing it down creates softer, more pastel-like effects. Increasing brightness highlights liquid patterns and white accents. Lower brightness enhances contrast, bringing out the deep, shadowy edges of your shapes.
A combination of high-contrast pairs—like deep blues next to bright yellows—can make the liquid paint effect stand out. Keep checking your adjustments at normal viewing size. Small changes in these tools can have a noticeable impact on the artwork’s final look.
Refining Your Artwork with Brushes and Effects
Using the right brushes and effects in Photoshop allows you to create painterly textures, emphasize movement, and give your abstract liquid paint art greater depth. Details like brush selection, blur, and shadows shape the final impression and help your composition stand out.
Choosing Between Soft and Hard Brushes
The Brush Tool is essential when refining your artwork, and the type of brush you select will have a big impact on texture and blending.
Soft brushes offer gentle edges and smooth transitions. They are perfect for blending colors, creating fades, and mimicking real paint. Use soft brushes when you want to build up subtle layers, merge colors, or add delicate highlights.
Hard brushes create crisp, defined edges and bold strokes. This brush type is useful for adding emphasis, sharp transitions, and clear shapes. Hard brushes work well when you need to carve out details or introduce structure into fluid forms.
You can switch between soft and hard brushes via the brush settings panel. Adjust hardness and opacity to give you more control over each stroke. Combining both types frequently within the same brushwork lets you balance softness and precision for a more complex look.
Tip: Experiment with custom brushes, as they can introduce unique textures and effects to your abstract piece.
Adding Motion Blur for Dynamic Movement
Motion Blur is a valuable effect for generating dynamic movement in your liquid paint artwork.
To apply Motion Blur, go to Filter > Blur > Motion Blur. Adjust the angle and distance sliders to control the direction and amount of blur. This creates the illusion of movement, especially effective for parts of your composition that need more energy or flow.
Use a selection tool or mask to isolate the areas you want to blur. This method keeps some sections sharp while others look like they’re in motion, enhancing the sense of fluidity and energy.
Avoid over-blurring, as too much can flatten your image. Apply Motion Blur in moderation to highlights or streaks where the paint seems to be flowing or splashing. Layering multiple blurs at different angles can add extra complexity.
Incorporating Shadows for Depth
Shadows add dimensionality and make your abstract forms appear more three-dimensional.
To add realistic shadows, create a new layer beneath your paint elements. Use a soft, low-opacity brush to gently paint in shadows where elements overlap or curve. Adjust the brush size to suit the scale of your components.
If you want a more defined shadow, use a hard brush for crisp areas, then apply a slight Gaussian Blur for a natural fade. Play with layer opacity and blending modes like Multiply to suit the lighting in your overall composition.
Adding shadows is especially useful when working with vivid or overlapping colors. Well-placed shading creates contrast and helps separate foreground strokes from the background, making your artwork visually richer and more engaging.
Final Touches and Exporting Your Abstract Art
Once your liquid paint effect is complete, it’s important to refine your image for the best visual impact. Proper exporting and sharing options help you display your artwork clearly, whether you’re posting online or preparing to print.
Saving High-Quality Images in PNG Format
Saving your abstract art in PNG format is recommended because it preserves image quality and supports transparency. PNG files retain sharp details and vibrant colors, which is ideal for digital art creations.
In Photoshop, choose File > Export > Export As and select PNG from the format list. Make sure to review the Image Size and Resolution settings—300 dpi is best for print, while 72 dpi works for digital displays.
PNG avoids compression artifacts common in JPEGs. This prevents blurring and keeps your liquid paint textures crisp. If your artwork includes transparent areas, PNG handles them cleanly, letting your work shine on any background.
Adjusting Final Levels and Details
Before exporting, review the contrast, brightness, and color balance of your digital art. Use the Levels or Curves adjustments in Photoshop to enhance highlights and deepen shadows.
Zoom into your design and check for tiny mistakes or stray marks. Clean up unwanted spots with the Spot Healing Brush or Clone Stamp. Tweak edges of your abstract shapes to keep them looking intentional.
Small changes to vibrance or saturation can help your color effects stand out. Always check your work at 100% view to ensure every detail is polished in the final edit.
Sharing Your Work Digitally or in Print
Uploading your new abstract art is simple once you’ve saved a clean PNG file. For digital sharing, resize your image for use on social platforms, websites, or portfolio sites—each may have specific dimension requirements.
Consider creating multiple versions at different sizes or aspect ratios. When printing, export at high resolution (at least 300 dpi) and use color profiles like sRGB or Adobe RGB for true-to-life colors.
If you want to present your art on merchandise—like phone cases or posters—a large PNG ensures crisp edges and smooth gradients. Saving your original Photoshop file (.PSD) separately keeps your layers intact for future edits and resizing.
- 1.7Kshares
- Facebook0
- Pinterest1.7K
- Twitter0
- Reddit0
