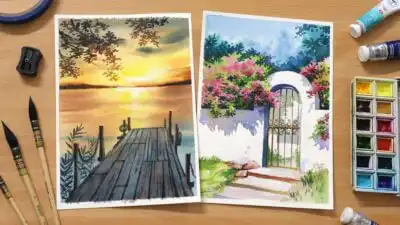
Watercolor floral sketches offer an accessible way to capture the natural beauty of flowers using simple techniques and just a few supplies. With clear steps and the right approach, you can create vibrant and expressive floral sketches, even if you are new to watercolor painting. These sketches don’t require perfection—just a willingness to explore shape, color, and composition while letting watercolor’s fluid nature shine.
You will discover how foundational brush strokes, basic shapes, and a minimalist setup lead to beautiful results on paper. With inspiration and practical tips, you’ll learn not only how to start but also how to bring your own creativity into every piece. Whether you want to decorate a journal, create handmade cards, or simply enjoy a relaxing artistic hobby, watercolor floral sketches give you endless ways to express yourself.
Key Takeaways
- Learn the basics of watercolor floral sketches and how to get started.
- Understand what materials and techniques are most helpful for beginners.
- Gain ideas for inspiration and ways to display your finished sketches.
Understanding Watercolor Floral Sketches
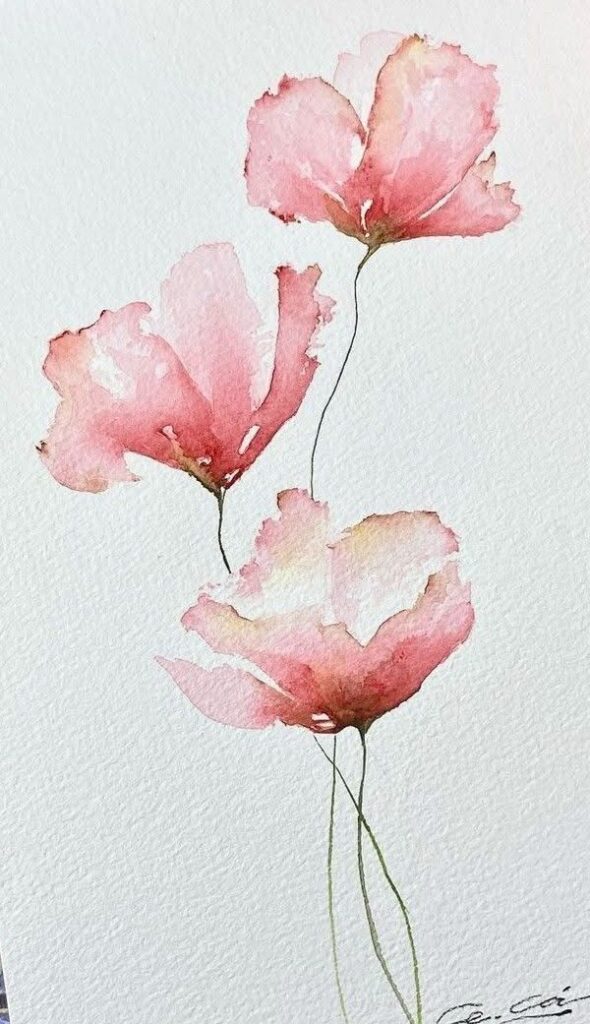
Watercolor floral sketches focus on capturing the character, shape, and natural details of flowers using transparent watercolor paints, often with loose, expressive techniques. You can explore various methods and styles to highlight the features, textures, and colors found in botanical subjects.
What Are Watercolor Floral Sketches?
Watercolor floral sketches are artistic studies or quick paintings of flowers where you use watercolor as the primary medium. These sketches typically highlight flowers’ forms, colors, and unique features.
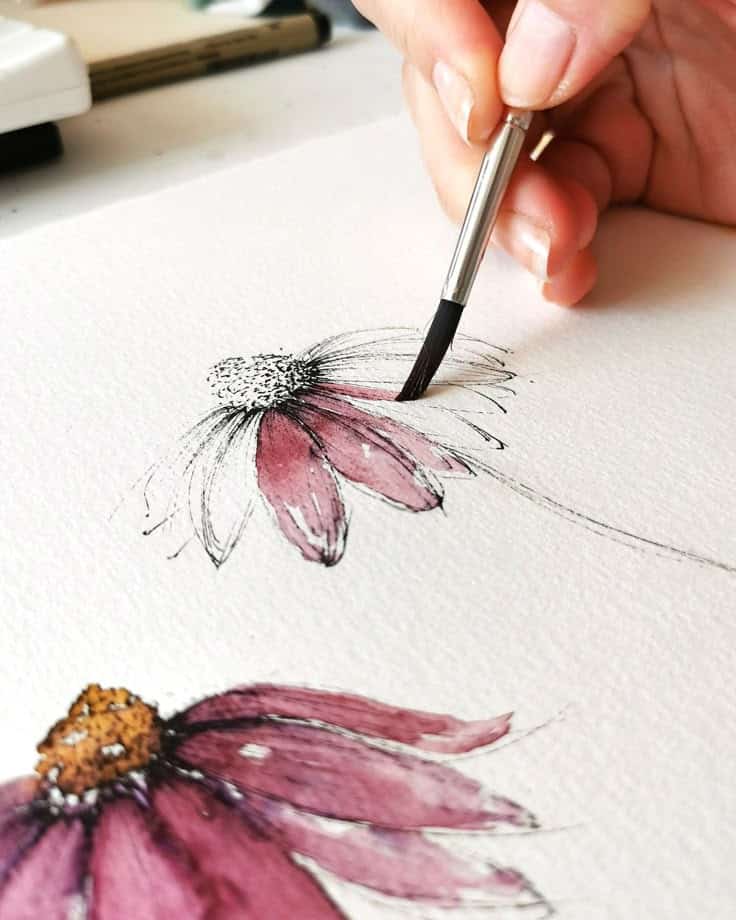
You often start with a light pencil sketch, then add transparent layers of watercolor washes to build depth and vibrancy. The emphasis is on observation and rendering the organic qualities of flowers—petals, stems, and leaves—while using watercolors’ fluidity.
Unlike highly detailed botanical illustration, these sketches prioritize suggestion over precision. You aim to express the essence of the subject rather than capturing every single detail.
Benefits of Watercolor Floral Sketching
Practicing watercolor floral sketches offers several advantages for both beginners and experienced artists. You quickly develop your observation skills and hand-eye coordination by focusing on the basic shapes and proportions of flowers.
The process encourages experimentation with color mixing, brush techniques, and composition. It also helps you understand the properties of watercolors—such as transparency, layering, and blending—in a practical, hands-on way.
Because sketches are usually quick and less formal, there is less pressure for perfection. This approach builds artistic confidence and makes it easier to try new ideas without fear of making mistakes. Watercolor flower painting can be a relaxing, mindful activity that fosters creativity and personal expression.
Popular Styles of Floral Sketches
Common styles of watercolor floral sketches include:
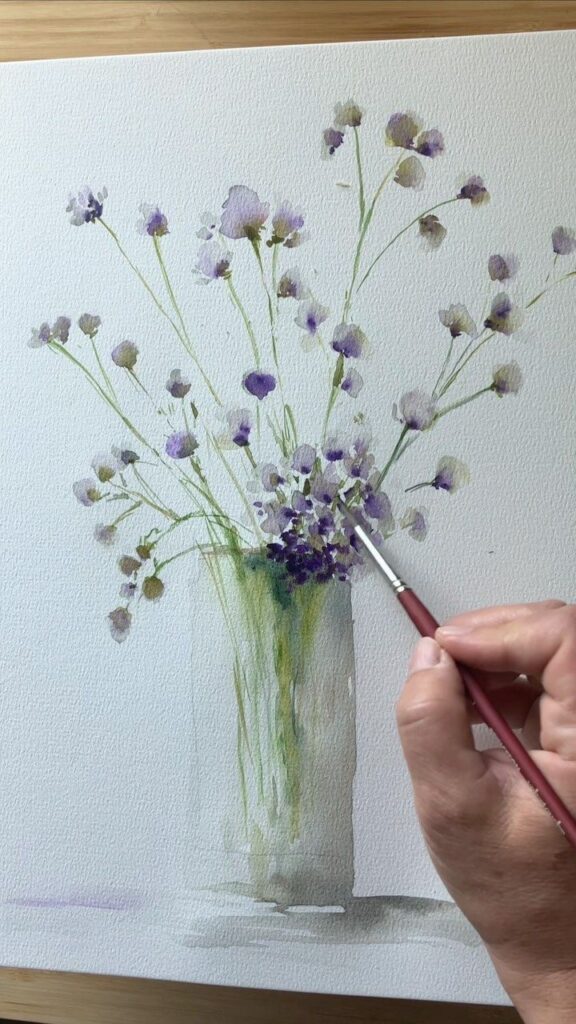
- Loose Watercolor Florals: Prioritize expressive brushstrokes, minimal detail, and flowing shapes. This style captures the overall impression of the flower rather than its exact structure.
- Botanical Studies: Aim for more realistic and detailed renderings, often with careful layering and controlled washes to depict accurate floral features.
- Minimalist Sketches: Focus on simplicity, often using just a few brushstrokes or colors to suggest the form and character of the flower.
Loose watercolor flowers allow you to experiment with color and movement, while detailed botanical studies improve technical skill. Minimalist styles can help you develop confidence in your brushwork and composition. Each approach highlights different aspects of watercolor flower painting and lets you find your preferred artistic direction.
Essential Materials and Supplies
Using the right materials plays a major role in the outcome of your watercolor floral sketches. Knowing which paints, paper, and brushes to choose will make the process easier and help your artwork look its best.
Choosing the Right Watercolor Paints
Select between pan and tube watercolors based on convenience and intensity. Pans are pre-dried and simple to set up, making them a good choice for sketching and travel. Tubes offer richer color that’s easy to dilute for softer washes often seen in floral artwork.
Begin with a basic palette of six to twelve colors. Focus on primary colors—cool and warm versions of each—to allow for easy mixing. Brands like Winsor & Newton, Daniel Smith, or Schmincke are reliable and consistent. Look for artist-quality paints instead of student-grade to benefit from stronger pigmentation and better blending.
Test a few colors to see which hues work best for floral subjects. Consider adding special pigments such as Opera Pink, Quinacridone Rose, or Sap Green for realistic flower and foliage tones.
Selecting Watercolor Paper for Florals
Paper choice directly affects how your floral sketches absorb water and display color. Use 100% cotton watercolor paper for best results, as it resists warping and delivers vibrant, even washes.
Choose a weight of 140 lb (300 gsm) or heavier to prevent buckling. For floral sketches, cold press paper offers a slight texture that helps control washes and holds details well. Hot press paper is smoother and ideal for fine line work or detailed petals.
Paper is available in pads, blocks, or single sheets. Blocks keep the edges flat while you paint, making them convenient if you use a lot of water. Try different brands such as Arches, Fabriano, or Canson to determine what suits your process and preferred results.
| Type | Texture | Best For | Typical Brands |
|---|---|---|---|
| Cold Press | Slightly textured | General florals | Arches, Fabriano |
| Hot Press | Smooth | Detailed petals | Arches, Canson |
| Rough | Heavily textured | Loose sketches | Saunders Waterford |
Recommended Brushes and Tools
Use a mix of round brushes for painting florals, as they enable you to create both thin lines and broader strokes. A size 6 or 8 round brush is versatile for most flower shapes, while smaller sizes (2 or 4) are good for stems and details. A larger round or wash brush can quickly cover backgrounds or create soft blends.
Consider adding a fine liner brush for tiny veins and petal edges, plus a flat brush for washes or clean edges. Opt for synthetic or natural sable brushes, depending on your preference and budget—synthetic brushes today often rival natural hair for spring and control.
Other helpful tools include:
- Palette: Ceramic or plastic, for mixing colors
- Water jars: One for rinsing, one for clean water
- Paper towel or sponge: For blotting and creating texture
- Pencil and eraser: For lightly sketching forms before adding paint
High-quality tools not only last longer but provide more predictable results, helping you build skill and confidence as you sketch florals.
Foundational Watercolor Techniques for Florals
Mastering a few essential techniques helps you achieve soft petals, crisp edges, and natural-looking leaves in your watercolor floral sketches. Careful use of water and pigment lets you capture both delicate transitions and vibrant details.
Wet-on-Wet Technique
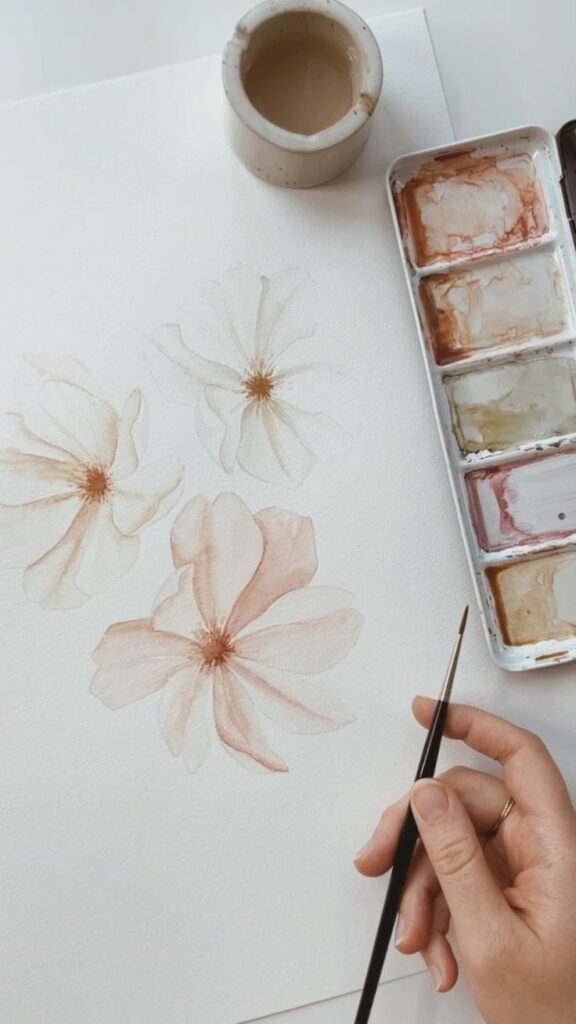
The wet-on-wet technique involves applying wet paint onto a dampened paper surface. This method is ideal for creating soft edges, gentle color transitions, and a natural flow that mimics delicate flower petals.
To start, use a clean brush and plain water to moisten the shape of your flower or leaf. While the paper is still damp, load your brush with pigment and touch it to the wet area. Watch as the color spreads and blends.
This method works well for backgrounds, loose petals, and blending multiple colors within a single shape. Varying the amount of water used allows you to control how far the pigment blooms. Too much water can cause uncontrolled spreading, so practice finding the right balance.
For added interest, drop in a second color before the first has dried. The two pigments will merge softly. Avoid overworking the area, as too much blending can muddy your colors.
Wet-on-Dry Technique
Wet-on-dry means applying wet paint onto dry paper. This approach produces crisper, more defined shapes and lines, making it especially useful for outlining petals, creating veins, and adding contrast between overlapping forms.
Begin with dry paper and load your brush with watercolor. Paint directly onto the surface for clear edges that help define the structure of each flower. You can also use this technique to layer color, add shadows, or refine petal edges.
Control is the main advantage of wet-on-dry. You decide exactly where the pigment goes. This makes it suitable for painting intricate floral centers, stems, and leaf details. If you want a more intense hue, let the first layer dry, then apply a second wet-on-dry wash.
Combining both wet-on-wet and wet-on-dry in one painting gives you a wide range of effects, from soft transitions to sharp contrasts.
Layering and Glazing
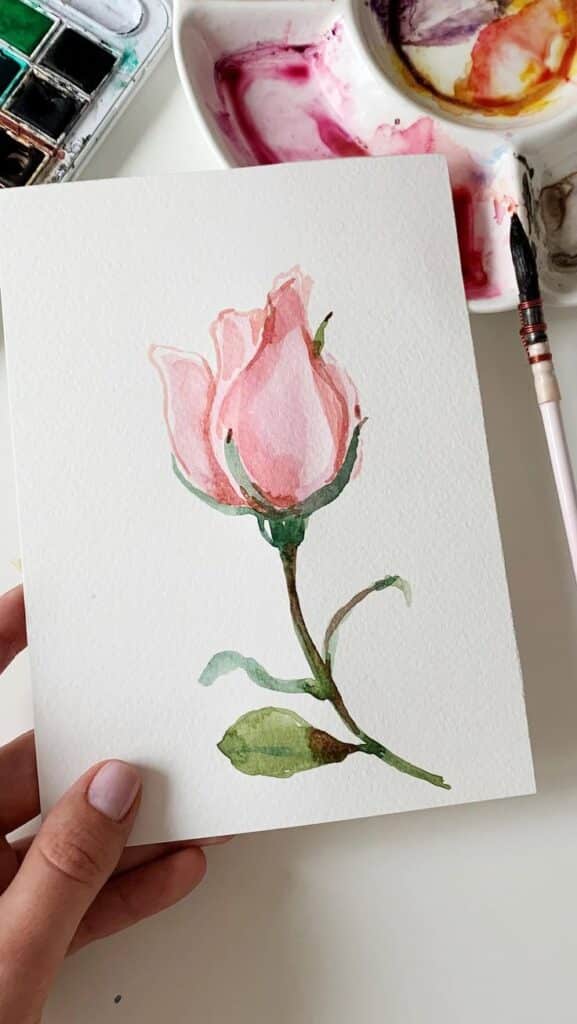
Layering, often called glazing in watercolor, is essential for adding depth and vibrancy to floral sketches. You achieve this by applying a transparent wash of color over a dry, previously painted layer.
Each layer must be completely dry before you add the next. This prevents colors from mixing unintentionally and helps avoid muddy areas. Glazing is especially effective for building up luminous petals, rich shadows, and realistic transitions.
Begin with light washes for your base shapes. Once dry, use a slightly darker or different hue to enhance shadowed areas or add color variation. Repeat this process, increasing color intensity with each layer, until you achieve the desired effect.
Tips:
- Use a soft brush for smooth glazing.
- Keep the paint transparent and avoid using opaque pigments.
- Test your colors on a scrap piece first to see how they interact.
Creating Texture and Details
Texture and detail bring your watercolor florals to life. Use a variety of brushstrokes and tools to mimic surfaces like petal veins, pollen, or leaf serrations.
To create texture, try these approaches:
- Dry brush: Load your brush with pigment but little water, then drag lightly across the paper for broken, textured marks.
- Lifting: Blot wet paint with a clean, dry brush or paper towel to remove pigment and add highlights.
- Splattering: Flick the brush to add small dots, imitating pollen or dewdrops.
- Use of fine liners: Add details like stamens, veins, or outlines once the area is dry for extra clarity.
Pay attention to the direction of your marks to suggest petal structure or leaf veins. Too much detail can overwhelm, so focus on key features that enhance the composition without cluttering the image.
Step-by-Step Sketching and Painting Process
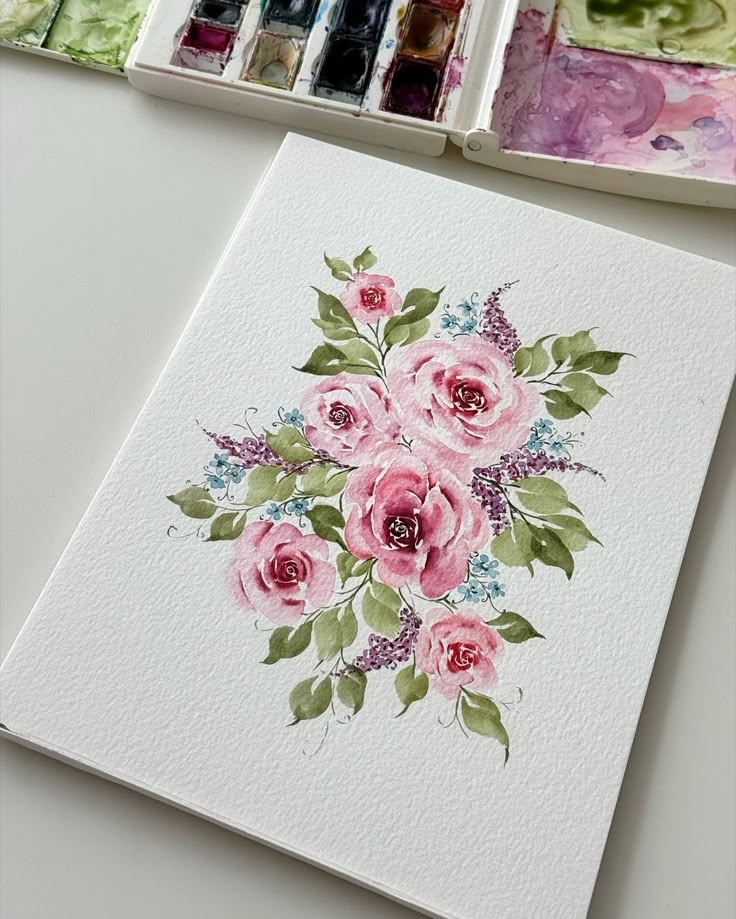
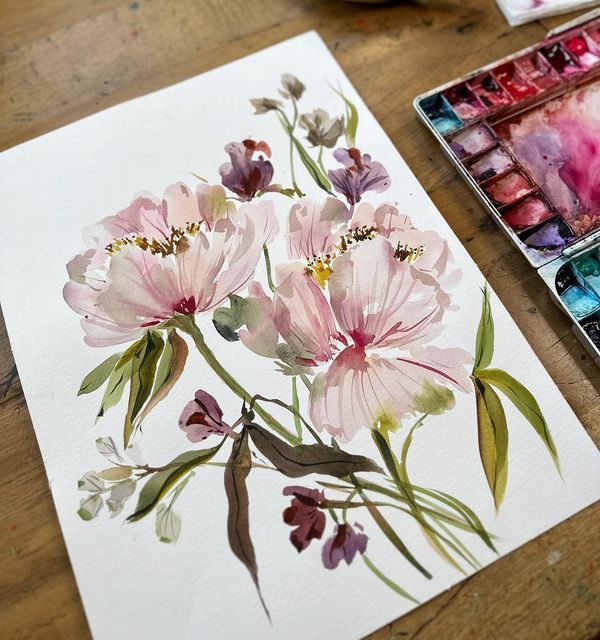
Successful watercolor flower painting starts with a clean, accurate sketch, effective brush techniques, and a thoughtful approach to color and depth. Focus on simple forms, handle water distribution carefully, and use layering to create natural-looking shadows and highlights in your floral sketches.
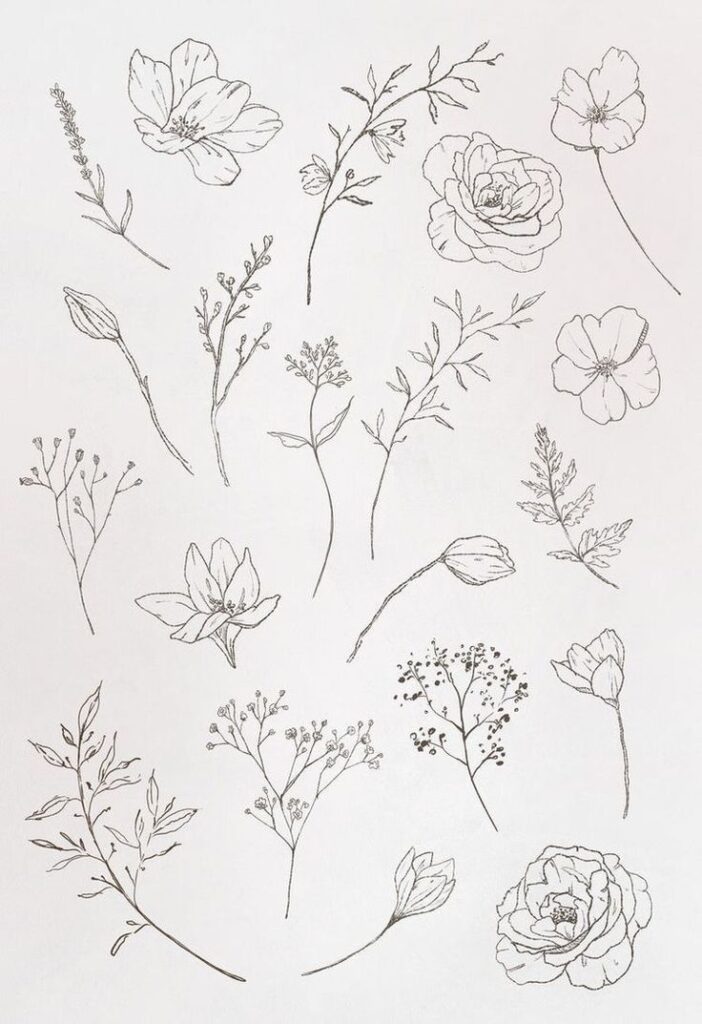
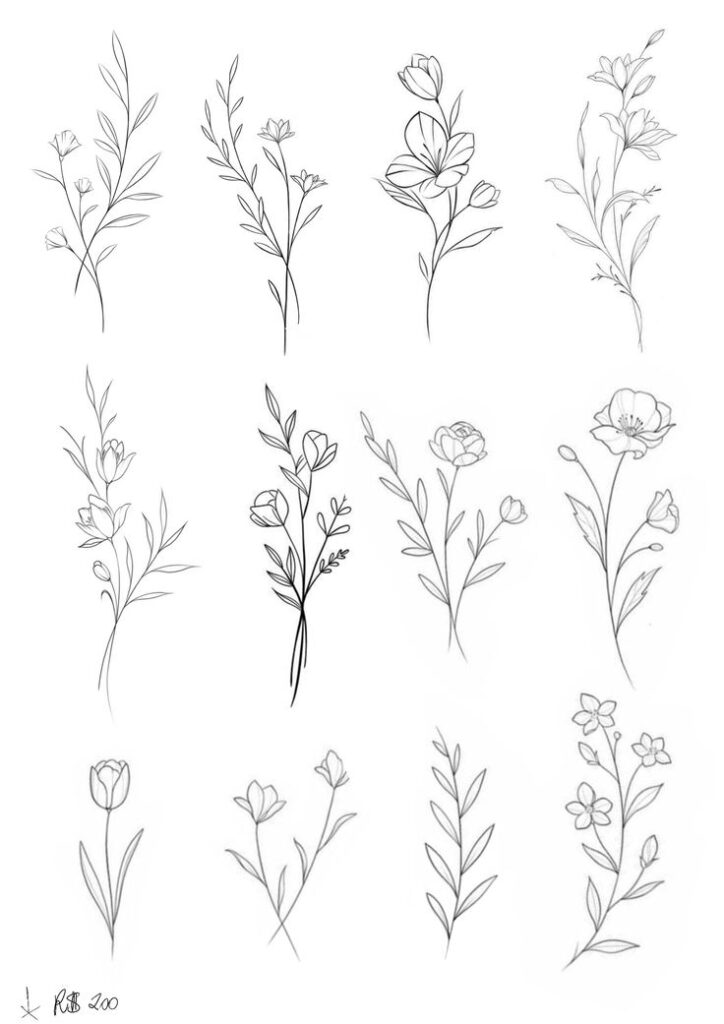
Simple Floral Sketch Outlines
Begin with light, gentle pencil lines on watercolor paper. Select basic flower shapes like daisies or tulips, using circles and ovals to mark main flower parts. Outline the petals and leaves without pressing hard—these lines should stay faint to avoid dominating your final painting.
Refer to photographs or real flowers for accurate petal and leaf arrangements. Break down each flower into basic geometric forms, such as a central oval for the flower head and elongated shapes for petals and leaves. Keep your design uncluttered by focusing only on a few blooms.
Erase any unnecessary lines before you paint. This ensures the sketch remains a clear guide and prevents pencil smudges beneath the watercolor. Check that your composition feels balanced and appealing within the frame of your paper.
Painting Petals and Leaves
Switch to a round watercolor brush that fits the scale of your flower. Wet your brush and mix a light wash of color. Start painting petals with a single layer, using gentle strokes to follow the shape and movement shown in your sketch.
Allow some areas to stay white or lightly colored, especially where petals overlap or catch the light. Paint leaves with varying shades of green, mixing a bit of yellow or blue as needed for realism. Work quickly but with care, letting your brush shape natural, loose edges.
Always let each section dry before adding another layer. This prevents muddy colors and helps petals and leaves appear distinct. If you want a softer look, paint wet-on-wet for subtle gradients; for sharper lines or details, use wet-on-dry techniques.
Adding Depth and Shadows
To create depth in watercolor floral sketches, layer additional washes where petals or leaves overlap. Mix a slightly darker version of your base color, or add a small amount of complementary color, to suggest shadow. Apply these shadows to the parts of each petal or leaf that turn away from the light source.
Focus darker tones at the base of petals or along folds. You can use a fine-tip brush for these details, keeping the layers translucent so the underlying color still shows through. Repeat the layering until you achieve the desired sense of volume and contrast.
Use a simple chart to guide shadow color choices:
| Area | Suggested Mix |
|---|---|
| Petal shadows | Base color + touch gray or blue |
| Leaf shadows | Green + indigo or burnt sienna |
Check the balance between light and dark. A well-placed shadow enhances realism and highlights the natural curve of watercolor flowers without overpowering the freshness of the original wash.
Inspiration and Composition Ideas
When sketching watercolor flowers, selecting your subject and arranging your composition sets the tone for your entire piece. Drawing inspiration from both classic blooms and everyday urban environments supports unique and engaging sketches.
Popular Flower Types to Sketch
Certain flowers are both visually appealing and well-suited for watercolor sketches. Roses offer layered petals and a classic look, while tulips provide clean shapes and simple hues.
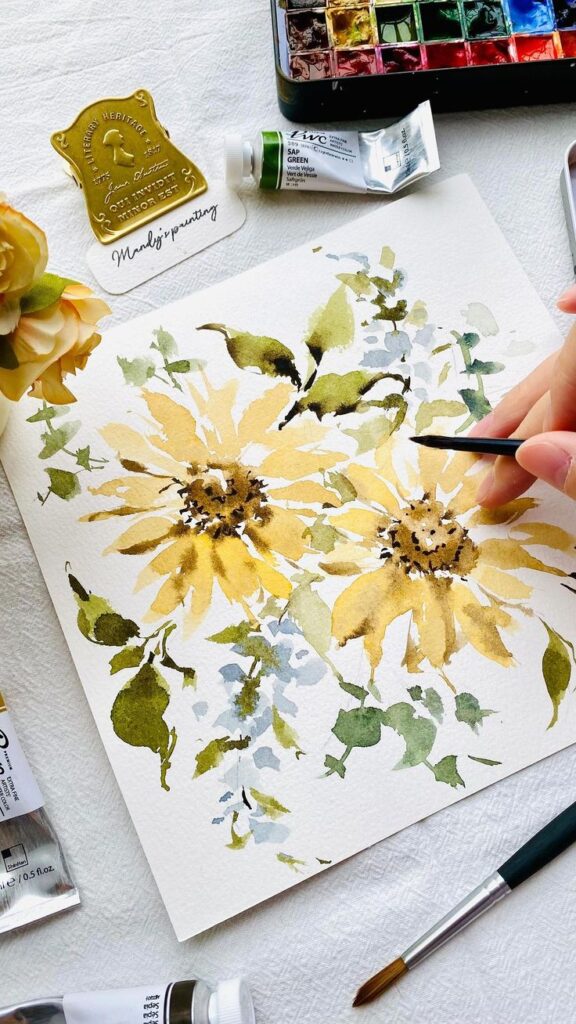
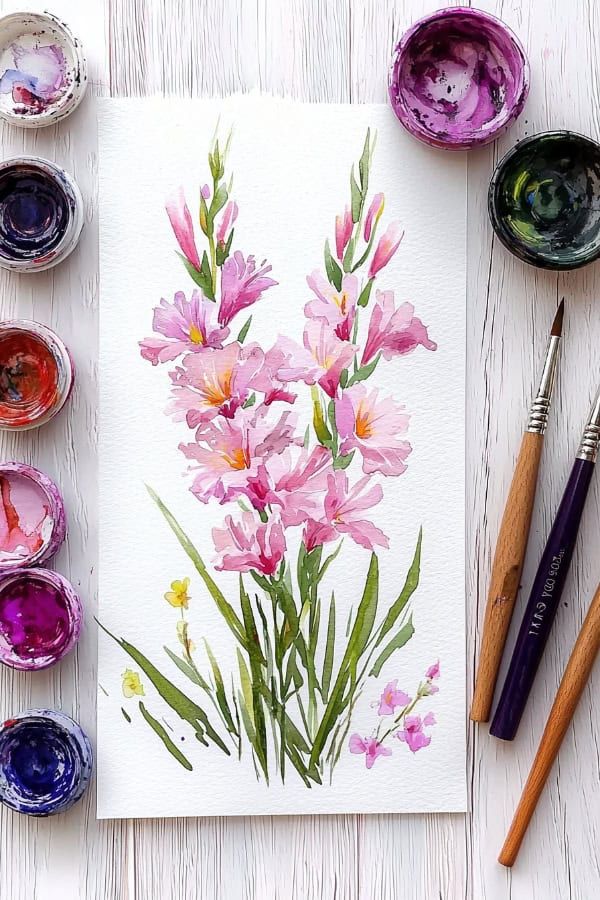
Sunflowers have bold centers and bright petals, making them ideal for practicing contrast. Daisies bring simple charm with their open faces and minimal structure. Consider also experimenting with wildflowers for variety in form, texture, and color.
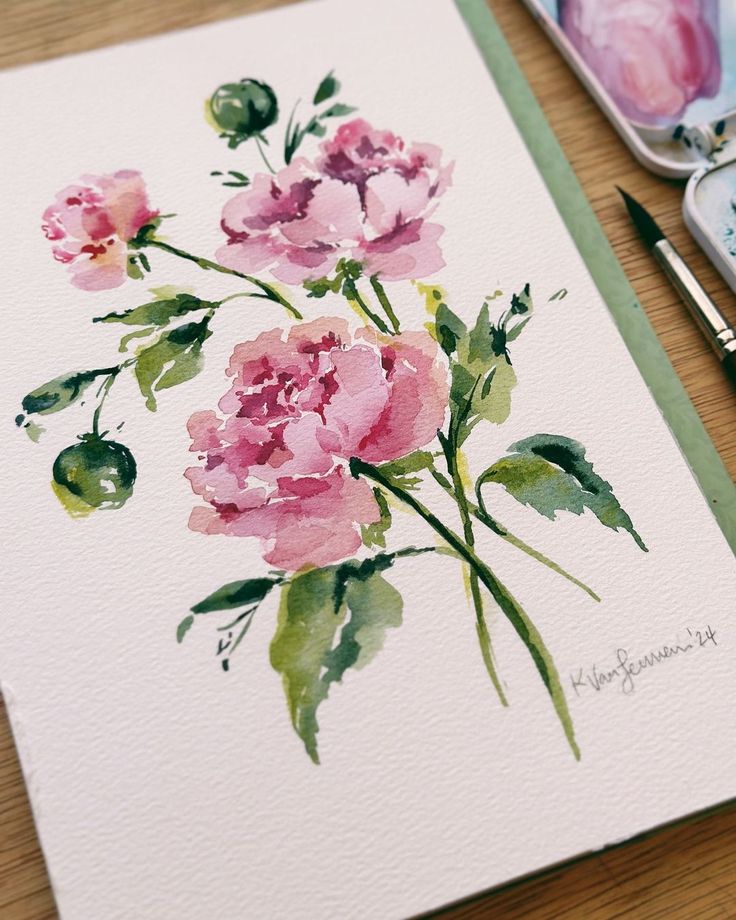
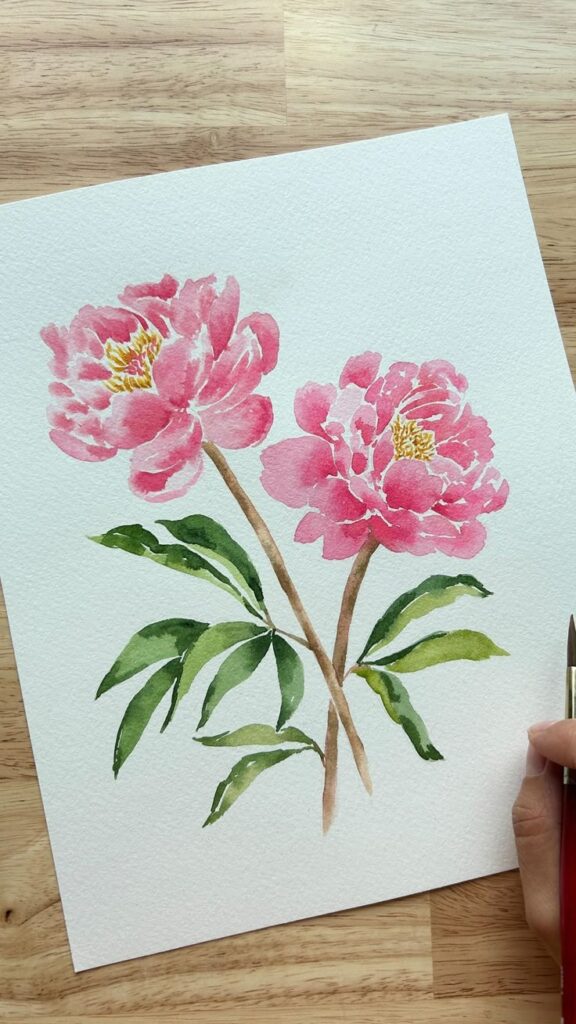
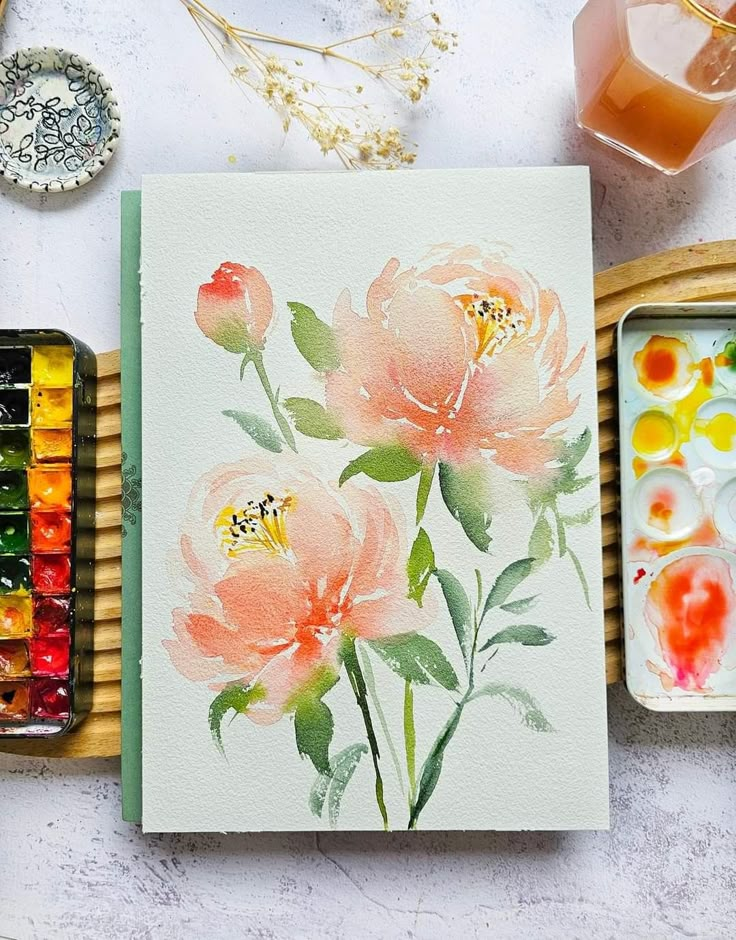
Many artists enjoy sketching cherry blossoms or irises, which allow you to experiment with gradients and fine details. If you want to diversify your portfolio, try adding peonies, lavender, or anemones for different petal shapes and lighting challenges.
| Flower | Feature |
|---|---|
| Rose | Layered petals, classic |
| Tulip | Simple form, smooth lines |
| Sunflower | Strong contrast, bold |
| Daisy | Minimal, open structure |
| Peony | Soft, ruffled petals |
| Iris | Fluid lines, delicate |
Arranging Florals in Your Artwork
The composition of your watercolor sketch impacts the overall feel of your piece. When arranging florals, you might choose traditional bouquets, single stems, or modern, asymmetric clusters.
Use the rule of thirds to place key blooms off-center for a natural effect. Mixing various flower types can create visual interest. Combine large flowers as focal points with smaller buds and leaves for balance.
Experiment with vase shapes, negative space, and overlapping elements to add depth. Sketch lightly first to adjust composition before committing with watercolor. Don’t hesitate to use reference photos of real arrangements or practice by sketching simplified versions of complex bouquets.
A well-chosen arrangement brings coherence and harmony to your floral sketch while allowing each flower to stand out.
Urban and Everyday Florals
You don’t need access to gardens or rare flowers for inspiration. Look for everyday florals in city parks, street planters, or even wildflowers growing in sidewalk cracks.
Sketching everyday scenes, such as flowers in coffee cups or jars on windowsills, can capture urban charm. Consider recording the way light hits a bloom through a window or how petals contrast with textured stone or concrete.
Documenting urban greenery and “unplanned” florals allows you to blend nature with manmade surroundings in your sketches. Create a “flower cheat sheet” by collecting photos or quick sketches of local blooms, making them easy to reference when you want to practice.
Urban floral sketches uniquely tell the story of the spaces you inhabit, offering both personal and accessible inspiration for your watercolor artwork.
Creative Uses and Display Options
Watercolor floral sketches are versatile and can be incorporated into many areas of your space and daily life. Whether for display, personal use, or gifting, these sketches bring an artistic accent wherever they’re placed.
Turning Sketches Into Wall Art
Transform your favorite floral sketches into wall art by framing finished pieces or arranging them as a gallery set. Use mats to give each sketch a clean border and to help the colors stand out.
Choose frames in neutral colors like white, black, or natural wood to complement the delicate nature of watercolor florals.
If you want a cohesive look, select sketches that share a similar color palette or theme. For added interest, mix sizes and orientations on your wall.
You can also use clipboards or washi tape for a more casual, changeable display.
Table: Simple Framing Options
| Type | Style | Suitable Sketch Size |
|---|---|---|
| Classic Frame | Clean, formal | 5″x7″ to 11″x14″ |
| Clipboard | Casual, modern | 4″x6″ to 8″x10″ |
| Gallery Rail | Flexible | Mixed sizes |
Decorative Stationery and Cards
Create personalized stationery by printing or painting your floral sketches on blank cards, envelopes, or notepaper. Handmade cards decorated with original artwork are thoughtful for occasions like birthdays, thank you notes, or invitations.
You can also scan your sketches to make digital templates for multiple uses.
Incorporate your art into envelopes by using patterned liners featuring smaller versions of your sketches. Add watercolor details to gift tags or bookmarks for extra charm.
When selling at markets or online, high-quality prints of your sketches can be offered as greeting card sets.
Tip: Use thicker watercolor paper or cardstock to prevent paint from bleeding and to give cards a professional finish.
Journaling and Gifts
Decorating journal pages with watercolor floral sketches adds visual interest and motivation for daily writing. Glue mini sketches onto pages, or create borders along the edges for a cohesive design.
For planners or bullet journals, use floral motifs as section dividers or monthly headers.
Floral sketches also make meaningful, handmade gifts. Frame a small original painting for a friend, or include a set of custom bookmarks in a gift package.
You can turn your designs into stickers using printable sticker paper, making them perfect for scrapbooks, planners, or decorative sealing of packages.
Gift ideas:
- Framed mini floral paintings
- Hand-painted bookmarks
- Custom stickers for journals or planners
This personal touch highlights your creativity and thoughtfulness.
- 420shares
- Facebook0
- Pinterest417
- Twitter3
- Reddit0

