Anime art offers a vibrant and creative outlet for artists of all levels. Exploring different drawing ideas can enhance your skills and inspire new works. Whether you are a beginner or an experienced artist, finding fresh concepts can stimulate your creativity and help you develop your unique style.
Each anime drawing idea can serve as a solid foundation for practice and experimentation. By embracing various themes and characters, you can expand your artistic repertoire and discover what resonates most with you. This journey can lead to greater confidence in your drawing abilities and a deeper appreciation for the anime art form.
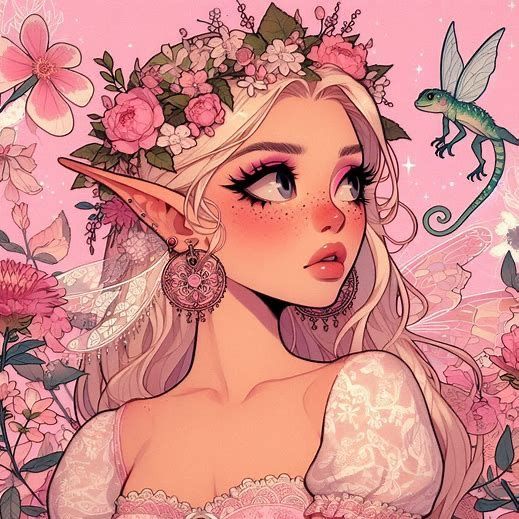
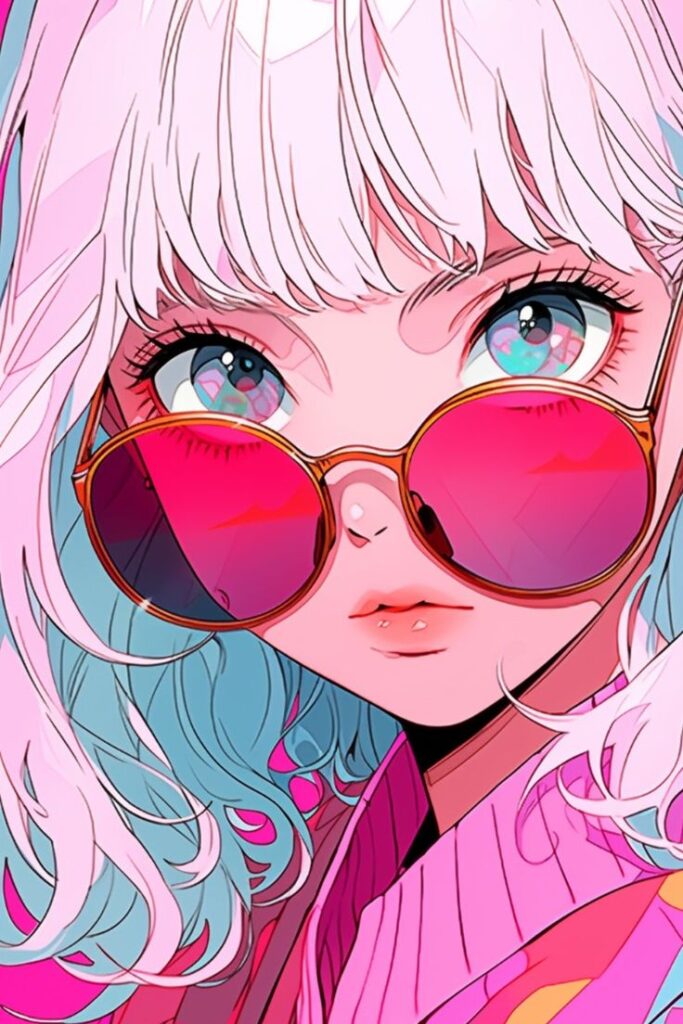
1) Naruto Uzumaki Portrait
Creating a portrait of Naruto Uzumaki is an excellent way to capture the essence of this iconic character. Focus on his distinct facial features, particularly his expressive blue eyes and spiky blonde hair.
Start by sketching the basic outline of his face. Ensure the proportions reflect his youthful energy. Naruto’s expression can convey determination or friendliness, so choose an emotion to highlight.
Pay attention to his signature whisker marks. These details add authenticity and character to your drawing. Incorporate his headband, a key part of his ninja identity, to enhance the portrait.
As you add color, consider using vibrant yellows for his hair and skin tones that reflect his energetic personality. Remember to blend colors smoothly for a more polished look.
Shading can bring depth to his features, especially around the eyes and mouth. Use lighter hues for highlights to make his face more three-dimensional.
Experiment with different styles, from realistic to more stylized interpretations. Enjoy the process, and let your creativity shine through in your portrayal of Naruto.
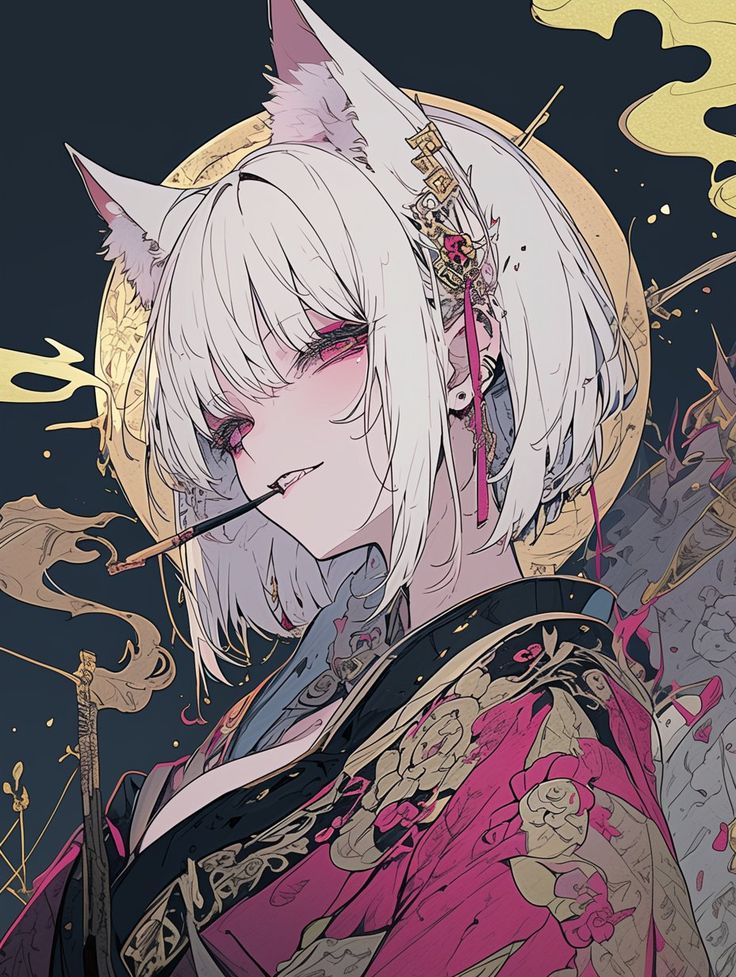
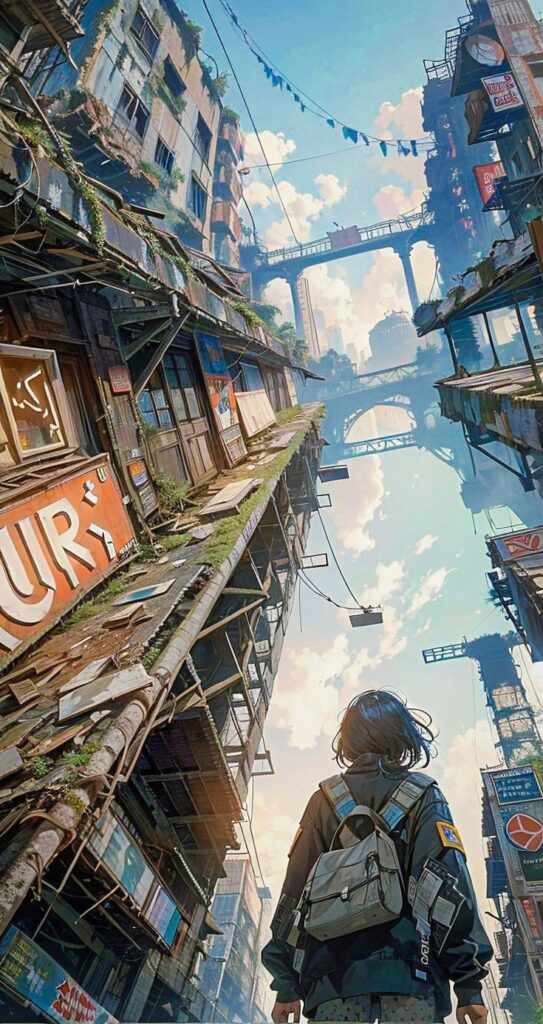
2) Sailor Moon Transformation
Creating a drawing of the Sailor Moon transformation is an exciting opportunity to explore dynamic poses and flowing details. This transformation sequence showcases the character’s iconic style and magical elements.
Begin with the initial pose. You can depict Sailor Moon in a dynamic mid-transformation stance, capturing the energy and movement. Pay attention to her facial expression, which should reflect determination and excitement.
Next, focus on her costume details. The signature sailor outfit includes elements like the collar, bow, and magical accessories. Use vibrant colors to emphasize the transformation’s magical nature.
Incorporate flowing effects, such as ribbons and energy beams, which are central to the transformation. These details add a sense of motion and wonder to your drawing. Experiment with different angles and perspectives to find what works best.
Lastly, consider the background. A sparkling or celestial backdrop can enhance the magical feel. This helps to frame your character and gives context to the transformation sequence.
This subject allows for creativity and a chance to showcase your skills in drawing movement and color.
3) Attack on Titan Titan Form
In “Attack on Titan,” the Titan forms are central to the story’s conflict and aesthetic. You can explore various Titan designs, ranging from colossal giants to sleek, humanoid forms.
Each Titan has unique features that define its character. Focus on the proportions and anatomy to capture their monstrous nature. Notice the distinct facial structures, muscularity, and expressions that evoke fear.
Consider incorporating dynamic poses that reflect their immense power and speed. Adding movement can enhance the tension in your artwork. Use shadows and highlights to create depth, emphasizing the Titans’ size and impact.
Pay attention to the setting as well. Titans often interact with urban environments, providing a stark contrast to their sheer size. Integrating buildings or landscapes will help ground your Titan form in the scene.
Experiment with different styles, whether realistic or stylized, to see how it changes your interpretation. Each approach offers a new perspective on these iconic figures.
4) Goku Super Saiyan
Drawing Goku in his Super Saiyan form can be an exciting challenge. Start by capturing his iconic spiky hair, which transforms to a bright golden color. Pay attention to the way the hair stands on end, adding energy to your drawing.
Focus on his facial features. The expression during a Super Saiyan transformation is intense and determined. Use sharp lines for the eyebrows and add detail to the eyes to convey his fierce attitude.
Incorporate his martial arts attire. Goku typically wears an orange gi with a blue undershirt and belt. Make sure to include the details of the kanji symbols on his clothing.
To enhance the dynamic feel of your drawing, consider adding energy effects. You can illustrate the aura that surrounds him when he powers up. Use vibrant colors to create a sense of movement and power.
Experiment with different poses. You can depict Goku charging up, ready to attack, or mid-battle. Each pose offers a unique perspective on his character and strength.
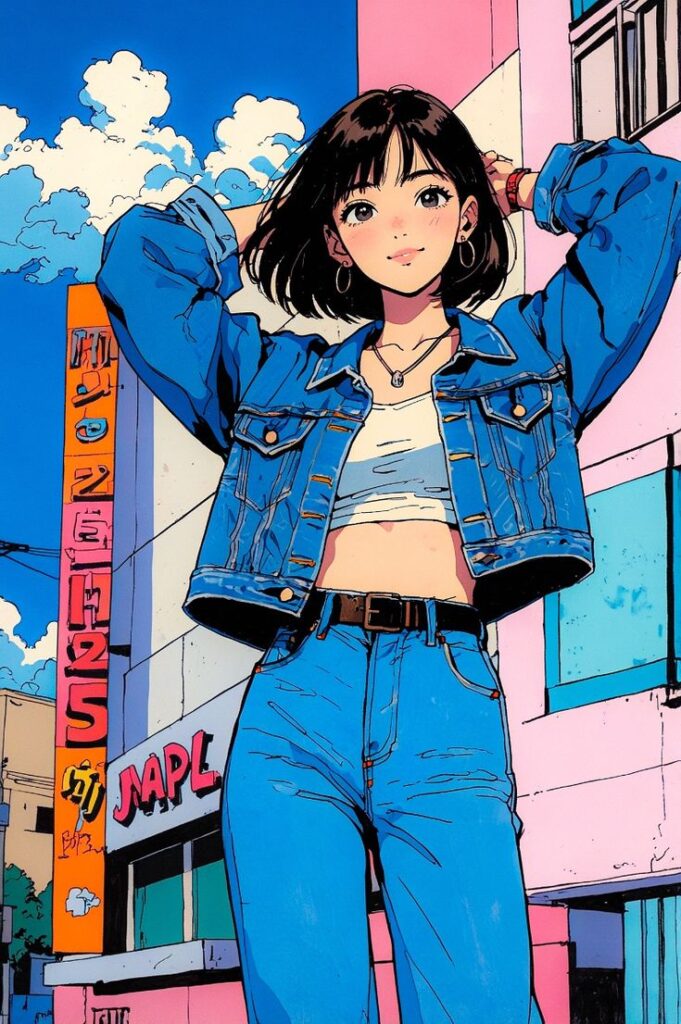
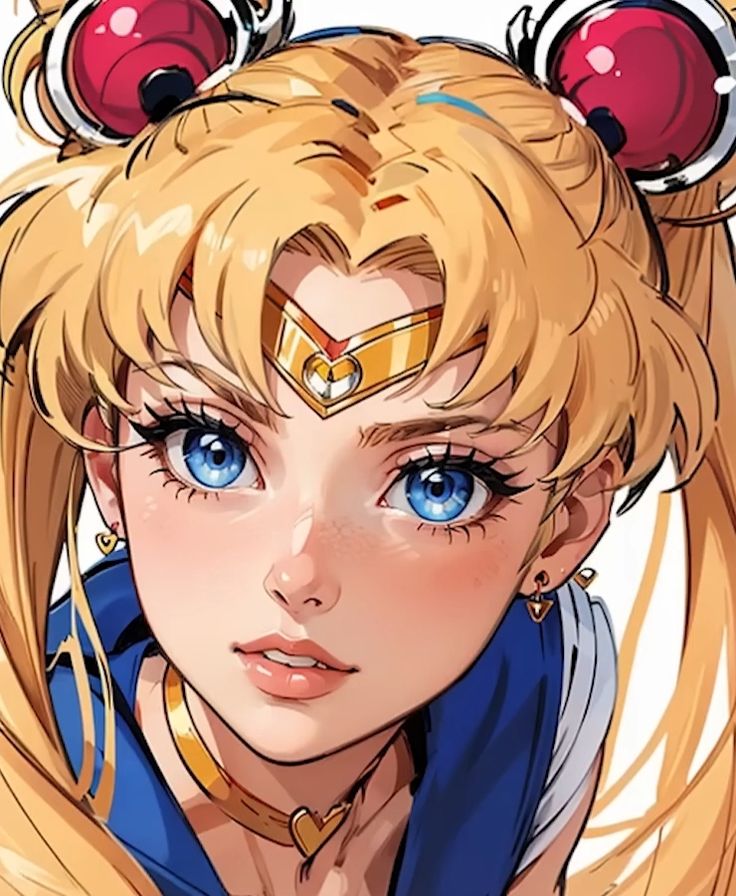
5) Totoro in the Forest
Drawing Totoro in a forest setting can bring a sense of tranquility and whimsy to your artwork. Begin by sketching the outline of Totoro, focusing on his distinct shape and features. Use light pencil strokes to capture his large body, round ears, and friendly expression.
Next, create a vibrant forest background. Include trees with varying heights and widths to add depth. You can layer the foliage using different shades of green. Consider adding details like flowers or mushrooms to enhance the natural environment.
Utilize soft colors for Totoro to make him stand out against the rich greenery. Pay attention to light and shadows to create a three-dimensional effect. This technique helps bring your drawing to life.
Don’t forget to include elements that reflect Totoro’s playful nature. You might depict him interacting with smaller forest creatures or holding his iconic leaf umbrella. These details will add charm to your piece.
Experiment with different drawing styles, whether it’s pencil, ink, or digital. This flexibility allows you to express your creativity while capturing Totoro’s essence in the enchanting forest setting.
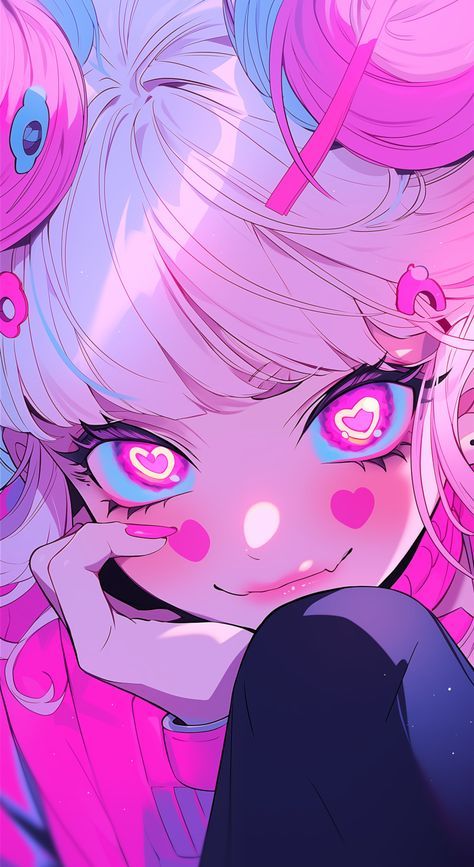
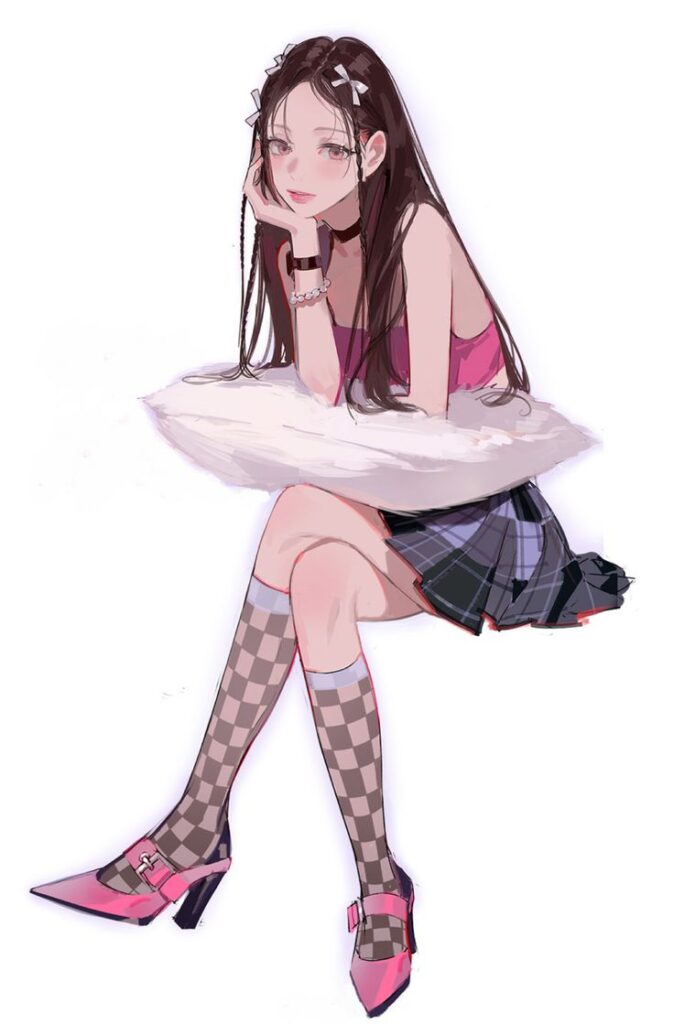
Anatomy Of Anime Characters
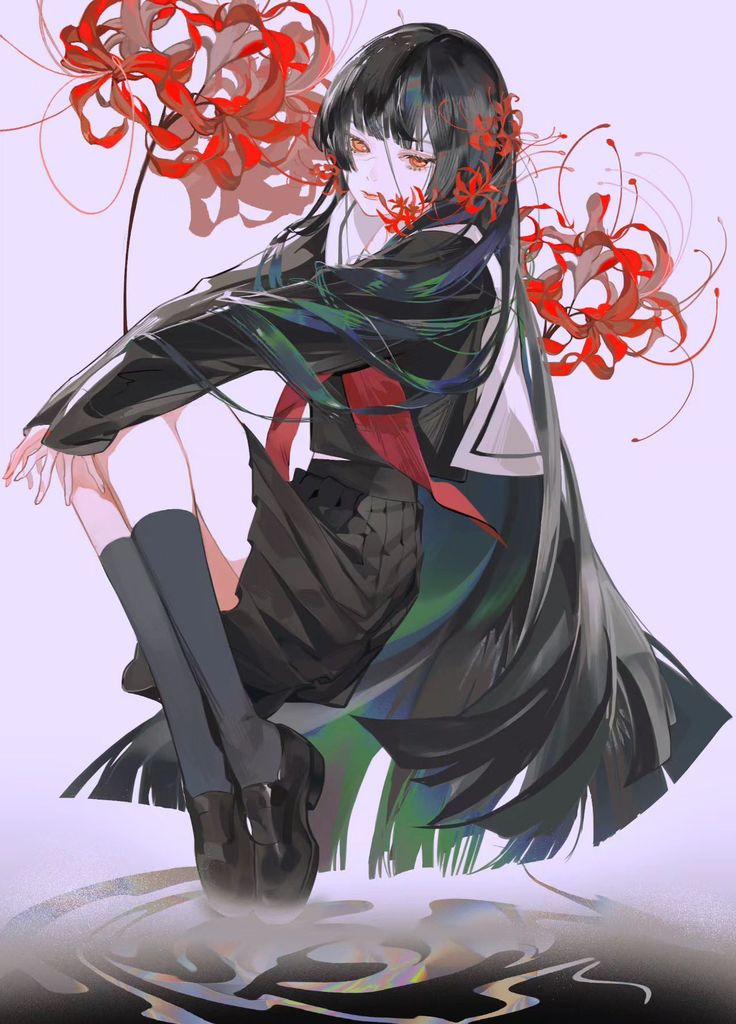
Understanding the anatomy of anime characters is crucial for creating distinctive and relatable designs. This includes mastering proportions and guidelines, as well as capturing facial features and expressions.
Proportions and Guidelines
Proportions are fundamental in establishing your character’s appearance. Anime characters often have exaggerated proportions compared to realistic figures. For instance, the head may be larger in proportion to the body, especially in chibi styles.
Consider the following common guidelines:
- Head-to-Body Ratio: Typical ratios range from 1:6 to 1:8, with more stylized characters having heads that are nearly half their height.
- Limbs: Keep limbs slightly shorter and stylized. Elongated arms and legs can enhance a character’s aesthetic appeal.
- Body Shape: Vary shapes based on character type. Heroic figures often have broad shoulders while cute characters maintain softer, rounded forms.
Facial Features and Expressions
Facial features in anime play a critical role in character identity. Pay attention to eye shape, size, and placement, as they convey emotions effectively.
- Eyes: Large, expressive eyes are characteristic of anime. They can show innocence, anger, or joy, depending on the pupil shape and highlight position.
- Mouths and Noses: Keep noses minimalistic; often, a simple line suffices. Mouths vary from small dots to expressive shapes reflecting the character’s mood.
- Expressions: Use exaggerated features to evoke emotions. For example, raised eyebrows and open mouths can signify surprise or excitement.
Mastering these elements will enhance your anime character designs and make them more engaging.
Techniques For Shading And Lighting
Effective shading and lighting techniques can greatly enhance your anime drawings. By incorporating depth through shadows and dynamic highlights, you can bring a new level of realism and interest to your artwork.
Creating Depth With Shadows
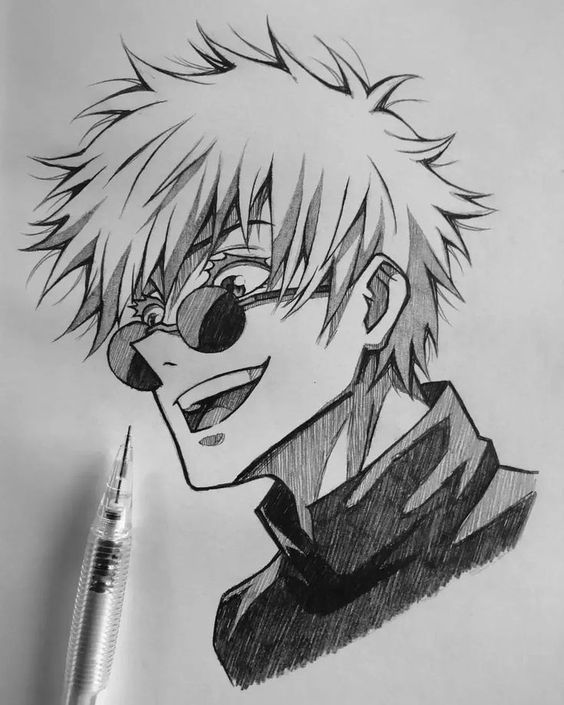
Shadows are essential in creating the illusion of depth. Start with identifying your light source, as this will dictate where shadows will fall. Use softer pencils or gradation techniques to achieve varying intensities of shadows.
Focus on areas where light is obstructed. Common shadow regions include under the chin, behind the ears, and along the sides of the nose. Utilize blending tools, like a stump or tissue, for smooth transitions between light and dark.
Remember to consider the shape of your characters. Cast shadows can vary based on the body posture and movement. Adding subtle shadows on clothing folds or hair can also create more realism.
Highlights for Dynamic Effects
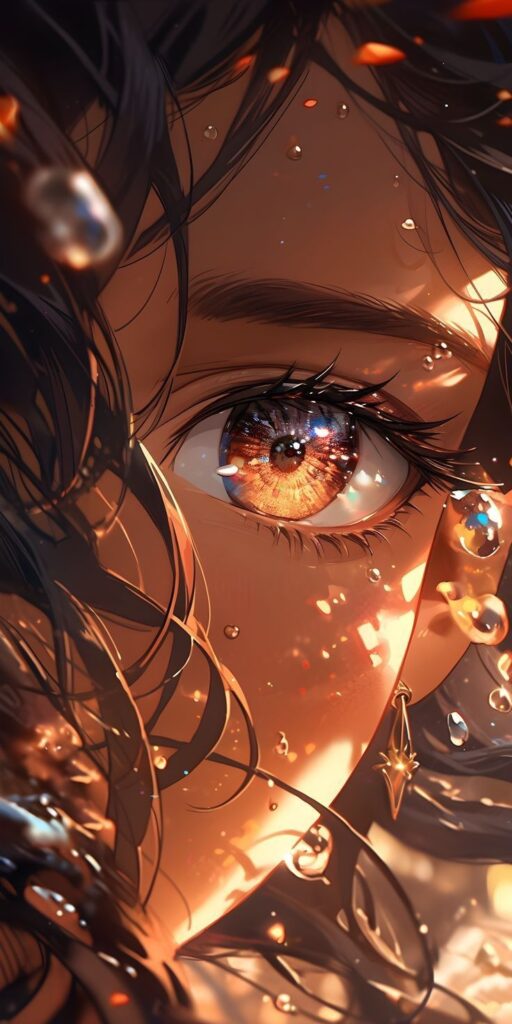
Highlights are vital for emphasizing contours and adding life to your drawings. Identify where the light hits your subject strongest. Use a lighter pencil or even white gel pens to make these areas pop.
Highlights often work best on prominent features like the eyes, hair, and edges of clothing. For hair, use thin lines or dots to mimic light reflection. In terms of eyes, a small white dot can emulate light reflection, making them appear more vivid.
Employing varied highlight sizes can create a dynamic effect, drawing attention to focal points. Experiment with techniques such as stippling or cross-hatching to add texture and interest to your highlights.
- 965shares
- Facebook0
- Pinterest965
- Twitter0
