Digital illustration gives you flexibility and control that traditional tools can’t always match. You can sketch, refine, and experiment without worrying about wasting materials, and each technique you learn helps you create cleaner, more polished artwork. With the right approach, you can improve your process, save time, and bring your ideas to life more effectively.
You’ll discover practical ways to plan your compositions, organize your workflow, and use tools that make editing easier. Each tip focuses on building skills that translate into stronger illustrations, whether you want to sharpen details, explore color, or speed up your process.
1) Start with a rough sketch to plan your composition
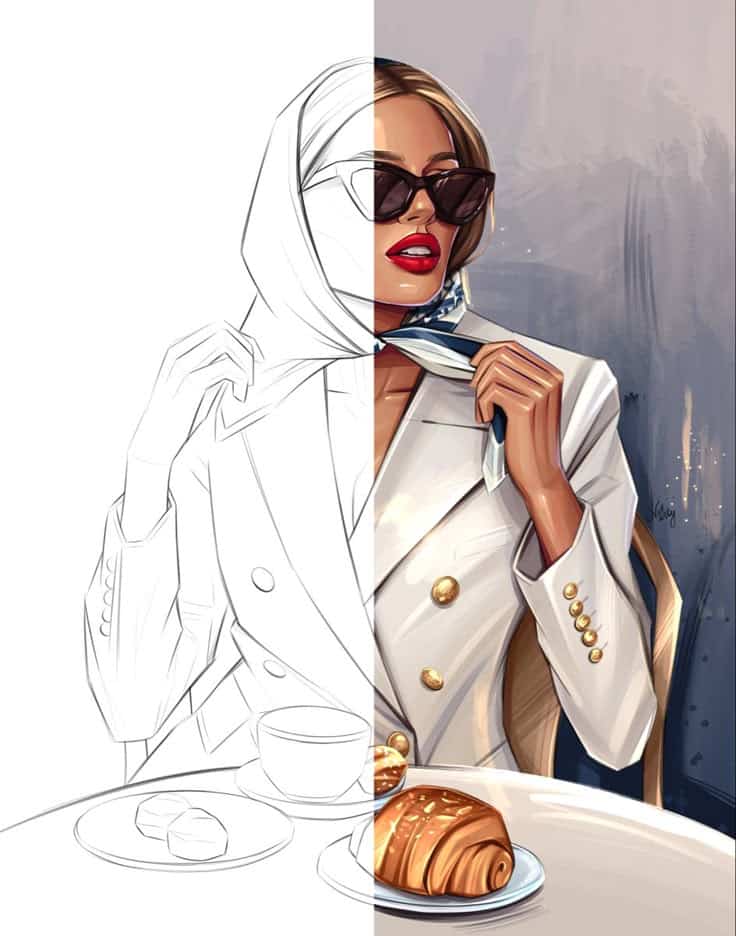
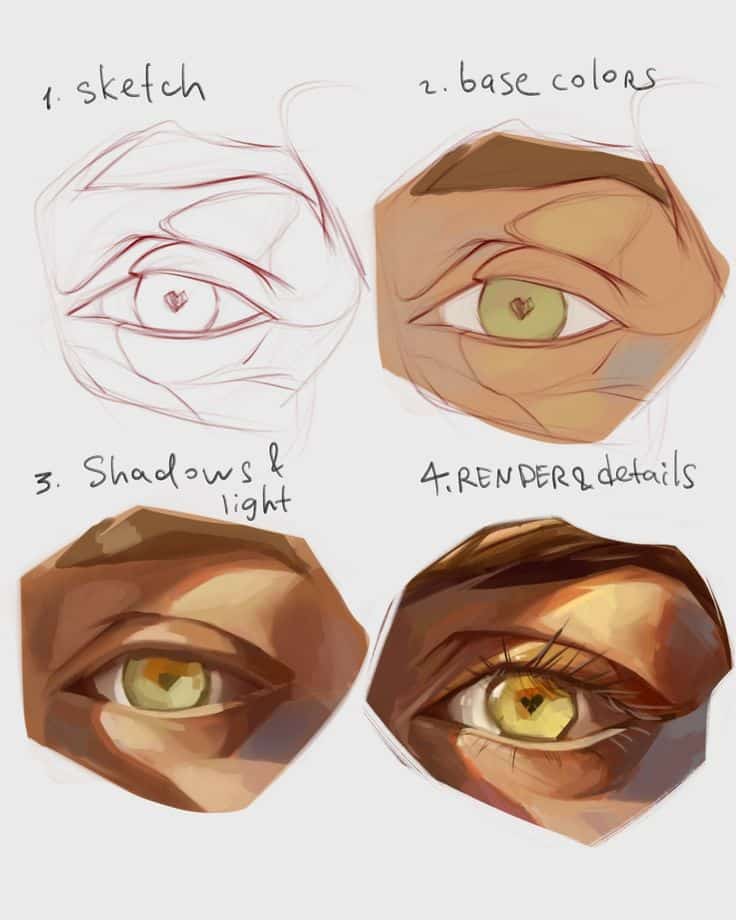
When you begin a digital illustration, it helps to start with a rough sketch. A loose drawing lets you place shapes, figures, and objects without worrying about small details. This step gives you a clear idea of how everything will fit together.
You can use simple lines and shapes to block in the main parts of your artwork. Think about where the subject will go, how much space it takes, and how it relates to the background. This makes it easier to adjust before you commit to a final version.
Lowering the opacity of your rough sketch and drawing on a new layer can keep your work organized. This way, you can refine your lines while still keeping the original sketch as a guide.
Planning composition early also helps you avoid awkward spacing or unbalanced layouts. By sketching first, you save time and reduce the need for major corrections later.
2) Use layers to separate different elements for easy editing
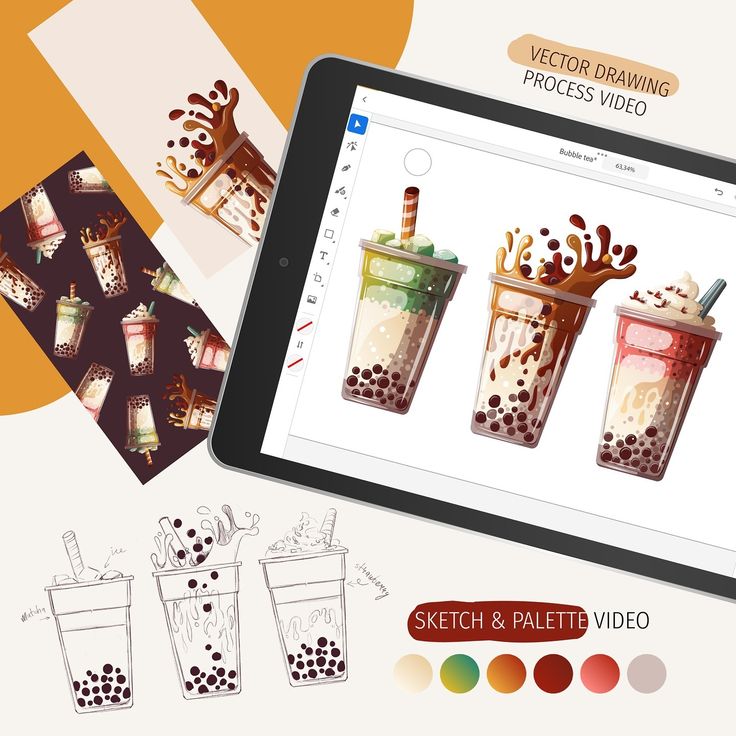
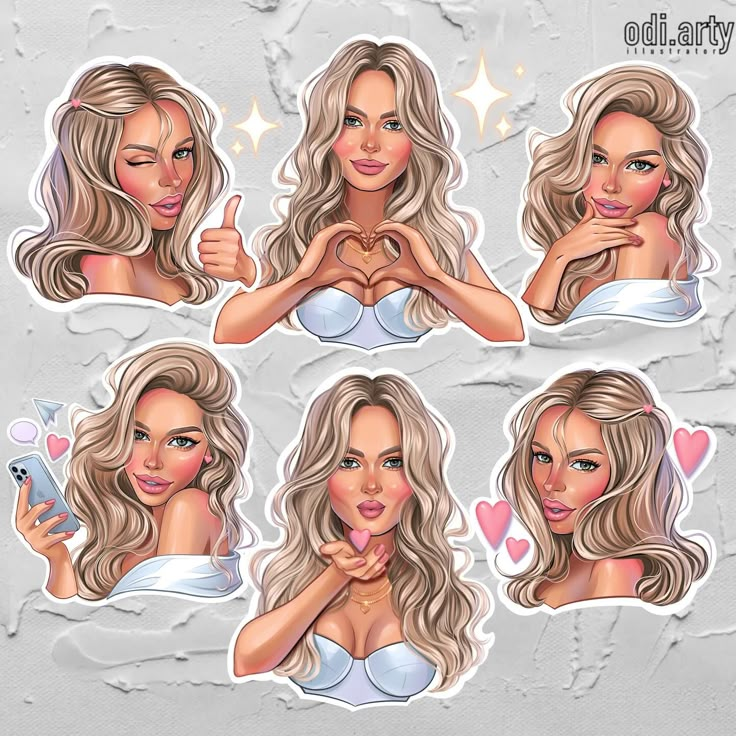
When you draw digitally, layers let you keep different parts of your artwork separate. You can place line art, colors, and shading on individual layers instead of stacking everything on one. This makes it easier to adjust details without disturbing the rest of your work.
For example, you might keep the background on one layer, the character on another, and highlights on a separate layer. If you want to change the background color, you can do it quickly without affecting the character. This saves time and reduces mistakes.
Naming and grouping your layers also helps keep things organized. When a project has many elements, clear labels and folders prevent confusion. You’ll spend less time searching for the right layer and more time focusing on your art.
You can also rearrange layers to test different compositions. Moving one element above or below another changes how they interact visually. This flexibility gives you more control when refining your illustration.

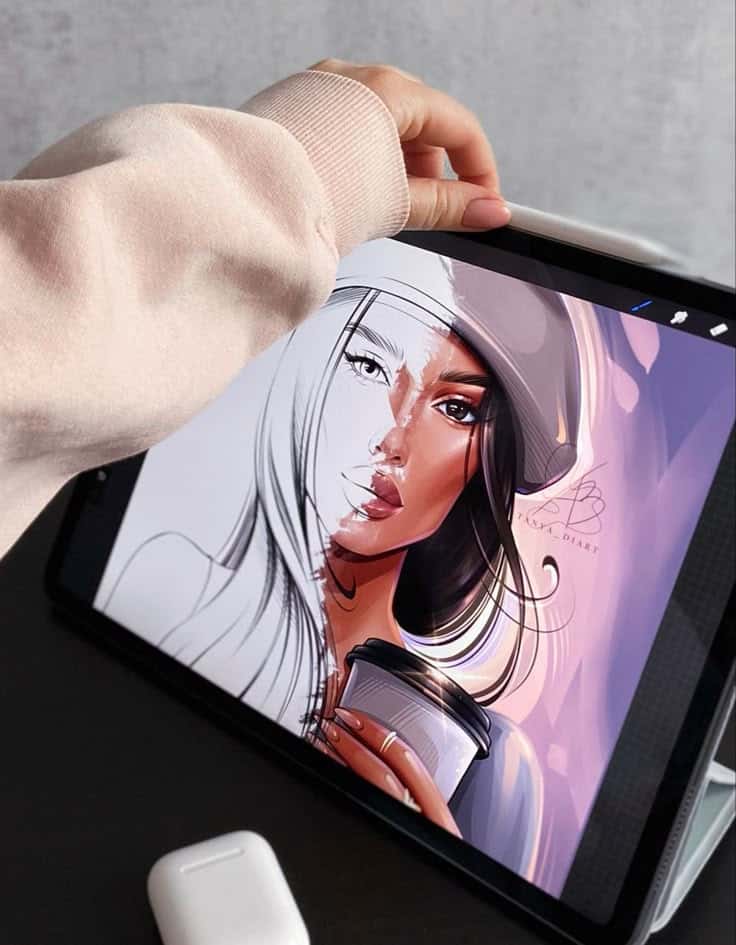
3) Experiment with custom brushes for unique textures
Custom brushes let you move beyond the default tools and create marks that feel more personal. You can design brushes to mimic traditional media like pencils, ink, or paint, or build entirely new textures that suit your style.
When you adjust brush settings, you control size, flow, and shape dynamics. These small tweaks can change how strokes look and help you add depth or softness where you need it.
You can also save your favorite custom brushes to build a library. Having your own set ready makes it easier to keep consistency across your illustrations while still giving you flexibility.
Experimenting with different textures can help you capture surfaces such as fabric, stone, or wood. By layering these brushes, you add variety and visual interest without manually drawing every detail.
Take time to test brushes in different scenarios. A brush that works well for shading might not be ideal for line work, so exploring options helps you discover the right tool for each part of your artwork.
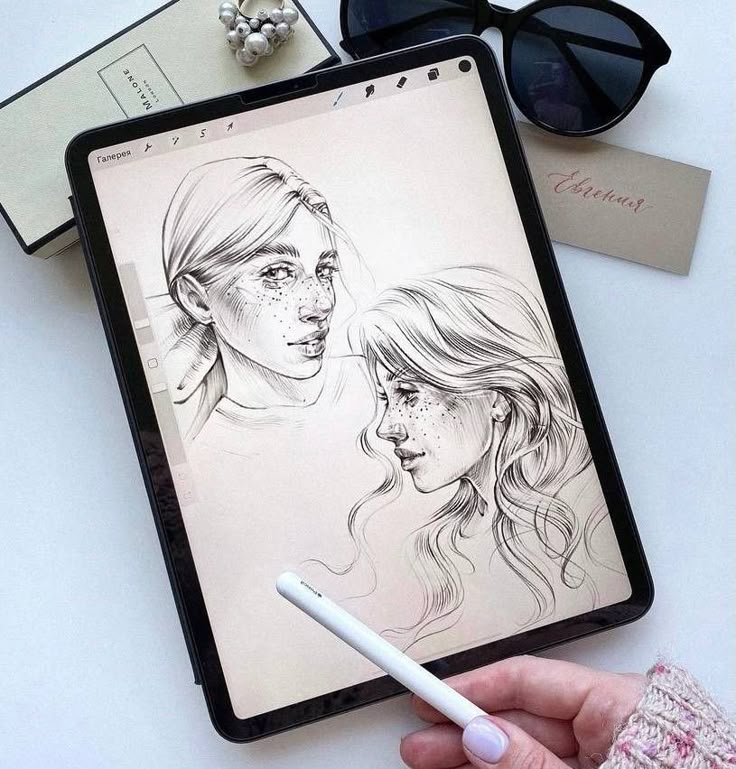

4) Master color theory to create harmonious palettes
When you understand color theory, you can make better choices about how your artwork feels and looks. The color wheel helps you see relationships between hues and gives you a clear starting point for building palettes.
You can experiment with complementary colors to create strong contrast or use analogous colors for a softer, more unified look. Triadic and split-complementary schemes also give you balanced options without relying on guesswork.
Pay attention to saturation and value, not just hue. Adjusting brightness or intensity can make certain elements stand out while keeping the overall palette consistent.
Using color strategically lets you guide the viewer’s attention and set the mood of your illustration. A thoughtful palette makes your work more cohesive and easier to connect with.

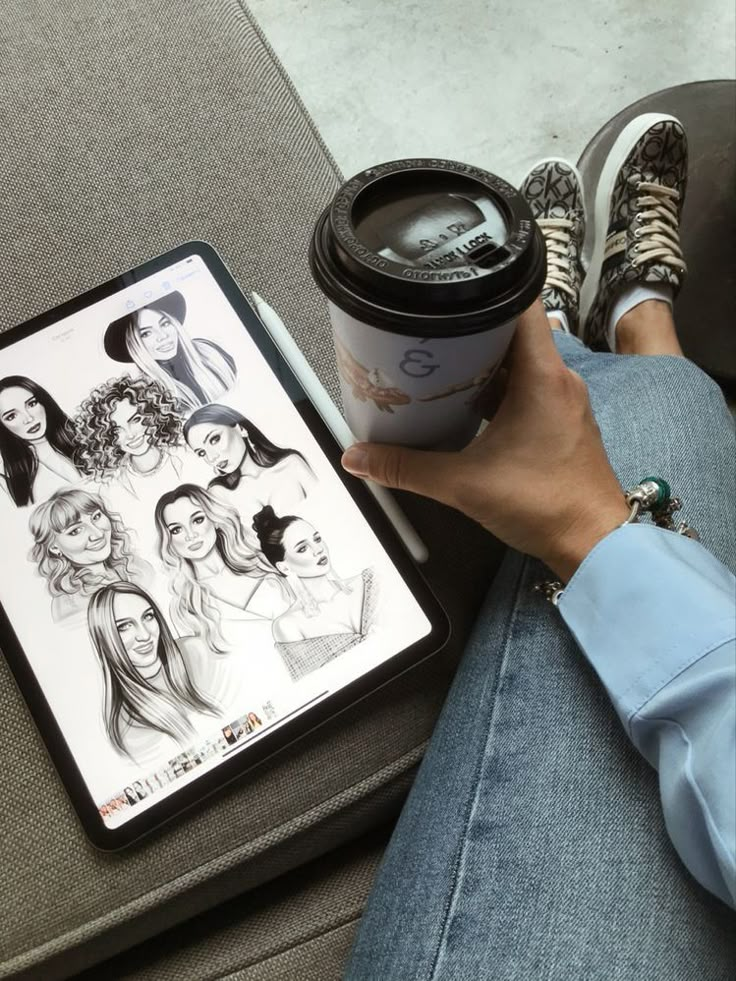
5) Utilize clipping masks to keep colors inside lines
Clipping masks help you control where your colors appear without worrying about painting outside the lines. You place your color layer above the line art or base shape, then set it as a clipping mask so the color only shows within that shape.
This technique works well for shading and highlights. You can add depth by creating multiple clipped layers, each with different blending modes or opacity levels, while keeping everything neatly contained.
Clipping masks also make experimenting easier. Instead of erasing mistakes, you can adjust or repaint clipped layers without affecting the rest of your artwork.
You can use them in most digital art programs like Photoshop, Illustrator, Clip Studio Paint, or Procreate. Once you get comfortable with the process, you’ll find it speeds up your workflow and keeps your illustrations clean.
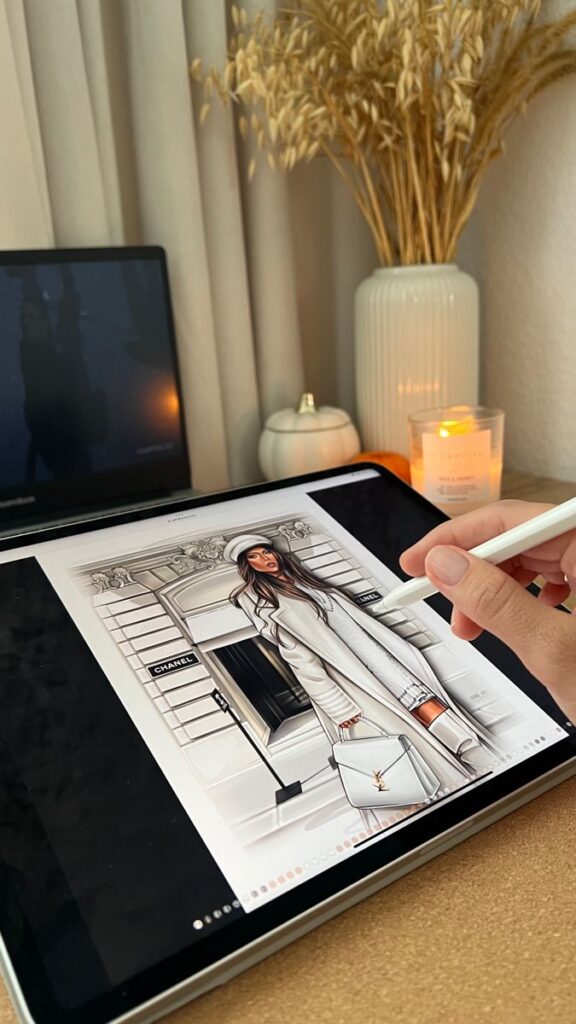

6) Zoom in for detailed work but zoom out frequently to check overall balance
When you zoom in, you can focus on precise details like line edges, textures, or small color adjustments. This helps you refine areas that might look rough at a normal view.
However, staying zoomed in too long can make you lose track of how the piece fits together. You may overwork details that won’t even be noticeable once the artwork is viewed at full size.
Zooming out lets you see how shapes, colors, and spacing interact across the whole canvas. This quick check helps you catch issues with proportion or composition before they become harder to fix.
Try switching between zoom levels regularly while you work. This habit keeps you from getting stuck in one perspective and helps you maintain better control over your illustration.
You can use shortcuts like holding Alt/Option with the mouse wheel or using the Zoom tool to move back and forth quickly. The faster you can switch, the easier it is to stay in rhythm while drawing.
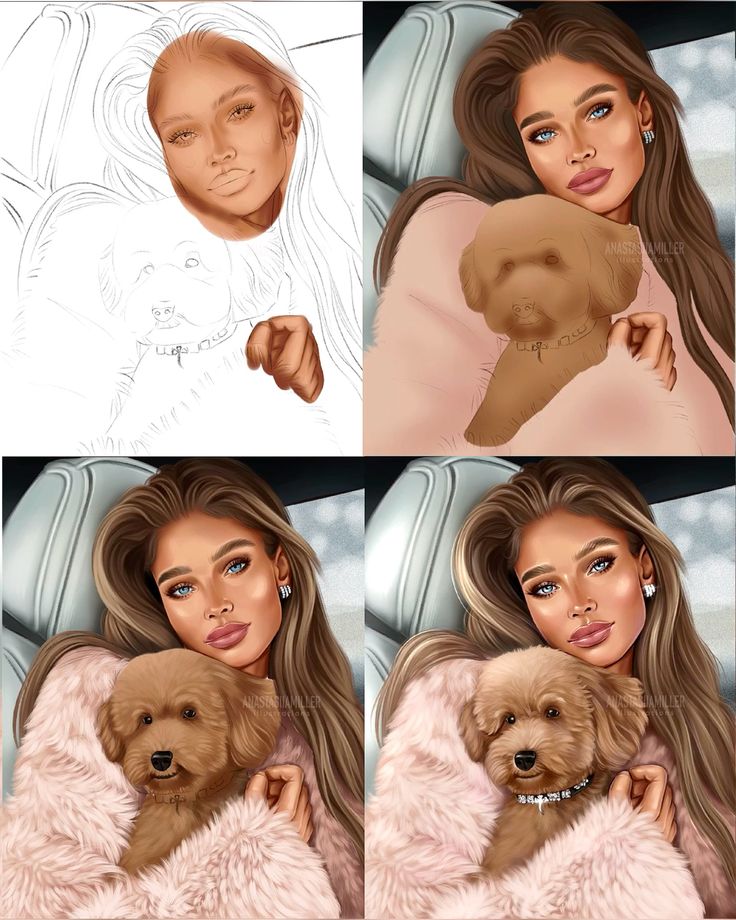

7) Practice shading and lighting to add depth
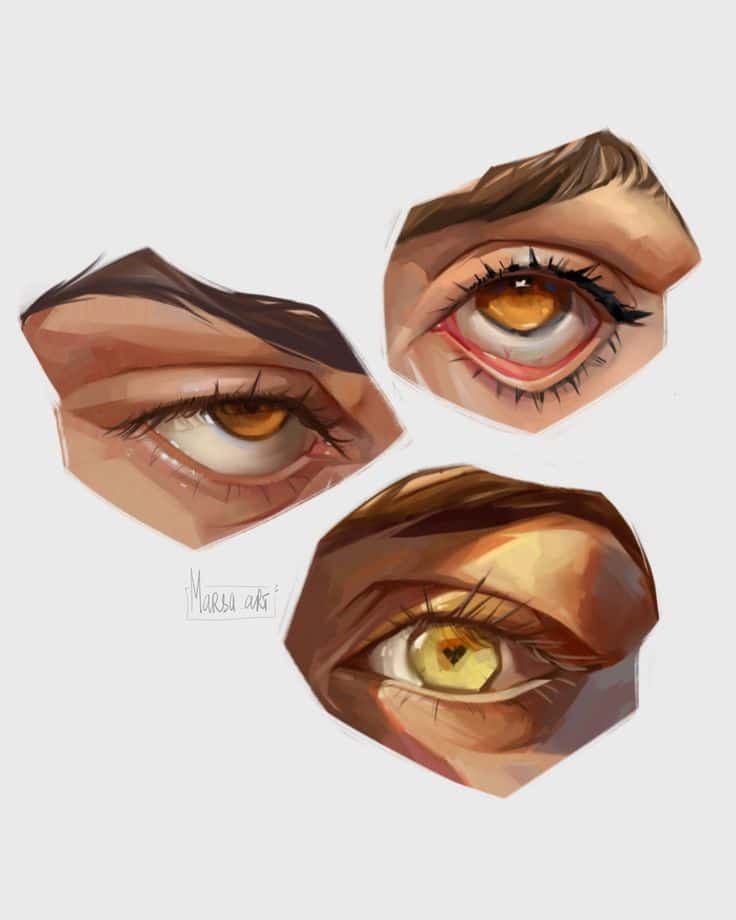
When you practice shading, you learn how light interacts with forms. This helps you show volume and make objects feel more three-dimensional. Even simple shapes like spheres or cubes are great for testing how shadows fall.
Pay attention to the light source in your drawing. Decide where it comes from and keep it consistent. This makes your work look more natural and believable.
Experiment with different shading techniques such as soft gradients or harder edges. Each method creates a different effect and can change the mood of your illustration.
Try using layers and blend modes in your digital tools. For example, a Multiply layer can help you create shadows without affecting your base colors.
Practice often with simple objects before moving to complex scenes. Over time, you’ll build confidence in placing highlights and shadows where they feel most convincing.
8) Use reference images to improve accuracy and inspiration
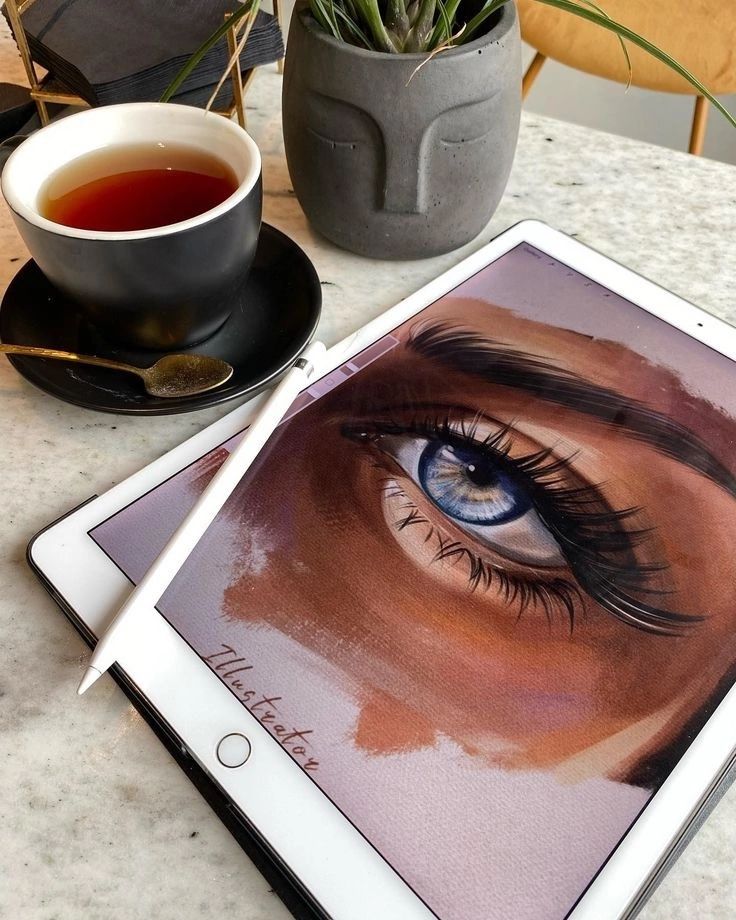
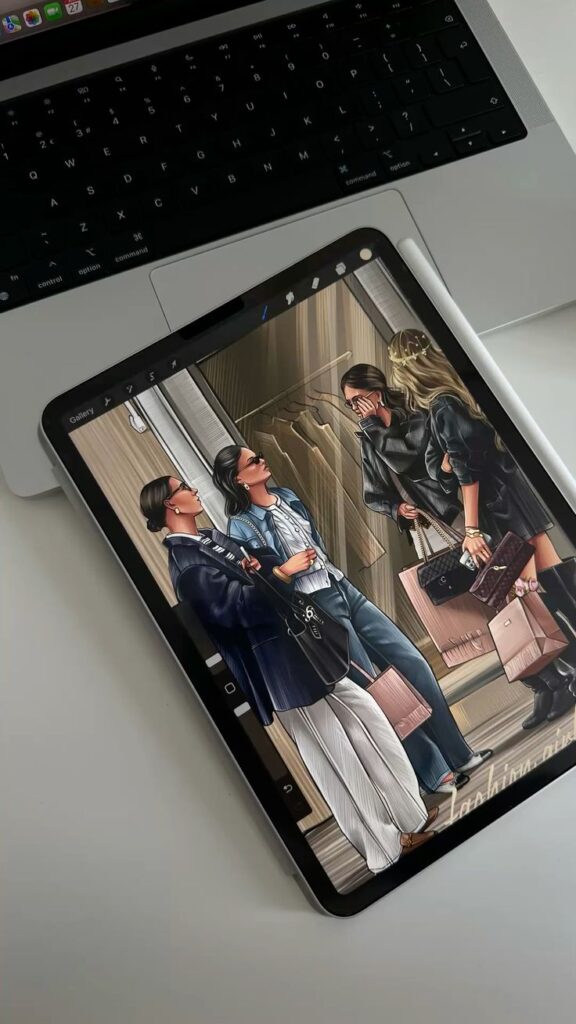
When you use reference images, you give yourself a reliable guide for proportions, shapes, and details. This helps you avoid common mistakes and makes your drawings look more accurate.
References also act as a tool for inspiration. You can study how light, texture, or color works in real life and then adapt those elements into your own style.
Instead of copying a photo exactly, try combining details from multiple sources. This approach keeps your work original while still grounded in reality.
You can also use references to practice areas you find challenging, such as anatomy, perspective, or complex objects. Over time, this builds your visual memory and speeds up your drawing process.
Keep your references organized so you can easily return to them later. A simple folder on your computer or a digital board can save you time and keep your workflow smooth.
9) Learn keyboard shortcuts to speed up your workflow
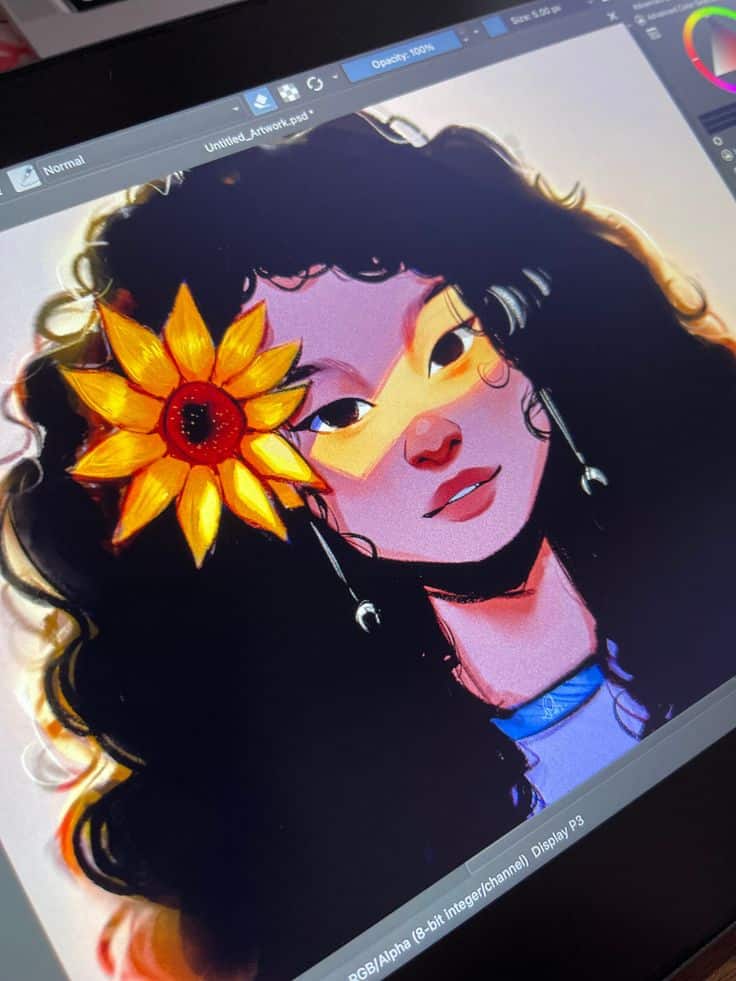
Using keyboard shortcuts helps you work faster in digital illustration by cutting down the time spent searching through menus. Instead of clicking multiple times, you can perform common actions with just a few keys.
You’ll find shortcuts especially useful for tasks you repeat often, like switching tools, zooming, or duplicating objects. Once you get used to them, these actions become second nature and save you noticeable time.
Most illustration software, including Adobe Illustrator and Photoshop, comes with built-in shortcuts. You can also customize them to match your own habits, which makes your workflow smoother and more personal.
Start by learning a few essential shortcuts rather than trying to memorize them all at once. As you practice, you’ll naturally add more to your routine and feel more comfortable navigating your tools.
By making shortcuts part of your daily process, you free up more focus for the creative side of your work instead of spending energy on repetitive clicks.
10) Explore vector tools in Adobe Illustrator for crisp lines
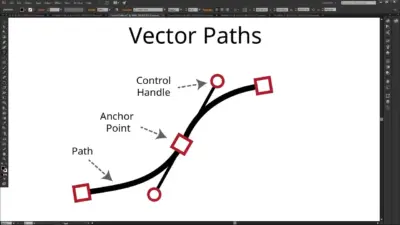
You can achieve clean and scalable artwork by using Illustrator’s vector tools. Since vectors don’t lose quality when resized, your lines stay sharp whether you design for a small icon or a large poster.
Start with the Pen Tool if you want precise control. It lets you place anchor points and adjust curves, giving you accuracy when shaping paths.
The Curvature Tool offers a more intuitive approach. Instead of plotting every curve manually, you can click to add points and let Illustrator smooth the path for you.
For quick shapes, the Shape Builder Tool helps you combine or subtract forms. This makes it easy to refine outlines without switching between multiple tools.
Brushes and stroke settings also play a role in line quality. You can adjust weight, style, and pressure to create lines that feel hand-drawn but remain vector-based.
Experiment with layers and guides to keep your artwork organized. This helps you align lines properly and avoid uneven results.
By practicing with these tools, you’ll gain confidence in creating crisp, professional-looking illustrations that work across digital and print formats.
Understanding Digital Illustration Tools
Your creative process depends on both the software you work in and the hardware you use to bring your ideas to life. The right combination helps you work efficiently, maintain precision, and adapt to different illustration styles.
Choosing the Right Software
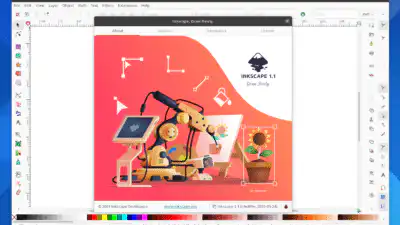
Your software choice shapes how you draw, paint, and refine your work. Programs like Adobe Photoshop and Illustrator remain industry standards because of their extensive tools for raster and vector art. If you want a more affordable option, Procreate on iPad or Krita on desktop are popular among beginners and professionals.
Each program has strengths. Photoshop excels at detailed painting and texturing, while Illustrator is best for crisp vector-based designs. Procreate offers an intuitive interface and responsive brushes, making it ideal for sketching and painting on the go.
When deciding, consider factors like cost, compatibility with your hardware, and whether you need features like animation, 3D tools, or cloud syncing. A simple table can help compare:
| Software | Best For | Platform | Cost Model |
|---|---|---|---|
| Photoshop | Digital painting, edits | Windows/Mac | Subscription |
| Illustrator | Vector graphics | Windows/Mac | Subscription |
| Procreate | Sketching, painting | iPad | One-time purchase |
| Krita | Free painting tools | Windows/Mac/Linux | Free |
Essential Hardware for Illustrators
Your hardware determines how comfortably and accurately you can draw. A drawing tablet with a stylus is the most important tool, offering pressure sensitivity and natural hand movement. Entry-level tablets like Wacom Intuos are affordable, while advanced options like Wacom Cintiq or iPad Pro allow you to draw directly on the screen.
A reliable computer or tablet with enough processing power ensures smoother performance, especially when working with large files. Pay attention to screen resolution and color accuracy if you use a monitor, since these affect how your artwork looks when printed or shared.
Other useful accessories include ergonomic stands, keyboard shortcuts, and stylus nib replacements. These small additions improve comfort and efficiency, helping you maintain consistent quality over long illustration sessions.
Building Your Digital Art Workflow
A reliable workflow helps you stay efficient while reducing mistakes. By setting up a clear workspace and handling your files properly, you can focus more on creating instead of troubleshooting.
Organizing Your Workspace
Start by arranging your digital tools so you can access them quickly. Place your most-used brushes, color palettes, and layers in a way that reduces clicks and menu searching. Many programs let you save custom workspace layouts—use this feature to keep everything consistent.
Keep your layers labeled and grouped. For example:
- Line Art
- Base Colors
- Shadows
- Highlights
This makes editing easier and prevents confusion as your file grows.
Use shortcuts to speed up repetitive actions like switching tools or undoing strokes. You can create a small cheat sheet of hotkeys until you memorize them.
If you use multiple monitors, dedicate one screen to your canvas and another to references or tool panels. This keeps your main workspace clear and distraction-free.
Saving and Exporting Artwork
Save your project in its native file format first (such as PSD, Clip, or AI). This preserves layers and adjustment options for future edits. Then create a separate folder for exported versions to avoid overwriting your original file.
Use clear naming conventions like ProjectName_Version_Date so you can track progress without confusion. For example: Portrait_V2_090325.psd.
When exporting, choose the right file type for the purpose:
- PNG for high-quality web sharing
- JPEG for smaller file size
- TIFF or PSD for print and professional use
Always check resolution before exporting. A minimum of 300 DPI works best for print, while 72 DPI is enough for online sharing.
Finally, back up your work. Use cloud storage or an external drive so you don’t lose progress if something goes wrong with your main device.
- 74shares
- Facebook0
- Pinterest74
- Twitter0
- Reddit0
