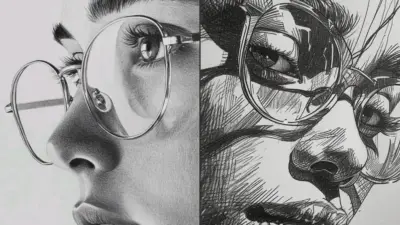
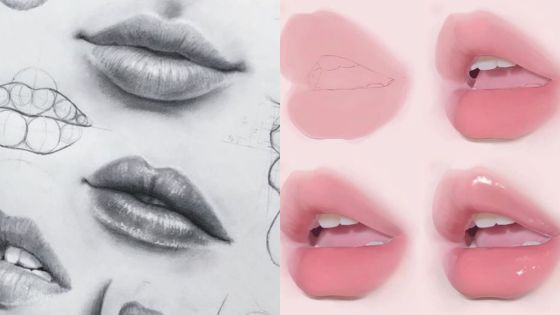
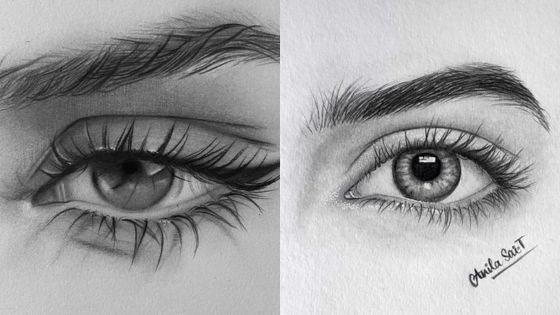
You can learn to draw Digital Portraits on iPad with just a few tools and some clear steps. Even if digital art seems new, it’s not as intimidating as it may appear.
With the right app, a responsive stylus, and a few core techniques, you’ll move from sketching basic shapes to creating lifelike faces faster than you expect.
This post guides you through selecting apps, setting up your workspace, mastering proportions, and incorporating color and texture. The goal? To help your portraits feel personal and polished.
Expect easy steps, practical tips, and exercises you can squeeze into short practice sessions. You’ll see progress before you know it.
Getting Started with Portrait Drawing on iPad
You’ll need a few specific tools, a good stylus choice, and a tidy workspace to start strong. Focus on a responsive tablet and an Apple Pencil or similar stylus.
Set your screen for drawing comfort. Don’t underestimate how much this matters if you’re working for more than a few minutes at a time.
Essential Tools and Devices
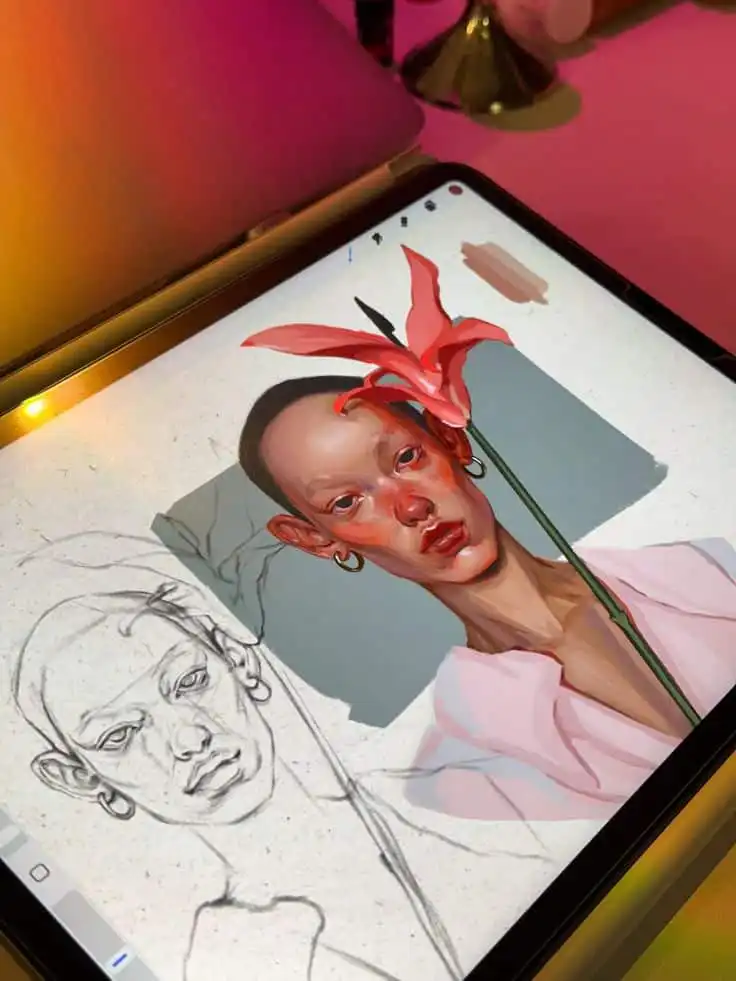
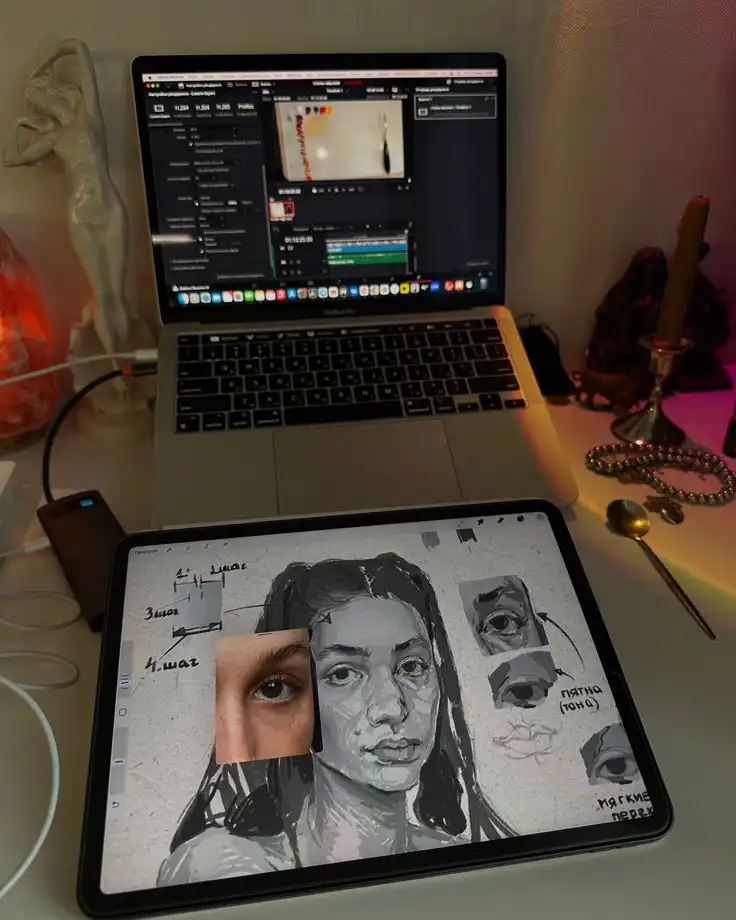
Pick an iPad that handles layers and high-res canvases without lag. Models with an M1 or M2 chip (or newer) give smoother brush strokes and faster exports.
Go for at least 4GB–8GB of RAM. More RAM means you can work on bigger files and multitask without the iPad slowing down.
Install a drawing app like Procreate or Clip Studio Paint. They offer pressure sensitivity, layers, blend modes, and stabilizers you’ll use a lot.
Keep a backup drive or cloud account (think iCloud or Dropbox) so you don’t lose your work. It’s not fun to lose hours of progress.
Get a screen protector made for drawing if you like paper-like friction. It reduces slip and protects the screen. Not everyone likes it, but it’s worth trying.
Have some replacement tips for your stylus and a small cleaning cloth handy. Smudges and dull tips are more annoying than you’d think.
Choosing the Right Stylus
If you use an iPad, the Apple Pencil (1st or 2nd gen) gives the best pressure sensitivity and tilt control. The 2nd-gen charges wirelessly and snaps on magnetically, which is just plain convenient.
Third-party styluses can work well if they support pressure and tilt. Check compatibility with your iPad and the app before buying.
Look for low-latency models, decent battery life, and replaceable nibs. Test how the stylus feels in your hand. You want a comfortable weight and a nib that matches your style—soft for shading or firmer for detail.
Try the stylus with brushes in your app before you commit. The stroke response really does matter.
Setting Up Your Workspace
Put your iPad where natural light hits from the side. This helps cut down on glare so you’re not squinting at the screen.
Use an adjustable stand so you can change tilt angles. I find 45° works for sketching, and 15°–30° is better for fine details.
Keep your favorite brushes, reference images, and color palettes within one tap in the app. You’ll save time and avoid breaking your flow.
Organize your layers with clear names like “sketch,” “base color,” and “shadows.” It makes edits way less confusing later.
Have a small drawing kit nearby: spare nibs, a charger, a microfiber cloth, and maybe a stylus grip. Sit on a supportive chair and keep your shoulders relaxed. Trust me, your back will thank you.
Selecting the Best Portrait Drawing Apps
Pick apps that give you precise brushes, reliable layer control, and smooth Apple Pencil tracking. Good undo history, customizable brushes, and high-res export options make a big difference.
Procreate Overview for Portraits
Procreate gives you pressure, tilt, and palm rejection tuned for Apple Pencil. You can build custom brush sets for skin texture, hair, and fine details.
Use dual-texture and blending brushes to create soft transitions in skin tones. Layers let you separate base tones, details, and adjustments.
Clipping masks and Alpha Lock help you paint inside shapes without losing edges. The full undo history and quickshape tools make fixing mistakes painless.
Export options include PSD, PNG, and high-res TIFF. That’s handy if you want to print or move files between apps. Time-lapse recording is built in, so you can share your process or just watch your progress.
Sketchbook App Features
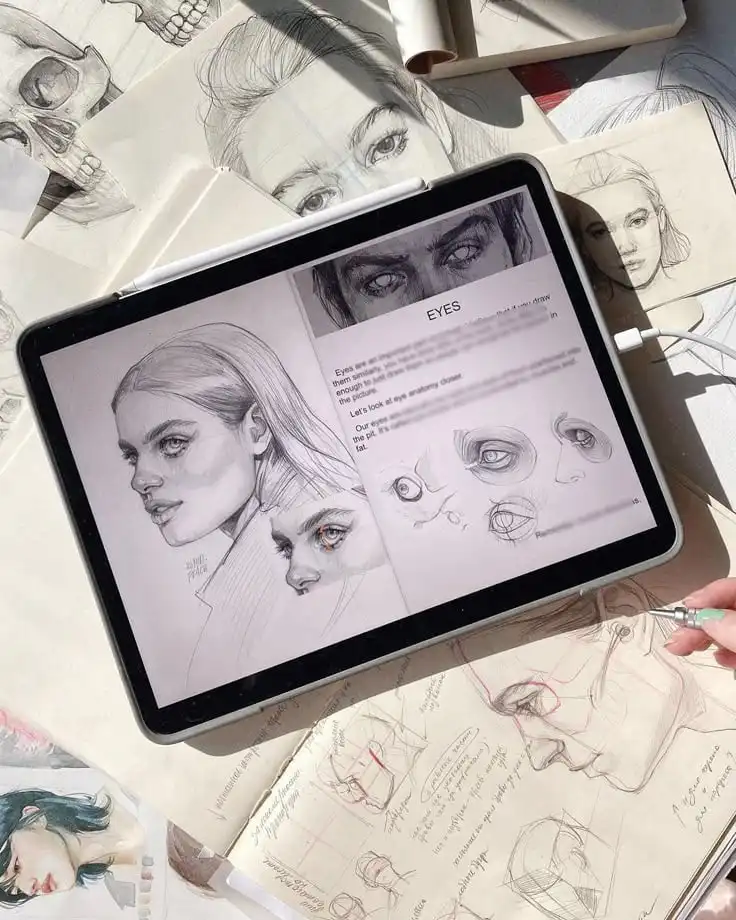
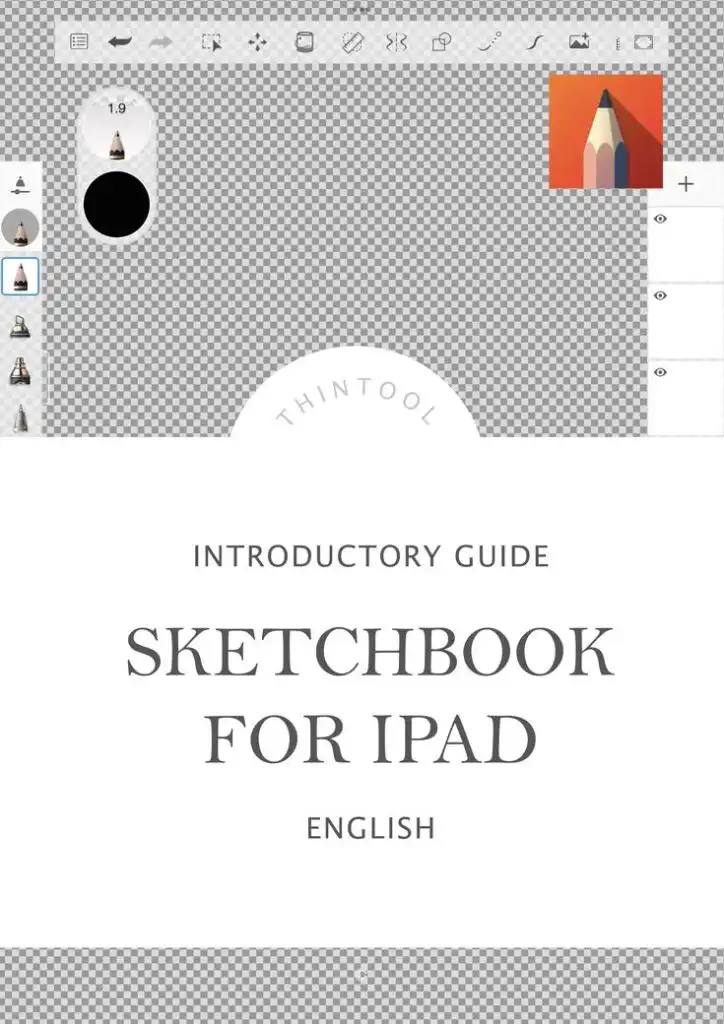
Sketchbook focuses on a natural pencil-and-ink feel with a clean interface. You get a range of pencils, pens, and airbrushes that mimic graphite and marker for tight line work and sketches.
Pressure curves are adjustable, so you can tune stroke weight for portrait contours. The app supports many layers and grouping, plus blending modes you’ll use for shadows and highlights.
Symmetry and ruler tools help you keep facial features aligned. Snapshots let you save a state before heavy edits. Sketchbook exports common formats like PSD and PNG, and it stays lightweight on iPad hardware.
If you start portraits with strong linework or mixed media, Sketchbook’s simplicity keeps you focused on form and value instead of menus.
Exploring ArtRage for Realistic Painting
ArtRage specializes in traditional media simulation for lifelike portraits. Its oil and watercolor tools react to canvas texture and paint thickness, so brush strokes and impasto feel natural.
You can wet a layer, blend with a fingertip or brush, and lift paint—behaviors that mimic real paint handling. Color blending in ArtRage uses actual pigment mixing, which helps when you want subtle skin undertones.
The palette knife and knife blending work well for edges and hair strands. Pressure sensitivity affects paint load and spread, giving you organic-looking transitions.
Layers and tracing paper let you build complex portraits from reference photos. Export in high resolution for printing or PSD for more editing. ArtRage shines when you want a painterly, tactile portrait instead of a purely digital finish.
Fundamentals of Digital Portrait Drawing
You’ll learn clear rules for head shape, face proportions, and layer use that make portraits on iPad more accurate and easier to edit. These steps help you move from rough shapes to a polished illustration.
Understanding Proportions and Head Shape
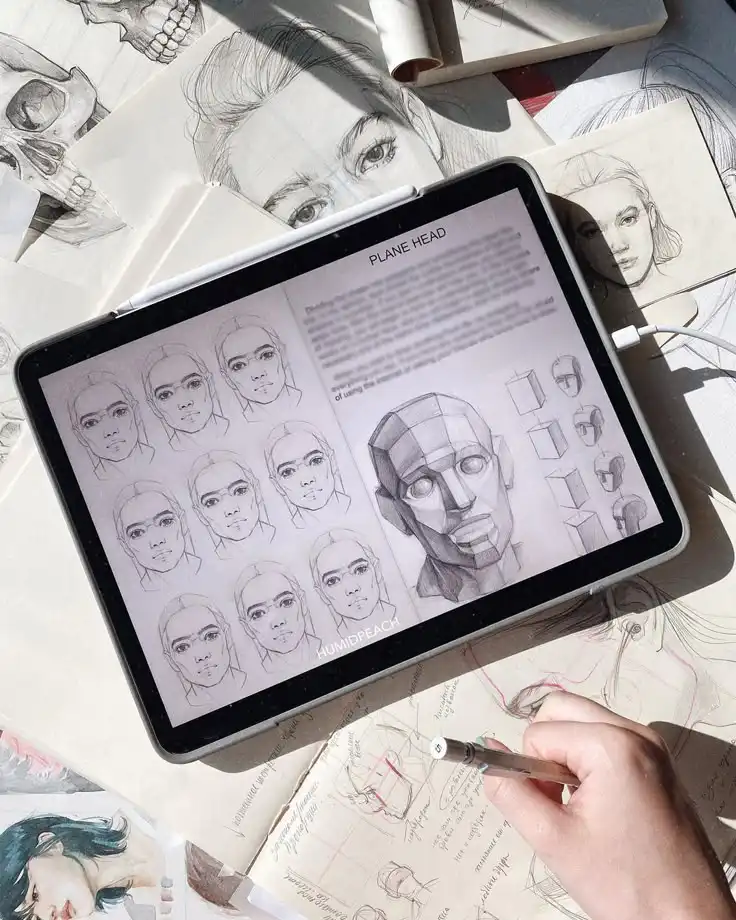
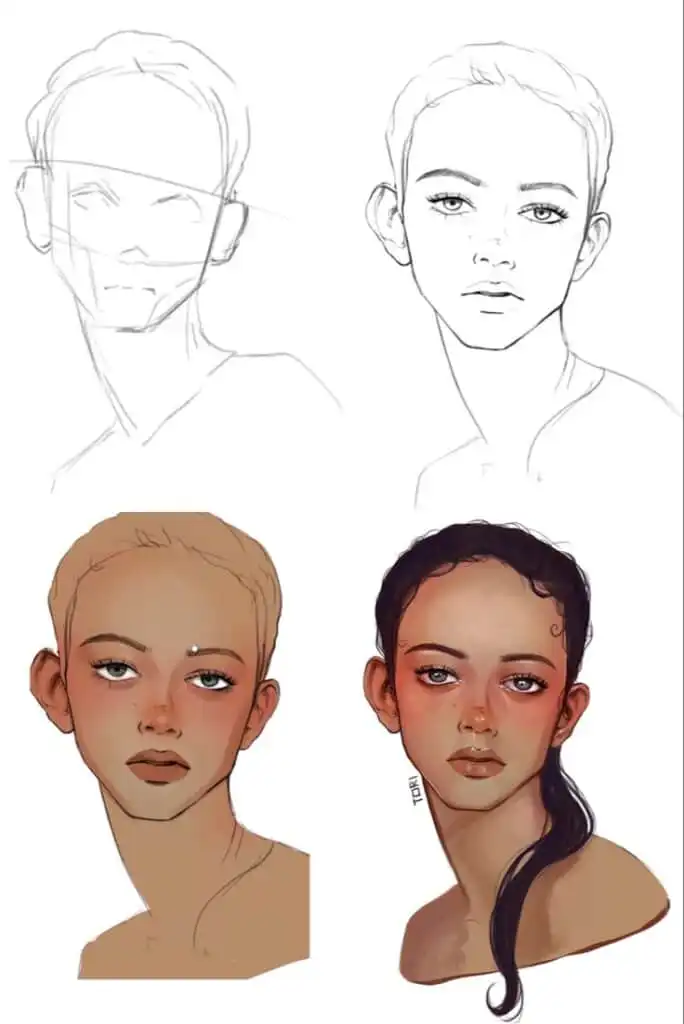
Start by blocking in the overall head shape—oval, square, or heart-shaped—before adding features. Use simple guidelines: a vertical center line for symmetry and a horizontal eye line halfway down the head.
Place the nose line about halfway between the eye line and the chin. The mouth line usually sits about a third below the nose line.
For a three-quarter view, shift the vertical center line toward the nearer side. Shorten the visible ear and remember foreshortening—features compress toward the far side.
Check distances: eyes are about one eye-width apart. The corners of the mouth usually line up under the pupils.
Use light strokes or a separate guide layer for these marks. Hide them later when you move to details.
Keep the jaw, cheekbones, and neck in simple geometric planes first. Adjust proportions quickly before you get into the weeds with details.
Basic Facial Anatomy
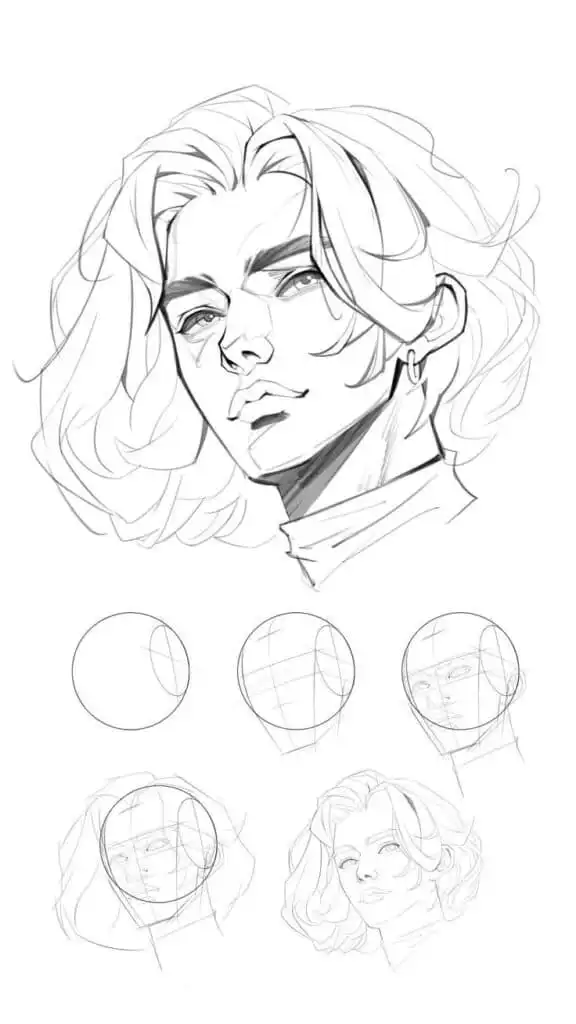
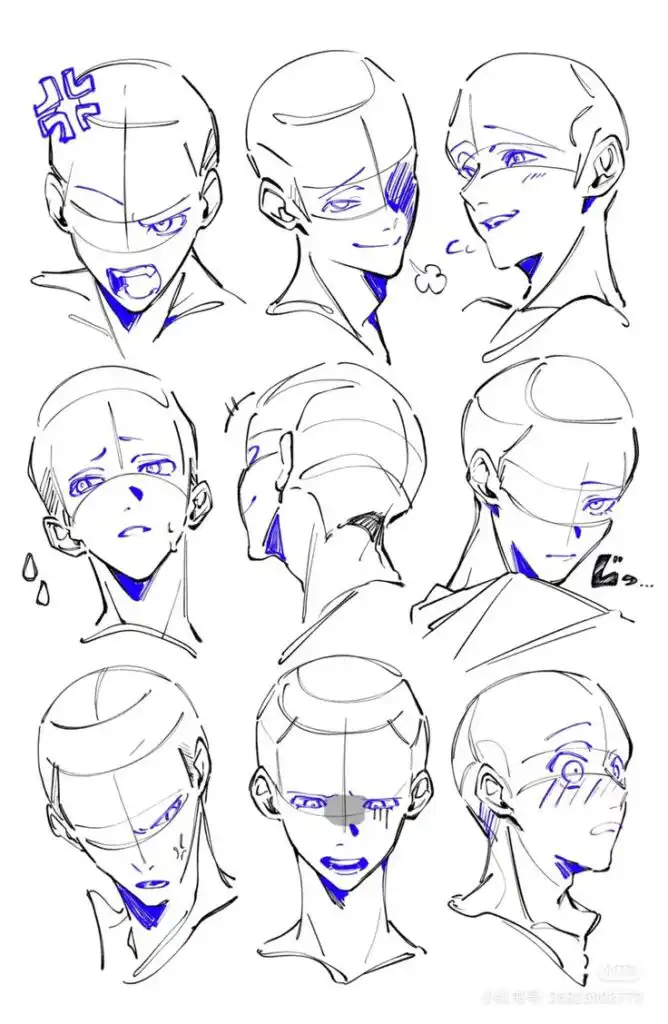
Focus on the planes that give the face structure: forehead, brow ridge, cheekbones, nose bridge, and jaw. Notice where the shadow falls—under the brow, below the nose, under the lower lip, and along the jaw.
Study how the eyelids wrap around the eye sphere and how the lips sit on the curved mouth plane. Pay attention to the feature placement relative to each other.
The iris usually touches the top of the lower eyelid when looking straight on. Ears sit between the eye line and nose line.
In three-quarter view, the far eye narrows, and the far ear moves closer to the head’s edge. Practice quick thumbnail sketches of faces from different angles to get a feel for these relationships.
Use reference photos and trace basic planes if you need a shortcut to understanding how anatomy affects your illustration.
Working with Layers
Use layers to separate tasks: a sketch layer for construction, an outline or ink layer for clean lines, color layers for skin/hair/background, and a highlight/shadow layer set to Multiply or Overlay.
Name layers clearly—“Sketch,” “Outline,” “Skin Base,” “Hair Shade”—so you can hide or edit them fast. Keep the reference photo on its own locked layer at low opacity.
Create clipping masks for color layers so your shading stays inside the shape. Use the alpha lock to paint within a filled area without creating new selection masks.
Group related layers (face, hair, clothing). Play with layer opacity and blending modes to test lighting quickly.
Regularly make a merged copy on a new layer to try different treatments without losing your original layers. It’s a nice safety net.
Step-by-Step Portrait Creation Process
You’ll prepare reference material, set up layers, and choose tools before drawing. Follow the steps to import photos, sketch main shapes, and use tracing methods if you need a steady start.
Importing and Using Reference Photos
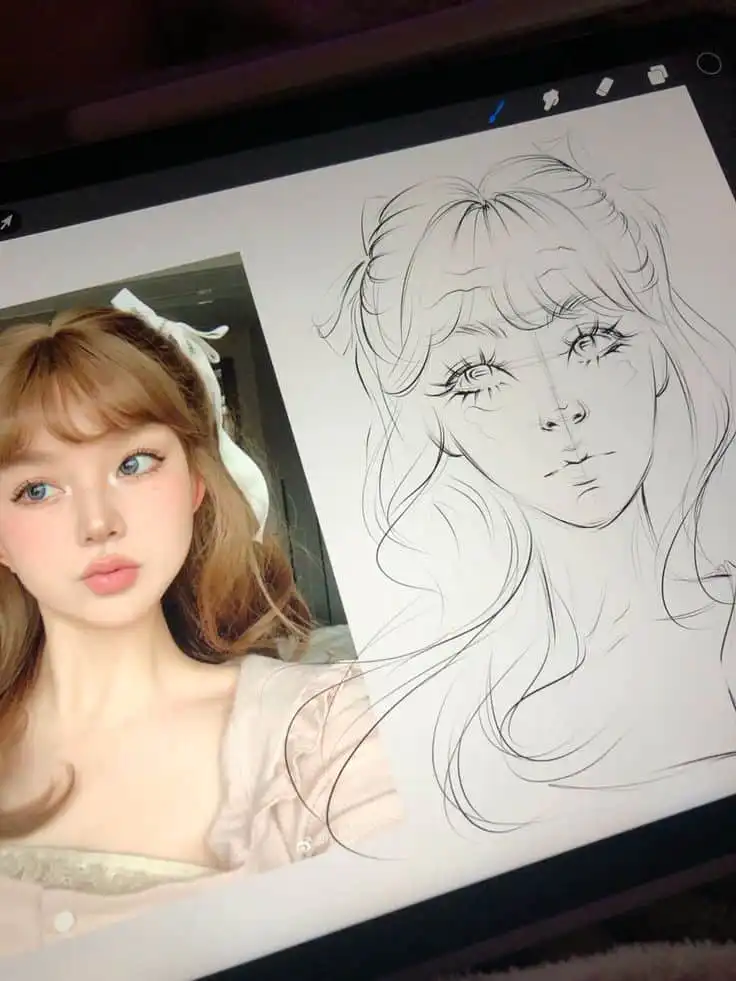
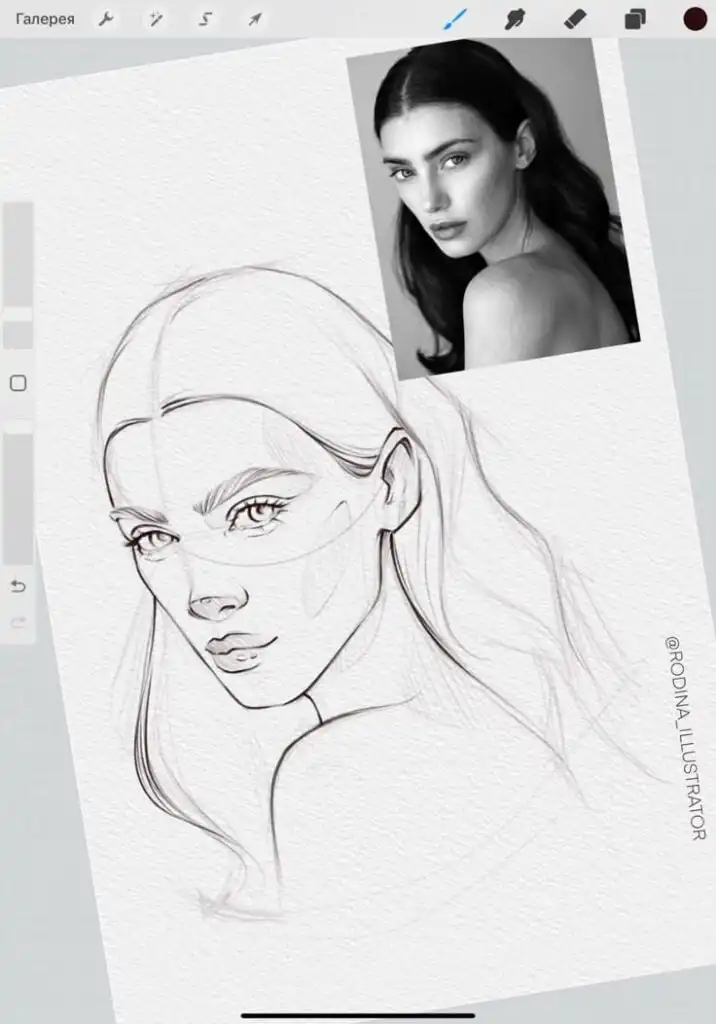
Start by importing a high-resolution photo to your canvas. Use the app’s import or drag-and-drop feature so the image sits on its own layer.
Lock that layer to avoid moving it while you work. Create a new layer above the photo for drawing.
Lower the photo layer’s opacity to 30–50% so you can see shapes without losing contrast. Use the Apple Pencil for precise control when you trace or sample colors.
Crop or rotate the photo first to fix the composition. If the subject is tilted, straighten the photo to keep facial proportions accurate.
Use a grid or the app’s guides to mark the eyes, nose, and mouth lines. Sample colors with the eyedropper to build a palette.
Save common skin tones and shadows as swatches. That speeds up painting and keeps your colors consistent across the portrait.
Sketching the Outline
Begin with a light, loose sketch on a separate layer above your reference. Block in the head shape, centerline, and eye line with simple ovals and lines.
Keep strokes short and confident. Use the Apple Pencil at low pressure with a pencil brush for natural line work.
Focus on placement over detail: eyes, nose, mouth, and ears should match the spacing on the reference. Measure distances with quick horizontal or vertical guide strokes.
Refine the structure in a second sketch layer. Adjust proportions by nudging lines or using transform tools for small corrections.
Erase only on the sketch layer, so you keep earlier versions if you want to compare. Once the outline looks right, lower the sketch layer opacity and create a clean line or value layer above it.
This becomes the base for shading or inking.
Tracing Techniques for Beginners
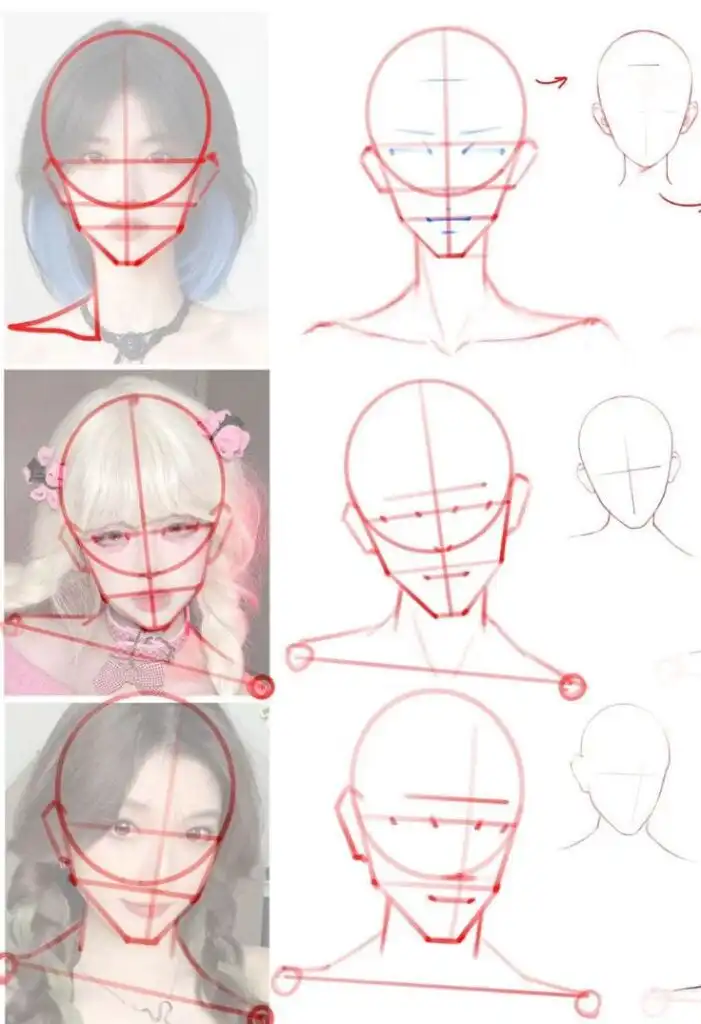
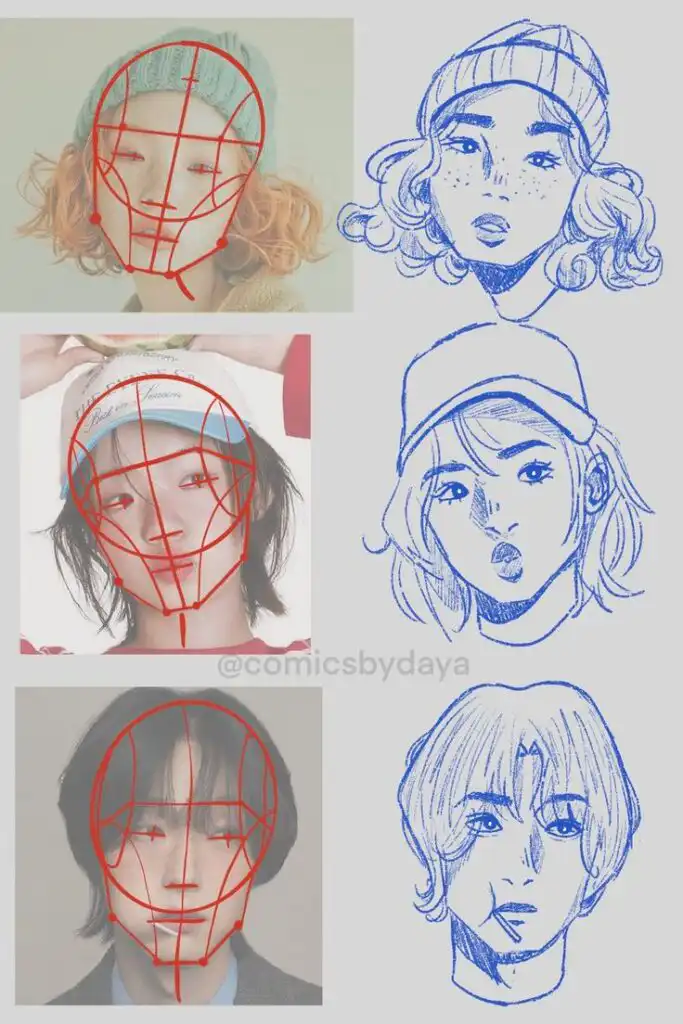
Tracing helps you learn proportions and hand control. Use a low-opacity reference and trace main contours on a new layer with the Apple Pencil.
Aim for single confident strokes rather than lots of small marks. Try two tracing methods: direct trace and overlay trace.
Direct trace follows the photo exactly. Overlay trace simplifies shapes—turn detailed edges into smooth curves to learn the correct planes of the face.
Use the transform tools to fix any distortion after tracing. If you trace multiple times, keep each pass on its own layer so you can compare and pick the best version.
Gradually reduce reliance on tracing by redrawing the traced layer freehand. This builds your observation skills while keeping the safety net of the traced lines.
Adding Color, Texture, and Details
Pick a limited palette that matches your light source and skin tones. Add texture with special brushes and layer modes to build realistic skin, hair, and fabric.
Use subtle highlights and blended shadows to build form, but don’t overwork the portrait. It’s easy to get carried away, so step back often.
Choosing Color Palettes
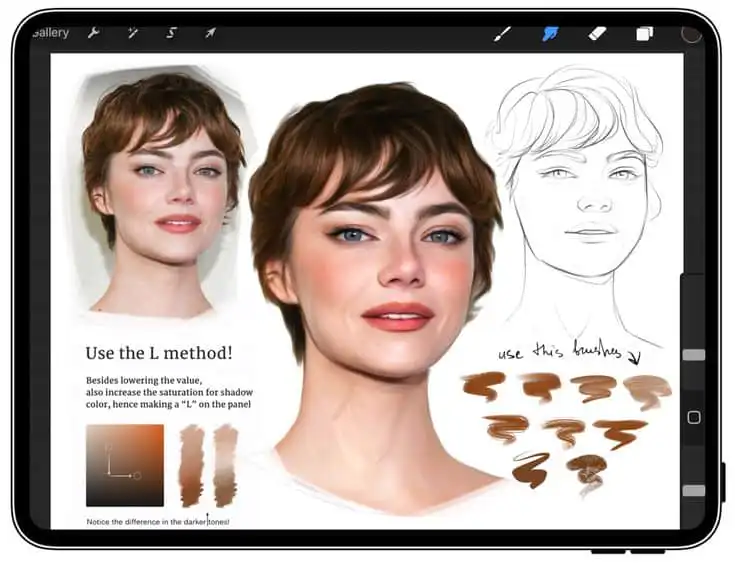
Start with three base colors: mid-tone skin, shadow, and highlight. Sample from the reference and save them in a palette—Procreate makes swatch creation pretty painless.
Add two accent colors for lips and eyes to keep things harmonious. Limit saturation in shadow areas and boost it where light hits the skin.
Try cool tones for shadows and warm ones for direct light to add depth. Work on a separate color layer above your sketch so you can adjust hue and opacity without messing up your lines.
Organize your palette by region: skin, hair, clothing, background. Naming swatches or grouping them in Procreate saves time when you need to tweak a single area later.
Using Texture Brushes for Realism
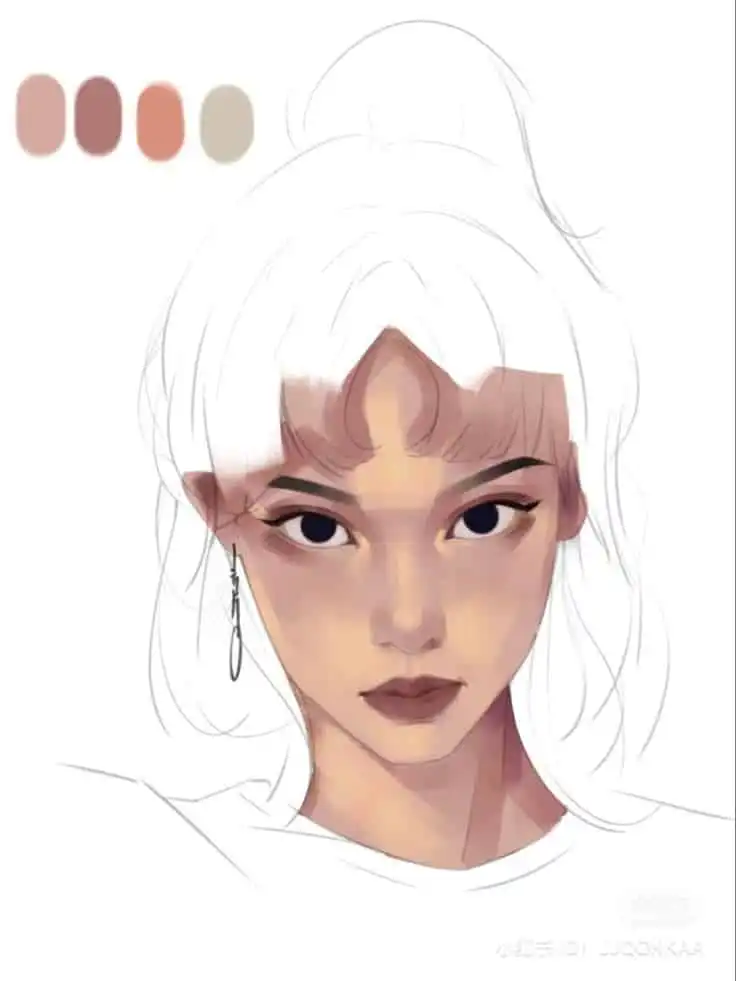
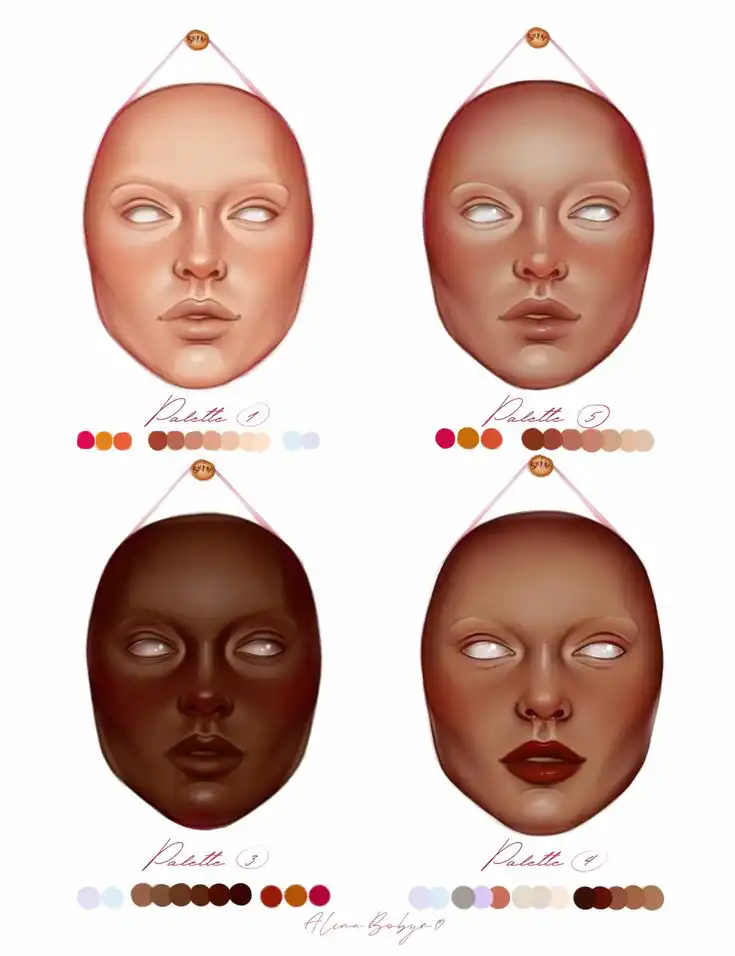
Choose texture brushes that fit the surface: soft grain for skin, short bristle for stubble, longer strokes for hair. In Procreate, check out brush sets labeled “skin,” “fabric,” or “hair” to find good options quickly.
Work on multiple layers—one for base color, one for texture, one for detail. Set the texture layer to Multiply or Overlay and lower the opacity until it looks right.
Use a low-opacity eraser to refine edges. Vary brush size and pressure to avoid obvious repeating patterns.
Rotate and adjust brush spacing to keep strokes from feeling mechanical. Save custom brushes or settings you like, so you can get the same look on future pieces.
Techniques for Shading and Highlights
Block in broad shadow shapes first. Refine with mid-tones and small blended strokes.
Use a soft, round brush at low opacity for smooth transitions. A textured brush works well for the skin’s porous look.
Place highlights on the planes facing the light—think cheekbones, nose tip, and lower lip. Specular highlights should stay small and bright; a hard, tiny brush at high opacity makes sharp reflections in the eyes pop.
Try layer masks to control where shading or highlights appear without erasing anything. Dodge and burn on a low-opacity Overlay layer can give subtle contrast boosts.
Step back and toggle layers on and off to check that your values read right from a distance. Sometimes you catch things you’d totally miss up close.
Personalization and Creative Expression
You can shape a portrait to show mood, style, and personality. Pick tools, colors, and composition that match the story you want to tell.
Stylized vs. Realistic Portraits
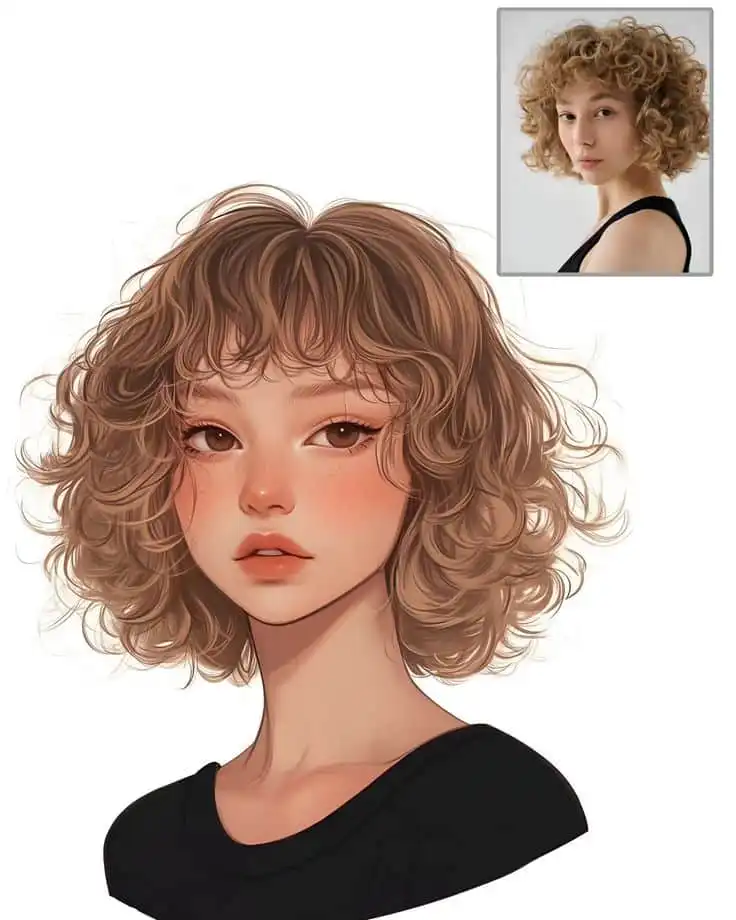
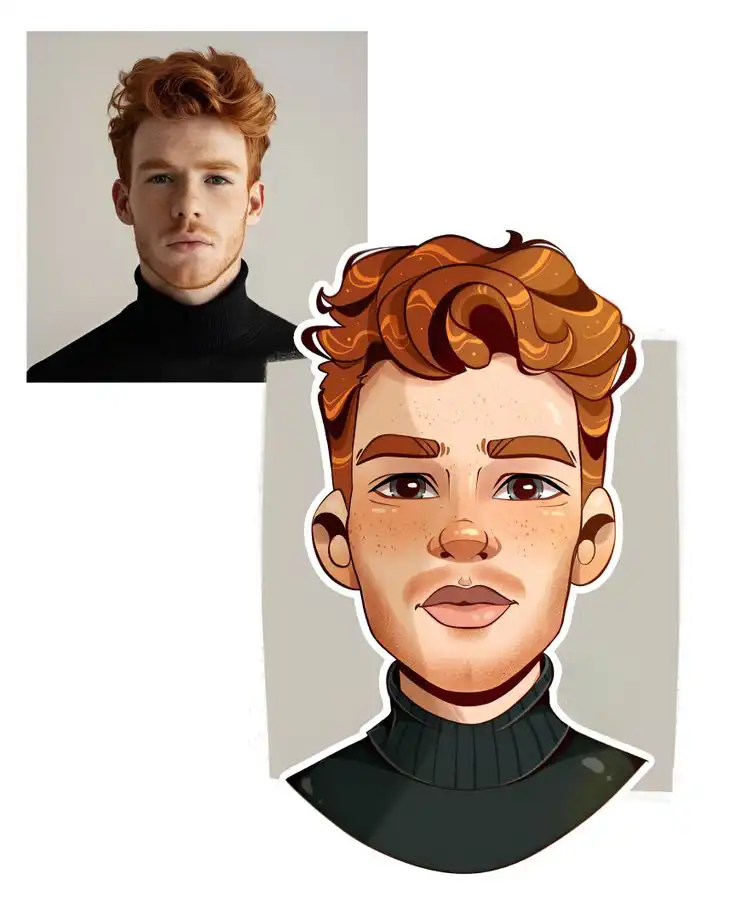
Decide if you want a lifelike digital portrait or something more stylized. For realism, focus on accurate proportions, skin tones, and subtle textures.
Use layered brushes in Procreate or similar iPad apps to build skin, hair, and details. Work from a clear photo reference and keep a separate layer for color corrections and lighting tweaks.
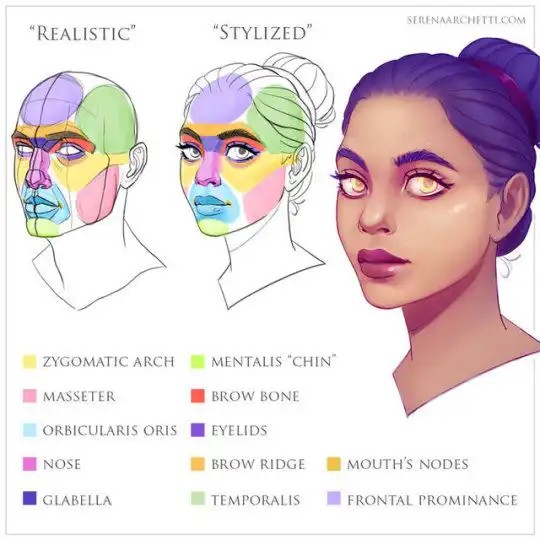
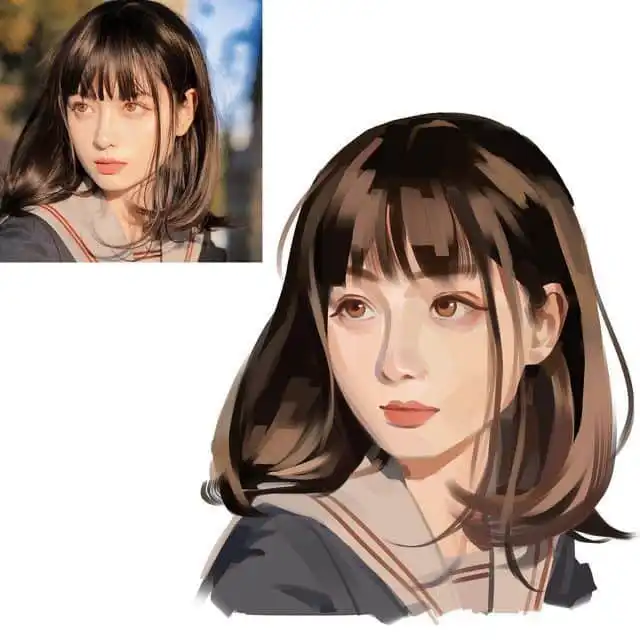
For stylized portraits, simplify shapes and exaggerate features to match a mood or character. Try bold lines, flat colors, or textured brush strokes.
Create a small style guide—palette, line weight, eye shape—so your portraits stay consistent if you’re working on a series. Mix realism and stylization if you want: render realistic eyes but keep clothing and backgrounds simple.
Creative Backgrounds and Elements
Pick backgrounds that support the subject, not distract from it. Soft gradients or blurred photo textures add subtle depth when you want the face to stay central.
For a stronger narrative, add props, patterned fills, or environment sketches on separate layers. That way, you can control the balance and make changes easily.
Use clipping masks and layer blending modes to blend background color with your subject. Add small graphics—flowers, shapes, or light flares—to hint at personality or setting.
Keep contrast and value in mind. Darker, more detailed backgrounds can make a face pop if you keep the subject bright and clean.
Best Practices and Tips for iPad Portrait Artists
Keep your files tidy. Control layer flow and pick export settings that fit how you’ll use the portrait.
Have a clear layer plan, back up your work, and choose the right export formats for print or web. It’s not glamorous, but it saves headaches.
Workflow Organization and Layer Management
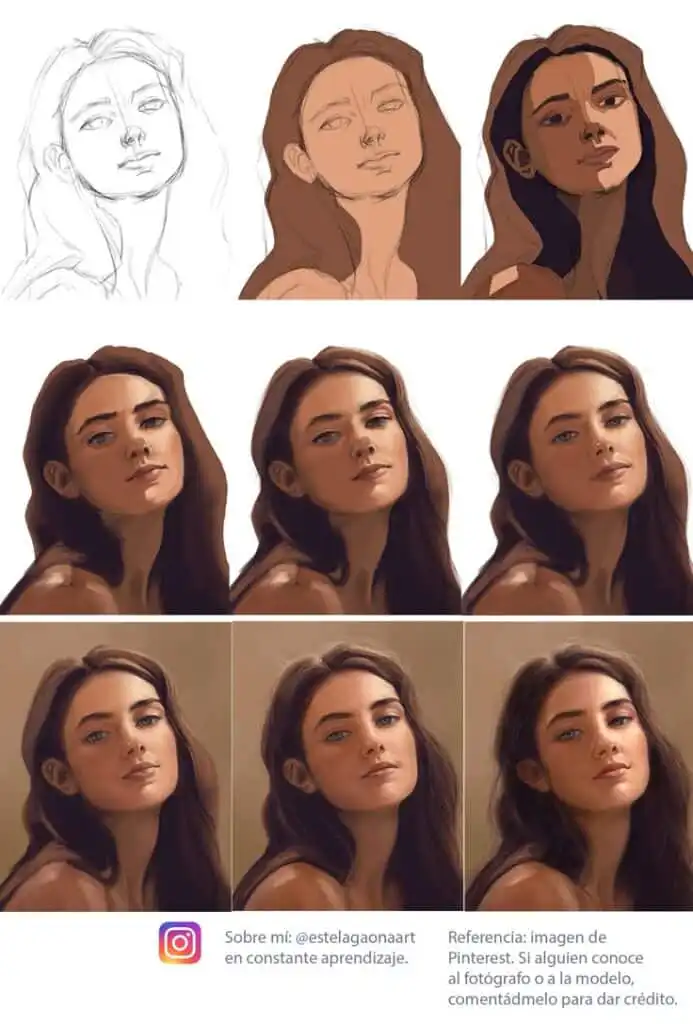
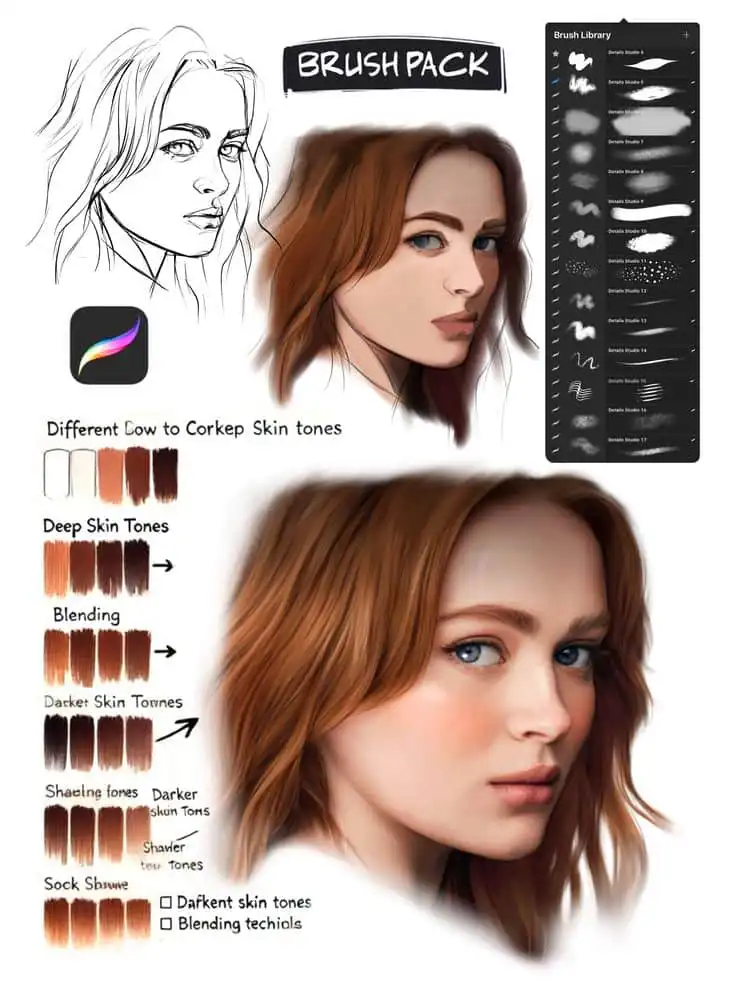
Use a consistent layer naming system. Start with layers like: “Sketch,” “Block Colors,” “Shading,” “Details,” and “Background.”
That makes it way easier to find and toggle parts of the portrait when you need to adjust something. Group related layers into folders—skin in one, hair in another.
Lock or alpha-lock layers when you’re painting inside a form so you don’t color outside the lines by accident. Use non-destructive techniques in Procreate, like clipping masks and adjustment layers (Curves is a lifesaver).
Duplicate base layers before making big changes. Keep a low-opacity reference layer of the original photo if you’re tracing or sampling colors.
Keep a small brush set for common tasks. One sketch brush, one flat color brush, one soft blend, and one fine detail brush will keep your workflow fast and your portraits consistent.
Saving and Exporting Your Artwork
Save your work often. Use versioned files—trust me, it’s a lifesaver.
After major milestones like your sketch, mid-stage, or final touches, export a copy of your Procreate file (.procreate). That way, you’ve got restore points if you ever want to roll back.
Pick export formats based on what you actually need. PNG works great for lossless web images. For print, go with TIFF or a high-quality JPEG.
If you want to keep layers for Photoshop, just export as PSD from Procreate. It saves a lot of hassle later.
Before you do your final export, double-check the resolution and color profile. Set 300 DPI for print projects. For the web, sRGB is the standard.
Printing something wide-gamut? Use Adobe RGB or ProPhoto RGB, but maybe check with your printer first—every setup’s a bit different.
Automate your backups to cloud storage. Turn on iCloud backup for your iPad, or upload finished .procreate and PSD files to Dropbox or Google Drive.
That way, if your iPad ever acts up, you won’t lose your work. Nobody wants to redo hours of art.
FAQ
What tools and devices do I need to start drawing portraits on my iPad?
You need a responsive iPad model, preferably with an M1 or M2 chip, at least 4GB to 8GB of RAM, a good stylus like the Apple Pencil, and a comfortable workspace with proper lighting and an adjustable stand.
How do I choose the best stylus for drawing on my iPad?
Select an Apple Pencil for optimal pressure sensitivity and tilt control, or consider third-party styluses that support pressure, tilt, and are compatible with your iPad and drawing app. A comfortable weight and replaceable nibs are also important.
What are some tips for setting up my workspace for drawing portraits?
Place your iPad where natural side lighting hits to reduce glare, use an adjustable stand for different angles, organize your brushes and reference images nearby, and keep your tools like nib replacements and cleaning cloths within reach.
What are the key features to look for in portrait drawing apps for iPad?
Choose apps that offer precise brushes, reliable layer control, smooth Apple Pencil tracking, good undo history, customizable brushes, high-resolution export options, and recording features like time-lapse.
What are the fundamental steps to create a portrait on my iPad?
Start by importing a reference photo, reduce its opacity, then sketch basic shapes and proportions on a new layer, refine your outline, use layers to separate colors and details, add texture and shading, and finally export your finished artwork in your preferred format.
- 27shares
- Facebook0
- Pinterest27
- Twitter0
- Reddit0
