Mastering shading techniques is essential for adding depth and dimension to your drawings. By understanding how light interacts with objects, you can create realistic textures and values that enhance your artwork. Whether you’re using pencils, ink, or charcoal, effective shading transforms flat images into vibrant representations of three-dimensional forms.
Learning to control contrast and develop smooth gradients is crucial for bringing your artwork to life. Different tools and techniques offer unique effects, allowing you to experiment until you find the style that suits your vision. Embracing these methods enables you to communicate your ideas more effectively through your art.
With practice, you’ll discover how to apply shading techniques across various mediums, enriching your skills as an artist. As you deepen your understanding of light and shadow, you will unlock new possibilities for expression in your drawings.
Key Takeaways
- Understanding light and shadow is fundamental to effective shading.
- Different tools and techniques can create unique textural effects.
- Applying shading across mediums enhances your artistic versatility.
Understanding Light and Shadow
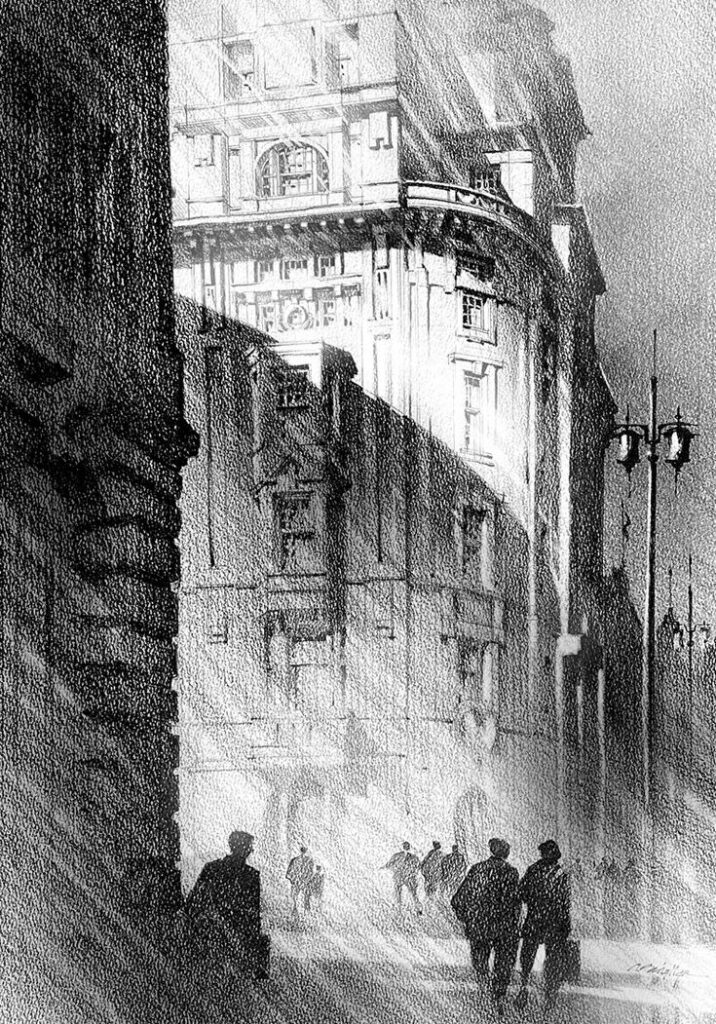
Mastering light and shadow is essential for creating realistic depth and dimension in your drawings. By comprehending light sources, how to create depth through lighting, and the concept of chiaroscuro, you can enhance the realism of your artwork.
Identifying Light Sources
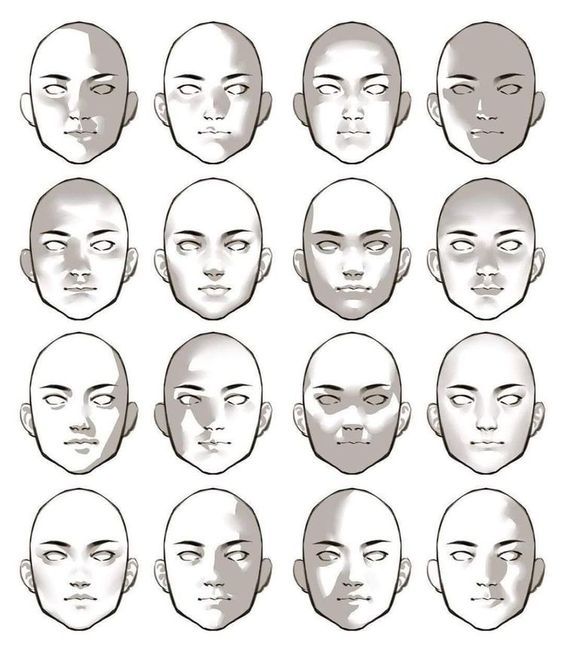
To accurately depict light and shadow, you first need to identify the light sources in your scene. These can be natural, like sunlight, or artificial, like lamps. Each light source can produce different qualities of light, such as soft or harsh illumination.
Consider the following key aspects when identifying light sources:
- Direction: Where is the light coming from? This affects the angle of shadows.
- Intensity: Bright light creates stark contrasts, while dimmer light produces subtle shadows.
- Color: Light can have different hues, influencing the mood of your drawing.
Understanding these factors will help you accurately portray highlights and shadows, leading to more realistic artwork.
Creating Depth with Lighting
Lighting is crucial for creating a sense of depth in your drawings. It enhances perspective by using contrasts between bright highlights and dark shadows. This contrast can suggest curvature, flatness, and three-dimensionality in your work.
To create depth effectively:
- Vary your light intensity: Use bright areas to attract attention and dark areas to create contrast.
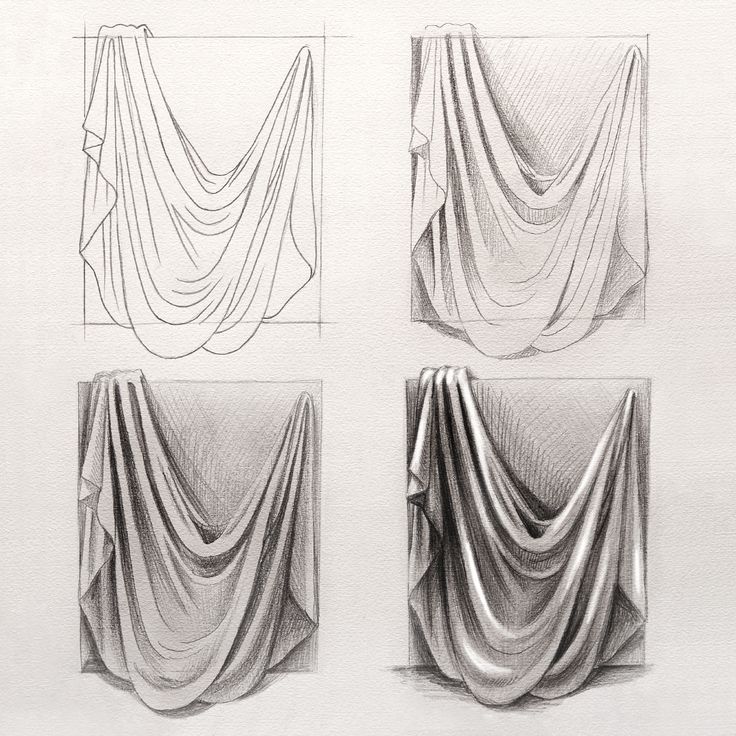
- Layer shadows: Incorporate multiple layers of shadows to suggest depth and volume.
- Use gradients: Soft transitions between light and shadow add realism and dimension.
These techniques allow you to create a more dynamic and visually interesting composition.
Concept of Chiaroscuro
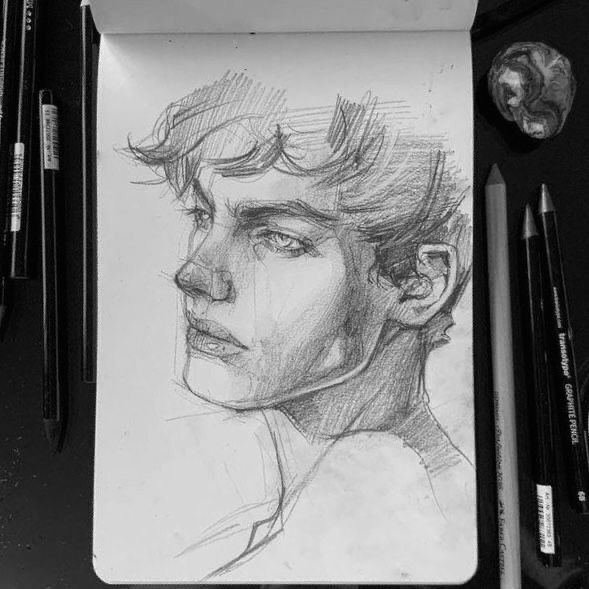
Chiaroscuro refers to the use of strong contrasts between light and dark to achieve a sense of volume in modeling three-dimensional objects. This technique helps to convey realism by mimicking how light interacts with surfaces in the real world.
Key points to remember about chiaroscuro include:
- Contrast is essential: The greater the difference between light and shadow, the more dramatic the effect.
- Highlights: Use bright spots strategically to draw the viewer’s eye and highlight important features.
- Shadow placement: Position shadows thoughtfully to suggest the form and volume of objects.
Chiaroscuro not only enhances depth and texture but also adds to the emotional impact of your artwork.
Shading Techniques and Tools
In this section, you’ll explore various shading techniques and the tools that enhance your drawing skills. Mastering these techniques will help you achieve realistic shading effects and add depth to your art.
Hatching and Cross-Hatching
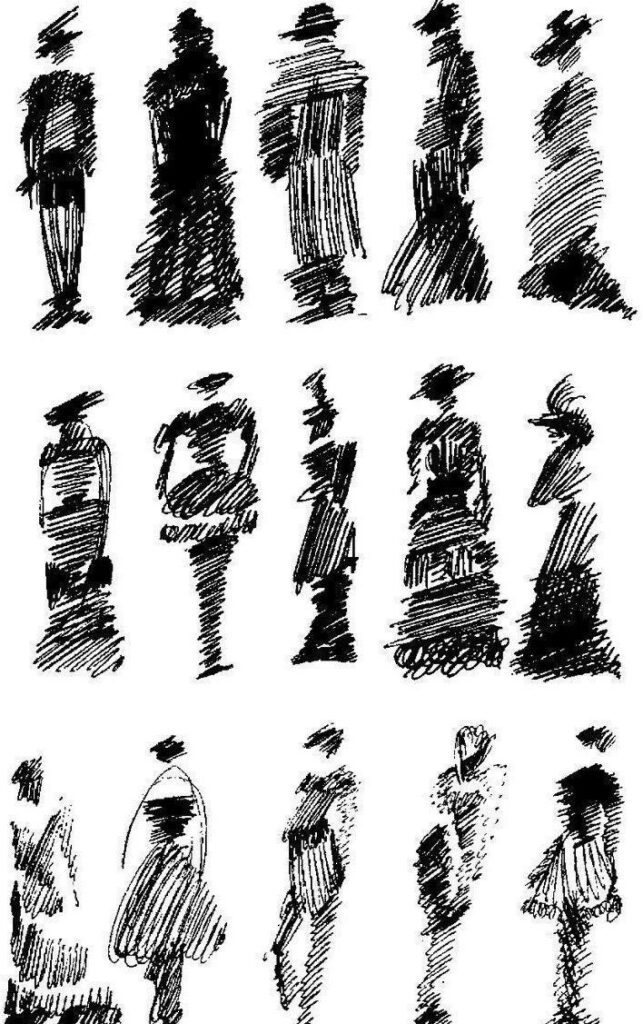
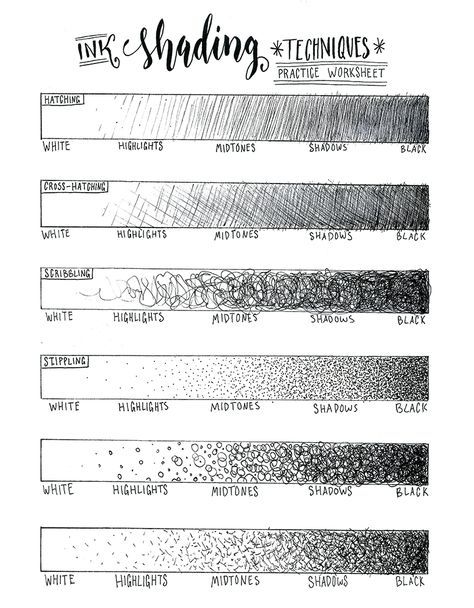
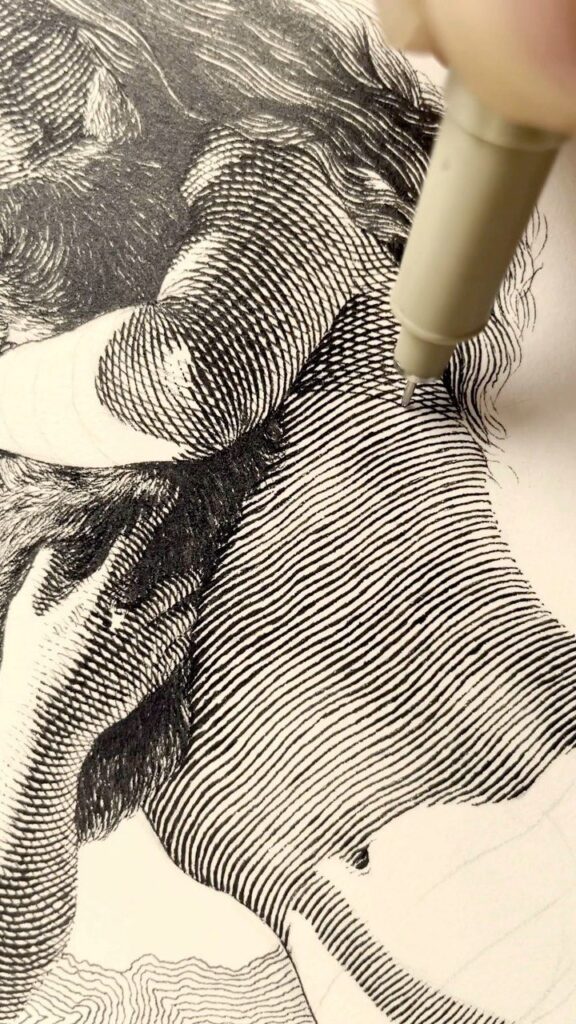
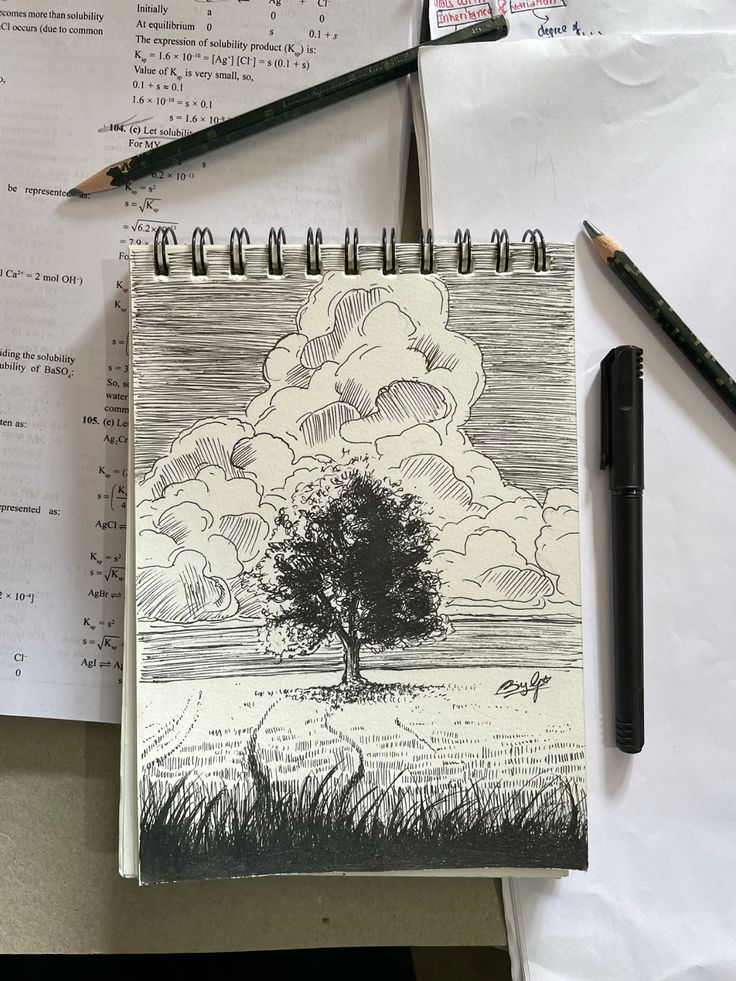
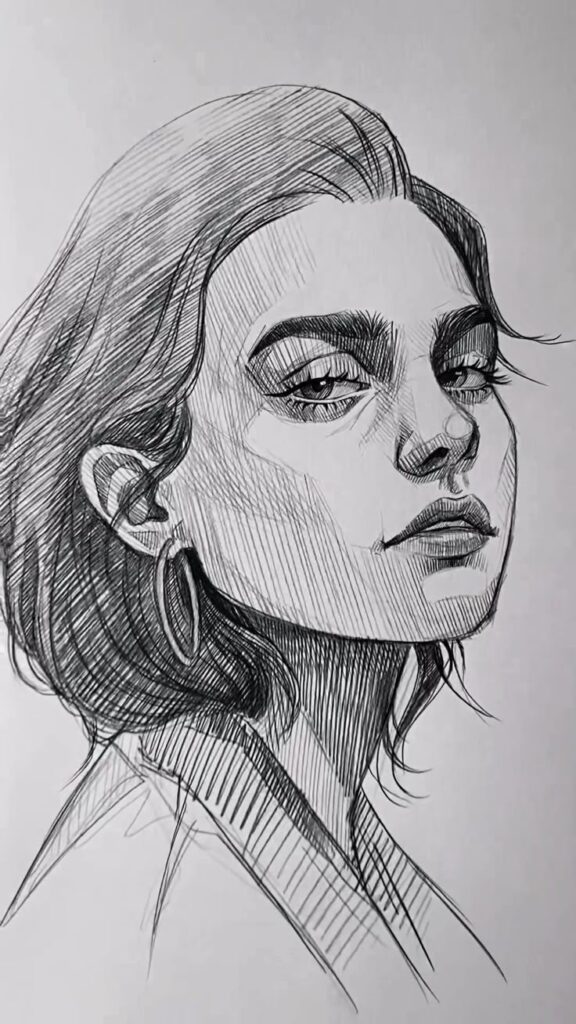
Hatching involves creating parallel lines to indicate light and shadow. The density and spacing of these lines determine the darkness of the shaded area. For deeper shadows, increase line density or vary the angle.
Cross-hatching builds on hatching by layering lines in different directions. This technique offers more texture and depth. Use softer pencils or charcoal for richer tones. A kneaded eraser can help refine and lighten areas, allowing for precise adjustments to line quality and shadow depth.
Blending and Smudging
Blending creates smooth transitions between light and dark areas. You can use tools like blending stumps or your fingers for this purpose. Graphite pencils and soft charcoal work well, as they blend easily for a softer appearance.
Smudging involves gently rubbing the surface to create a more uniform tone. Be mindful of the direction of your strokes to maintain the form of your subject. Kneaded erasers can also be useful here, helping you lift excess material and refine highlights. Blending techniques add realism and dimension to your work, enhancing visual appeal.
Stippling and Scumbling
Stippling consists of creating patterns of dots to render shading and texture. The closer the dots, the darker the area appears. Use hard pencils for precision, while softer pencils provide a richer black. This technique requires patience but yields unique textures.
Scumbling, on the other hand, involves making chaotic, overlapping circular motions. This method adds dynamic texture and can suggest different surfaces. Experiment with various pencils to see how they affect the texture. This technique is valuable for landscapes and organic forms, allowing you to create a lively sense of depth.
Applying Shading to Different Mediums
Shading techniques vary significantly across different art mediums. Understanding these differences allows you to enhance texture and volume in your drawings, achieving a greater sense of three-dimensionality.
Shading in Graphite and Charcoal
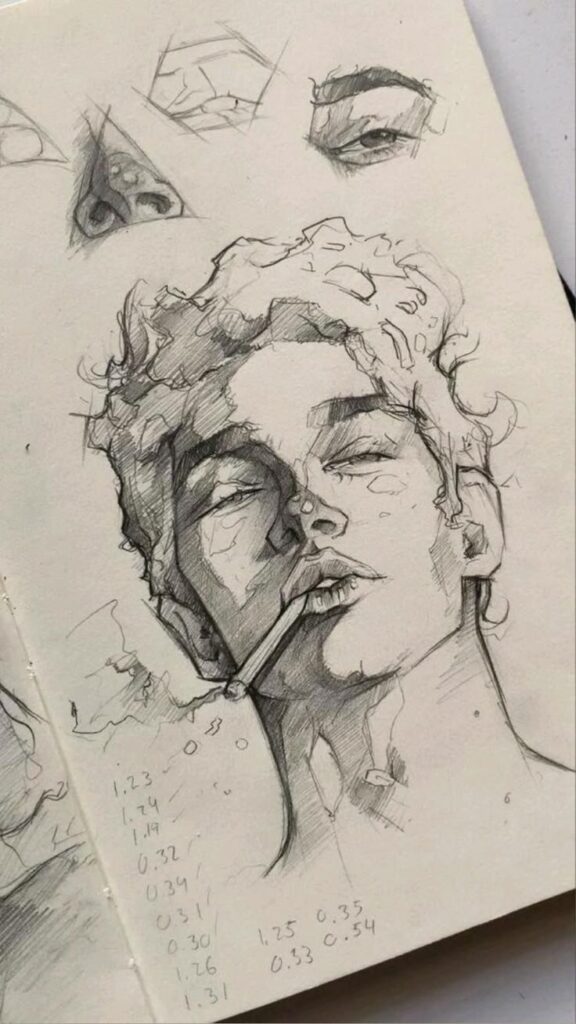
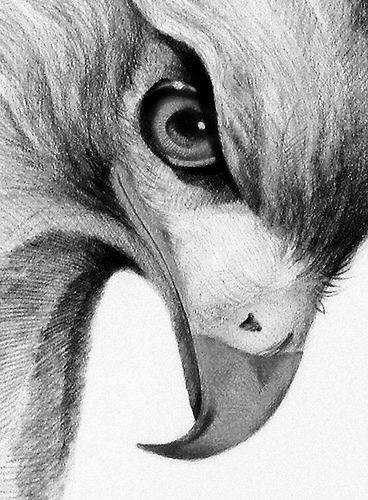
When working with graphite pencils, you’ll find that the hardness of the pencil affects the light and dark values in your shading. Softer pencils (e.g., 4B, 6B) create darker tones, while harder pencils (e.g., H, 2H) produce lighter values.
Graphite allows for precise blending; using a blending stump can create smooth transitions between midtones. Charcoal, on the other hand, is excellent for deep shadows and rich contrasts. Its texture enables you to layer and blend easily, yielding dynamic results.
Using an eraser as a drawing tool allows you to lift charcoal and graphite, creating highlights and enhancing the three-dimensional effect. Experimenting with both mediums will reveal their unique capabilities and how they can add depth to your work.
Shading in Digital Art
Digital art offers unique advantages for shading compared to traditional methods. Layer modes such as Multiply and Screen enable you to manipulate light and dark values effortlessly. Using these modes allows you to explore various shading effects without permanently altering your base layers.
You can achieve smooth gradients and complex textures by utilizing airbrushing techniques. Adjusting the opacity and flow settings of your brush provides control over midtones, making your shaded areas appear more lifelike.
Additionally, digital tools let you easily correct mistakes and refine your shading. Zooming in allows you to focus on details, ensuring a polished final piece. Mastering these tools will enhance your ability to create immersive artwork.
Techniques for Painting
In painting, shading creates volume and depth through a combination of color mixing and layering. Using a limited palette helps you maintain control over midtones and shadows. Keep in mind the principles of atmospheric perspective to create an illusion of depth—even background elements require careful shading.
Start with a base layer of lighter color and gradually build up darker shades. Techniques such as glazing with transparent layers can create rich textures. Use dry brushing or scumbling to add highlights and emphasize surface detail.
Understanding the color wheel is crucial; complementary colors can create dynamic shadows that enhance dimensionality. Each technique contributes to a cohesive and realistic representation in your paintings.
- 2.1Kshares
- Facebook0
- Pinterest2.1K
- Twitter0
- Reddit0
