Ever feel like dipping your toes into the world of art but don’t know where to start? Maybe you’ve picked up a pencil, stared at a blank page, and then just… put it back down. We’ve all been there! But what if I told you there’s a fantastic, super approachable subject right in your kitchen that’s perfect for beginners? Yep, we’re talking about fruits! Drawing fruits is not just a fun way to get creative; it’s an incredible workout for your artistic muscles, helping you understand basic shapes, light, shadow, and color without the pressure of drawing complex subjects. It’s casual, it’s low-stakes, and it’s often delicious to look at (and sometimes even eat afterwards!). So, grab a pencil, some paper, and maybe an apple – let’s get sketching!
Why Fruits Are Your Best Art Buddies
You might wonder, why fruits? Why not something “cooler” or more complex? Well, fruits offer a treasure trove of benefits for anyone just starting their drawing journey:
- Simple, Recognizable Shapes: Most fruits are based on fundamental geometric forms like circles, ovals, and cylinders. This makes them easy to break down and build up on paper.
- Accessible Models: Seriously, how much easier can it get? You probably have a banana or an orange sitting on your counter right now. No need for expensive models or elaborate setups.
- Vibrant Colors and Interesting Textures: From the smooth sheen of an apple to the bumpy rind of an orange or the fuzzy skin of a peach, fruits offer a great way to practice texture and color theory.
- Excellent for Light and Shadow Practice: Their relatively simple forms make it easier to observe how light falls on a surface and creates shadows, a cornerstone of realistic drawing.
- No Pressure: It’s just a fruit! If your first attempt at drawing a grape looks more like a potato, who cares? You can always try again. This low-pressure environment is crucial for building confidence.
Think of fruits as your artistic stepping stones. Master an apple, and you’re well on your way to tackling a human head, which is also essentially a sphere with features. Plus, drawing food can be surprisingly therapeutic!
Your Basic Toolkit: Keep It Simple
One of the best things about getting started with drawing fruits is that you don’t need a fancy art studio or a ton of expensive supplies. In fact, keeping it minimal helps you focus on the fundamentals rather than getting bogged down by choices.
Here’s what you’ll need to kick things off:
- Pencils: A few graphite pencils are perfect. A good starting point is an HB (medium hardness, good for sketching), a 2B (softer, darker lines for shading), and maybe a 4B or 6B (even softer and darker for deep shadows).
- Paper: Any plain paper will do for practice, but a sketchbook with slightly thicker paper (like 60-80lb or 100-130 gsm) will hold up better to erasing and layering. Don’t worry about “good” paper yet; just use what you have!
- Eraser: A good quality kneaded eraser or a plastic eraser will be your best friend. They can lift graphite without damaging the paper.
- Pencil Sharpener: Keep those points sharp for detail!
- Your Fruit Subject(s): Go grab a few fruits from your kitchen! An apple, a banana, an orange, or a lemon are all fantastic starting points.
That’s it! Seriously. You can add color later if you want, but for now, let’s stick to the basics of form and shadow.
Understanding Fruit Shapes: The Geometry of Deliciousness
Before you even touch pencil to paper, take a moment to really look at your fruit. Don’t just see “an apple”; see the shapes that make up that apple. This is where basic geometry comes in handy.
- Apples and Oranges: These are classic examples of spheres. While not perfectly round, their primary form is spherical. When you draw them, start with a light circle.
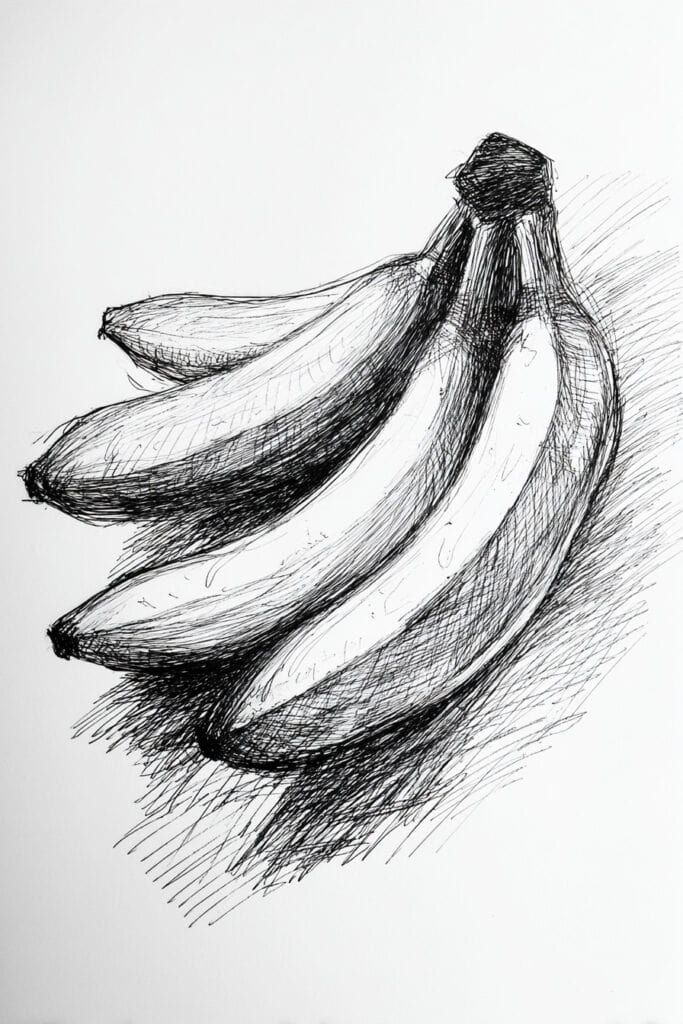
- Bananas: Think of these as curved cylinders or elongated ovals. The key is to capture that elegant curve.
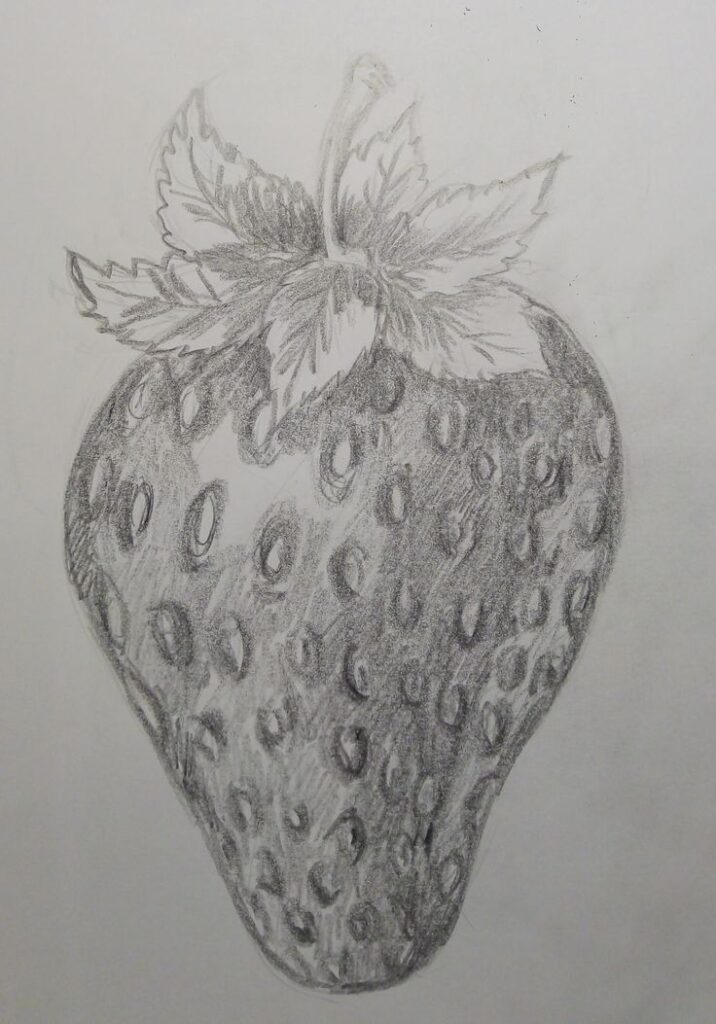
- Strawberries: These often resemble cones or triangles with rounded edges.
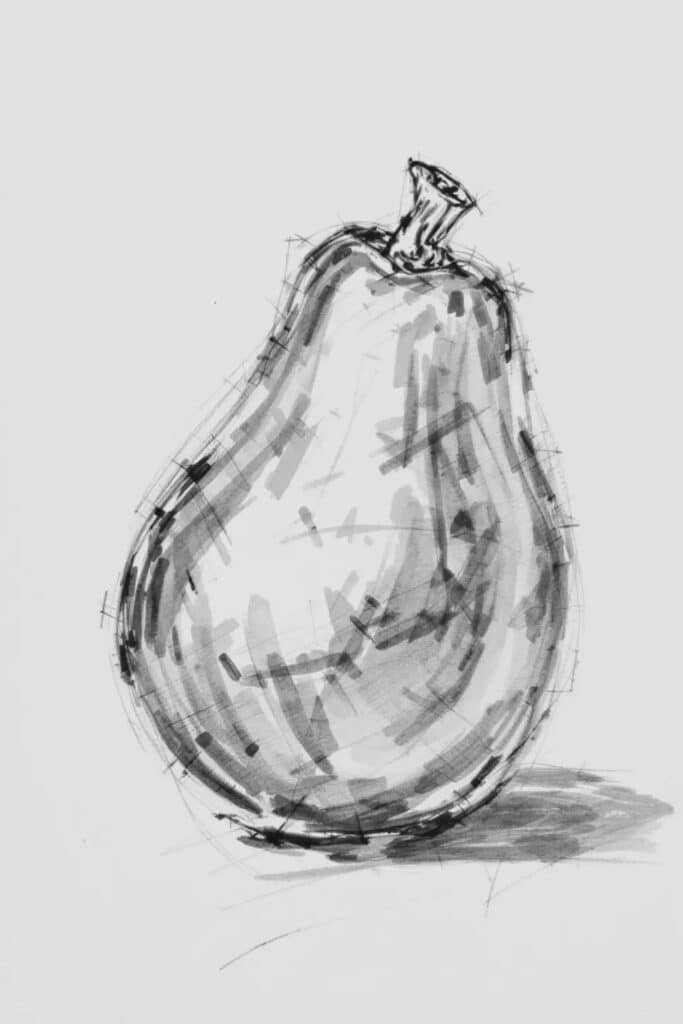
- Lemons and Pears: These are variations of ovals, often with a slight bulge or taper.
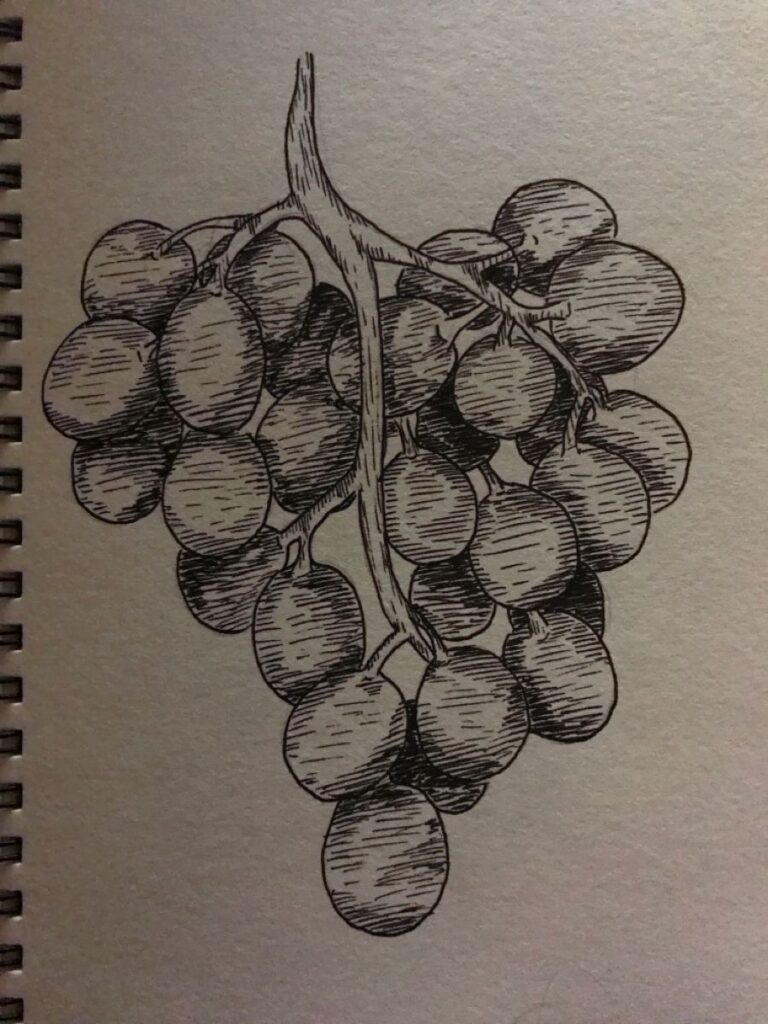
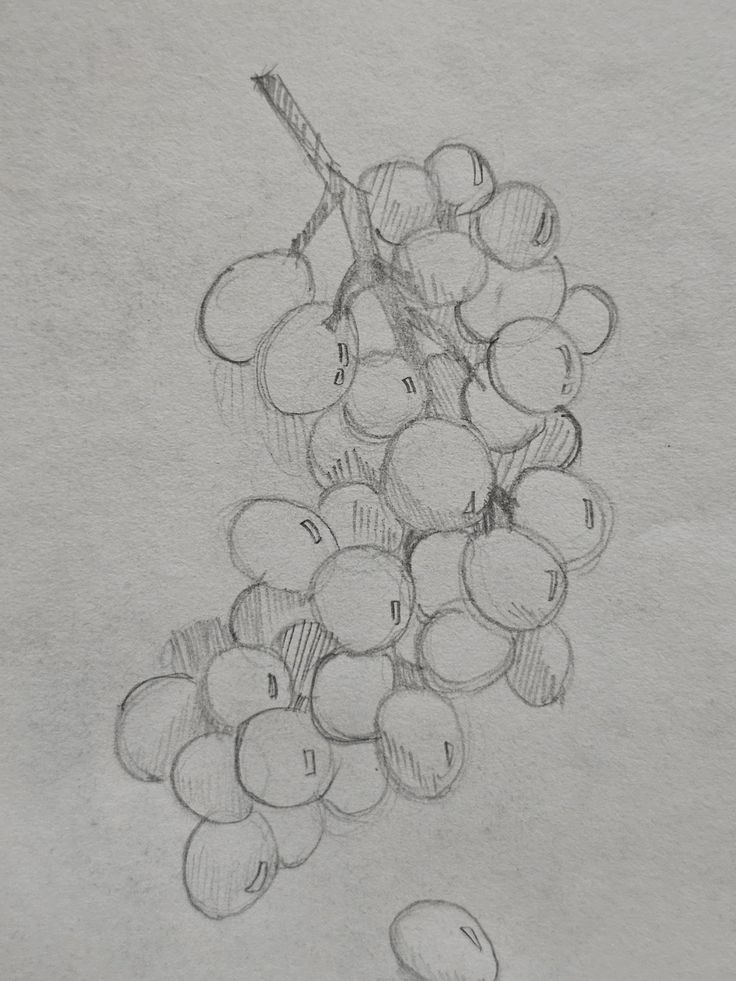
- Grapes: A bunch of grapes is a collection of small spheres, often overlapping.
The trick is to simplify. Break down complex forms into these foundational shapes first. You’re building a skeleton for your drawing, which you’ll flesh out later.
Observation is Key: Looking Beyond the Obvious
This is perhaps the most crucial step, and it’s where many beginners rush. Don’t just glance at your fruit and start drawing from memory or assumption. Really observe it. Turn it around, hold it up to the light. The more you observe, the more details you’ll notice, and the better your drawing will be.
- Light and Shadow: This is a game-changer. Where is your light source coming from? Is it direct or diffused?
Highlight: The brightest spot where the light hits directly. It’s often a small, intense point. Mid-tones: The areas gradually fading away from the highlight. Core Shadow: The darkest part of the fruit, where light cannot reach. Reflected Light: Often a subtle, lighter area within the core shadow, caused by light bouncing off the surface below or nearby objects. Cast Shadow:* The shadow the fruit throws onto the surface it rests on. This grounds your fruit and gives it dimension.
Spend time identifying these areas. You can even try sketching just the light and shadow patterns without worrying about outlines first. This exercise helps train your eye to see value (lightness and darkness). When you’re seeking nature drawing ideas, remember that observation of light and shadow is paramount, whether you’re drawing a fruit or a tree.
- Texture: Is the skin smooth like a cherry, bumpy like an orange, or subtly fuzzy like a peach? How does that texture affect how light reflects off it? You can suggest texture with varied pencil strokes – light, short strokes for fuzziness, smoother, blended strokes for slick surfaces.
- Color Variation: Even a “red” apple isn’t just one solid red. It might have hints of yellow, green, or darker crimson. Observe these subtle shifts. While you might not be adding color yet, noticing these variations will help you later when you do, and even now, you can translate them into different shades of grey in your pencil drawing.
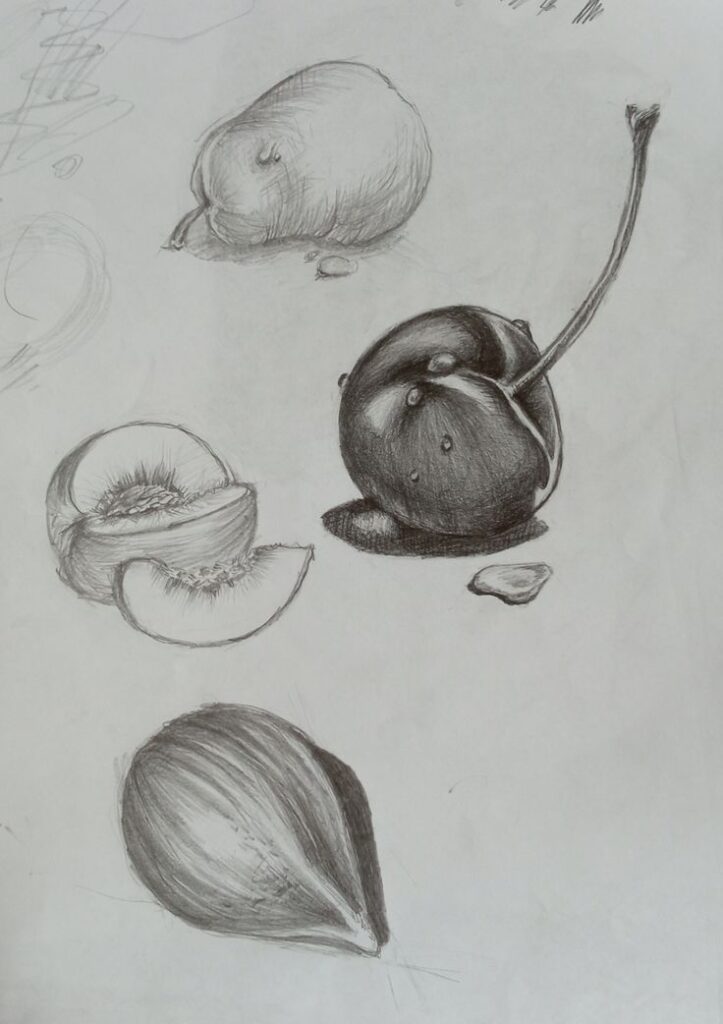
Step-by-Step Drawing Guides for Common Fruits
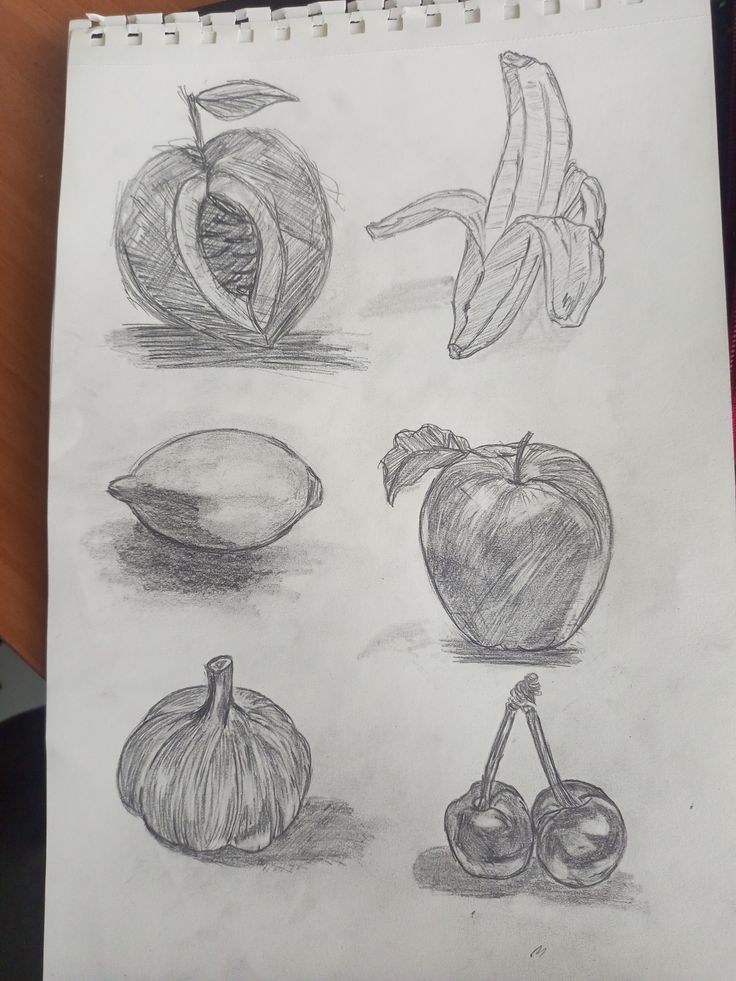
Let’s put theory into practice with some popular fruit subjects. Remember to draw lightly in the beginning; these are just guide marks.
#### The Humble Apple
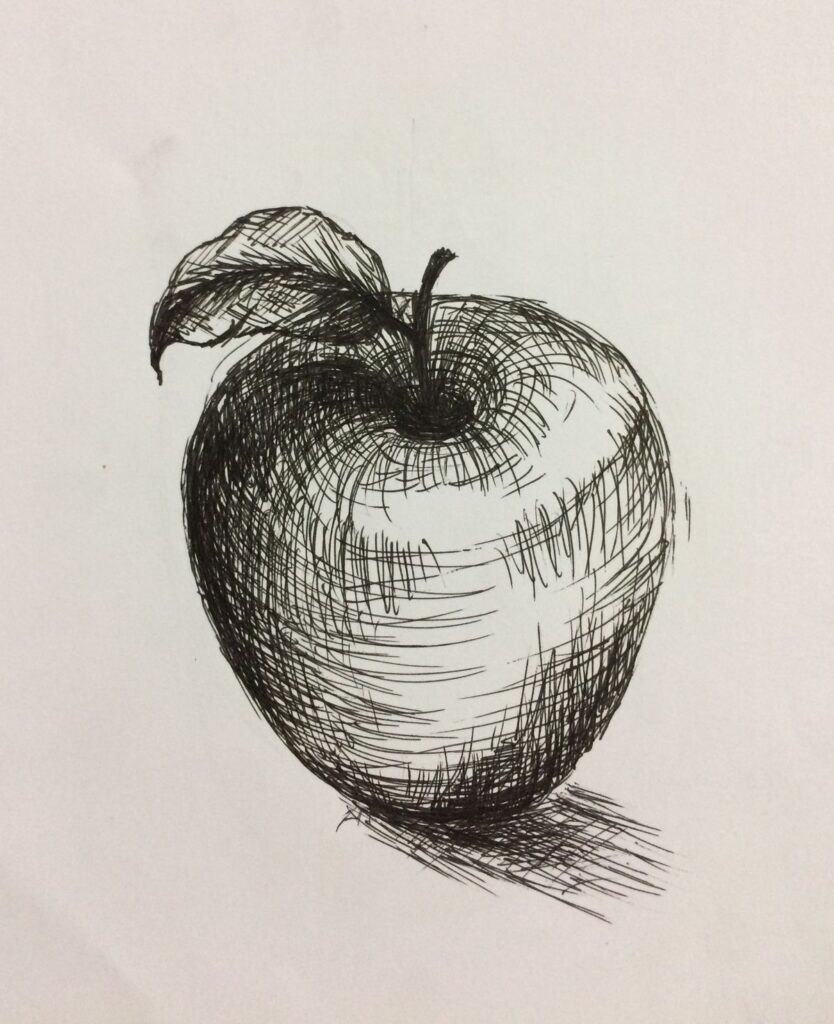
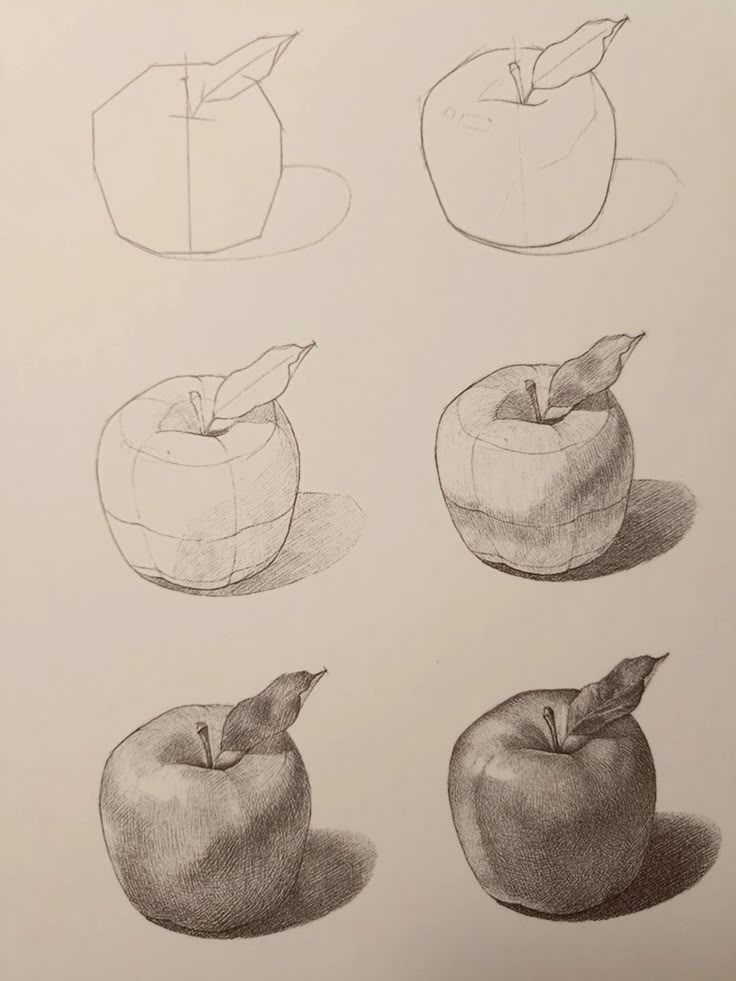
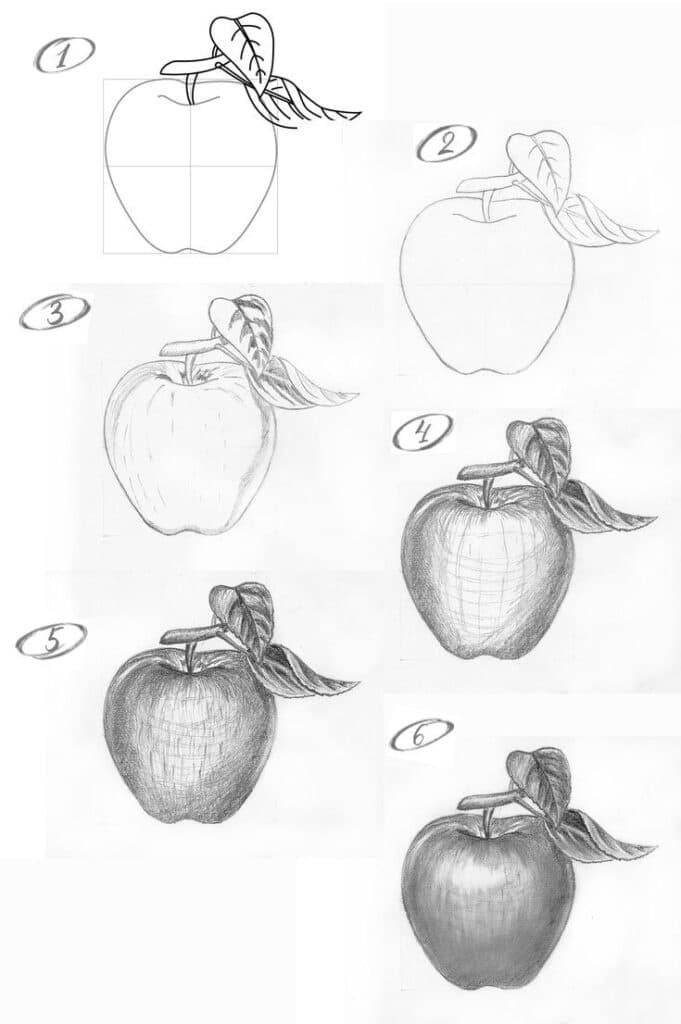
1. Start with a Circle: Lightly sketch a circle. This is your apple’s main body. 2. Add the Indentations: Apples aren’t perfect spheres. Lightly mark where the stem sits (a concave dip) and the opposite end where the “blossom end” is (another, often shallower, indentation). 3. Refine the Shape: Gently adjust the circle to make it look more apple-like. Some apples are wider at the bottom, others more symmetrical. Look at your actual apple! 4. Add the Stem and Leaf (Optional): Draw a simple line for the stem emerging from the top indent. If there’s a leaf, add its basic shape. 5. Identify Light and Shadow: Now, look at your apple. Where’s the brightest highlight? Where’s the darkest core shadow? Mark these areas lightly. 6. Begin Shading: Using your softer pencils (2B, 4B), start building up the mid-tones and shadows. Blend softly with your finger or a blending stump if you have one, but don’t overdo it. The goal is to create a sense of roundness. 7. Add the Cast Shadow: Don’t forget the shadow the apple casts on the surface. This will make it look like it’s actually resting there, not floating.
#### The Zesty Lemon
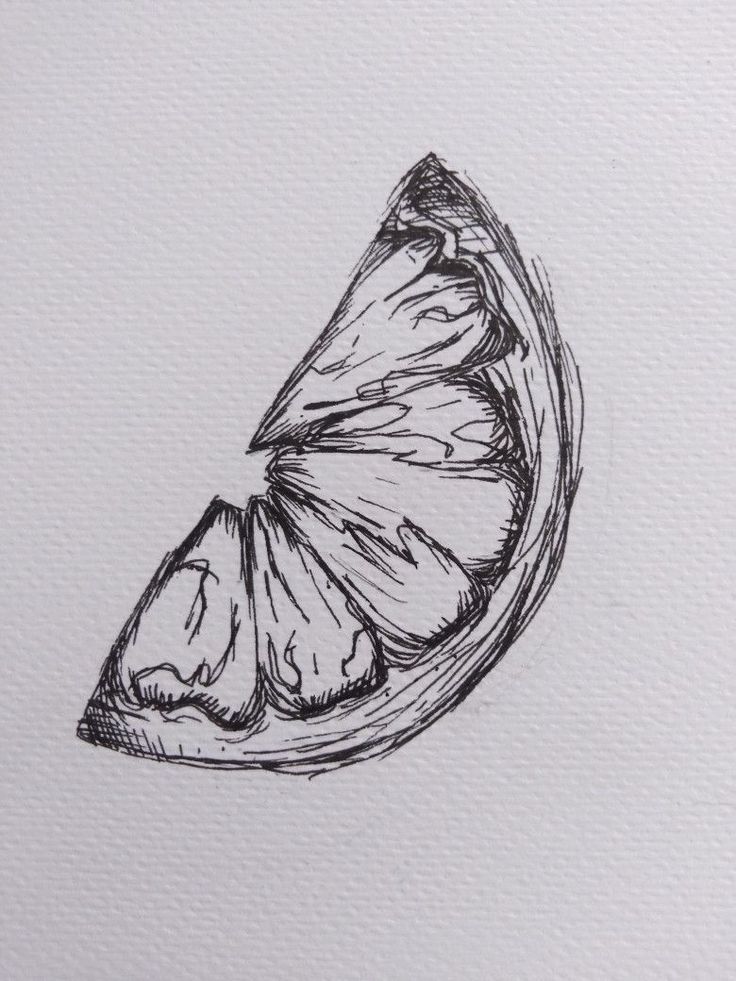
1. Start with an Oval: Lemons are typically oval-shaped. Sketch a light oval. 2. Add the Nubs: Lemons usually have distinct bumps or points at each end. Mark these out. 3. Refine the Contour: Gently adjust the oval to give it that characteristic lemon shape, which often tapers slightly at the ends. 4. Suggest Texture: Lemons have a distinct bumpy texture. You can suggest this with very light, small, irregular circles or dots when you start shading. 5. Shade for Roundness: Just like the apple, use your pencils to create a sense of three-dimensionality, paying close attention to highlights and shadows. The texture will make the shading slightly different – less smooth blending, more suggestion of surface irregularities.
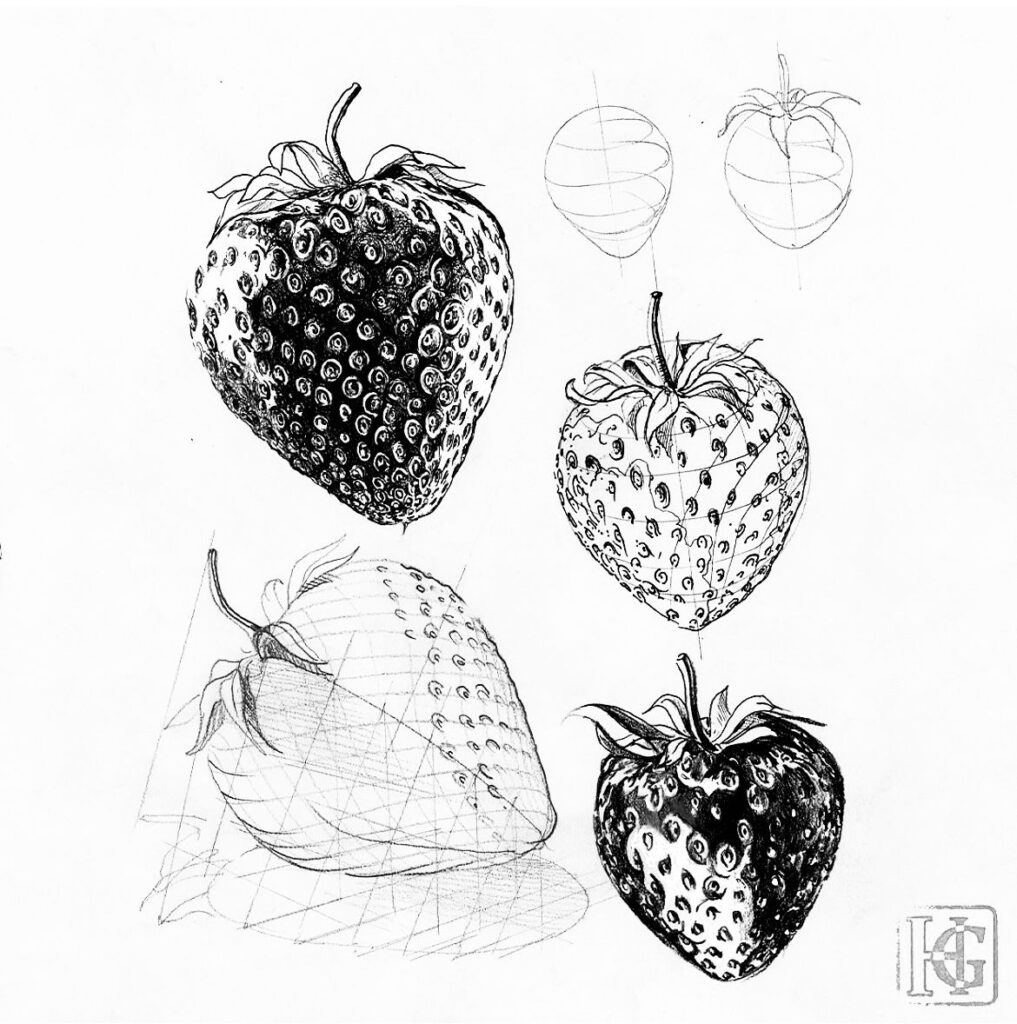
#### The Sweet Strawberry
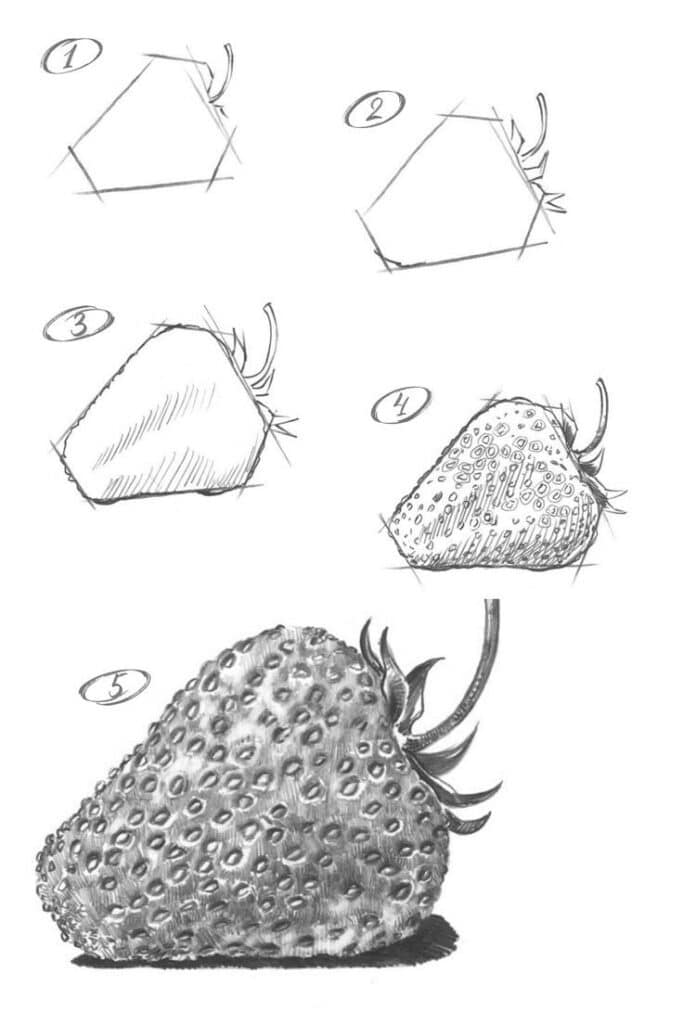
1. Start with a Cone/Triangle: Sketch a basic cone or triangular shape, but round off the bottom. 2. Refine the Curves: Strawberries have organic, slightly irregular curves. Soften the lines. 3. Add the Cap and Stem: Draw the green leafy cap (calyx) at the top, and a short stem if present. 4. Mark the Seeds: Lightly mark the general pattern of the tiny indentations where the seeds sit. These aren’t perfect dots; they’re small, slightly elongated pits. 5. Shade for Form: Follow the contours of the strawberry when shading to emphasize its rounded, conical form. Pay attention to how the light hits the individual indentations. 6. Emphasize Details: Darken the seed indentations and add some subtle texture to the green cap.
#### The Tropical Banana
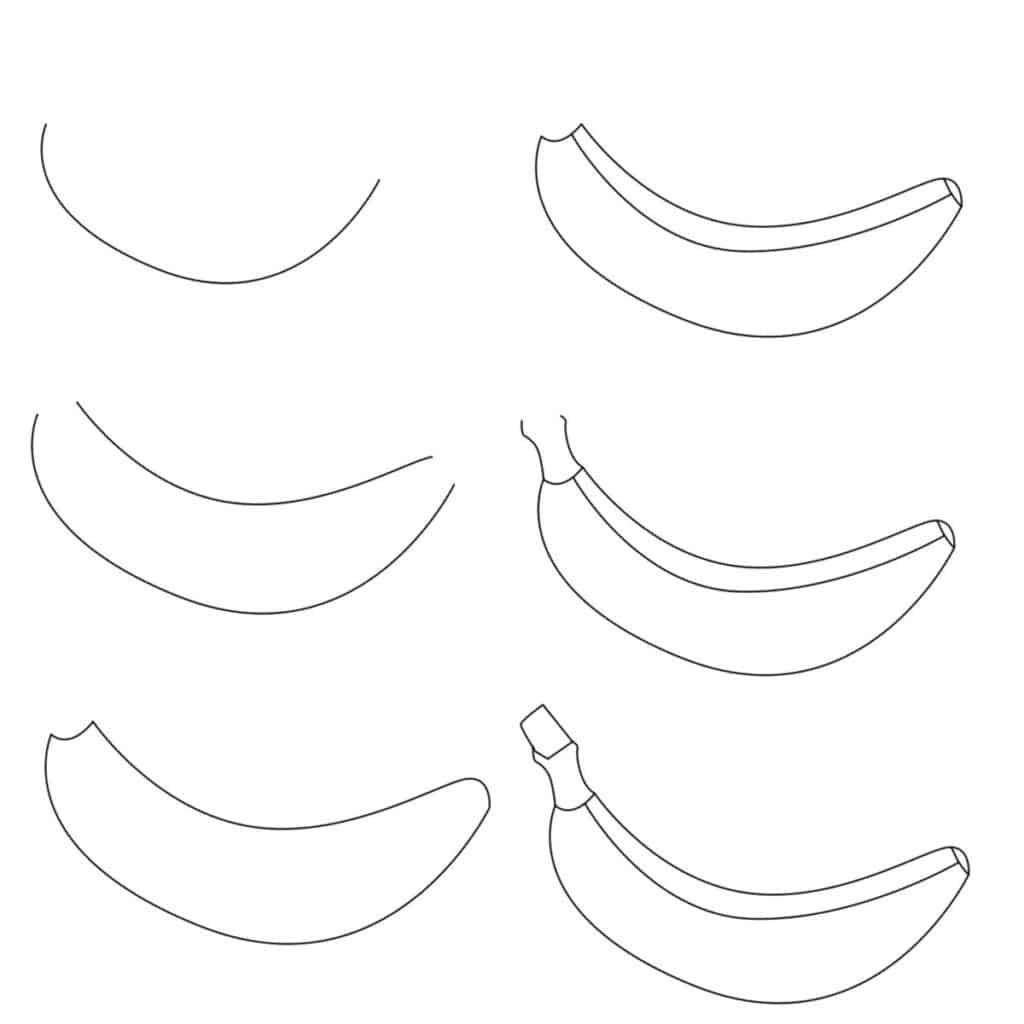
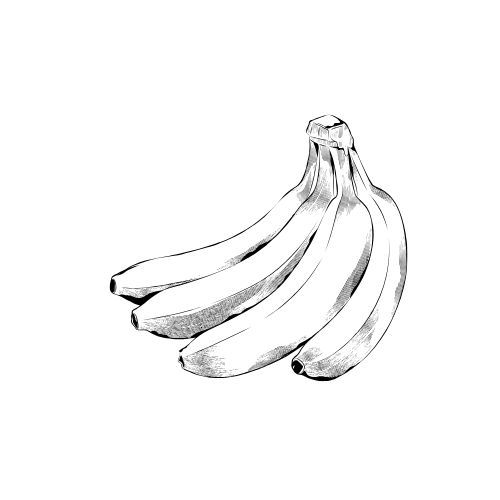
1. Sketch a Curved Cylinder: Start by drawing a long, gentle curve. Then, build a cylindrical shape around that curve, paying attention to the tapering ends. 2. Define the Sides/Edges: Bananas aren’t perfectly smooth cylinders; they often have subtle ridges or facets. Lightly indicate these. 3. Add the Stem and Tip: Draw the thicker stem at one end and the smaller, often dark tip at the other. 4. Observe the Bends: Bananas often have multiple subtle bends along their length, not just one smooth curve. Capture these. 5. Shade for Roundness and Definition: Shade along the length of the banana, following its curves to make it look rounded. Use darker tones along the edges and where the facets meet. 6. Add Bruises/Spots (Optional): Bananas often have brown spots or bruises. You can incorporate these with darker, concentrated shading if you want more realism.
#### A Bunch of Grapes
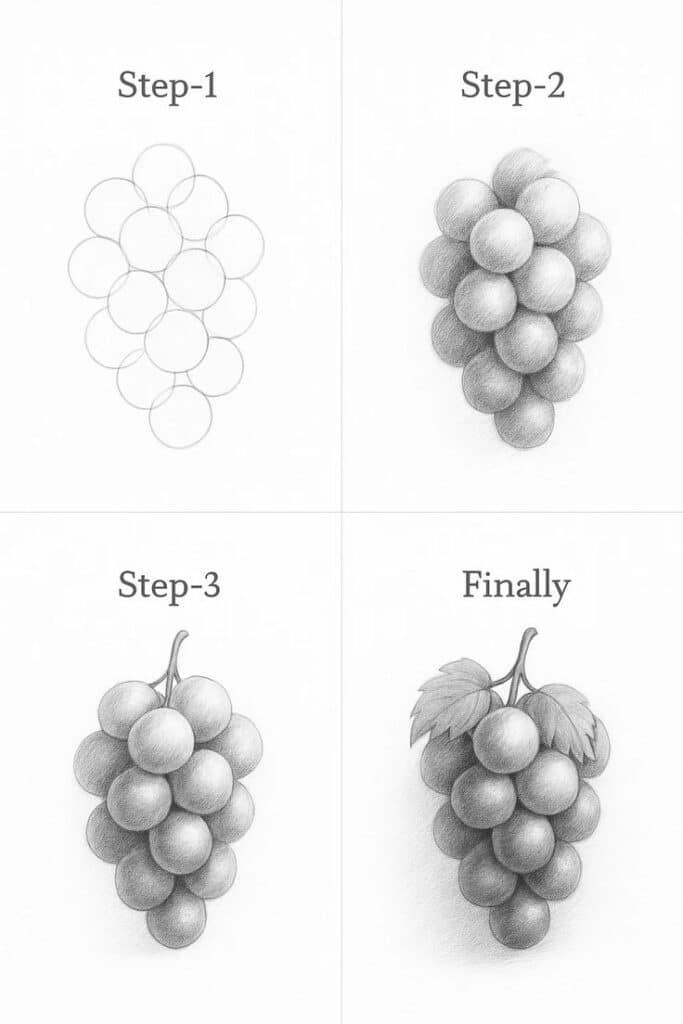
1. Start with a Loose Cluster: Don’t draw individual grapes perfectly. First, lightly sketch the overall shape of the bunch. Is it triangular? Oval? 2. Draw Overlapping Spheres: Within that overall shape, start drawing individual small circles for the grapes, letting them overlap naturally. Some will be in front, some behind. 3. Add Stems: Draw thin lines connecting the grapes to each other and to the main stem of the bunch. 4. Observe Transparency and Shine: Grapes are often semi-translucent and shiny. This means strong highlights and core shadows, but also subtle light passing through them. 5. Shade Each Grape Individually: Treat each grape as a tiny sphere, shading it to give it roundness. Pay extra attention to the highlights to make them look juicy and reflective. 6. Darken Overlaps: Where grapes overlap, the shadow cast by the grape in front will be darker. This helps define the individual grapes within the bunch.
Adding Depth and Dimension: Beyond the Outline
Once you have your basic shapes and outlines, it’s time to bring them to life with shading. This is where your drawing starts to pop off the page.
- Shading Techniques:
Hatching: Drawing parallel lines. The closer the lines, the darker the value. Cross-hatching: Drawing layers of parallel lines in different directions (e.g., horizontal over vertical). This creates deeper shadows. Blending: Using your finger, a blending stump, or a tissue to smooth out pencil marks, creating gradual transitions in tone. Be careful not to over-blend and lose the texture of your strokes. Stippling: Using dots to create value. Denser dots create darker areas. This is great for textured fruits like strawberries or oranges. Scribbling/Scumbling:* Using a random, circular motion. This can add a lively, organic feel.
Experiment with these. The key is to apply pressure lightly at first and gradually build up layers to achieve darker values. Don’t press hard immediately for dark areas; build them up.
- Highlights and Reflections: These are the “wet” spots. Highlights are crucial for making fruit look juicy and fresh. Use your kneaded eraser to gently lift graphite in the brightest areas. Don’t make them stark white unless the light source is extremely strong. Observe how light reflects – is it a sharp dot, a streak, or a softer glow?
- Cast Shadows: This is often overlooked, but a well-drawn cast shadow is essential. It anchors your fruit to the surface and adds a sense of realism. The shadow will be darkest right where the fruit touches the surface and gradually lighten as it extends away. Its shape will mimic the fruit’s form but be distorted by the light source. A strong understanding of black and white aesthetic will truly elevate your shading game here.
Bringing Color to Life (Optional, but Fun!)
Once you’re comfortable with pencil drawing, you might want to introduce color. This opens up a whole new world of fun!
- Choosing Your Medium:
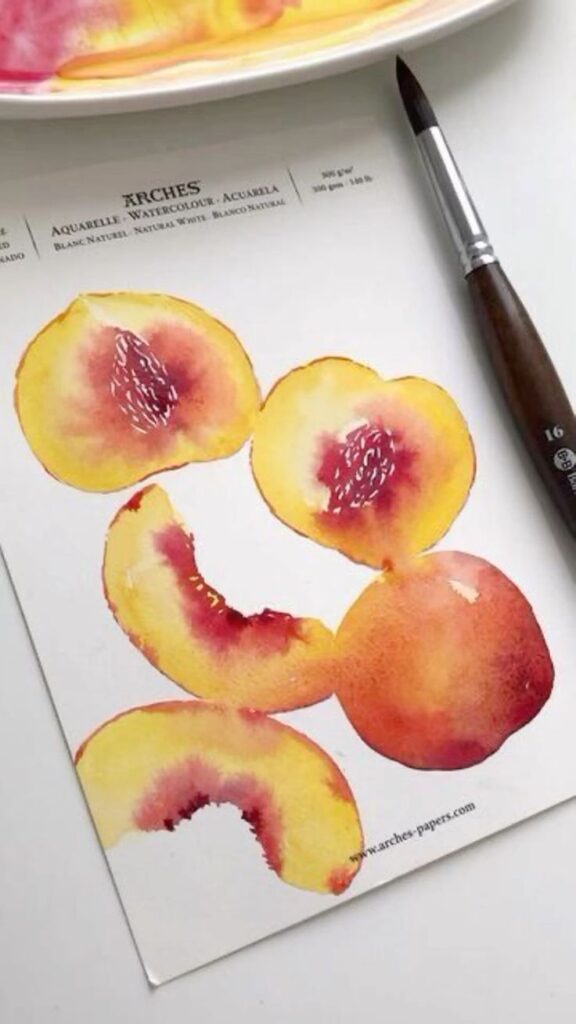
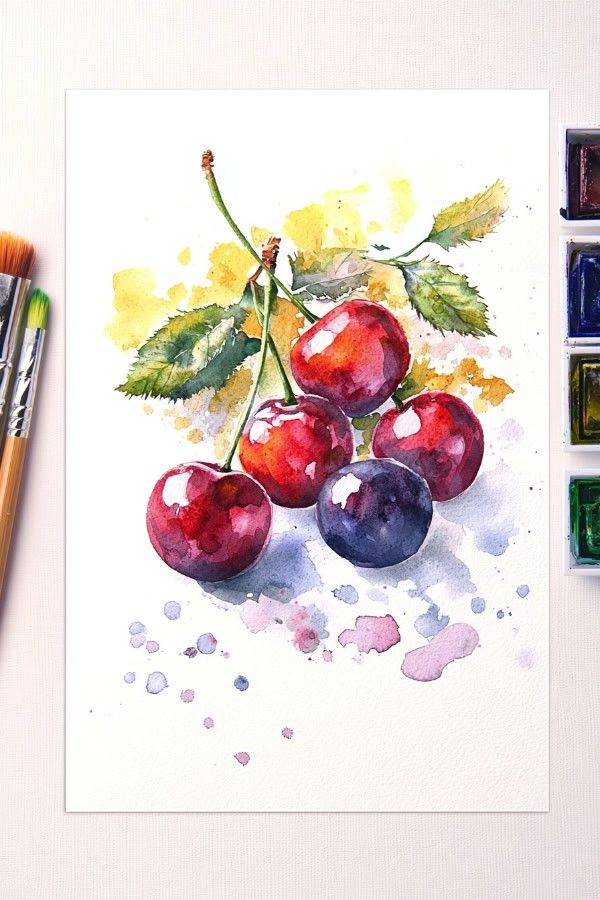
Colored Pencils: Great for beginners. You can layer colors, blend, and create fine details. Watercolors: Offer beautiful washes and translucent effects, but require a bit more practice to control. Markers: Provide vibrant, flat colors, good for bold, graphic styles. Pastels (Oil or Soft): Create rich, painterly effects, but can be messy.
- Layering Colors: Just like with pencil, build up colors in layers. Don’t press hard with your first layer. Start with lighter colors and gradually add darker shades to create depth. For example, a red apple might start with a light yellow base, then layers of orange, then various reds, and finally a touch of brown or purple in the deepest shadows.
- Understanding Warm and Cool Tones: Colors like red, orange, and yellow are warm and tend to advance in a drawing. Blues, greens, and purples are cool and tend to recede. Use warmer colors for areas directly hit by light and cooler colors for shadows, even within the same fruit (e.g., a slightly purplish-red in the shadow of a red apple).
Troubleshooting Common Beginner Mistakes
It’s okay to make mistakes; it’s how we learn! Here are a few common hiccups and how to fix them:
- Drawing Too Small or Too Large: Before you start, try to mentally (or lightly) block out the space your fruit will take on the paper. You want it to fill the space nicely without being cramped or lost.
- Ignoring Shadows/Making Them Flat: Shadows are your best friend for 3D. If your fruit looks like it’s floating or flat, it’s probably missing good shadows. Remember highlights, mid-tones, core shadows, reflected light, and cast shadows.
- Lack of Variety in Line Weight: If all your lines are the same thickness, your drawing can look stiff. Use lighter lines for areas further away or less important details, and slightly darker lines for closer edges or points of emphasis.
- Rushing the Observation Phase: I can’t stress this enough! The better you observe, the better you’ll draw. Spend 50% of your time looking and 50% drawing, especially when you’re just starting.
- Being Too Critical of Yourself: This is supposed to be fun! Every artist, no matter how skilled, makes drawings they don’t love. It’s part of the process. Your drawing aesthetic will evolve over time.
Making It Your Own: Personalizing Your Fruit Art
Once you’re comfortable with individual fruits, you can start getting creative!
- Different Arrangements:
A Single Fruit: Classic and effective. Focus on detail. A Small Group: Arrange 2-3 fruits together. Think about how they interact and cast shadows on each other. A Fruit Bowl: A classic still-life challenge. Consider the overall shape of the bowl and how the fruits nestle inside. On a Cutting Board: Adds a rustic, everyday feel. Half-Eaten Fruit:* A bite taken out of an apple, a peeled banana – these add narrative and interesting forms.
- Adding Backgrounds:
Simple Tablecloth/Surface: A plain, slightly textured surface is often enough. Observe the folds of fabric or the grain of wood. Plain Wall: A simple backdrop that doesn’t distract. Window Sill:* If you’re feeling adventurous, try adding a blurry outdoor scene through a window.
- Stylization: You don’t have to draw realistically.
Cartoonish: Exaggerate features, use bold outlines and flat colors. Impressionistic: Focus on capturing the feeling and color, rather than perfect form. Abstract:* Simplify shapes and colors to their essence.
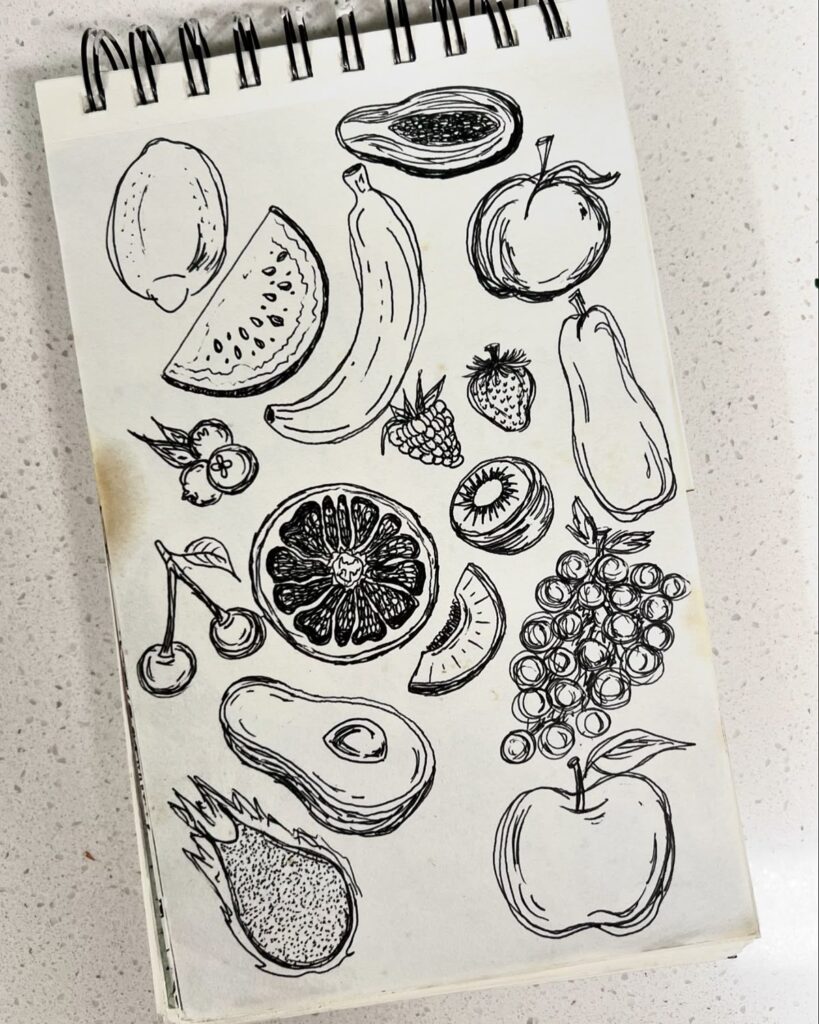
Remember, this is your art! Don’t be afraid to experiment and develop your own style. Perhaps you might even want to integrate drawing into your daily life by creating a visual diary where fruits make frequent appearances.
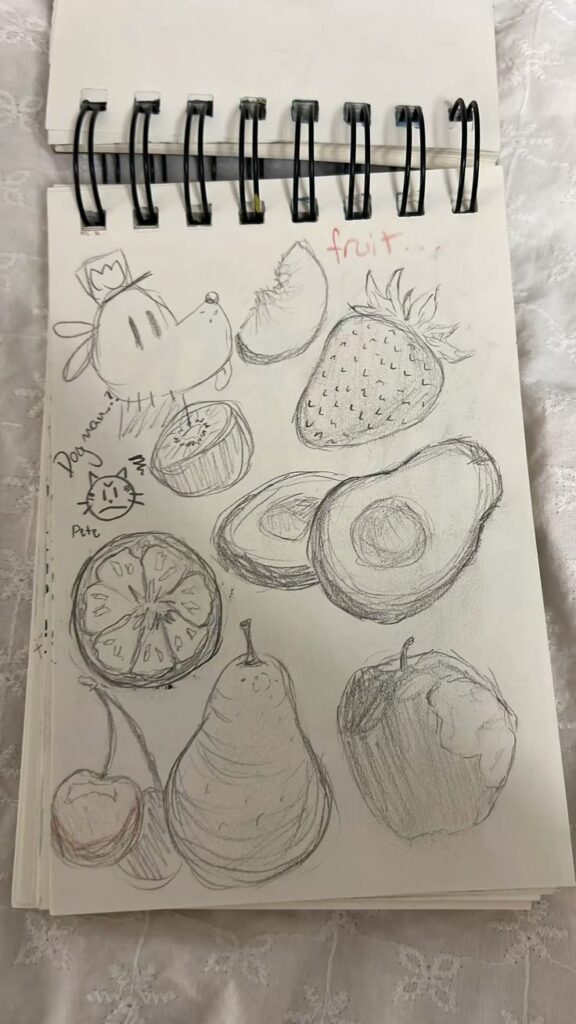
Practice Makes Perfect (and Fun!)
Drawing is a skill, and like any skill, it improves with practice. The more you draw, the better your eye becomes, the steadier your hand, and the more confident you’ll feel.
- Draw Daily (Even for 10 Minutes): Consistency beats long, infrequent sessions. A quick sketch of your breakfast fruit every morning can do wonders.
- Don’t Be Afraid to Experiment: Try different angles, different lighting, different mediums. See what you enjoy most.
- Keep Your Old Drawings: It’s incredibly motivating to look back at your first attempts and see how much you’ve improved.
- Seek Inspiration: Look at how other artists draw fruits. Visit art galleries (online or in person), browse art books, or scroll through art communities.
Remember, the goal isn’t to create a masterpiece every time. The goal is to enjoy the process, learn something new with each sketch, and just have fun. Taking up drawing can even be a fantastic way to spark creativity in other areas of your life!
Conclusion: Your Delicious Artistic Journey Begins!
Drawing fruits is truly one of the most accessible and rewarding ways to dive into the world of art. You don’t need special talents, expensive equipment, or even a perfectly still model. You just need curiosity, a pencil, some paper, and a willingness to look closely at the vibrant, everyday wonders around you.
From understanding basic shapes to mastering the dance of light and shadow, and eventually playing with a spectrum of colors, fruits offer a comprehensive art lesson disguised as a casual, enjoyable pastime. So, the next time you’re in your kitchen, don’t just see a snack; see a potential masterpiece waiting to be sketched. Pick up that pencil, observe, and let your creativity flow. Who knew an apple could teach you so much? Now go forth and draw some tasty art!
- 1.7Kshares
- Facebook0
- Pinterest1.7K
- Twitter0
- Reddit0

