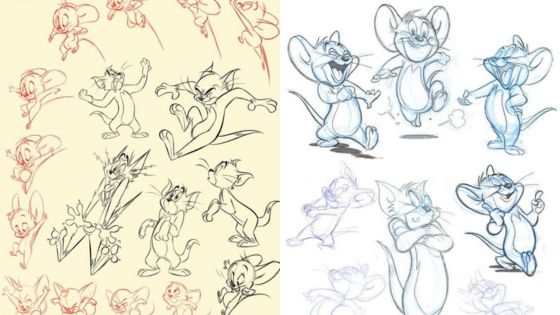
Learning how to draw Sonic the Hedgehog starts with the silhouette: round head, swept-back quills, big connected eyes, white gloves, and oversized red shoes. Get those shapes working first, then add color. If the pose and quills read clearly in pencil, the blue body is the easy part.
This guide uses Sonic as the main drawing target and keeps Shadow as a comparison, because Shadow is part of the same Sonic the Hedgehog character family but has sharper quills, darker colors, and a more angular attitude. Draw Sonic first; Shadow becomes much easier after that.
Sonic-style cartoon feet are exaggerated, but the same design logic applies to real footwear. For more grounded practice, use these shoes drawing ideas to study sneaker soles, heel shapes, and laces.
How to draw Sonic the Hedgehog step by step
To draw Sonic the Hedgehog step by step, start with a round head and a small body underneath it. Add a loose action line so the pose feels fast, not stiff. Sketch the connected eye shape, tan muzzle, pointed ears, gloves, thin arms and legs, and oversized shoes before you add the quills. Sonic’s quills should sweep backward in rounded spikes, while Shadow’s are sharper and more aggressive. Keep the construction light, clean the outer contour, then color the body blue, the muzzle tan, the gloves white, and the shoes red. Add small shadows under the head, arms, and shoes so the character does not look flat.
| Drawing stage | What to check | Common mistake |
|---|---|---|
| Construction | Round head, small body, clear action line | Making the body too tall |
| Silhouette | Connected eyes, swept quills, gloves, shoes | Drawing Shadow-like sharp quills on Sonic |
| Face | Large eye shape, small nose, tan muzzle | Separating the eyes too much |
| Color | Blue body, tan muzzle, white gloves, red shoes | Using one flat blue with no shadows |
Materials for a Sonic the Hedgehog drawing
You do not need a large art kit. A light pencil, a clean eraser, a black fineliner, and blue, tan, white, and red coloring tools are enough for a Sonic drawing. Keep the first sketch pale so you can adjust the head and quills before inking.

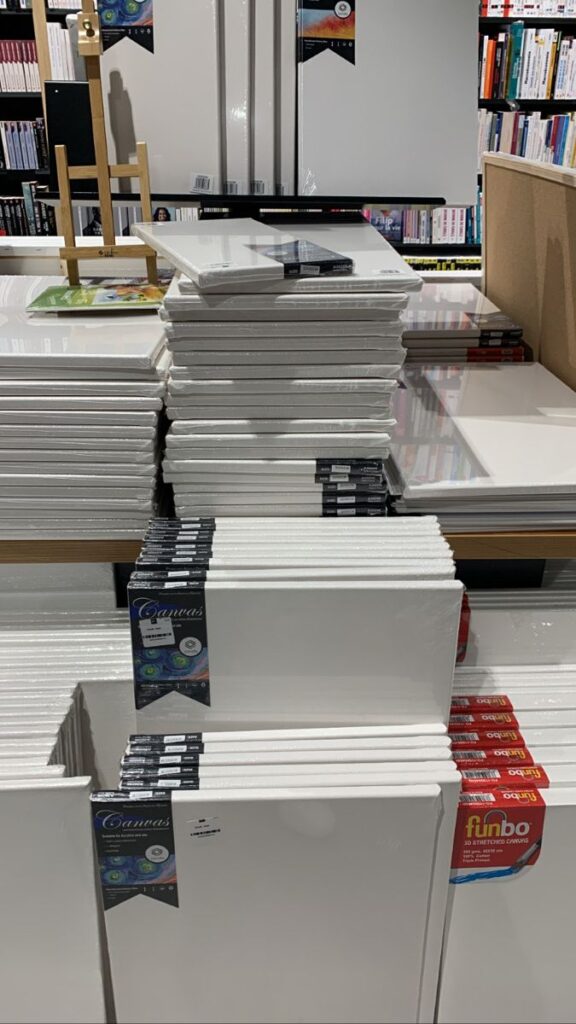
Use these supply images as a setup check: pencil for construction, pen for the final contour, and color tools that can keep the blue body clean. Sonic has fewer dark areas than Shadow, so smooth color and crisp edges matter more than heavy shading.
Build Sonic from simple shapes
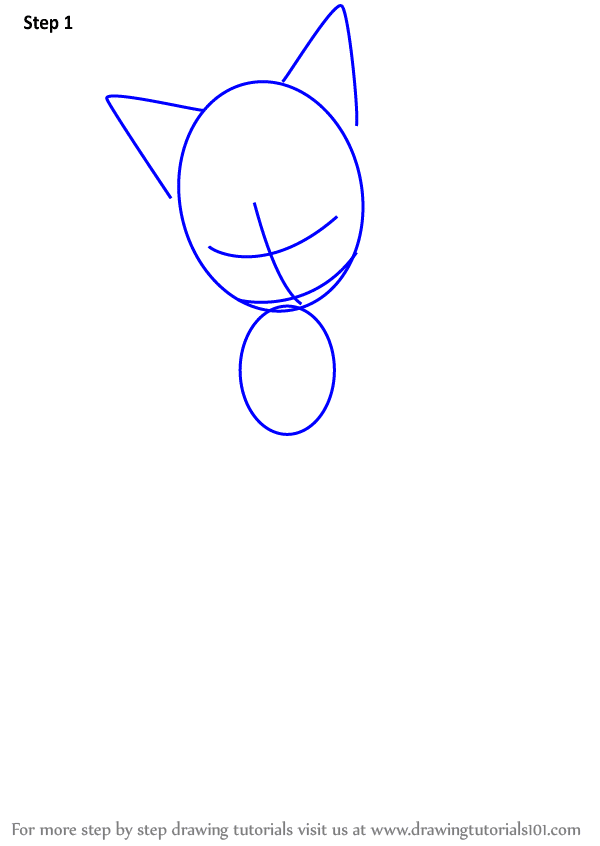
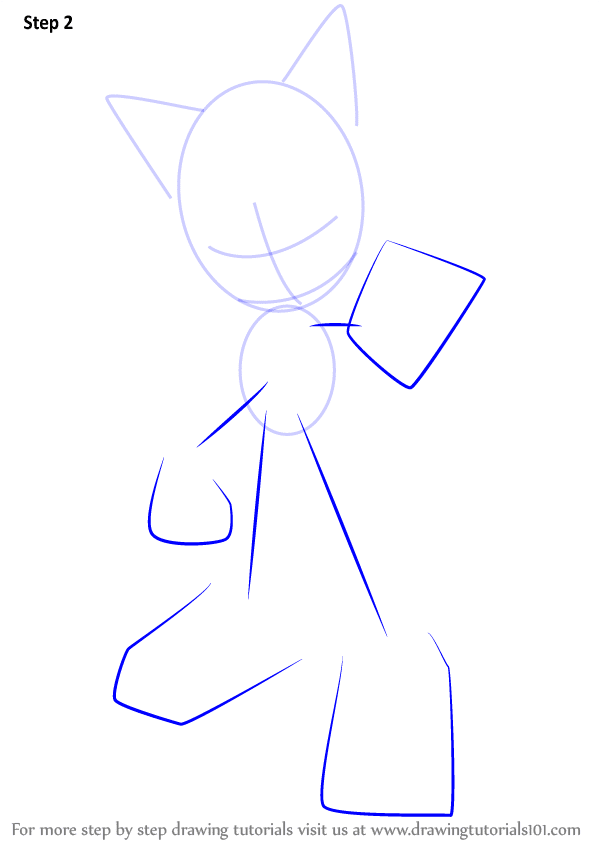
In the first three drawing frames, keep Sonic simple. Use a circle or oval for the head, a smaller bean-like shape for the body, and light limb lines for the pose. Do not worry about perfect quills yet; the first job is getting the head-to-body proportion right.
Sonic’s body is compact compared with his head and shoes. If the torso gets too large, he starts to look like a generic cartoon runner instead of the Sonic the Hedgehog character people recognize.
Outline Sonic’s silhouette
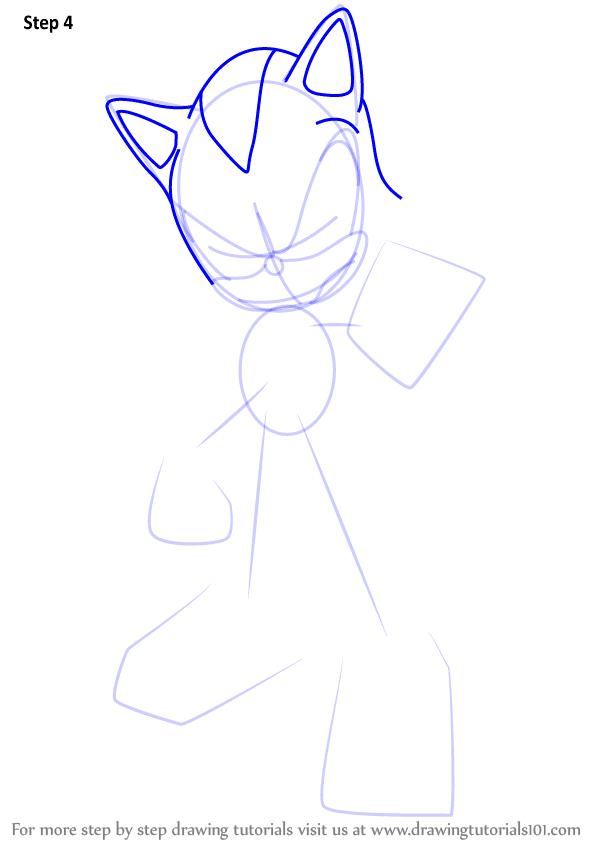
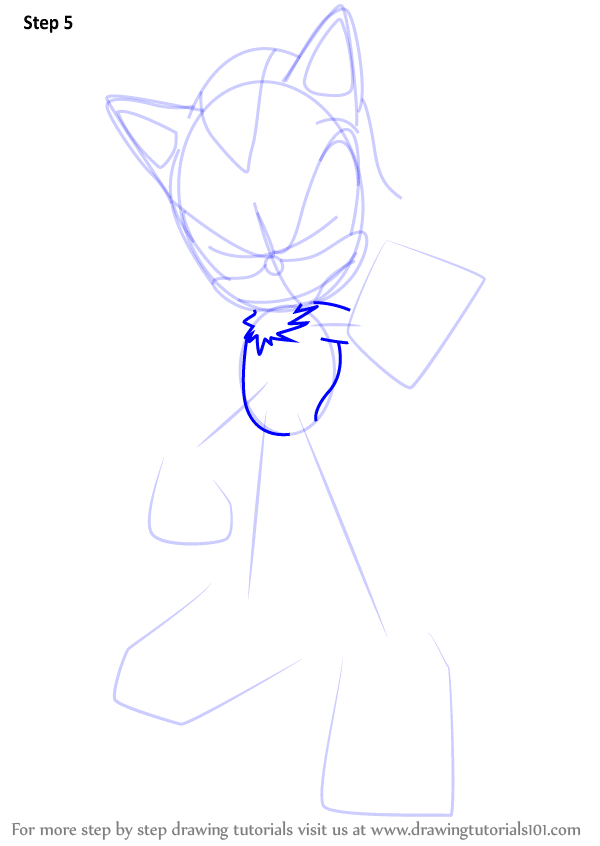
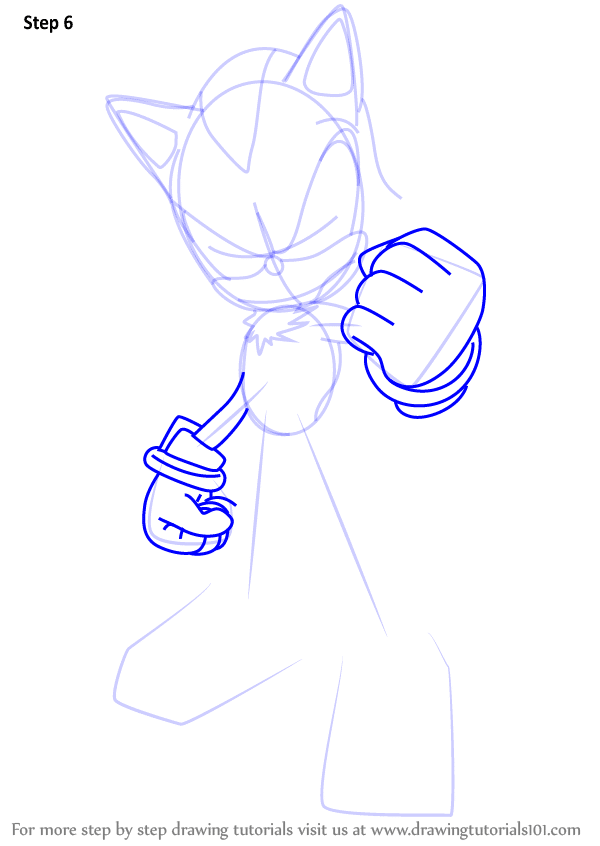
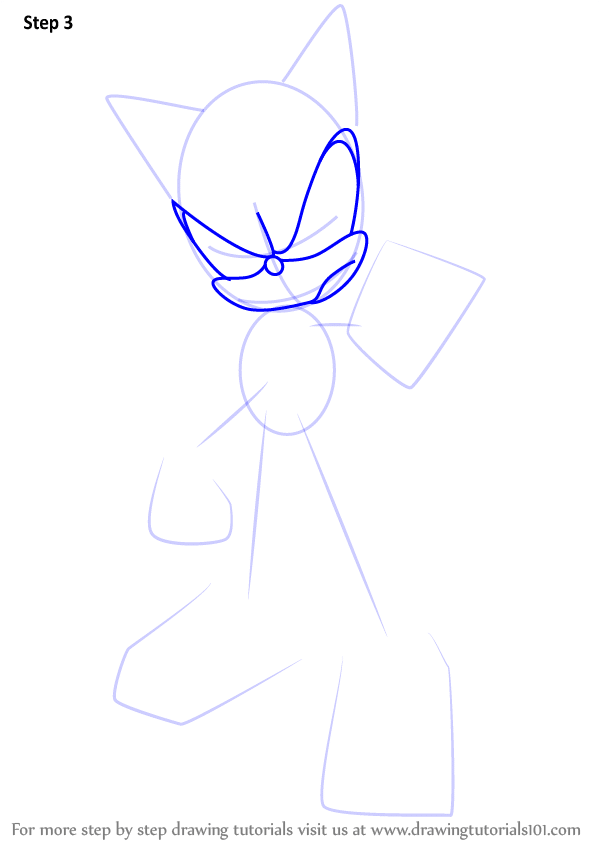
The next frames are where the drawing starts to read as Sonic. Connect the head and body, then place the big gloves and shoes clearly. Let the quills sweep back from the head in a clean rhythm instead of making them random spikes.
This is also where the Shadow comparison helps. Sonic’s quills feel rounder and faster; Shadow’s silhouette is sharper, darker, and more severe. Keeping that difference in mind stops the drawing from drifting into the wrong character.
Draw Sonic’s eyes and face
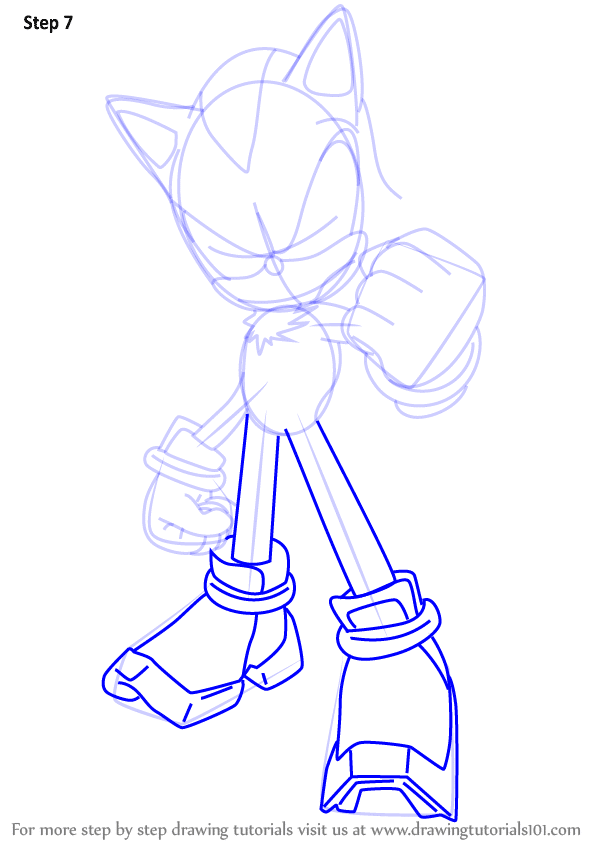
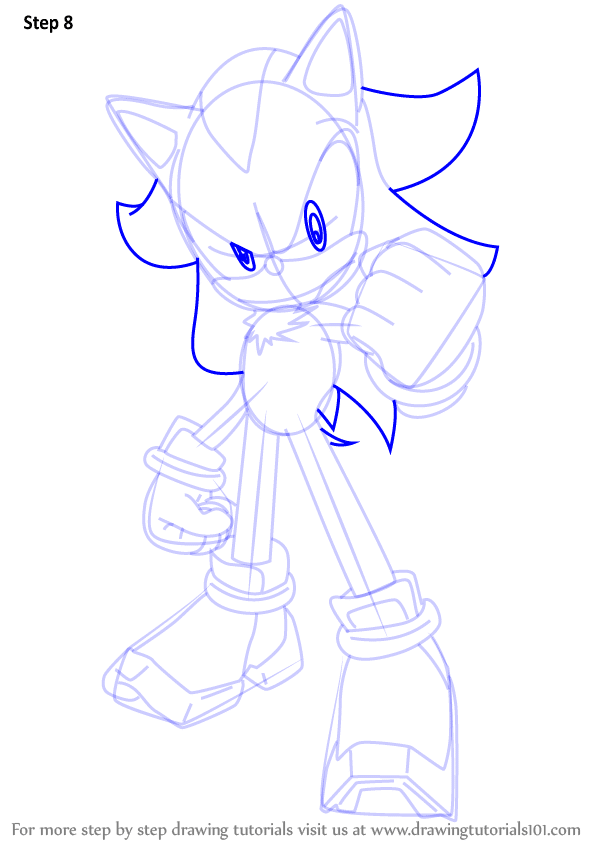
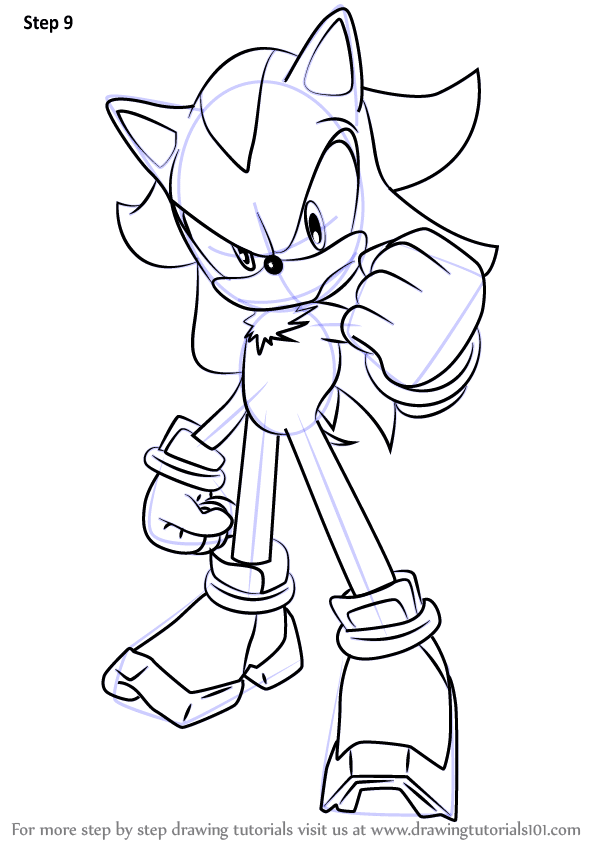
Sonic’s eyes carry most of the expression. Draw one large connected eye shape across the front of the head, then place the pupils so he looks alert. Add the small black nose, tan muzzle, and a simple mouth curve after the eye shape is working.
If the face looks strange, check the eye tilt before changing everything else. A tiny shift in the pupils or brow line can make Sonic look confident, confused, or too much like Shadow.
Add quills, gloves, and shoes
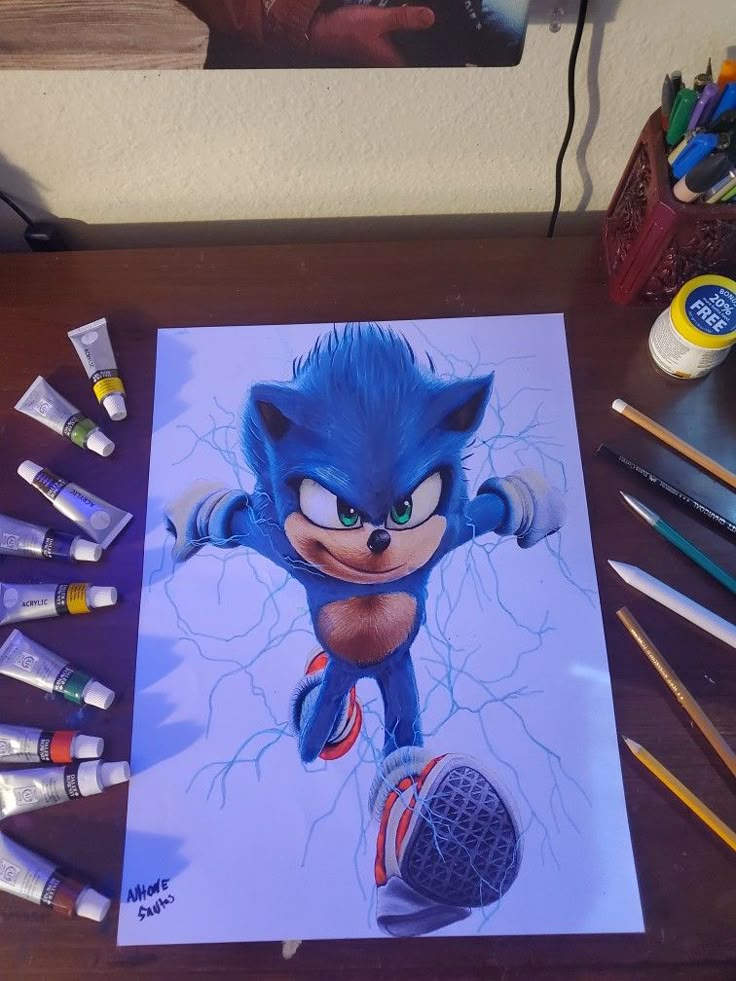

Use the reference images to study the quill rhythm and hand size. Sonic’s gloves and shoes are exaggerated, so they should not be tiny. The large shoes help the pose feel fast and balanced, especially in a three-quarter stance.
Keep the quills clean before adding color. In academic drawing, this is the moment to slow down and compare angles instead of guessing; a cleaner silhouette will save you from fixing muddy blue areas later.
A Minecraft sword outline also trains silhouette reading, which helps before you draw fast game characters or other recognizable icons.
Sonic vs Shadow drawing differences
Sonic is the primary character here: blue body, tan muzzle, rounder quills, lively eyes, and red shoes. Shadow is useful as a comparison because he uses a black-and-red palette, sharper quills, red eye accents, hover shoes, and a more serious expression. If your Sonic sketch starts looking too sharp or heavy, soften the quills and lighten the attitude.
For beginners, that comparison is practical. Sonic teaches the mascot shape first. Shadow teaches how to push the same Sonic-family body into a darker, edgier design after the basics are stable.
Color, shading, and final details


Color Sonic with a bright blue body, tan muzzle and belly, white gloves, and red shoes. Add a light gray shadow under the head, arms, and shoes before deepening the blue. This keeps the drawing dimensional without turning it muddy.
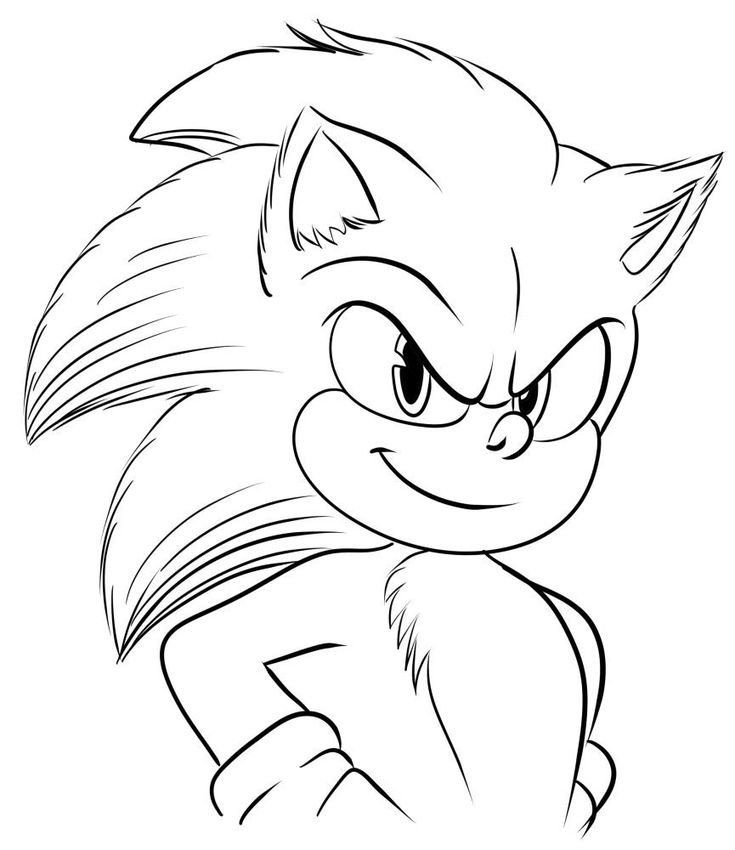
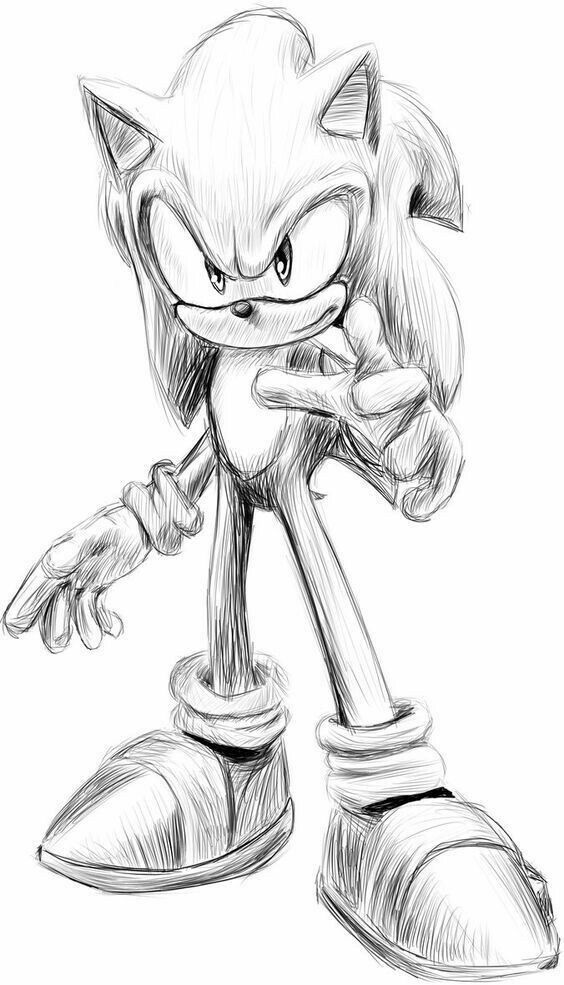
For shading, pick one light direction and stay with it. Make the outer contour darker, keep the face details thinner, and avoid filling every blue area with the same pressure. Small highlights on the eyes and shoes make the final character feel cleaner.


A simple background works best. Use a pale gray, soft blue, speed line, or loose energy shape so Sonic remains the focus. A busy scene can swallow the quills and shoes, especially if the character is still small on the page.
More character drawing practice
After this Sonic the Hedgehog drawing, stay close to character construction. These guides help with poses, hands, silhouettes, shading, and pencil control without pulling you away from the same drawing problem.
- easy cartoon character drawing
- anime pose reference
- super hero drawing guide
- hand drawing easy guide
- body drawing base
- texture drawing practice
- pencil drawing ideas
Helpful Sonic and Shadow references
Use official references near the end of your study session. Look at the character shapes, then simplify them into your own construction lines instead of copying every detail at once.
- official Sonic character profile
- official Shadow character profile
- Sonic X Shadow Generations official page
- Art for Kids Hub Sonic-style drawing lesson
Sonic the Hedgehog drawing FAQ
Q: How do you draw Sonic the Hedgehog step by step?
A: Start with a round head, a smaller body shape, and a loose action line so Sonic does not stand stiffly. Add the big connected eyes, tan muzzle, pointed ears, gloves, skinny limbs, oversized shoes, and backward quills. Clean the silhouette before coloring, then use blue for the body, tan for the muzzle and belly, white for gloves, and red for the shoes.
Q: What makes a Sonic the Hedgehog drawing recognizable?
A: Sonic reads from the silhouette first: round head, large eyes, small body, long thin limbs, big gloves, red shoes, and swept-back quills. If those shapes are clear, the drawing will look like Sonic even before color. Keep the quills rounder and friendlier than Shadow’s sharper spikes.
Q: Is Sonic easier to draw than Shadow?
A: Sonic is usually easier for beginners because his shapes are rounder and his color pattern is simpler. Shadow uses darker values, red markings, and a more angular attitude, so mistakes show faster. If you are new, draw Sonic first, then use Shadow as a comparison once the hedgehog body shape makes sense.
Q: What colors do you need for Sonic the Hedgehog?
A: Use bright blue for Sonic’s body and quills, tan or peach for the muzzle and belly, white for the gloves and eye area, black for the pupils and nose, and red with white details for the shoes. A light gray pencil is useful for soft shadows under the arms, head, and shoes.
Q: How do you draw Sonic’s eyes?
A: Place Sonic’s eyes across a slightly tilted guide line on the head. The eyes are large and connected, with a confident curve rather than two separate realistic eyeballs. Add small black pupils and leave a tiny highlight so the face stays lively after you color the blue head and quills.
Q: What is the easiest Sonic pose to draw?
A: A three-quarter standing pose is the easiest Sonic pose because you can show the head, quills, gloves, and shoes without solving a full running figure. Once that works, try a running pose with a stronger action line and a forward lean. Save extreme speed effects for later.
Q: How do you make a Sonic drawing look cleaner?
A: Keep the construction sketch pale and make the final outer contour darker than the interior details. Use smoother curves for Sonic’s head and quills, then sharpen only the shoe and glove edges where needed. Before coloring, erase guide lines around the eyes and muzzle so the blue areas stay crisp.
- 1.2Kshares
- Facebook0
- Pinterest1.2K
- Twitter0
- Reddit0