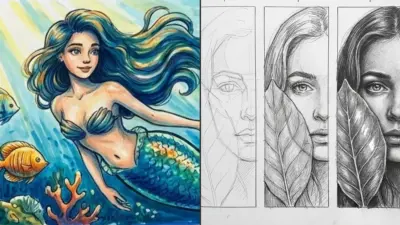
Drawing hair can be one of the most challenging yet rewarding aspects of creating your characters. Understanding the fundamental shapes and techniques can significantly enhance your ability to portray various hairstyles with realism and flair. Whether you’re working on portraits or animated characters, mastering hair drawing is a skill that will elevate your artistry.
You will discover that breaking down hair into manageable sections and understanding its flow will simplify the process. Different hairstyles require different techniques, from straight locks to bouncy curls, each presenting its unique challenges. As you learn these techniques, you will find that adding details like light and shadow brings your hair to life.
By following effective tutorials and practicing various styles, you will build your confidence and expand your artistic repertoire. Emphasizing technique over perfection can transform frustration into satisfaction as you perfect your hair-drawing skills.
Key Takeaways
- Understanding hair structure is essential for realistic drawings.
- Practicing different techniques enhances your versatility.
- Tutorials can provide valuable guidance and inspiration.

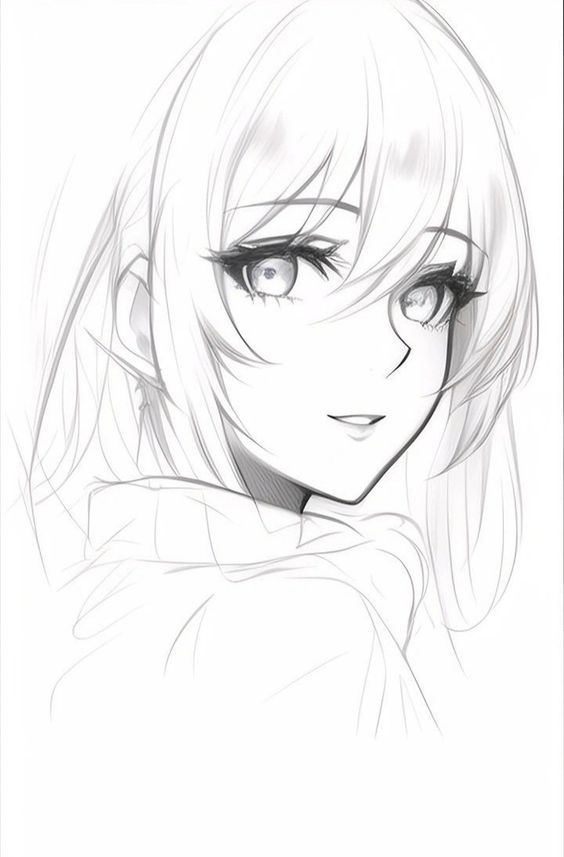
Understanding Hair Basics
To effectively draw hair, grasping the fundamentals of hair anatomy and flow, as well as recognizing different hair types is essential. These concepts lay the groundwork for creating realistic and appealing hair in your art.
Hair Anatomy and Flow
Hair consists of individual strands that come together to form various shapes. Understanding hair anatomy involves recognizing the hairline, roots, and tips. The flow of hair is determined by gravity and movement.
When drawing, consider how hair falls naturally. It can be influenced by factors like wind or the position of the head. Observe the general direction of growth from the scalp down to identify the overall shape. Use broad strokes to define the main structure, then add finer details to indicate individual strands.
Key Points to Remember:
- Hair grows from the scalp.
- The flow changes with movement.
- Volume and texture create realism.
Different Hair Types
Hair texture varies widely and includes straight, wavy, curly, and coily types. Straight hair typically lies flat against the scalp, while wavy hair exhibits soft curves, adding volume.
Curly hair has defined spirals or waves that create a lot of texture. Recognizing these differences is key to capturing their unique characteristics. Experiment with techniques like using curved lines for curls or straight strokes for straight hair.
Enjoy the diversity and practice by observing real-life references or photographs. Each hair type offers its own challenges and beauty, allowing for creativity in your drawings.
Quick Tips:
- Use different line techniques for each texture.
- Capture flow with smooth, natural strokes.
- Don’t focus on individual strands; instead, consider the overall shape and volume.


Materials and Tools
Selecting the right materials and tools is essential for effectively capturing the texture and flow of hair in your drawings. The choice between traditional mediums and digital art options will impact your approach.
Choosing the Right Pencils
When working with pencils, consider a set that includes various hardness levels. Graphite pencils ranging from 2H to 8B allow you to create a broad spectrum of stroke types, from fine lines to deep shadows.
- Harder pencils (H grades) are ideal for detailing hair strands and creating sharp lines.
- Soft pencils (B grades) allow for richer shading and blending, enhancing the depth of hair textures.
Experimenting with different pressures will help you develop a better understanding of how pencil stroke affects the appearance of hair. A blending stump can be useful for softening harsh lines and achieving a more realistic look.
Digital Art Software and Brushes
If you prefer digital art, choose software such as Adobe Photoshop, Corel Painter, or Clip Studio Paint. These programs offer powerful tools for hair rendering.
- Custom brushes play a crucial role. Brushes that mimic natural textures, such as fur or grass, can simulate hair strands effectively.
- Explore brush settings to adjust opacity and flow for varied stroke intensity.
Using layers allows for greater flexibility in your work. You can create base layers for volume and use additional layers for highlights and shadows, giving your hair drawings a realistic dimension.

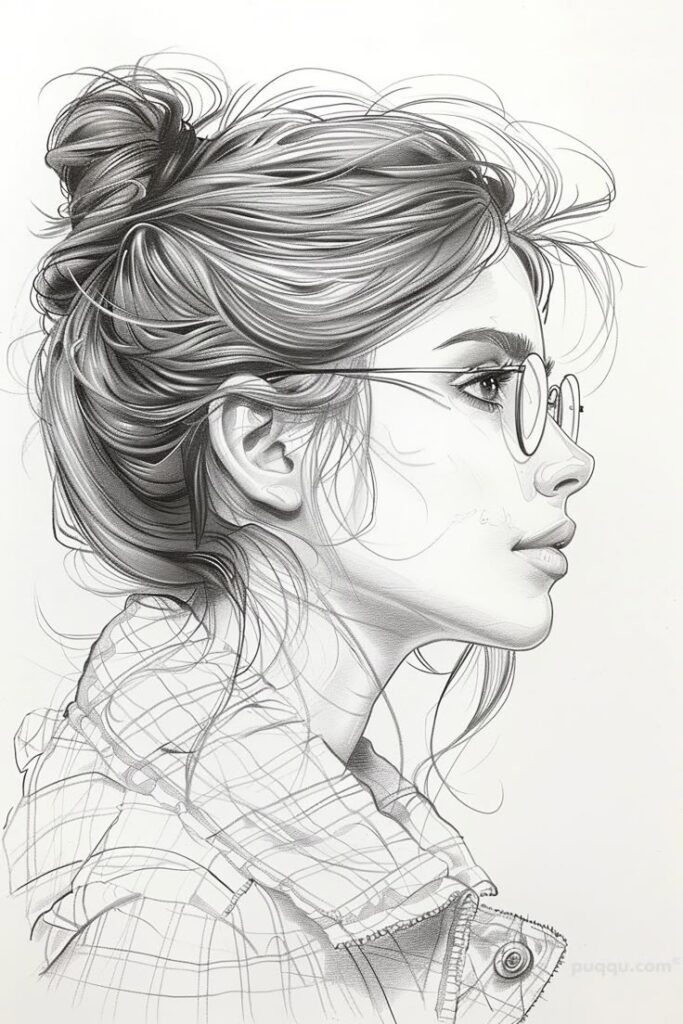
Drawing Techniques
Utilizing effective drawing techniques can significantly enhance the depiction of hair in your artwork. Focus on volume, shading, and the texture of hair strands to create a more realistic appearance.
Creating Volume and Form
To create the illusion of volume, start with the shape of the head and sketch a basic outline of the hair. This gives you a framework to build on. Use light, flowing lines to establish the overall shape and direction in which the hair falls.
Layering is crucial; add strokes that follow the natural fall of the hair. This layering creates depth and mimics how light interacts with hair. Use varied pressures on your pencil to vary the thickness of your lines, which adds to the three-dimensional effect.
Shading and Highlights
Shading is essential for adding dimension and realism. Begin by identifying your light source. The areas closest to the light should remain lighter, while the opposite sides should be darker.
Use a blend of techniques such as hatching, cross-hatching, or stippling to create a smooth transition between light and dark areas. Highlights can be achieved by leaving some areas blank or using a lighter pencil to emphasize where the light hits.
Use softer pencils for shading and add gradual layers to achieve a rich, textured look. Experiment with blending tools like tortillons or your finger to soften harsh lines.
Defining Hair Strands and Texture
Defining individual hair strands adds authenticity to your drawing. Begin by observing how hair naturally separates into strands. Use fine lines and varying lengths to illustrate this separation.
Utilize a combination of short, quick strokes for fine hair and longer, sweeping lines for thicker locks. Emphasize texture by incorporating detailed strokes that suggest curls, waves, or straightness.
Incorporate both shading and highlights to enhance texture. This contrast will help define the strands further and create a more lifelike appearance. Always keep the flow and movement of the hair in mind, as this will enhance realism and fluidity.
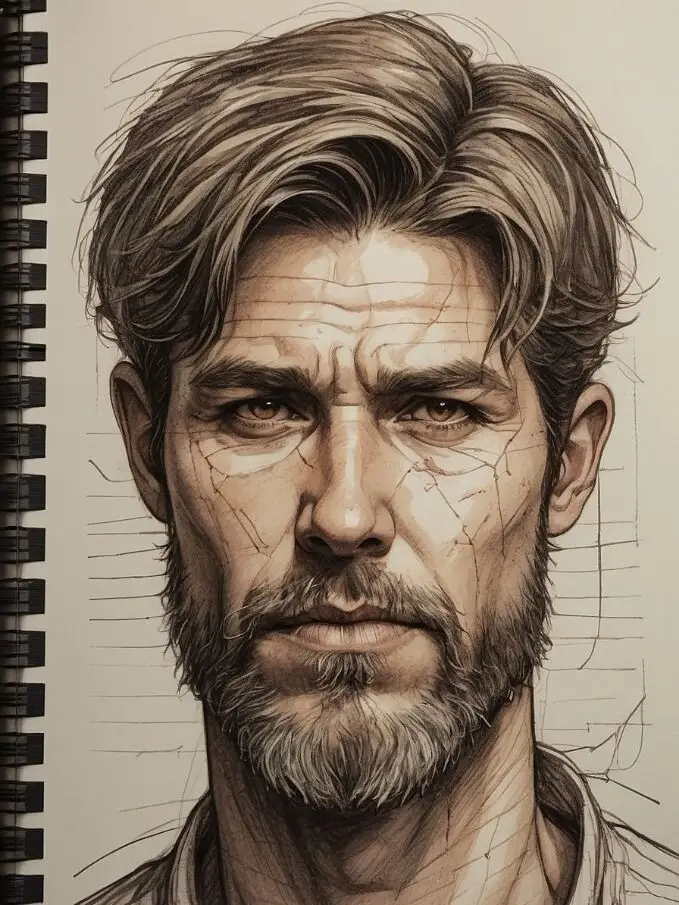

Adding Details and Finishing Touches
This section focuses on the essential aspects of refining your hair drawings. Attention to detail in hairlines, layers, and tonal contrast can elevate your work significantly.
Hairline and Edges
Start with the hairline, defining where the hair begins on the forehead. Use light, delicate strokes to outline the hairline, maintaining its natural flow. Remember that hairlines have different shapes depending on the character or style you are drawing, so observe references closely.
Be mindful of the edges of the hair. Sharp, clean lines can suggest healthy, well-groomed hair, while softer edges can indicate more textured styles. Vary your pressure to create a sense of volume. For instance, heavier pressure at roots can simulate the thickness found at the scalp. This technique adds depth and makes hair look more realistic.
Layers and Rhythmic Lines
Next, focus on layering. Hair is rarely uniform; it consists of various layers that create movement. Draw rhythmic lines to show how hair flows and overlaps. Start with foundational shapes, then gradually add smaller shapes to depict individual strands.
Utilize curved, flowing lines to guide the eye and represent natural movement. Vary your line thickness to convey distance; thinner lines can illustrate fine strands at the tips, while thicker lines can represent full sections closer to the scalp. This approach not only adds complexity but also mimics how light interacts with hair.
Tone and Contrast
Finally, pay attention to tone and contrast. Hair is defined by its texture, which can be depicted through shading. Identify the light source in your drawing; darker areas indicate shadows, while lighter areas suggest highlights.
Use a range of values to create depth. For instance, lighter tones can bring attention to the tops of layers, whereas darker tones can accentuate the underlayers. Blending techniques can help achieve a seamless transition between shades. Contrast is crucial; it makes your hair appear lively and dynamic. Adjust your tonal values based on the desired hair type, whether it’s sleek, curly, or frizzy.
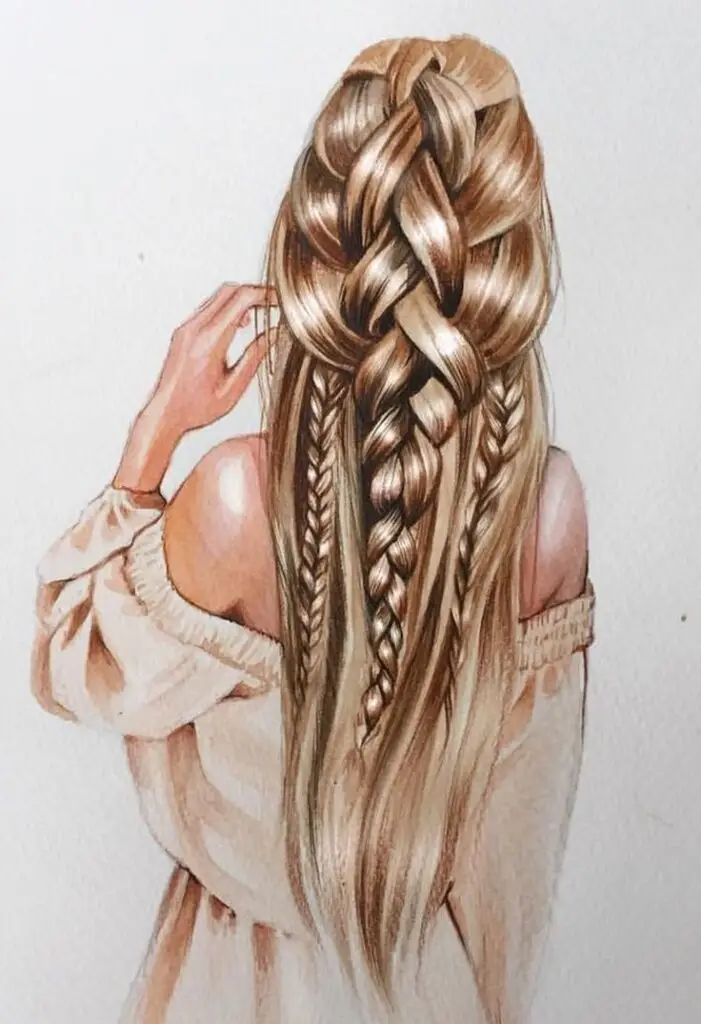
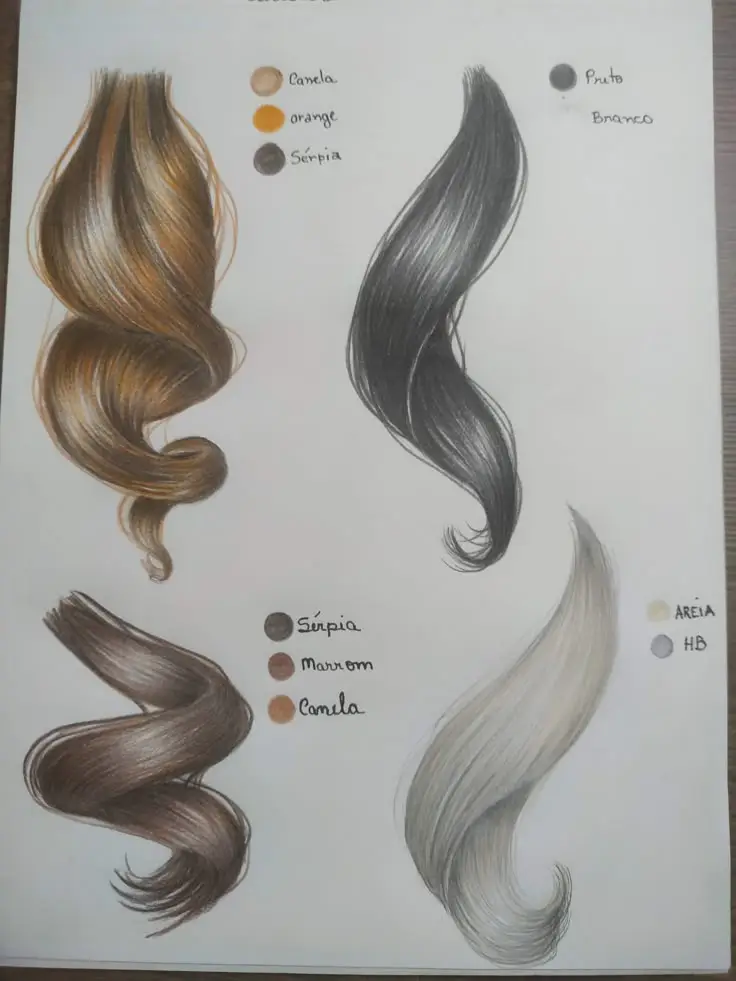
Hair Drawing Tutorials
Drawing hair can be challenging, but with the right techniques, you can create realistic looks. The following tutorials will guide you through drawing straight and curly hair, focusing on specific methods and tips to enhance your skills.
Tutorial for Drawing Straight Hair
To draw straight hair, start by sketching a basic hairline. Use light strokes to outline the overall shape, ensuring it follows the head’s contour. Pay attention to the flow; straight hair typically falls downwards and has minimal wave.
Next, add layers by breaking the hair into sections. Use long, smooth lines to represent strands. This technique helps capture the sleekness of straight hair. Vary the line thickness for depth, making the areas closer to the head appear darker and more defined.
Use shading lightly on the underside of the hair to create dimension. Blend the shades for a more polished look. Don’t hesitate to consult reference images for realistic textures and styles.
Tutorial for Drawing Curly Hair
When drawing curly hair, begin with an outline that captures the volume and shape of the curls. The initial shape should be larger than the head to reflect the bounce and fullness typical of curly hair.
Next, create the curls by using circular and spiral strokes throughout the outline. Vary the size of the curls for natural-looking hair. Avoid making them uniform; instead, let some curls overlap and intertwine.
For shading, focus on the areas beneath the curls and around the roots. Use soft, gradual shading to suggest depth. Curly hair often has more texture, so include small highlights to represent light reflecting off the curls. Keep practicing with different curl styles to perfect your technique.
- 5.2Kshares
- Facebook0
- Pinterest5.2K
- Twitter3
- Reddit0

