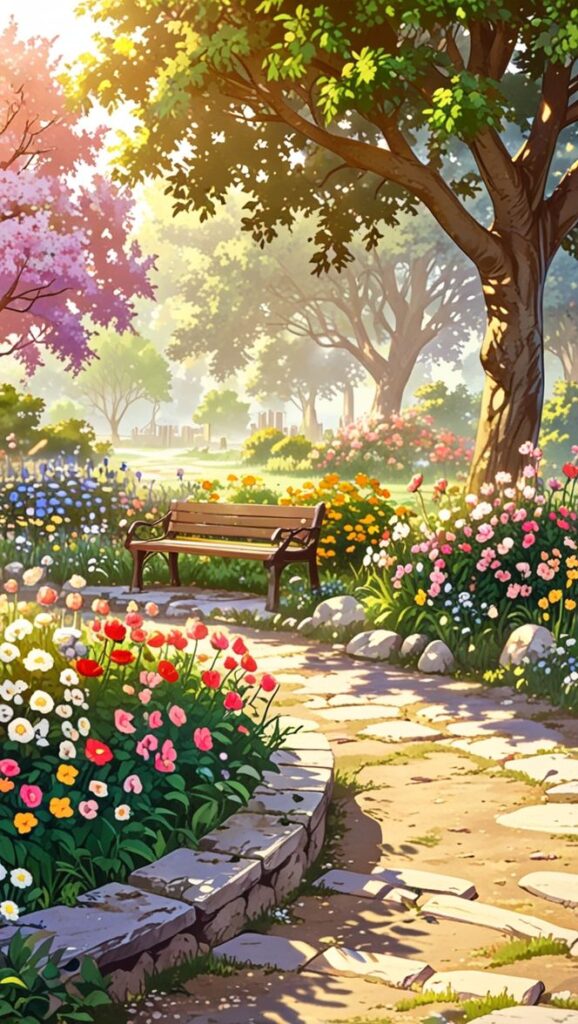
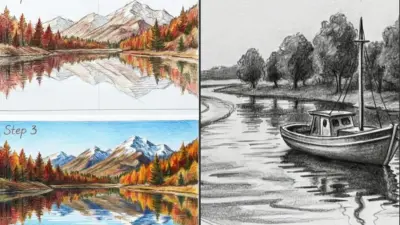
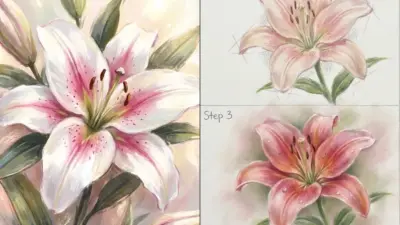
Letting your imagination run wild is the secret to creating a magical garden scene. Learning how to draw a magical garden involves combining elements from nature with touches of fantasy, letting you build a space filled with sparkling lights, curious pathways, and whimsical creatures. You can transform a simple garden drawing into an enchanting scene by paying attention to small details and using your own creative ideas.
You don’t need to be an expert artist to get started—just gather a few basic drawing materials and sketch out your vision. Think about the plants, fantasy elements, and magical atmosphere you want to bring to life. Decorating your scene with glowing lanterns, tiny fairies, or hidden doors is a great way to make your drawing truly unique.


Key Takeaways
- Use creativity and simple materials to design a magical garden scene
- Plan your composition with a mix of natural and fantasy elements
- Add color and details to enhance the magic in your garden drawing
Gathering Materials for a Magical Garden Scene
Having the right materials sets a solid foundation for your magical garden drawing. Quality supplies make it easier to add vivid details, choose rich color palettes, and create textures that bring your scene to life.
Essential Drawing Supplies
Start with a reliable set of pencils. A simple 2B pencil is perfect for sketching outlines and adding gentle shading. Keep an eraser handy for easy corrections and clean edges.
Colored pencils are versatile for adding layered hues and fine details to flowers, leaves, and fairy wings. Fine-tipped markers can help define intricate borders or accentuate the texture of stones or tree bark.
A small ruler helps keep paths straight, especially if you want garden fences or geometric layouts. Reference images of gardens or plants can guide your choices in plant shapes and arrangements.
Choosing the Right Paper
Good paper is key for vibrant color and easy blending. Drawing paper or a sketchbook with a medium-to-heavyweight texture stops colors from bleeding and allows repeated erasing without tearing.
Look for acid-free paper to prevent fading and yellowing over time. Sheets labeled for “mixed media” can work well if you want to combine colored pencils, markers, and water-based paints.
A4 or 9×12 inch paper offers room for detail without becoming overwhelming. If you prefer watercolor, choose specialized watercolor paper for the best absorption.
Exploring Color Mediums
Colored pencils offer crisp lines and layered colors that are easy to control. Watercolor paints can add soft, dreamy washes to backgrounds or sky elements. If you use markers, select ones labeled as “artist grade,” as they typically provide more vivid and blendable pigments.
Mixing mediums, such as colored pencils with watercolors, allows for unique textures—try outlining plants in pencil and filling with gentle watercolor washes. Keep a limited color palette for harmony: choose 3-5 main shades for foliage, plus accent hues for flowers and magical highlights.
Experimenting with materials such as gel pens, pastels, or even metallic markers can add sparkle and dimension to fairy wings or dewdrops, making your garden scene come alive.


Planning Your Enchanted Composition
Bringing a magical garden scene to life starts with strong planning and a clear vision. Deciding what to include, how to organize your space, and what fantasy touches to add helps your drawing tell a memorable story.
Generating Creative Garden Drawing Ideas
Start by collecting inspiration from different places—nature walks, storybooks, or art online can spark your imagination. Make a list of features you find enchanting, such as arched bridges, winding paths, miniature ponds, or lantern-lit trees.
Consider your favorite types of flowers and plants. Do you want climbing vines or tidy fairy-tale rows? A quick brainstorm or mood board can help organize your drawing ideas.
Think about the mood you want to set: mysterious twilight with glowing mushrooms, or a daylight scene full of bustling pixies? Let your personal interests guide the fantasy and storytelling elements you include.
Designing the Layout and Horizon Line
Decide on the main viewpoint for your garden. Sketch a faint horizon line to separate the sky from land. This gives your scene depth and places important elements in your composition.
Use simple shapes to block in structures, trees, or paths. Try arranging items in overlapping layers—a foreground, middle ground, and background—to add dimension. Place larger objects in front and scale down elements toward the horizon.
A table like the one below can help plan layer placement:
| Layer | Elements |
|---|---|
| Foreground | Stones, small plants, fairy doors |
| Middle Ground | Flower beds, pathways, benches |
| Background | Tall trees, garden arches, mountains |
Sketch lightly, so you can adjust the layout as your ideas evolve.
Incorporating Fantasy Elements
Add touches that transform the garden into a magical place. Consider classic fantasy features like fairy houses, whimsical fungi, and glowing orbs. Think about small creatures—fairies, sprites, or talking animals—to enhance storytelling.
Use unusual shapes for plants and flowers, or invent hybrids that don’t exist in nature. Place floating lanterns, spiraling vines, or tiny pools of light in unexpected corners.
Mix realistic details with imaginative touches to balance believability with wonder. Keep your fantasy elements consistent with your theme to create a harmonious enchanted scene.


Step-by-Step Guide to Drawing a Magical Garden
Creating a magical garden scene involves organizing your sketch, choosing imaginative shapes, and adding details that bring the composition to life. Focusing on depth, patterns, and distinct garden features will help you capture both whimsy and realism in your drawing.
Sketching the Basic Shapes
Start with a light pencil to outline the overall layout of your magical garden. Use basic shapes, such as ovals for flower beds, rectangles for pathways, and circles for ponds or fountains.
Try placing unique shapes, like twisting trees, heart-shaped leaves, or spiral stepping stones, to add an element of fantasy. Don’t worry about perfect symmetry; let your lines have a free-flowing, natural look.
Sketch in focal garden features, like an arched gate or a hidden bench, to suggest a secret garden drawing. Place larger elements in the foreground and smaller features in the background to establish perspective. This foundation stage guides where details will go next.
Adding Depth and Unique Elements
To create depth, overlap shapes and use scale – draw objects larger in the foreground and smaller as they move away. Layer trees, hedges, and clusters of flowers in different sizes and angles.
Highlight unique elements that make your garden magical, such as oversized mushrooms, fairy lights, or a small winding stream. Use curved lines to guide the viewer’s eye through pathways and around corners, giving a sense of exploration.
Vary the shapes of your plants and features to avoid repetition. Try adding a mysterious stone archway or patterned stepping stones. Each detail should hint at hidden wonders and help create the illusion of a lush, multi-dimensional space.
Refining with Textures and Patterns
Emphasize the magical aspect of your garden by introducing rich textures and imaginative patterns. Use short, wispy strokes for grass, cross-hatching for stone paths, and dots or swirls for flower petals.
Experiment with patterns on leaves, like stripes or polka dots, and add veining to flowers for added realism. To suggest sunlight filtering through tree canopies, try shading with gentle, irregular patches.
Layer different textures, such as bark, moss, and water ripples, using various pencils or pens. This not only refines your drawing but also draws attention to the artistic skills you’re developing as you bring the magical garden scene to life.


Enhancing Your Artwork with Color and Details
Using color creatively and adding thoughtful details can turn a simple magical garden drawing into a captivating scene. Focusing on shading, enchanting plants, and distinctive fantasy elements helps your illustration feel lively and immersive.
Applying Vibrant Colors and Shading Techniques
Start by selecting a color palette with vibrant greens, bright florals, and soft earthy tones to make your fairy garden or enchanted forest feel alive. Use colored pencils, markers, or paints to layer colors and create depth.
- Lay down a light base color.
- Gradually add darker shades along the edges or shadowed areas.
- Blend with a lighter color or blending tool for a smooth transition.
Consider how light affects each object. Shade the underside of gazebos or large leaves, and highlight the tops to enhance three-dimensionality. Use contrasts, like purple shadows with yellow highlights, to make areas like a butterfly garden pop with magic and vibrancy.
Detailing Magical Creatures and Plants
Adding magical creatures such as fairies, butterflies, and tiny woodland animals personalizes your scene. Sketch fairies with delicate wings and playful poses; cluster them near toadstools or gazebos.
For enchanted plants, draw exaggerated flower shapes—oversized petals, sparkling dew drops, or twisting vines. You can create a fairy village with miniature houses formed from mushrooms, acorns, or tree roots.
Useful details:
- Patterns on wings (spots, lines, or swirls)
- Glowing effect by outlining in white or a lighter shade
- Unique plant textures, like bumpy bark or velvety leaves
Mix familiar flora with fantastical touches to build a cohesive, enchanting world.
Bringing Out Fantasy Settings
To anchor your illustration in a fantasy setting, feature elements not found in a typical garden. Draw an ornate gazebo nestled beneath glowing lanterns or a meandering path twisting through the enchanted forest.
Add whimsical structures like bridges crafted from twisted vines, or sparkling stones forming the boundary of a butterfly garden. Arrange objects in layers, placing plants and magical creatures both in the foreground and background to create depth.
Setting ideas:
- Fairy houses with luminescent windows
- Waterfalls flowing with iridescent water
- Open clearings for fairy gatherings
Use color and lighting to unify the setting, guiding the viewer’s eye through your magical garden drawing for maximum effect.
Finishing Touches and Storytelling in Your Magical Garden
Adding final details brings your magical garden drawing to life. The careful use of color, added elements, and context can help establish both tranquility and a hint of mystery, inviting viewers to imagine stories within your scene.
Balancing Tranquility and Mystery
A magical garden thrives on a blend of peaceful elements and hidden surprises. Begin by using soft, natural shades of green, blue, and brown for a tranquil base. Place smooth stone paths, gentle streams, or a quiet pond to anchor the serenity in your scene.
To introduce mystery, sprinkle in subtle features—like a slightly open fairy door, a glowing light behind bushes, or footsteps leading off the path. Include miniature objects such as hidden keys, tucked-away books, or partially obscured statues for a sense of the unknown.
Consider contrasts: pair sunny open spaces with shadowy corners. Let climbing vines cover parts of a wall or fence to hint at secrets behind them. These touches spark curiosity and gently encourage the viewer to imagine what stories might unfold in the garden.
Showcasing Your Magical Garden Drawing
Presenting your drawing thoughtfully enhances its impact. Frame your artwork with a border of hand-drawn leaves or flowers to set the magical tone. You can also create a short written story or description alongside, describing the characters or creatures that might inhabit your garden.
Display your drawing in a well-lit area, either on a wall or in an album, or share a digital version with friends. If you keep a sketchbook, add notes about your ideas for the garden’s backstory, such as who lives there and what adventures take place.
A table can help you organize storytelling details:
| Story Element | Example |
|---|---|
| Inhabitants | Woodland fairies, small animals |
| Magical Object | Hidden lantern, spiral staircase |
| Secret Area | Enchanted well, vine archway |
| Ongoing Mystery | Glowing footprints, lost key |
Use these elements to build a personal connection with your art and inspire new creativity whenever you revisit your magical garden scene.
- 0shares
- Facebook0
- Pinterest0
- Twitter0
- Reddit0


