Capturing the beauty of nature through landscape art requires a blend of skill, observation, and creativity. You can elevate your artwork by mastering essential techniques that focus on composition, light, and color. Understanding these fundamentals will allow you to translate the stunning vistas around you onto the page.
Utilizing the right materials and tools is crucial in rendering breathtaking landscapes. Crafting a compelling piece involves not just the technical aspects but also a deep appreciation of the atmosphere and character of your surroundings. As you practice and refine your approach, you’ll discover how to express the essence of nature in your art.
Allow your imagination to guide your hand while drawing outdoors or from photographs. Each sketch teaches valuable lessons that can enhance your future work. By integrating advanced techniques and technology, you can gain a fresh perspective and achieve remarkable results in your landscape drawings.
Key Takeaways
- Master techniques for effective composition and lighting.
- Choose appropriate materials to enhance your artwork.
- Use technology to elevate your landscape drawing experience.
Understanding Landscape Art Fundamentals
Landscape art serves as a powerful medium for expressing your creative vision, revealing nature’s splendor while showcasing your artistic expression. This form of art has evolved through various historical influences, shaping techniques and styles that continue to inspire artists today.
Defining the Landscape Art Form
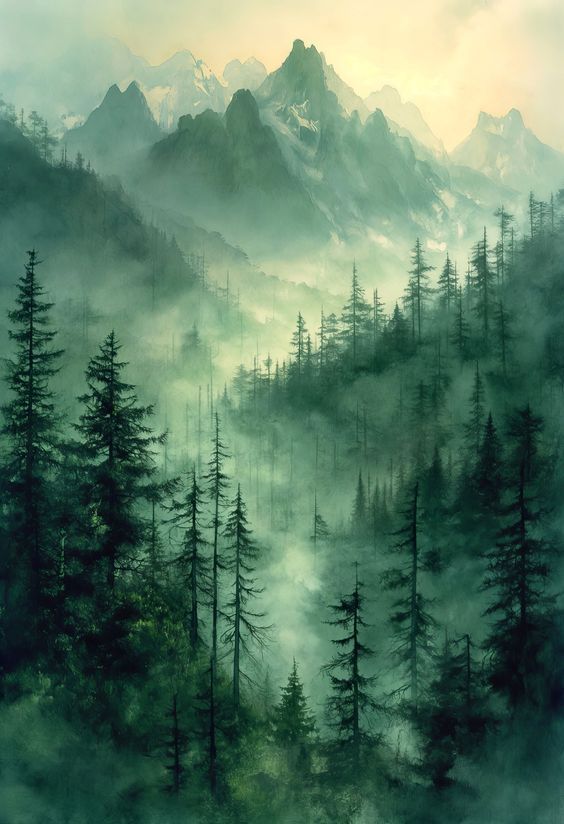
Landscape art focuses on the portrayal of natural scenes, emphasizing elements such as mountains, rivers, forests, and skies. It allows you to capture the essence of a location, combining observation with interpretation. This art form can evoke emotions, convey mood, and illustrate the beauty of nature.
Key characteristics include:
- Composition: How elements are arranged within your artwork.
- Light and Color: Use of natural light to enhance the scene’s mood.
- Perspective: Techniques to create depth and dimensionality.
Famous artists like Vincent van Gogh and J.M.W. Turner have employed these elements to elevate landscape painting, turning simple scenes into breathtaking masterpieces.
Historical Influences of Landscape Art
Landscape art dates back to ancient civilizations, evolving through various artistic movements. The Renaissance introduced realism, where artists like Leonardo da Vinci meticulously represented landscapes based on observation.
The 19th century brought impressionism, revolutionizing landscape painting. Artists like Claude Monet and J.M.W. Turner focused on capturing fleeting light and color effects, offering a more subjective interpretation of nature.
These historical shifts influence contemporary landscape art today, where artists often blend traditional techniques with modern styles. Exploring these influences helps enhance your understanding of how landscapes are depicted, guiding your artistic practice.
Composition and Design
Effective composition and design are essential for creating captivating landscape drawings. Focusing on elements like perspective, lines, and shapes can elevate your artwork by guiding viewers’ eyes and enhancing the overall impact.
Mastering the Rule of Thirds
The Rule of Thirds is a fundamental principle in composition. Imagine dividing your canvas into a 3×3 grid with two vertical and two horizontal lines. Positioning key elements along these lines or at their intersections creates balance and interest.
For example, place the horizon along the top or bottom third rather than the center. This technique encourages a more dynamic arrangement, drawing attention to the sky or ground. Experimenting with this rule helps you find the most engaging placement for your subjects.
Utilizing Shapes and Lines
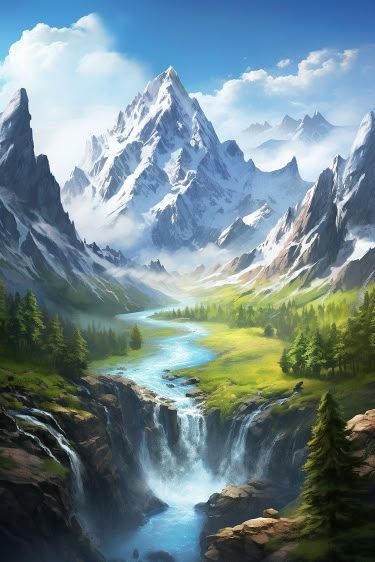
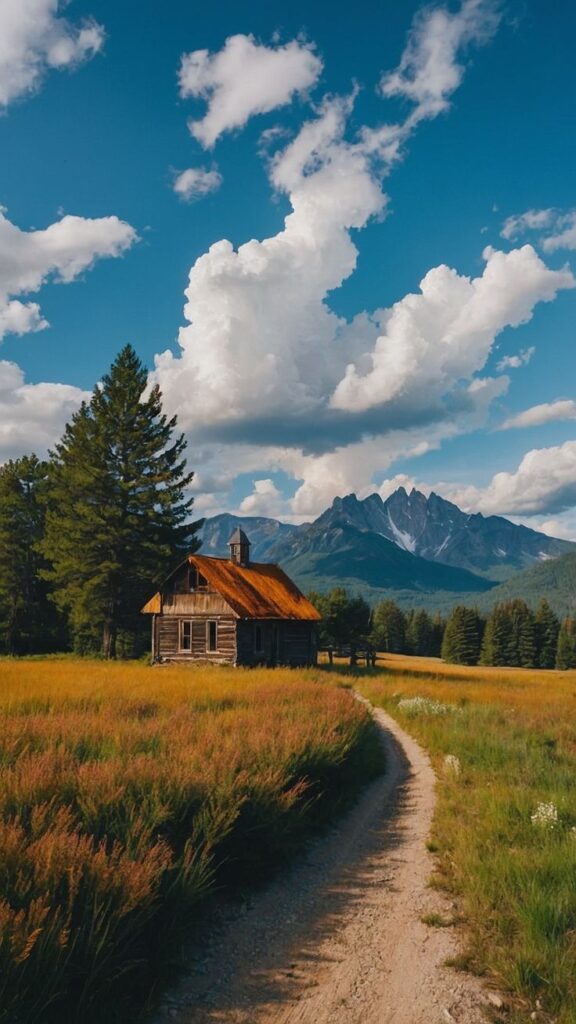
Shapes and lines play a crucial role in guiding the viewer’s gaze. Use natural lines, like rivers or paths, to lead the eye through the landscape. This can create a sense of depth and perspective, making your drawing more inviting.
Additionally, consider the geometric shapes formed by hills, trees, or buildings. Highlighting these shapes can add structure to your artwork. Look for contrasting forms that create visual tension, enhancing the overall composition and interest.
Incorporating Foreground Interest
Incorporating foreground elements can add depth and context to your landscape. Objects such as rocks, flowers, or trees in the foreground create layers in your drawing. This technique not only establishes scale but also invites viewers to explore the scene more thoroughly.
Positioning these elements strategically can frame the main subject, drawing focus. Use varied textures and details in the foreground to create contrast with background elements. This approach enhances the three-dimensional feel, making your artwork more immersive.
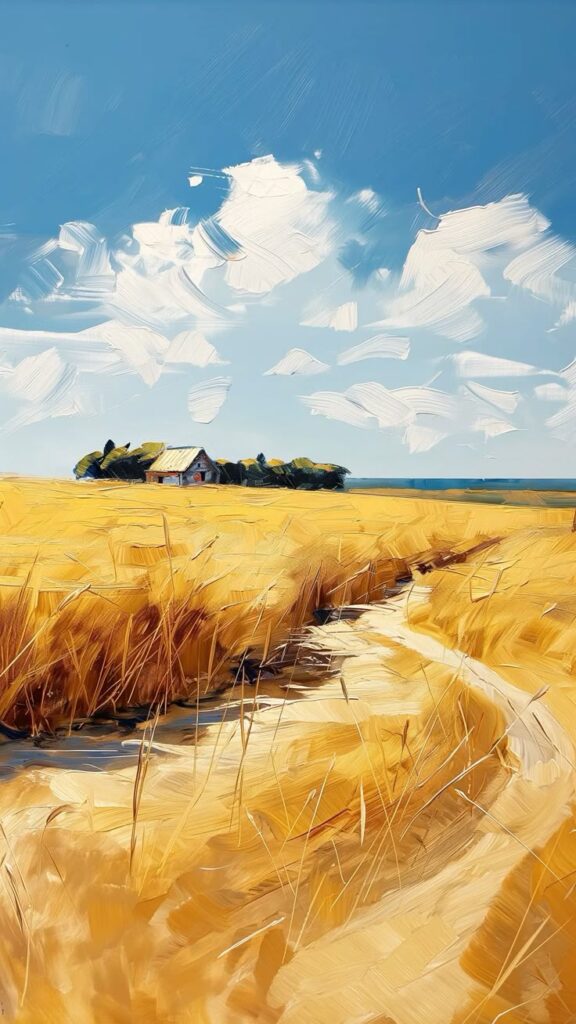
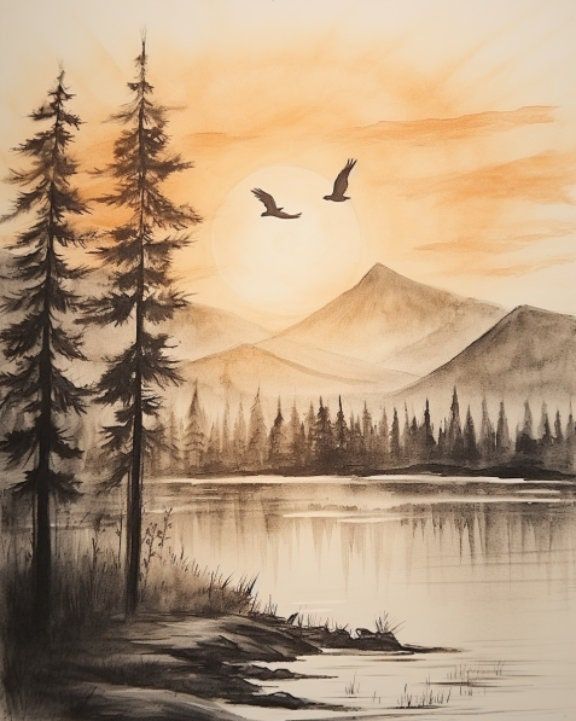
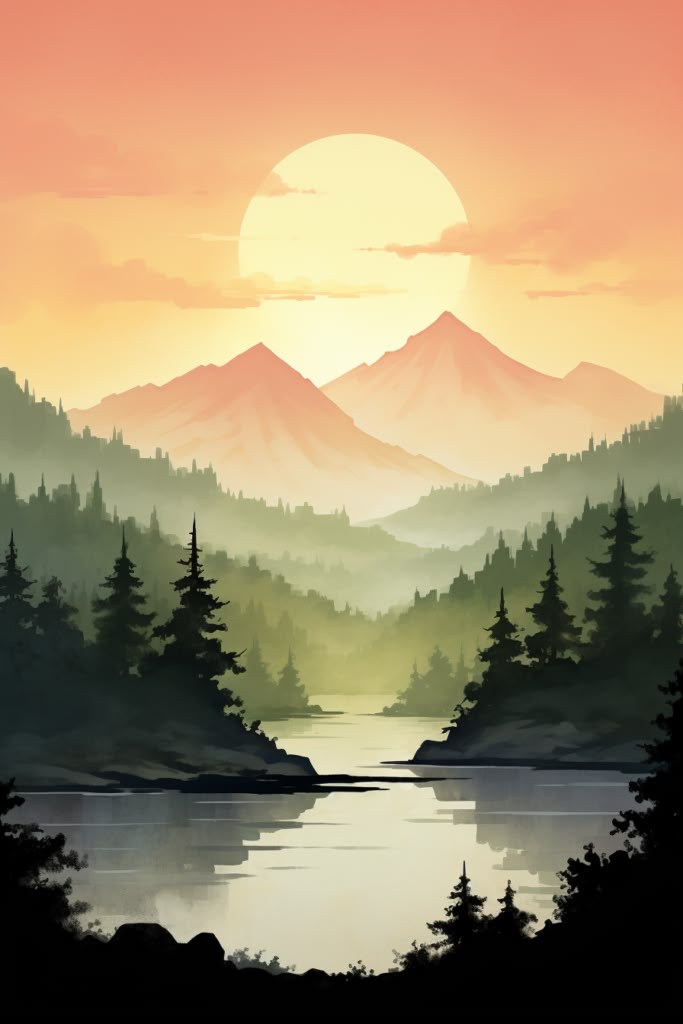
Capturing Light and Atmosphere
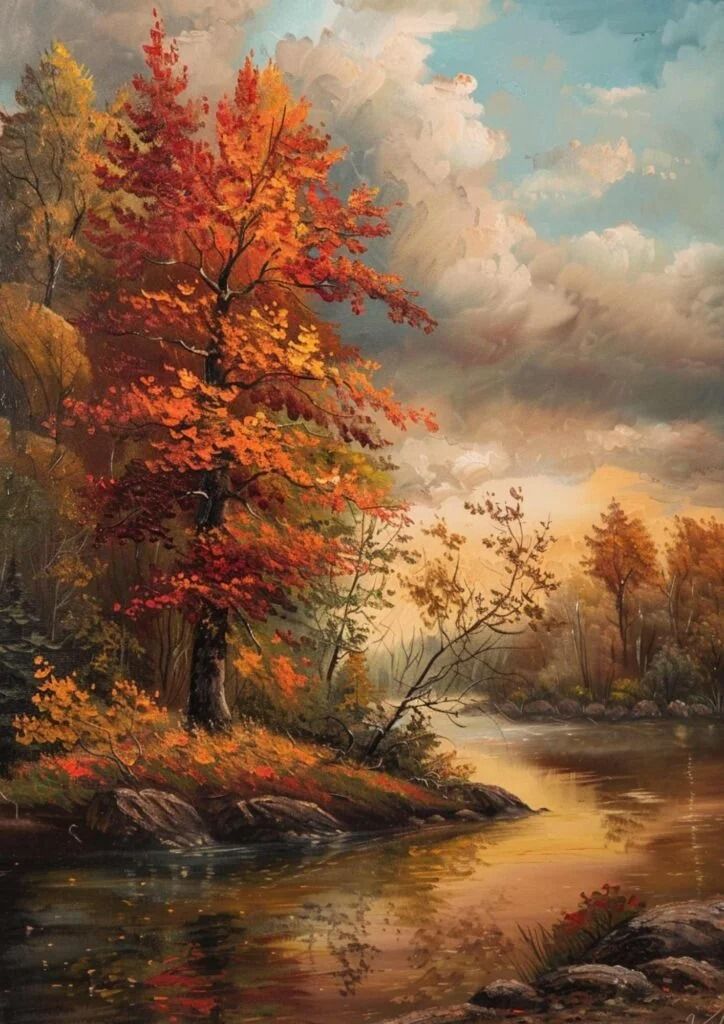
Capturing the essence of landscapes relies heavily on how you approach light and atmosphere. Strategic lighting techniques, attention to the time of day, and understanding atmospheric perspective are vital for creating impactful artwork.
Exploring Lighting Techniques
Effective use of light can transform your landscape drawings. Start by identifying your light source, whether natural sunlight or artificial light. Identify shadows created by the light—these add depth and dimension to your work.
Consider the quality of light. Soft light, found during overcast days, produces gentle shadows and a subtle atmosphere. In contrast, harsh, direct light creates pronounced shadows and can intensify colors. Use leading lines to draw the viewer’s eye toward these lighting contrasts, enhancing the scene’s focal points.
Maximizing Time of Day for Mood
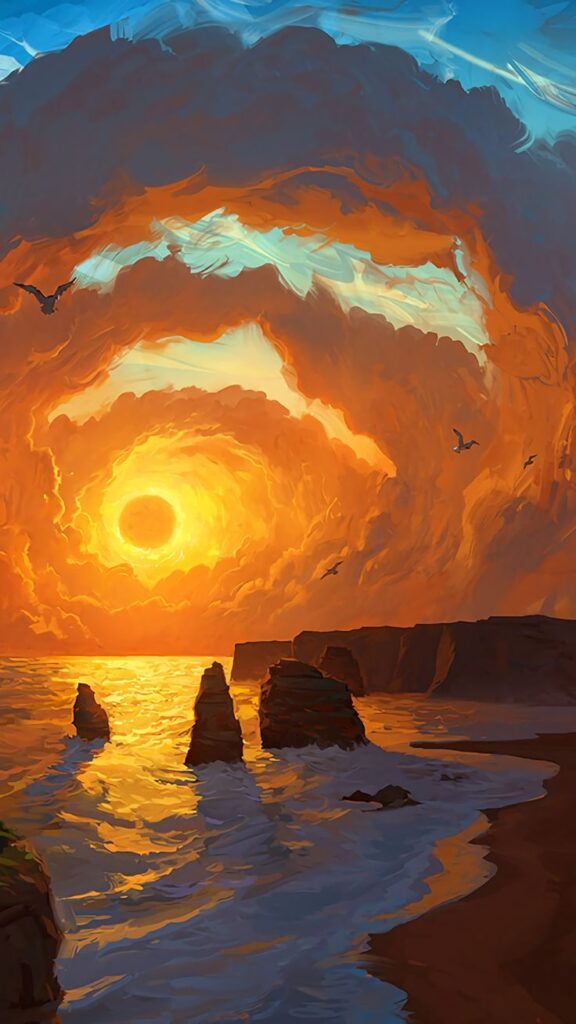
The time of day significantly influences the mood of your landscape. The golden hour, occurring shortly after sunrise and before sunset, is prized for its warm tones. During this time, shadows lengthen and create a rich, inviting atmosphere.
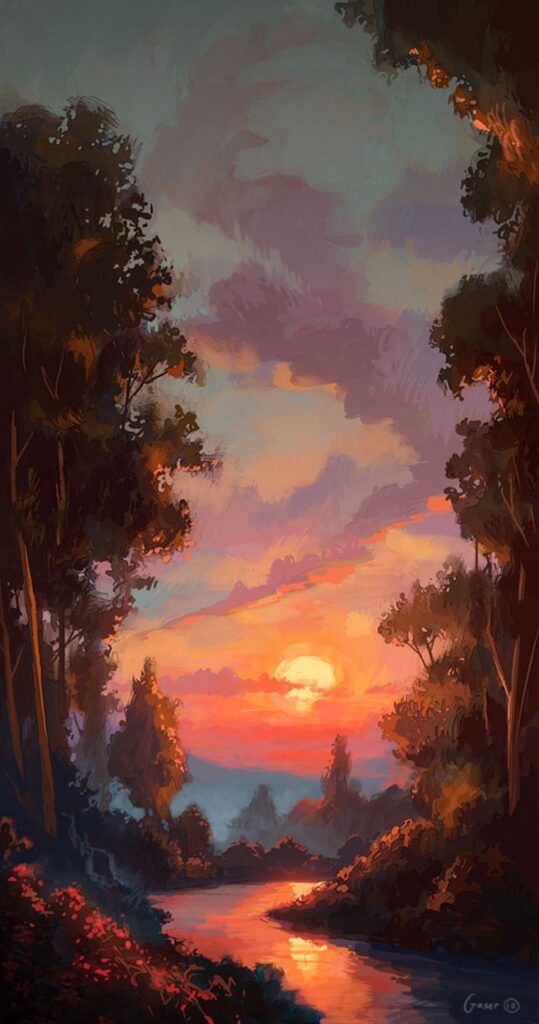
Midday light, while bright, can create stark contrasts that may wash out colors. Use this time to practice highlights and shadows, understanding how to balance them effectively. Evening light offers a different palette, often dancing in hues of orange and purple, which evoke emotional responses.
Utilizing Atmospheric Perspective
Atmospheric perspective helps create a sense of depth in your landscapes. As objects recede into the distance, they often appear lighter and less detailed. Use this to your advantage by softening details and reducing contrast for background elements.
To apply this technique, begin your drawing with warmer colors in the foreground and transition to cooler, muted tones for distant features. This practice emphasizes the spatial relationship between elements in your drawing.
Incorporating these techniques will enhance your ability to capture the light and atmosphere that define breathtaking landscapes.
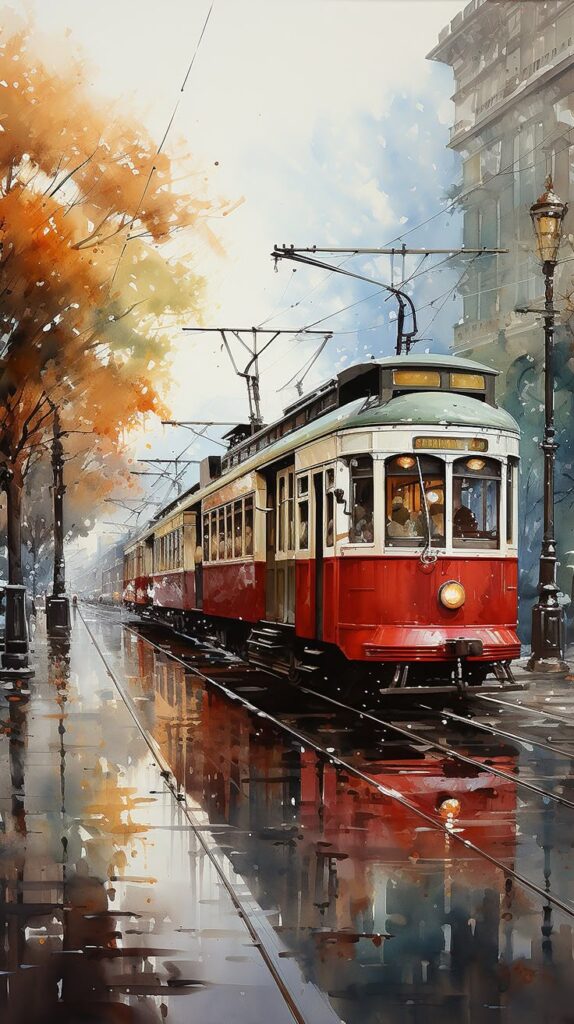
Drawing Techniques and Materials
Mastering drawing techniques and selecting the right materials are crucial in creating breathtaking landscapes. Focusing on shading methods, textures, and suitable paper will enhance your artistic representation of nature.
Classic Shading Methods
Shading adds depth to your landscapes. Familiarize yourself with methods like hatching, cross-hatching, and stippling.
- Hatching involves drawing closely spaced parallel lines. The closer the lines, the darker the area appears.
- Cross-hatching builds on this by layering lines in different directions, which adds complexity and texture.
- Stippling uses dots to create shadow. Vary the density of dots to create gradients.
Experiment with these techniques to find which resonates with your style. Use a range of pencils, from hard (H) to soft (B), to achieve different values.
Experimenting with Textures
Textures can breathe life into your landscape drawings. Consider the characteristics of various elements like trees, water, and rocks.
Start by identifying the primary texture you wish to replicate. For instance, rough textures can be created using jagged lines or uneven surfaces, while smooth textures can be done with gentle, flowing strokes.
Incorporate techniques like scraping or smudging for added effect. You may also use tools like blending stumps or your fingers to soften edges.
Remember, the goal is to convey the essence of nature, so feel free to adapt techniques to suit your vision.
Choosing the Right Drawing Paper
Selecting the appropriate drawing paper plays a vital role in the quality of your work. Consider the weight and texture of the paper.
Weight: Heavier paper (e.g., 200 gsm and above) can withstand various techniques without warping. Lighter paper may buckle under wet mediums.
Texture: Choose between smooth and textured surfaces. Smooth paper is ideal for precise lines and fine details, while textured paper (like cold-pressed or rough) lends itself well to techniques needing more grip.
Investigate different types of paper, such as Bristol, watercolor, or sketch paper, to find what best suits your artistic style and intended techniques.
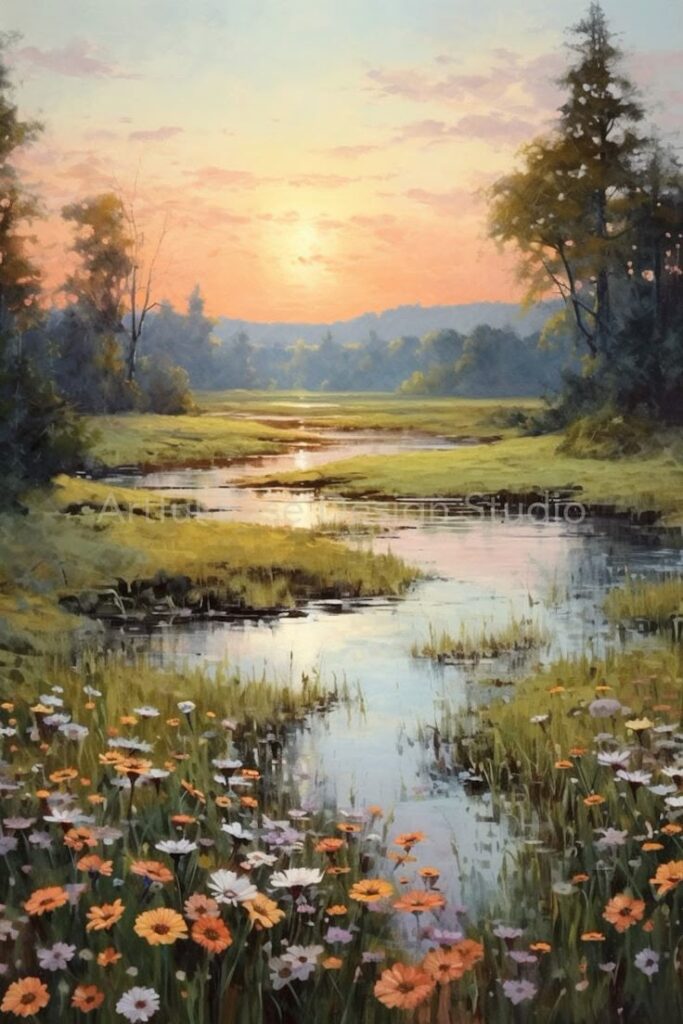
Color Theory and Application
Color plays a crucial role in landscape drawing. Understanding how to select and apply colors effectively can greatly enhance your ability to capture nature’s beauty. Here, you will learn about creating a compelling color palette and understanding the impact of color.
Creating a Compelling Color Palette
A well-thought-out color palette is essential. Start by studying the landscape you wish to draw. Observe the dominant colors and their relationships in nature.
You can use a color wheel to help identify complementary and analogous colors.
- Complementary colors: These are opposite each other on the color wheel and create contrast, adding vibrancy.
- Analogous colors: These sit next to each other and create harmony, which works well for skies or foliage.
When mixing colors, consider the effects of lighting.
- Warm colors (reds, oranges) can evoke emotions and vibrancy.
- Cool colors (blues, greens) often impart calmness.
Experiment with different combinations until you find one that resonates with the scene you want to depict.
Understanding the Impact of Color
Colors evoke emotions and set the mood of your artwork. Understanding color psychology can help you convey specific feelings in your landscape.
For instance, warm tones can suggest a bright, sunny day, while cool tones might communicate a tranquil evening.
Consider the following aspects:
- Saturation: Highly saturated colors draw attention, while desaturated tones recede into the background.
- Brightness: Light colors can create an airy feel, while dark shades often add depth.
Look for ways to create balance. Strive for a mix of light and dark, warm and cool colors to make your drawing more dynamic.
Take note of how light changes colors throughout the day. Morning light will differ from sunset hues, affecting your palette choices.
Using these principles allows you to create landscapes that not only represent nature but also evoke the intended beauty and emotion.
Advanced Drawing Techniques
Mastering advanced drawing techniques enhances your ability to create landscapes with depth and realism. Through understanding perspective, conveying texture, and refining shading practices, you can elevate your artwork significantly.
Perspective for Depth and Realism
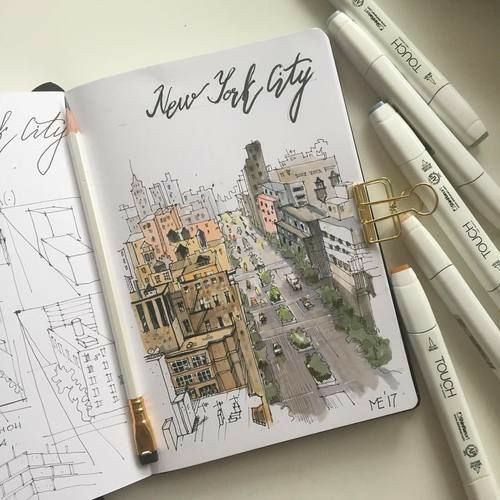
Utilizing perspective is essential in giving your landscapes a three-dimensional effect. Start with one-point, two-point, or three-point perspective to determine the placement of elements within your scene.
- One-point perspective focuses on a single vanishing point, ideal for roads or railway tracks.
- Two-point perspective involves two vanishing points, often used for buildings or urban scenes.
- Three-point perspective adds complexity by introducing height—effective for towering structures or cliffs.
To practice, create simple shapes in various perspectives. This foundational exercise helps you understand how objects appear smaller as they recede into the distance. Incorporate leading lines to direct the viewer’s eye, enhancing the composition further.
Conveying Texture and Detail
Texturing adds realism to your landscapes. Observe how different materials interact with light and shadow. Use varied techniques to depict surfaces accurately.
- Cross-hatching involves creating layers of lines to depict shadow.
- Stippling uses dots to convey form and depth.
- Blending with a smudging tool can soften edges and create smoother transitions between colors.
Experiment with these methods on various elements, such as foliage, rock surfaces, and water. Understanding how to represent these details will deepen the realism of your landscape. Focus on light sources and their effects on texture for a more dynamic portrayal.
Gaining Mastery in Advanced Shading
Shading is pivotal in transforming flat images into lifelike representations. Begin by practicing different shading techniques, such as:
- Gradient shading for smooth transitions.
- Hard and soft edges to define focal points and backgrounds.
Understanding light dynamics is vital. Observe how light sources influence shadows and highlights in nature. Use a variety of pencils to achieve different values—from soft to hard—across your drawing.
With patience and consistent practice, you will notice improvement in your ability to convey depth through shading. Experiment regularly to discover what works best for your style and subject matter.
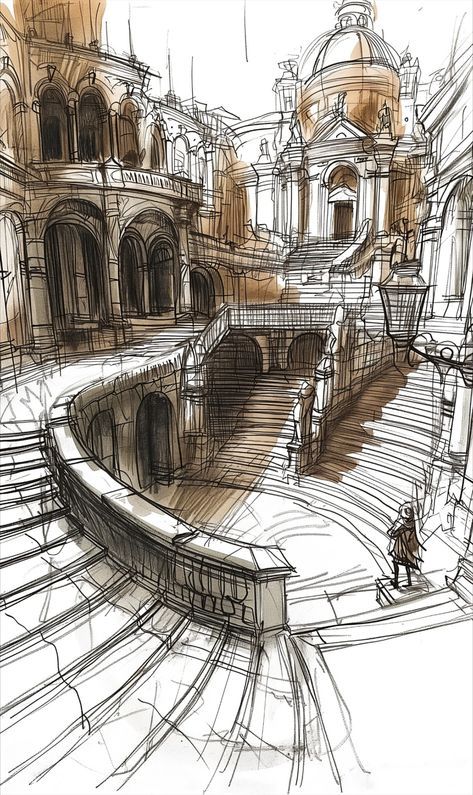
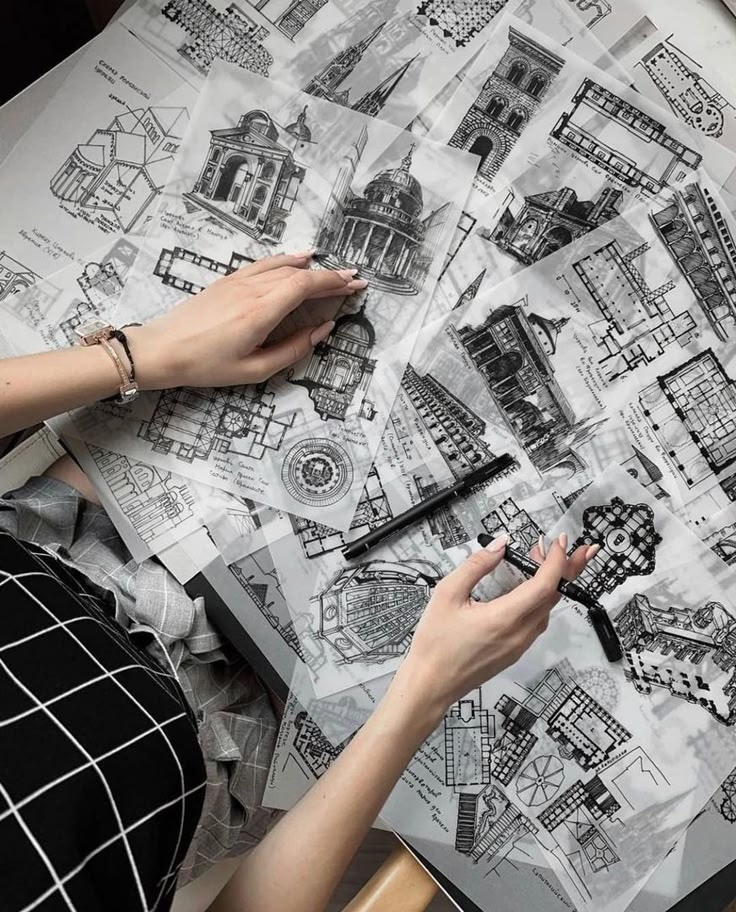
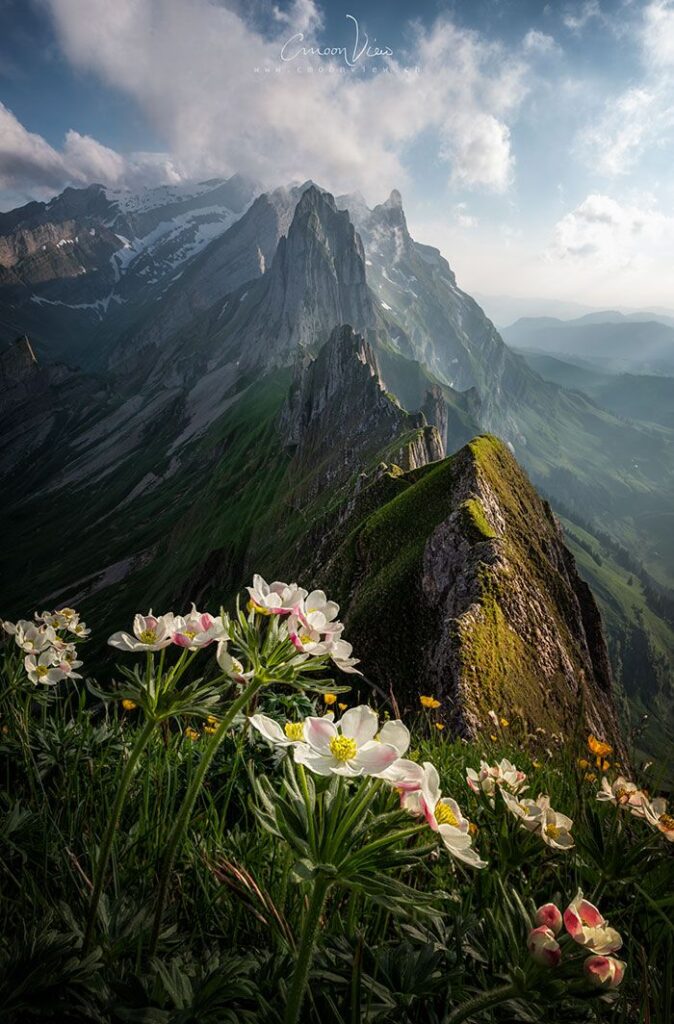
Landscape Photography Essentials
To capture stunning landscapes, understanding key photography concepts is crucial. Focus on camera settings, effective composition techniques, and post-processing methods to elevate your imagery.
Understanding Camera Settings
Mastering camera settings ensures your landscapes convey the right mood. Start with ISO; a low value (100-200) reduces noise and maintains image quality. Use aperture to control depth of field; a wide aperture (f/2.8 – f/5.6) blurs backgrounds, while a narrow aperture (f/8 – f/16) sharpens everything.
Shutter speed plays a vital role in capturing movement. A slower speed can create a smooth water effect or capture the flow of clouds. Using HDR (High Dynamic Range) technique combines multiple exposures, preserving details in both shadows and highlights. Experimenting with these settings will enhance your landscape shots.
Utilizing Natural Frames and Vantage Points
Composition can make or break your landscape photography. Look for natural frames like tree branches or rock formations to add context and depth to your shots. These elements guide the viewer’s eye toward the main subject, enriching the storytelling aspect of your images.
Selecting the right vantage point is equally important. Scout various angles and heights to find the best perspective. Sometimes, a slight change in position can dramatically improve your composition. Utilize leading lines, such as rivers or paths, to draw the viewer into the frame.
Post-Processing Techniques for Depth
Post-processing enhances your images and adds dimension. Use tools like Adobe Lightroom and Photoshop to adjust exposure, contrast, and color balance. Start with basic corrections, then apply subtle enhancements to bring out the landscape’s features.
Dodging and burning can selectively brighten or darken areas, adding depth and directing focus. You can also sharpen details and enhance colors to create a more vivid image. Don’t forget to maintain a natural look; over-processing can detract from the scene’s authenticity.
Elevating Artwork through Technology
Incorporating technology into your artistic process can significantly enhance your landscape drawings. Utilizing digital tools and techniques brings precision and vibrancy to your work, allowing you to capture nature’s essence more effectively.
Advantages of Digital Enhancement Tools
Digital enhancement tools like Adobe Lightroom and Photoshop offer a range of benefits for artists. These applications allow you to adjust exposure, contrast, and color balance with ease. You can create depth and mood through selective editing, bringing focus to the main elements of your landscapes.
Post-processing techniques can refine your artwork. For instance, you can apply filters to simulate different times of the day, affecting the atmosphere in your drawings. Additionally, these tools provide options to work non-destructively, preserving your original artwork while experimenting with various edits.
Panoramic Stitching and HDR Imaging
Panoramic stitching involves combining multiple images to create a seamless wide-angle view. This technique is particularly useful for capturing expansive landscapes. You can use software tools that automate this process, allowing you to focus on composition and creative vision.
HDR (High Dynamic Range) imaging helps manage high contrast scenes. This method captures multiple exposures of the same scene and merges them to highlight details in both shadows and highlights. This technique is particularly effective for landscapes with dramatic lighting, ensuring that every nuance is visible.
By mastering these technological techniques, you can elevate your landscape artworks to new heights, making them more vivid and dynamic.
Essential Equipment for Drawing and Photography
Having the right equipment is vital for creating stunning landscapes. Quality tools enable you to capture the intricacies of nature effectively, whether through drawing or photography.
Selecting Quality Drawing Tools
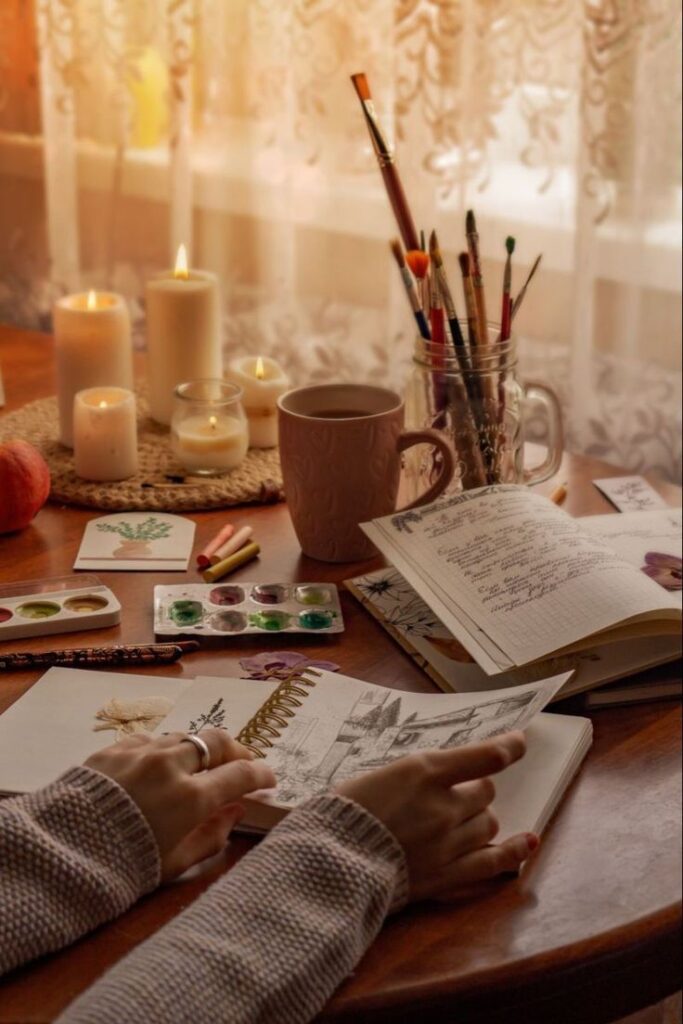
Invest in a variety of drawing tools to enhance your work. Graphite pencils are essential for fine lines and shading, while colored pencils add depth and vibrancy. Choose drawing paper that suits your medium; heavier paper is best for wet techniques like watercolor.
Consider using charcoal for dramatic effects and pastels for softer landscapes. A sturdy sketchbook ensures you can capture ideas anywhere. Don’t forget erasers—both kneaded and vinyl. Having a drawing board can provide stability when sketching outdoors.
Investing in Photography Gear
When photographing landscapes, quality gear makes a difference. A sturdy tripod is crucial for stability, especially in low-light conditions. It helps you capture sharp images and long exposures.
Choose a camera with versatile lenses, such as a wide-angle lens for expansive views and a zoom lens for details. Filters can enhance colors and reduce glare, improving your images significantly.
Reference photos serve as valuable materials to refine your drawings later; capturing varied angles and lighting conditions is key. Consider using a camera bag for protection and portability during your outdoor sessions.
- 946shares
- Facebook0
- Pinterest946
- Twitter0
- Reddit0
