Introduction
I spent years surfacing car exteriors before I ever wrote a design tutorial — work that included the Jaguar F-Pace’s flank line and the Mazda CX-5’s shoulder crease. So it’s hard not to notice that almost every “how to draw a police car” tutorial online still teaches the shape of a car that hasn’t patrolled a street in over a decade.
Real fleets moved on. Most departments now run SUV-based silhouettes like the Ford Police Interceptor Utility, with electric pilot units already testing in a few cities. But the tutorials didn’t move with them — they’re still built around an old boxy sedan.
- Why most police car drawings look like toy cars
- What today’s police cars actually look like
- 5 police car models designers keep drawing (and where they patrolled)
- How to draw a police car step by step
- Getting the light bar and livery right
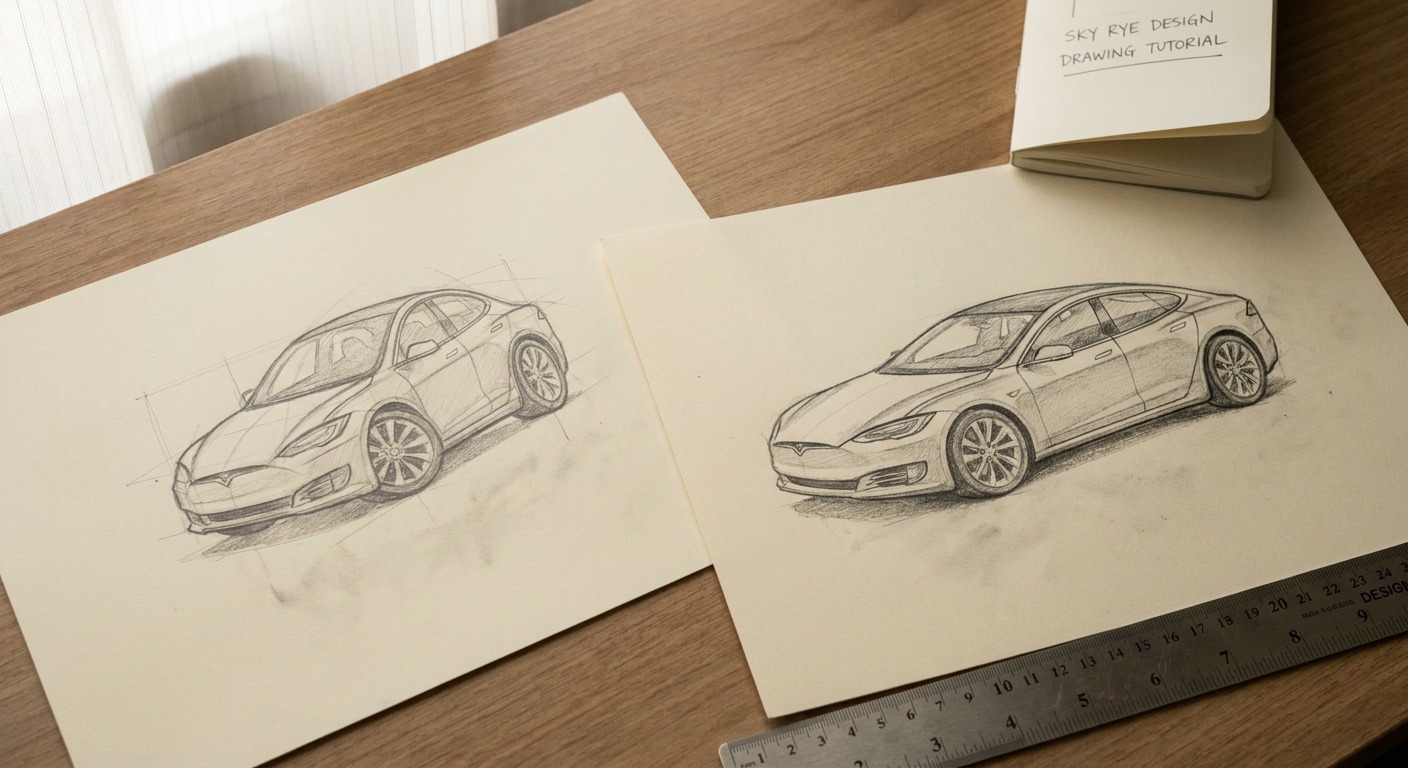
- Two finished versions — easy vs. semi-realistic
- Common mistakes that make a police car look like a toy
- Conclusion
- FAQ
- What is the easiest way to draw a police car?
- How do you draw a police car for kids?
- How do you draw a realistic police car?
- How do you draw the light bar on a police car?
- What’s the easiest car shape to draw for beginners?
- How do you color a police car drawing?
- What’s the difference between drawing a sedan vs. an SUV-style police car?
This guide covers two versions: an easy one you can finish in ten minutes, and a more accurate one built on real proportion — the kind that separates a convincing sketch from a toy-looking one.
Why most police car drawings look like toy cars
The proportion problem nobody mentions
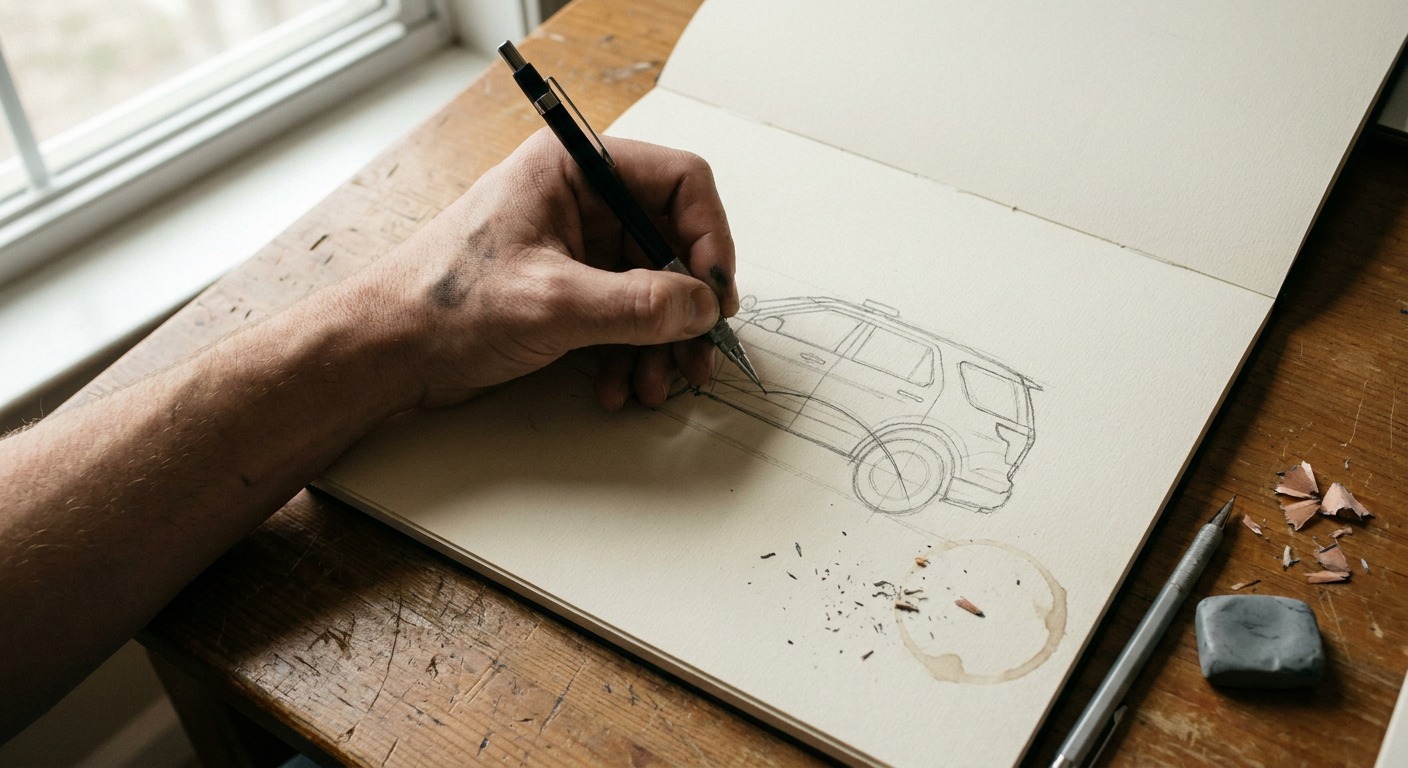
If you’ve searched “how to draw a police car” before, you’ve probably landed on the same starting point every time: draw a rectangle, add two circles, call it done. Ten minutes later you’ve got something that reads more like a shoebox on wheels than a car — and nobody explains why.
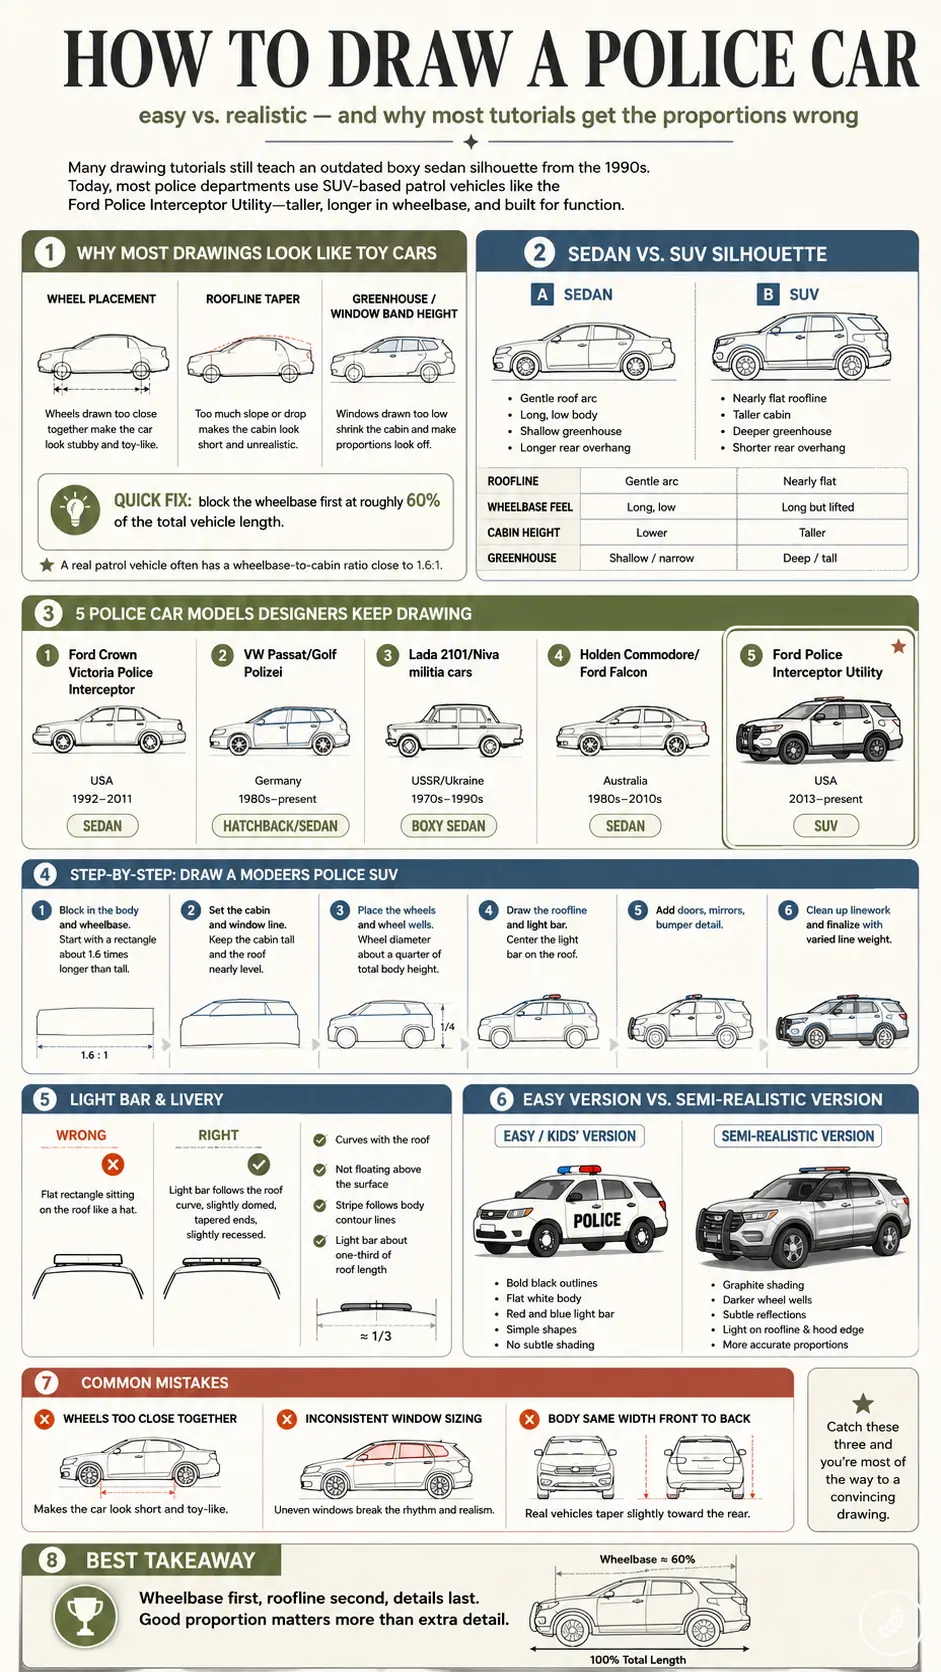
Here’s what most tutorials skip. A real patrol vehicle, say a Ford Police Interceptor Utility, has a wheelbase-to-cabin ratio close to 1.6:1. Draw your wheels too close together (a mistake I see constantly, bunched near the middle of the body) and the whole thing reads as a toy no matter how carefully you shade the light bar afterward.
Quick fix: Block in your wheelbase first, at roughly 60% of your total car length, before you draw a single body panel. Everything else follows from that one decision.
What “reading as a car” actually depends on
Why does that matter for something this simple? In my experience walking design students through this exact instinct, three things separate a convincing car sketch from a flat one: wheel placement, roofline taper, and where the greenhouse — the window band — sits relative to the body height. Get those three right and you can be sloppy with everything else. The eye forgives messy linework long before it forgives bad proportion.
That’s true whether you’re drawing a Ford Interceptor Utility, a Lada patrol car from the 1980s, or a simplified version for a five-year-old. The construction method changes with the style. The proportion logic doesn’t.
What today’s police cars actually look like
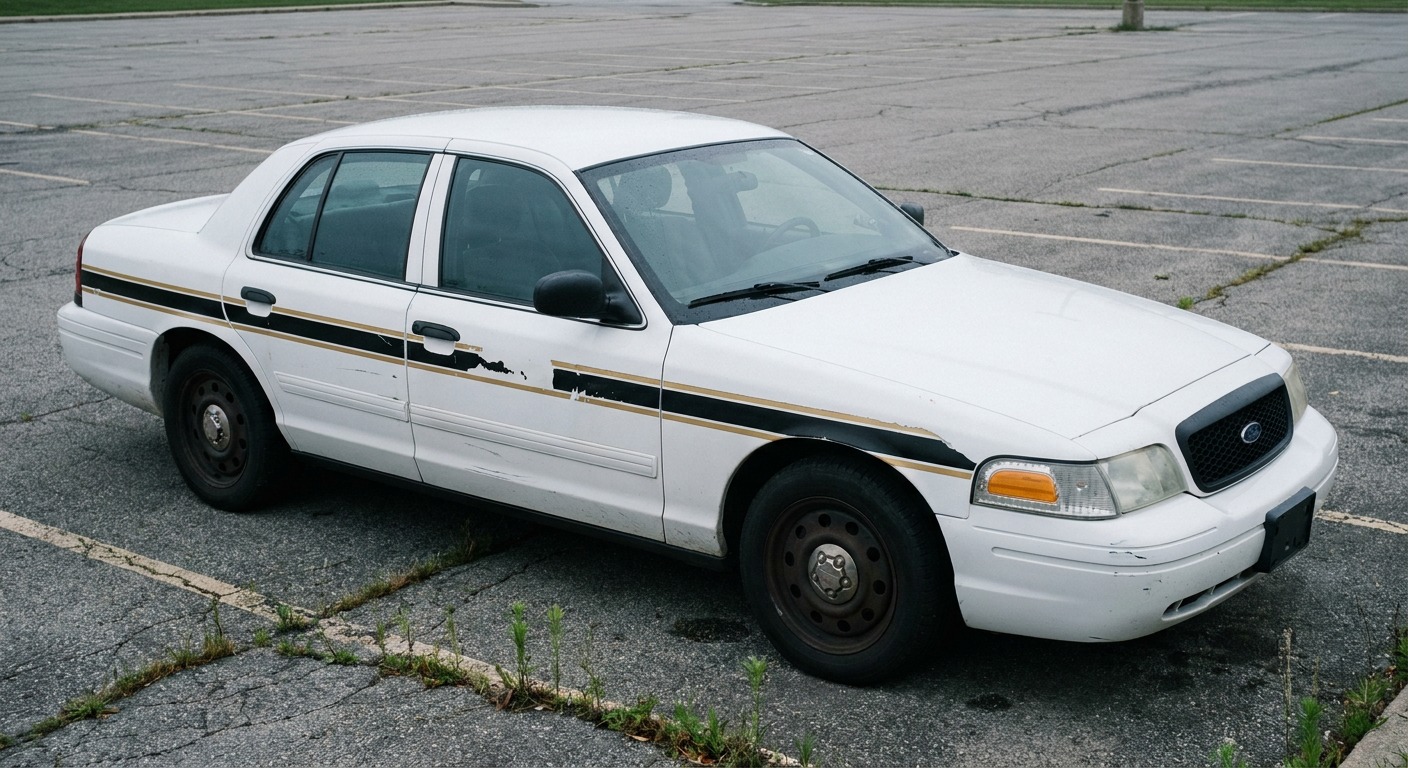
Search “police car” on any drawing tutorial site and you’ll get the same silhouette: a boxy sedan with a flat trunk, four doors, and a light bar sitting on top like an afterthought. That’s the Ford Crown Victoria Police Interceptor — a car Ford stopped building in 2011.
Sedan silhouette vs. SUV silhouette
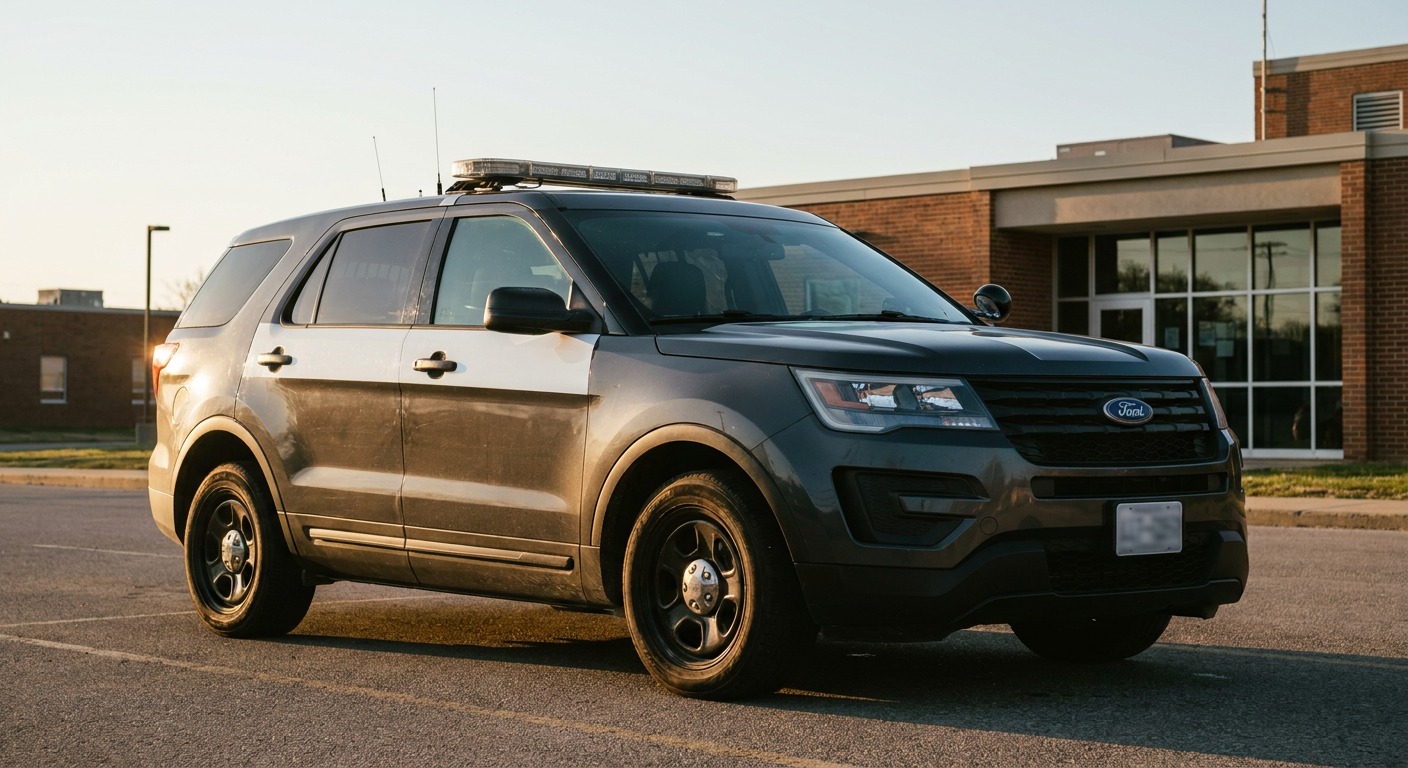
Walk past any real patrol unit today and you’ll see something different. The dominant shape now is the Ford Police Interceptor Utility — built on the Explorer platform, a raised roofline, a much shorter rear overhang than the old sedans, and a greenhouse that sits higher relative to the body. I noticed this shift firsthand watching fleet vehicles change over the past decade: the sedan’s long, low trunk has basically disappeared from patrol duty in most U.S. departments, replaced by this taller, shorter-tailed SUV shape.
That’s not a small detail if you’re trying to draw something that looks current. A sedan silhouette has a roofline that arcs gently from windshield to trunk. An SUV silhouette holds a nearly level roof from the A-pillar almost to the rear glass, then drops sharply. Confuse the two and even a technically clean drawing reads as outdated.
Quick reference shapes to keep in your head
Before you pick up a pencil, hold two shapes in mind: for a sedan, a long, low rectangle with a gentle roof arc; for an SUV, a taller, shorter box with a flatter roofline and less rear overhang. Everything in the step-by-step section builds from whichever base you choose.
| Roofline | Wheelbase | Cabin height | Greenhouse | |
|---|---|---|---|---|
| Sedan (Charger, older Interceptors) | Gentle arc | Long, low | Low | Shallow band |
| SUV (Interceptor Utility) | Nearly flat | Shorter, taller | High | Deep band |
5 police car models designers keep drawing (and where they patrolled)
Before you commit to a shape, it helps to know where these silhouettes actually came from. Patrol cars aren’t a single global standard — they’re a patchwork of local manufacturing, climate, and budget, and each one left a distinct outline behind.
Ford Crown Victoria Police Interceptor — USA, 1992–2011
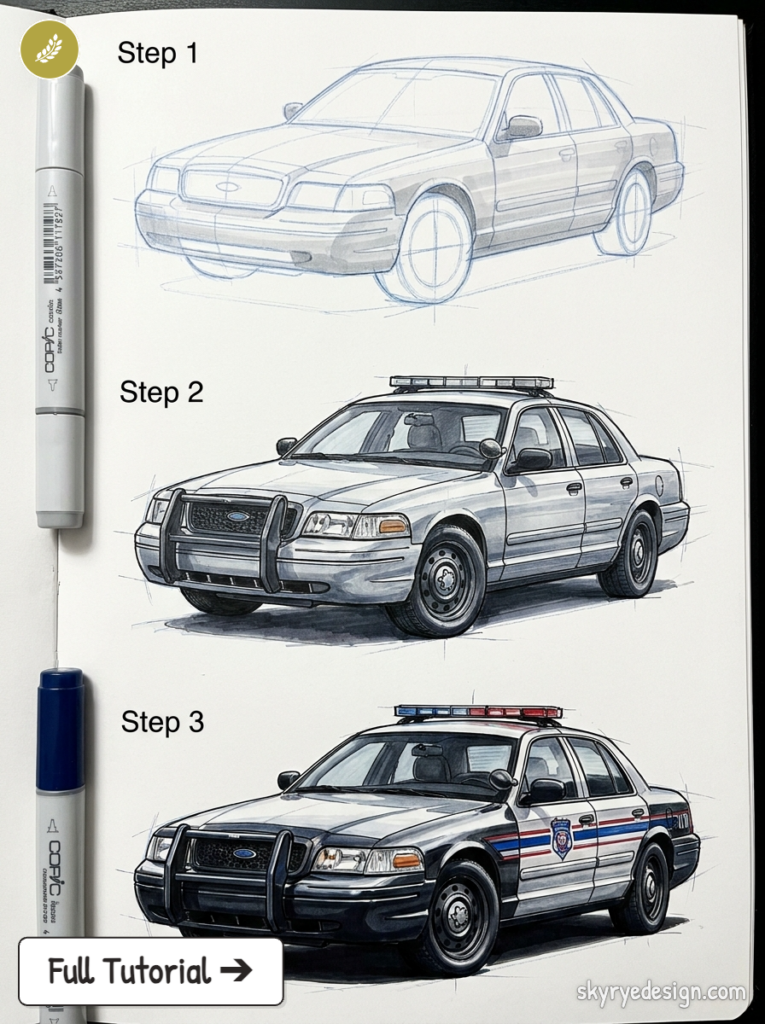
The car every tutorial still copies without knowing it. Built on Ford’s Panther platform, it ran patrol duty across most of the United States for nearly two decades before Ford discontinued it. Long trunk, low roofline, rear-wheel drive — the shape that defined “police car” for an entire generation of illustrators, even though the last one rolled off the line over a decade ago.
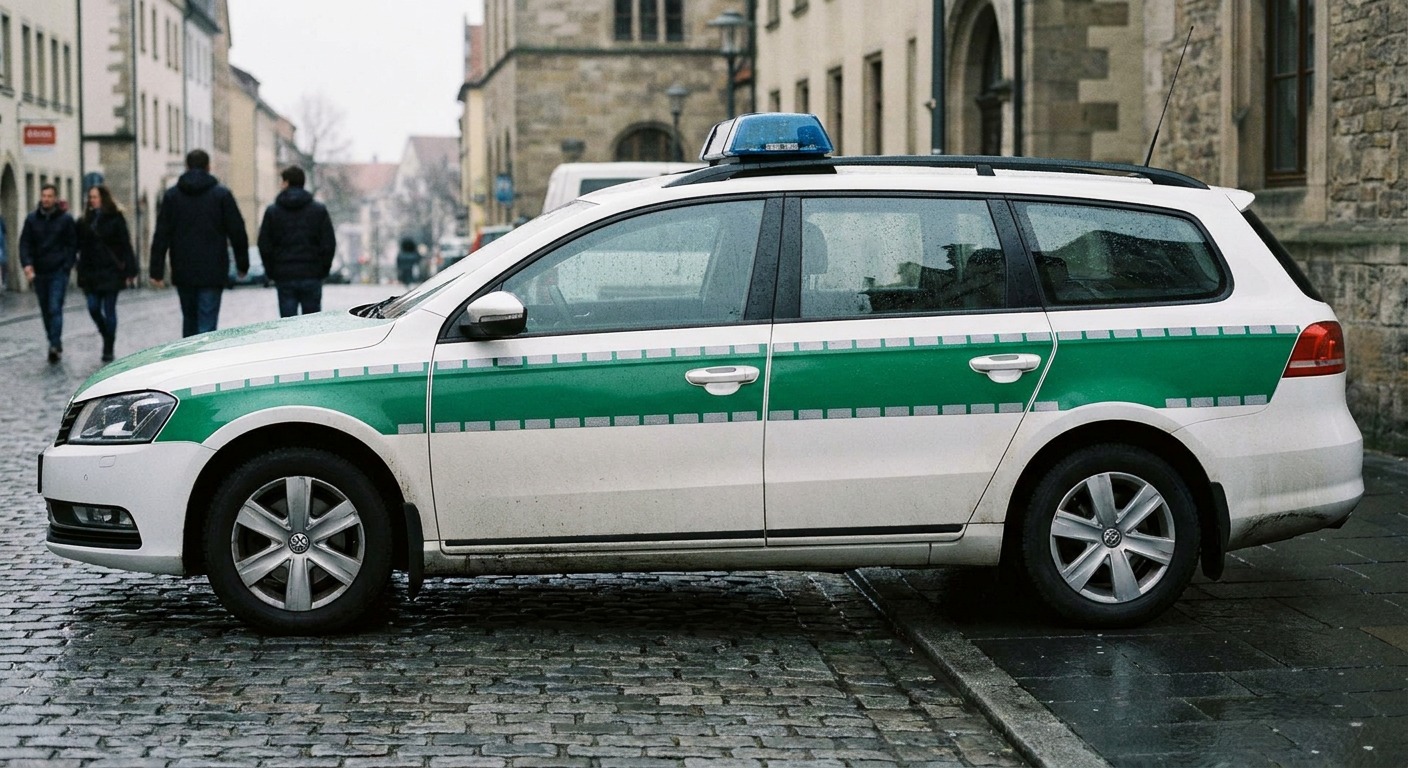
Volkswagen Passat/Golf Polizei — Germany, standard since the 1980s
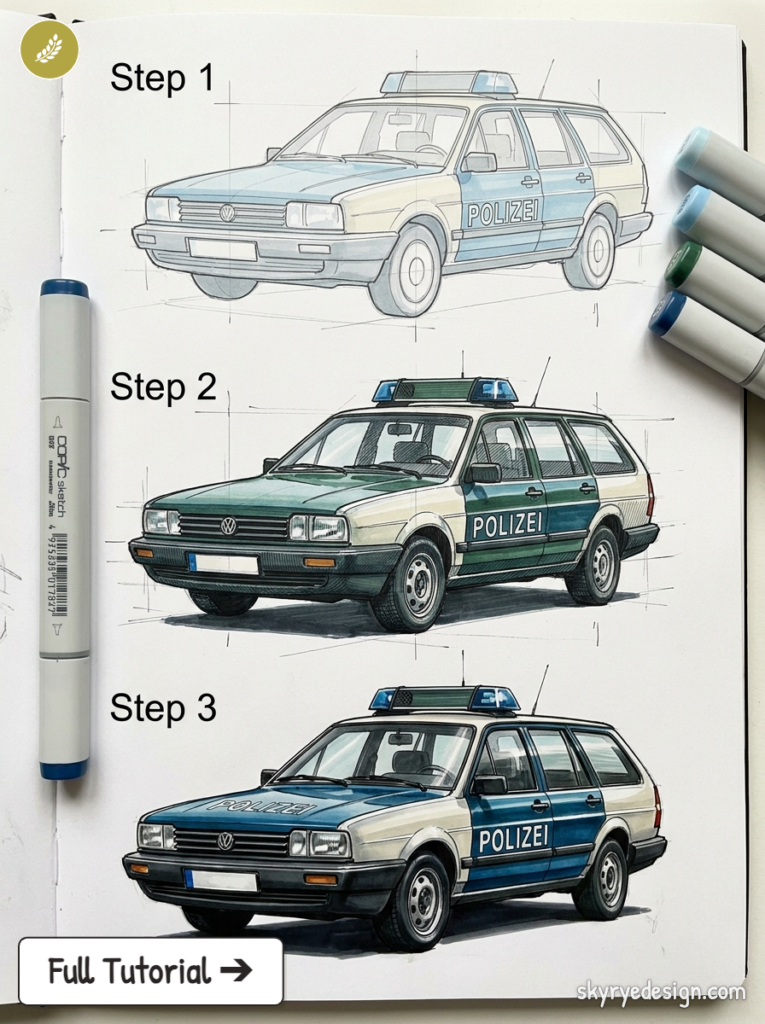
German police units have leaned on VW’s mid-size lineup for decades, and the Bundespolizei still runs Passat and Golf variants today. Compact, boxy in a different way than the American sedans, with a much shorter overall length. If you’ve spent any time on German roads (I did during my years working there), the white-and-green livery on these is unmistakable.
Lada 2101/Niva militia cars — USSR/Ukraine, 1970s–1990s
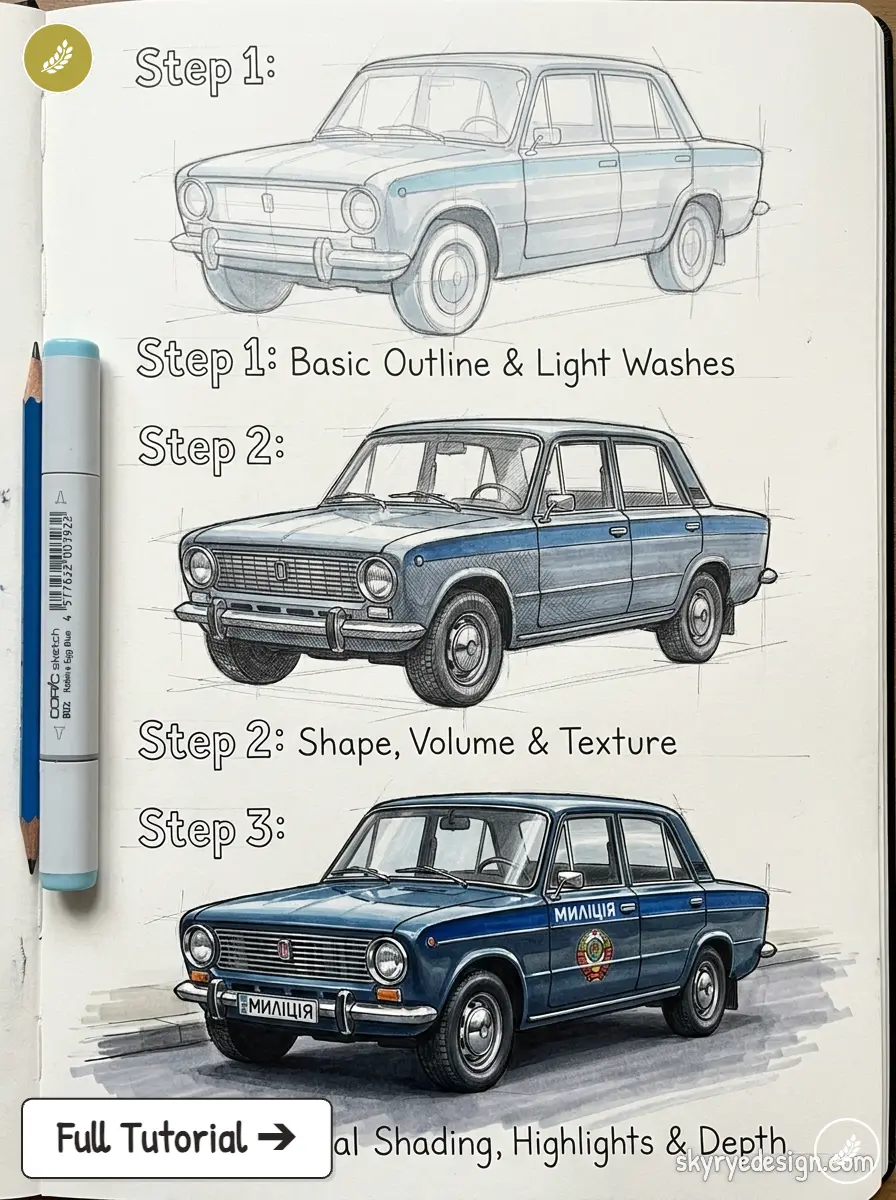
I owned a Lada myself, so I know this shape intimately: narrow track, upright greenhouse, almost no curvature anywhere on the body. Soviet militia vehicles ran this boxy, utilitarian silhouette for two decades, and it looks nothing like its Western counterparts of the same era — worth knowing if your audience wants an Eastern European reference.
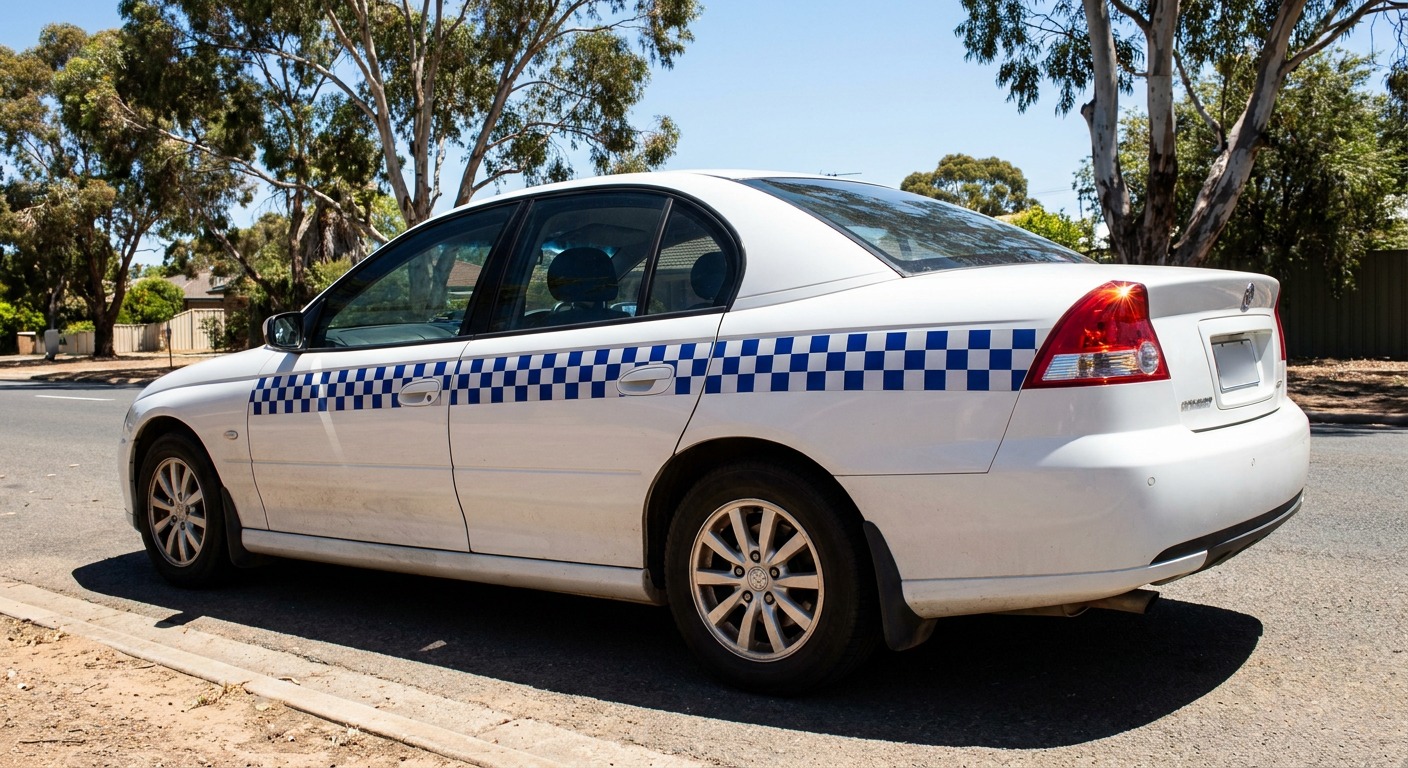
Holden Commodore/Ford Falcon — Australia, 1980s–2010s
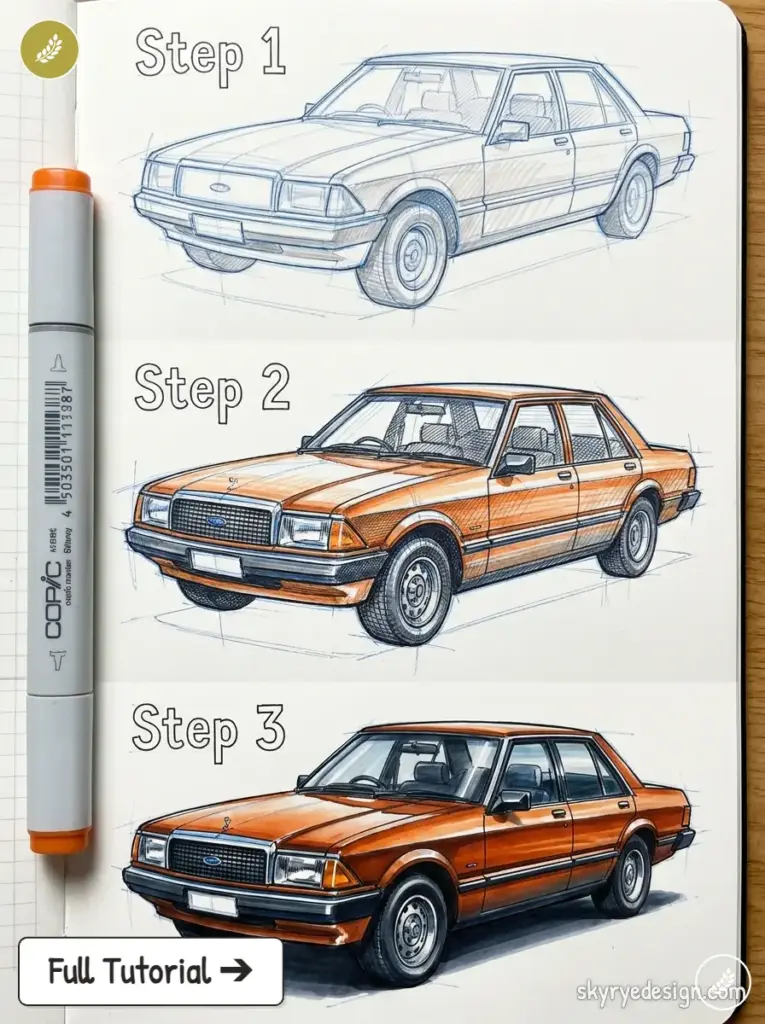
Australian police relied on locally built Commodores and Falcons until both went out of production in the mid-2010s. Longer and lower than the American sedans, with a distinct rear three-quarter taper that’s fun to draw once you’ve got the basic proportions down.
Ford Police Interceptor Utility — USA, 2013–present
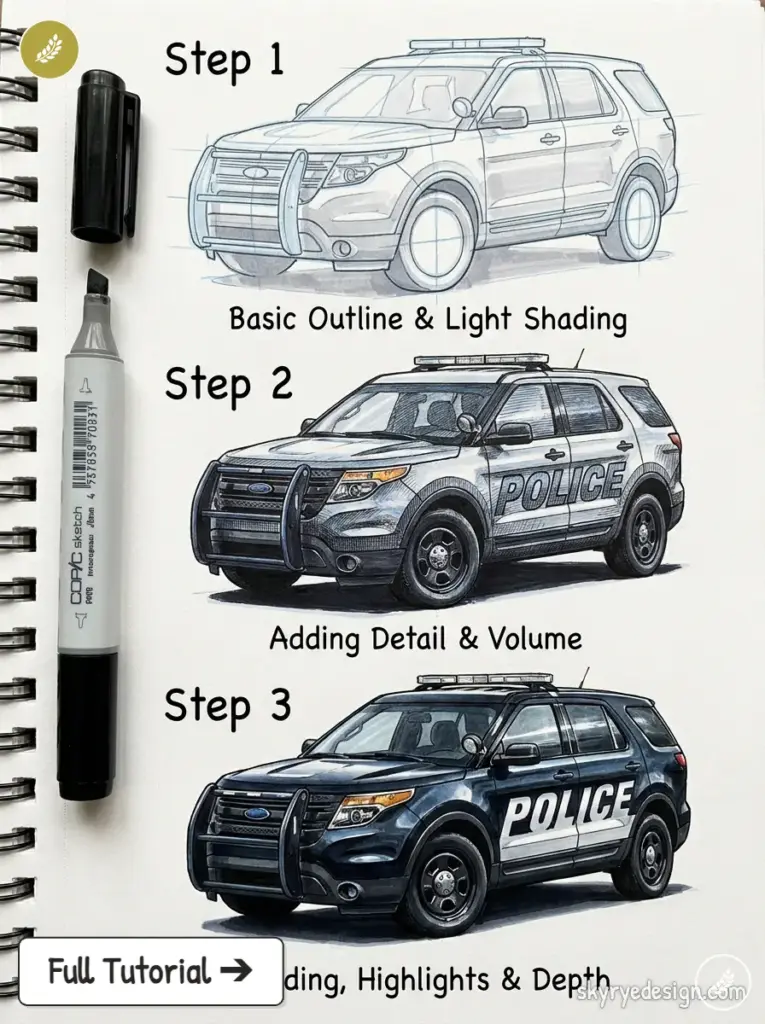
The shape from the previous section, and the one that actually matters if you want your drawing to look current. SUV-based, taller cabin, shorter rear overhang — this has been the dominant U.S. patrol silhouette for over a decade now.
| Model | Country | Years in service | Silhouette |
|---|---|---|---|
| Crown Victoria Police Interceptor | USA | 1992–2011 | Sedan |
| VW Passat/Golf Polizei | Germany | 1980s–present | Hatchback/sedan |
| Lada 2101/Niva | USSR/Ukraine | 1970s–1990s | Sedan (boxy) |
| Holden Commodore/Ford Falcon | Australia | 1980s–2010s | Sedan |
| Ford Police Interceptor Utility | USA | 2013–present | SUV |
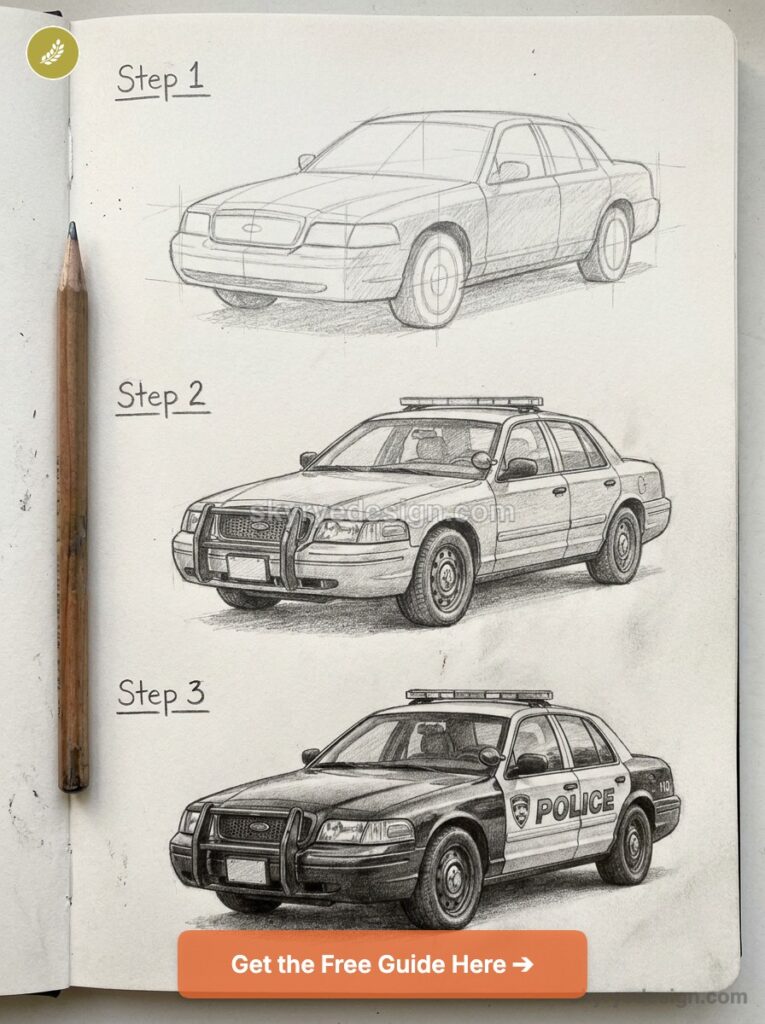
How to draw a police car step by step
Pick your base — sedan or SUV, from the sections above — and grab a pencil. I’ll walk you through the SUV silhouette here (it’s the one that reads as current), but every step works the same way if you swap in a sedan shape instead.
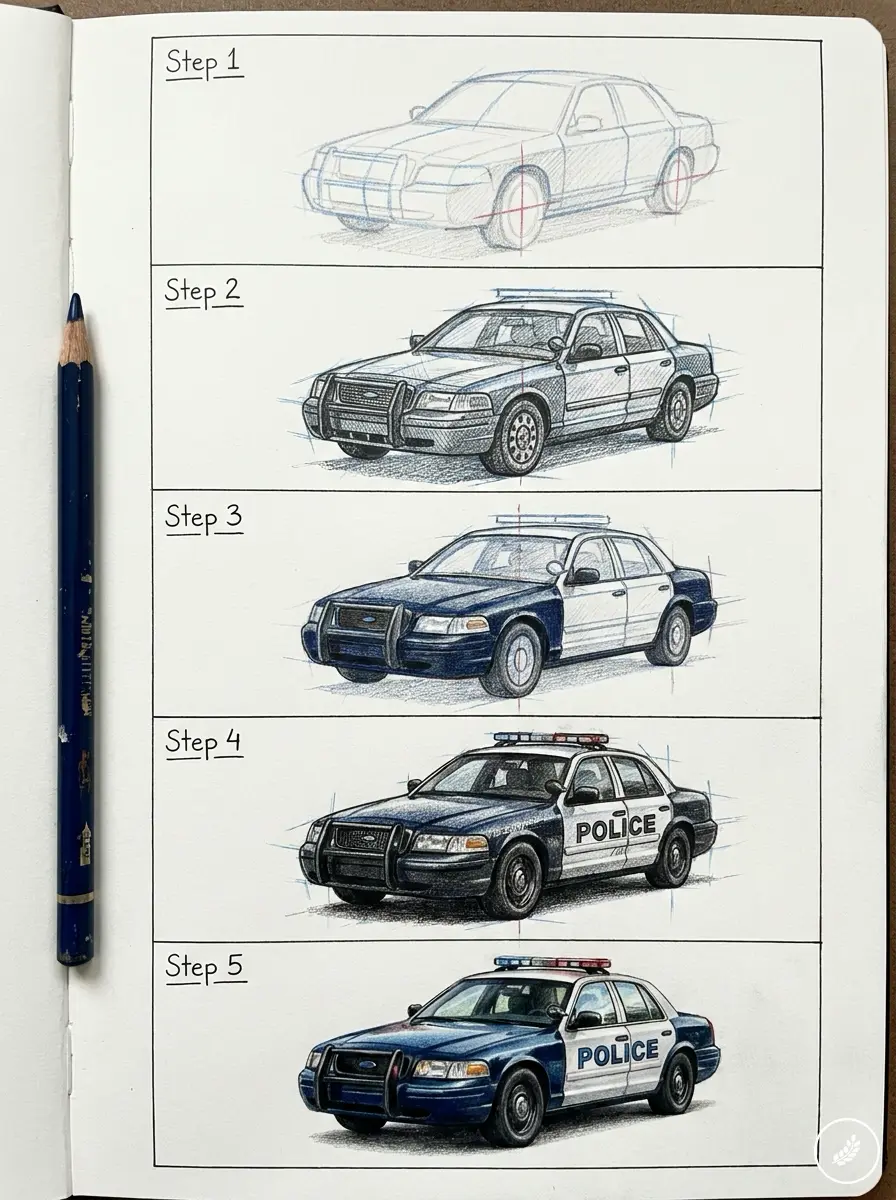
Step 1 — Block in the body and wheelbase
Start with a rectangle roughly 1.6 times longer than it is tall. That ratio is the whole game — get it wrong here and no amount of detail work fixes it later. Mark your wheelbase at about 60% of the total length, leaving a slightly longer front overhang than rear. Don’t press hard yet. These are guide lines, and you’ll erase half of them before you’re done.
I still draw this step the same way I did in first-year proportion classes: light construction lines first, commit to nothing until the shape feels right in the rough.
Step 2 — Set the cabin and window line
Draw a second, smaller rectangle sitting on top of your body block, starting roughly a third of the way back from the front and ending just before the rear wheel. For an SUV silhouette, keep this cabin block tall — the roofline should sit almost level across its length, dropping only slightly toward the back. If you’re drawing a sedan instead, taper it down more gradually, closer to a gentle arc than a flat line.
This is where most beginner drawings go wrong. Make the cabin too short and the whole car looks squashed. Too tall, and it reads more like a van than a patrol SUV.
Step 3 — Place the wheels and wheel wells
Draw your wheel wells as slightly flattened circles, centered on the wheelbase marks from Step 1. Wheel diameter should be roughly a quarter of your total body height — smaller wheels instantly make a car look like a toy, no matter how clean the rest of your linework is.
Leave a small gap between the wheel and the wheel arch above it. Real patrol vehicles run a noticeable arch clearance for suspension travel, and that gap is one of those small details that separates a convincing sketch from a flat one.
Step 4 — Draw the roofline and light bar
Now connect your cabin block into a single continuous roofline, curving gently at the A-pillar and C-pillar rather than using hard corners. This is also where you’ll place the light bar — but hold off on the shape for now; the next section covers it in detail, since it’s the single most common thing that breaks an otherwise solid drawing.
For now, just mark its rough position: centered on the roof, running most of the cabin’s length, sitting slightly recessed rather than perched on top like a hat.
Step 5 — Add doors, mirrors, bumper detail
Sketch in your door lines following the body’s curvature, not straight down — a police SUV’s doors follow a slight taper toward the rear wheel arch. Add side mirrors just ahead of the A-pillar, a front bumper with a subtle lower air intake, and a rear bumper that echoes the front’s width.
This is also where I add small asymmetries that make a drawing feel less mechanical: a slightly uneven reflection on the windshield, a headlight that’s marginally brighter on one side. Real cars aren’t perfectly symmetrical under natural light, and neither should your drawing be.
Step 6 — Clean up linework and finalize
Go over your construction lines with a firmer, more confident stroke, then erase the guide lines underneath. Keep your final linework varied in weight — heavier lines along the ground contact and wheel wells, lighter lines along the roof and glass. That weight variation does more to sell depth than shading ever will at this stage.
Step back and check the silhouette one more time before you call it finished. If it doesn’t read as a car from three feet away, the fix is almost always back in Step 1’s proportions, not in the details you just added.
Getting the light bar and livery right
Why a flat rectangle breaks the drawing
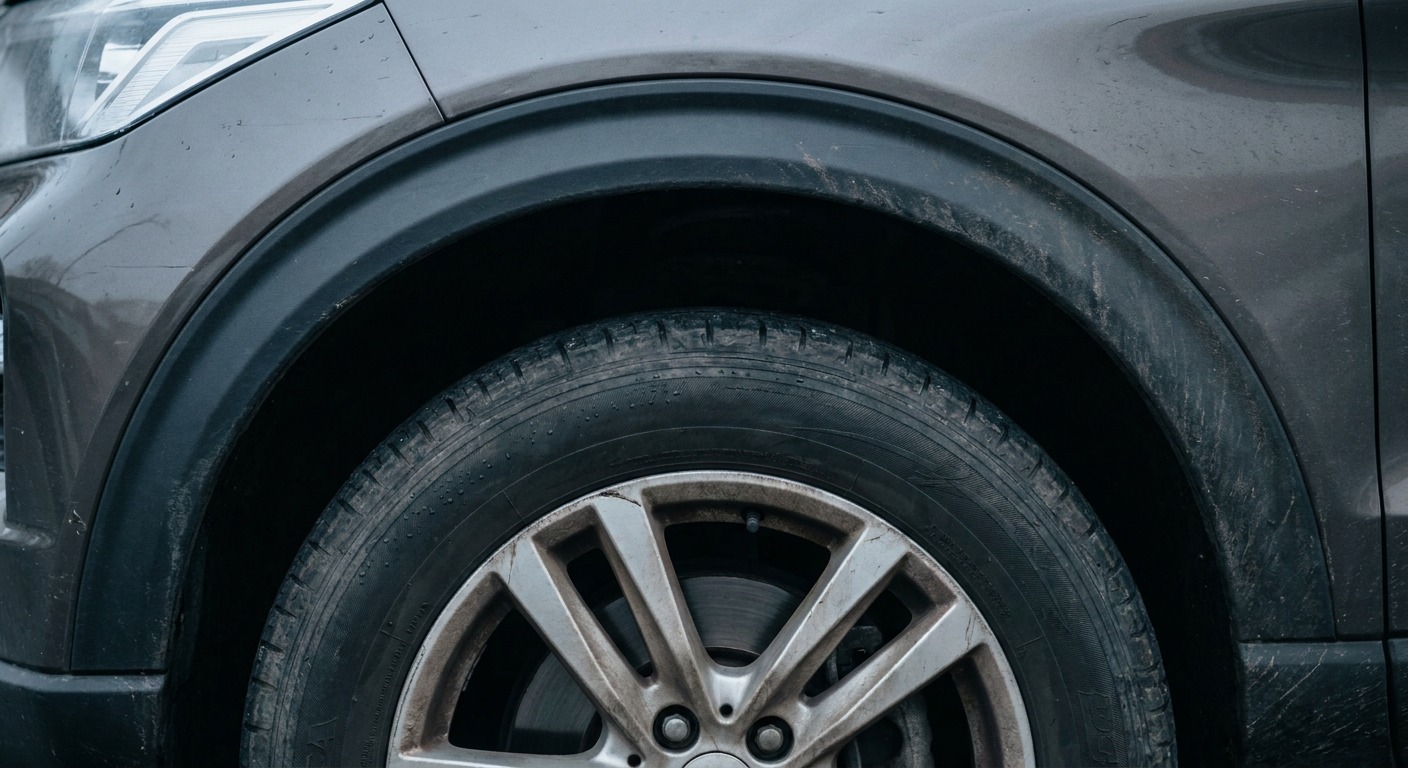
Look back at nearly every police car tutorial online and you’ll see the same shortcut — a flat rectangle sitting on top of the roof like a hat. It’s the fastest way to signal “police car,” and it’s also the fastest way to flatten everything you just built. A roof is curved. A rectangle isn’t. Put a straight-edged box on a curved surface and your eye picks up the mismatch immediately, even if it can’t name what’s wrong.
I see this same instinct trip up design students working on far more expensive projects than a pencil sketch: treat a curved surface as flat, and the whole form reads as fake no matter how much detail sits on top of it.
Following the roof curve
The fix takes maybe thirty extra seconds. Draw the light bar as a shape that follows the same curvature as your roofline — slightly domed at the top, tapering at both ends rather than squaring off. It should sit recessed into the roof by a hair, not perched above it. For the SUV silhouette, keep it centered and running close to the full cabin length. For a sedan base, shorten it slightly and center it just behind the windshield.
Livery follows the same logic. Real patrol vehicles vary their striping by department — some run a single bold stripe along the beltline, others use a checkerboard pattern across the doors. Keep your stripe following the body’s existing contour lines rather than cutting across them at odd angles, and it’ll read as painted-on rather than pasted-on.
Before you add color, check:
- Does the light bar curve with the roof, or does it look flat?
- Is it recessed slightly, not floating above the surface?
- Does your stripe follow an existing body line rather than crossing it?
- Are the light bar’s proportions roughly a third of the roof’s total length?
Two finished versions — easy vs. semi-realistic
Bright, simplified coloring for the kids’ version
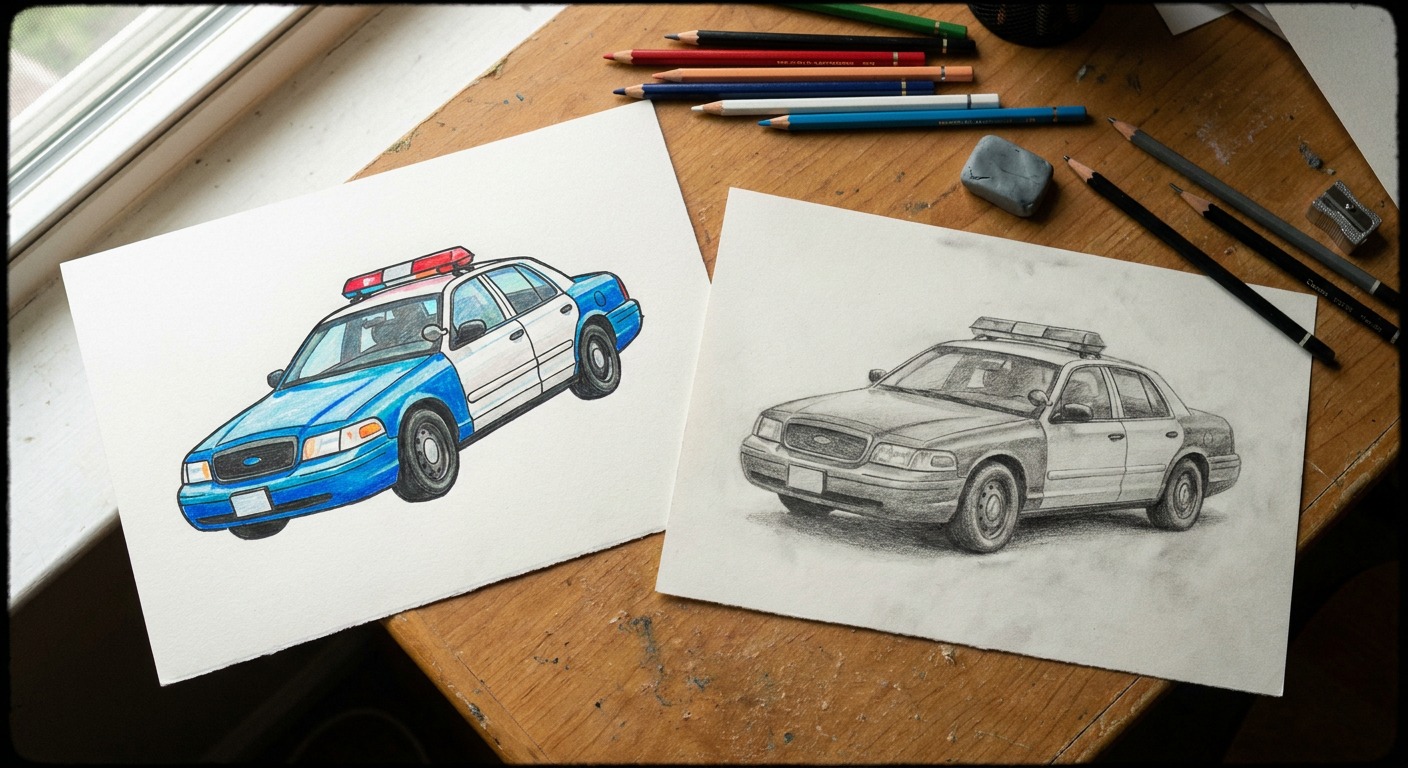
For a kids’ version, drop most of the detail work from the previous sections and lean into flat, saturated color instead. Solid white body, bold blue and red for the light bar, thick black outlines around every shape. Skip the subtle shading and asymmetries — for this audience, clarity beats realism every time. A five-year-old coloring this in doesn’t need to know what a wheel arch gap is.
I’ve watched kids gravitate toward exactly this simplified style in workshops — heavy outlines, primary colors, nothing subtle. It’s not a lesser version of the “real” drawing. It’s a different goal entirely, and treating it that way changes what you keep and what you cut.
Muted, graphite-shaded finish for the realistic version
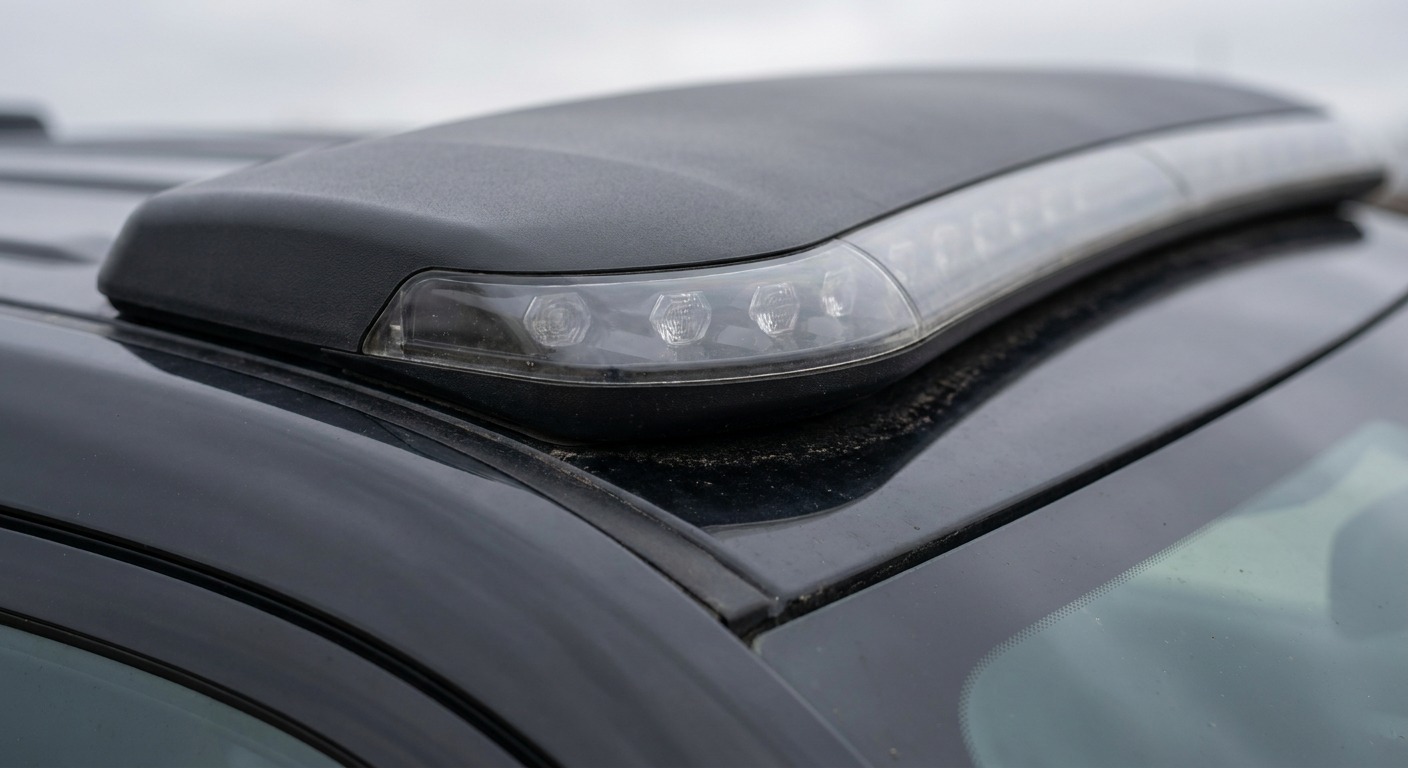
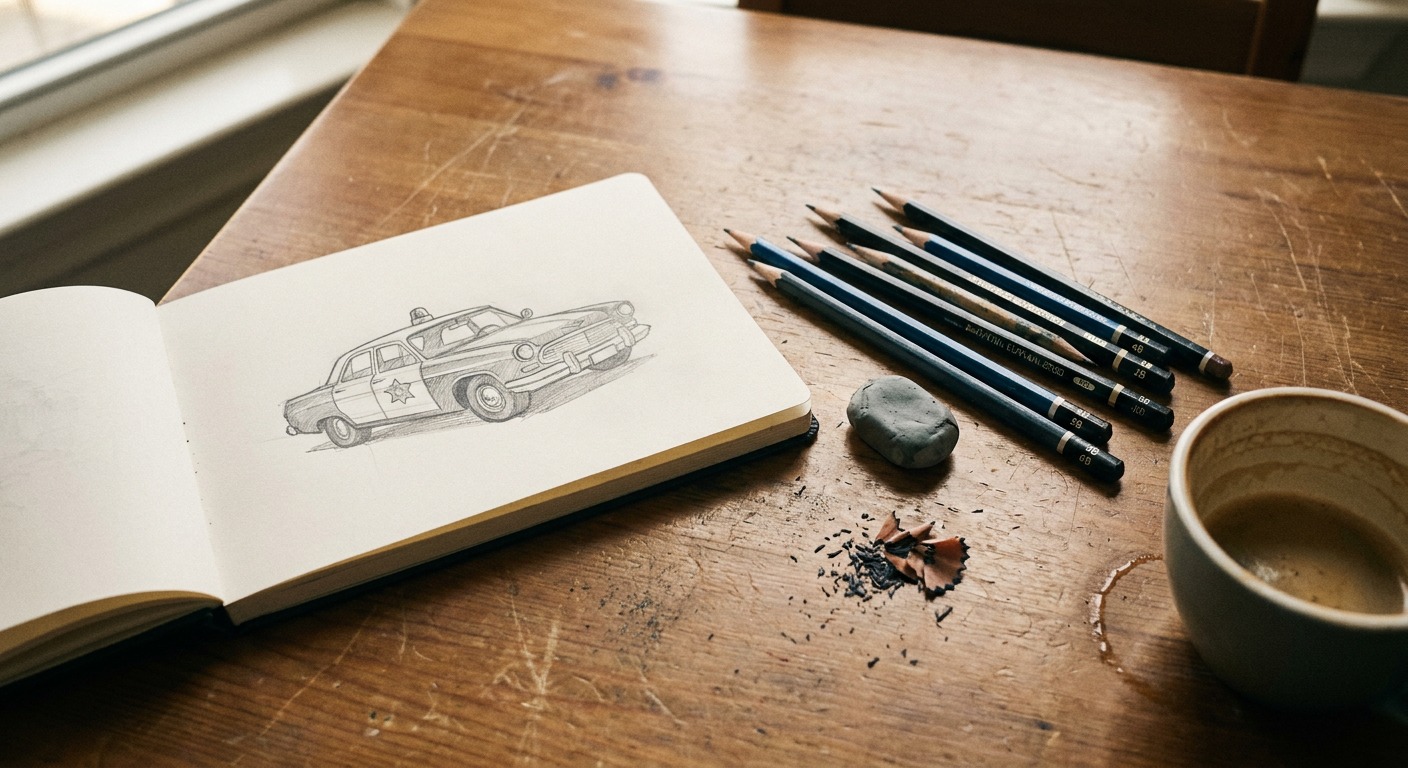
For the semi-realistic version, keep everything from the construction and light bar sections intact and build shading on top rather than color. Work in graphite, starting with your lightest tone across the whole body, then layering darker values into the wheel wells, under the light bar, and along the lower body panels where shadow naturally collects. Leave the highest points — the roofline, the hood’s leading edge — nearly untouched by shading. That contrast is what reads as metal rather than flat paint.
This is where the proportion work from earlier pays off. A well-shaded drawing with bad proportions still looks off. A well-proportioned drawing with minimal shading already looks convincing.
Common mistakes that make a police car look like a toy
Wheel placement and spacing
The most common mistake I see: wheels bunched too close to the center of the body instead of sitting near the front and rear edges. Go back to the wheelbase mark from Step 1 — roughly 60% of total length — and check your wheel centers against it. Wheels placed too close together instantly shrink the apparent length of the car, no matter how carefully you drew everything else.
Inconsistent window sizing
The second habit: a front window drawn noticeably larger than the rear one, or vice versa. Real greenhouses taper gradually from front to back, not in sudden jumps. If your side windows look like two different sizes fighting each other, go back to Step 2 and even out the taper before moving on.
The “same width front to back” trap
The third mistake is the hardest to spot because it feels safe: drawing the body at a constant width along its entire length, rather than tapering slightly toward the rear. A real car — sedan or SUV — narrows a touch behind the rear wheel arch. Skip that taper and the whole silhouette reads as a block instead of a vehicle, even with perfect wheel placement and window sizing.
Catch these three and you’re most of the way to a convincing drawing. The rest is practice.
Conclusion
The proportion logic in this guide — wheelbase first, roofline curve second, everything else last — carries over to any vehicle you draw next, not just a police car. Once you’ve internalized where the wheels sit relative to the body and how a roof actually curves, a sedan, a pickup, or a delivery van all start from the same place.
Try it once with a reference photo of a real Ford Police Interceptor Utility next to you, checking your proportions against the real thing rather than guessing. Then pick another vehicle and see how much of this transfers.
FAQ
What is the easiest way to draw a police car?
Start with a rectangle about 1.6 times longer than it is tall, mark your wheelbase at roughly 60% of that length, then build the cabin on top. Get that proportion right before you add any detail — a police car with correct wheel placement and roofline reads as convincing even with minimal shading. Most tutorials skip straight to the light bar and skip the part that actually matters.
How do you draw a police car for kids?
Use the same basic construction as any version, then simplify. Drop the wheel arch gaps, the shading, and the small asymmetries — go straight to flat, bold color instead. White body, solid blue and red light bar, thick black outlines. Kids respond to clarity, not realism, so this isn’t a “lesser” version — it’s built for a different goal from the start.
How do you draw a realistic police car?
Build the same base as the easy version, then add graphite shading instead of flat color. Layer your darkest values into the wheel wells and under the light bar, leave the roofline and hood’s leading edge nearly untouched. Reference a current model like the Ford Police Interceptor Utility rather than the older Crown Victoria silhouette most tutorials still copy.
How do you draw the light bar on a police car?
Follow the roof’s curve instead of drawing a flat rectangle sitting on top like a hat — that’s the single most common mistake. Keep it slightly domed, tapered at both ends, and recessed a hair into the roof rather than floating above it. Center it over the cabin, running close to the full length for an SUV silhouette or slightly shorter for a sedan.
What’s the easiest car shape to draw for beginners?
An SUV-based silhouette, like today’s Ford Police Interceptor Utility, is actually more forgiving than an older sedan shape. The roofline stays nearly level across its length instead of arcing gradually, which means fewer curves to get wrong. Block in the wheelbase and cabin height first, and the rest follows more easily than a low, long sedan does.
How do you color a police car drawing?
For a kids’ version, use flat, saturated color with heavy black outlines — no gradients needed. For a more realistic version, work in graphite instead of color: light tones across the body first, then darker values built into the shadows around the wheel wells and lower panels. Keep your stripe or livery detail following the body’s existing contour lines, not cutting across them.
What’s the difference between drawing a sedan vs. an SUV-style police car?
For more vehicle studies, browse the car drawing tutorials on Sky Rye Design.
A sedan silhouette has a low, long body with a roofline that arcs gently from windshield to trunk — think the Crown Victoria or older Dodge Charger Pursuit. An SUV silhouette, like the Interceptor Utility, holds a nearly flat roof and a much shorter rear overhang. Same construction steps apply to both — only the proportions and roof curve change.
- 253shares
- Facebook0
- Pinterest250
- Twitter3
- Reddit0