Decorating your windows for the holidays adds a warm and festive touch that everyone can enjoy. With just a few simple drawing ideas, you can transform plain glass into a cheerful display that feels welcoming from both inside and outside. You’ll discover easy ways to bring classic holiday symbols and cozy winter scenes to life right on your windows.
You don’t need advanced art skills or expensive supplies to make your windows stand out. By exploring a mix of traditional designs and playful details, you can create decorations that reflect your style and brighten up any space. This article will guide you through creative ideas and helpful tips so your holiday window art looks festive and lasts all season.
1) Classic Christmas Tree with Ornaments
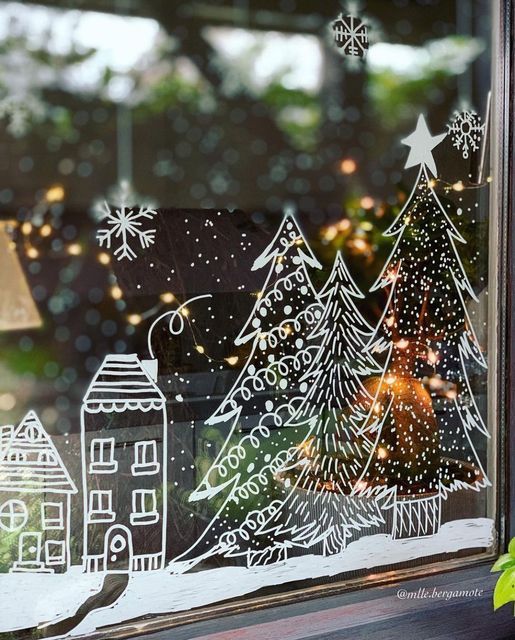
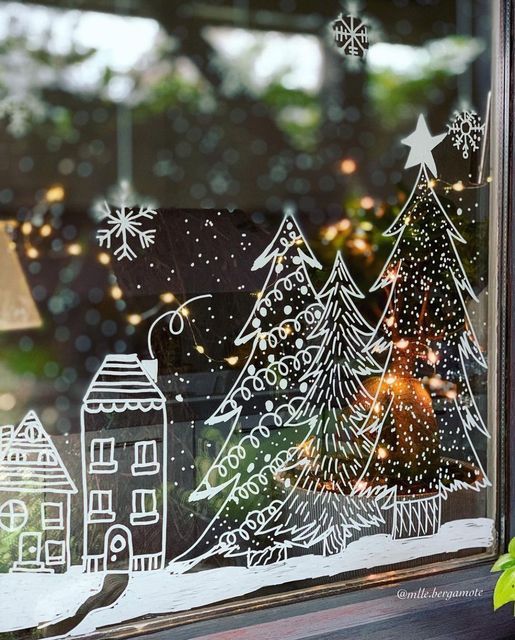
A Christmas tree is one of the easiest and most recognizable designs you can draw on your window. You can start with a simple triangular outline to represent the tree’s shape. Add a few layered branches to give it more character.
Once the basic tree is in place, you can draw round ornaments scattered across the branches. Use different sizes to make the design look balanced and interesting. A star or an angel at the top adds a nice finishing touch.
You can also include garlands or tinsel by drawing curved lines that wrap around the tree. If you want more detail, add small dots or twinkling lights to fill in the spaces.
This style works well whether you use markers, paint, or chalk pens. You can keep it simple for a clean look or add more decorations if you prefer a fuller design.
2) Candy Cane Stripes with Glitter Accents
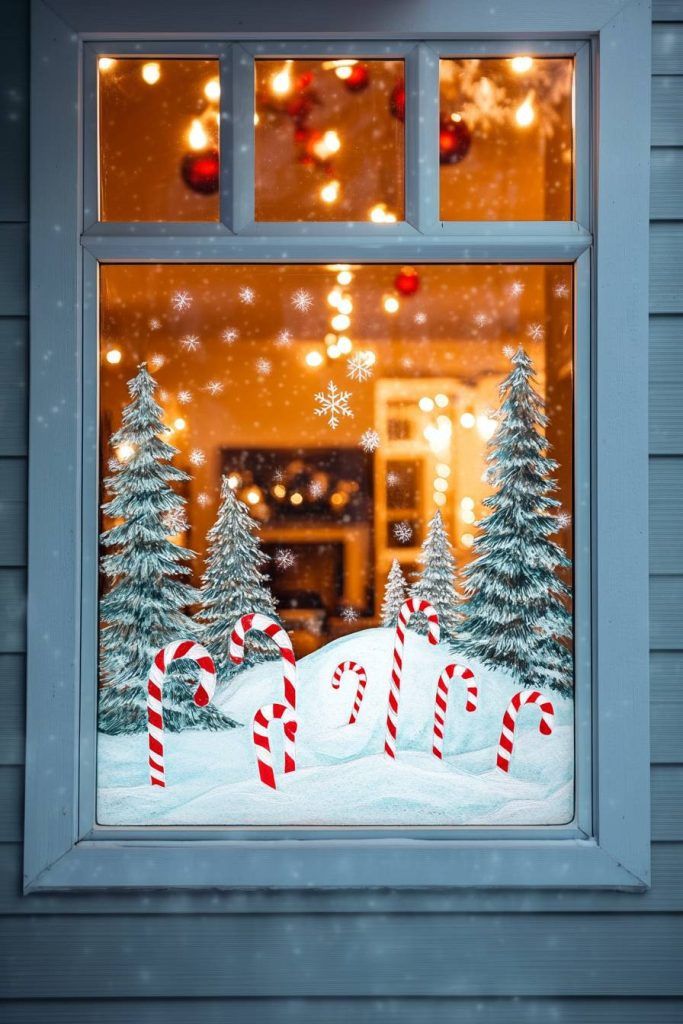
You can bring a classic holiday touch to your windows by painting bold red and white candy cane stripes. The simple pattern is easy to create with a few steady brushstrokes and stands out nicely against glass.
To keep the lines neat, use painter’s tape as a guide before filling in the colors. This helps your stripes look clean and evenly spaced without much effort.
Once the paint dries, add a thin layer of glitter glue or sprinkle loose glitter over a clear adhesive. The shimmer catches light from indoors and outside, making your design sparkle during the day and evening.
You can frame the edges of your window with stripes or paint a few large candy canes as a focal point. Pairing them with small snowflakes or holly leaves can make the design feel more complete without being complicated.
This style works well whether you want a full festive display or just a small accent. It’s quick to do, easy to customize, and adds a cheerful holiday look to your home.
3) Snowflakes in Various Sizes
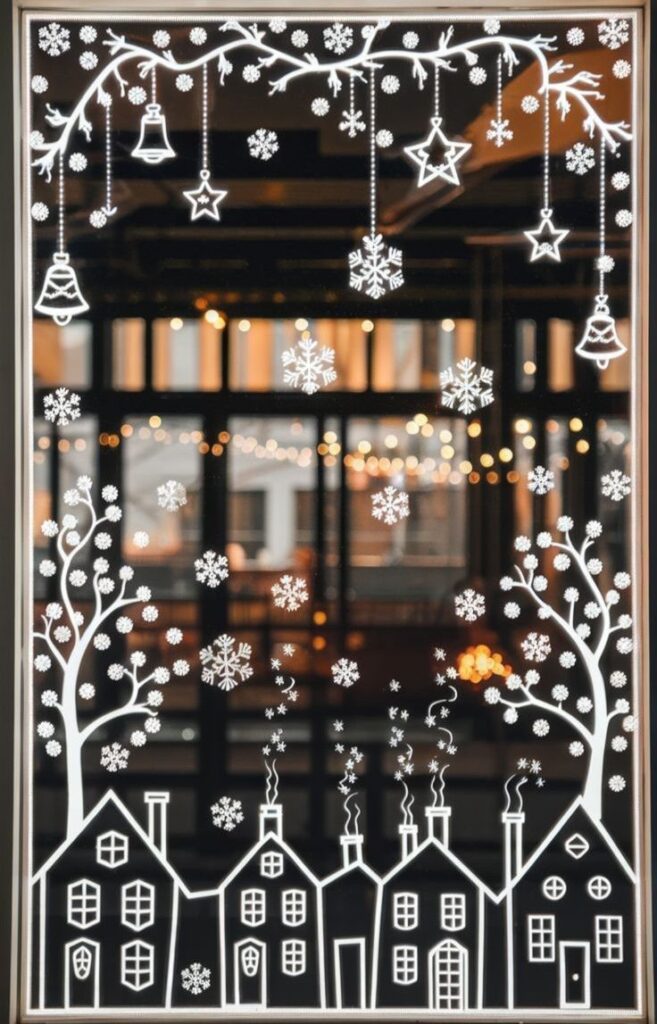
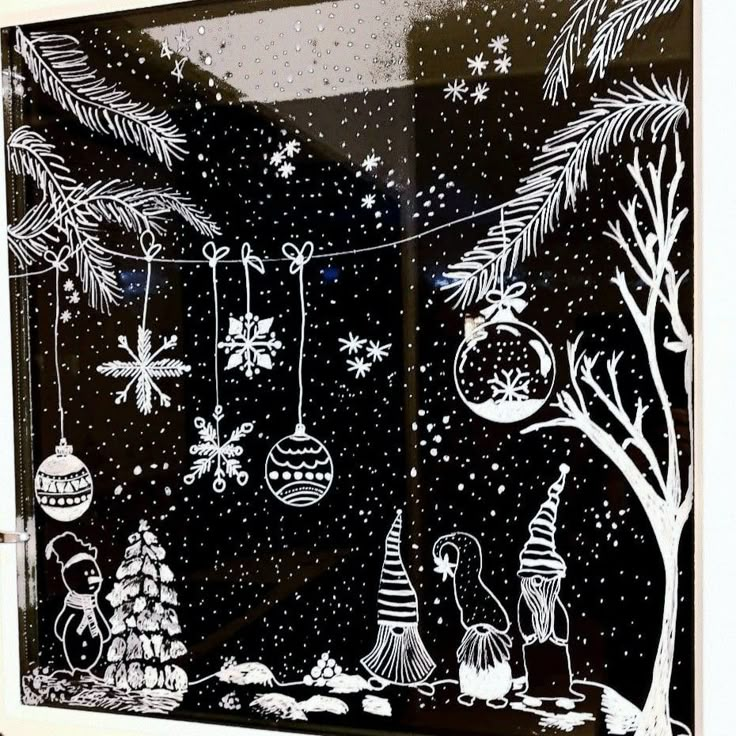
You can make your windows more interesting by drawing snowflakes in different sizes. Mixing large, medium, and small patterns creates a balanced look that feels natural. This variety also helps fill empty spaces without looking crowded.
Start with a few big snowflakes as the main focus. Place them in the center or corners of the window to anchor your design. Then, add smaller flakes around them to create depth and detail.
Try experimenting with simple shapes for the tiny flakes and more detailed patterns for the larger ones. This contrast makes each snowflake stand out. You don’t need to be exact—snowflakes look best when they’re not identical.
If you want a softer effect, draw some snowflakes with lighter strokes and others with bold lines. You can even layer different sizes to give the illusion of falling snow.
This approach works well whether you use chalk markers, paint pens, or paper stencils. By combining sizes, you’ll create a window display that feels lively and festive without much effort.
4) Santa Claus Peeking from Corner
You can make your window look playful by drawing Santa peeking from the corner. This design works well if you want something simple but still festive. It instantly adds a cheerful touch without needing to fill the entire space.
Start by sketching Santa’s round face with his hat tilted to the side. Add his eyes looking in as if he’s checking on the room. A small smile and fluffy beard will complete the classic look.
If you want more detail, draw part of his red coat or mitten showing from the corner. This makes it feel like he’s leaning in. You can keep it minimal or add shading for extra depth.
This idea also pairs nicely with other small details, like snowflakes or a string of lights. It helps balance the scene while keeping the focus on Santa. You can adjust the size to fit large or small windows.
Use markers, chalk pens, or window paint depending on your preference. Each material gives a different finish, so choose what works best for your style. This way, your Santa feels fun and personal.
5) Reindeer Silhouettes with Red Noses
You can create a simple yet festive look by drawing reindeer silhouettes on your windows. Keep the shapes solid and dark so they stand out clearly against the glass. This style works well with both large and small window spaces.
To make the design more playful, add a small red circle for the nose. A bright red dot instantly transforms the silhouette into a Rudolph-inspired design. You can use paint, markers, or even stick-on decals for the nose.
If you want a layered effect, try drawing multiple reindeer in a row. Give each one a red nose or leave some plain for variety. This makes your window scene feel more dynamic without requiring extra detail.
You can also frame the reindeer with simple snowflakes or stars. These small additions help the silhouette stand out and tie the design into the rest of your holiday decorations.
This idea works well for both kids and adults. Children can help by painting the noses, while you handle the outlines. It’s an easy way to involve everyone in decorating while keeping the design neat and festive.
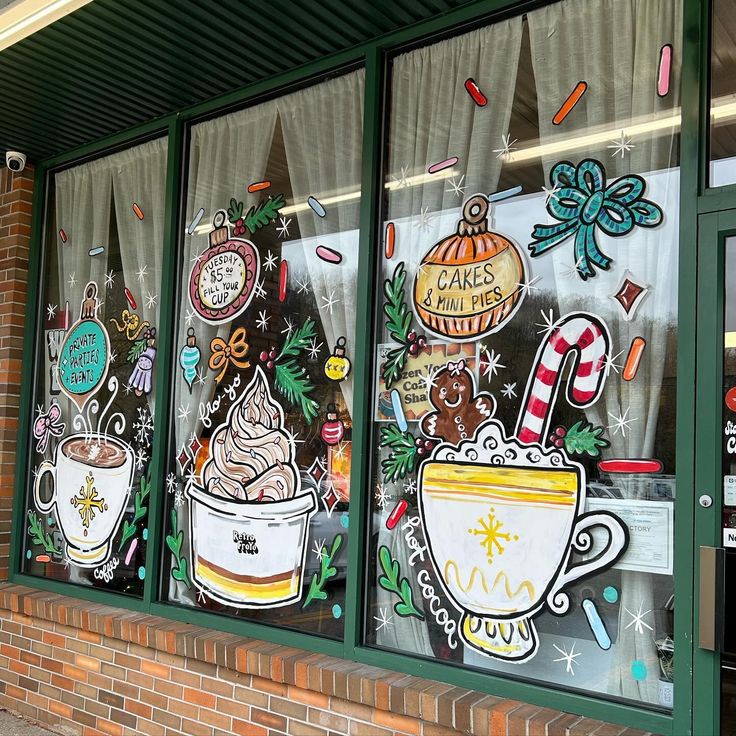

6) Whimsical Gingerbread House Scene
You can turn your window into a playful gingerbread house scene with simple outlines and bright colors. Start by sketching the shape of a house, then add candy canes, gumdrops, and icing-like swirls along the edges.
Use white paint or markers to mimic frosting details on the roof and windows. Adding peppermint circles or lollipop shapes makes the design feel cheerful and recognizable.
You don’t need to cover the entire window. A few clustered houses or a single large one can create the same cozy effect.
Try layering smaller details like stars, snowflakes, or tiny gingerbread people around the house. These small touches help your scene feel more complete without requiring complicated designs.
If you want a softer look, stick to pastel colors. For a bolder style, go with classic reds, greens, and whites. Both approaches work well and keep the theme clear.
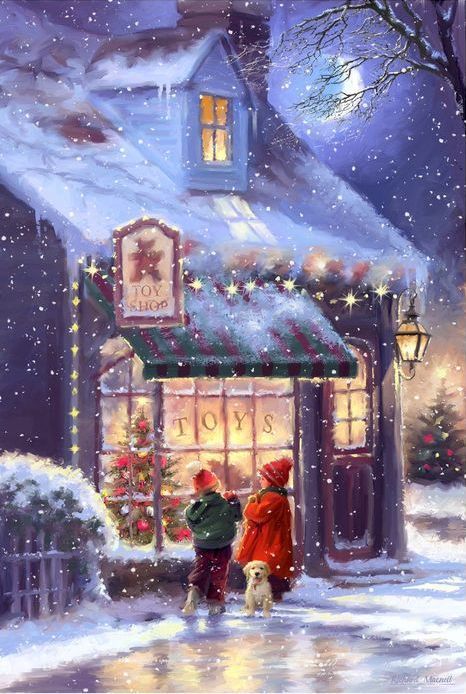
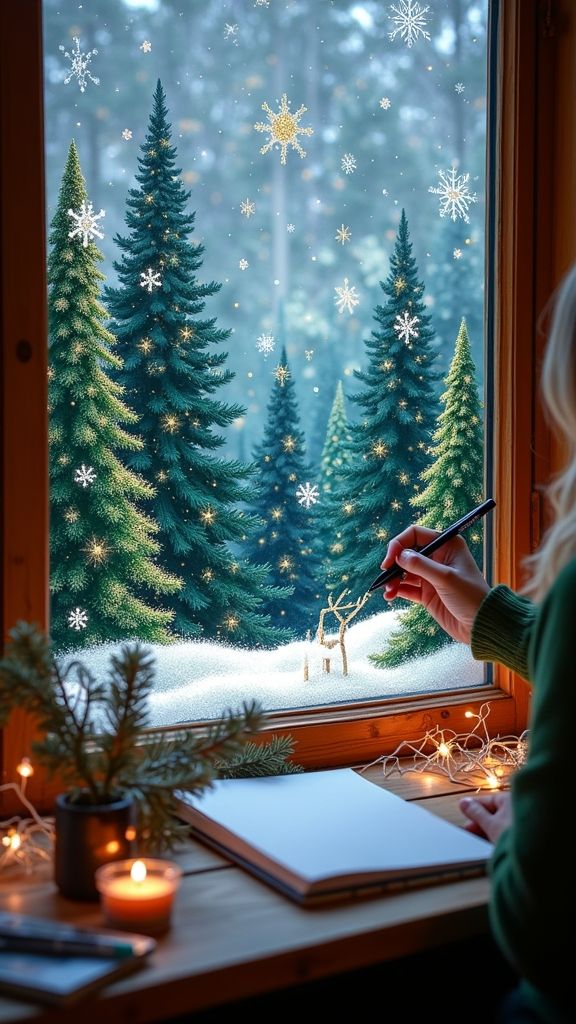
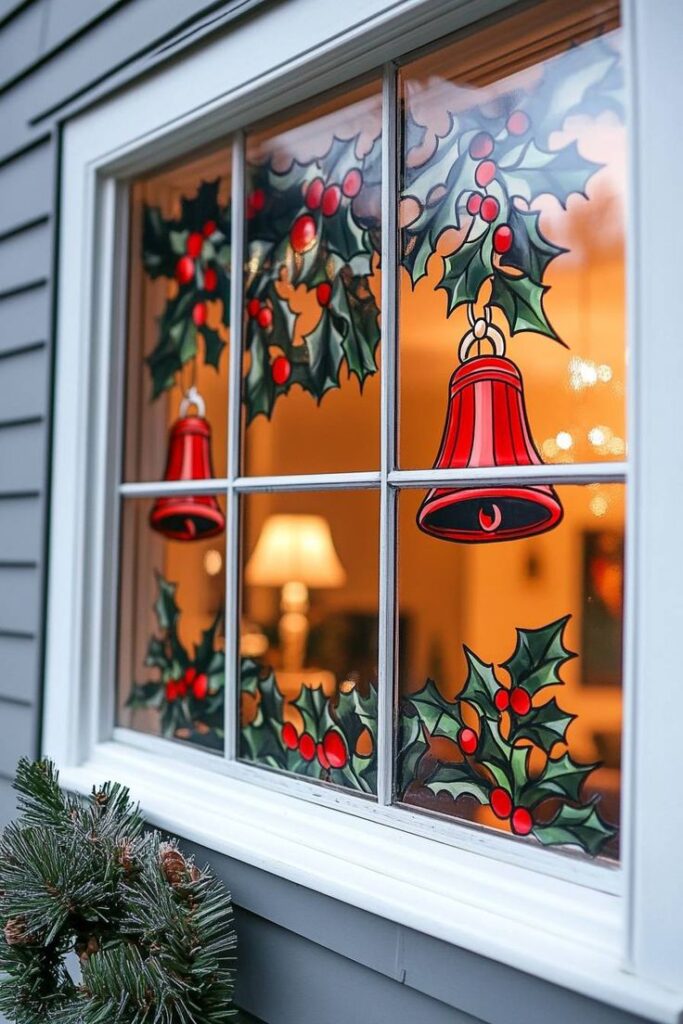
7) Festive Wreath with Bows and Bells
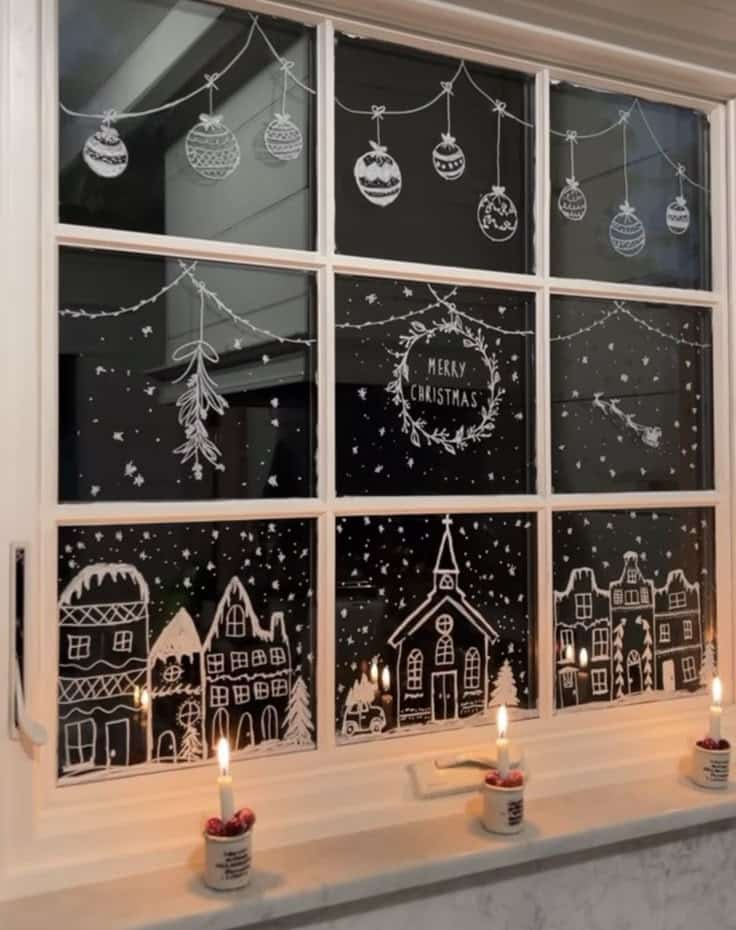
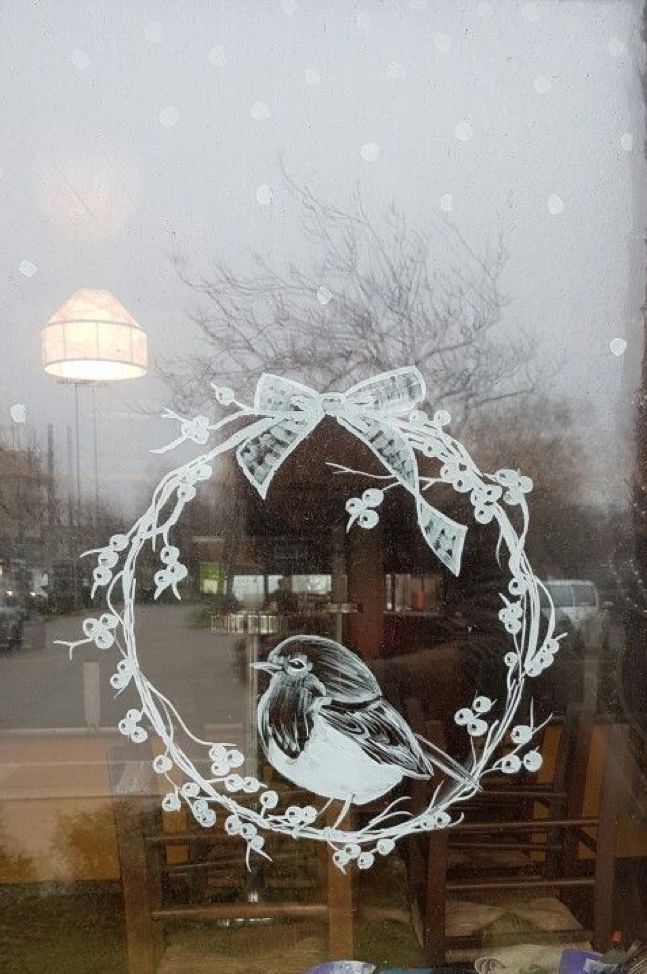
You can bring a classic holiday look to your windows by drawing a simple wreath. Start with a circular outline, then layer short strokes around it to resemble evergreen branches. Keep the shape loose so it feels natural rather than perfectly round.
Add a large bow at the bottom or top of the wreath to give it a cheerful touch. You can draw the ribbon loops wide and flowing, then extend two tails down the sides. A contrasting color helps the bow stand out against the greenery.
For extra detail, include small bells tucked into the wreath. Simple round shapes with a line across the bottom can suggest the bell opening. Highlight them with gold or silver tones if you have metallic markers.
You don’t need to cover the entire wreath with decorations. A few bows or bells are enough to give it a festive look while keeping the design easy to draw. This balance makes the wreath eye-catching without feeling crowded.
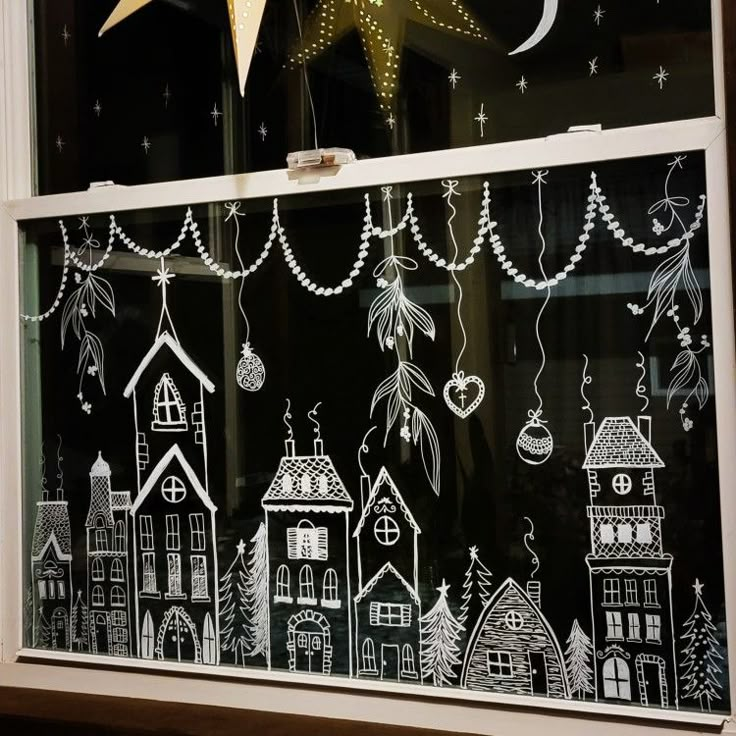
8) Cozy Winter Cabin with Smoke
You can bring warmth to your window by sketching a small winter cabin surrounded by snow. Add a few pine trees nearby to frame the scene and make it feel complete.
Draw the cabin with simple lines, then place glowing windows to suggest light inside. This small detail makes the cabin look inviting and cheerful.
Include a thin trail of smoke rising from the chimney. The smoke adds movement to the drawing and gives the impression of a fire keeping the cabin warm.
You might want to place stars or a moon above the cabin for a calm nighttime effect. Snowy hills or bare trees in the background can also make the scene look more natural.
Keep the shapes simple so your design stays easy to draw on glass. Even a rough sketch will capture the cozy feeling of a winter retreat.
9) Snowman Family with Scarves
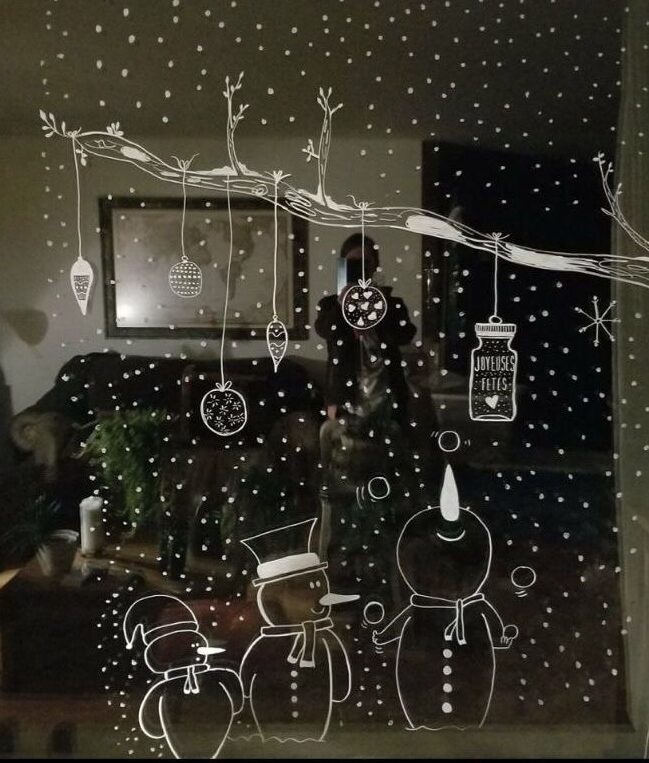
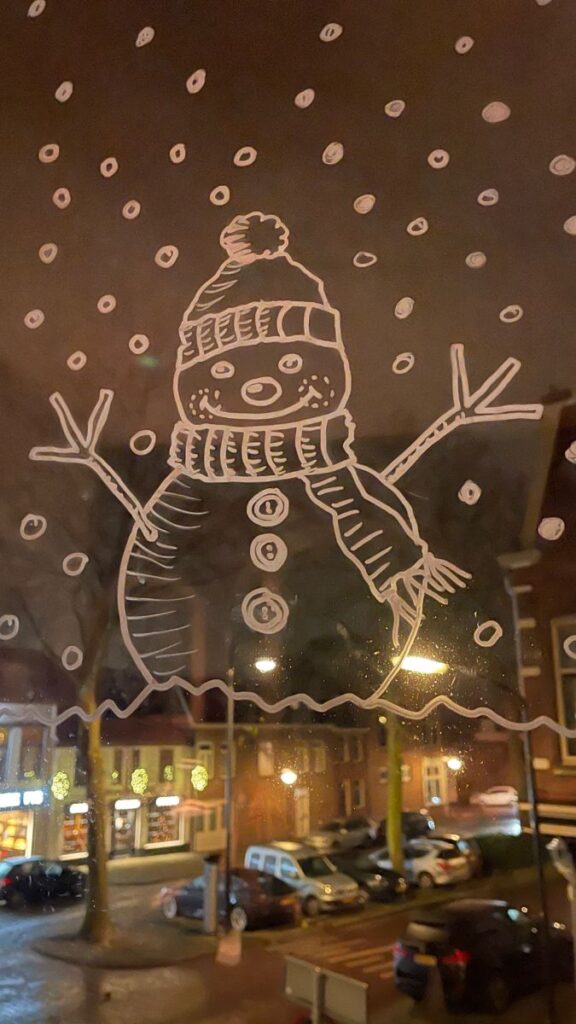
You can create a cheerful window scene by drawing a family of snowmen standing together. Start with three different sizes to show parents and a child, using simple circles stacked on top of each other. This gives your drawing a playful and balanced look.
Add scarves to each snowman to give them personality and warmth. Use different patterns like stripes, polka dots, or checks to make each scarf unique. Bright colors help the details stand out against a snowy background.
Include small accessories such as hats, mittens, or buttons to make the family feel complete. A carrot nose and simple dots for eyes and smiles keep the design clear and easy to recognize.
You can place the snowmen in a snowy yard or leave the background plain for a cleaner look. Either way, the family grouping makes the window art more inviting and fun for the season.
10) Christmas Lights Garland Border
You can create a simple but festive look by drawing a garland border of Christmas lights around your window edges. This design frames the glass and instantly gives your space a cheerful holiday touch.
Start by sketching a string that loops gently around the window frame. Then, add small oval or teardrop-shaped bulbs along the line, spacing them evenly for a balanced look.
Use bright colors like red, green, yellow, and blue to make the bulbs stand out. If you prefer a softer style, try using white or gold tones for a more subtle effect.
You can also mix in a few pine or holly details between the lights to give the border a natural, seasonal feel. This adds depth without making the design too busy.
Keep the drawing simple if you want a quick project, or layer in extra details like glowing halos around the bulbs to suggest light. Both approaches work well and depend on how much time you want to spend.
This border design works nicely on its own, but it also pairs well with other window drawings, such as snowflakes or wreaths, to complete your holiday window display.
Tips for Creating Stunning Christmas Window Drawings
You can make your holiday window art look polished and festive by focusing on the tools you use, the way you plan your layout, and how you add finishing touches. Small details and thoughtful preparation often make the biggest difference.
Choosing the Right Materials
Start with window-safe markers or paints like chalk pens, acrylic markers, or washable glass paints. These give you bold colors that wipe off easily when the season ends. Avoid permanent markers because they can stain the glass.
Keep a few basic tools on hand:
- Microfiber cloths for cleaning smudges
- Painter’s tape for straight lines
- Sponges or cotton swabs for blending
If you want crisp outlines, stencils or printable templates help. For freehand drawing, test colors on a small corner first to see how they look in natural light.
Choose materials based on your design style. Chalk pens work well for snowy effects, while acrylic markers give you sharper, more vibrant shapes. Mixing both can create depth without needing advanced techniques.
Planning Your Design
Clean your windows thoroughly before you start. Dust and streaks can ruin the look of your artwork and make colors appear dull.
Sketch your design on paper first. This helps you decide on proportions and spacing before you commit to the glass. You can even tape the sketch behind the window to trace outlines directly.
Think about the view from both inside and outside. A design that looks balanced from either side will feel more complete. Consider symmetry if you’re decorating multiple panes or a large front window.
Use simple themes like snowflakes, wreaths, or ornaments if you’re short on time. If you want something more detailed, break the design into sections so you can work in stages without feeling rushed.
Layering and Detailing Techniques
Work in layers to give your drawings depth. Start with background shapes, such as snow or stars, then add larger elements like trees or stockings. Finish with small details like highlights, dots, or outlines.
Use lighter colors first, then layer darker shades on top. This prevents smudging and keeps details sharp. If you want a frosty effect, lightly dab white chalk pen over colored areas.
Add contrast with outlines in black or dark gray. This makes designs stand out, especially at night when indoor lights shine through the glass.
For extra detail, blend edges with a damp cotton swab or sponge. This creates soft shading that looks more natural than flat color blocks. Small touches like sparkles or snow dots can tie the whole scene together.
How to Make Your Window Art Last Longer
You can extend the life of your Christmas window drawings by protecting them from weather conditions and keeping the glass surface clean. Simple steps like sealing your designs and doing light upkeep will help prevent fading, peeling, or smudging.
Weatherproofing Your Drawings
If you use washable window paints or chalk markers, moisture can cause them to run. To protect your designs, apply a clear acrylic spray sealant or a fixative spray. These products create a thin barrier that resists condensation and light rain. Always test on a small corner first to make sure it doesn’t alter the colors.
For windows exposed to direct sunlight, UV rays can fade pigments. Choosing UV-resistant paint markers or layering with a protective spray helps maintain brightness. If you live in a humid area, avoid water-based markers and instead use acrylic craft paint mixed with a removable medium.
It also helps to draw on the inside of the glass whenever possible. Indoor placement shields your artwork from wind, snow, and rain, making it last much longer with less effort.
Cleaning and Maintenance Advice
Before drawing, clean your windows with a streak-free glass cleaner. Dust, grease, or residue will prevent the paint from sticking properly. A microfiber cloth works best for removing oils without leaving lint behind.
Once your art is up, avoid heavy scrubbing when wiping nearby areas. Use a damp cloth to gently clean around the design. If condensation builds up, lightly blot it with a paper towel instead of rubbing.
For longer displays, check your artwork every few days. Touch up faded spots with the same markers or paints you originally used. When you’re ready to remove everything, warm soapy water and a non-abrasive sponge will clear the glass without scratching.
- 1.3Kshares
- Facebook0
- Pinterest1.3K
- Twitter0
- Reddit0


