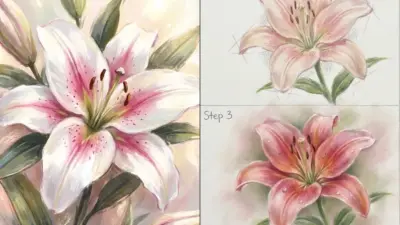
Exploring botanical sketch subjects can be a rewarding way to connect with nature and improve your drawing skills. Whether you’re a beginner or have some experience, choosing the right plants to draw can make the process enjoyable and help you develop your technique.
You’ll find that selecting simple yet interesting botanical subjects keeps you engaged while practicing observation and shading. These subjects offer a variety of shapes and textures that are perfect for building your confidence and creativity in botanical art.
1) Rose bloom
The rose bloom is a classic subject for botanical sketches, known for its elegant layers of petals. When you draw a rose, focus on capturing its delicate curves and the way the petals overlap.
Pay attention to the subtle gradations of color and light on each petal. You don’t have to tackle every leaf at once; starting with the bloom itself helps you build confidence.
Try breaking the rose into simple shapes first to guide your sketch. The bloom’s round form and petal folds create a natural pattern to follow.
Adding details like the stem and leaves can come later, once you feel comfortable with the flower. Roses offer great practice for showing texture and depth through shading.
Drawing a rose can seem tricky at first, but with patience, you’ll notice how the petals naturally fit together. Each sketch will help improve your observation skills and make your floral studies richer.


2) Monstera leaf
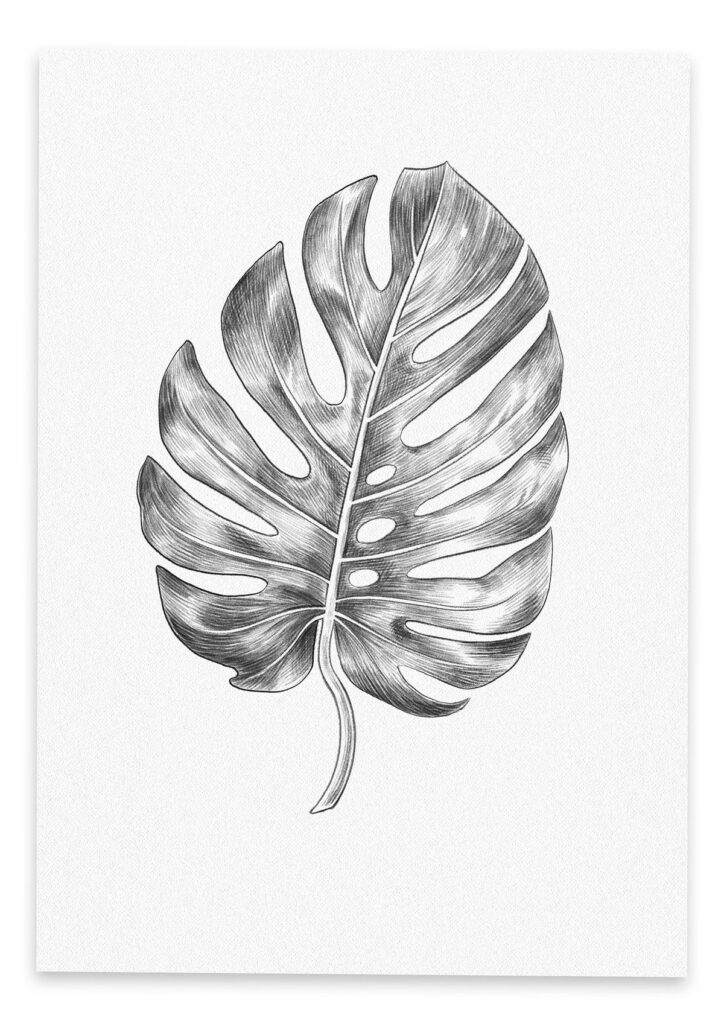
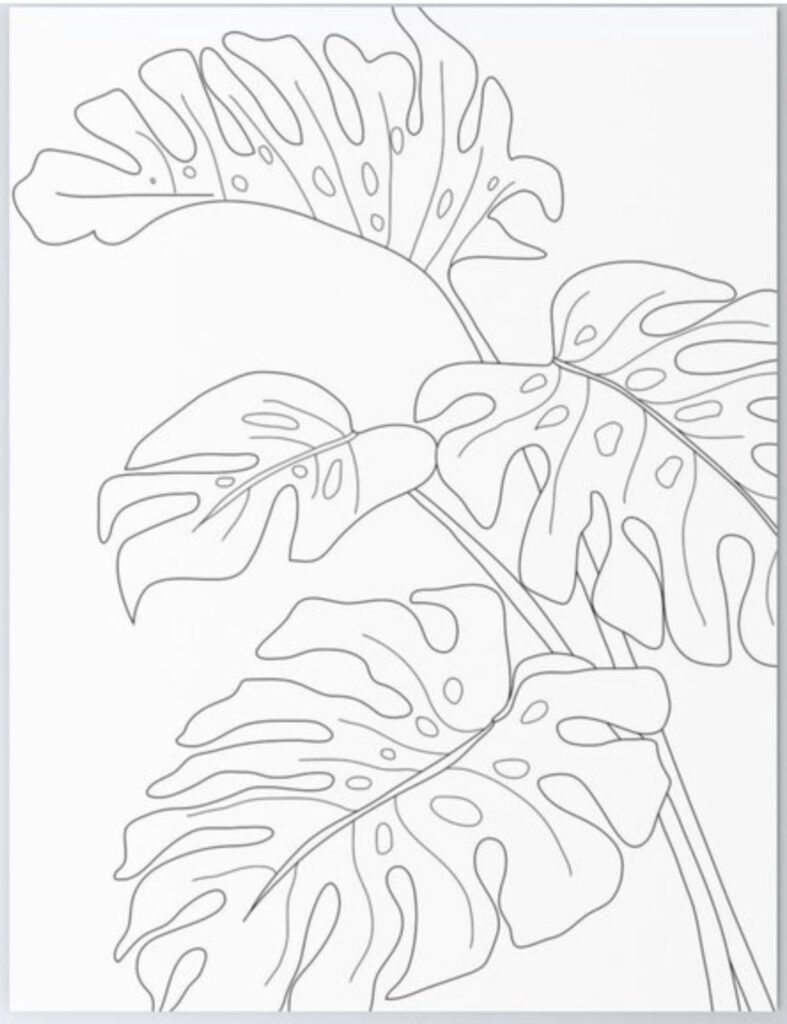
When you choose to sketch a Monstera leaf, you pick a subject with unique shapes and patterns. The leaf’s bold cuts and holes make it visually interesting and help you practice precision.
Start your drawing by lightly sketching the overall shape, which resembles a heart with rounded edges. Then add the stem and veins, paying attention to how they branch out.
Using a pencil allows you to add fine details like veins and shading. Light strokes help build a realistic texture. You can even experiment with different shading techniques to bring the leaf to life.
Monstera leaves are great for beginners and more experienced artists alike. Their strong lines and patterns make your sketch stand out whether you keep it simple or add detailed textures. It’s a fun way to practice botanical art while enjoying the charm of this tropical plant.
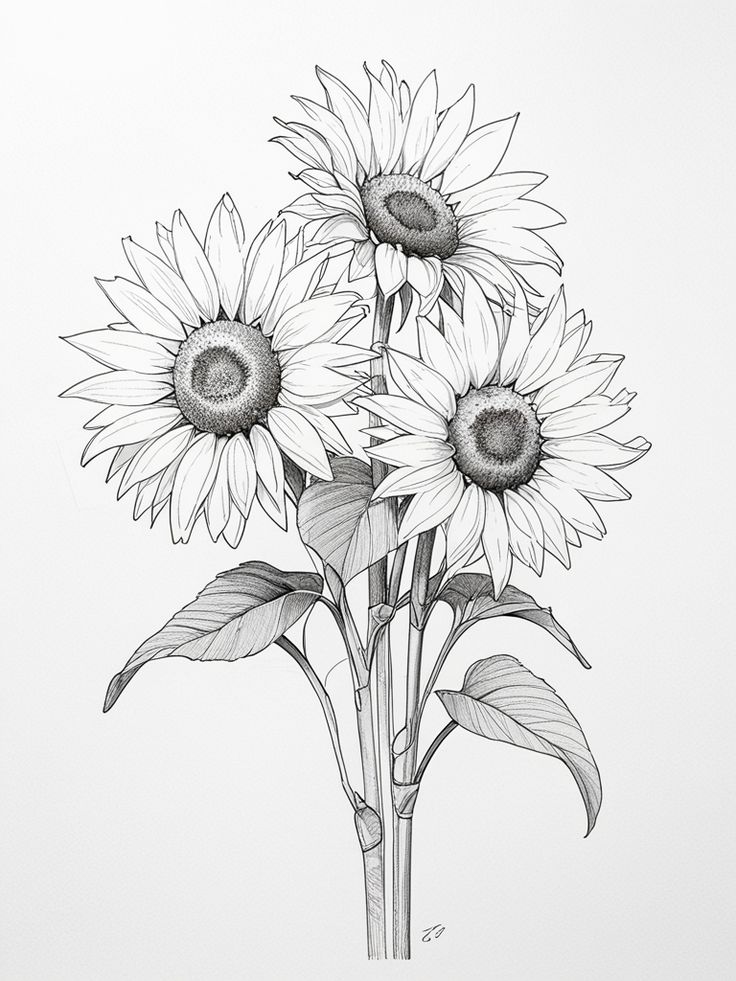
3) Sunflower head
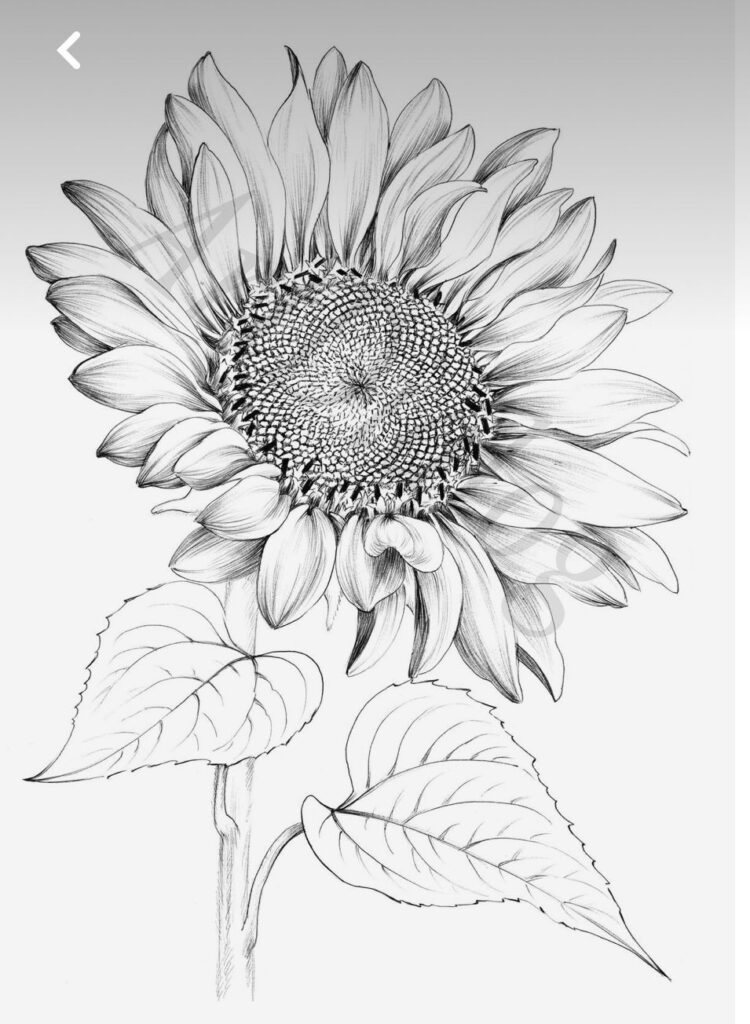
When you draw a sunflower head, focus first on its large circular center filled with tiny seeds. This area is full of texture, so try using small, detailed marks to show its dense pattern.
Around the center, you’ll add long, narrow petals that radiate outward like rays of sunshine. Keep the petals slightly varied in shape and size to make your drawing feel natural.
Don’t forget the sturdy stem and broad leaves attached to the flower head. These elements frame the sunflower and add balance to your sketch.
Sunflowers are great for practicing botanical drawing because they combine simple shapes with interesting textures. You can start with basic outlines and then gradually add shading and details.
As you work, pay attention to light and shadow to bring your sunflower to life. Watching real sunflowers or photos can help you see how the petals and leaves overlap and curve.
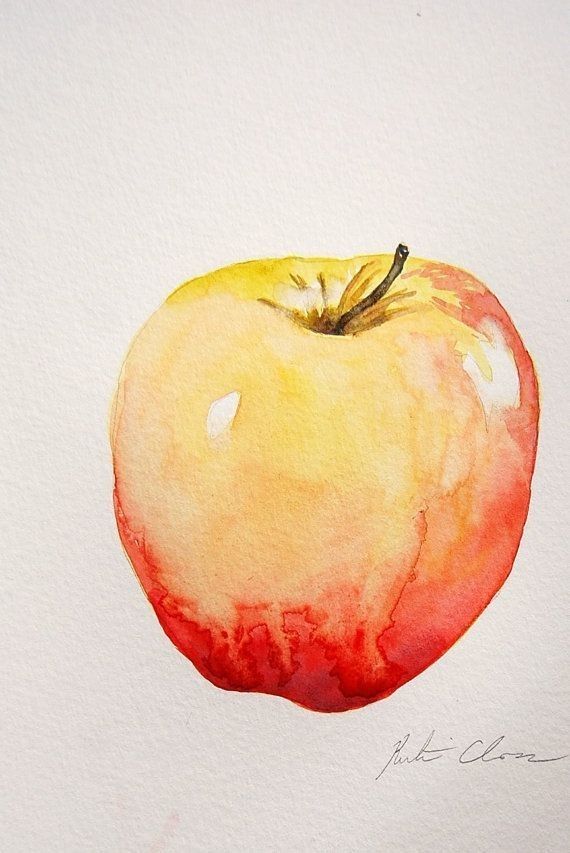
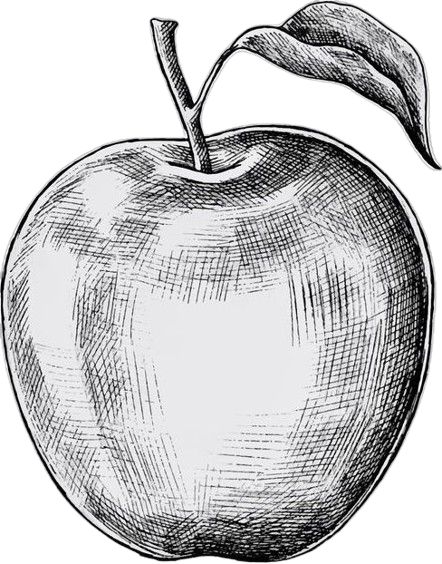
4) Apple fruit
When you sketch apples, you get to capture a classic and familiar subject. Their round shapes and gentle curves make them both simple and interesting to draw.
You can focus on different aspects like the texture of the skin, the stem, or the leaves attached to the fruit. Paying attention to small details helps your drawing feel more lifelike.
Try showing apples in various stages—whole, cut in half, or grouped on a branch. Each view gives you new shapes and lines to explore.
Using light and shadow can highlight the apple’s roundness and make your sketch pop. Position a light source to create soft shadows and give depth to your drawing.
Don’t forget the branches and leaves. Including these adds context and helps show how the apples grow on the tree. This makes your sketch more complete and natural.
5) Fern frond
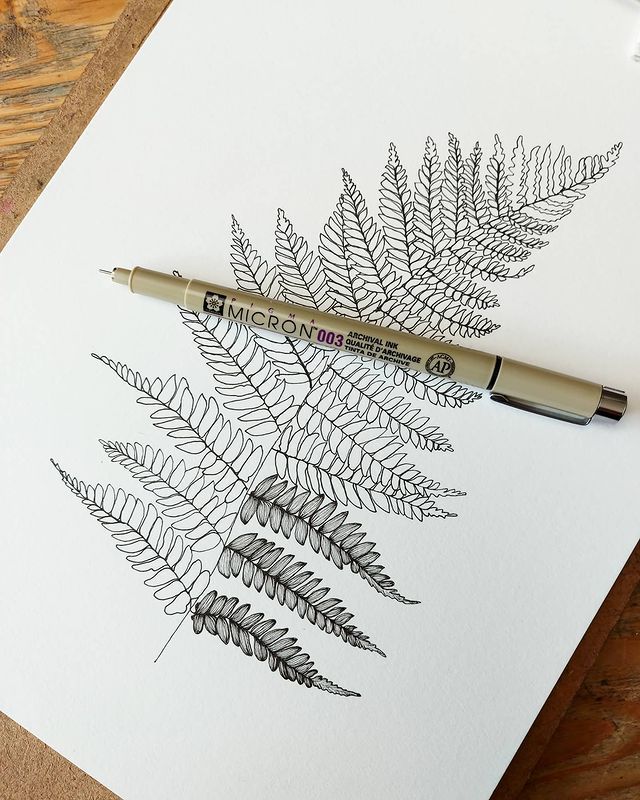
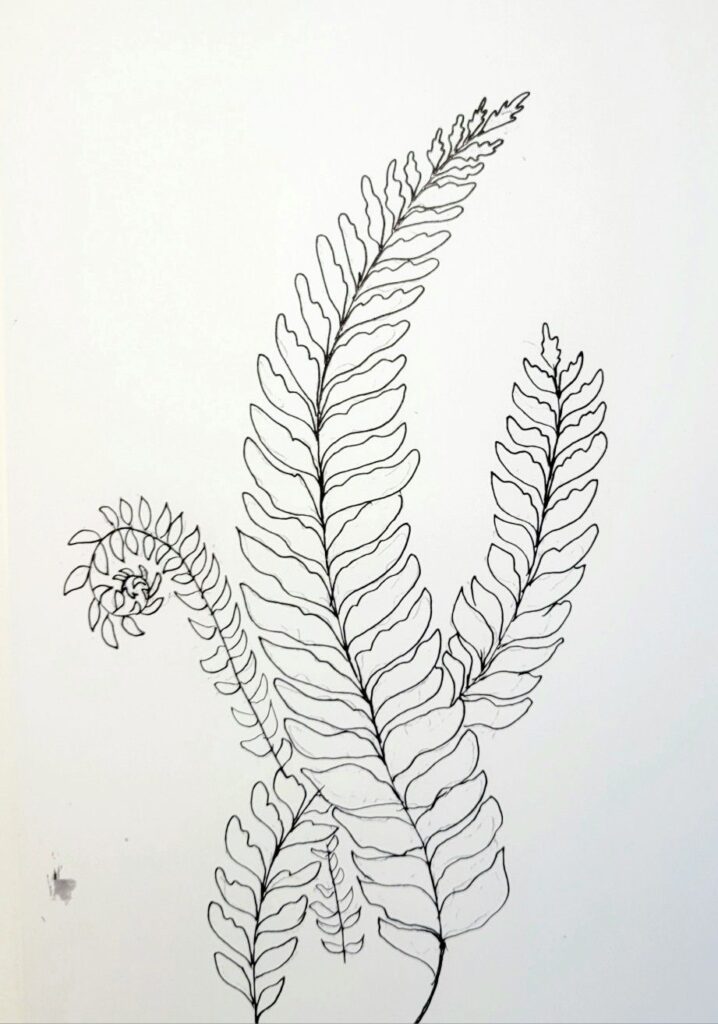
Fern fronds are a popular choice for botanical sketches because of their delicate and feathery appearance. You’ll find their intricate leaflets, called pinnae, create a natural pattern that’s both elegant and engaging to draw.
When you sketch a fern frond, focus on capturing the fine details of the individual leaflets. This gives your drawing a realistic texture and brings out the unique structure of the plant.
You don’t need to make your fern sketches complicated. Simple line art or watercolor washes can beautifully highlight the frond’s shape and flow. This makes fern fronds great for practice or adding a nature-inspired touch to your projects.
If you want to improve your fern drawings, try breaking the frond into smaller segments. Observe how the leaflets grow along the main stem and recreate that rhythm in your sketch.
Drawing fern fronds can also help you enhance your observation skills. As you work, notice how the fronds unfold and the way they curve, creating a lively and natural look in your artwork.
6) Daffodil blossom
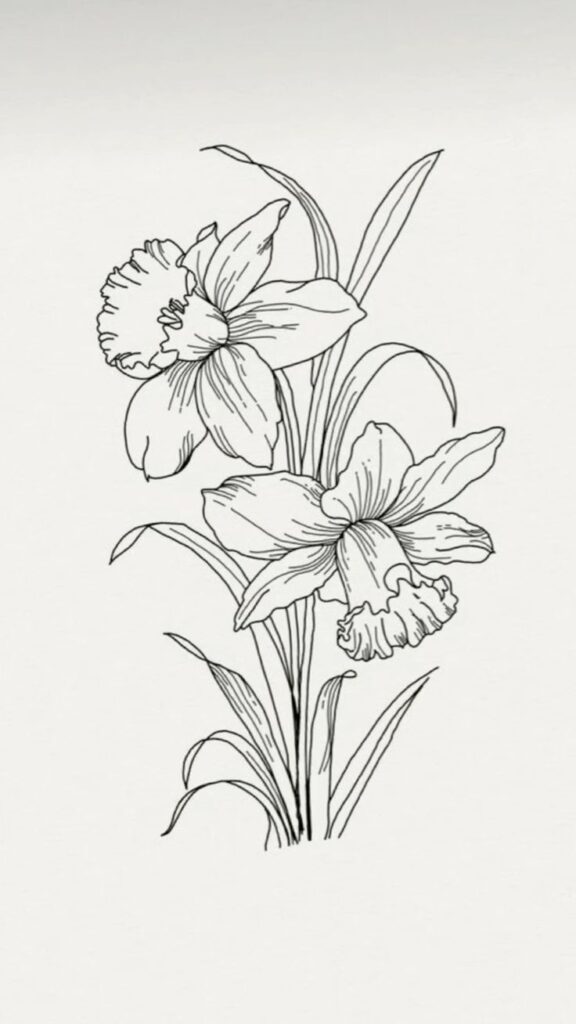
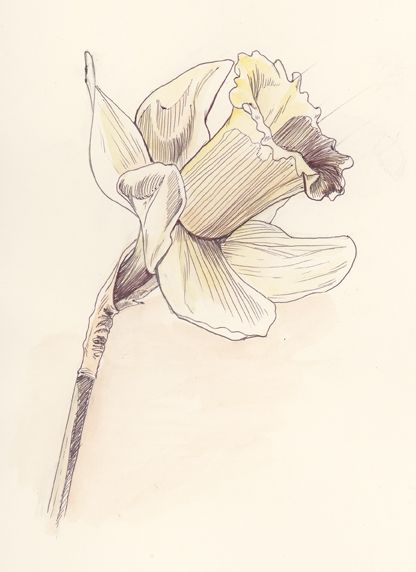
When you draw a daffodil blossom, focus on its unique structure. The petals radiate outward around a central corona, creating a clear, distinct shape to capture.
Start by sketching basic shapes to define the flower’s form and proportion. This helps you keep the lines accurate and the overall balance right.
Pay attention to details like the petal edges and the trumpet-like corona. These parts give the daffodil its character and help your drawing look realistic.
Adding color can be a fun step. The bright yellows of the petals contrast beautifully with the rich green leaves, bringing your sketch to life.
Practicing with daffodils helps improve your shading and line work. It’s a great way to build patience and observation skills while having an enjoyable artistic experience.
Keep observing real daffodils or good reference images. Your skill will grow as you learn to notice subtle variations in the flower’s shape and texture.
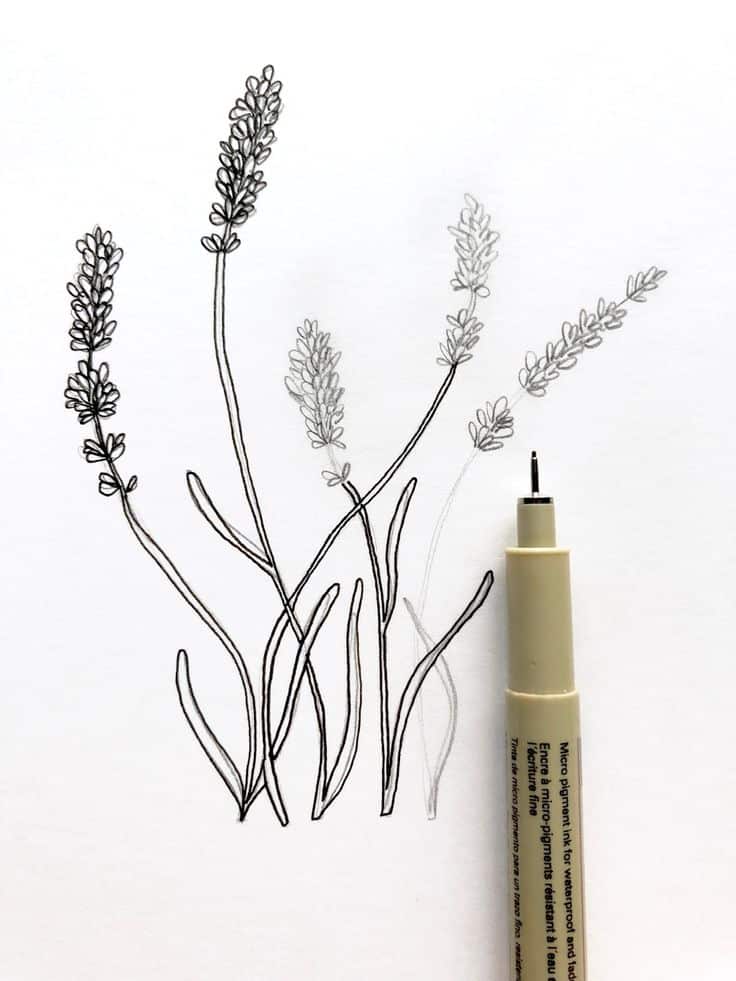
7) Lavender sprig
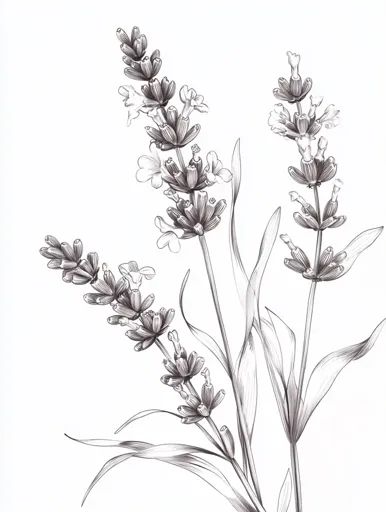
Drawing a lavender sprig gives you a chance to capture delicate details in a simple form. You can focus on the slender stems, tiny leaves, and the soft, clustered flowers that make lavender so distinctive.
When sketching, pay attention to the subtle curve of the stems and the way the flowers form small spikes. These features help bring a natural, calming feeling to your drawing.
Lavender is often linked with relaxation and freshness, so including it in your botanical sketches adds a soothing vibe. You can keep your lines light and airy to reflect its gentle nature.
This subject works well in both detailed and minimalist styles. Whether you want to create a detailed study or a simple outline, a lavender sprig adapts easily to your creative approach.
8) Cactus paddle
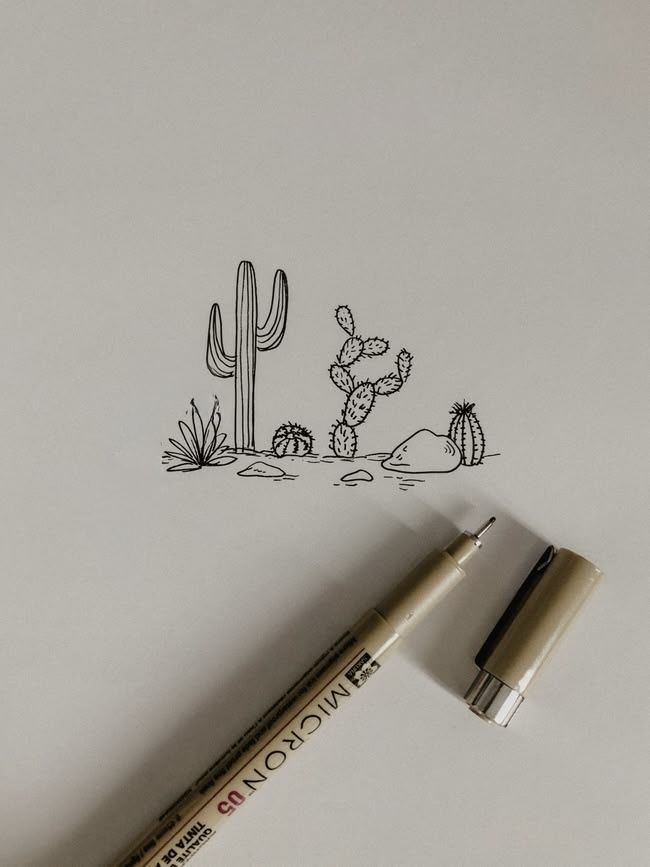
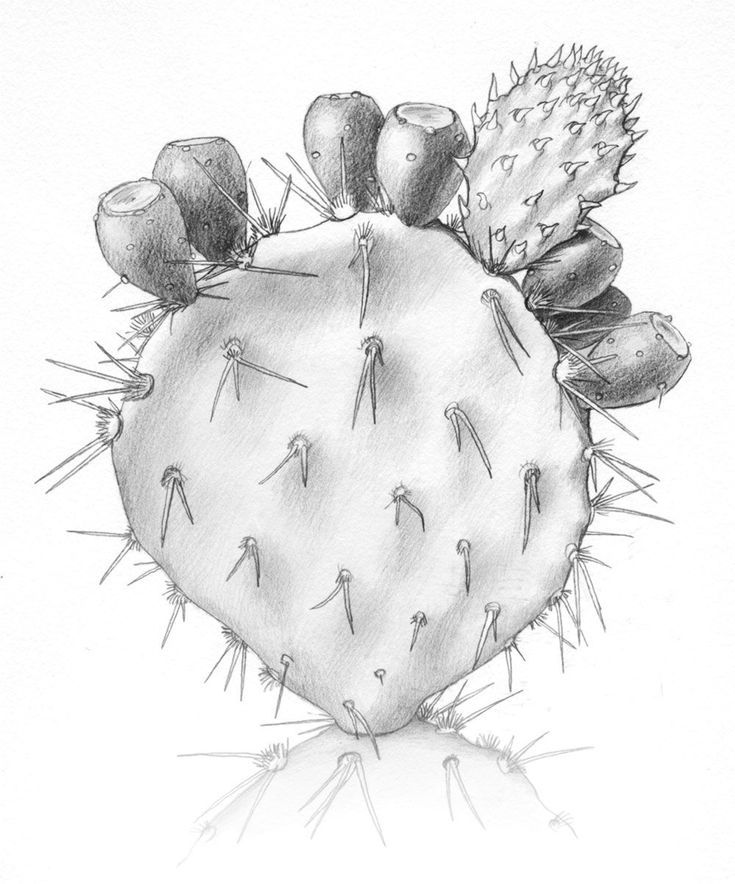
Drawing a cactus paddle is a great choice for your botanical sketches. The flat, oval-shaped pads make it easy to capture their unique form with simple shapes. You can start with a main paddle and add smaller ones growing off its edges for a natural look.
These paddles often have small spines or barbed bristles, which you can indicate with short lines or tiny dots. Adding these details brings texture and authenticity without making your sketch too busy.
You might also want to show new growth by sketching young paddles sprouting from the main stem. This adds life and a sense of development to your drawing.
Try placing your cactus paddle in different settings, like a striped pot or a desert scene, to give your illustration some context. This helps create a charming and personal touch to your botanical art.
9) Maple leaf
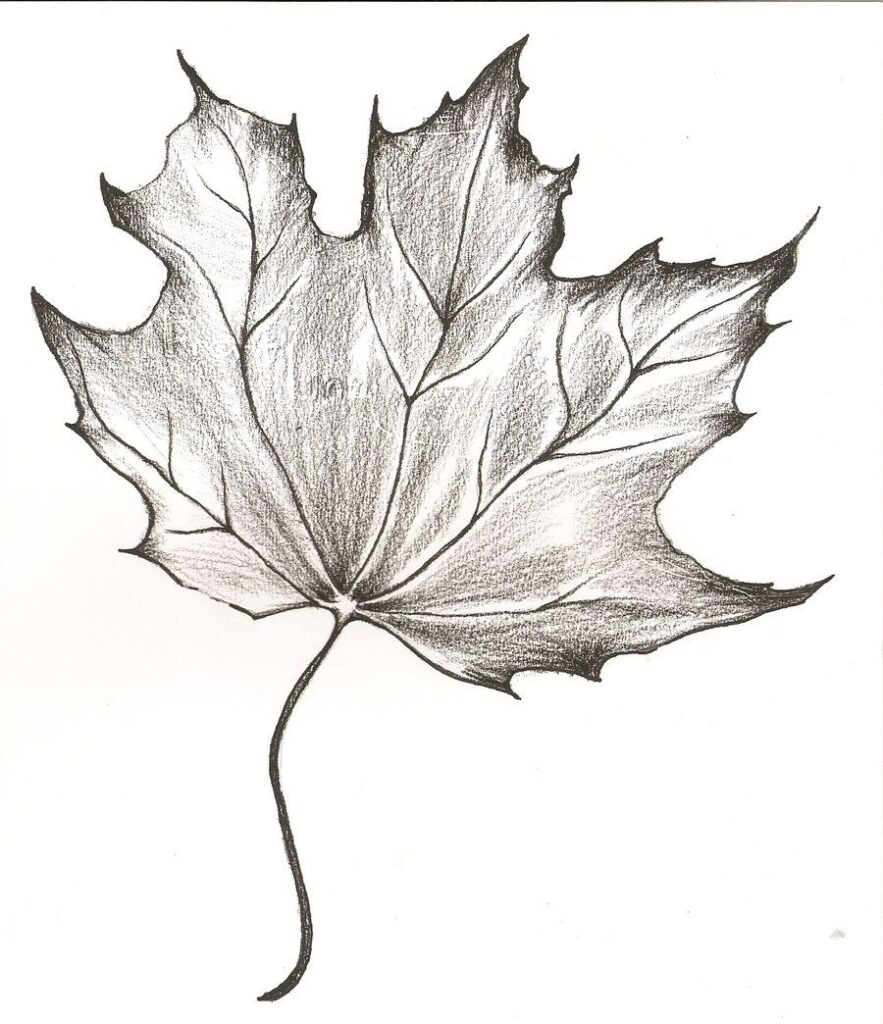
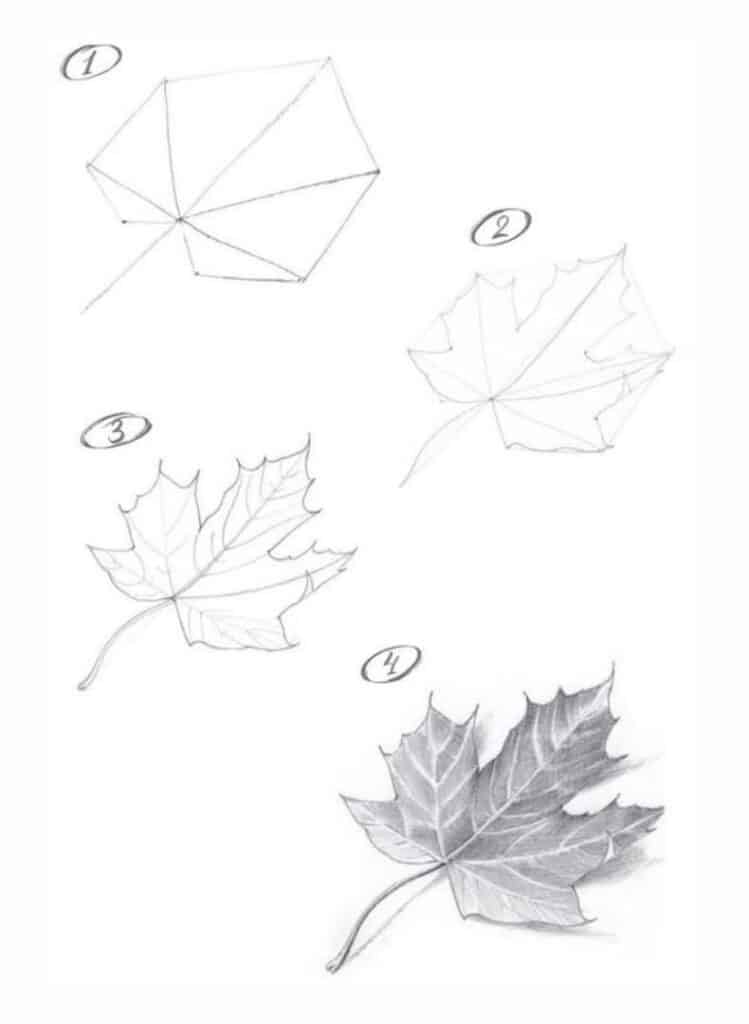
The maple leaf is a great subject to add to your botanical sketches. Its distinct shape with sharp, pointed lobes is easy to recognize and offers a good mix of complexity and simplicity. You can practice capturing its unique silhouette and veins.
When you draw a maple leaf, pay attention to the symmetry and the way the veins branch out from the center. These details help bring your sketch to life and give it texture.
You can try different styles, from detailed realistic drawings to simpler, more stylized versions. Adding color with watercolors or shading with pencils can highlight the leaf’s natural beauty.
Maple leaves change color throughout the seasons, giving you inspiration for various palettes. Fall colors, in particular, can make your artwork vibrant and warm.
Overall, sketching maple leaves can improve your observation skills and your ability to depict natural shapes. It’s a rewarding practice that connects you with nature in a simple, creative way.
10) Pine cone
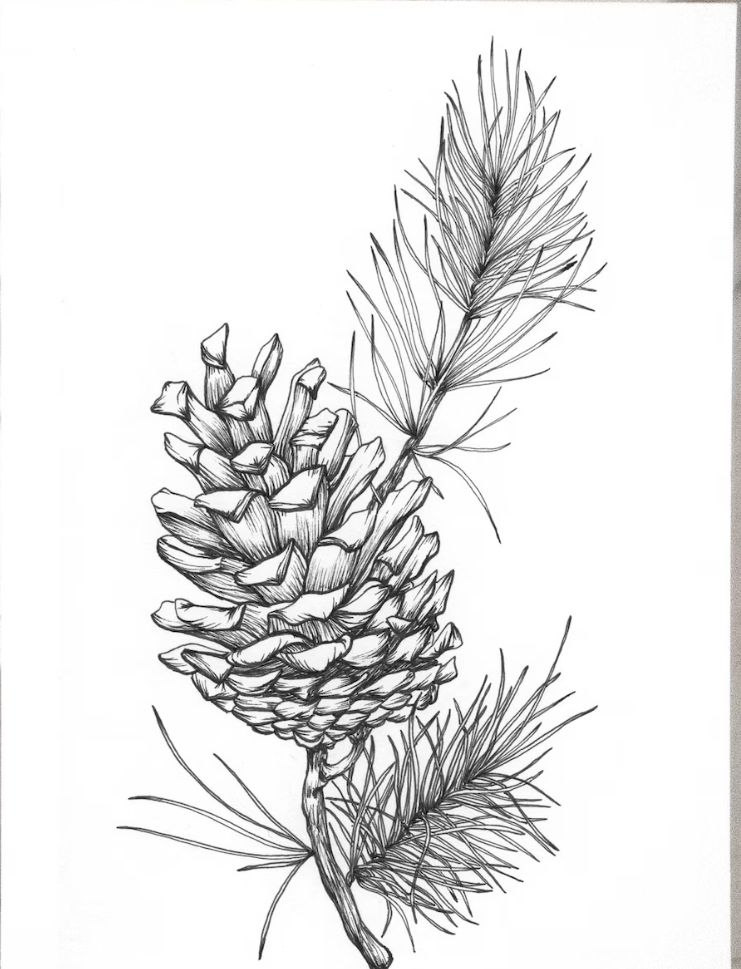
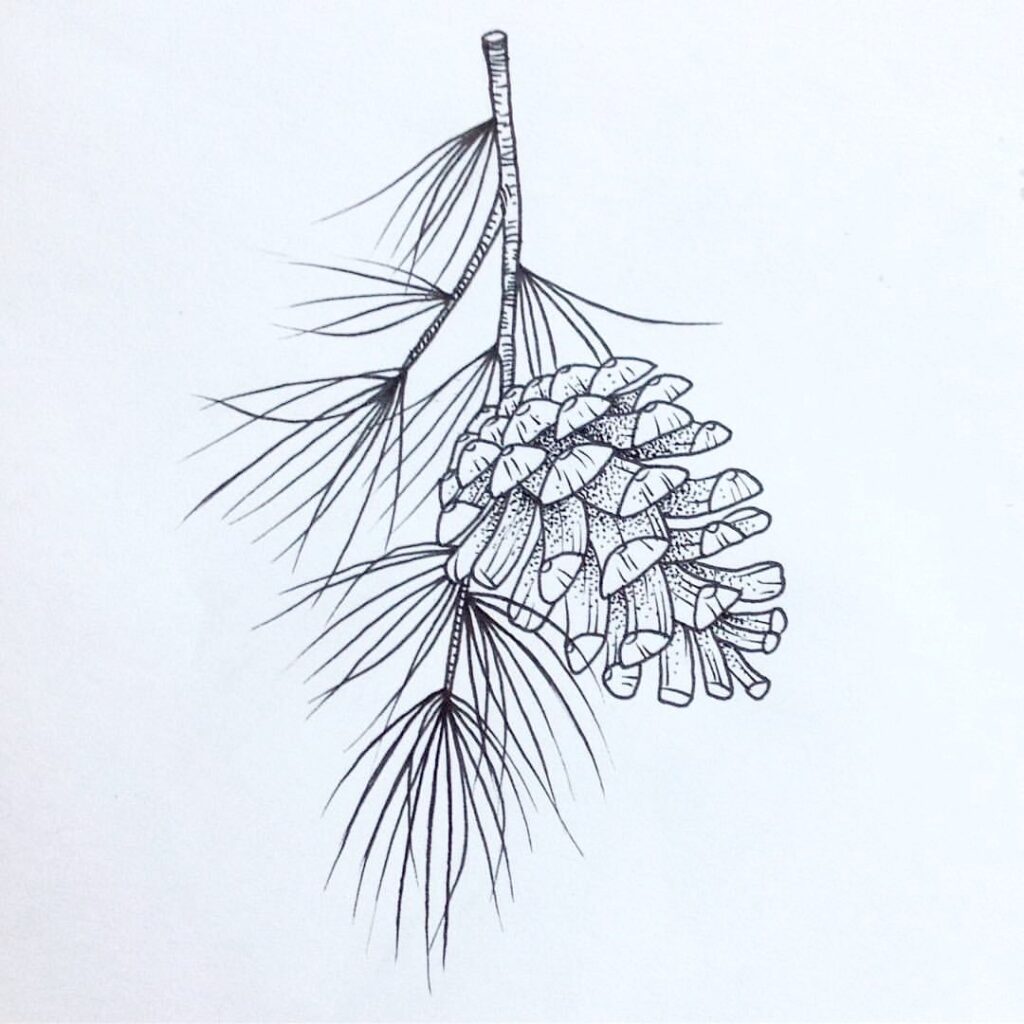
When you choose a pine cone as a sketch subject, you’ll find it has interesting shapes and textures. Its layered, spiral scales create natural patterns that make your drawing look detailed and unique.
Pine cones also tell a story about the environment. You can notice if the cone is open or closed, which often reflects the weather or humidity. This gives you a natural connection to the plant’s role in the forest.
Drawing a pine cone helps you practice shading and structure. You can focus on how light hits the scales and how shadows form between them. It’s a great way to improve your skills with texture and depth.
Lastly, pine cones are always available, especially in autumn and winter. You can collect one from outside or find inspiration in botanical drawings online to get started. Your sketches can capture both the beauty and the natural function of these fascinating seed carriers.
Choosing Botanical Subjects
When selecting plants to draw, focus on features that make your subject interesting and manageable for sketching. Pay attention to shapes, textures, and how light interacts with the plant. You can also draw inspiration from the current season to find fresh and relevant subjects.
Key Characteristics to Look For
Choose plants with clear, distinct shapes to help you capture their form accurately. Look for leaves or flowers with interesting edges, curves, or patterns. Texture is important, too—succulents with smooth, fleshy leaves differ greatly from delicate petals or rough bark.
Consider the complexity of your subject. If you’re just starting, pick simple shapes like a single leaf, a small flower, or a succulent. This makes it easier to practice basic sketching skills like shading and contouring. Also, consider how the plant interacts with light, highlighting shadows and depth.
Seasonal Inspiration
The time of year can guide your choice of botanical subjects. Spring and summer often bring flowers and new leaves, which are perfect for colorful, lively sketches. In contrast, autumn offers interesting leaf shapes and warm tones as plants prepare for winter.
You can also capture the uniqueness of each season by focusing on different plant parts. Early spring buds, full bloom flowers, or autumn seed pods invite variety in your sketches. Seasonal changes give you a continuous supply of subjects that reflect nature’s cycles.
Techniques for Sketching Botanicals
To create accurate and beautiful botanical sketches, you’ll focus on observing the smallest details and choosing tools that suit your style. Attention to precision helps capture the plant’s unique features, while the right materials make the drawing process smoother.
Capturing Fine Details
Start your sketch lightly, using simple shapes to outline the plant’s structure before adding intricate details. Look closely at leaf veins, petal edges, and stem texture. Use light pencil strokes and build up gradually to avoid harsh lines that are hard to erase.
Pay attention to symmetry and natural irregularities—these make your sketch realistic. Work slowly, observing the plant from multiple angles if possible. You might find a magnifying glass helpful for very small features.
Don’t rush shading or crosshatching; these techniques help give depth and dimension. Try using different pencil grades to vary line weight and darkness, with softer pencils for shading and harder ones for fine lines.
Selecting the Right Materials
Start with quality, smooth drawing paper that can handle repeated erasing and layering. A sketchbook designed for mixed media is a good choice if you plan to add watercolor later.
Use a range of pencils, from H (hard) to B (soft). H pencils are good for clean, light lines, while B pencils give you richer shadows. A kneaded eraser will help you gently lift graphite without damaging the paper.
Keep a sharpener handy to maintain fine points. For inking or final outlines, use waterproof pens of varying nib sizes. If you plan to add color, choose watercolors with fine brushes and a palette that fits your style.
Having these tools organized and ready lets you focus on concentrating on your subject rather than struggling with materials.
- 84shares
- Facebook0
- Pinterest84
- Twitter0
- Reddit0


