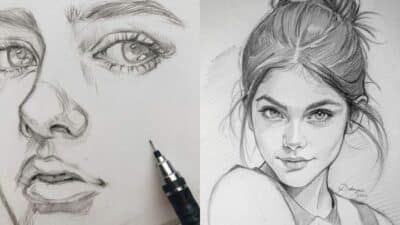
Ever wondered if your iPad could be more than just a scrolling device? What if it held the key to unlocking your inner artist, a powerful digital canvas ready to transform your ideas into stunning visuals? Well, you’re in luck! Learning how to draw with iPad is not only possible but incredibly fun and accessible, even if your last art class was in elementary school. Gone are the days when art supplies meant a messy array of paints, pencils, and paper. With just an iPad and an Apple Pencil, you can dive headfirst into the vibrant world of digital art, creating anything from simple sketches to intricate masterpieces. This guide is your casual, friendly walkthrough, designed to get you comfortable and confident as you embark on your digital art journey. So, grab your iPad, maybe a comfy blanket, and let’s get sketching!
Why the iPad is Your Ultimate Digital Canvas
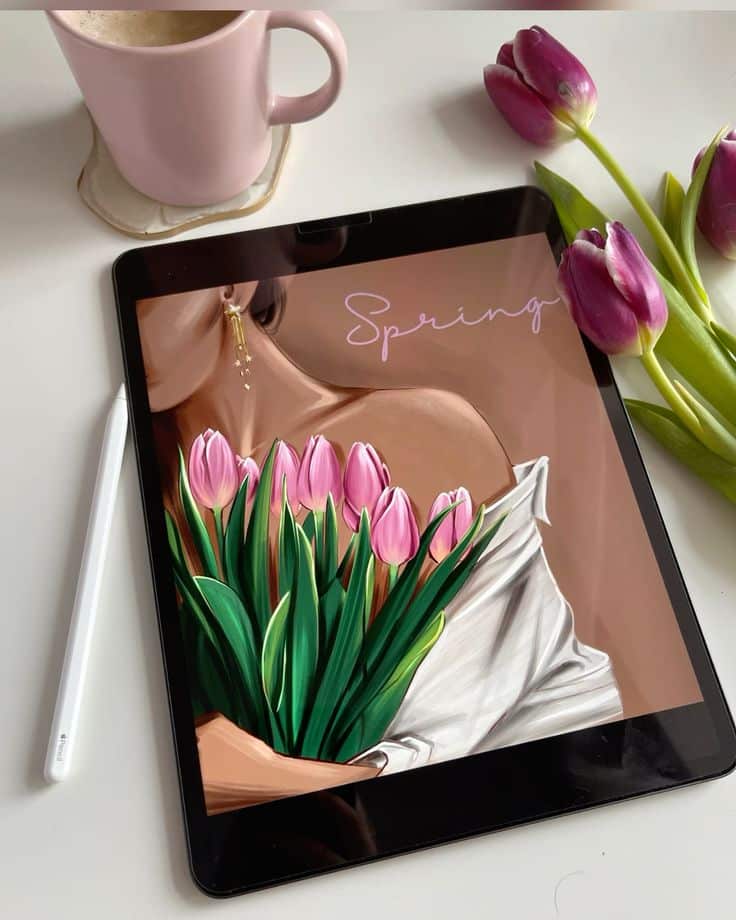

Let’s be real, the iPad isn’t just another tablet; it’s a game-changer for artists. For years, digital art was locked behind expensive Wacom tablets and powerful desktop computers. Not anymore. The iPad, especially when paired with an Apple Pencil, democratizes digital creativity in a way nothing else quite has.
First off, portability is king. Imagine drawing a breathtaking landscape while sitting by the actual lake, or sketching a bustling street scene from a café window. Your entire art studio fits into a slim, lightweight device you can carry anywhere. This freedom alone can be incredibly inspiring, allowing you to capture moments and ideas wherever they strike.
Then there’s the Apple Pencil. This isn’t just any stylus; it’s a precision instrument. With virtually no lag, incredible pressure sensitivity, and tilt detection, it feels remarkably like drawing with a real pencil or brush on paper. The nuances of your stroke, from a light whisper to a bold flourish, are perfectly translated onto the screen. This responsiveness is crucial for making digital art feel natural and intuitive.
Finally, the app ecosystem is phenomenal. The App Store is brimming with powerful, yet user-friendly, drawing applications. From industry-standard tools like Procreate to versatile vector apps like Concepts, and even Adobe’s suite of creative apps, there’s a perfect fit for every style and skill level. Many of these apps offer an incredible array of brushes, layers, and editing features that would cost a fortune in traditional art supplies. Plus, with regular updates, these tools are constantly evolving, bringing new possibilities to your fingertips.
Getting Started: The Essentials You’ll Need

Before you dive in, let’s make sure you have the right tools. Don’t worry, it’s not a long list!
Your iPad Model
While most iPads can run drawing apps, for the best experience, an iPad Pro or a newer iPad Air is highly recommended. These models offer ProMotion display technology (smoother scrolling and drawing), more powerful processors for handling complex artworks, and support for the second-generation Apple Pencil, which attaches magnetically and charges wirelessly – a massive convenience. If you have an older iPad that supports the first-gen Apple Pencil, that’s still a fantastic starting point! The key is Pencil compatibility.
The Apple Pencil
As mentioned, this is your magic wand. There are two generations. The first-generation Apple Pencil works with older iPad Pro models, iPad Air (3rd gen), iPad (6th, 7th, 8th, 9th, 10th gen), and iPad mini (5th gen). It charges via a Lightning port. The second-generation Apple Pencil is compatible with iPad Pro (11-inch all generations, 12.9-inch 3rd gen and later), iPad Air (4th gen and later), and iPad mini (6th gen). It charges wirelessly when attached to the side of your iPad. Invest in one; it makes all the difference.
Choosing Your Drawing App

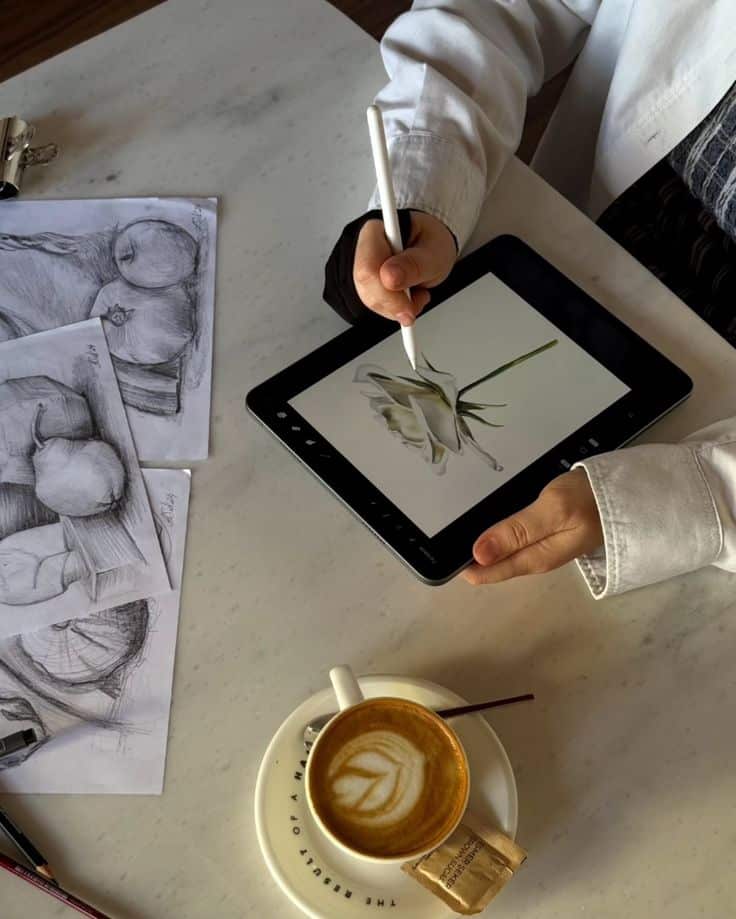
This is where your digital canvas truly comes alive. Here are a few top contenders:
- Procreate: This is often the go-to for iPad artists, and for good reason. It’s incredibly powerful, intuitive, and packed with features – from an extensive brush library to animation tools and 3D painting. It’s a one-time purchase, making it excellent value. Perfect for illustration, painting, and sketching.
- Adobe Fresco: If you love working with traditional media, Fresco is fantastic. It offers stunning live brushes that realistically mimic watercolors and oils, alongside vector brushes. It’s free to start with premium features available via subscription (often included with Adobe Creative Cloud).
- Concepts: For technical drawing, sketching, and vector-based work, Concepts shines. It’s an infinite canvas, perfect for industrial designers, architects, or anyone who needs precision. It’s free with in-app purchases for advanced features.
- Affinity Designer/Photo: More akin to desktop software, these apps offer professional-grade tools for vector illustration (Designer) and photo manipulation (Photo). They have a steeper learning curve but are incredibly powerful, especially if you’re coming from Illustrator or Photoshop. Each is a one-time purchase.
- Autodesk Sketchbook: A free, solid option for sketching and drawing, offering a clean interface and essential tools. Great for beginners who want to dip their toes in without commitment.
I suggest starting with Procreate if you’re serious about illustration, or Autodesk Sketchbook if you want a free entry point. Don’t stress too much; you can always try others later.
Navigating Your Chosen Drawing App (General Principles)
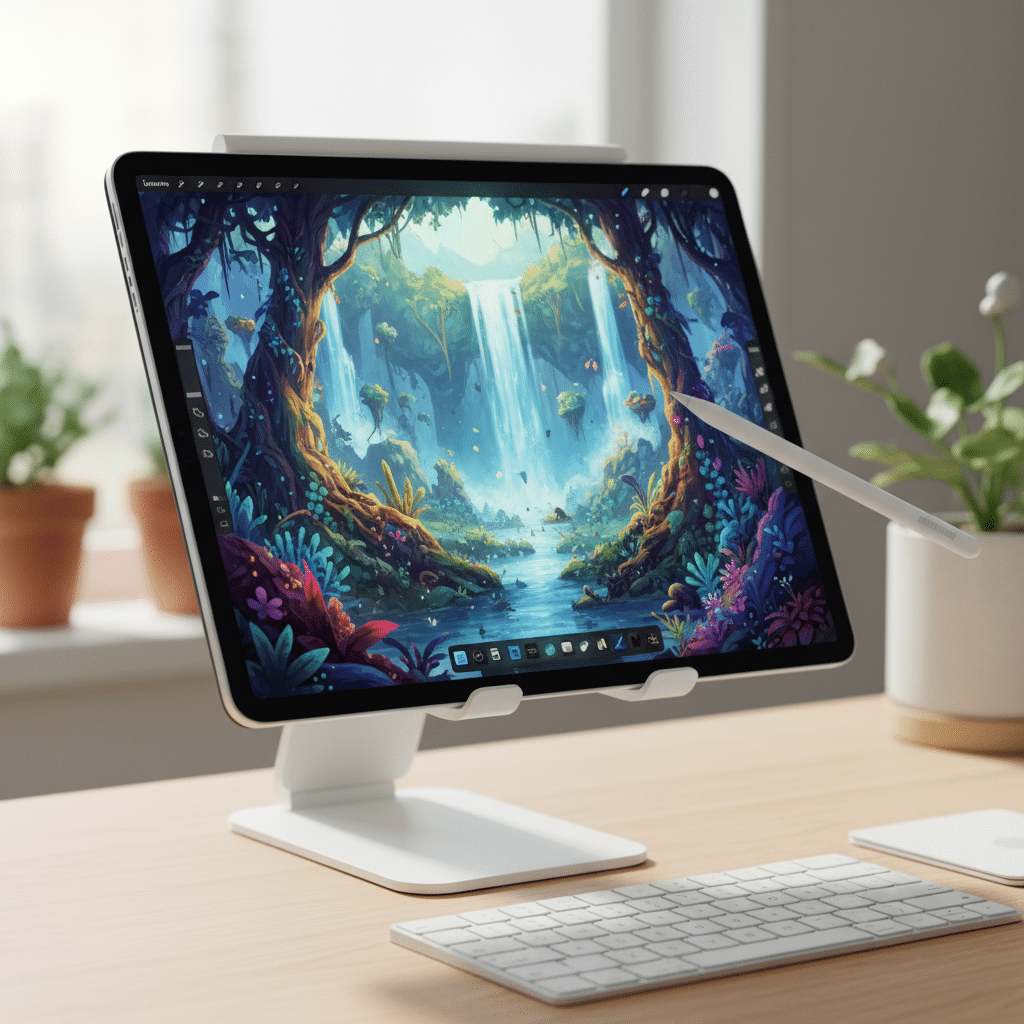
While each app has its unique layout, they all share fundamental concepts. Understanding these will make jumping between apps much easier.
The Interface: Your Digital Workbench
Most drawing apps strive for a clean, minimalist interface to maximize your canvas space. You’ll typically find:
- Toolbar/Menus: Usually along the top or sides, these house essential functions like undo/redo, saving, exporting, and accessing your layers, brushes, and color palettes.
- Brushes: This is where you select your drawing tool – pencils, pens, markers, paintbrushes, textures, etc. Most apps allow you to customize or even create your own brushes.
- Colors: A color wheel, palette, or sliders to pick your hues, saturations, and luminosities.
- Layers: This is a crucial concept we’ll explore next. Think of them as transparent sheets stacked on top of each other.
- Gestures: iPads are all about touch! Learn the app’s gestures for quick actions like undo, redo, zooming, and rotating the canvas.
Understanding Layers: Your Creative Stack
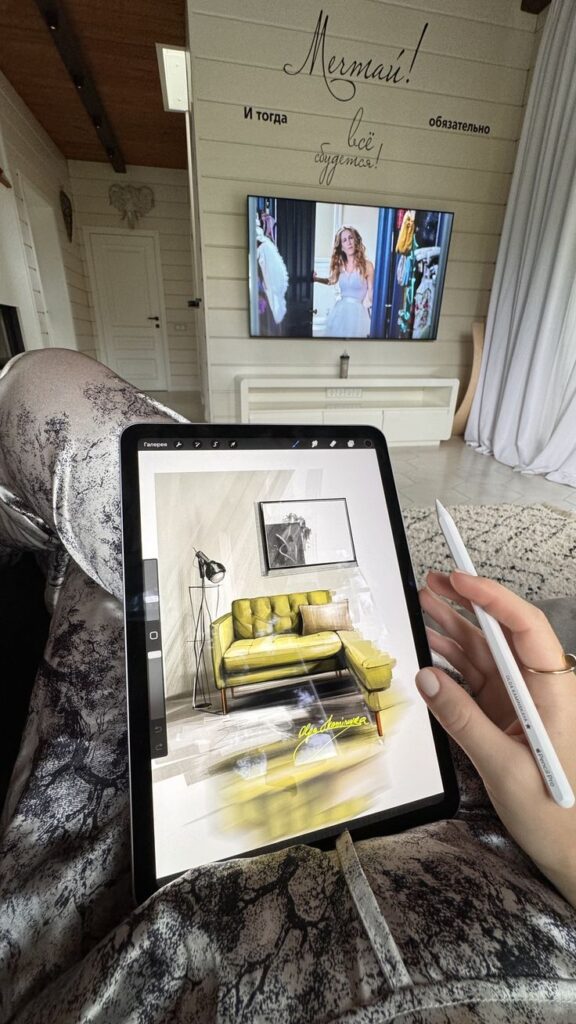
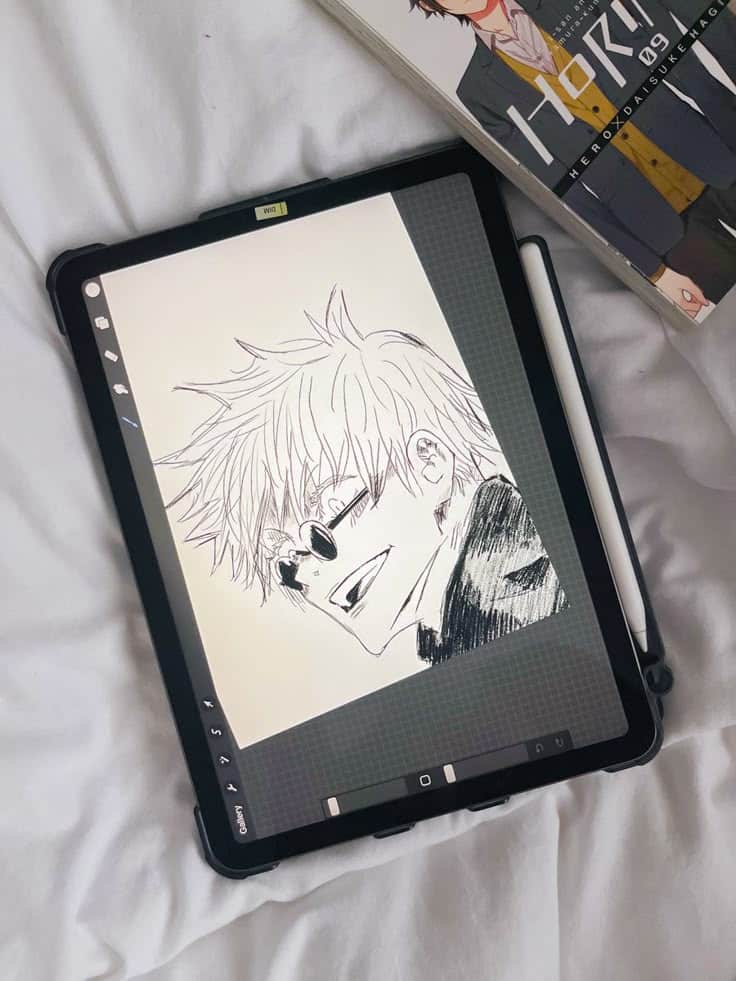
Layers are the bedrock of digital art. Imagine drawing on separate transparent sheets: one for your sketch, another for line art, one for base colors, another for shadows, and so on.
Why are layers so powerful?
- Non-Destructive Editing: You can erase, paint, or adjust an element on one layer without affecting anything on other layers. Mess up your coloring? Just clear that color layer without redoing your line art.
- Flexibility: Easily move, resize, or transform individual elements.
- Organization: Keep your artwork neat and manageable.
- Effects: Apply special effects, blend modes, or adjustments to specific parts of your drawing.
Always aim to separate elements onto different layers, especially as your artwork becomes more complex. It’s a habit that will save you a lot of headaches down the line.
Mastering the Basics of Digital Drawing

Now that you’re familiar with the tools, let’s get into the actual drawing!
Line Art and Sketching
Start with a light, pressure-sensitive brush (like a HB pencil) on a new layer. Don’t aim for perfection immediately. Digital drawing offers infinite undo, so embrace the freedom to sketch loosely.
- Warm-up: Just like with traditional art, do some warm-up exercises. Draw circles, straight lines, wavy lines to get a feel for the Apple Pencil’s response.
- Rough Sketch: Begin with broad strokes, establishing the overall shape and composition. Think of it as mapping out your idea.
- Refine: Create a new layer on top of your rough sketch. Lower the opacity of the rough sketch layer, then use a slightly darker or finer brush to refine your lines, adding more detail and accuracy.
- Final Line Art: Once you’re happy with your refined sketch, you can either continue building on that layer or create another new layer for crisp, clean line art. Experiment with different brush textures – a smooth inker, a textured pencil, a messy charcoal. This is where you truly commit to your outlines.
Understanding Layers (Revisited)
As you sketch and refine, keep layers in mind. Your initial rough sketch might be on Layer 1. Your refined sketch on Layer 2. Your final line art on Layer 3. This way, you can easily turn off or delete Layer 1 and 2 once your line art is solid, leaving you with just the clean outlines.
Coloring and Shading
This is where your art truly comes to life!
- Base Colors: Create new layers below your line art layer. Use solid, flat colors to fill in the main areas of your drawing. Many apps have a “color drop” or “fill” tool that lets you drag your selected color directly onto an enclosed area.
- Shading: Create a new layer above your base color layer, but still below your line art. Set this layer’s blend mode to “Multiply” (or similar, depending on the app) and reduce its opacity slightly. Now, using a darker shade of your base color, or a cool grey/purple, paint in your shadows. Multiply blend mode will darken the colors beneath it in a natural way.
- Highlights: Create another new layer. Set its blend mode to “Screen” or “Add” and use a lighter color to add highlights.
- Experiment: Don’t be afraid to try different blend modes and opacities. Digital art makes it easy to experiment without permanent consequences.
Eraser and Undo/Redo
These are your best friends. The eraser tool often has the same brush options as your drawing tool, allowing for soft or hard erasures. Undo/redo is invaluable. Most apps have intuitive gestures for these (e.g., two-finger tap to undo, three-finger tap to redo in Procreate). Embrace them! They allow you to be fearless in your experimentation. If you are used to traditional paper, the ability to effortlessly start drawing in digital format will feel incredibly liberating.
Gestures and Shortcuts
Spend a little time in your app’s settings or tutorial section to learn its specific gestures and shortcuts. These can dramatically speed up your workflow. For example, in Procreate, holding your finger down after drawing a shape will automatically snap it to a perfect circle or straight line. Learning these little tricks can feel like gaining superpowers.
Beyond the Basics: Elevating Your Art

Once you’re comfortable with the fundamentals, it’s time to explore some advanced techniques that will truly make your art shine.
Reference Images & Import
Don’t draw from memory alone! Importing reference images is a staple of digital art. Most apps allow you to import photos directly onto your canvas (often on a separate layer you can hide or make transparent). This is invaluable for getting proportions right, understanding lighting, or studying textures. Whether you’re trying to master a sports car sketching guide or a complex human pose, references are your friend.
Clipping Masks & Alpha Lock
These are powerful tools for coloring within lines without tedious precision.
- Alpha Lock (or Lock Transparent Pixels): Imagine you have a base color on a layer. If you activate Alpha Lock on that layer, anything you paint will only appear on the existing pixels of that layer. It’s like painting within the lines of your base color automatically.
- Clipping Mask: This allows you to apply a layer of color or texture to another layer, effectively “clipping” it to the content of the layer below. For example, you could have a base color layer for skin, then a new layer above it set as a clipping mask. Any shadows or blush you paint on the clipping mask layer will only show up where the skin base layer exists. This is incredibly versatile for adding textures, patterns, and complex shading without going outside the lines.
Text and Typography
Many drawing apps, especially Procreate, allow you to add text. This is great for comics, adding signatures, or creating design elements. You can often customize fonts, sizes, colors, and even apply effects to your text.
Animation (Briefly)
Some advanced apps like Procreate even offer simple animation features, allowing you to create short, frame-by-frame animations right on your iPad. It’s a fantastic way to bring your illustrations to life, even if it’s just a blinking eye or a wiggling tail.
Exporting Your Artwork
Once your masterpiece is complete, you’ll want to share it! Apps offer various export options:
- Image Formats: JPEG (smaller file size, good for web), PNG (supports transparency, higher quality), TIFF (high quality, larger file size).
- Layered Files: PSD (Photoshop document) allows you to open your artwork with all its layers intact in other programs. This is great for further editing or collaboration.
- Time-lapse Video: Many apps, Procreate especially, can automatically record a time-lapse of your entire drawing process. These are fantastic for sharing on social media!
Tips and Tricks for iPad Artists

Even with the best tools, a few smart habits can supercharge your artistic growth.
Practice Regularly
Consistency is key. Even 15-30 minutes a day can make a huge difference. Don’t feel pressured to create a masterpiece every time; sometimes just doodling or trying a new brush is enough. The more you use your Apple Pencil, the more natural it will feel.
Watch Tutorials
The internet is a treasure trove of free tutorials. YouTube is packed with “Procreate for Beginners,” “iPad Drawing Tips,” and specific guides on everything from body drawing tutorials to painting landscapes. Watch artists at work, replicate their techniques, and absorb their wisdom.
Experiment with Brushes
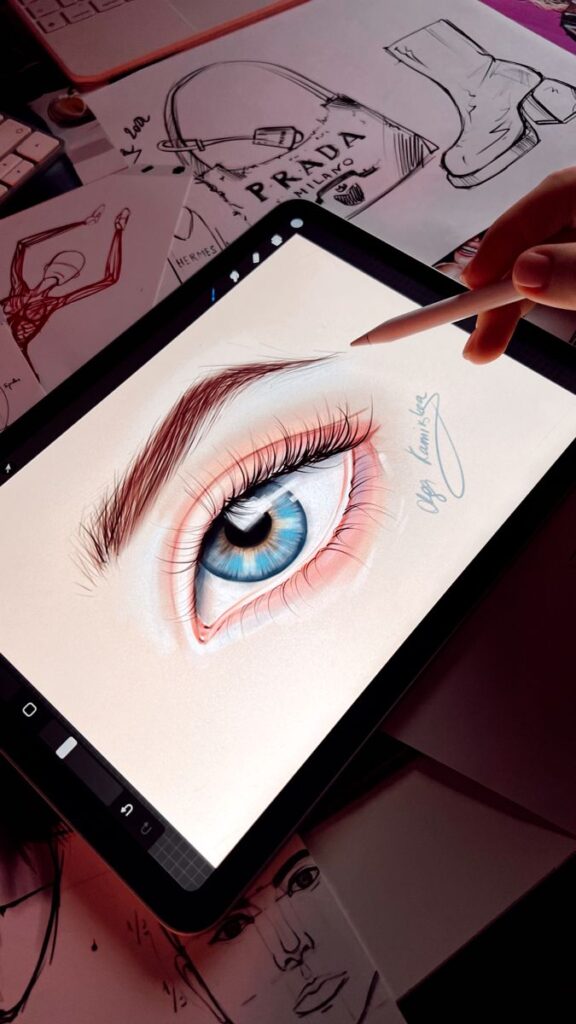
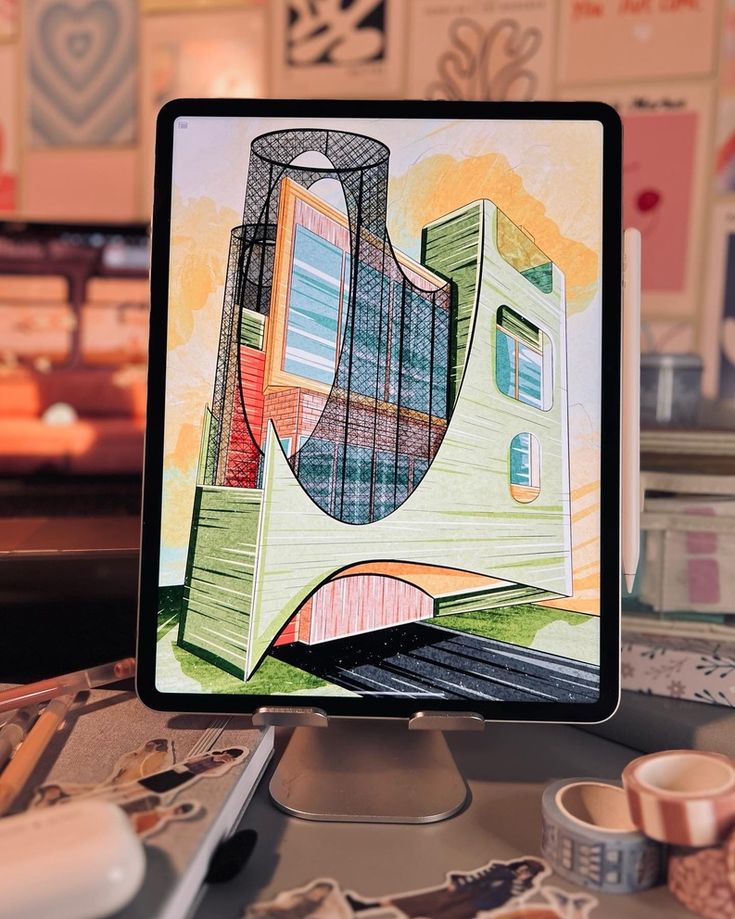
Don’t stick to just the default pencil. Explore the massive brush libraries in your chosen app. Try texture brushes, watercolor brushes, oil brushes, splatter brushes. See how they interact with different colors and blend modes. You can even download or create your own custom brushes. Each brush has its own personality, and discovering them is part of the fun.
Join Online Communities
Platforms like Instagram, Reddit (r/Procreate, r/DigitalArt), and DeviantArt are full of incredible iPad artists. Share your work, get feedback, ask questions, and be inspired by others. Learning to create a beautiful and organized learning workspace can also help foster a sense of community and dedication. It’s a great way to stay motivated and feel connected to the larger art world.
Take Breaks
Staring at a screen for too long can lead to eye strain and creative fatigue. Step away, stretch, look at something green, or even do something completely unrelated for a bit. Fresh eyes often spot mistakes or spark new ideas you might have missed.
Protect Your Screen
A good screen protector, especially a matte one, can not only protect your iPad but also enhance the drawing experience. Matte screen protectors add a slight “tooth” or texture, making the Apple Pencil feel more like drawing on paper and reducing glare.
Common Challenges and How to Overcome Them


Every artist faces hurdles, but with digital tools, some are unique.
“Blank Canvas Syndrome”
That intimidating white rectangle can be paralyzing.
- Solution: Don’t start with a masterpiece in mind. Start with a doodle. Open a reference image and simply try to replicate a small part of it. Set a timer for 10 minutes and just draw anything. The goal is to break the ice.
- Solution: Use prompts. Search for “daily drawing prompts” online or pick a random object around you.
Technical Glitches
Apps crash, files corrupt, or your Apple Pencil misbehaves.
- Solution: Save often! Most apps autosave, but a manual save before a big change is always wise.
- Solution: Back up your artwork regularly. Export finished pieces to cloud storage (iCloud, Dropbox, Google Drive) or an external hard drive.
- Solution: If an app is buggy, try restarting your iPad. Ensure both your iPadOS and drawing app are up to date.
Creative Blocks
Feeling uninspired or stuck on a project.
- Solution: Step away. Work on a different project or take a break from art entirely.
- Solution: Consume other art. Visit a museum (online or in person), browse art books, or look through graphic design magazines for fresh perspectives.
- Solution: Experiment wildly. Try a new brush, a completely different color palette, or draw something you’d never usually attempt. Sometimes a drastic change is all it takes to jolt creativity.
Burnout
Working too hard, too long, without breaks can lead to exhaustion.
- Solution: Prioritize rest. Art should be enjoyable, not a chore.
- Solution: Vary your activities. If you’ve been working on detailed illustrations, switch to loose sketches or even try a different creative outlet for a while.
- Solution: Set realistic goals. Don’t expect to finish an intricate piece in one sitting. Break it down into smaller, manageable tasks.
Your Journey as an iPad Artist: What’s Next?
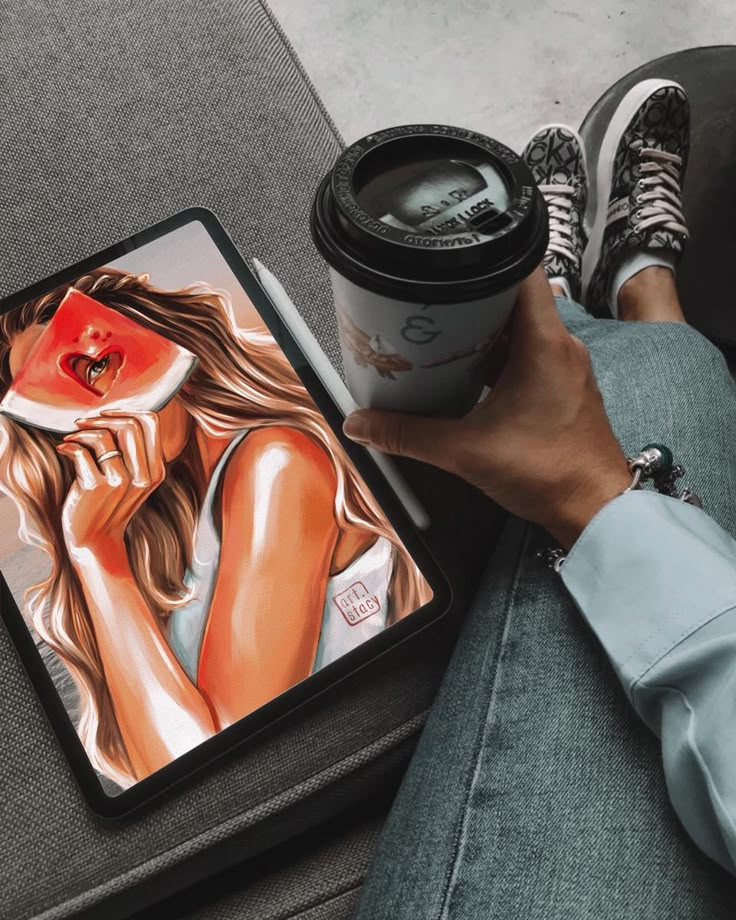
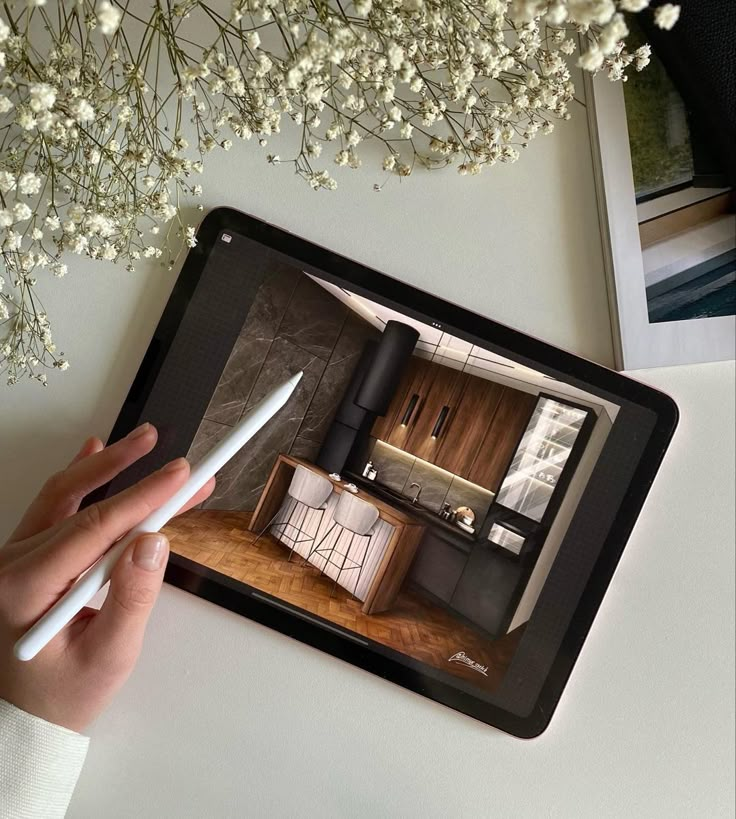
So you’ve embraced your iPad, mastered the basics, and tackled some challenges. What’s next for your artistic adventure?
Sharing Your Art
Don’t keep your creations hidden! Sharing your art is a powerful motivator and a way to connect with others. Post on social media, join art forums, or even start a small blog. Receiving feedback (both positive and constructive) can be incredibly valuable for growth. Remember, every artist starts somewhere, and sharing your journey is part of the process.
Continuous Learning
The world of digital art is constantly evolving. New apps, features, and techniques emerge regularly. Keep experimenting, keep watching tutorials, and keep pushing your boundaries. Maybe you’ll dive into animation, explore 3D modeling on your iPad, or integrate your digital art with traditional mediums.
The most important thing is to enjoy the process. The iPad offers an unparalleled platform for creative expression. It’s accessible, versatile, and incredibly fun.
Conclusion

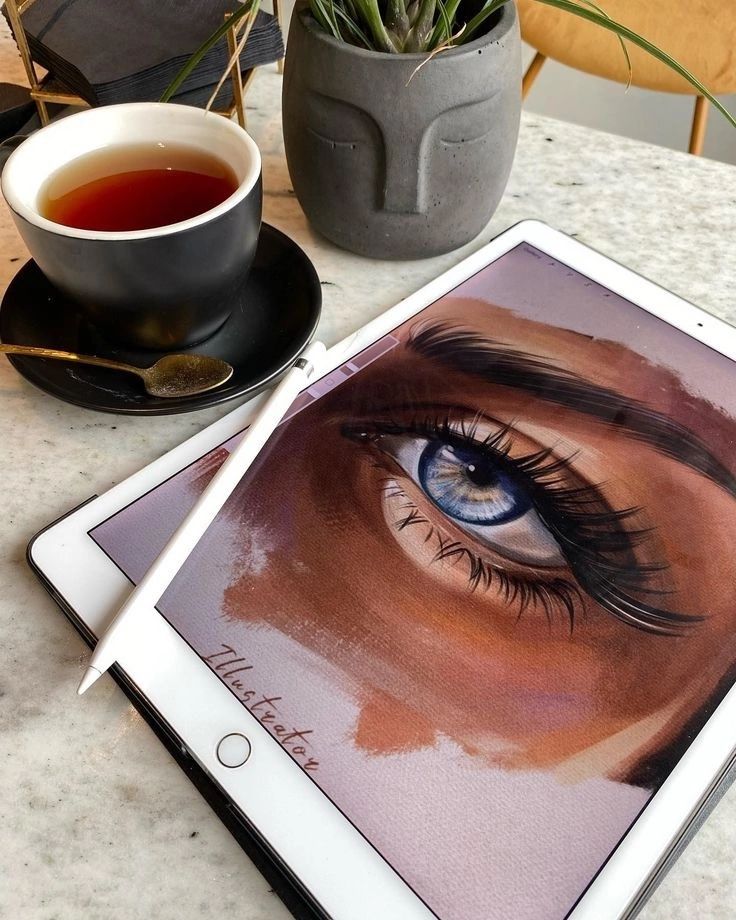
You’ve just taken your first big step into the exciting world of digital art with your iPad. We’ve covered everything from choosing the right gear and understanding your apps to mastering fundamental techniques and overcoming common artistic hurdles. The iPad, coupled with the Apple Pencil, is truly a revolutionary tool, transforming the way artists create and share their visions.
Remember, art is a journey, not a destination. There will be good days and challenging days, but every stroke, every color choice, and every finished piece adds to your unique artistic voice. So don’t hesitate, pick up your Apple Pencil, open your favorite drawing app, and start making some magic. Your inner artist is ready to be unleashed – what will you create first?
- 0shares
- Facebook0
- Pinterest0
- Twitter0
- Reddit0
