Ever wanted to sketch out a charming little dwelling but felt a bit intimidated by the blank page? You’re not alone! Drawing a house might seem like a big deal, but it’s actually one of the most rewarding and fundamental exercises for anyone dipping their toes into the world of art. Think of it as your artistic training wheels – it helps you get comfortable with basic shapes, perspective, and adding details that truly bring a picture to life. No need for a fancy art degree or a studio full of expensive supplies. All you need is a pencil, some paper, and a willingness to have a little fun. This guide is designed to break down the process into five super easy, step-by-step actions, transforming that intimidating blank space into a cozy home right before your eyes. By the time you’re done, you’ll not only have a lovely house drawing but also a boosted sense of confidence in your drawing abilities. Let’s get sketching!
1. Laying the Foundation: The Mighty Rectangle
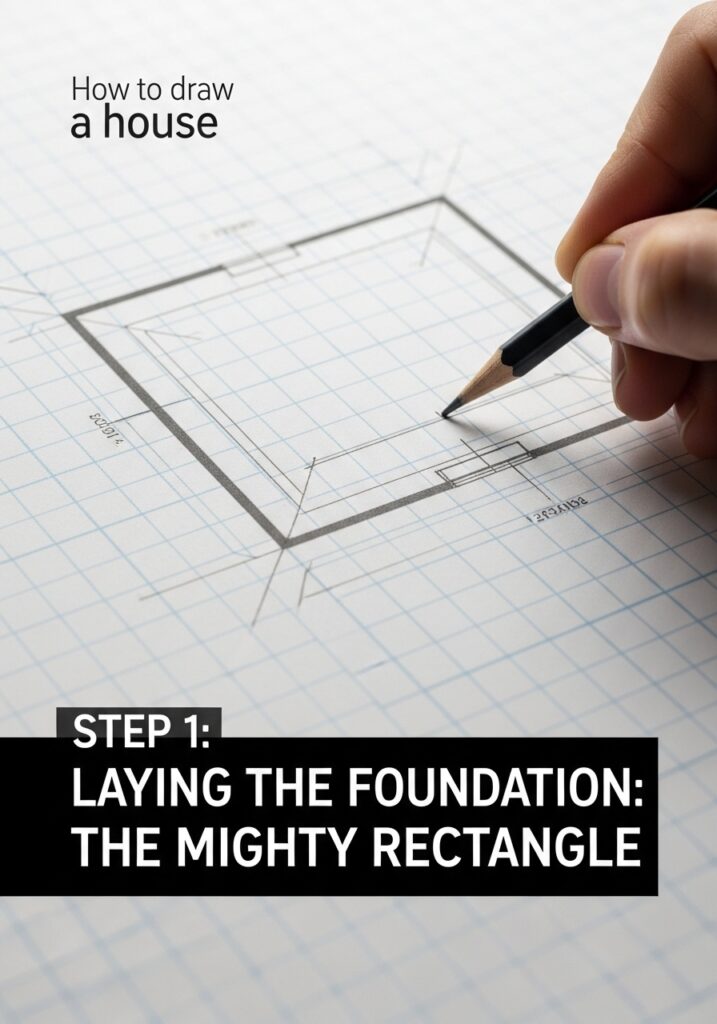
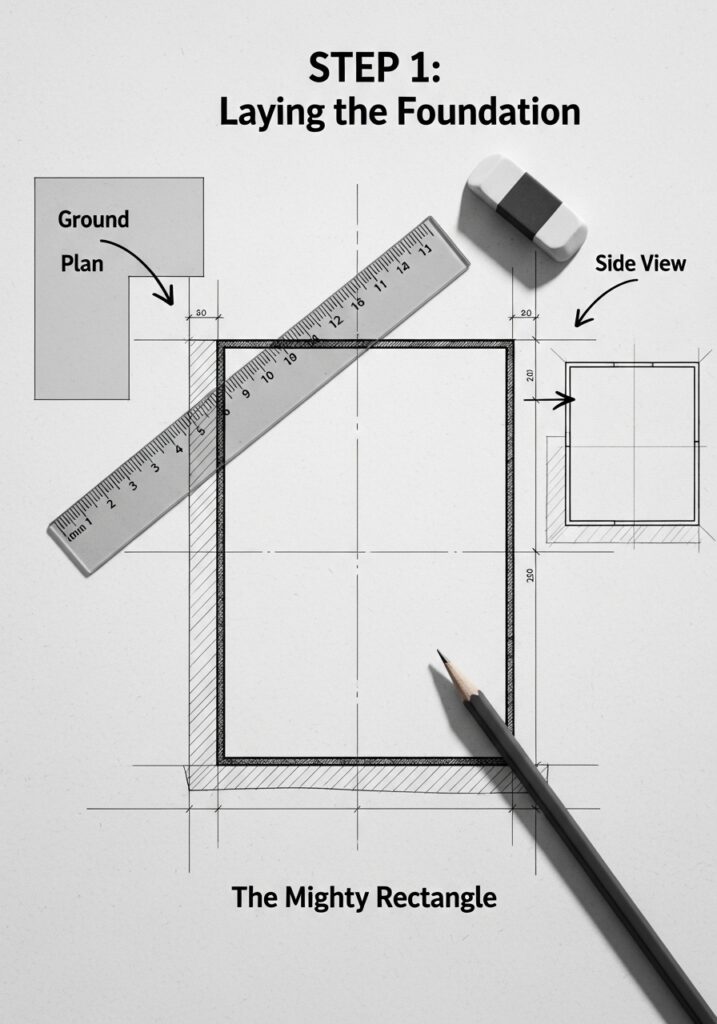
Every great house, whether it’s a grand mansion or a quaint cottage, starts with a solid foundation. In the world of drawing, this foundation begins with the humble rectangle. This isn’t just any rectangle; it’s the core structure, the main wall of your future home. Getting this first step right is crucial because it dictates the overall proportion and size of your house. Don’t worry about perfection just yet – we’re going for a relaxed, enjoyable process here.
Start with a Light Hand
Grab your pencil and start by drawing a simple rectangle on your paper. It’s best to use a light hand at this stage. Why? Because these are your guide lines. You might need to erase and adjust them a few times, and lighter lines are much easier to rub out without leaving messy indentations. Think of it as sketching the skeleton of your house. You want the lines to be straight, but a little wobble here and there is perfectly fine – it adds character!
Proportions Matter (But Don’t Stress!)
Before you commit, take a moment to consider the overall shape. Do you envision a tall, narrow house, or a wide, sprawling one? The dimensions of your initial rectangle will set this tone. A good rule of thumb for a simple house is to make it slightly wider than it is tall, giving it a grounded, stable appearance. However, feel free to experiment! This is your house, so make it look how you want. If you find yourself struggling to draw perfectly straight lines, don’t be shy about using a ruler. Seriously, even seasoned artists use tools when needed. The goal is to learn and enjoy, not to prove you can draw freehand flawlessly on your first try.
Adding Depth with More Rectangles
Once you have your primary rectangle, you can start thinking about adding more depth. Most houses aren’t just one flat wall.
- Side Wall: To give your house a three-dimensional look, you can add another rectangle extending back from one side of your main rectangle. Imagine it as the side wall of the house. This second rectangle should be slightly shorter and connect to the corners of your first. Think of it like drawing a simple box. This technique immediately makes your drawing pop off the page and look more substantial.
- Attached Garage or Extension: Want a larger house? Draw another, smaller rectangle next to your main one, connected at one side. This could be an attached garage, a sunroom, or another wing of the house. This simple addition instantly makes your drawing more complex and interesting without actually being difficult.
- Overlapping Rectangles: You can even have rectangles overlap slightly to suggest different sections of the house at varying distances or angles. This is a subtle trick that adds a lot of visual interest and makes your house feel more dynamic.
Tips for Success in this Step
- Practice Lines: If your lines are wobbly, take a moment to practice drawing straight lines on a separate piece of paper. Focus on moving your entire arm, not just your wrist.
- Observation: Look at real houses around you or in pictures. Notice their basic rectangular forms. This helps train your eye.
- Keep it Light: We can’t stress this enough. These are foundational lines. They’ll be refined or erased later.
By the end of this step, you should have a basic boxy structure that clearly outlines the main body of your house, ready for the next exciting addition: the roof! This is where your drawing really starts to feel like a home.
2. Capping It Off: The Perfect Roofline
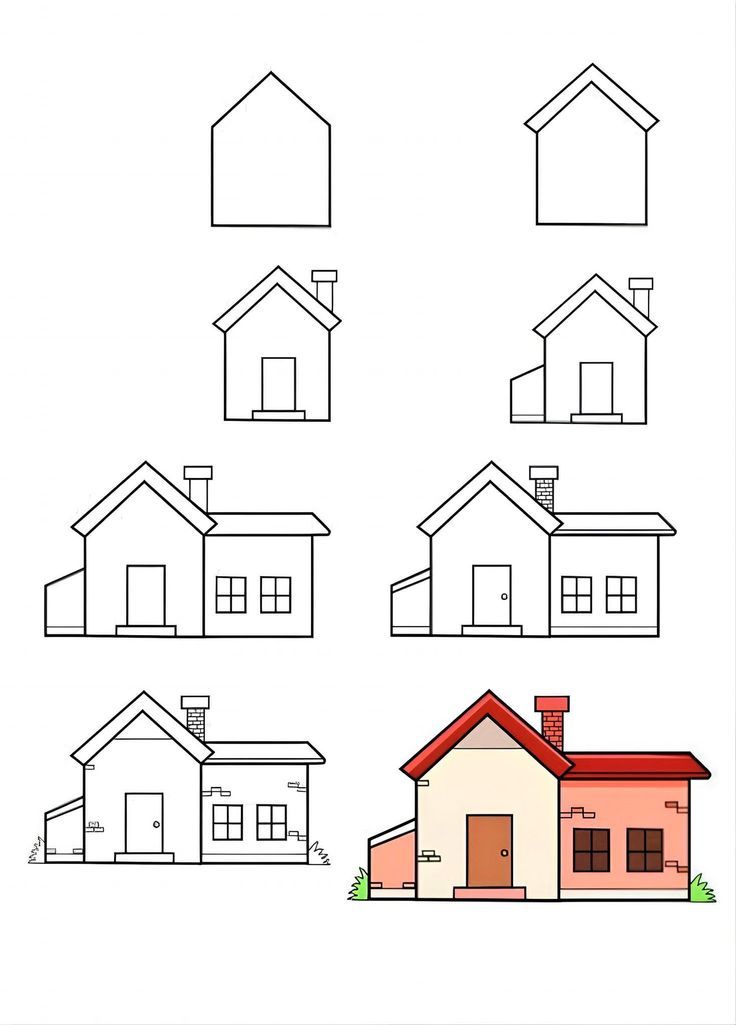
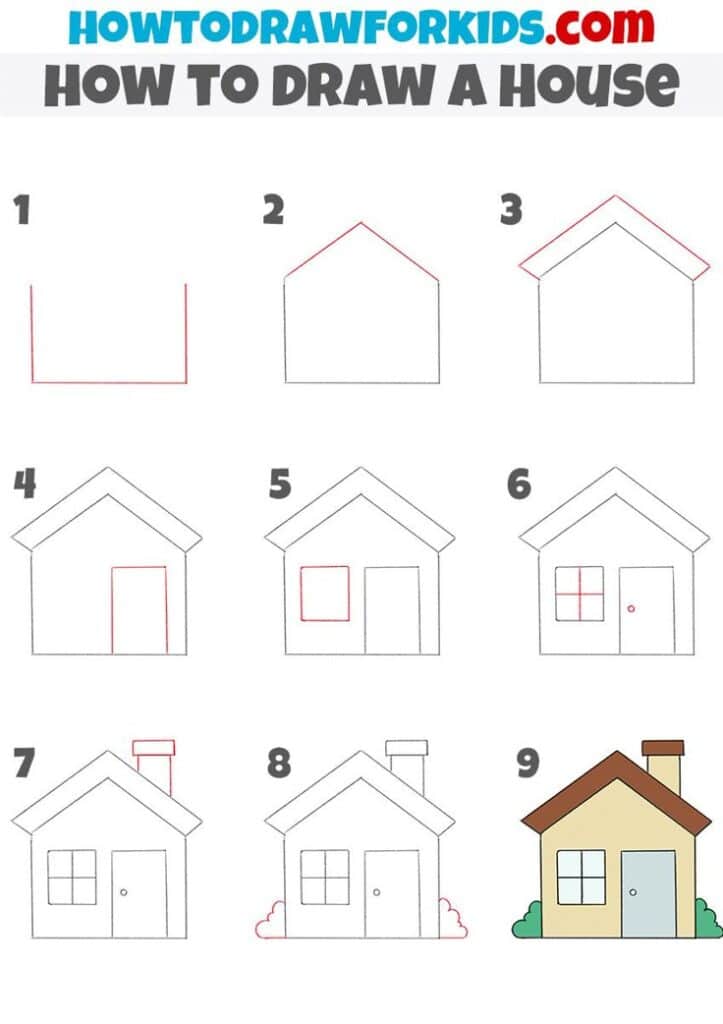
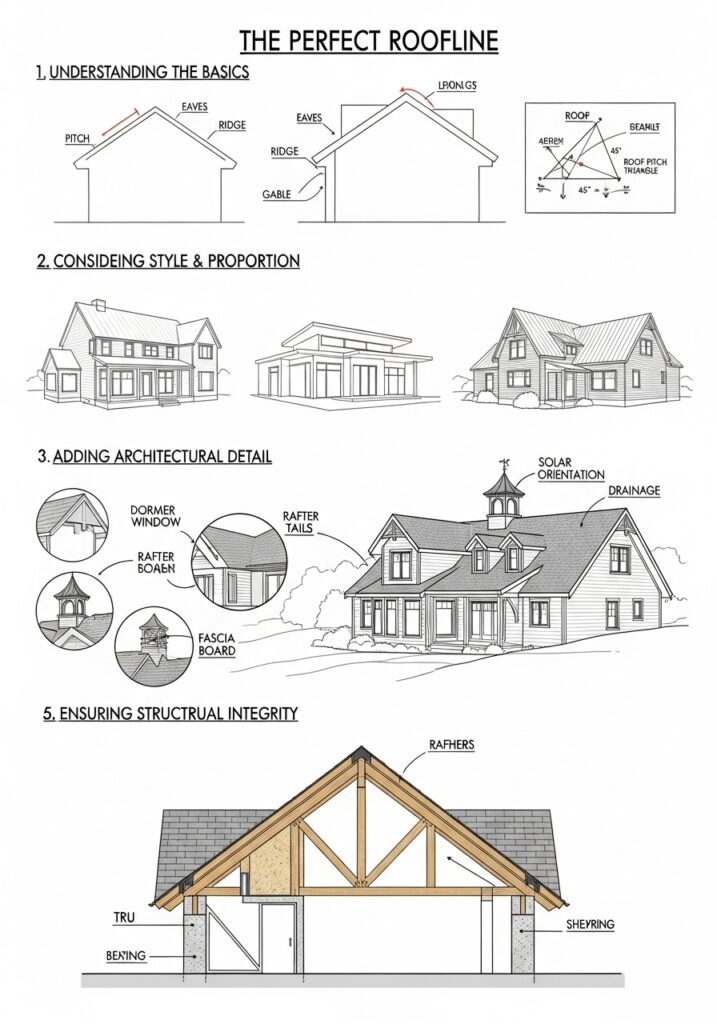
Once your sturdy rectangular base is in place, it’s time to give your house its crowning glory: the roof. The roof isn’t just a functional part of a house; it’s a huge contributor to its overall character and aesthetic. Think about it – a classic cottage has a steep, charming roof, while a modern home might boast a flat, minimalist one. For our simple house, we’ll start with the most common and easily recognizable type: the gable roof.
Building the Classic Gable Roof
A gable roof is that iconic V-shape you probably picture when someone says “house.” It’s incredibly straightforward to draw.
- Find the Center: Go to the top line of your main rectangle (the front wall you drew). Find the exact center point of this line. You can do this by eye, or lightly measure it with your ruler if you want to be precise. Mark this point with a tiny dot.
- Draw the Slopes: From the top-left corner of your main rectangle, draw a diagonal line upwards, aiming for that center dot you just marked. Do the same from the top-right corner, connecting it to the same center point. Voila! You have the basic triangular shape of your gable roof.
- Add Overhangs: Now, for a touch of realism, extend those diagonal roof lines slightly past the side walls of your rectangle. This creates the eaves, or overhangs, which protect the walls from rain and add architectural detail. Then, draw short vertical lines down from these extended points to connect them with the top corners of your side walls (if you drew a 3D box). This small detail makes a huge difference in how “real” your house looks.
Giving the Roof Thickness and Dimension
A flat, single-line roof can look a bit flimsy. Let’s give it some structural integrity.
- Parallel Lines: Go back to your first diagonal roof line. Draw a second line slightly above and parallel to it. This new line represents the thickness of the roof. Do the same for the other side of the gable.
- Connect the Peaks: Connect the peak of your original roof to the peak of your new, thicker roof with a short vertical line. This simple addition instantly gives your roof a much more robust, three-dimensional feel.
- Side Roof (for 3D houses): If you drew a side wall (another rectangle extending back), you’ll need to draw a roof for that section too. This is often a diagonal line that extends from the back corner of your gable roof’s peak, sloping down towards the back top corner of your side wall. Imagine it connecting seamlessly to your main roof, creating that realistic sense of depth.
Exploring Other Roof Types (Briefly)
While the gable is great for beginners, it’s fun to know there are other options for future drawings:
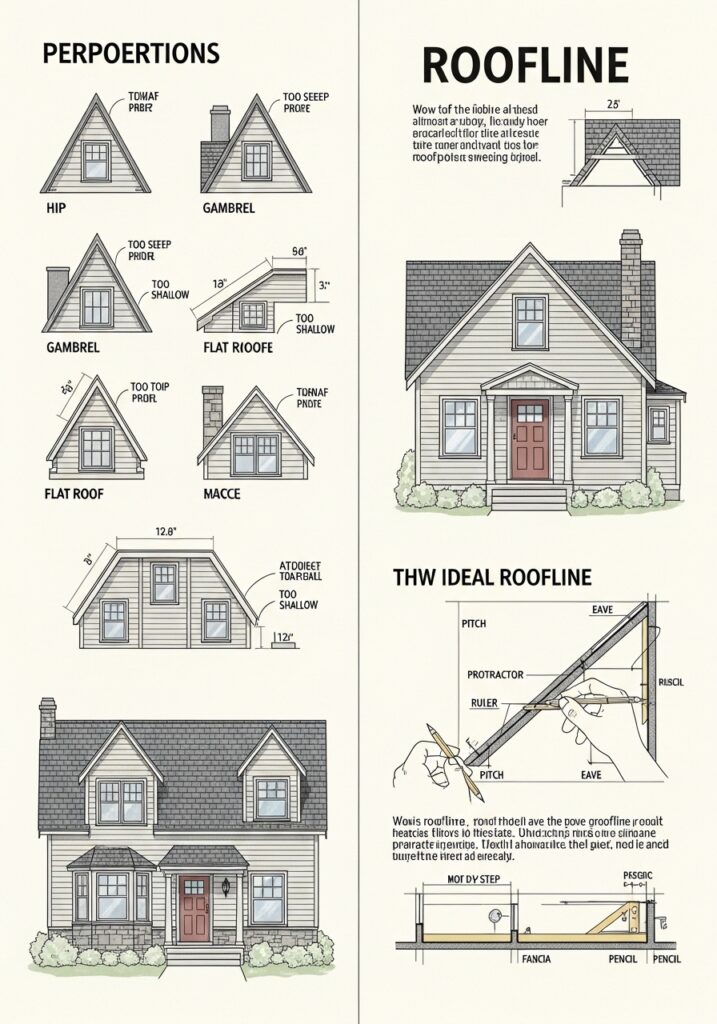
- Hip Roof: Instead of a simple triangle, a hip roof has slopes on all four sides of the house, meeting at a ridge. This creates a more complex, often grander look.
- Flat Roof: As the name suggests, this is a flat top. Super simple to draw – just extend the top line of your rectangle. Common in modern designs but less “charming” for a basic house.
- Gambrel or Mansard Roofs: These have multiple slopes on each side, offering more attic space and a distinctive, often rustic or European look. Think barns or classic French architecture.
Roof Tips for that Extra Sparkle
- Consistency: Make sure the angles of your roof slopes are consistent on both sides, unless you’re intentionally drawing a asymmetrical design.
- Strong Lines: Once you’re happy with your roof, you can press a little harder to make these lines stand out.
- Think About the Weather: How does the roof interact with the sun or rain? Imagining this can help you decide on the right overhangs and eventual shading.
Mastering the roof transforms your box into something distinctly architectural. It’s like putting the hat on your house, giving it personality and shelter.
3. Bringing in the Light: Doors and Windows
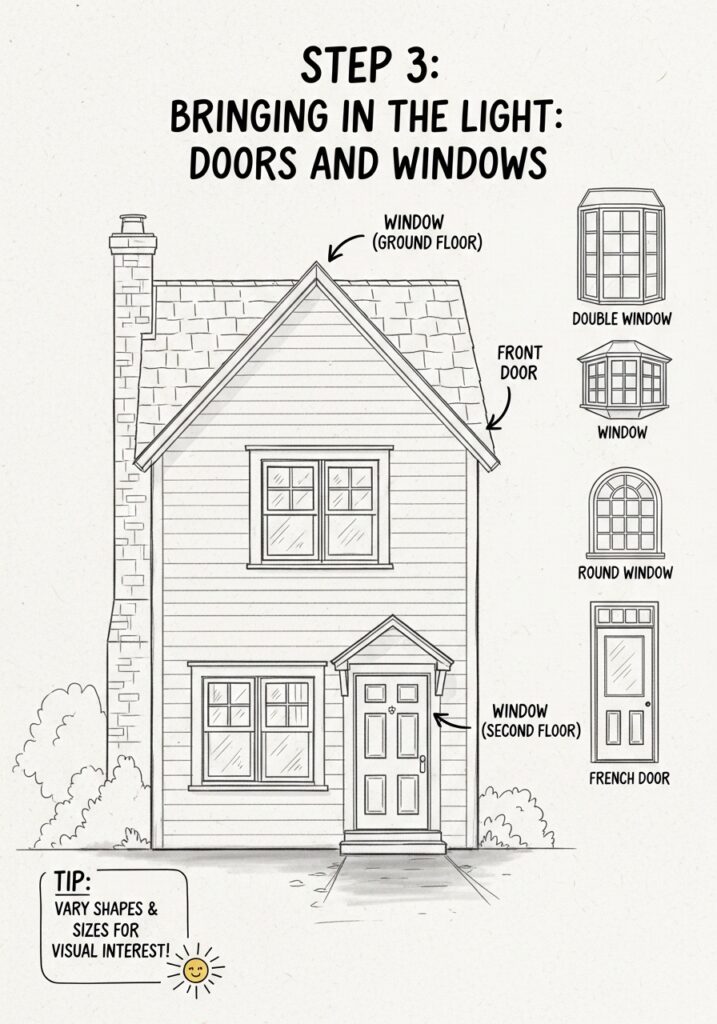
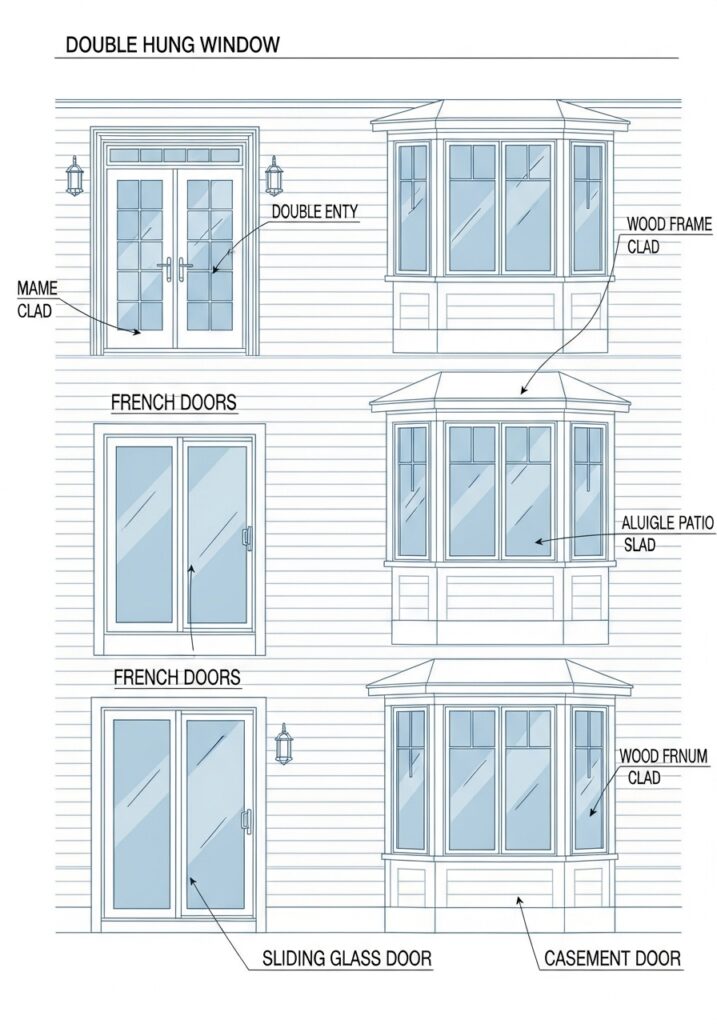
Now that your house has a body and a hat, it’s time to open it up to the world! Doors and windows are the “eyes” and “mouth” of your house, inviting light, offering views, and welcoming visitors. They are crucial for giving your drawing character and making it feel like a lived-in space.
The Welcoming Door
The front door is usually the focal point of the front of the house.
- Placement: Most commonly, the door is centered on the front wall of your main rectangle, but it can also be placed slightly off-center for a more unique look.
- Shape: Start with a simple rectangle for the door itself. Make sure it’s tall enough for a person to walk through comfortably (again, proportion!).
- Details: Add a small circle or square for the doorknob. You can draw a few vertical or horizontal lines within the door rectangle to suggest panels, giving it more texture and depth. For a really simple door, just the rectangle and a doorknob are enough.
- Porch or Steps: To make the entrance more inviting, draw a simple rectangle in front of the door for a small step or porch. This immediately adds a sense of welcoming.
The Eyes of the House: Windows
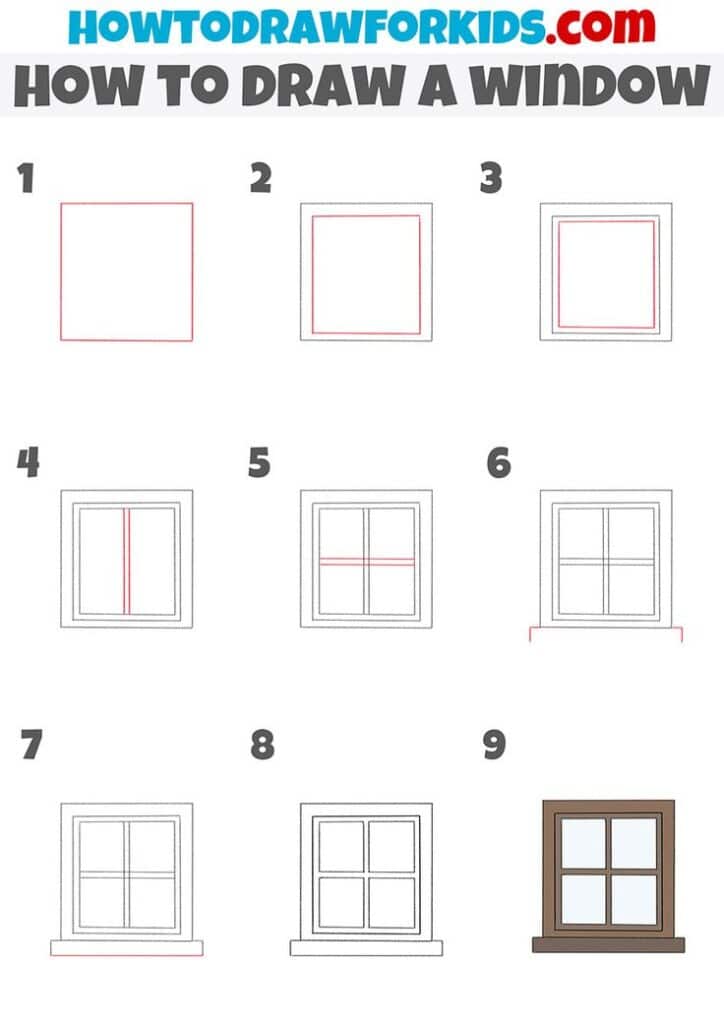
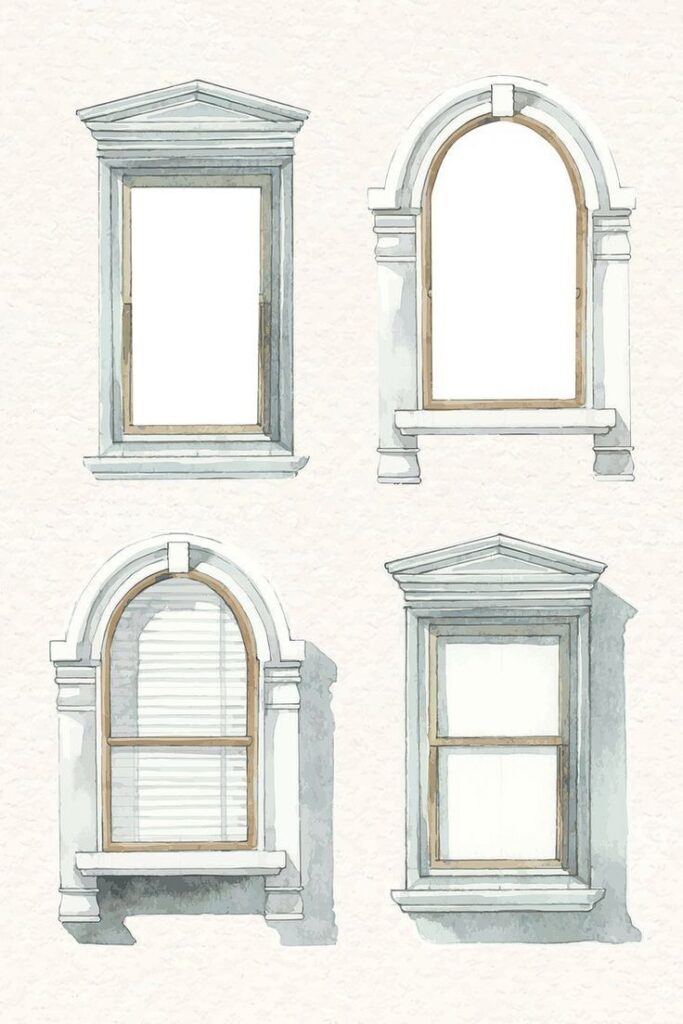
Windows come in all shapes and sizes, and you can play with them to define your house’s style.
- Basic Shapes: Start with simple squares or rectangles for your windows. Place them thoughtfully on the front and side walls. Think about symmetry: two windows on either side of the door, or a single large window.
- Window Panes: To make a window look like a window, add a cross shape (+) inside the rectangle. This divides it into four panes. For more modern windows, you might just have one or two horizontal lines.
- Sills and Frames: Draw a thin rectangle around the window for the frame, and a slightly wider, flatter rectangle directly underneath for the windowsill. These small details really help the windows stand out.
- Shutters: For a charming, classic look, draw two narrow vertical rectangles on either side of your windows. These are your shutters! They can be open or closed, adding a touch of rustic appeal.
- More Complex Windows: Feeling confident? Try a simple bay window by drawing three rectangles that jut out slightly from the main wall, with the middle one being wider than the two angled side ones. Or, draw an arched top to a window for a touch of elegance.
Garages and Other Openings
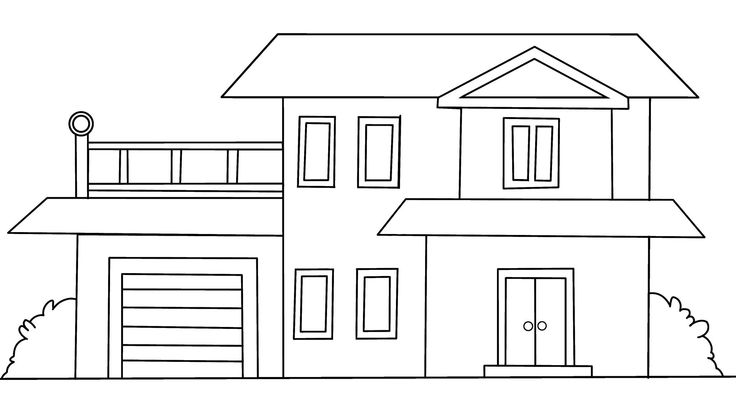
If your house has an attached garage, drawing it is similar to drawing a very wide, short door.
- Garage Door: Draw a large rectangle on your garage extension. Most garage doors have horizontal panels, so add a few evenly spaced horizontal lines across it.
- Garage Windows: Sometimes garages have small, high-set windows. These are usually simple squares or rectangles.
Proportion and Balance
The key to successful doors and windows is proportion. They should look like they belong to the house.
- Are the windows too big, making the house look like it’s all glass?
- Is the door too small, making it seem like a hobbit hole?
Take a step back and look at your drawing. Do the doors and windows feel balanced and appropriate for the size of your house? Adjust with your light pencil lines until they feel just right. This careful placement and detailing are what transform a mere structure into a welcoming abode. Speaking of a welcoming abode, understanding the different aesthetics of an English cottage or any other specific architectural style can really inspire how you detail these elements, from window types to door designs. It’s all about creating a harmonious look!
4. The Finer Touches: Chimneys, Pathways, and Landscaping
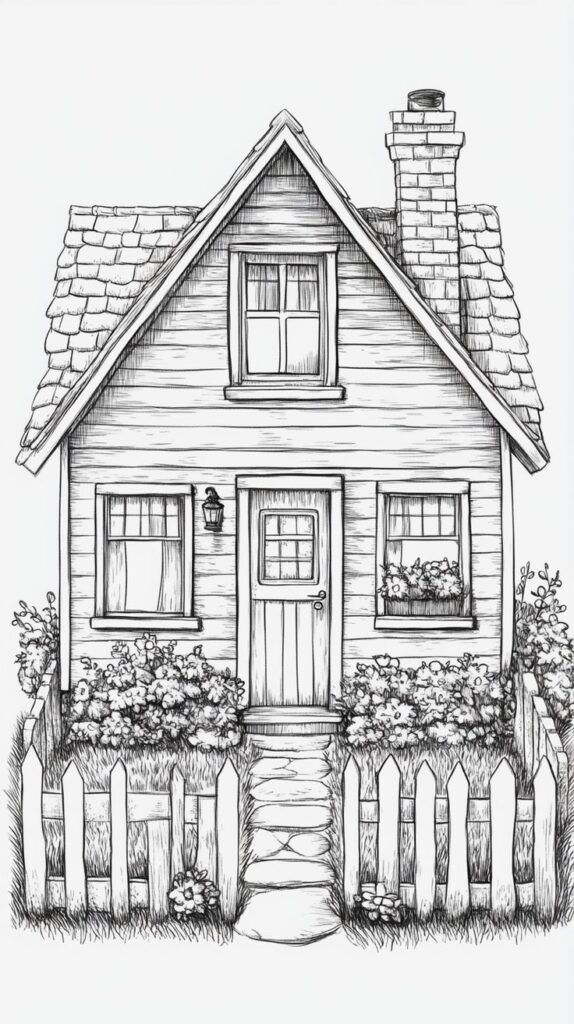

Your house now has its basic form, a roof, and openings. It’s looking good! But what truly transforms a basic structure into a cozy, lived-in home are the smaller, delightful details. These “finer touches” add personality, tell a story, and ground your house in its environment. This is where your imagination can really start to take flight!
A Puff of Warmth: The Chimney
Adding a chimney is a classic way to make your house feel warm and inviting, even if it’s just a drawing.
- Placement: Typically, chimneys are placed on the roof, often near the peak or along one of the slopes. For a simple house, draw a rectangle rising from the roof. Make sure it looks sturdy and proportional to your house.
- Dimension: To give it a 3D look, draw a second, narrower rectangle on the side of your first, extending back slightly. Connect the top and bottom corners.
- Flue: On top of the chimney, draw a smaller, even narrower rectangle or a simple line to represent the opening where smoke would emerge.
- Brick Texture (Optional): For an added touch, you can lightly sketch small horizontal and vertical lines to suggest individual bricks on the chimney.
The Welcome Mat: Pathways and Driveways
A house needs a way for people (and cars!) to approach it.
- Pathways: From your front door, draw two lines that converge slightly as they extend towards the bottom of your page. This creates a sense of perspective, making the path seem like it’s stretching into the distance.
- Texture: You can add small, irregular shapes for stepping stones, or light horizontal lines to suggest paving slabs. For a gravel path, use small dots and squiggles.
- Driveways: For a garage, draw wider, converging lines that lead off the page. Add a few light, dashed lines down the middle to simulate a cracked asphalt or concrete look.
Giving Your House a Home: Landscaping
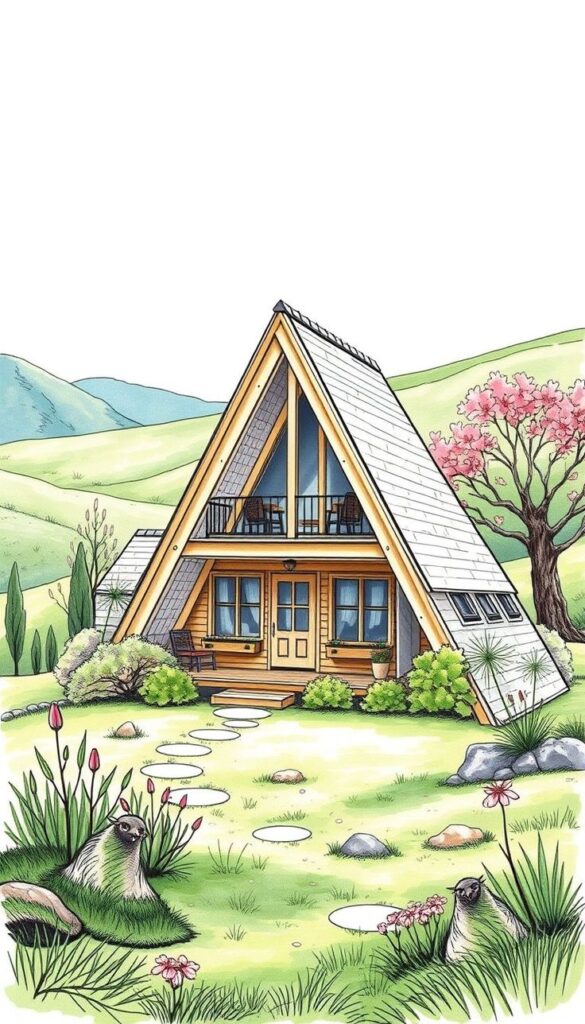
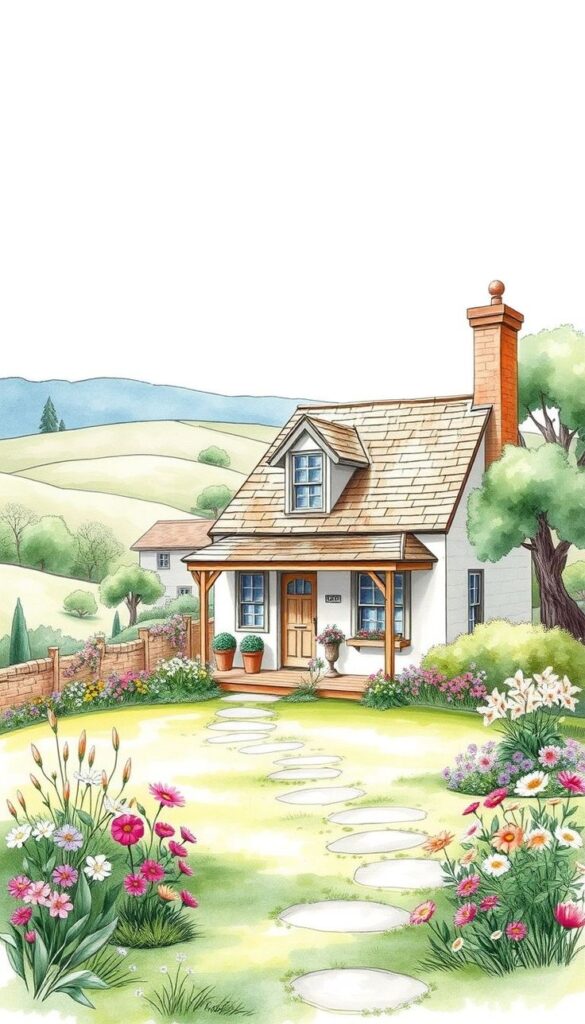
This is perhaps the most fun part of adding details – surrounding your house with nature! Landscaping makes your house feel like it’s part of a bigger world, not just floating in space.
- Grass: Start by drawing a wavy or slightly uneven line at the very bottom of your house, indicating where the ground meets the foundation. Then, fill in the area below with light, short vertical strokes to suggest grass.
- Trees:
- Simple Trees: The easiest way to draw a tree is a simple “lollipop” shape – a vertical rectangle for the trunk and a large, rounded cloud-like shape for the foliage.
- More Detail: For more advanced trees, vary the shape of the canopy (some are wider, some are taller) and add a few visible branches peeking out from under the leaves.
- Bushes and Shrubs: Draw rounded, irregular shapes near the base of the house or along the pathway. These add depth and soften the harsh lines of the architecture.
- Flowers: Near the door or under windows, draw tiny circles, ovals, or squiggly lines to represent flower beds. A few small stems add to the effect.
- Fences: If you want a fence, draw a series of vertical lines (posts) connected by one or two horizontal lines. You can add pointed tops to the posts for a picket fence look.
- Contextualizing: Think about the overall scene. Is your house in a suburban neighborhood, or a vast countryside? Adding distant hills, a few clouds in the sky, or even a simple sun can drastically change the mood of your drawing. For those looking for diverse inspiration, checking out 15 charming cottage home design ideas can spark creativity for these external elements, showing how different styles incorporate unique landscaping and details. And if you’re ever looking for more ideas to make your outdoor spaces truly shine, consider exploring ways to reinvent your home’s landscaping—even in a drawing, these principles can guide your aesthetic choices.
Beyond the Basics: Even More Details
- Window Boxes: Small rectangles under windows, filled with tiny flowers.
- Mailbox: A small post with a box on top near the path.
- Porch Swing: If you added a porch, a simple swing hanging from the roof.
- Curtains/Blinds: Light vertical or horizontal lines inside the windows.
These small additions are where your house truly starts to become a unique home. They provide context, add visual interest, and invite the viewer to imagine the life within its walls. Don’t be afraid to add your own personal touches – that’s what makes it your drawing!
5. Bringing it to Life: Color, Shading, and Mood
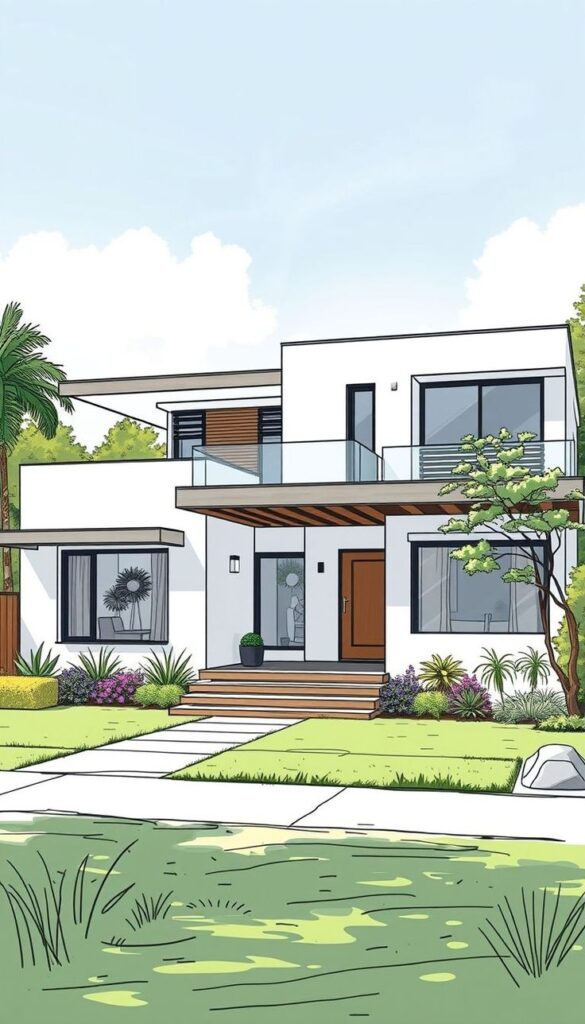

You’ve built your house, added its features, and surrounded it with charming details. Now comes the magical part: making it truly come alive with color, shading, and an overall sense of mood. This is where your drawing transcends lines on paper and becomes a vibrant scene.
The Clean Canvas: Erasing Guide Lines
Before you reach for your colors, take a moment to clean up your drawing. Gently erase any construction lines or stray marks that are no longer needed. You want the final lines of your house to be clear and crisp. Use a kneaded eraser if you have one, as it lifts pencil marks without damaging the paper or leaving crumbs.
Color Choices: Setting the Scene
Color is powerful. It can make your house feel cheerful, serene, cozy, or even a little mysterious.
- Think about the overall mood: Do you want a bright, sunny summer house? Use light blues, yellows, and greens. A warm, autumnal retreat? Think burnt oranges, deep reds, and earthy browns.
- Wall Colors: Consider classic brick red, crisp white, cozy cream, or even a soft pastel.
- Roof Colors: Often darker – grays, browns, or deep greens are common.
- Door and Window Frames: These can be contrasting colors to make them pop, or complementary to blend in. A brightly colored door can be a lovely focal point!
- Landscaping Colors: Vary your greens for trees and grass to add natural dimension. Use pops of color for flowers.
- Experiment: Don’t be afraid to try different color combinations on a separate scrap of paper before committing to your main drawing. Understanding how different hues interact can greatly enhance your artwork, much like understanding Pantone colors for living rooms helps interior designers create specific atmospheres.
Simple Shading Techniques: Adding Depth and Realism
Shading is what gives your drawing depth and makes it look three-dimensional, not flat. You don’t need to be a master of chiaroscuro; a few simple techniques will do the trick.
- Imagine a Light Source: Decide where the “sun” is coming from. Is it high in the sky, casting short shadows? Or low on the horizon, creating long, dramatic shadows? Once you’ve picked a direction, stick with it.
- Darker Tones on Away-Facing Sides: Any surface of the house that is not directly facing your light source should be slightly darker. If your light is coming from the top-left, the right and bottom sides of the house will be a bit darker.
- Cast Shadows: The roof will cast a shadow on the walls beneath it. Windows and doors will have small shadows underneath their sills or frames. The house itself will cast a larger shadow on the ground (grass/path) away from the light source.
- Techniques:
- Pencil Shading: If you’re using pencils, press a little harder or layer your strokes in areas that need to be darker.
- Colored Pencils/Crayons: Use a darker shade of the same color, or lightly layer a complementary dark color (e.g., a dark blue or gray over green for shadows).
- Hatching/Cross-hatching: For a more artistic look, use closely spaced parallel lines (hatching) or intersecting parallel lines (cross-hatching) to create shaded areas.
Adding Texture: Making it Feel Real
Beyond solid colors, texture can add incredible realism.
- Roof Shingles: Draw overlapping horizontal lines on your roof to suggest shingles.
- Brick or Stone: For walls, lightly draw small rectangular outlines for bricks or irregular shapes for stone.
- Wood Grain: On doors or wooden frames, draw a few wavy, elongated lines to mimic wood grain.
- Foliage: Use small, circular scribbles or varied strokes for leaves on trees and bushes, instead of just a flat color.
Background Elements and Overall Mood
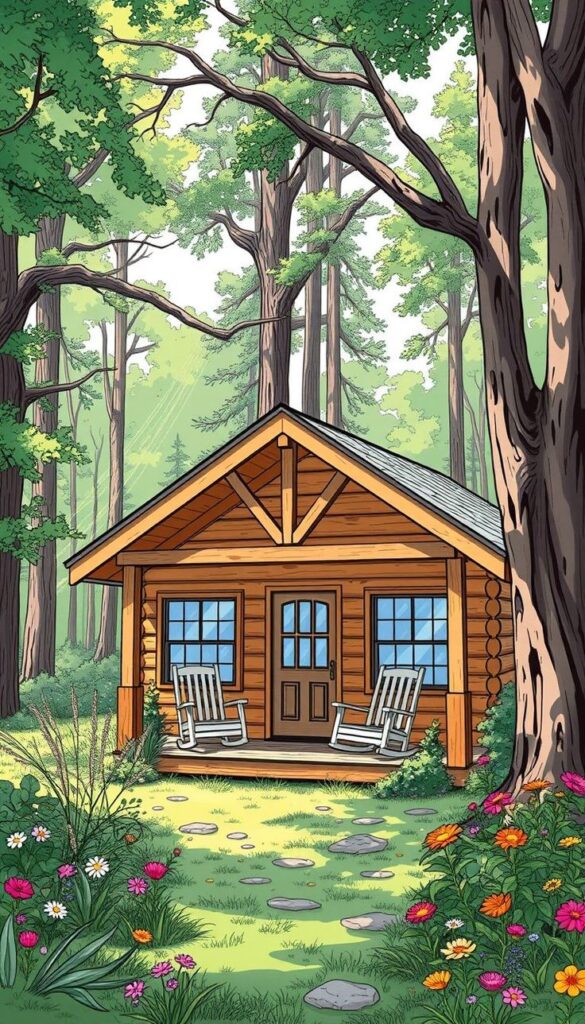
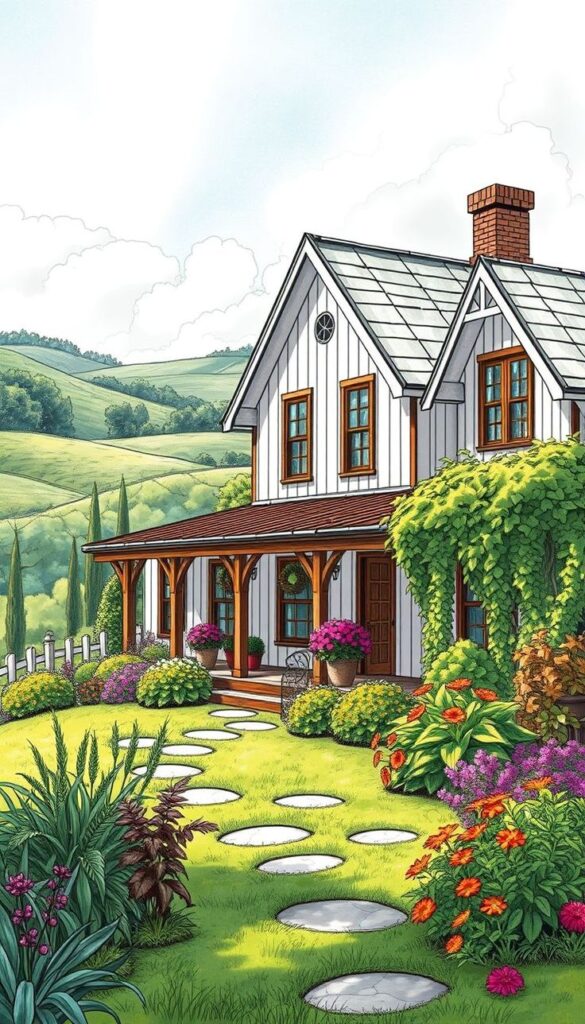
Don’t forget the sky and background to complete your scene.
- Sky: A light wash of blue (or even gray for a cloudy day) can fill the sky. Add a few simple clouds with rounded edges.
- Ground: Ensure your grass and pathway have color and some shading to connect them to the house.
- Distant Elements: Lightly sketch distant hills or trees on the horizon behind your house. Keep them lighter and less detailed than your main house to create a sense of atmospheric perspective.
- Time of Day/Season: Use color and light to suggest time of day (warm oranges for sunrise/sunset) or season (snow for winter, vibrant greens for spring).
By thoughtfully applying color, playing with shadows, and adding texture, your simple house drawing transforms from a basic outline into a vibrant, inviting home with its own unique personality and atmosphere. This final step is where your artistic vision truly comes to fruition. For those eager to continue exploring the world of drawing and art, understanding how to imbue your creations with feeling can be a powerful next step; considering drawing 10 emotions to convey mood through art can help you expand your artistic range beyond just structures.
You’ve done it! You’ve successfully navigated the fun and easy steps to draw a simple house. From the foundational rectangle to the final strokes of color and shading, you’ve witnessed your own artistic capabilities grow. We started with understanding basic shapes, moved on to defining character with roofs, added personality with doors and windows, layered in charming details like chimneys and landscaping, and finally, brought it all to life with color and light. This journey isn’t just about drawing a house; it’s about building confidence in your artistic skills, one step at a time. Every line you drew, every detail you added, was a step towards mastering fundamental drawing principles.
Remember, art is a journey, not a destination. This simple house is just the beginning. Don’t be afraid to experiment, try new styles, and add your own unique flair to future drawings. The more you practice, the more natural and effortless it will become. So grab your pencil, find another blank page, and draw another house – perhaps a cottage, a skyscraper, or even a treehouse! The only limit is your imagination.
Ready to put your newfound skills to the test? Pick up your pencil and paper right now. Challenge yourself to draw a house every day for a week, each time trying a new detail or color scheme. Share your creations with friends or family – you might just inspire someone else to pick up a pencil too!
What is the first step to drawing a house?
The first step is to sketch a simple rectangle to form the foundation or main body of your house, using a light hand to create guide lines that can be adjusted easily later.
How do I add a roof to my house drawing?
To add a roof, find the center of the top line of your rectangle, then draw diagonal lines from the top corners meeting at this center point to create a gable roof, and extend the roof overhangs slightly for realism.
What should I consider when drawing windows and doors?
When drawing windows and doors, ensure they are proportionate to your house’s size, place the door usually centered or slightly off-center on the front wall, and add details like panes, sills, and doorknobs to give character.
How can I make my house drawing look more realistic?
Enhance realism by adding shading to suggest depth and light, drawing textures such as shingles or bricks, including landscaping like trees and pathways, and incorporating background elements to set a scene.
What are some tips for coloring and shading my house drawing?
Decide on a light source to guide shading, use darker tones on surfaces away from the light, erase guide lines for a clean look before coloring, and experiment with color combinations and textures to bring your drawing to life.
- 32shares
- Facebook0
- Pinterest32
- Twitter0
- Reddit0
