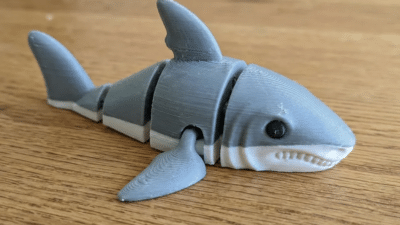
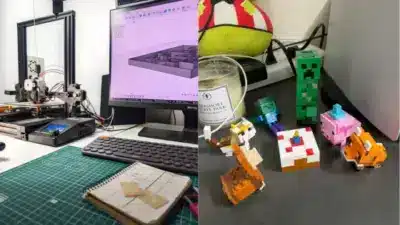
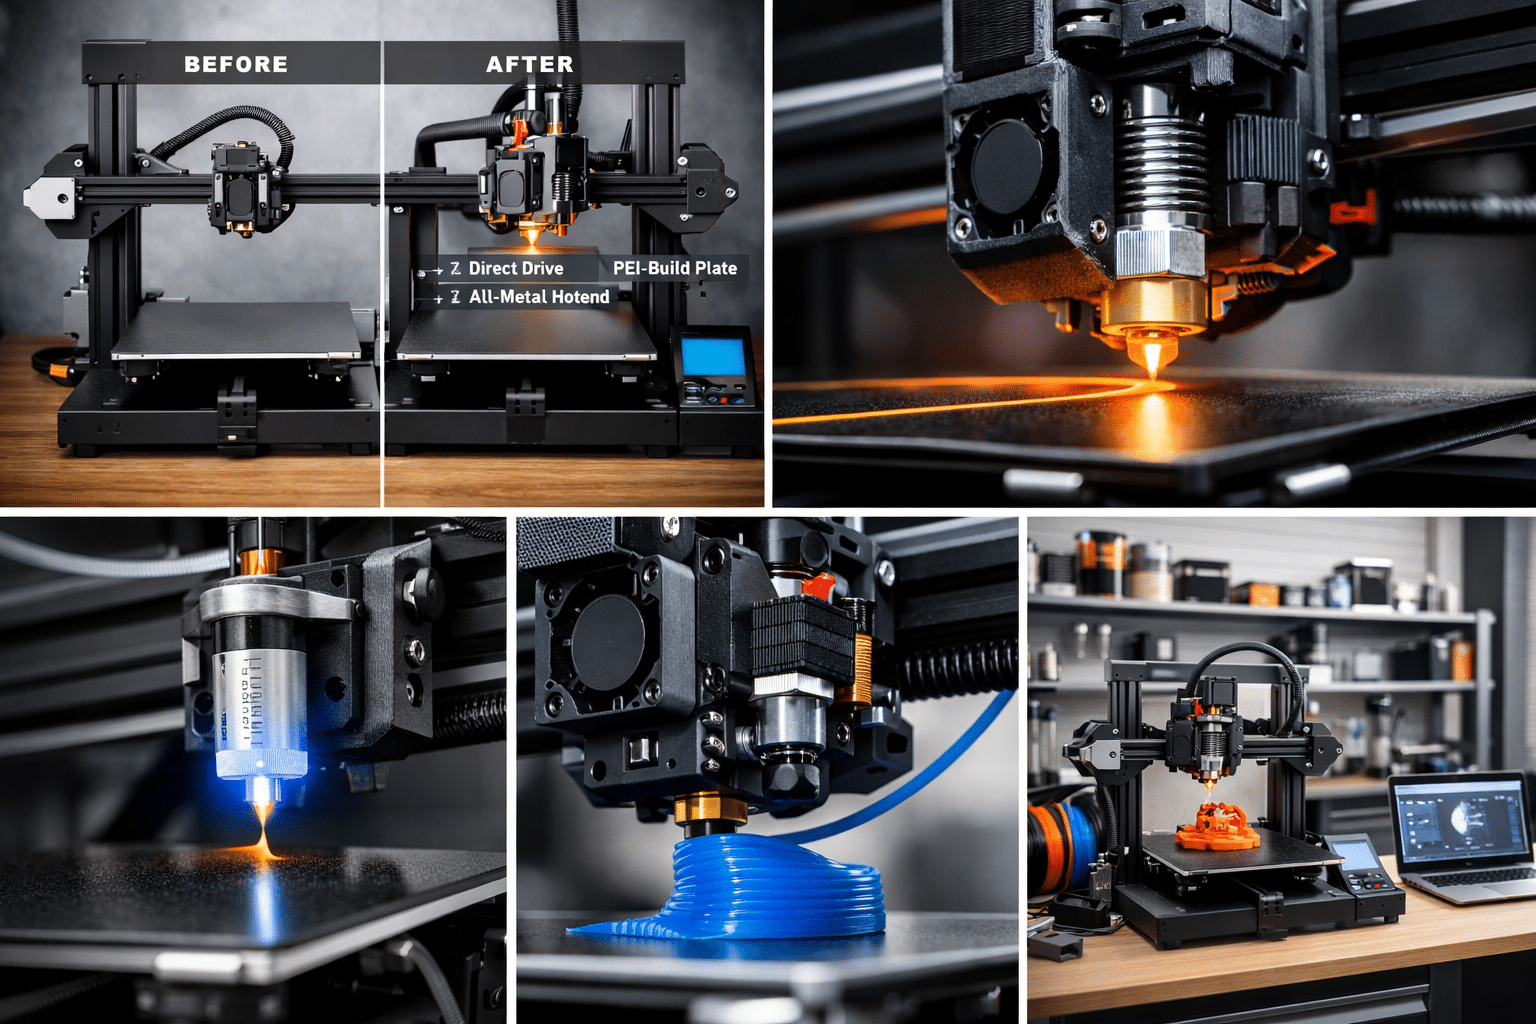
3D printing has transformed the world of art, making it more accessible and customizable than ever before. You can now design and bring to life intricate sculptures, unique home decor, and personalized pieces that reflect your creativity, all with the power of a 3D printer. Whether you are looking to explore innovative techniques or simply want to experiment with new forms and materials, the possibilities are vast.
From functional art pieces to eye-catching installations, 3D printed art projects open up a new realm of creative expression. You’ll discover how digital design, advanced tools, and various materials come together to turn your ideas into physical objects. With so many techniques and applications, there’s always something new to try, no matter your skill level.
Key Takeaways
- Learn what 3D printed art projects are and how they work
- Discover key tools, materials, and practices for 3D printed artwork
- Explore inspiring examples for your next creative project


Understanding 3D Printed Art Projects
Artists and creators use 3D printing technology to build artwork that is both visually compelling and often physically unique. The combination of digital design with 3D printers allows for precision, complexity, and diverse materials that would otherwise be impossible by hand.
Defining 3D Printed Art
3D printed art refers to artwork produced using a 3D printer, which constructs objects layer by layer from materials such as plastic, resin, metal, or even biodegradable compounds. You can design these pieces with digital modeling software, translating concepts into physical form with exact detail.
This type of art is not limited to traditional sculpture. Artists may produce wall murals, wearable items, installations, or mixed-media projects. 3D printing technology enables you to manipulate form, size, and texture beyond conventional sculpting limitations.
The process offers notable flexibility. For example, you could easily modify your digital model, print multiple versions, or combine 3D printed components with other materials for hybrid pieces.
History and Evolution of 3D Printing in Art
3D printing emerged as an industrial tool in the 1980s but gradually expanded into creative fields by the early 21st century. Professional artists began using 3D printing to prototype ideas or produce highly detailed works that would have taken months to make otherwise.
By the 2010s, accessibility improved. You now see individual artists and hobbyists using desktop 3D printers for experimental art projects. Museums and galleries have displayed 3D printed art, and some companies, such as VerusArt, have even reproduced classical paintings in three dimensions for tactile experiences.
Over time, new materials and more advanced printers have allowed more intricate designs and larger-scale projects. Today, 3D printer projects span everything from miniature collectibles to full-size sculptures for public spaces.
Types of 3D Printed Art Projects
3D printed art projects fall into several main categories:
- Sculptures and Statues: Ranging from abstract shapes to realistic figures.
- Wearable Art: Includes jewelry, masks, and custom accessories.
- Functional Art: Blends utility and aesthetics, such as designer lamps or vases.
- Recreations: Artists may reproduce historic artifacts or paintings using 3D printers.
- Installations: Large-scale works for exhibitions or public displays.
Artists also often blend 3D printed elements with traditional materials like wood, metal, or canvas. The flexibility of 3D printing technology means you can experiment with form, repetition, texture, and scale in ways that were rarely possible before.

Popular Materials and Tools for 3D Printed Art
Choosing the right materials and software is essential for achieving both visual impact and technical success in your 3D printed art projects. Each choice, from filament type to modeling platform, directly affects your ability to realize fine details, surface quality, and creative flexibility.
PLA and ABS Applications
PLA (Polylactic Acid) is widely chosen for its ease of use and smooth finish. This biodegradable plastic offers a low melting point, leading to less warping and crisp details—ideal for sculptural forms, prototypes, and decorative art. Colors and composites, like metallic or stone-infused PLA, provide more creative options.
ABS (Acrylonitrile Butadiene Styrene) delivers greater strength and post-processing possibilities. It’s suitable for pieces requiring durability, such as interactive installations or outdoor displays. ABS handles sanding, painting, and gluing well, but does need a heated print bed and good ventilation due to fumes.
| Property | PLA | ABS |
|---|---|---|
| Finish | Smooth, glossy | Matte to semi-gloss |
| Difficulty | Beginner-friendly | Intermediate/advanced |
| Best Uses | Decorative, fine art, prototypes | Functional, large, modular |
Consider the project requirements—durability, finish, and complexity—before deciding which filament to use.

Resin for Fine Art Details
Resin printing allows you to achieve a high level of detail that standard filament methods cannot replicate. Using photopolymer resins in SLA or DLP printers, you can create miniatures, jewelry, and art that demand intricate textures and complex forms.
The main advantages are:
- Ultra-smooth surface finish
- Ability to capture fine, sharp details
- Support for complex geometries without excessive visible layer lines
However, you should be aware of additional steps like post-curing and the need for proper ventilation. Resin pieces are more brittle than PLA or ABS, so they’re best suited for display art where detail is prioritized over strength.
Essential Software: Blender and Others
Blender stands out as a key modeling tool for artists working with 3D printers. Its robust sculpting features, customizable brushes, and modifier stack let you create organic or highly detailed models ready for printing. Blender is open-source, widely supported, and integrates directly with many slicers.
Other notable options include:
- TinkerCAD: Great for simple forms and educational projects.
- ZBrush: Suitable for highly detailed character or creature models.
- Fusion 360: Preferred for engineering art pieces or components.
Use export formats like STL or OBJ to move your designs from these platforms to your 3D printer. Choosing the right workflow helps ensure your artistic intent translates smoothly to the finished piece.

Showcase of Creative 3D Printed Art Projects
3D printed art projects offer a wide spectrum of creative possibilities, whether you want to produce avant-garde decor, functional objects, or custom wearable pieces. With today’s printers and digital modeling tools, you can precisely customize aesthetics, scale, and form to fit your vision in fine detail.
Sculptures and Abstract Forms
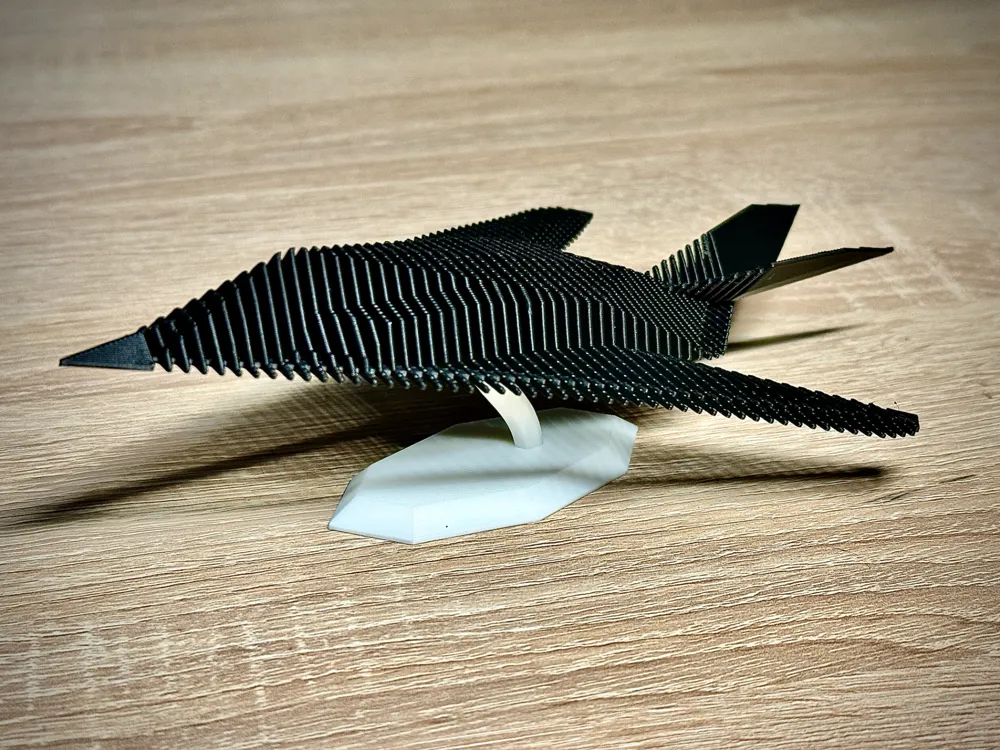
With 3D printing, you can produce intricate sculptures that traditional methods may struggle to replicate. Artists take advantage of the tech’s ability to fabricate complex geometry, such as interlocking shapes and hollow structures.
For example, you can create a lattice-based abstract form using a resin 3D printer, achieving striking detail at any scale. Materials range from biodegradable PLA to glossy, painted ABS for a variety of finishes. Miniature art figures and busts are popular starter projects, while larger installation sculptures leverage modular assembly for portability.
Key benefits include the precise replication of digital designs and fast prototyping. Whether you’re trying organic curves or geometric motifs, this approach empowers you to realize highly original pieces without labor-intensive carving or molding.
Functional Artworks and Everyday Objects
3D printed art extends into everyday life through designs that are as practical as they are visually appealing. Measuring spoons, vases, and planters can all be produced with custom patterns, colors, or engravings to emphasize personal style.
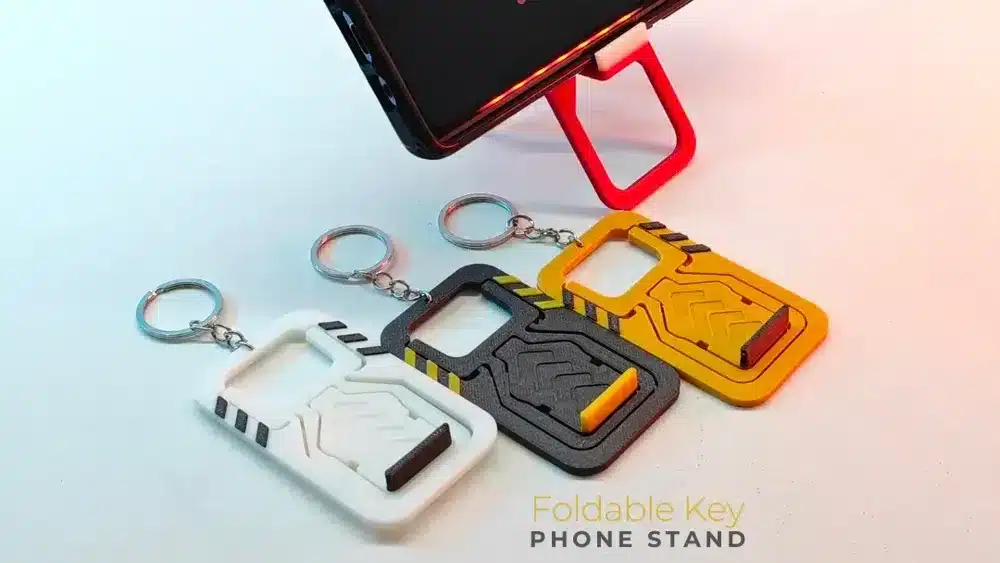
Several projects blend art with utility, such as decorative desk organizers shaped like animals, geometric bowls, or puzzle boxes. You can print modular pen holders or even custom smartphone stands that double as sculptural art.
Printing in durable materials like PETG and composite filaments means these objects not only decorate your home but also withstand regular use. Digital files are easily editable, so you can fine-tune your designs for function, fit, and flair.
Wall Art and Installations
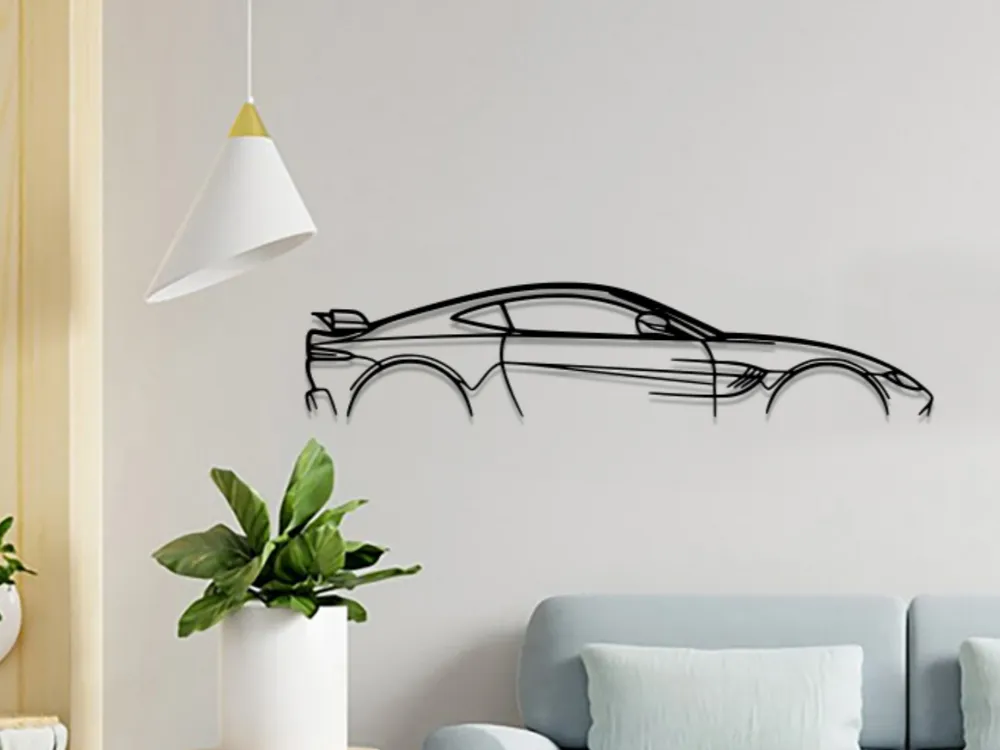
Wall art is especially suited to 3D printing, since designs can be lightweight, impactful, and highly intricate. You might print a relief mural, geometric panel set, or a series of repeating tiles for a bespoke accent wall.
Multi-part pieces are often printed separately and then assembled, enabling large-scale installations on standard home printers. Some artists integrate lighting or color-changing filaments to add dynamic visual interest. Textures and layered effects, difficult to carve by hand, are easily achieved through digital modeling.
Popular projects include abstract fractal arrangements, stylized maps, or even modular shelving that doubles as decor. The flexibility of 3D design lets you match art to your preferred size, color, and theme, right down to the millimeter.
Wearable and Fashion Designs
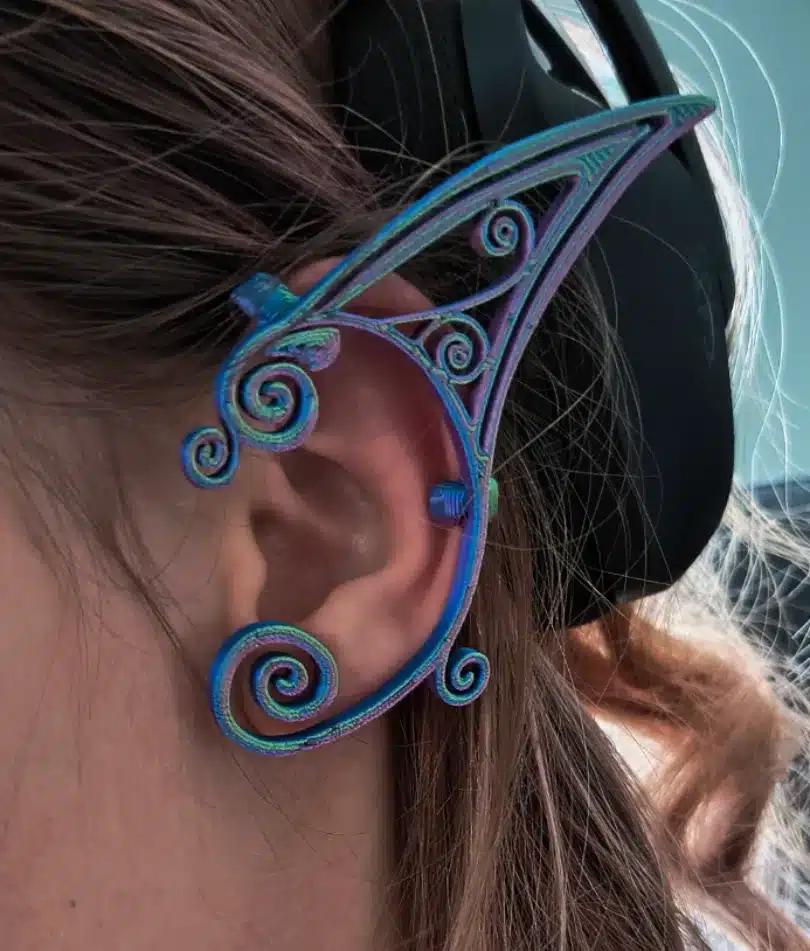
Wearable 3D printed art brings customization directly to your daily look. You can print unique jewelry—earrings, necklaces, brooches—with latticed or organic structures that are hard to fabricate by hand.
Fashion designers use printing for avant-garde accessories, such as flexible rings, articulated bracelets, or even full masks and hats. Lightweight PLA and TPU filaments make comfortable pieces that stand out for their original forms.
Customization is simple: adjust digital files for size or color, integrate meaningful motifs, or experiment with layered materials for enhanced visual impact. This approach fits both one-off showpieces and repeatable designs for personal or retail use.

Techniques and Best Practices
When working on 3D printed art projects, the methods you use at each stage—technology selection, digital preparation, and finishing—have a major impact on the final result. Matching the right tools and approaches to your project requirements is key for achieving both artistic and functional goals.
Choosing the Right 3D Printing Technology
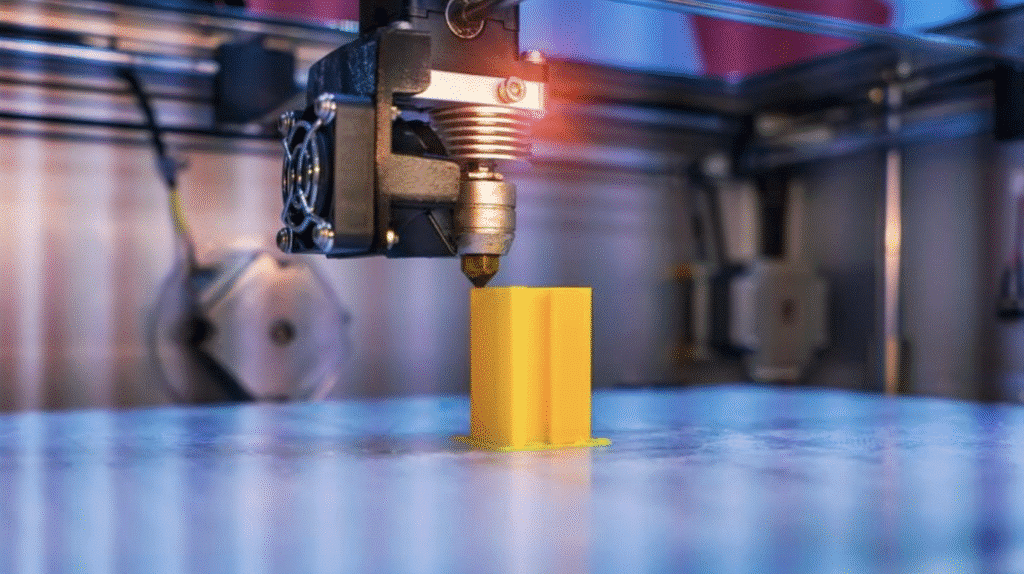
Selecting a printing technology depends on your material needs, detail level, and project budget. Common choices include FDM (Fused Deposition Modeling) for affordability and accessibility, SLA (Stereolithography) for high detail, and SLS (Selective Laser Sintering) for strength and complex geometries.
FDM printers are widely used in art due to their ability to print with various filaments like PLA, ABS, and flexible materials. SLA printers offer smooth finishes ideal for display pieces, especially if delicate features are required. SLS works well for intricate or interlocking designs and can produce sturdy models with nylon-based powders.
Compare technology features in a table for quick reference:
| Technology | Material Types | Key Strengths | Typical Uses |
|---|---|---|---|
| FDM | PLA, ABS, TPU | Cost-effective, easy setup | Prototyping, sculpture |
| SLA | Photopolymer resin | High detail, smooth finish | Jewelry, figurines |
| SLS | Nylon powder | Robust, no supports needed | Functional parts |
Preparing Digital Models for Printing
Effective model preparation starts with choosing the right software and file formats. Blender is a popular choice for artists due to its open-source nature and robust sculpting tools. Focus on manifold geometry—ensure there are no holes or non-manifold edges in your mesh.
Export your models in STL or OBJ formats, as these are widely supported by slicing software like Cura or PrusaSlicer. Check mesh normals and wall thickness. For most art prints, a wall thickness between 1-2 mm is recommended to prevent fragile prints.
Test smaller prototypes before printing large-scale models. This helps catch issues with overhangs or supports. Slice your file with settings optimized for the chosen printer and material, such as layer height (0.1-0.2 mm for detail) and appropriate infill percentages.
Post-Processing and Finishing Methods
After printing, post-processing enhances the visual appeal and durability of your artwork. Begin by removing supports and sanding rough areas, progressing from coarse to fine grit sandpaper. For SLA prints, washing and curing are essential to remove residual resin.
Surface finishing includes priming, painting, or even electroplating. Use a plastic primer compatible with your material and apply thin, even coats. Acrylic paints adhere well to most plastics and allow for layering and detail.
Sealing the finished piece with a clear coat or varnish protects the art and improves longevity. For more advanced finishes, consider using epoxy resin drops for glossy effects or adding metallic powder before sealing for a unique texture.


Getting Started with Your Own 3D Printed Art Projects
Learning the basics of 3D printing makes it possible to design, print, and customize art pieces at home. With the right tools, practical project ideas, and some troubleshooting know-how, you can create unique objects that enhance your skills with every print.
Beginner-Friendly Project Ideas
As a beginner, choosing simple yet creative projects will help you get to know your 3D printer and the process of 3D printing. Useful and decorative models—like planters, keychains, wall art, and miniature sculptures—are popular starting points.
You can download free design files from websites like Thingiverse or Printables, or use easy-to-learn 3D modeling software such as Tinkercad to make your own modifications. Many beginners enjoy creating geometric patterns or functional items like phone stands and coasters.
To make your projects more personal, try customizing text, patterns, or shapes in your models. Many basic art prints can be made in a few hours and typically require very little filament, keeping costs and time investment low.
| Project | Skill Level | Average Print Time |
|---|---|---|
| Keychain | Beginner | 30-60 minutes |
| Mini sculpture | Beginner | 1-2 hours |
| Wall art print | Beginner | 1-3 hours |
| Coaster | Beginner | 45-90 minutes |
https://makerworld.com/en/models/951268-foldable-key-phone-stand?from=search#profileId-919270
Tips for Successful Prints
Reliable 3D printing depends on several key factors. Always check that your printer’s bed is properly leveled and clean before starting a new print to prevent adhesion issues.
Use recommended print settings for your filament type, particularly for PLA or PETG, which are beginner-friendly. Setting the correct nozzle temperature and layer height will improve the final quality of your art pieces.
It helps to do a test print with a simple model to verify your settings. Keep your filament dry and stored in a sealed environment to avoid print defects.
Design-wise, avoid overhangs or very thin details in early projects. These features may require supports or more advanced techniques not ideal for first-time users. Study slicer previews for errors before sending files to your printer.
Common Challenges and Solutions
Some frequent issues with 3D printing art include warped prints, clogged nozzles, or failed first layers. If a print isn’t sticking, clean the bed and adjust the nozzle distance.
When you encounter failed prints, examine your filament for moisture or tangling. Clogged nozzles may be cleared by using the printer’s cleaning function or gently cleaning with a thin wire.
Printing with the wrong temperature or too fast can cause uneven layers or weak structures. Use manufacturer-recommended speed and heat settings.
If your prints have stringing or blobs, reduce print temperature or enable retraction in your slicer. Keep firmware and software updated to access the latest fixes and print profiles. Consistently reviewing these basics reduces failed prints and saves materials.
- 15shares
- Facebook0
- Pinterest15
- Twitter0
- Reddit0

