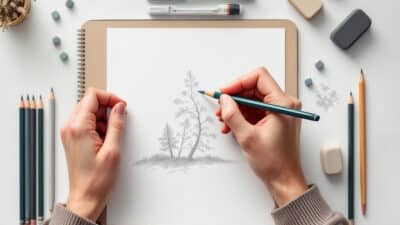
Drawing leaves is a practical way to build your skills in observation and creativity as an artist. Learning how to draw leaves helps you better understand their structure, shapes, and fine details, making your nature sketches more accurate and enjoyable. Whether you are a beginner or looking to refine your technique, exploring leaf drawing can add variety and interest to your artwork.
You do not need many supplies to start—just a pencil, eraser, and a sketchbook. By focusing on basic leaf shapes and practicing step-by-step techniques, you can quickly improve and create realistic or stylized leaf illustrations.
Key Takeaways
- Leaf drawing builds observation and technical skills.
- Simple supplies and clear techniques make it accessible.
- Practicing with references can expand your drawing style.
Understanding Leaf Shapes
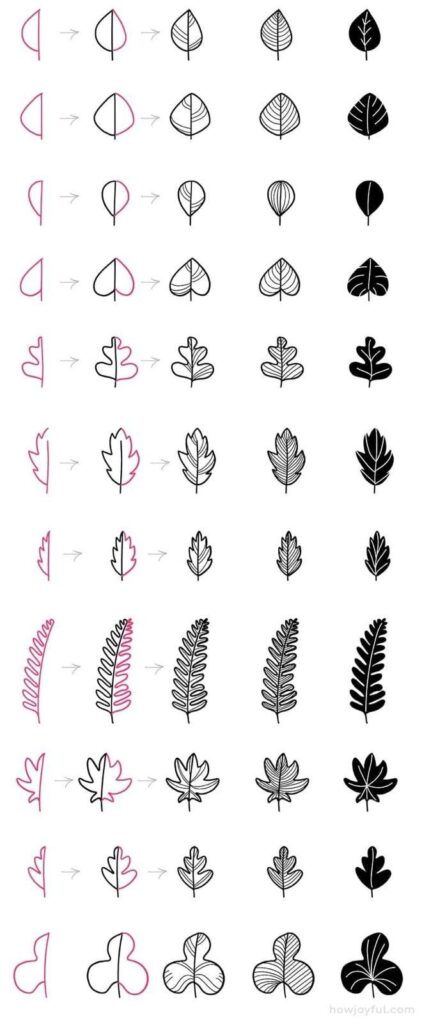
Learning to draw leaves accurately starts with recognizing their basic shapes and understanding how these forms can vary. Noticing these distinctions will help you capture details that make your drawings more realistic.
Common Types of Leaf Shapes
Leaves take on a wide variety of shapes, each with distinct names and features. Some common types include:
| Shape | Description |
|---|---|
| Ovate | Egg-shaped with a broad base |
| Lanceolate | Shaped like a lance tip, longer than wide |
| Cordate | Heart-shaped with a pointed tip |
| Linear | Long and narrow |
| Palmate | Like a hand with fingers spread |
| Elliptic | Oval, widest at the center |
Edges, called margins, also differ—some are smooth, while others are jagged or serrated.
Recognizing these classic shapes lets you categorize leaves quickly. This makes it easier to start sketching the outline with accuracy.
How Leaf Shape Influences Drawing
Understanding the exact shape is essential before you begin any leaf drawing. The contour and proportion of the leaf shape form the base structure for your sketch.
If you start with an ovate or lanceolate outline, you know where the widest and narrowest points should be. This guides your placement of veins and finer details, keeping your proportions balanced.
The edge type will also affect your drawing technique. Serrated or lobed margins require more attention and steady hand movements, while smooth margins can be captured with single flowing lines.
Studying a variety of leaf shapes gives you reference points for shading, texture, and overall composition in your botanical illustrations. This foundational knowledge helps your finished drawings look more natural and authentic.
Essential Drawing Supplies for Leaf Drawing
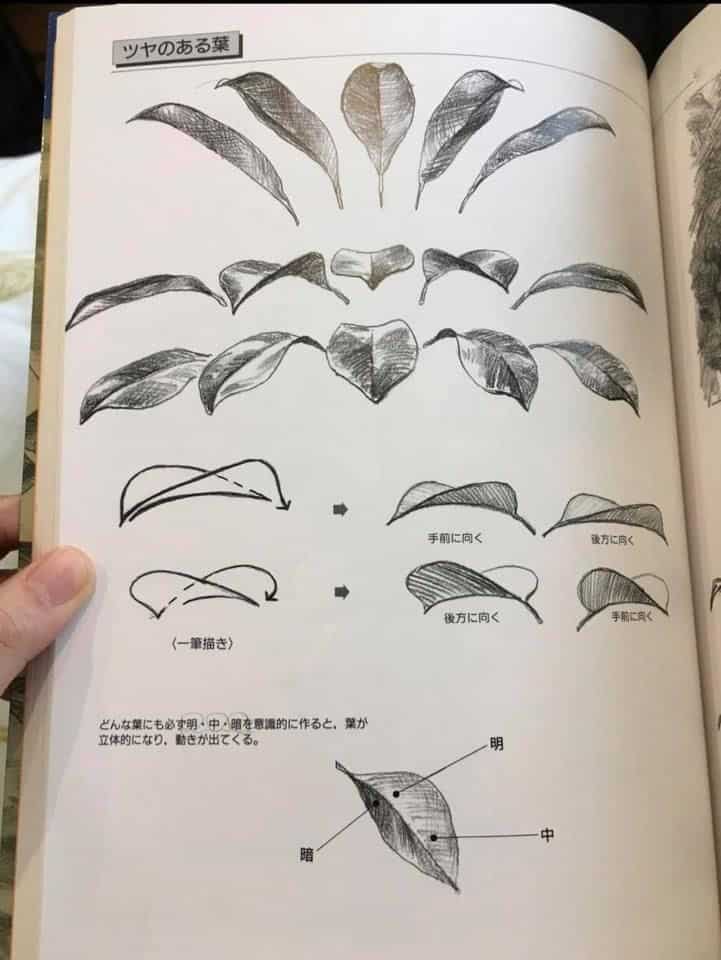
Having the right materials helps you capture leaf textures and forms more effectively. The type of pencil, paper surface, and eraser you choose all have a direct impact on your results.
Choosing the Right Pencil
Graphite pencils vary in hardness, which affects how dark or light your marks appear on paper. For leaf drawing, it’s best to use a range from hard (4H, 2H) to soft (HB, 2B, 4B). Harder pencils like 4H are excellent for faint outlines and subtle vein details.
Softer pencils such as 2B or 4B are effective for shading shadows and adding depth to your leaf. This range allows you to achieve a full range of light and dark values. If you prefer colored pencil, select various greens, yellows, and browns for realistic hues.
When making pencil strokes, use a light touch for building layers and texture. Blending and layering are key to rendering smooth transitions in leaf drawing.
Starter Pencil Grades Table
| Grade | Use |
|---|---|
| 4H | Light outlines, veins |
| 2H | Base sketching |
| HB | General drawing |
| 2B | Midtones, soft details |
| 4B | Shading, bold strokes |
Paper and Texture
The surface of your paper can influence your drawing quality. Smooth paper, like hot-press watercolor or Bristol, is suitable for detailed pencil work and layering fine textures. Textured paper, such as cold-press or rough, adds a grain that can emphasize the natural look of leaf surfaces.
Choose heavier-weight paper if you plan to use wet media or layer graphite heavily. A sturdy paper prevents warping and supports erasing without tearing. For most botanical art, aim for acid-free paper to prevent yellowing over time.
Work on sample sheets to see how your pencil strokes react to different textures. This helps you control details like leaf veins, serrated edges, and shadowed areas.
Using a Kneaded Eraser
A kneaded eraser is a flexible tool for lightening areas, lifting highlights, and cleaning fine lines without damaging the surface. You can shape it to erase small spots like fine veins or to refine the outline of the leaf.
Gently dab the eraser on graphite to remove excess pigment instead of rubbing, which avoids smudging. Kneaded erasers are reusable—just stretch and fold to expose clean surfaces as you work.
For areas needing crisp highlights, such as the reflective edges of a leaf, press and roll the eraser with a controlled motion. This tool is particularly useful for developing texture and preserving light in your drawing.
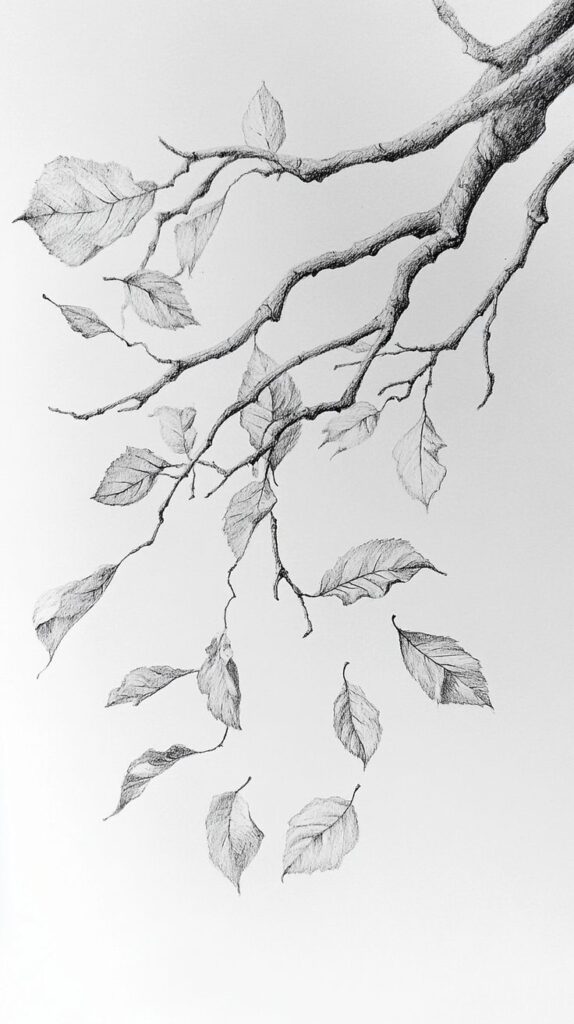
Step-by-Step Techniques for Drawing Leaves
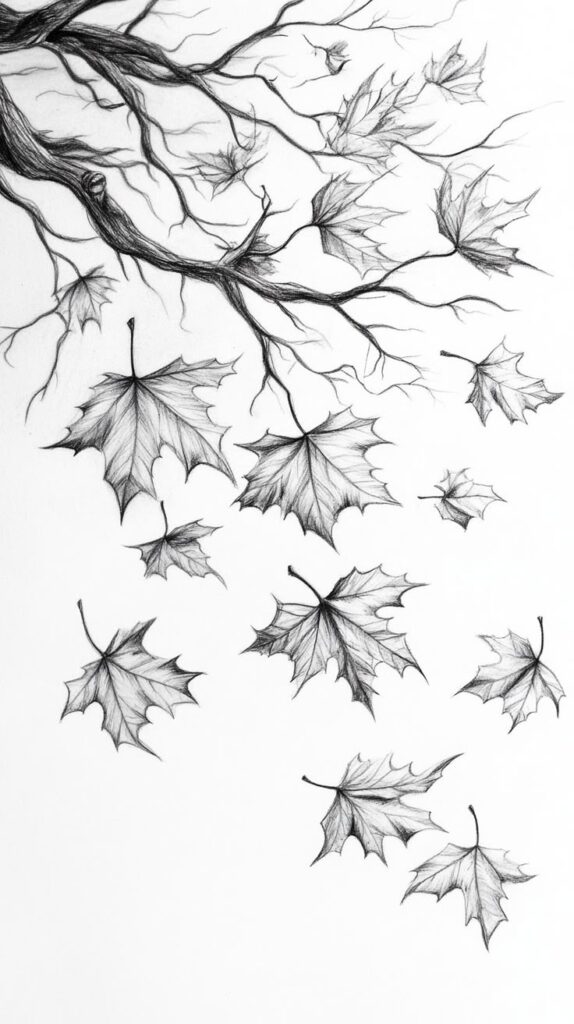
To draw lifelike leaves, you need to focus on their shape, the unique vein patterns, and the use of shading to achieve dimension. Choosing the right pencil strokes and studying leaf varieties, like the maple leaf, also help in your creative process.
Sketching Basic Leaf Outlines
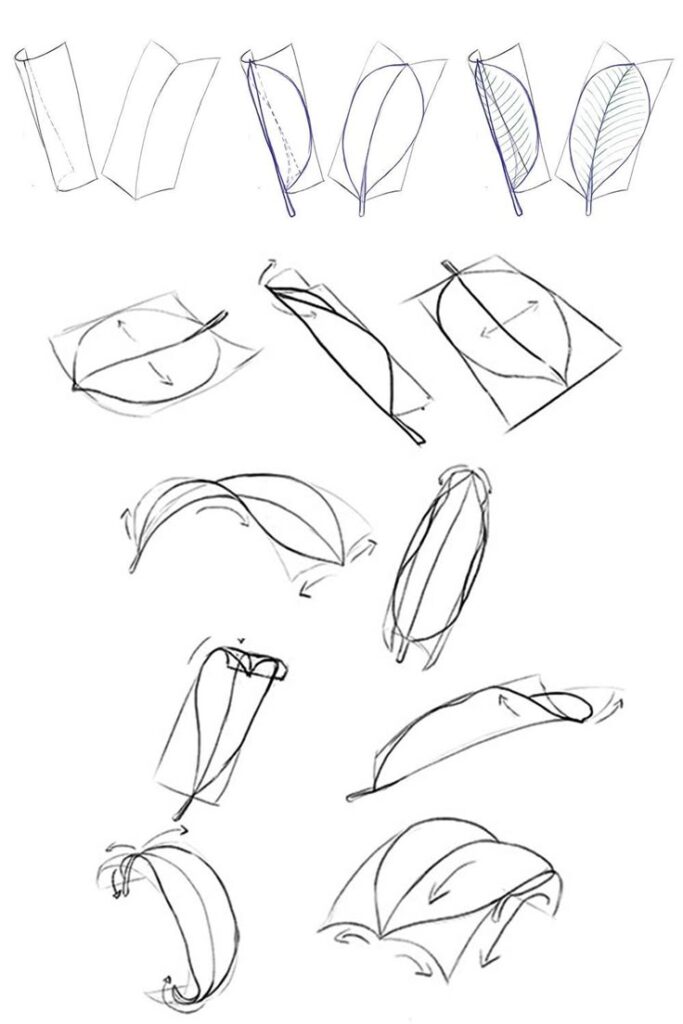
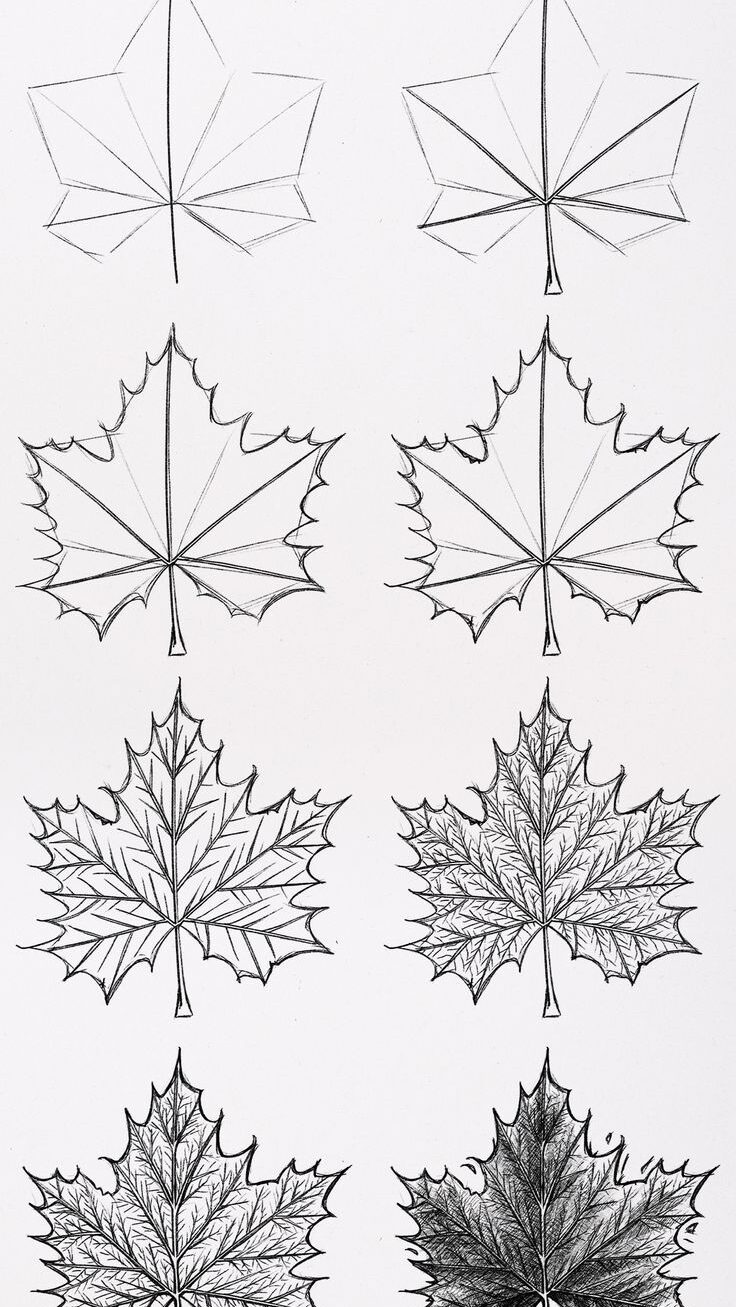
Start by lightly sketching the main axis or midrib of the leaf with an HB pencil. This central line guides your overall shape. For basic leaves, such as a maple leaf, outline the main lobes and gently curve the edges to mirror natural forms.
Aim for clean, controlled lines. Keep your pencil strokes light so you can easily erase and adjust your design. Focus on symmetry for certain leaves, using straight or gently arched strokes to build the silhouette.
Break down complex shapes into simple parts. For example, sketch each lobe one by one when drawing a maple leaf. This helps avoid errors and keeps the leaf balanced.
Adding Realistic Details and Veins
After outlining the leaf, add the primary and secondary veins. Start by reinforcing the central vein, then branch out with thinner lines for side veins. Look at real leaves or reference images for vein placement.
Use a sharp pencil for detail work. Veins often curve and widen as they near the edge, so vary the pressure of your pencil to reflect this. Focus on capturing the natural, uneven distance between veins to avoid an artificial look.
Highlight small imperfections and subtle curves along the leaf edge. These details can be as simple as minor notches or tiny tears, showing realism and creativity in your drawing.
Creating Depth with Shading
To give your leaf form, apply shading gradually. Use the side of your pencil for larger shadowed areas and fine, overlapping lines (hatching or crosshatching) for texture. Start near the leaf’s base or under the veins, where shadows often appear strongest.
Layer your pencil strokes to darken certain areas, especially where the leaf folds or overlaps. Leave areas lighter where light naturally hits the surface. Smudge gently with a tissue or blending stump for smoother transitions.
By adjusting the shading and texture, your drawing will gain depth. This enhances the realistic look of both simple and complex leaves, such as a maple leaf, helping your creative efforts stand out.
Advanced Leaf Drawing Styles
When moving beyond basic leaf sketches, you need to focus on refined techniques and specialized approaches. Detailed methods allow for greater realism and character in your art, especially when illustrating natural textures or seasonal changes.
Botanical Illustration Methods
Botanical illustration requires precision, accuracy, and an understanding of plant structure. You start by studying the leaf’s veins, edges, and symmetry. Observing live specimens or high-quality photos is essential.
Begin with a light graphite outline, marking the midrib and major veins. Use a fine-point pencil for outlines and a blending stump for subtle gradients. Build texture with cross-hatching or stippling to show surface variations.
In this style, color can be added with colored pencils or watercolor. Carefully layer colors to follow the leaf’s unique patterns and shadows, blending gently to retain natural gradients. Paying attention to scale and proportion is key. Many artists use small notes or labels next to their drawings for scientific clarity.
| Tool | Purpose |
|---|---|
| Graphite Pencil | Outline and veining |
| Blending Stump | Smooth gradients |
| Colored Pencil | Build up layers of color |
| Watercolor Brush | Transparent coloration |
Drawing Autumn Leaves
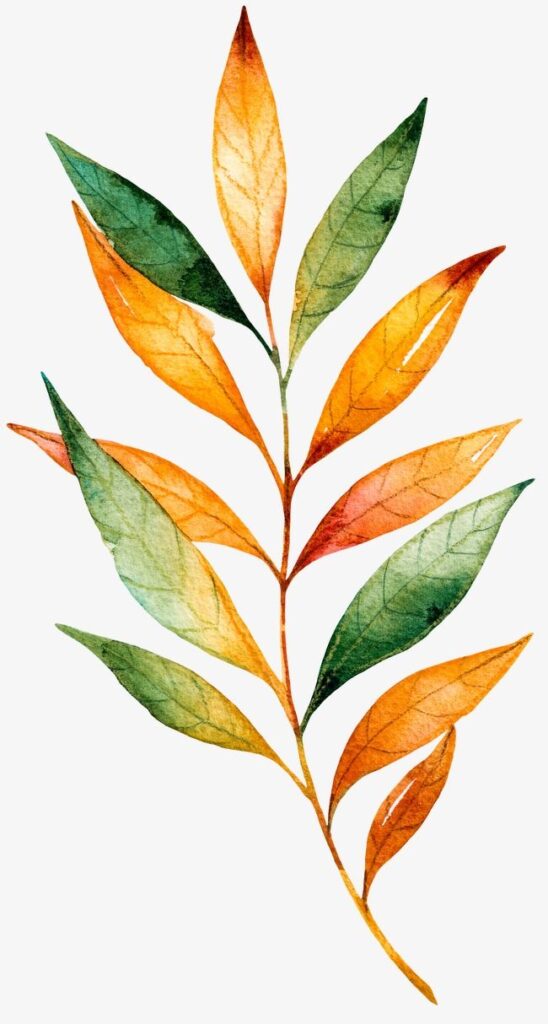
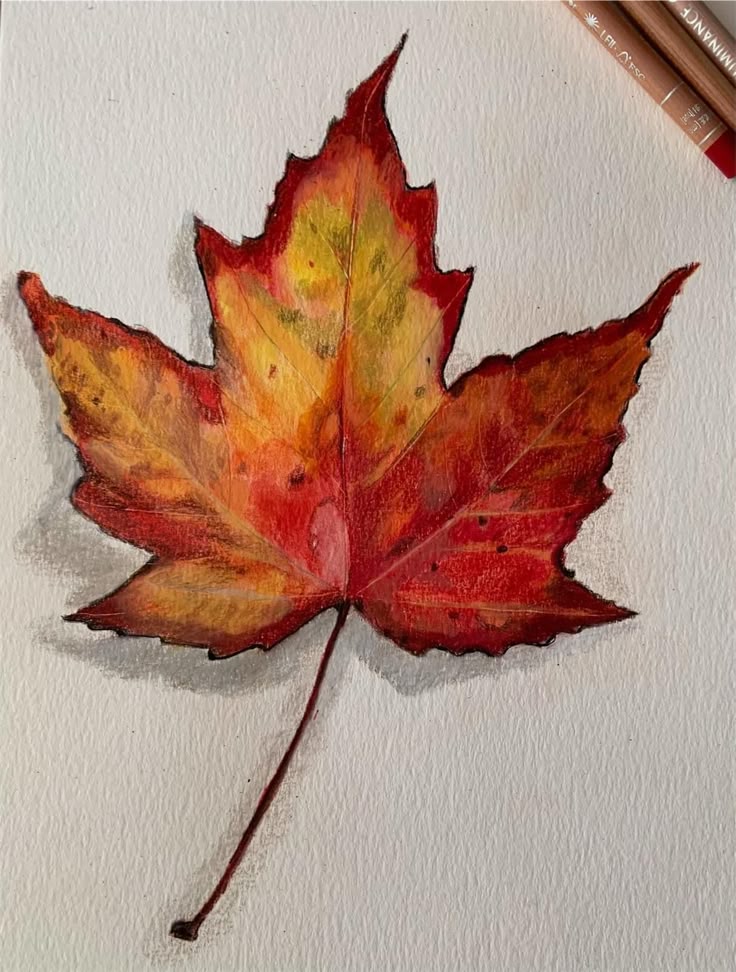
Autumn leaves introduce a wide range of colors, irregular shapes, and curling edges. Capturing these features involves both vivid color selection and attention to leaf decay.
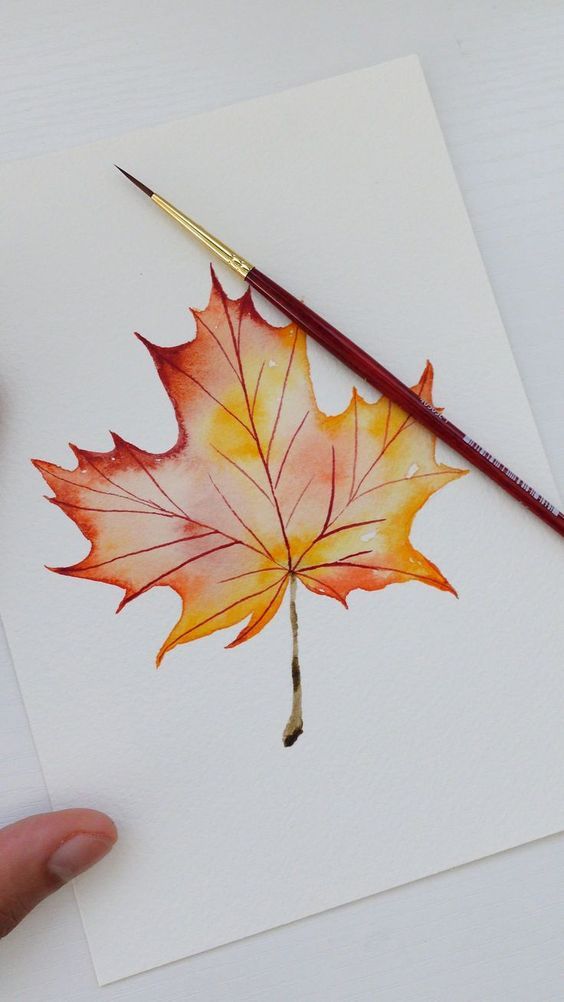
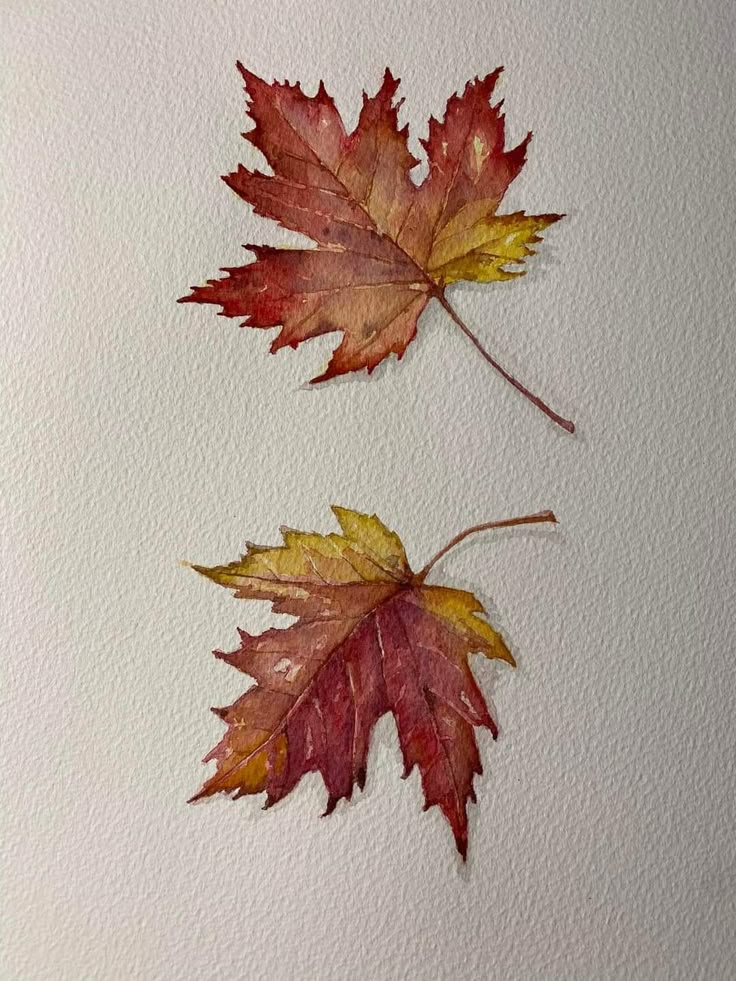
Begin with a sketch of the leaf’s basic contour, emphasizing uneven edges and torn sections if present. Mark where the colors shift—autumn leaves often blend from yellow to orange, red, or brown.
Use colored pencils, watercolor, or alcohol markers to layer colors. Apply varying pressure to create subtle gradients from one hue to another, and use short, deliberate strokes to mimic the texture of crisp or brittle areas. Add spots, holes, or slight tears to realistically depict the aging process.
Common color combinations for autumn leaves include:
- Yellow to brown: Common in elm and birch leaves
- Red to orange: Seen in maple and sweetgum species
- Multi-tone patterns: Oak leaves often mix all three colors
Throughout, maintain a focus on both the unique color transitions and the natural imperfections that define autumn foliage.
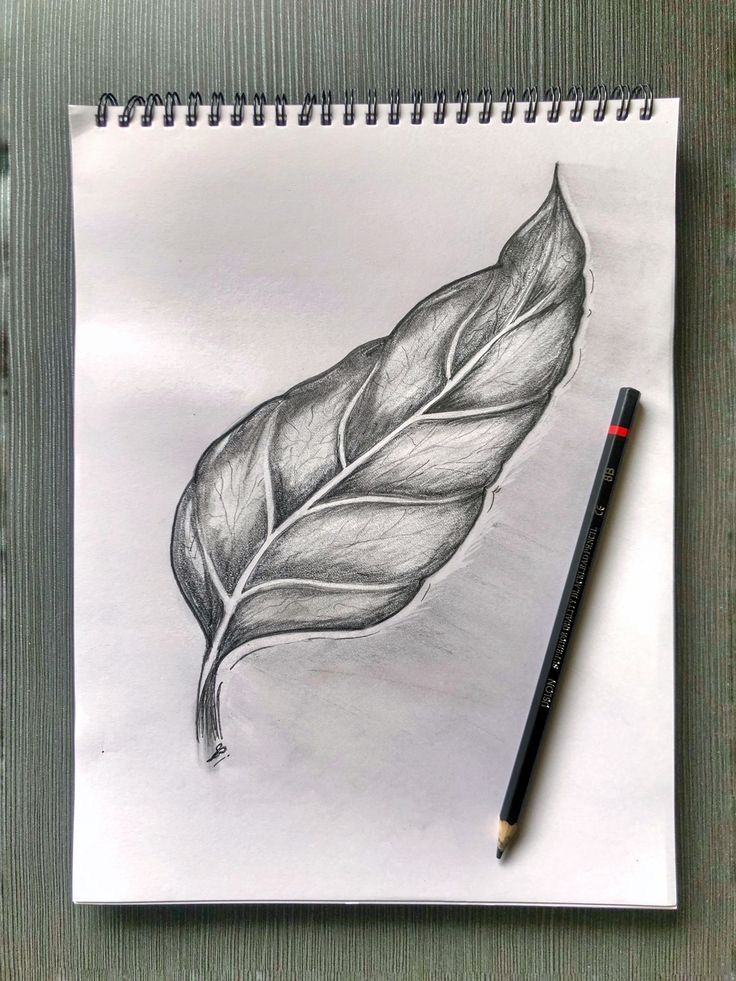
Inspiring Resources and Leaf Drawing Ideas
Exploring different resources and project ideas can help you develop your leaf drawing skills and push your creativity further. Watching tutorials and experimenting with new techniques will keep your work engaging and fresh.
Finding and Using Leaf Drawing Videos
Videos are one of the fastest ways to learn specific leaf drawing techniques. On platforms like YouTube and Pinterest, you can find step-by-step guides that cover everything from sketching simple outlines to shading and adding details.
When searching for videos, look for those that match your skill level. For example, “easy leaf drawing” tutorials help beginners master the basics, while more advanced videos explore things like blending colors or using unusual materials.
Keep a notebook or digital note open to jot down ideas and techniques you discover. Many video creators also include supply lists and time-saving tips right in the description, which helps you gather everything you need before starting.
Creative Leaf Drawing Projects
Putting your skills to the test with leaf-inspired projects is a practical way to build both creativity and technique. Some ideas include drawing patterns directly onto real leaves using chalk markers or gel pens.
You can also follow themed art prompts, such as creating fall leaves to explore color blending and theory. Simple classroom or home projects might involve tracing leaves and adding your own textures or patterns.
For a personal touch, try combining different drawing materials on one leaf, like mixing ink and colored pencils. Projects from art education sites often require minimal supplies but encourage you to experiment and learn from each attempt.
- 775shares
- Facebook0
- Pinterest772
- Twitter3
- Reddit0


