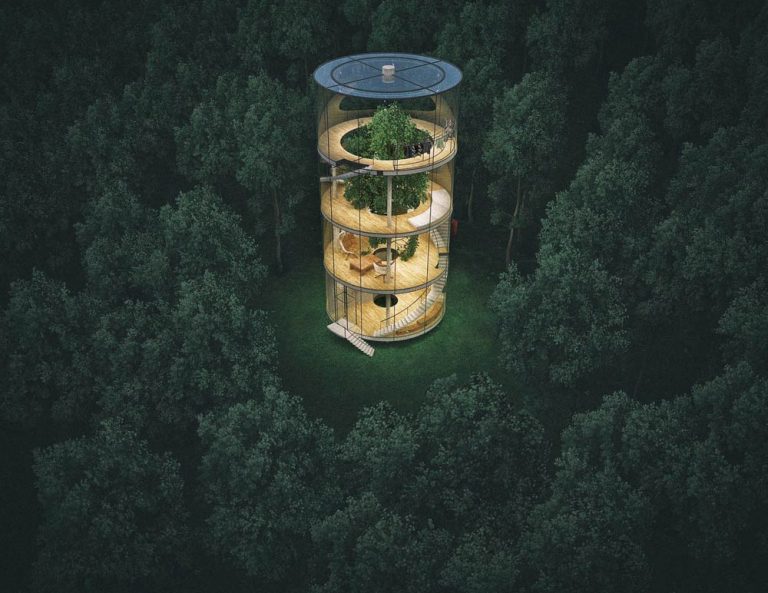
Creating compelling architectural renderings can significantly enhance your projects and communications. This article highlights five essential rendering tips and tricks that can elevate your skills and improve the quality of your visuals.
As an architect, mastering these techniques can lead to more effective presentations and client engagements. Staying updated with industry practices ensures that your work remains competitive and visually appealing in a crowded marketplace.
1) Optimize Lighting with HDRI
High Dynamic Range Imaging (HDRI) is a powerful tool for enhancing lighting in your architectural renderings. By using HDRI images, you can simulate realistic lighting conditions that change the overall mood and perception of your designs.
To start, select an HDRI image that matches the environment and time of day you wish to represent. This choice influences how shadows and highlights appear in your render.
When integrating HDRI lighting, ensure that the exposure settings are adjusted correctly. Proper exposure helps maintain detail in both bright and dark areas, creating a richer visual experience.
Consider using multiple HDRI images for different scenes. Balancing varying light sources can add depth and nuance, elevating the realism of your renderings.
Regularly test and tweak your HDRI settings. Fine-tuning brightness, contrast, and saturation can vastly improve the final output. The goal is to achieve a natural interplay of light and shadow that enhances your architectural vision.

2) Master Material Workflows
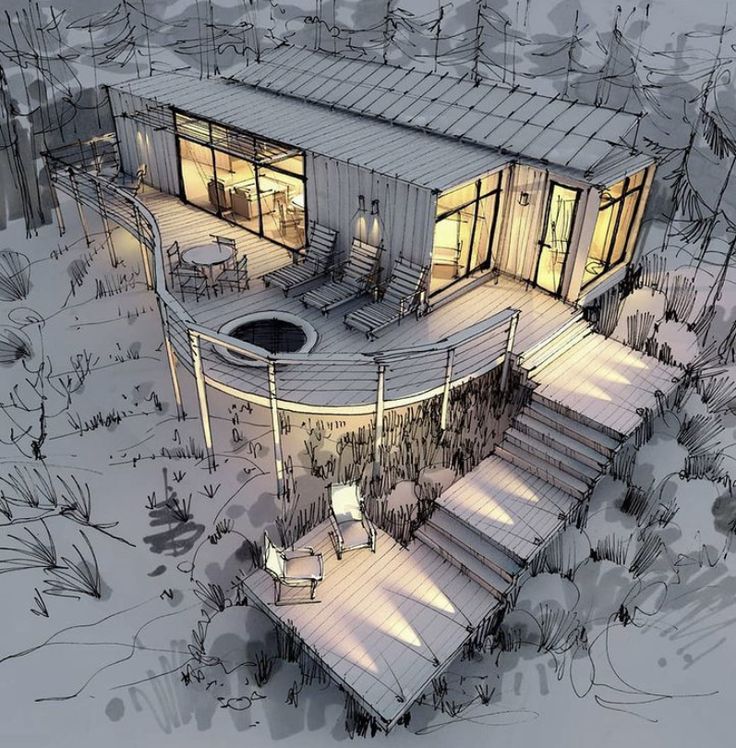
Effective material workflows are crucial in achieving realistic renderings. Start by categorizing your materials based on their properties, such as texture, color, and reflectivity.
Utilize high-quality assets. Invest in or create textures that accurately represent the materials you wish to portray. This includes wood, metal, glass, and fabric.
Always pay attention to scale and proportions. Ensure that your materials fit the context of your model. An object’s size will affect how materials appear visually.
Experiment with layering techniques. Combining multiple material layers can create depth and a more lifelike appearance. Use transparency and bump maps to enhance realism.
Lastly, maintain consistency across your project. Uniformity in material usage helps to establish a coherent visual narrative. Regularly revisit and adjust your materials as needed to achieve your design goals.
3) Efficient Use of Mesh Detailing
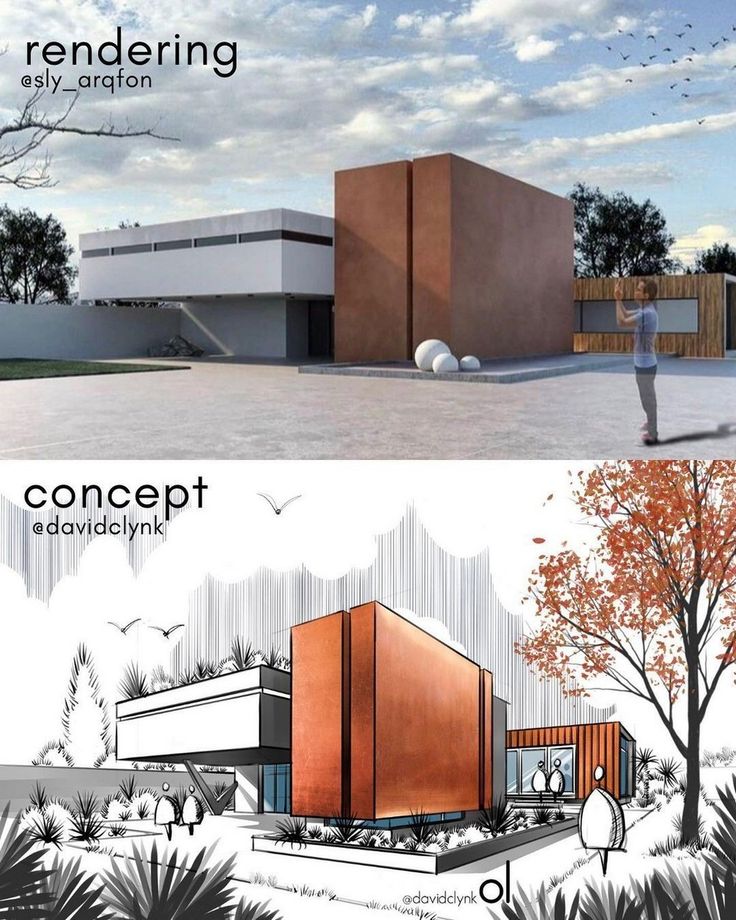
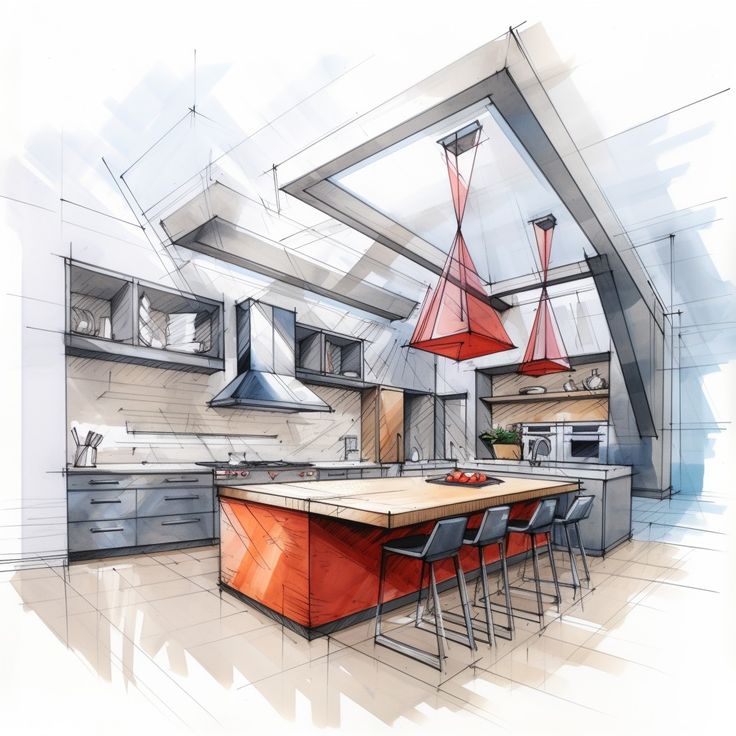
Efficient mesh detailing is crucial for achieving realistic renderings without sacrificing performance. You should aim for a balance between detail and polygon count.
Start by identifying areas that require high detail and those that can be simplified. Use high-resolution meshes where visibility is critical, such as in close-up views of architectural features.
For broader views, employ lower-resolution meshes. This approach reduces render time and minimizes system strain.
Leverage techniques like normal mapping to add surface detail without increasing geometry. Normal maps simulate complex surface features, enhancing realism with minimal impact on performance.
Keep an eye on the mesh’s edge flow for effective UV mapping. A well-structured UV layout facilitates better texture application, preventing distortion.
Regularly audit your models for unnecessary geometry. Removing excess polygons can improve rendering speeds while maintaining quality.
By using these strategies, you can create compelling architectural visualizations that maintain a balance between detail and performance.
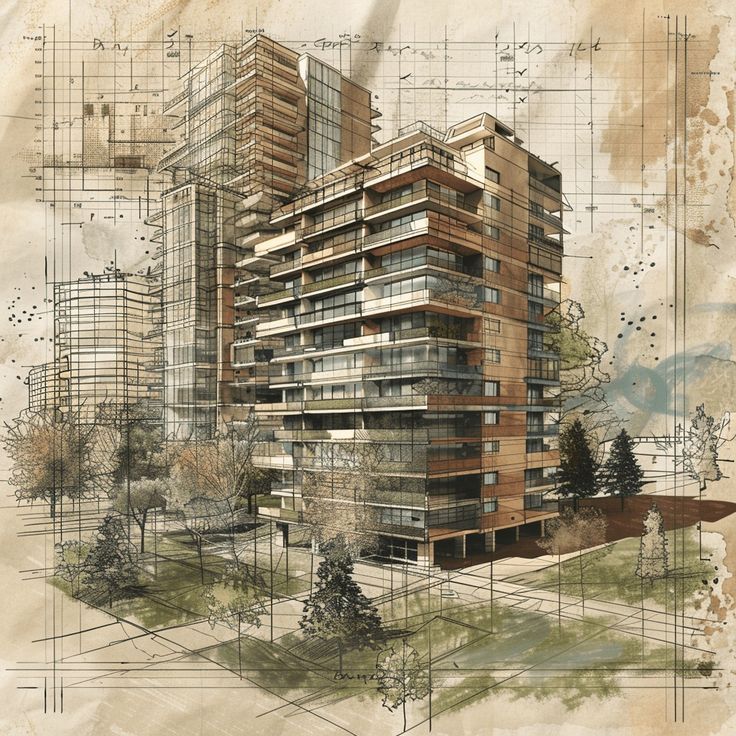
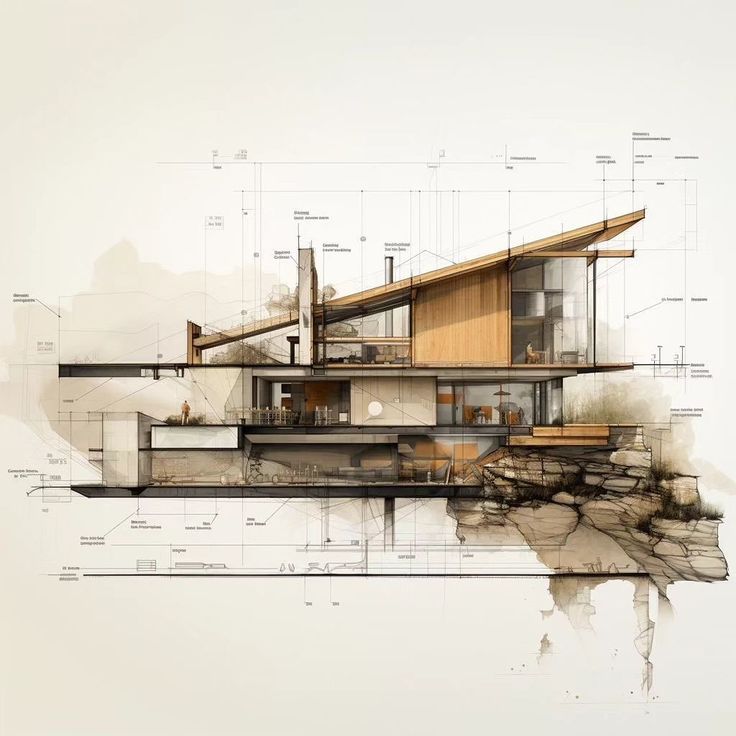
4) Incorporate Realistic Textures
Incorporating realistic textures can significantly enhance your architectural renderings. Textures add depth and detail, helping to create a lifelike appearance.
Start by selecting high-resolution textures that match your materials. Low-quality images can lead to pixelation, which detracts from the overall visual impact.
Consider the scale of textures in relation to your models. Misaligned scales can make your renderings look unnatural. Always adjust texture size based on the context of the elements you are representing.
Use bump maps or normal maps to add surface detail without increasing geometry. These techniques can simulate roughness or smoothness effectively, adding realism without overwhelming rendering times.
Layering different textures can create more complexity. Mixing concrete, wood, and glass in your rendering showcases various materials and enhances visual interest.
Finally, pay attention to how light interacts with these textures. Adding subtle reflections or gloss can bring your materials to life under different lighting conditions. Experiment with settings to achieve a natural look.
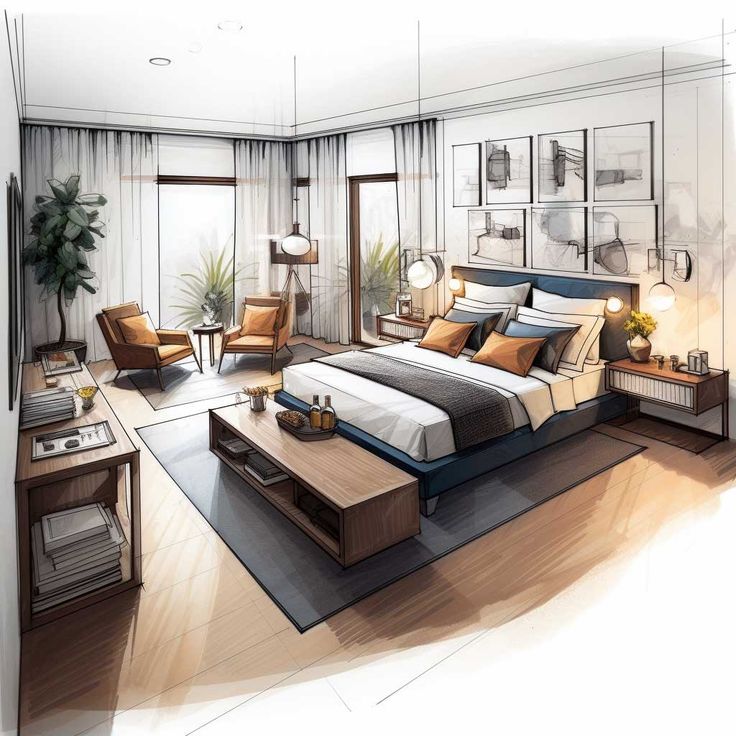
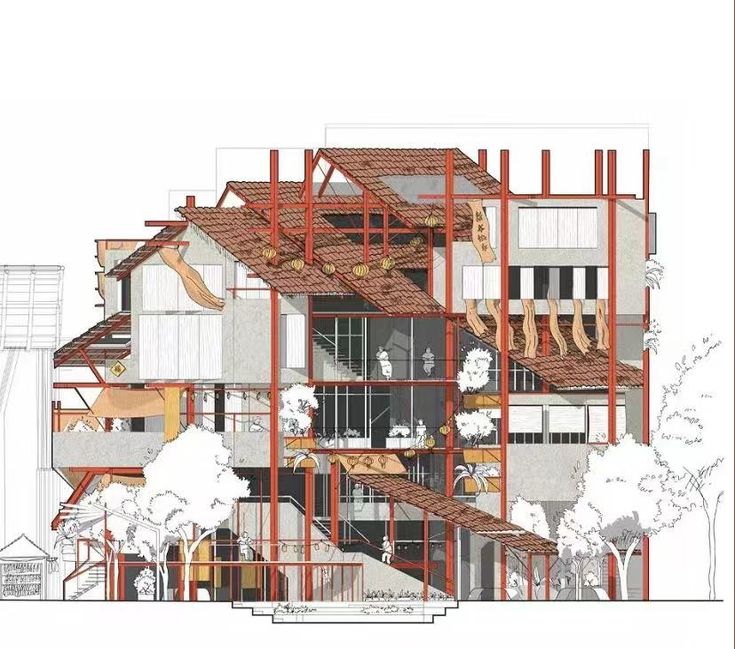
5) Utilize Depth of Field Effectively
Using depth of field can significantly enhance the visual appeal of your architectural renderings. This technique helps focus attention on specific elements while blurring the background or foreground.
To achieve this effect, determine the focal point of your scene. Keep your main subject in sharp focus while softening the surrounding areas. This approach creates a sense of realism and guides the viewer’s perception.
Experiment with different f-stop settings in your rendering software. A lower f-stop number results in a shallower depth of field, emphasizing the details of your subject. A higher f-stop will increase the area in focus, providing a broader view.
Consider the context of your project when applying depth of field. In urban environments, a blurred background can signify distance, helping to frame your architectural work. Conversely, in intimate spaces, sharper focus can draw viewers in.
Apply depth of field thoughtfully, balancing it with other rendering techniques. This way, you can enhance both the aesthetic quality and narrative of your designs.
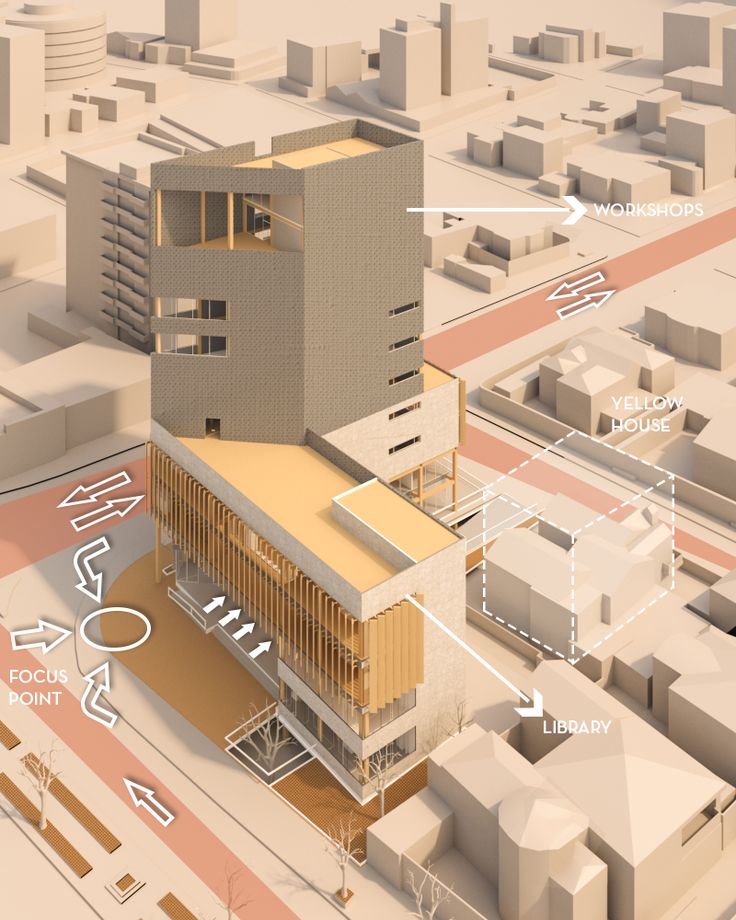
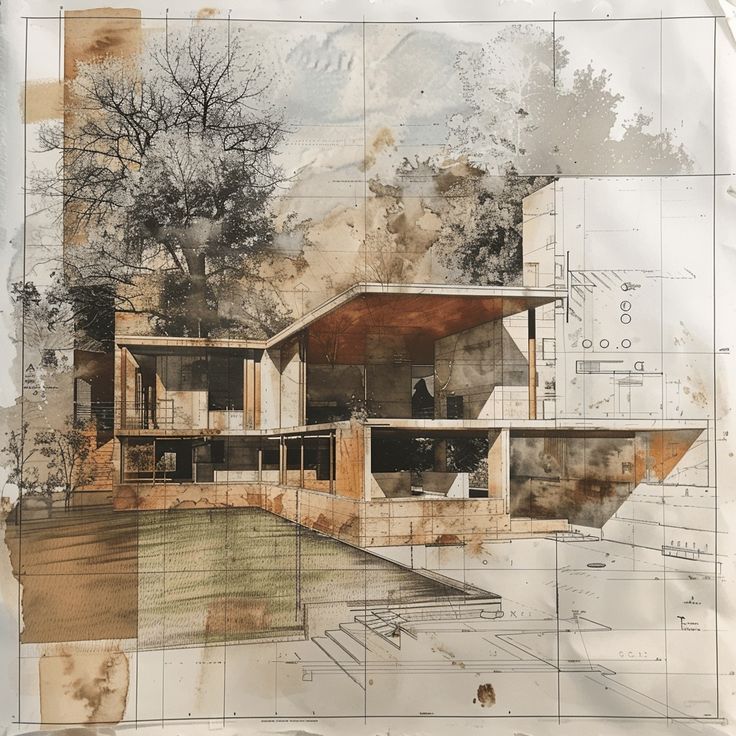
Mastering Lighting Techniques
Effective lighting can transform your architectural renderings. Understanding how to manipulate both natural and artificial light will enhance the realism of your designs. You can create depth and focus by effectively managing shadows, which adds to the overall impact of your visual representation.
Understanding Natural and Artificial Light
Natural light has specific qualities that change throughout the day. Sun position affects the intensity and direction of light, impacting your rendering’s mood. Early morning light is softer, while midday sun casts harsh shadows.
Tips for incorporating natural light:
- Study shadows: Observe how shadows fall at different times, and replicate this in your renderings.
- Consider reflections: Use materials that can bounce light effectively, like glass and polished surfaces.
Artificial light, on the other hand, provides control over your environment. Choose different types of artificial sources, such as point, spot, and area lights, to create various effects. Use warm and cool color temperatures strategically to set the desired tone for your space.
Effective Use of Shadows
Shadows play a critical role in creating dimension in your renderings. They can emphasize architectural features, draw attention to focal points, or soften rigid lines. Understanding shadow techniques can bring your designs to life.
Key methods to enhance shadows:
- Soft vs. Hard Shadows: Use soft shadows for a gentle, diffused look, while hard shadows can create drama and contrast.
- Layering Shadows: Combine shadows with other techniques, such as object overlap, to create a sense of depth.
Utilizing shadows effectively helps establish a realistic context for your architecture. Experiment with varying shadow angles and intensities to find the best approach for each project.
Advanced Texture Application
Applying textures effectively enhances the realism of your architectural renderings. Selecting the right textures and creating detailed surface effects are crucial for achieving this level of realism.
Selecting the Right Textures for Materials
Choosing appropriate textures is essential for conveying the material properties in your designs. Focus on high-resolution textures that closely match the actual materials being represented.
Utilize texture libraries that specialize in architectural materials. Websites like Textures.com or Poliigon offer extensive collections. You may also explore substance materials for more customizable options.
When selecting textures, consider the following factors:
- Scale: Ensure textures are scaled correctly to fit the model.
- Context: Match textures to their environment for coherence.
- Detail: Look for textures that include bump, normal, and specular maps to enhance realism.
Creating Realistic Surface Details
Incorporating surface details will elevate your renderings. This includes not just the texture but how it interacts with light and reflects the environment.
Utilize bump mapping and displacement mapping techniques to add depth. Bump mapping simulates surface imperfections without altering geometry. Use displacement mapping for more complex surfaces, affecting the actual model’s geometry.
Consider layering textures to create more intricate details:
- Base Texture: The primary material appearance.
- Bump/Normal Map: Adds depth without additional geometry.
- Specular Map: Controls the shininess and reflection properties.
Adjusting the glossiness of your materials will also impact realism. A finely tuned balance between these techniques will result in lifelike surfaces that engage viewers and enhance the architectural narrative.
- 17shares
- Facebook0
- Pinterest17
- Twitter0
- Reddit0


