The first month in a new home shapes how it will look in a year. The habits you form while the boxes are still stacked decide whether stone counters stay unmarked, timber floors keep their finish, and the water shutoff stays reachable instead of disappearing behind storage.
This plan covers the first 24 hours, the first week and the first month. It gives room-by-room care that protects interior finishes and keeps household systems accessible. It assumes the move is done and the decorating can wait.
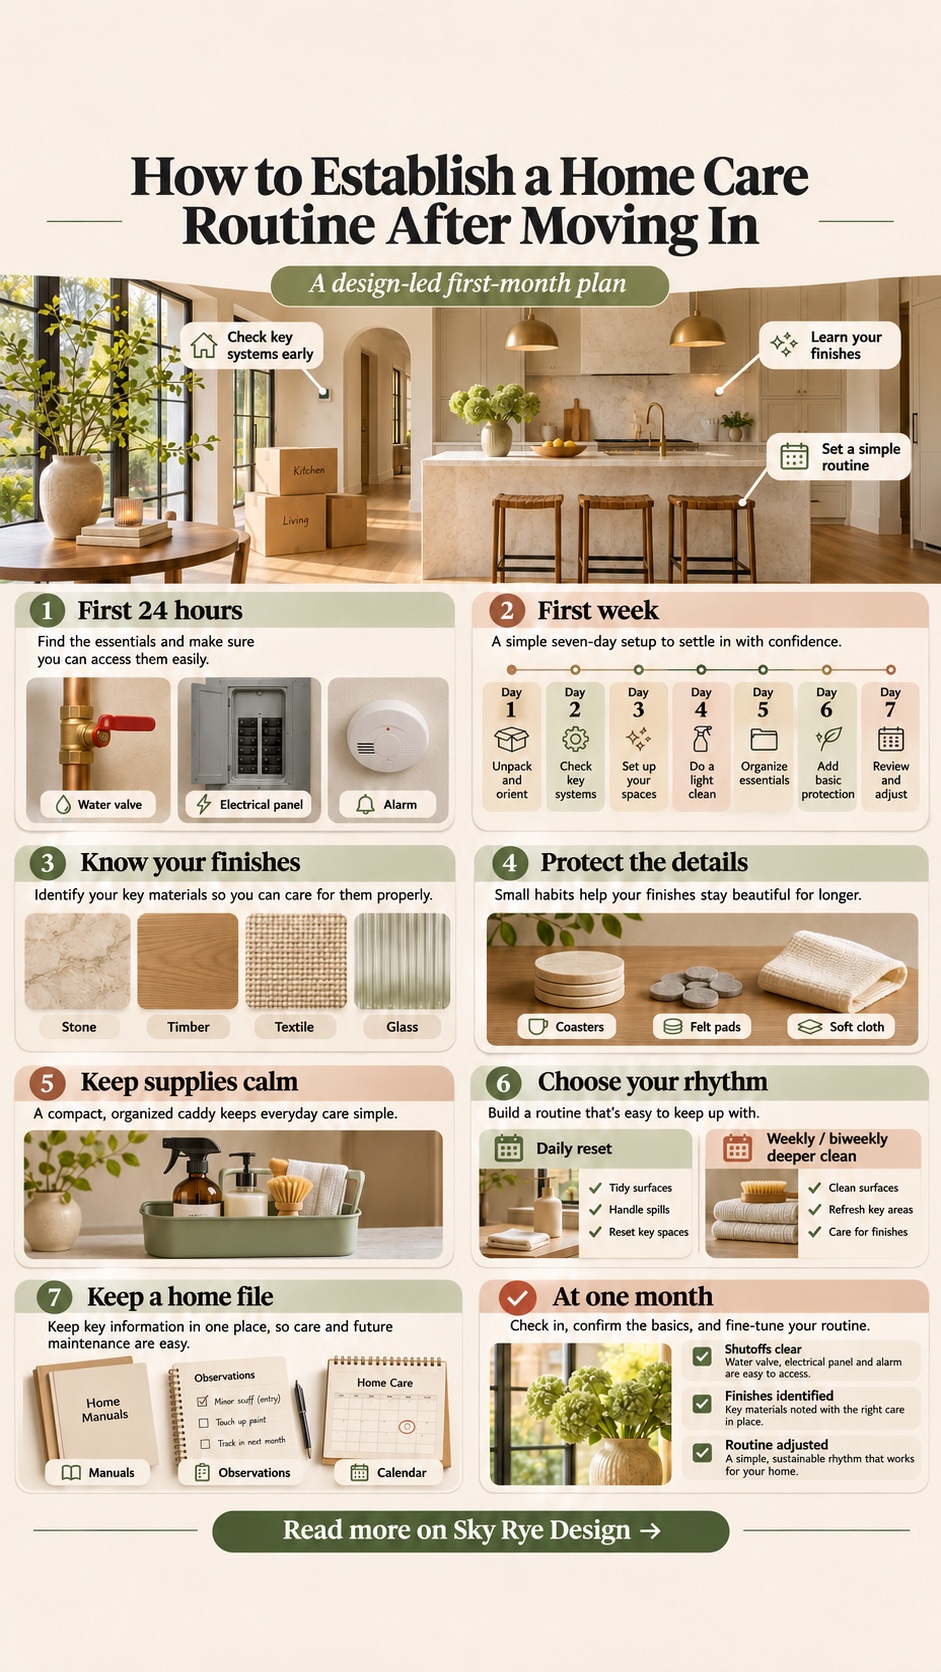
The first 24 hours: learn how the house works
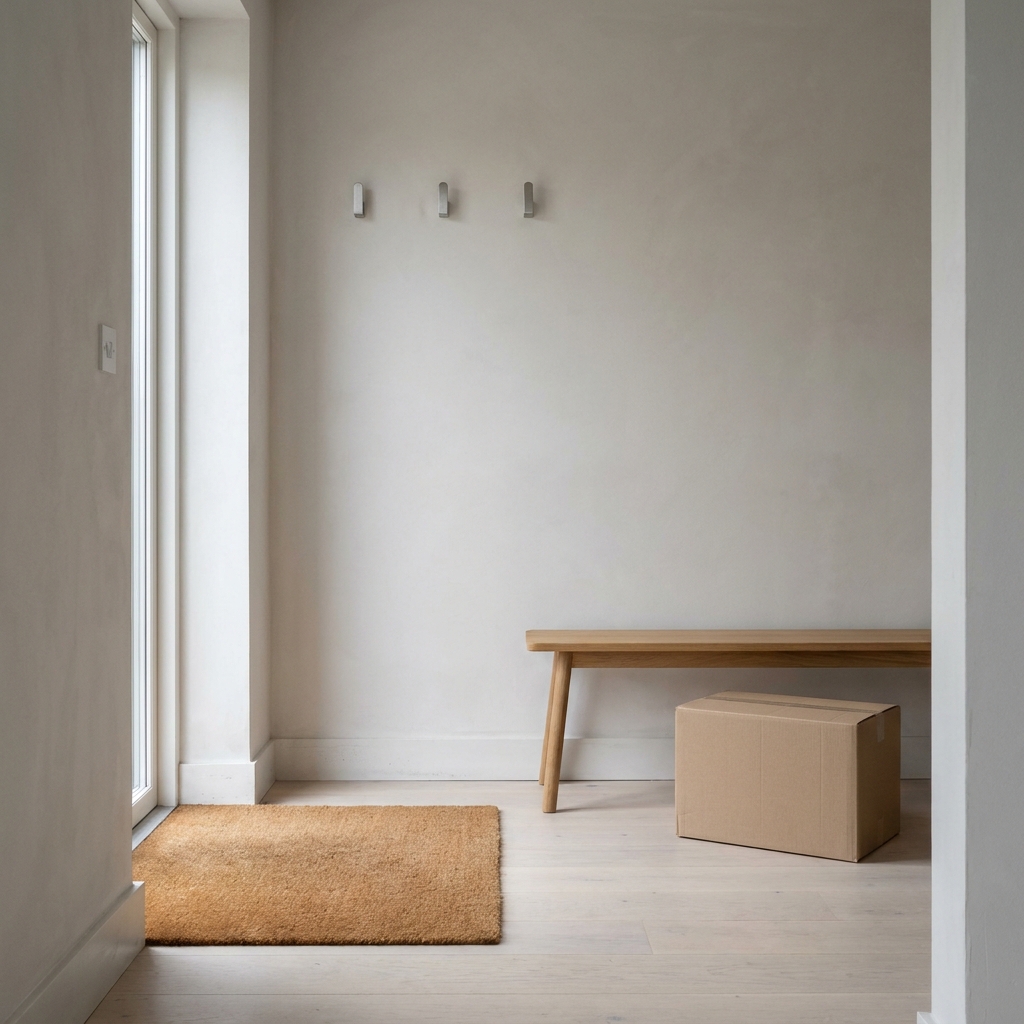
Before you clean anything, find the parts of the house you may need in a hurry. Do a short walk-through with a notebook or your phone:
- The main water shutoff and any fixture-level valves under sinks and behind toilets
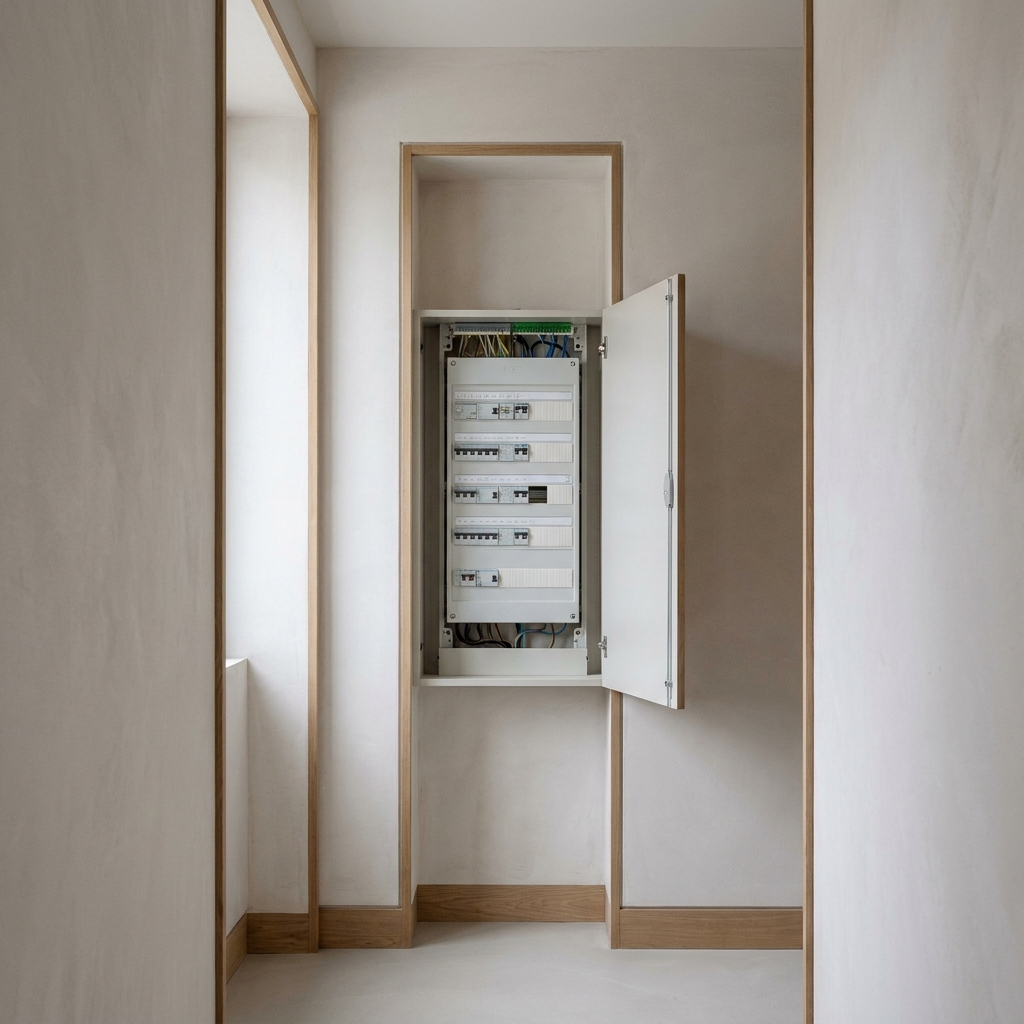
- The electrical panel, and whether its circuits are labelled
- Heating and cooling equipment, plus any visible filter access
- Smoke and carbon monoxide alarms, and how each one is tested

Then make sure these points stay clear. In the rush of unpacking, it is easy to block a panel with a wardrobe or fill an under-sink cabinet so the valve can’t be turned. Treat the space around each one as part of the design, not leftover storage.
The same applies whether you’ve crossed the country or the street. The source draft cites 53.5% of moves, but that figure is not verified by the linked moving-company page. What matters after arrival is the layout, systems and finishes of this particular home.
The first week: identify your finishes
You can’t care for a surface properly until you know what it is. Gather any documents from the sale or the previous owners: appliance manuals, warranties, inspection reports and maintenance records. Look for notes on flooring, worktops and fixtures.
Where you can’t confirm a material, write “unknown” rather than guessing. Until you learn more, clean gently. Use a damp cloth before any specialist cleaner, and test a hidden spot first.
A simple day-by-day rhythm keeps the week manageable:

- Days 1–2: Kitchen surfaces and the bathroom you use most
- Days 3–4: Floors in high-traffic rooms; fit felt pads to furniture legs as you place pieces
- Days 5–6: Bedrooms, textiles and window treatments
- Day 7: Review what you’ve learned and note the finishes that need follow-up
Finish-specific care for stone, timber, textiles and glass
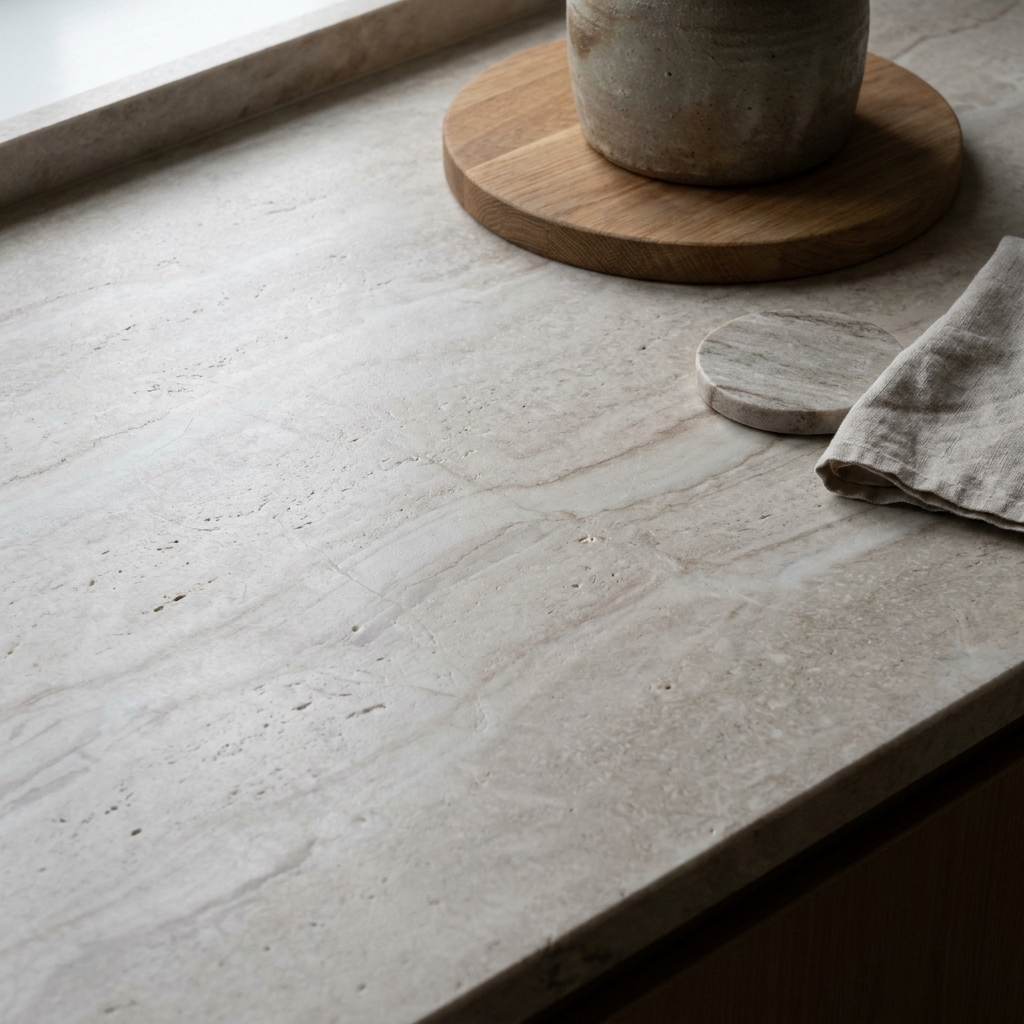
Stone. Natural stones behave differently. Some are sensitive to acids, such as citrus, vinegar and many general bathroom cleaners. Until you know the stone and whether it has been sealed, wipe spills promptly, use coasters and trivets, and avoid abrasive pads. Ask the installer, previous owner or manufacturer which cleaners are safe.
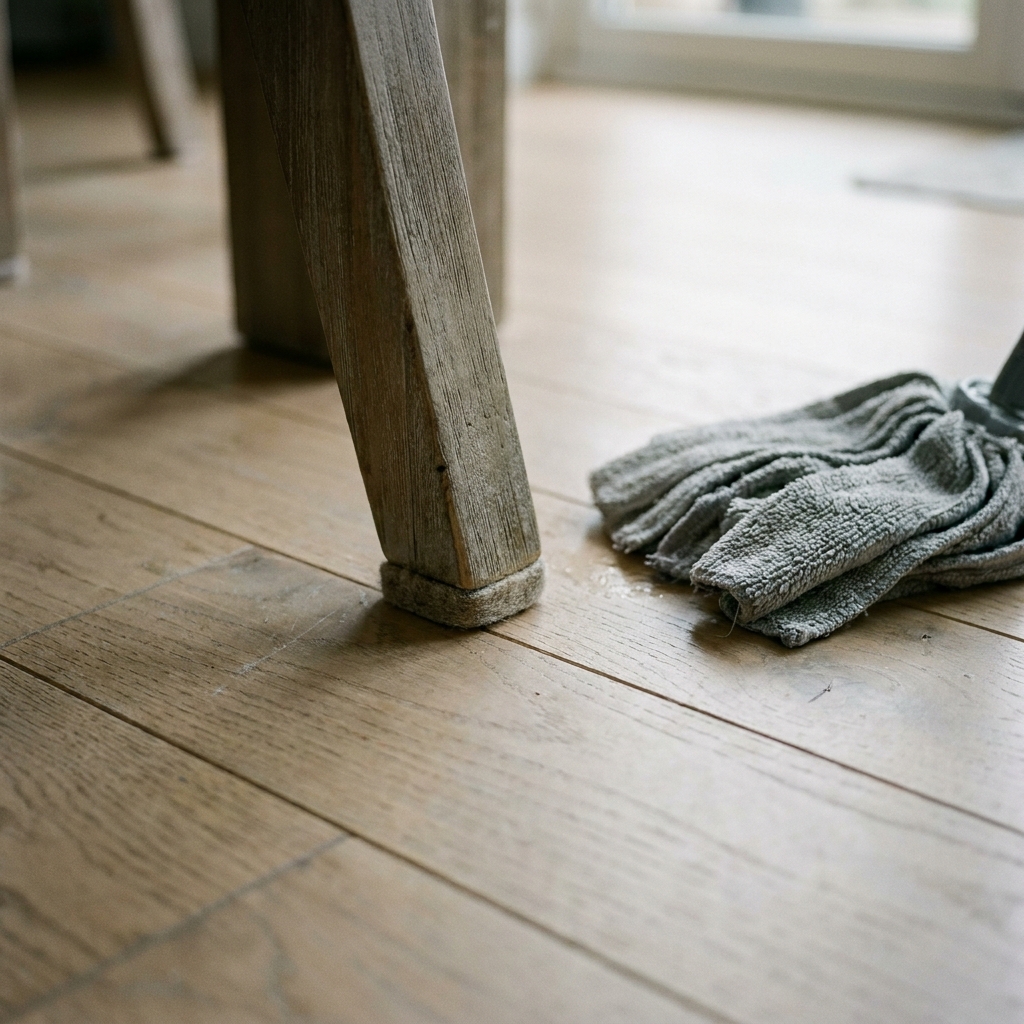
Timber. Wood floors and furniture generally dislike standing water and grit. Use entry mats to catch debris, dry-dust before damp-mopping, and wring cloths well. Pads under chairs and sofas prevent the fine scratches that dull a floor over time. Check whether the finish is oiled, lacquered or something else, because each needs different care. If you are still choosing future materials, compare low-maintenance home improvements separately from this first-month care plan.
Textiles. Read the care labels on upholstery, rugs and curtains while the furniture is new to the room. Notice which pieces sit in strong direct sun, since fading can happen gradually. Our guide to caring for cellular shades covers one window treatment in more detail. Rotating cushions and rugs, where the design allows, spreads wear more evenly.

Glass. Windows, shower screens and glass tabletops show every mark, so they affect the room more than their size suggests. A soft, lint-free cloth handles most daily marks. Some glass has coatings, so check before using abrasive or strong cleaners.

A restrained cleaning station
A good cleaning station is small, deliberate and easy to reach. Choose one place for it on each main floor, ideally near the kitchen or a utility area. Avoid the cabinet that hides a shutoff valve.
Keep only what your finishes actually need. A crowded shelf of half-used bottles is hard to use and harder to look at. A restrained kit might include:

- Soft cloths, sorted by use (glass, general surfaces, floors)
- A gentle all-purpose cleaner you’ve confirmed is safe for your surfaces
- Any specialist cleaner your stone or timber requires
- A small spare kit for the bathroom, so you don’t carry supplies between floors
Visual order helps here. Matching or neutral containers, a single caddy and a labelled shelf make the station quicker to restock. They also make it pleasant enough that you’ll actually use it.
Weekly or biweekly: choosing a rhythm
Sort tasks into daily resets, such as wiping counters, clearing dishes and putting things away, and deeper sessions for floors, bathrooms and dusting. The real decision is how often those deeper sessions happen.
A weekly rhythm suits busy households, pets, or finishes that show wear quickly. A biweekly rhythm can work where daily resets are consistent and traffic is light. Resources discussing a biweekly cleaning schedule set out how alternating weeks can be used for different zones or more detailed tasks. Let your household size, pets and finishes decide, then adjust after the first month.
Keep plumbing and other systems in view
Cleaning protects surfaces, but systems need attention too. Start a running note of anything unusual: slow drains, new noises, shifts in water pressure, or damp under sinks. Specific observations make conversations with a professional far more useful.
For plumbing, guidance such as once a year covers the value of professional maintenance. The right interval depends on your system’s age and type, manufacturer recommendations and advice from a qualified local plumber. Ask at your first service visit, then record the answer rather than assuming a standard schedule.
Alarm testing, filter changes and checks on windows and doors belong in the same record. Follow the intervals in each product’s manual. If no manual is available, ask a professional.
Records and reminders
Create one home file, digital, physical or both, with simple sections:
- Finishes: material, location, care notes and safe cleaners
- Systems: equipment, model details, manuals and service history
- Observations: dated notes on anything unusual
- Contacts: installers, service providers and previous owners, if available

Then turn the intervals you’ve confirmed into calendar reminders. Base each one on a manual or professional advice, and leave estimates out. Spreading reminders across the year prevents several jobs from landing at once. For a broader view of longer-term systems care, see our guide to routine home maintenance.
By the end of the first month

By week four, you should know where your shutoffs are and have kept them clear. You’ll have identified most of your finishes, set up a cleaning station that suits them, and chosen a weekly or biweekly rhythm based on how the house is used.
Keep it modest. A routine that protects your surfaces and keeps systems reachable works better than an ambitious plan you abandon in March. The home will tell you what it needs if you keep noting what you see.
- 0shares
- Facebook0
- Pinterest0
- Twitter0
- Reddit0