Automotive workshop design is the planning of a commercial repair facility around how vehicles, technicians, customers and waste actually move through it. Done well, it makes repair work safer, faster and easier to trust. This guide gives you a working method: map the repair process first, then shape bays, light, surfaces, the customer zone and EV/ADAS space around it.
- Why market changes now affect workshop design
- Start with the repair process, not the floor plan
- Build a service-bay layout that reduces wasted movement
- Choose light, surfaces and acoustics for real workshop work
- Design the customer zone as evidence of competence
- Plan now for EV service and ADAS calibration
- A practical automotive workshop design checklist
- Questions designers and shop owners ask
- Your next step
Most repair shops are not designed. They accumulate. A lift goes where the old one was, a parts shelf appears in a corner, and a waiting area is carved out of whatever space is left. The result works until it doesn’t, and then every inefficiency shows up as lost time, cluttered floors and customers who can’t tell whether the place is competent.
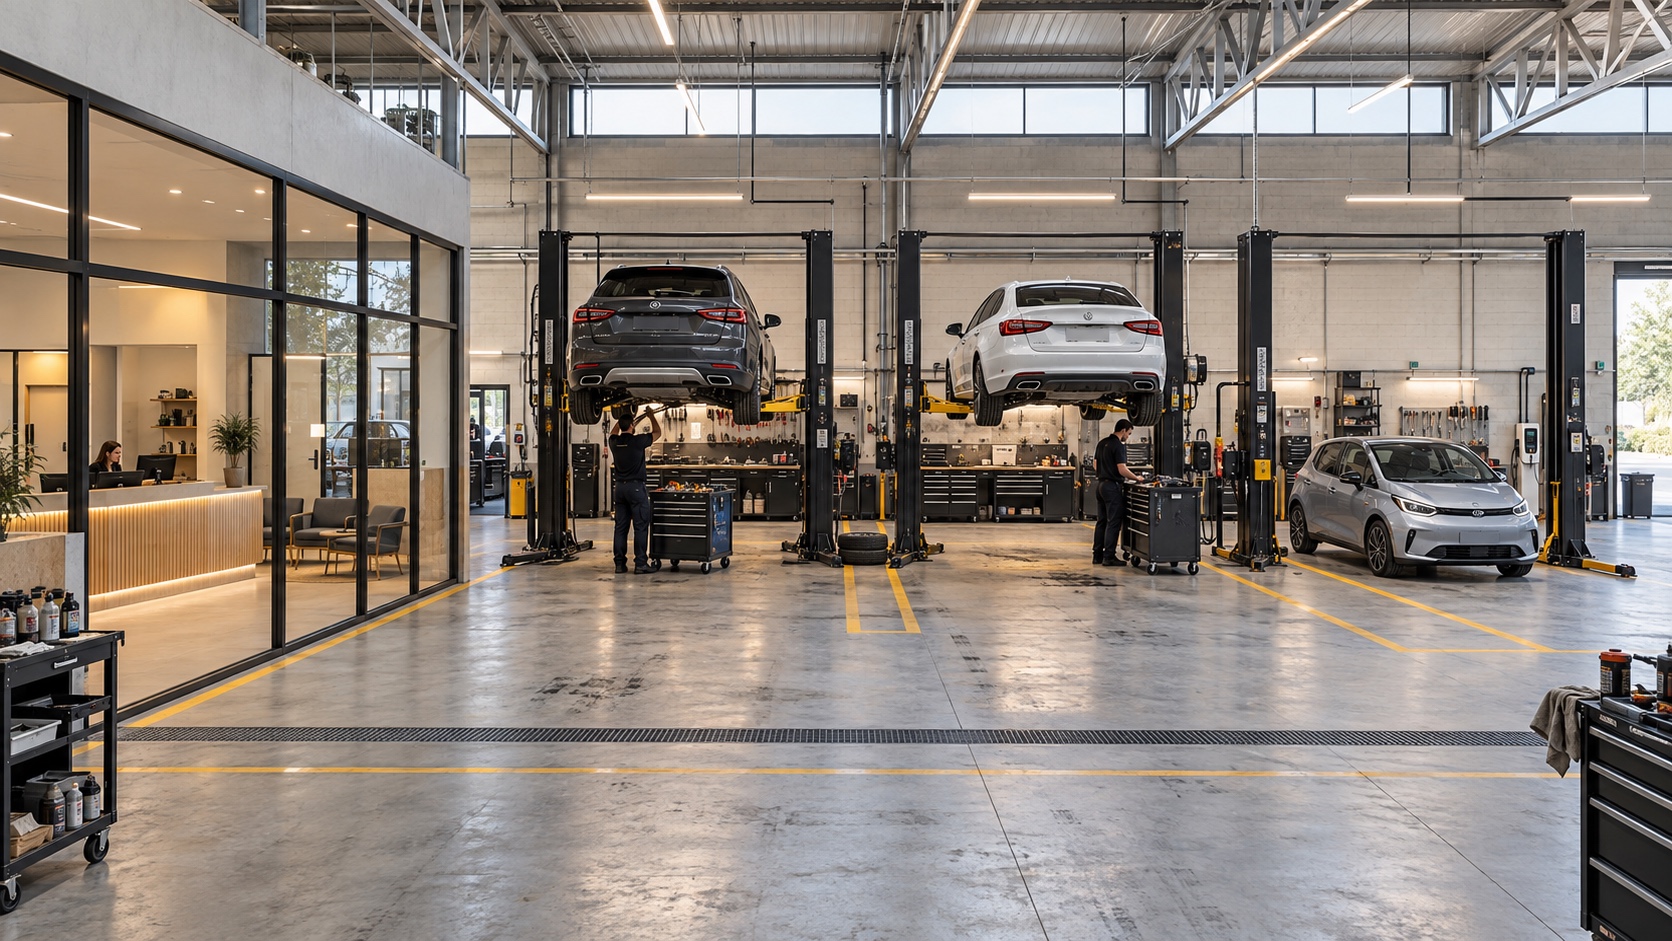
A designed shop starts from a different question. What has to happen, in what order, and who needs to be where while it happens?
Why market changes now affect workshop design
The repair business is changing in ways that land directly on the floor plan. The supplied market notes claim that independent shops handle 75% of vehicle repairs, that the sector is expected to grow by 7.6%, and that U.S. oil-change services generate about $10 billion USD annually. Those figures are context from the original source, not the basis for the design decisions below. The clearer point is that independent shops still matter, and the work they do is shifting.
That shift is spatial. A shop built for oil changes, brakes and exhaust work assumed noise, fluids and fairly simple tools. Today’s mix adds scan tools, software updates, sensor calibration and high-voltage battery systems. Those tasks need clean, controlled, well-lit space, often right next to the messy work that hasn’t gone away.
So the design brief has two halves that pull against each other. You still need a tough, washable, fluid-tolerant workshop. You also need zones closer to a lab: level, quiet, glare-controlled and organized. Good automotive workshop layout design keeps both working without letting one contaminate the other.
Start with the repair process, not the floor plan
The most common planning mistake is opening a drawing tool and placing lifts. Bays are the expensive, fixed part of the building, so they feel like the natural starting point. They aren’t. The process is.
Before any layout, write down every step a typical job goes through, plus the variations. A tire job, a diagnostic job and an EV battery job do not follow the same path. If you’re coming from residential work, this is the main difference from planning a home garage workshop: a home garage serves one owner’s habits, while a commercial shop serves a repeatable sequence that many people run at once.

Map vehicle journey from arrival to handover
Trace the car itself. It arrives, gets checked in, waits, moves to diagnosis, possibly waits again for parts, goes into a bay, gets tested, gets cleaned or inspected, and is handed back. Every one of those stages needs a physical place, even if that place is three marked parking spaces.
Pay attention to the waiting stages. They are where shops quietly lose space and order. A car parked in a bay while parts are on order blocks that bay for everyone. Planning a dedicated holding area, inside or out, often frees more capacity than adding equipment.
Then look at the handover. The finished car should leave from somewhere clean, visible and close to reception. A customer collecting their car from a corner beside the waste drums reads that as a verdict on the whole job.
Separate customer, staff, vehicle and waste routes
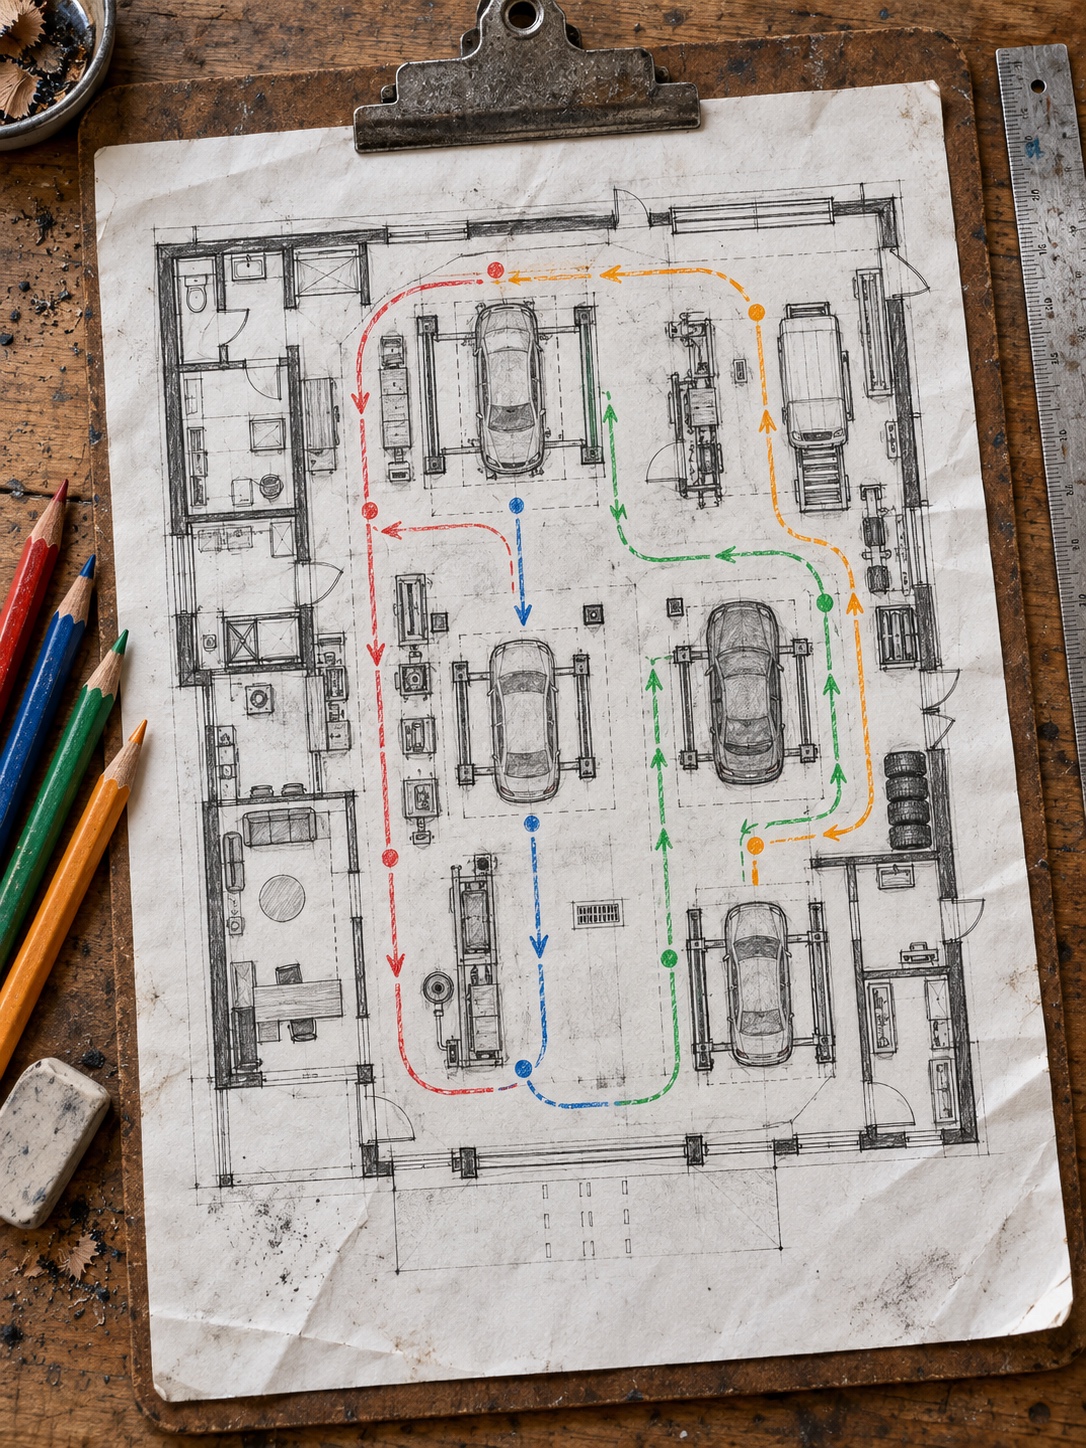
Once the vehicle journey is clear, overlay the other three flows. Customers should reach reception without crossing a working bay. Technicians need short routes to tools, parts and break areas. Waste, including used oil, filters, tires and contaminated rags, needs its own path to storage and collection.
The US EPA’s list of typical wastes generated by industry sectors covers auto maintenance waste streams and points toward separate fluid storage and recycling. In design terms, that means separate containers need separate, labeled, reachable homes rather than a single “waste corner.”
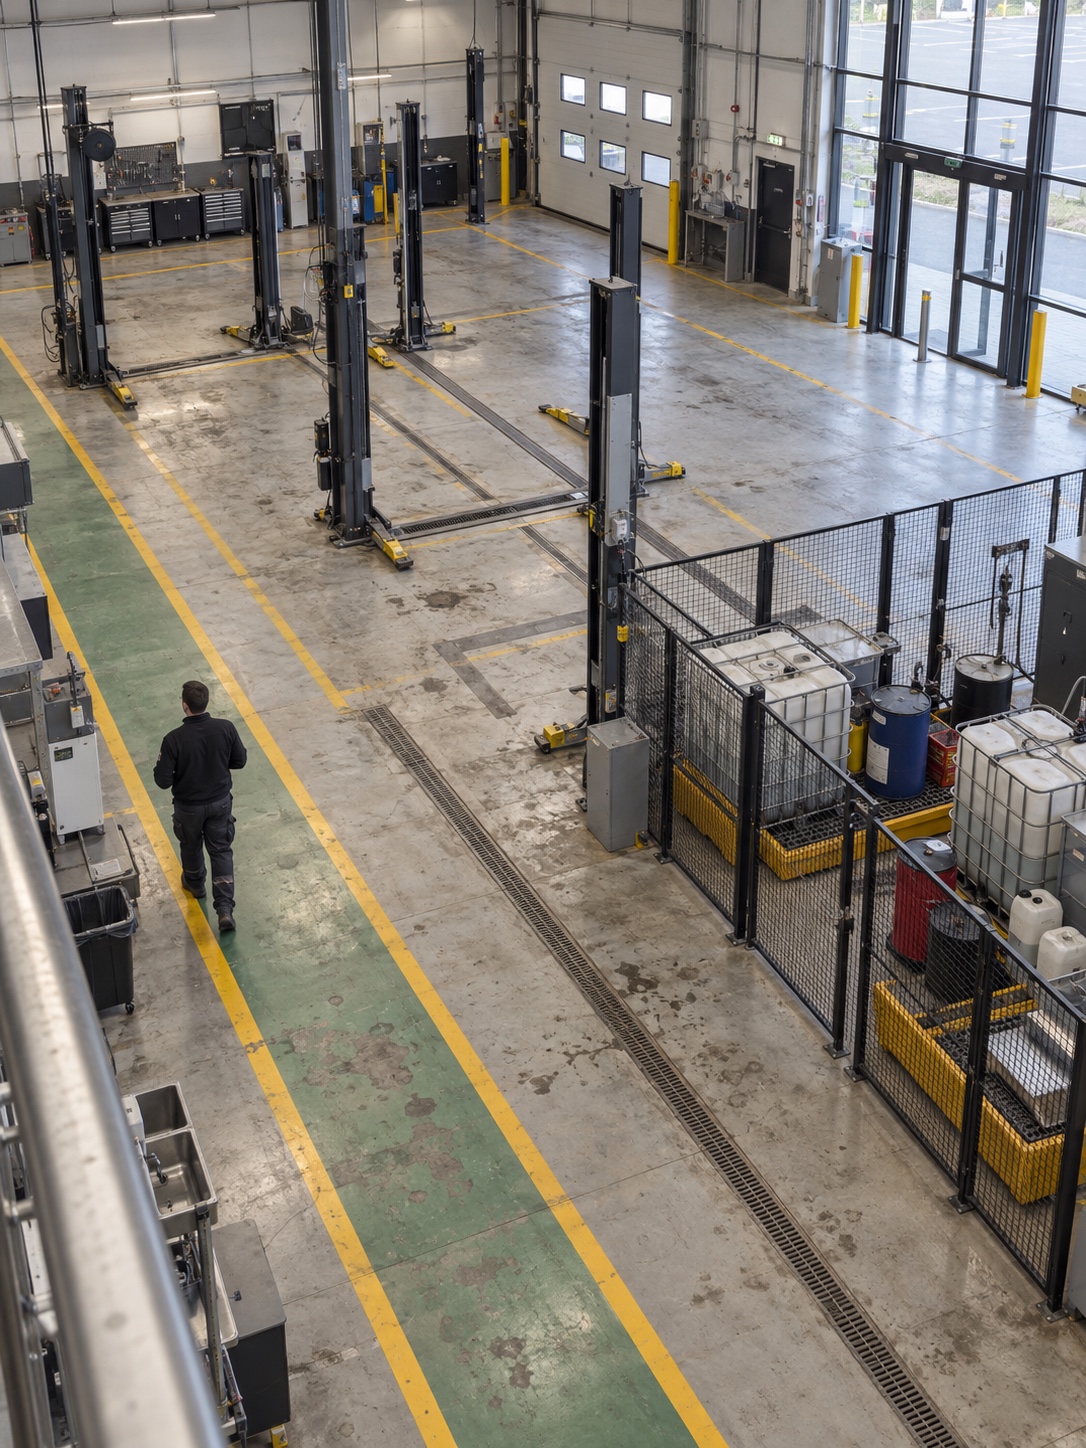
Draw these four routes in different colors on one plan. Where they cross, you have a conflict to solve. Sometimes that means moving a door. Sometimes it means accepting a crossing and controlling it with timing, marking or a barrier. Either way, you decide it on paper instead of discovering it with a forklift.
Build a service-bay layout that reduces wasted movement
A good service bay layout is mostly about walking. Every unnecessary trip to a tool wall, parts counter or shared machine adds up across a day. The goal is to keep the technician’s most frequent movements short and their less frequent ones predictable.
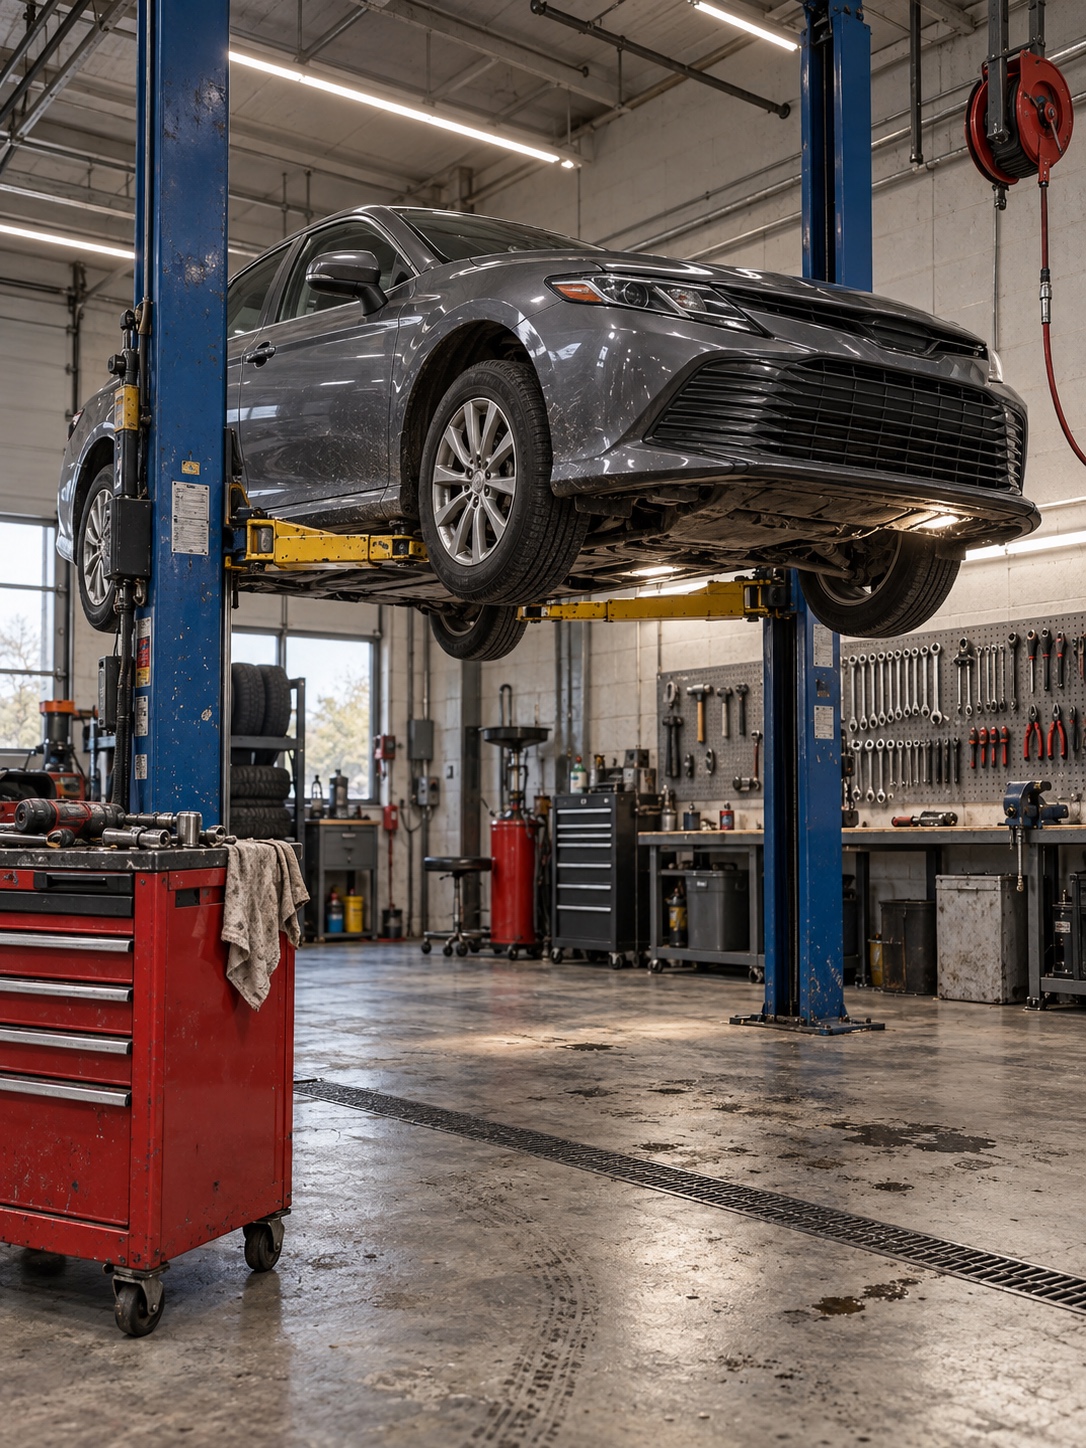
Bay spacing, tool access and flexible equipment zones
Bay dimensions depend on the lifts, the vehicles you service and the clearances the lift manufacturer specifies. Don’t borrow numbers from another shop or a blog post. Get the installation drawings for the exact equipment you plan to buy and design around them, then confirm against local code.
What you can decide early is the rhythm. Give each bay its own immediate tool storage and power, then cluster shared equipment such as tire machines, presses and parts washers where several bays can reach them without crossing a vehicle path. Keep walkways genuinely clear. OSHA’s walking-working surfaces standard, 29 CFR 1910.22 requires work areas and passageways to be kept clean, orderly and sanitary, with safe access and clear walking-working surfaces.
Build in at least one flexible zone. A bay with no fixed lift, good power and open floor can absorb a new type of equipment later. Shops that fill every square meter with permanent kit on day one tend to regret it within a few years.
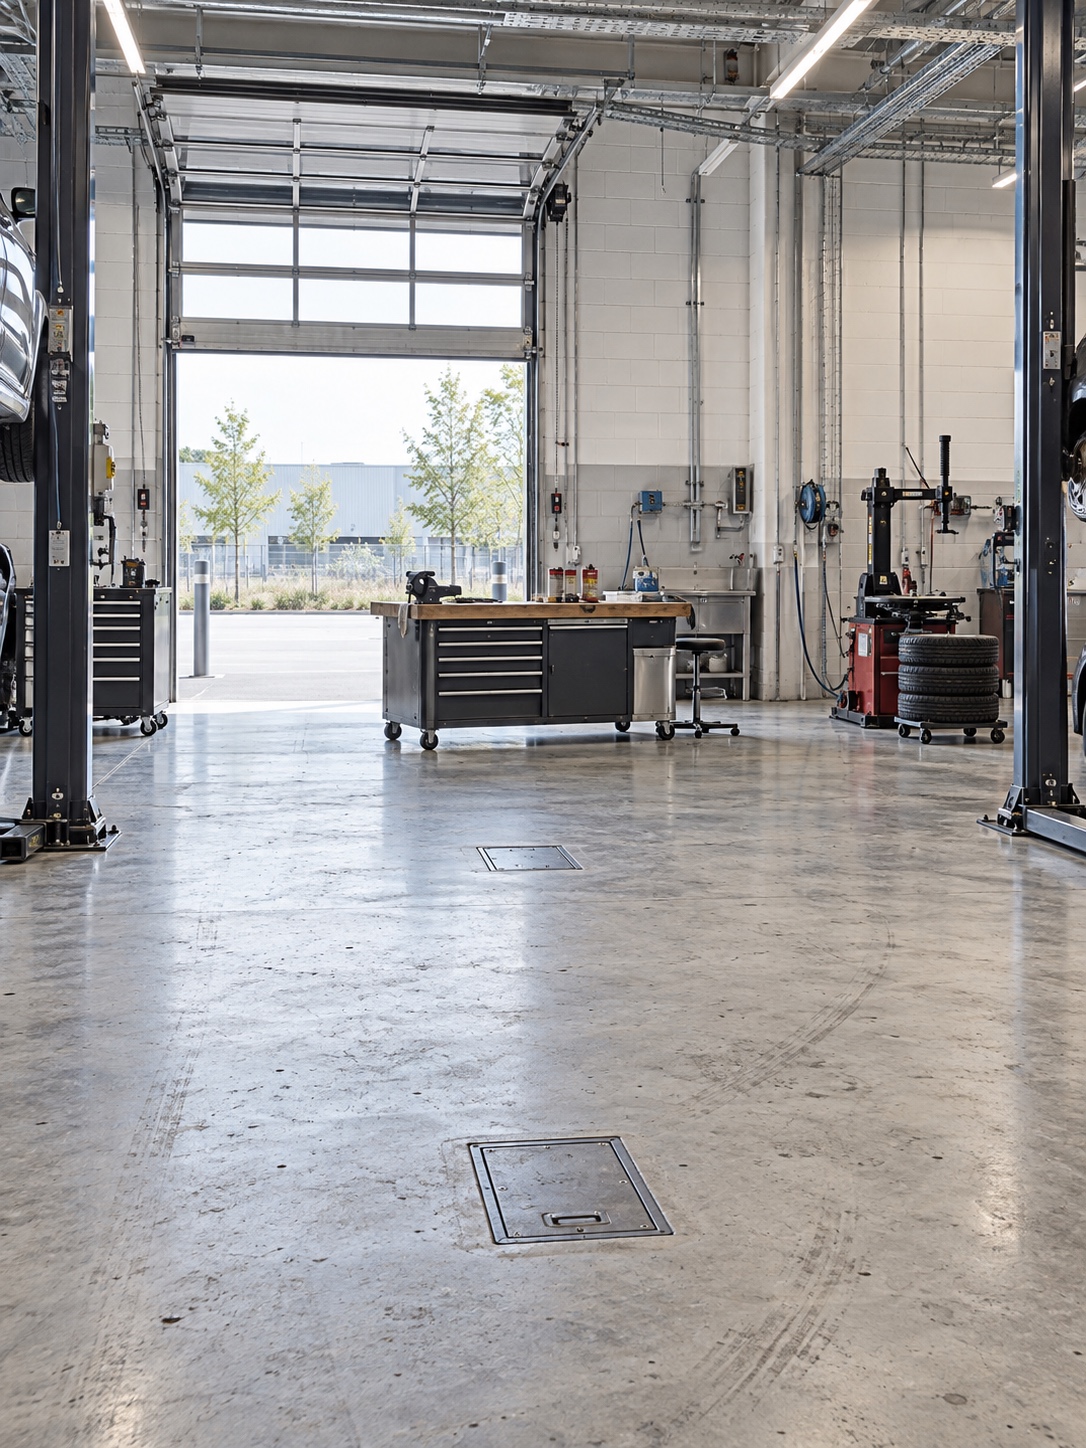
Diagnostics, alignment and specialist rooms
Diagnostic work used to happen wherever the car was. Increasingly it needs its own setting: a stable network connection, a desk-height surface for laptops, decent quiet, and screens that can be read without glare. If this is new territory, our piece on smart diagnostics in modern maintenance covers why the diagnostic step now shapes so much of the job.
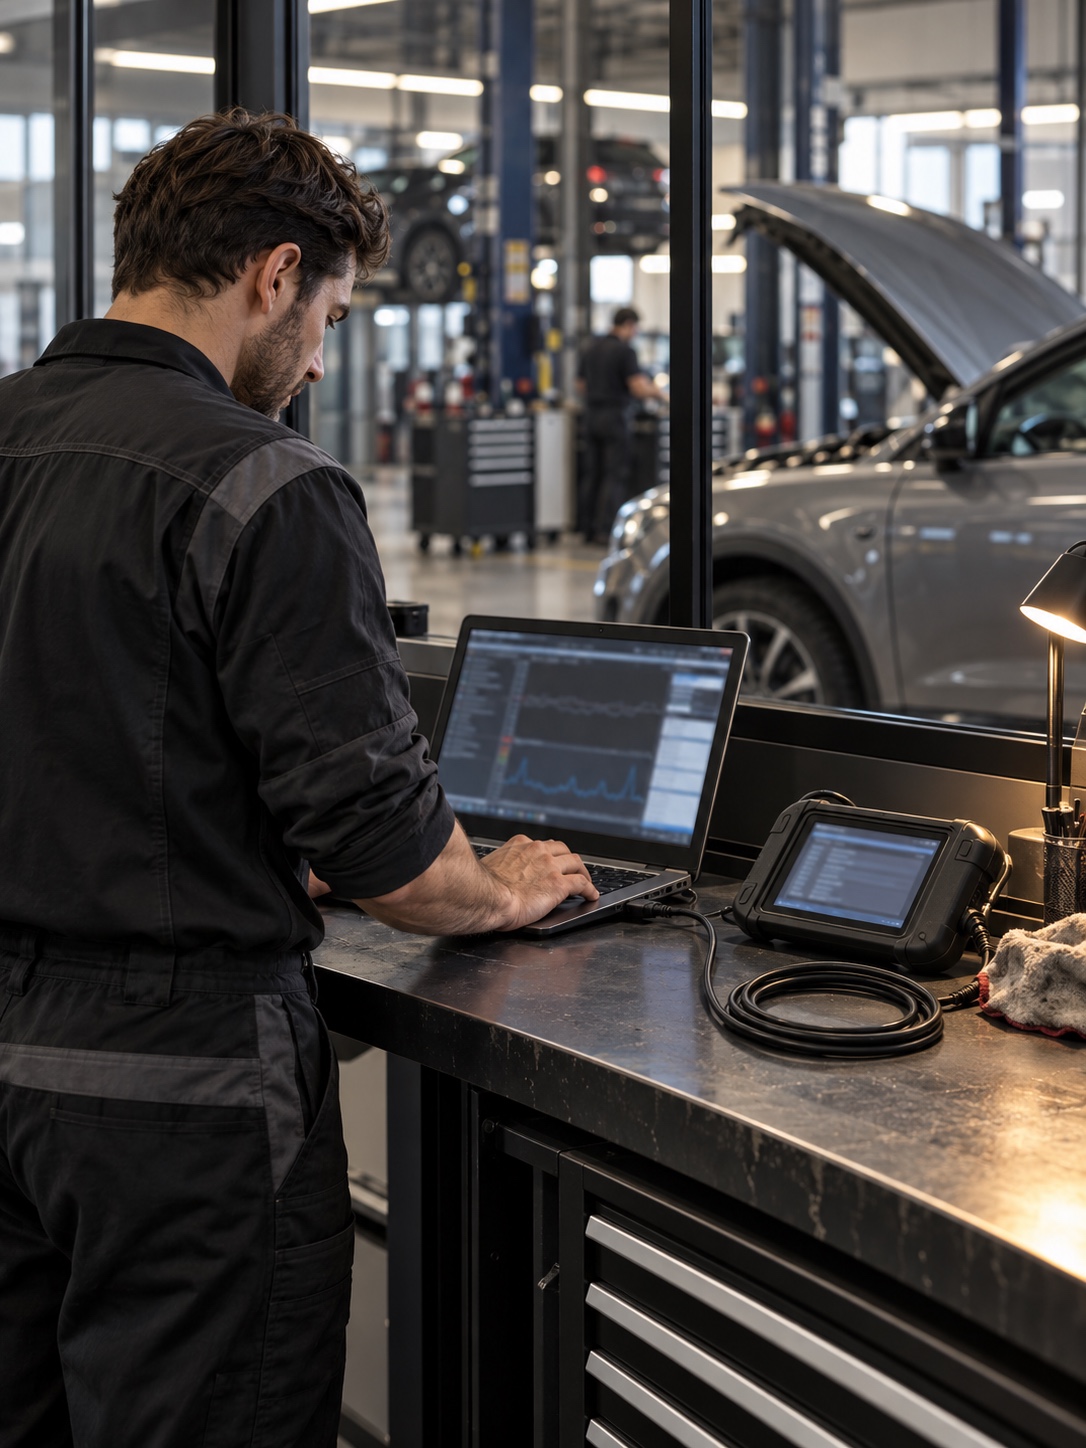
Alignment and specialist work bring their own demands. Alignment equipment generally relies on accurate, level floors, so plan its position before the slab is finished, not after. Specialist rooms for upholstery, electrical work or parts inspection benefit from being slightly removed from the loudest, dirtiest bays.
My background in industrial design keeps pulling me toward the same principle here: put precision work where conditions are stable, and protect it from what’s around it. A calibration target doesn’t care how good your branding is. It cares whether the floor moves and the light flickers.
Choose light, surfaces and acoustics for real workshop work
This is where design-minded owners can make the biggest difference for the money. Light, surfaces and sound decide how a shop feels to work in for eight hours, and how it looks to the customer walking past the window.
Layered lighting and glare control
A single grid of bright overhead fixtures is the default, and it’s not enough. Overhead light falls on roofs and hoods. Most of the work happens underneath, inside wheel arches and in engine bays. Plan in layers: general ambient light, task light at bay positions, and portable or under-vehicle light the technician controls.
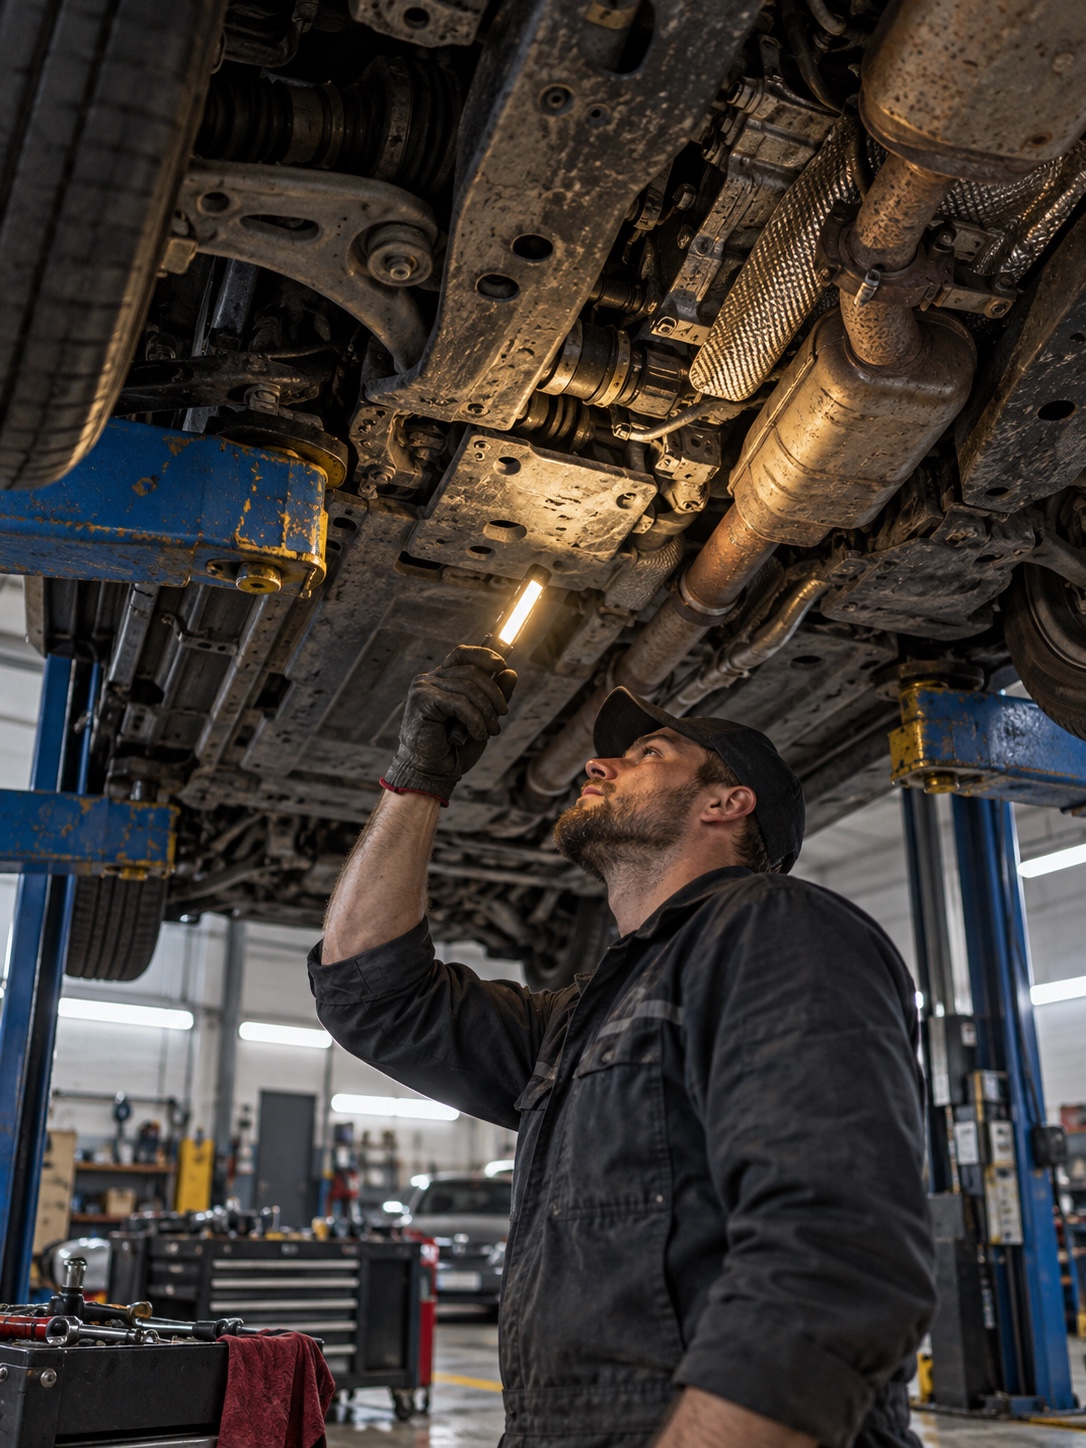
Glare is the quiet problem. Glossy paint, polished floors and screens all bounce light into eyes. Diffused fixtures, careful positioning relative to lift positions, and matte finishes where practical reduce it. Daylight is welcome in staff and customer areas, but direct sun across a diagnostic screen or calibration zone is a liability.
Color quality matters too. Technicians match paint, read wire colors and spot fluid leaks by eye. Specify lighting with color rendering suited to that work, and confirm it with your lighting designer.
Floors, walls, drainage and easy inspection
Floors take the hardest beating. They need to tolerate fluids, rolling loads, dropped tools and frequent cleaning. Under OSHA 1910.22, floors must be kept clean and, where feasible, dry, with drainage provided where wet processes are used. That points toward sealed, cleanable finishes and a deliberate drainage plan rather than an afterthought.
The US EPA’s floor-cleanup fact sheet for auto shops is useful design reading. It covers spill prevention, secondary containment, marked storage areas, leak inspection and overhead fluid delivery. Each of those has a spatial answer: containment trays built into storage zones, floor markings for fluid areas, and ceiling-run fluid lines that keep hoses off the floor.

Choose wall finishes the same way. Light, washable surfaces make dirt and leaks visible, which sounds like a drawback until you realize visible means fixable. Hidden grime is the version that becomes a problem. Easy inspection should be a design goal, not a side effect.
Noise, ventilation and thermal comfort
Workshops are loud: impact tools, compressors, tire machines. Move compressors and similar equipment to separate rooms where possible. Use acoustic treatment on ceilings or upper walls, away from where it will get oily. Keep the noisiest machines away from reception and diagnostic areas.
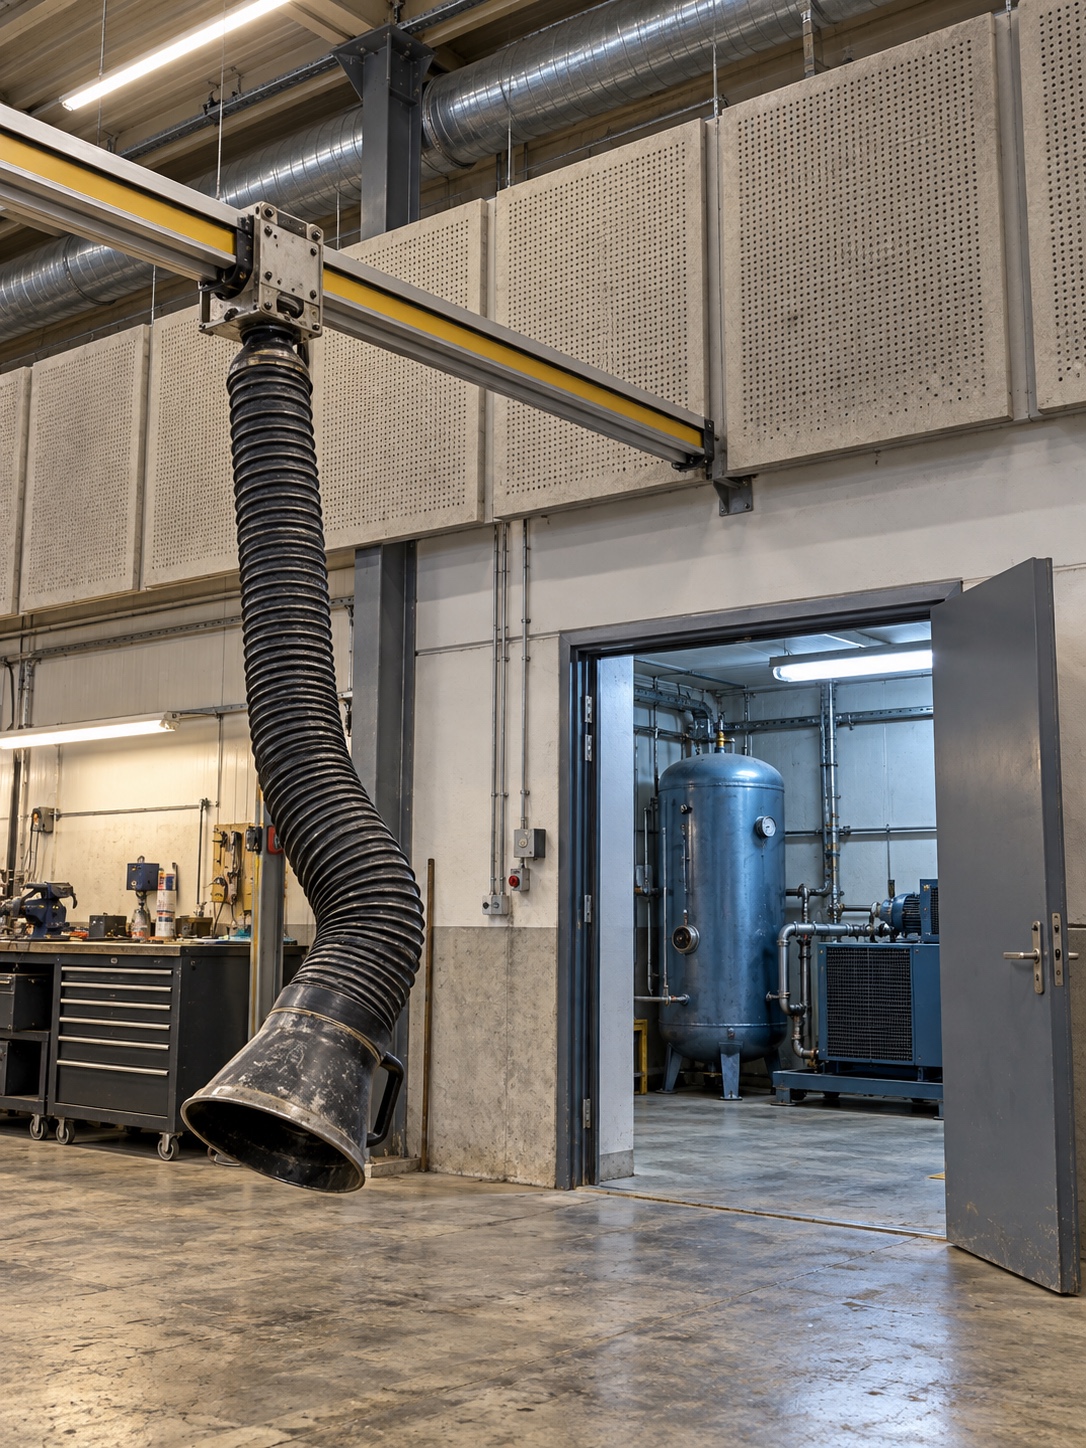
Ventilation and exhaust extraction need specialist input for fumes, vehicle exhaust and any painting or solvent work. Don’t treat this as a styling decision. Bring in a mechanical engineer and check local code and insurer requirements.
Thermal comfort is often ignored, especially near large bay doors. Doors that stay open all day in winter or summer make the shop exhausting to work in. Consider door placement, fast-closing doors, and zoning heat or cooling to where people actually stand.
Design the customer zone as evidence of competence
Customers can rarely judge a repair directly. They judge everything around it. The reception, the waiting area and the view into the workshop are evidence they use to decide whether to trust you. Repair shop customer experience starts with that evidence.
Reception, sightlines and controlled transparency
Put reception where customers arrive naturally, with a clear view of the entrance and ideally a partial view of the workshop. Controlled transparency works well here: a glazed wall or window onto a tidy section of the shop shows real work without exposing customers to noise, fumes or hazards.
Choose that view deliberately. Frame the cleanest, best-lit bays, not the parts washer. This is the one place where some showroom thinking helps, although a repair shop has to stay honest about being a workplace. If you want the opposite end of that spectrum, see our feature on showroom-style garage design.
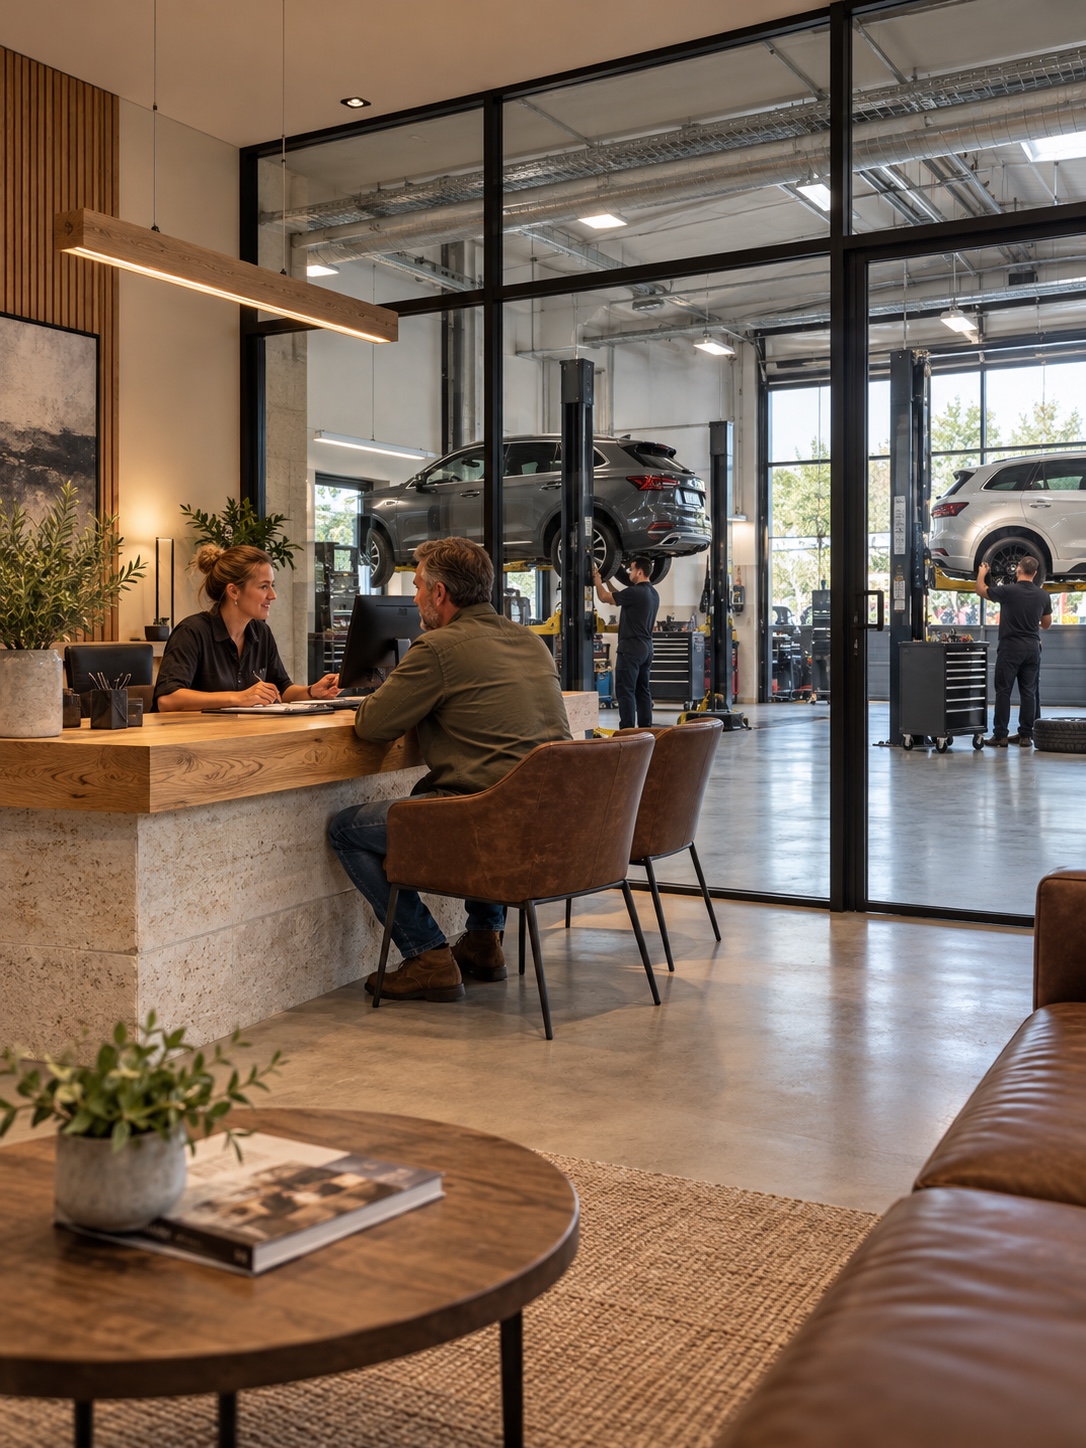
Keep the customer side physically separate. Glass, a door and a clear threshold make it obvious where visitors go and where they don’t.
Wayfinding, brand cues and honest material choices
Good wayfinding begins outside. Customers should immediately see where to park, where to enter and where to drop keys. Inside, signage should be minimal and consistent. Separate signs for customers and staff help avoid accidental wandering into bays.
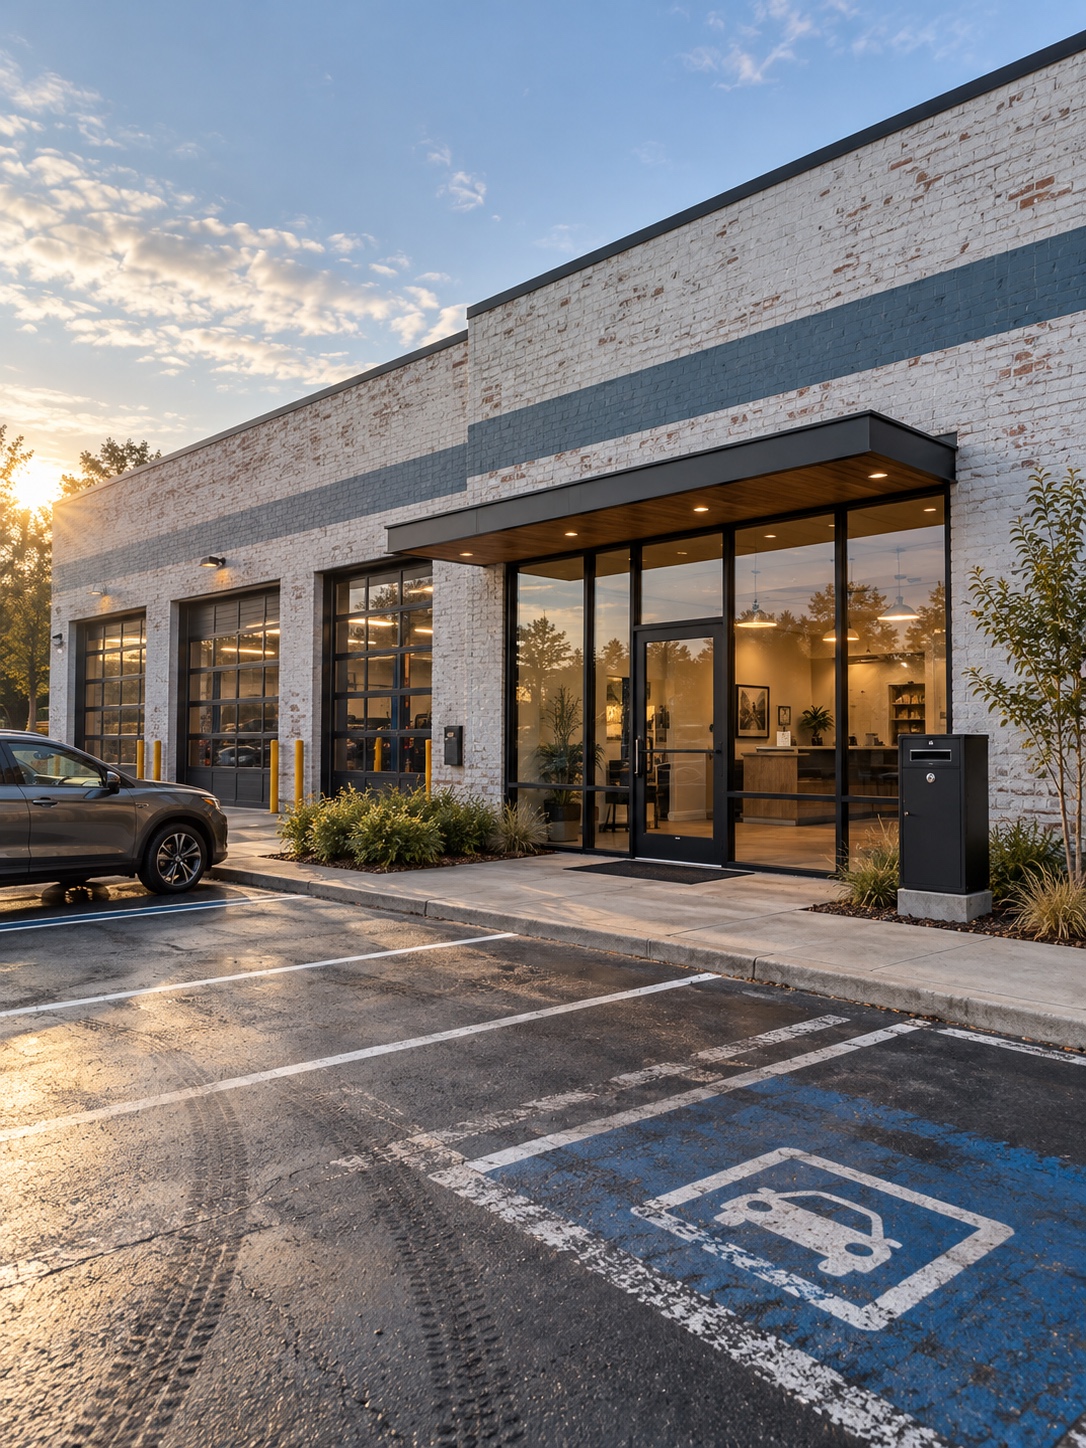
Brand cues can be subtle: one consistent color, clear typography and a tidy, well-lit counter do more than a large logo wall. I’ve spent a lot of time on brand and visual communication work, and the pattern holds here too. People notice coherence before they notice decoration.
Pick materials that tell the truth. Durable, cleanable surfaces in the waiting area say the same thing the workshop floor should say: this place is maintained. Fragile luxury finishes that scuff within months send the wrong message. So does a beautiful lounge attached to a chaotic workshop.
The US EPA Auto Repair Sector Insights Bulletin notes that pollution-prevention practices can improve worker and customer satisfaction, alongside reducing chemical-management risk, limiting liability and saving money. A visibly clean, organized shop is part of that story.
Plan now for EV service and ADAS calibration
EV workshop design and ADAS calibration are the two areas most likely to force a costly retrofit if you ignore them. Neither has to be fully built on day one. Both need space, power and floor quality reserved early.
Controlled calibration space and adaptable power
ADAS calibration often needs a very particular environment. As a concrete OEM example, a Ferrari ADAS service bulletin hosted by NHTSA calls for a level floor, controlled lighting in the 350–450 lux range, glare control and clear space around the vehicle. That is one manufacturer’s requirement for its vehicles, not a universal standard. Other manufacturers publish their own procedures, and they differ.
The design lesson still applies broadly. Calibration space should be level, uncluttered, protected from reflections and sunlight, and controllable in lighting. Reserve a bay or room for this and keep it free of permanent storage.
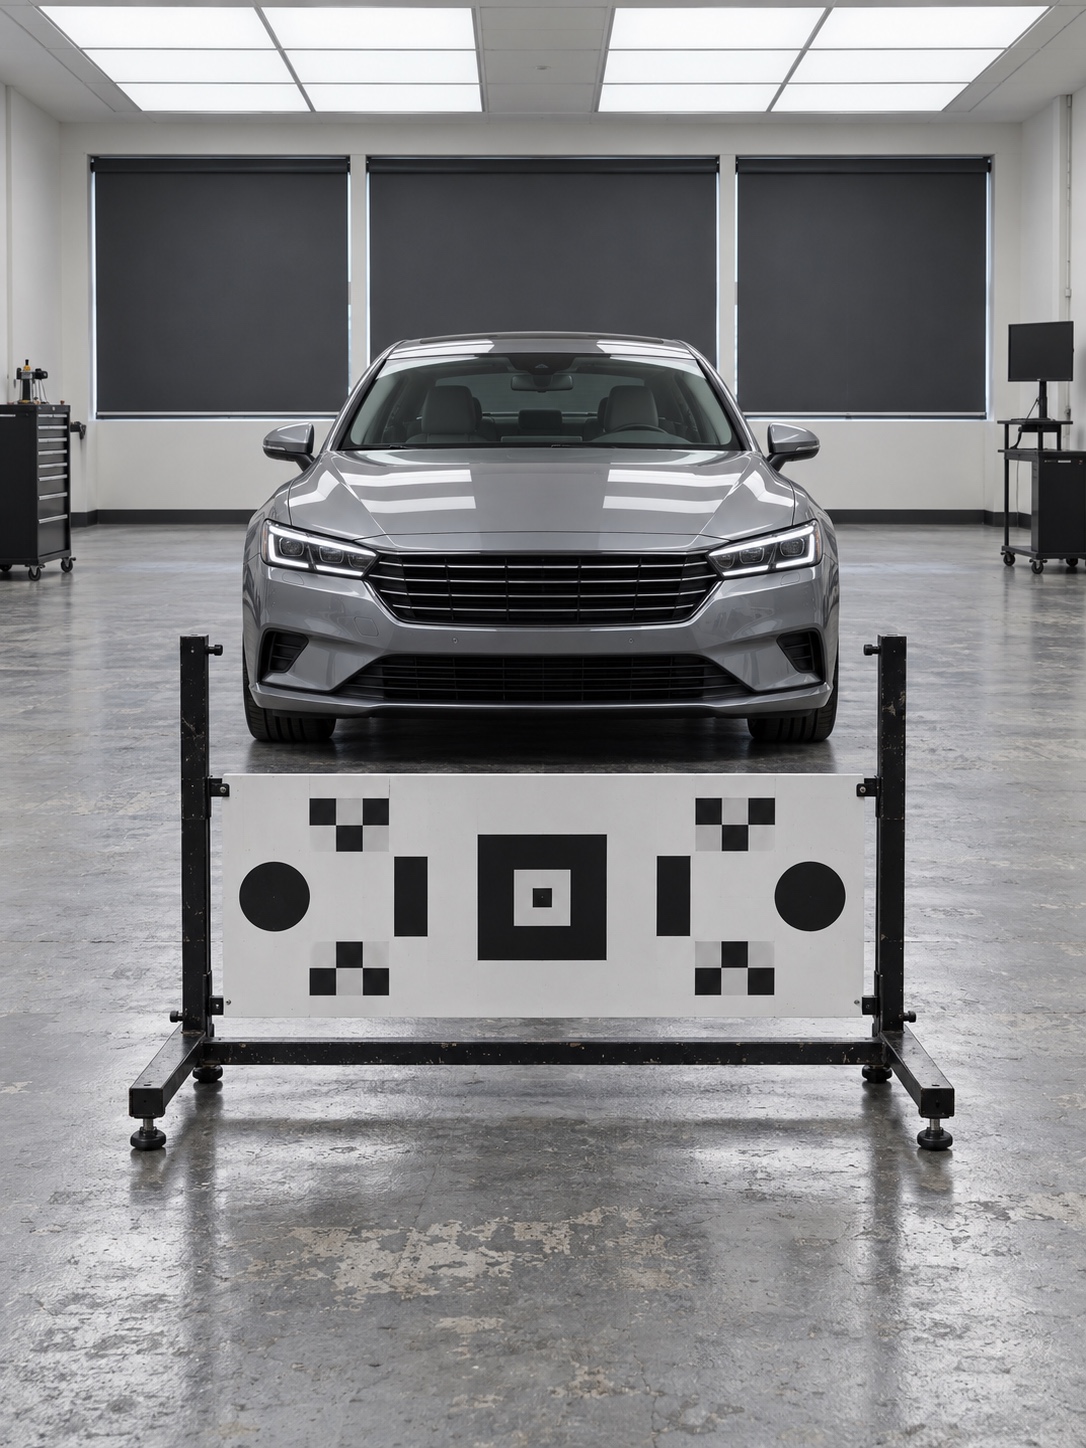
For EV work, plan electrical capacity and routes with an electrician early. Charging, battery equipment and future tools all need power, and adding it later through a finished slab or wall is expensive.
Safe storage, isolation and future equipment
EVs also introduce high-voltage components and battery handling. Plan a clearly marked area where an EV can be isolated from general traffic, with space around it and controlled access. Battery storage and handling requirements should come from the equipment manufacturer, vehicle manufacturer, insurer and local authorities.
If you want to understand how these vehicles are packaged, our article on electric vehicle architecture explains the layouts that affect lifting, access and storage.
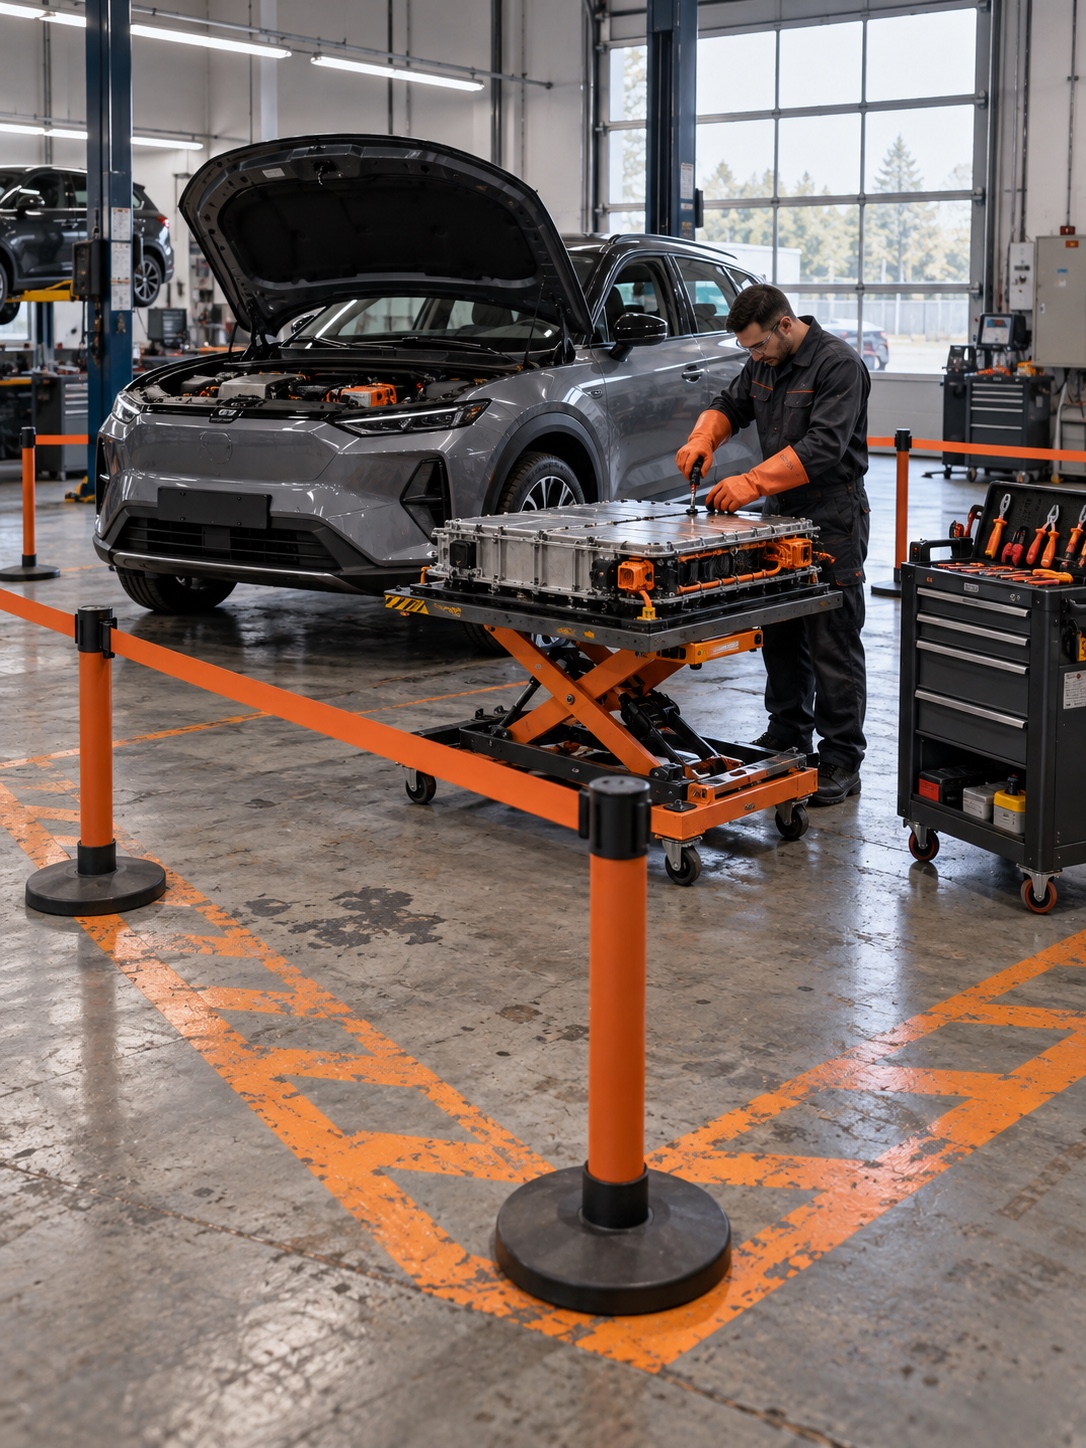
Build in future space. A shop that reserves room for another specialist zone can adapt as equipment changes. A shop that doesn’t will end up borrowing a working bay every time.
A practical automotive workshop design checklist
Use this table as a working checklist during planning, not as a compliance document. Confirm every item against local code, your insurer and equipment manufacturer requirements.
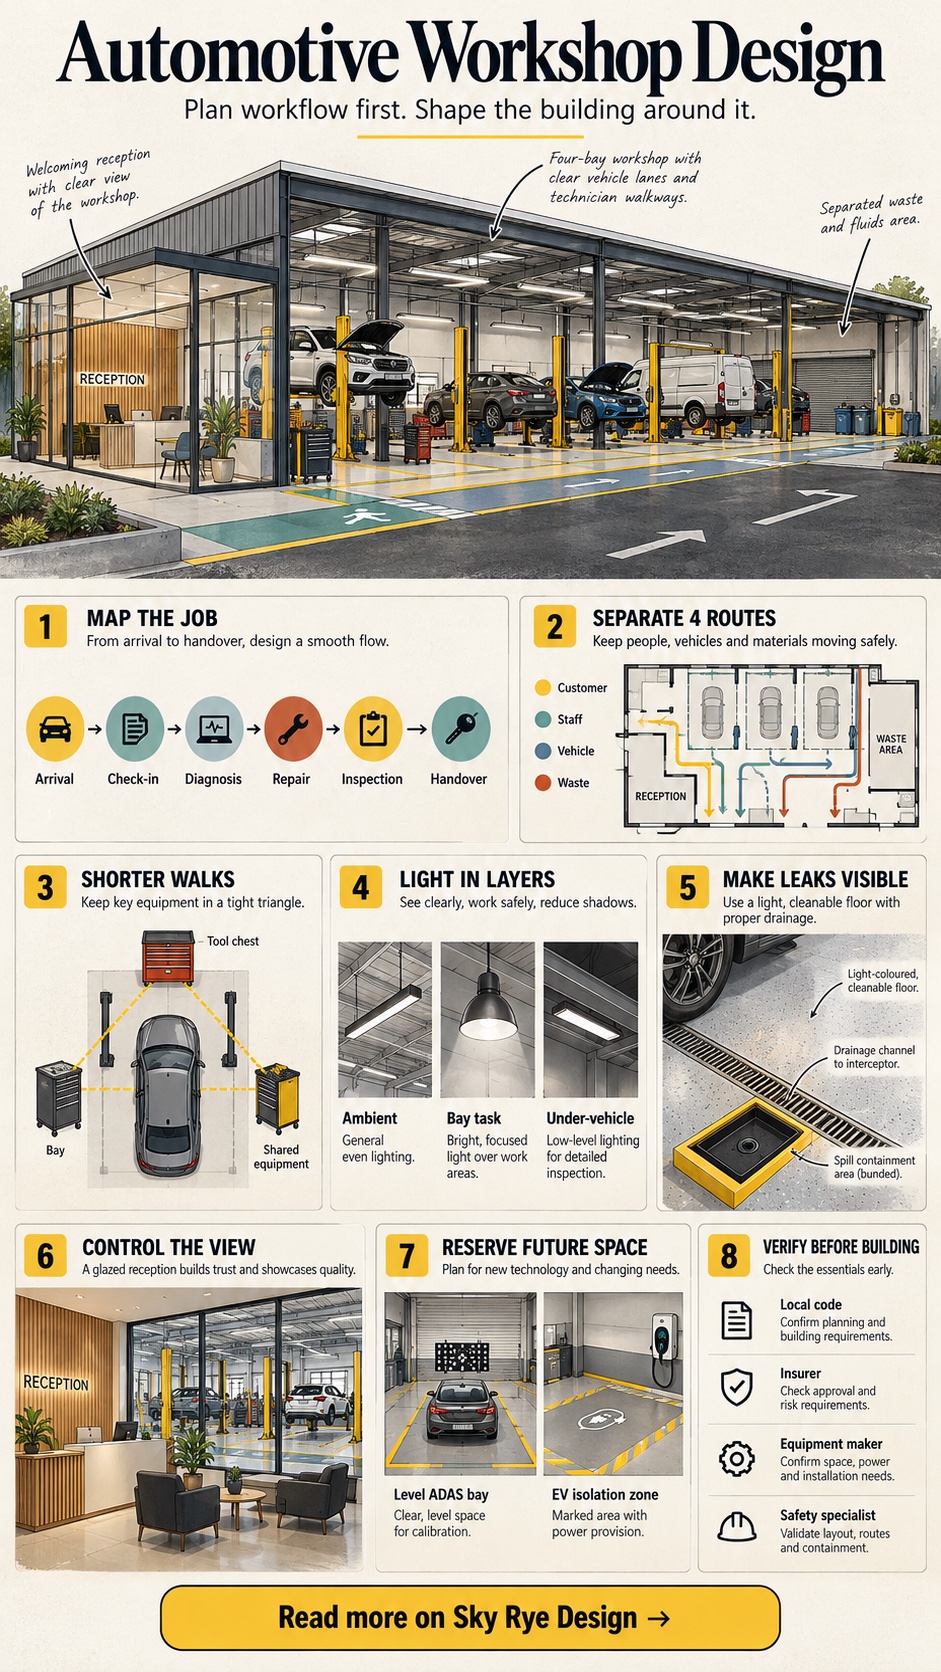

| Planning area | Key design decision | Why it matters | Check with |
|---|---|---|---|
| Process map | Document every job type from arrival to handover | Layout follows real workflow | Shop owner, technicians |
| Routes | Separate customer, staff, vehicle and waste paths | Fewer crossings and hazards | Architect, safety advisor |
| Holding area | Reserve space for cars waiting on parts | Keeps bays available | Shop owner |
| Bays | Size from exact lift installation drawings | Avoids clearance problems | Lift manufacturer, local code |
| Shared equipment | Cluster where multiple bays can reach it | Less wasted walking | Technicians |
| Lighting | Layer ambient, task and under-vehicle light | Better visibility and less glare | Lighting designer |
| Floors and drainage | Cleanable finish and planned drainage | Supports clean, dry work areas | Engineer, local code |
| Fluids and waste | Marked storage, containment, overhead delivery | Reduces spills and confusion | EPA guidance, local authority |
| Noise and air | Isolate compressors, plan extraction | Healthier work environment | Mechanical engineer |
| Customer zone | Controlled view into clean bays | Builds trust | Designer, shop owner |
| ADAS space | Level, glare-controlled, clear bay | Supports calibration procedures | OEM procedures |
| EV readiness | Reserve power, isolation area and storage | Avoids costly retrofit | Electrician, insurer, OEMs |
Questions designers and shop owners ask
What’s the first step in auto repair shop design? Map the repair process. List the job types you handle, follow each vehicle from arrival to handover, and only then start placing bays and equipment.
How big should a service bay be? It depends on the lift, the vehicles and the work. Use the exact equipment manufacturer’s installation requirements and local code rather than general rules of thumb.
Should customers be able to see into the workshop? Often, yes, if the view is controlled. A glazed wall onto clean, well-lit bays shows competence while keeping customers away from noise and hazards.
Do small shops need an ADAS calibration area? Not necessarily on day one, but planning for one is wise. Reserve a level, clear space that can later be fitted out to the procedures of the manufacturers you service.
What’s the most overlooked part of workshop design? Waste and fluids. Storage, containment and collection routes are easy to forget and hard to retrofit, yet they shape safety, cleanliness and how the shop looks.
Your next step
Before you talk to an architect or buy a lift, spend one full working day recording every vehicle movement in your current shop, or a shop you know well. Note where each car waits, where technicians walk most, and where the routes cross. That single marked-up floor plan will tell you more about what your new automotive workshop needs than any equipment catalog.
- 0shares
- Facebook0
- Pinterest0
- Twitter0
- Reddit0