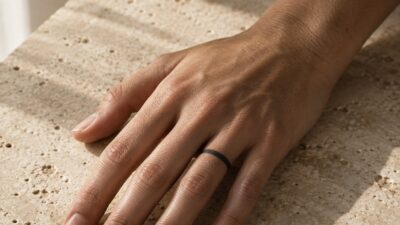
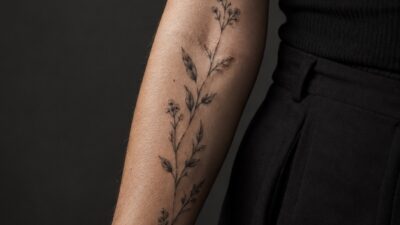
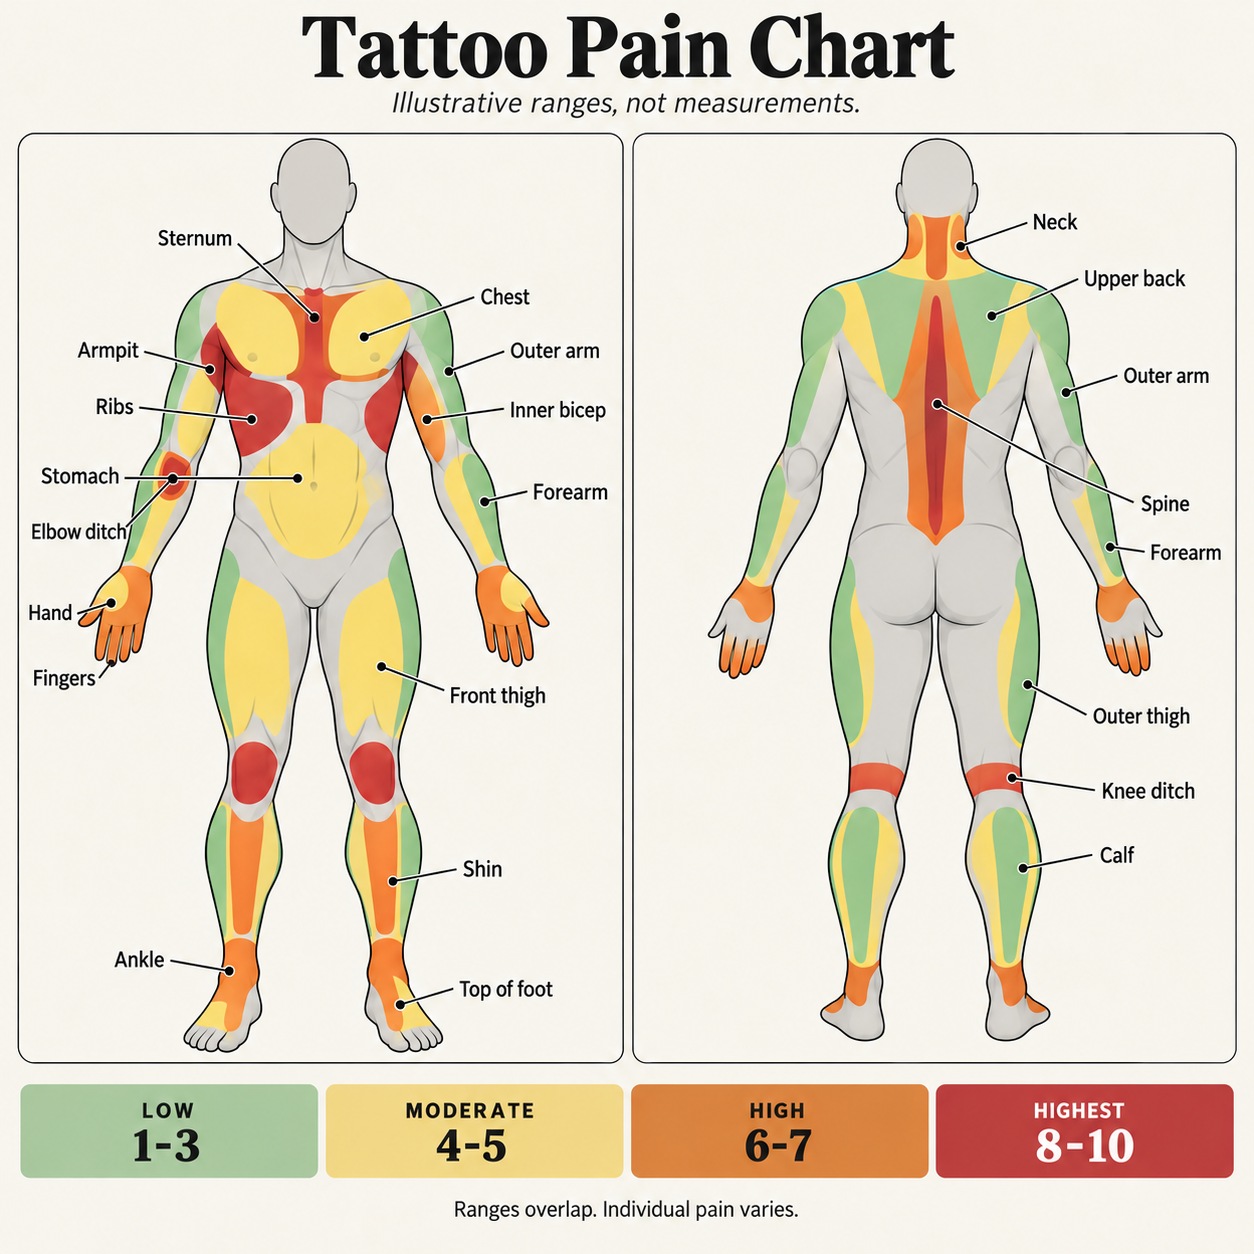
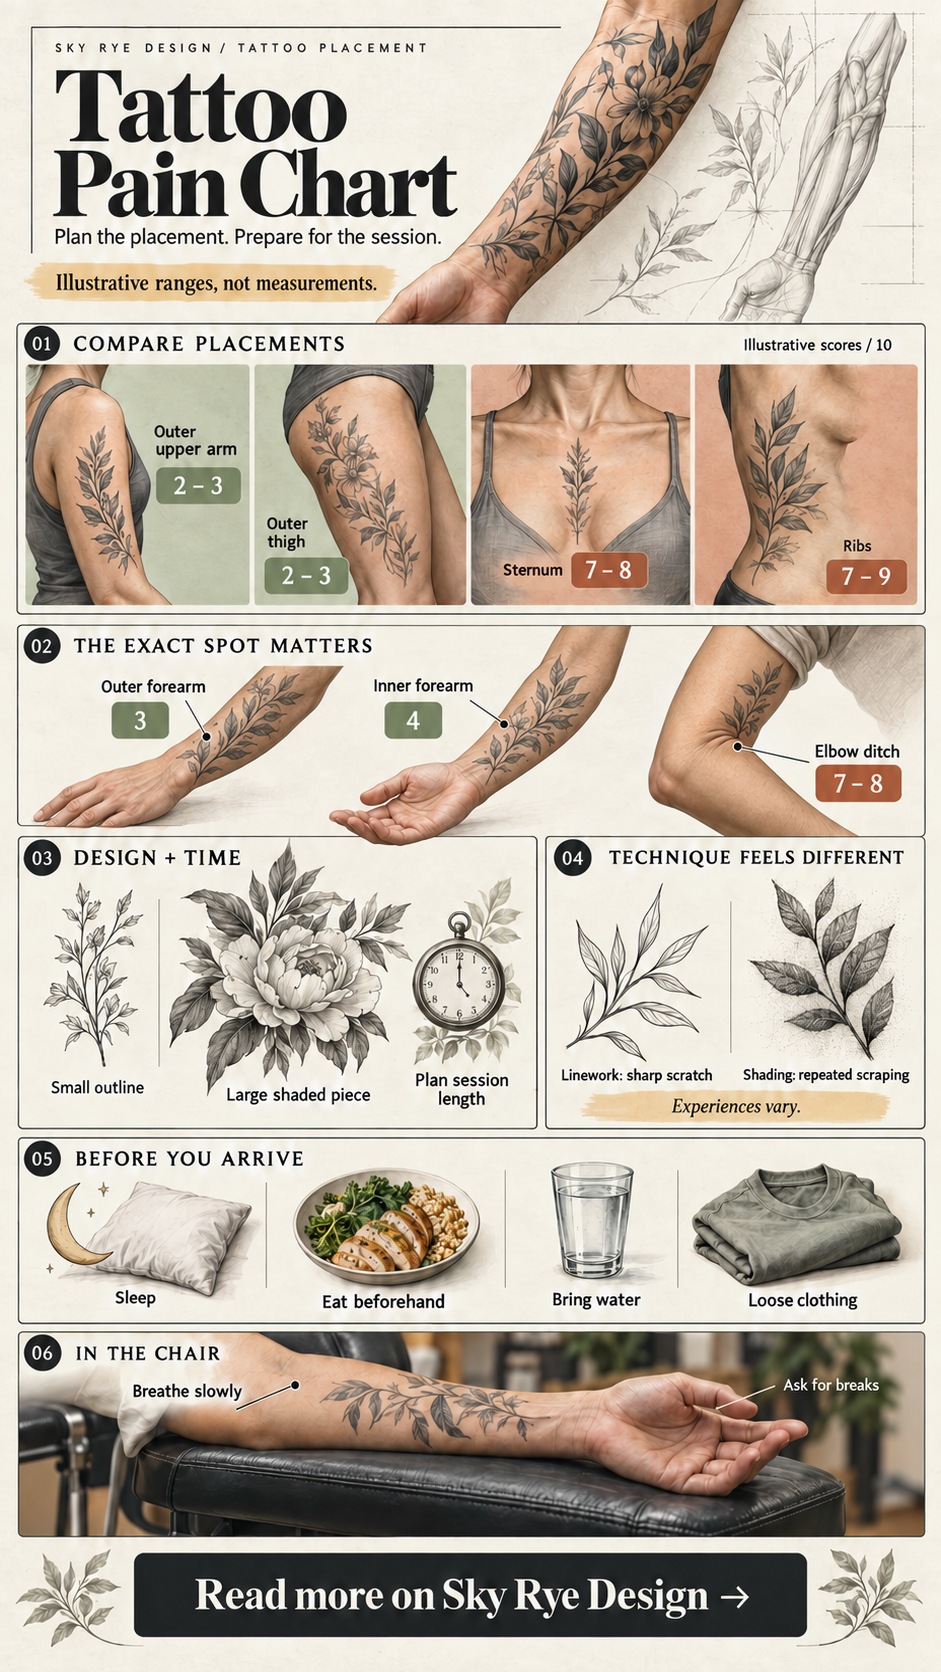
The outer upper arm and thigh are often suggested for a first tattoo; the ribs, sternum and joint creases tend to have a tougher reputation. That is the useful starting point of a tattoo pain chart. The exact number beside each body part deserves more caution.
This guide uses illustrative 1–10 ranges to compare placements. They are not measured averages, a validated clinical scale or a prediction of your pain. Use them to discuss the design and session length with your artist, especially if this is your first tattoo.
What is a tattoo pain chart?
A tattoo pain chart is a body map that groups placements by their reported discomfort. It can help you compare a padded outer arm with a bony ankle or a skin fold, but it cannot measure your pain tolerance. The same placement may feel different depending on the person, the exact position, the technique and the time spent in the chair.
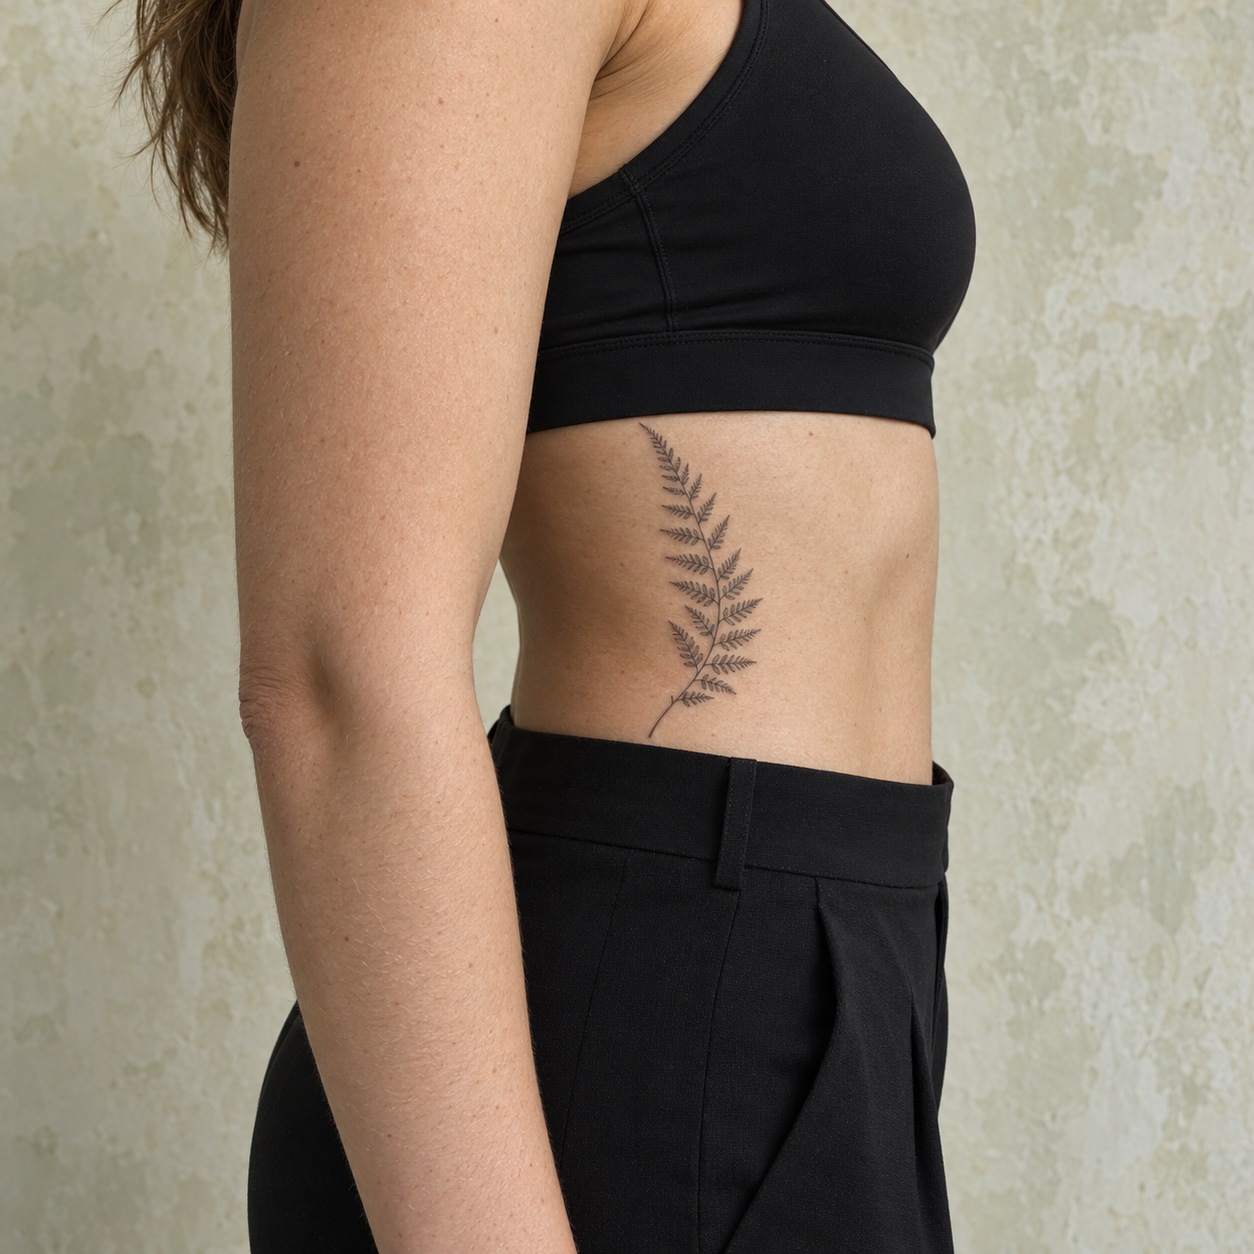
Tattoo pain chart by body part: the full map
The table uses four illustrative bands: low (1–3), moderate (4–5), high (6–7) and highest (8–10). Some placement ranges cross a band boundary. These numbers are illustrative editorial estimates, not results of the research discussed below; a score of 3 does not mean painless.
| Placement | Illustrative range / 10 | Placement notes |
|---|---|---|
| Outer thigh | 2 to 3 | Soft tissue over the outer thigh |
| Outer upper arm | 2 to 3 | Accessible surface over the upper arm |
| Outer forearm | 3 | Outer surface; wrist and elbow edges differ |
| Calf | 3 to 4 | Muscle belly; not the shin or knee ditch |
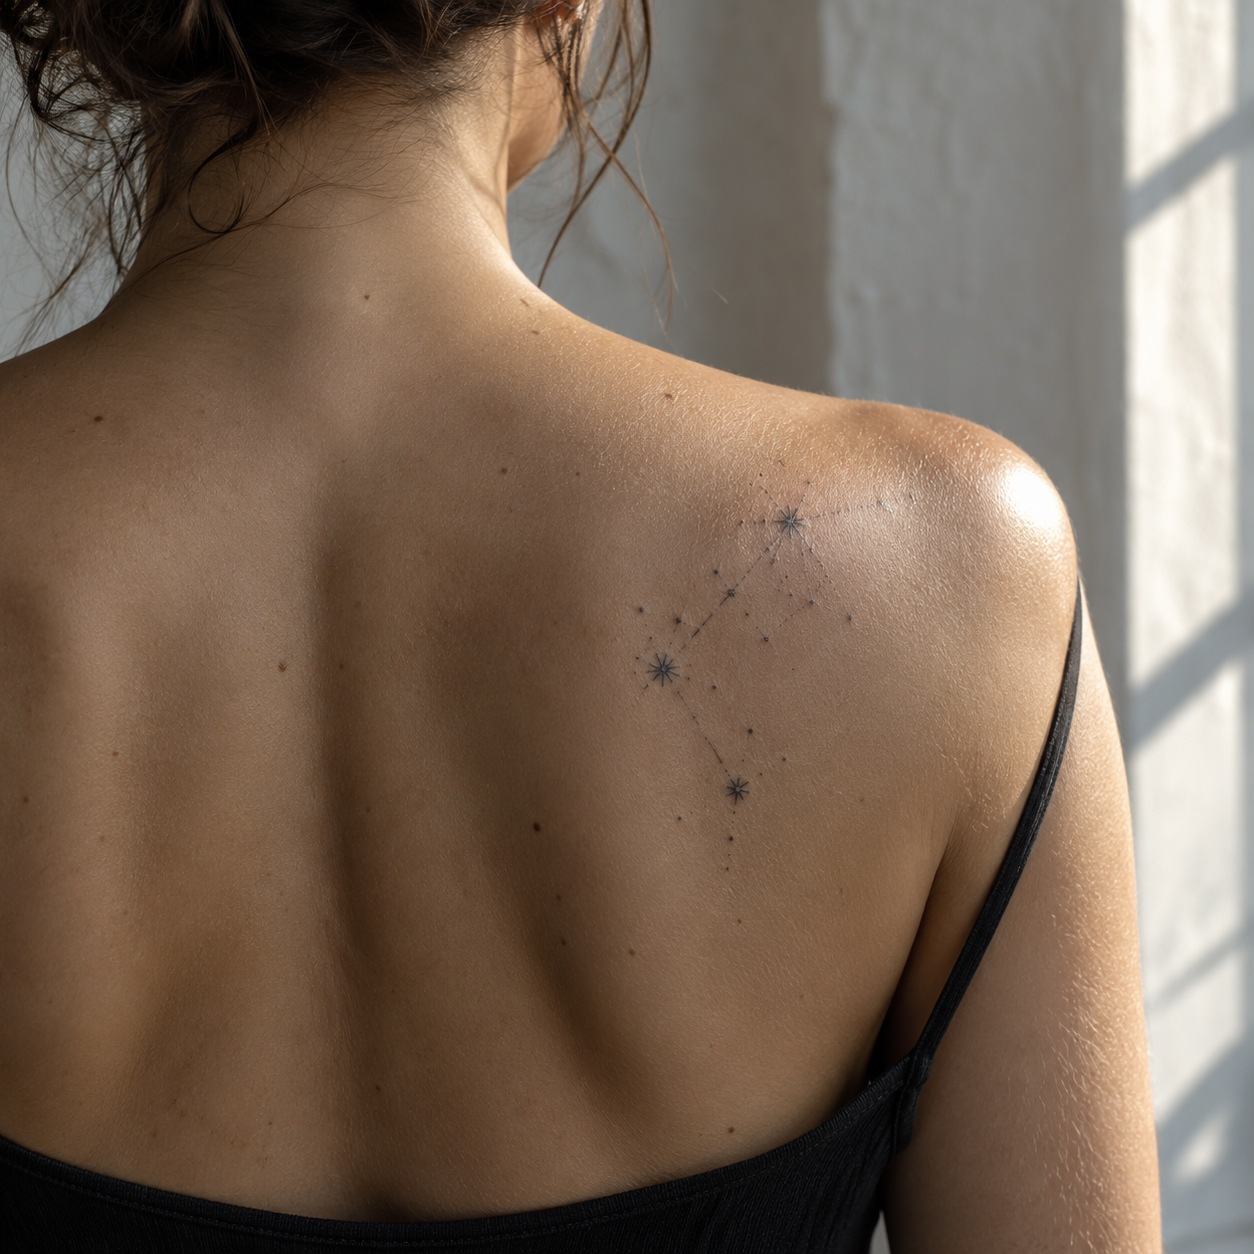
| Upper back and shoulder blade | 3 to 4 | Broad surface; bony edges can feel different |
| Front thigh | 4 | Front surface; knee and inner edge differ |
| Inner forearm | 4 | Inner surface; wrist crease may differ |
| Stomach | 5 | Moves with breathing and body position |
| Chest | 5 to 6 | Soft tissue and nearby bony contours |
| Back of the hand and wrist | 5 to 6 | Small area with prominent contours |
| Neck | 6 | Exact position and posture matter |
| Inner bicep | 6 to 7 | Inner upper-arm surface |
| Fingers and top of the foot | 6 to 7 | Small surfaces close to bony contours |
| Ankle and shin | 6 to 7 | Bony ankle and shin surfaces |
| Elbow and knee ditch | 7 to 8 | Skin folds inside the elbow or behind the knee |
| Spine | 7 to 8 | Narrow area over bony contours |
| Sternum | 7 to 8 | Central chest over the breastbone |
| Ribs | 7 to 9 | Curved surface that moves with breathing |
| Armpit | 8 to 9 | Sensitive fold requiring a held position |
Different charts assign different numbers to the same spot. Read the ranges as a conversation starter. For the design side of the decision—curve, movement and usable width—the tattoo placement chart explains how a motif fits the body.
How to read a tattoo area pain chart
Read the placement notes as well as the number. An outer thigh is different from the inner edge near the groin, and a chest piece can cross from soft tissue onto the sternum. Ask your artist where the outline, shading and most detailed work will sit. A broad body-part label hides those differences.
Size matters too. A small rib symbol and a full rib panel share a location, but one may require much more time and repeated work. Choose a session plan for the actual design, rather than relying on the placement rating alone.
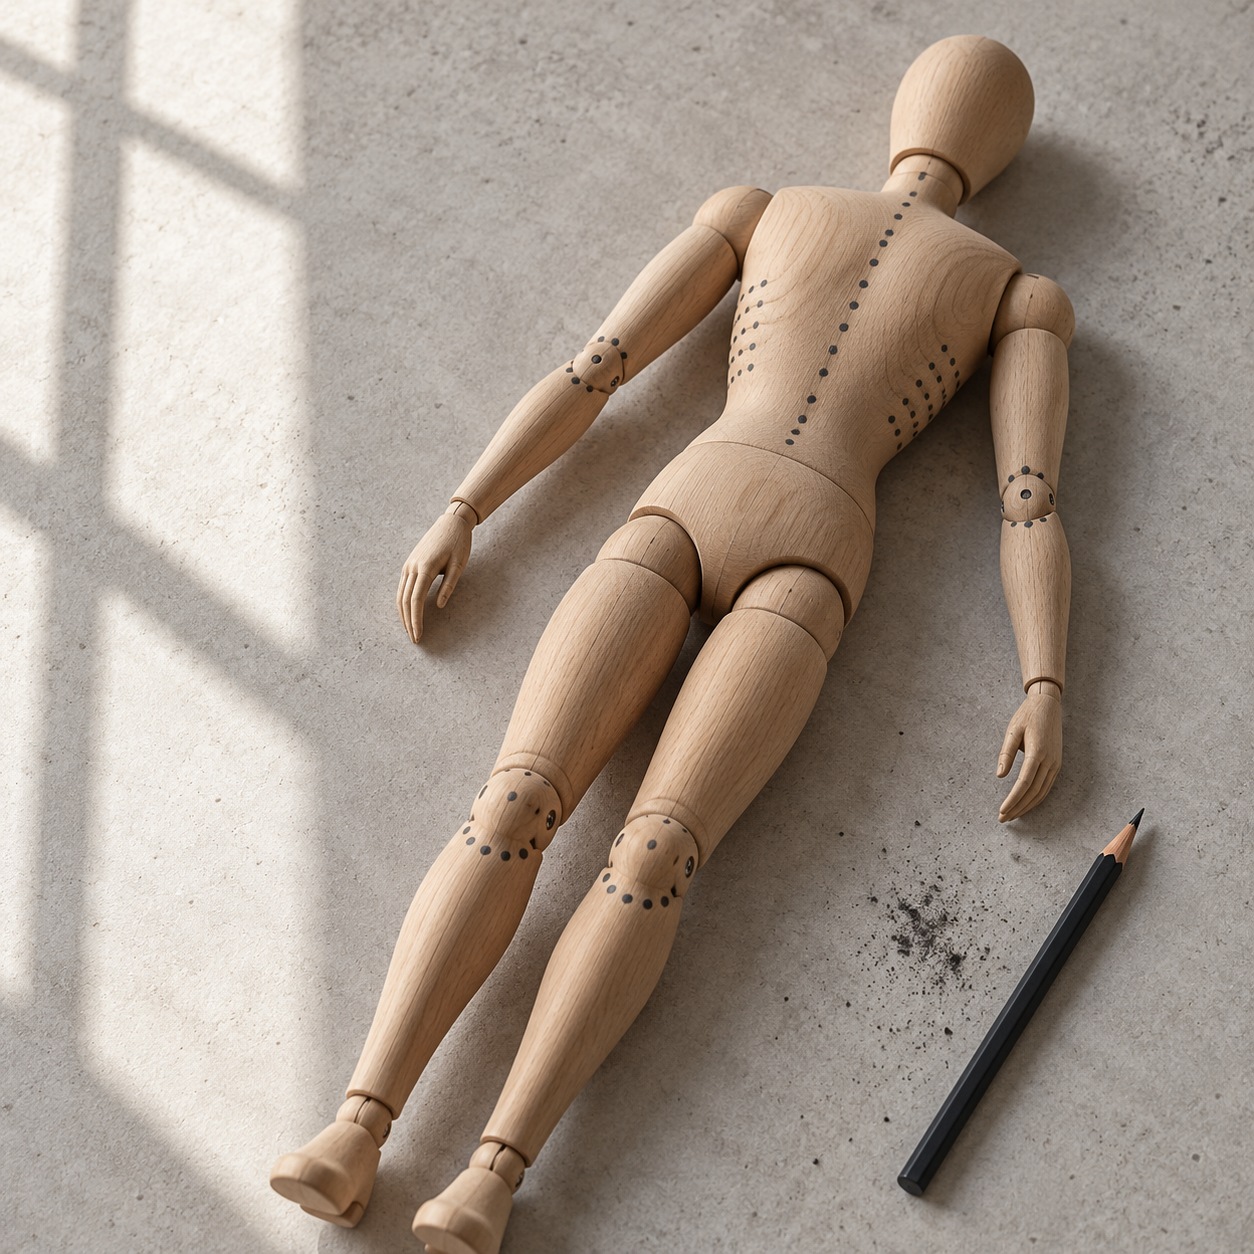
Most painful tattoo spots
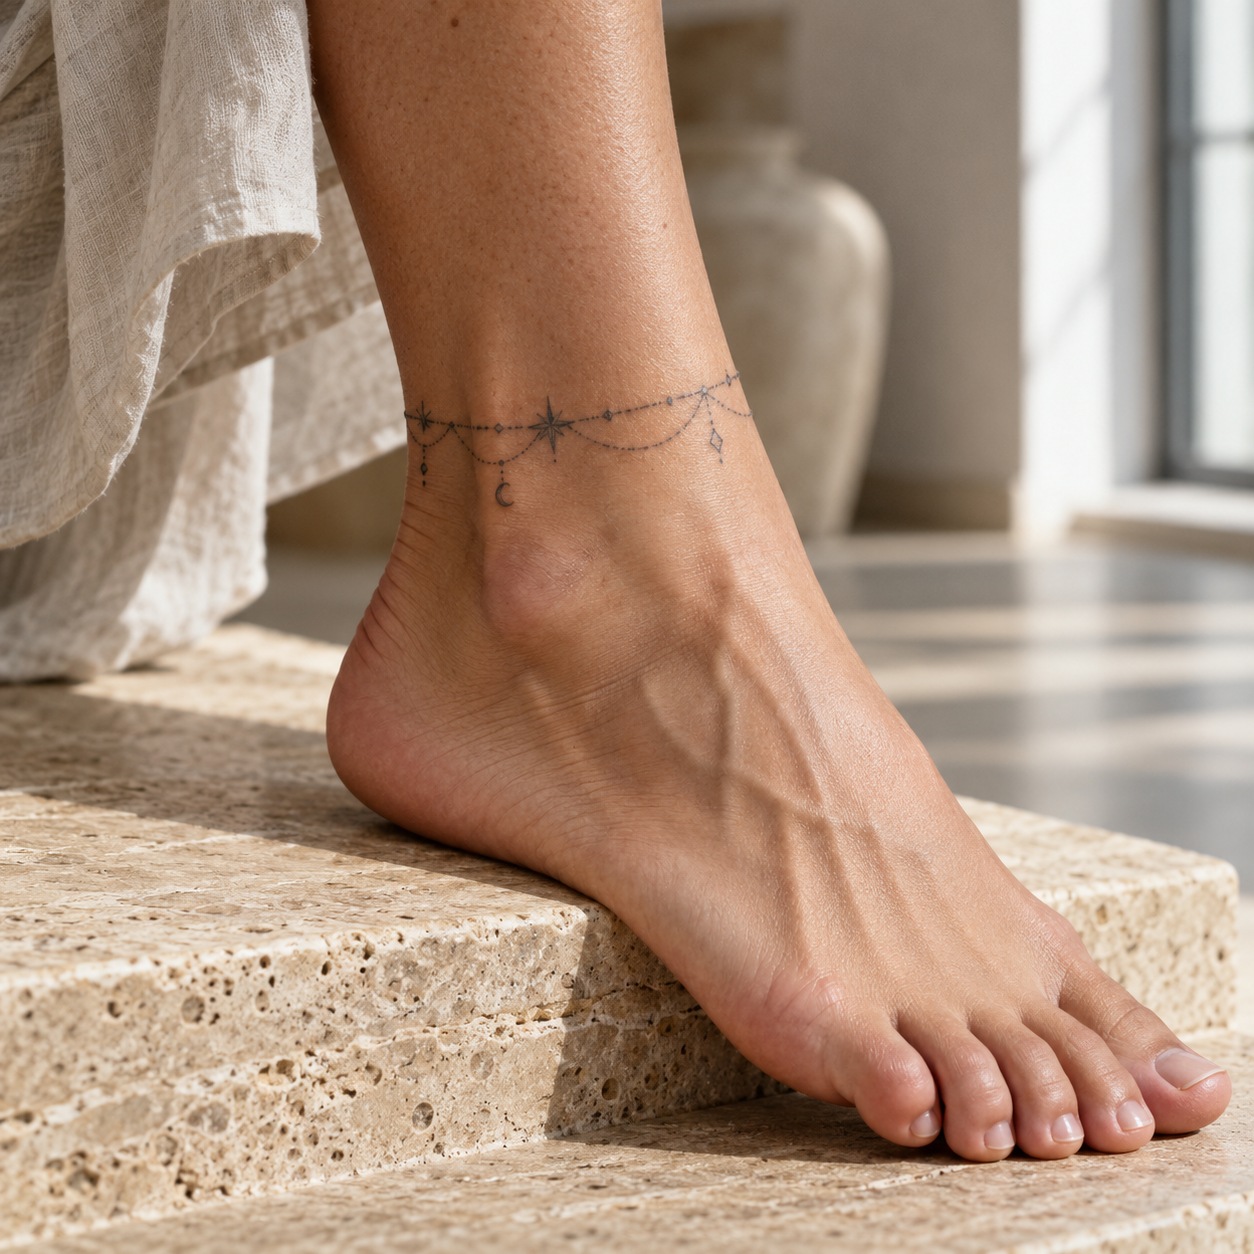
Ribs, sternum, spine, armpits and the elbow and knee ditches commonly appear among the more demanding placements in tattoo guides. Ankles and the tops of the feet also deserve a careful discussion before booking.
People often describe bony placements as sharp or vibrating, and folds can feel especially sensitive. These descriptions are subjective. A tattoo needle deposits ink in the skin; it does not need to reach bone or deep nerves for a placement to hurt. Breathing and the position you must hold can add to the challenge of a rib piece.
A 2020 Polish survey of 1,092 tattooed adults found that longer sessions and higher stress were associated with higher pain ratings. Body area was not a significant predictor of overall intensity in that analysis. However, the study compared broad regions, not every placement in this chart. It was largely an online survey and did not establish a universal ranking. Its results support planning around more than location; they do not prove that all body parts feel the same. Read the original tattoo pain study for the methods and limitations.
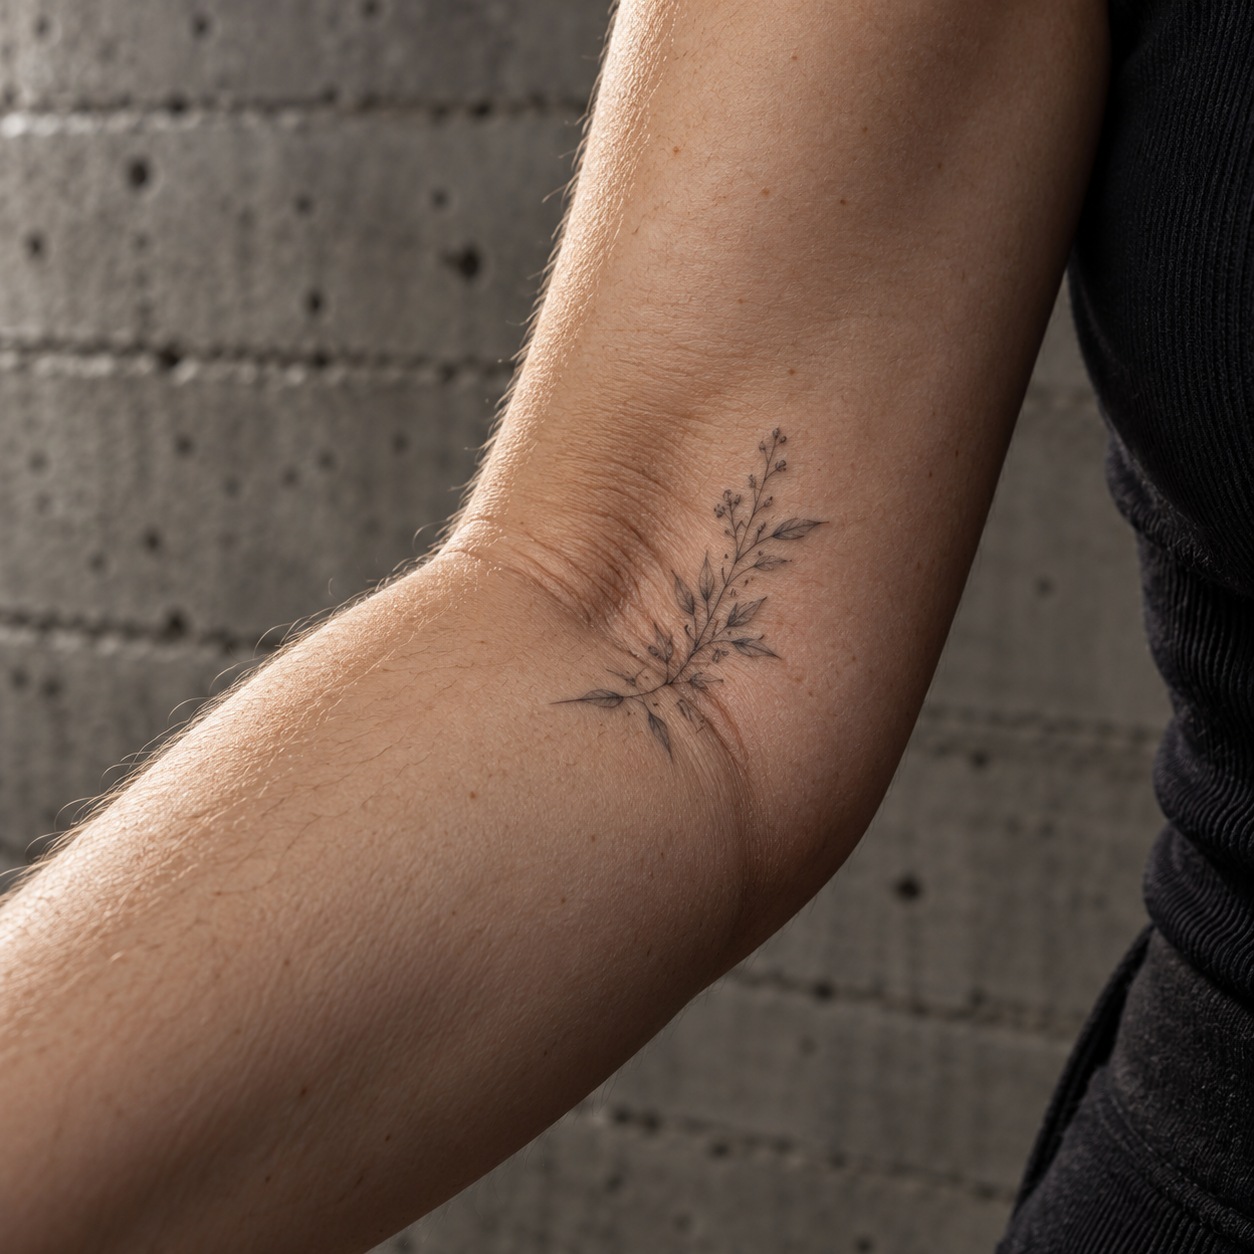
Fingers and the neck can feel demanding even when the design is small. They also leave little room to adjust a motif once the stencil is placed. The neck tattoo ideas page covers designs that suit that limited space.
For a first tattoo, discuss a manageable size and session length before choosing a difficult placement. You do not need to get a separate permanent tattoo just to test your tolerance. An artist can help simplify the planned design or split suitable work into stages.
Least painful places to get a tattoo
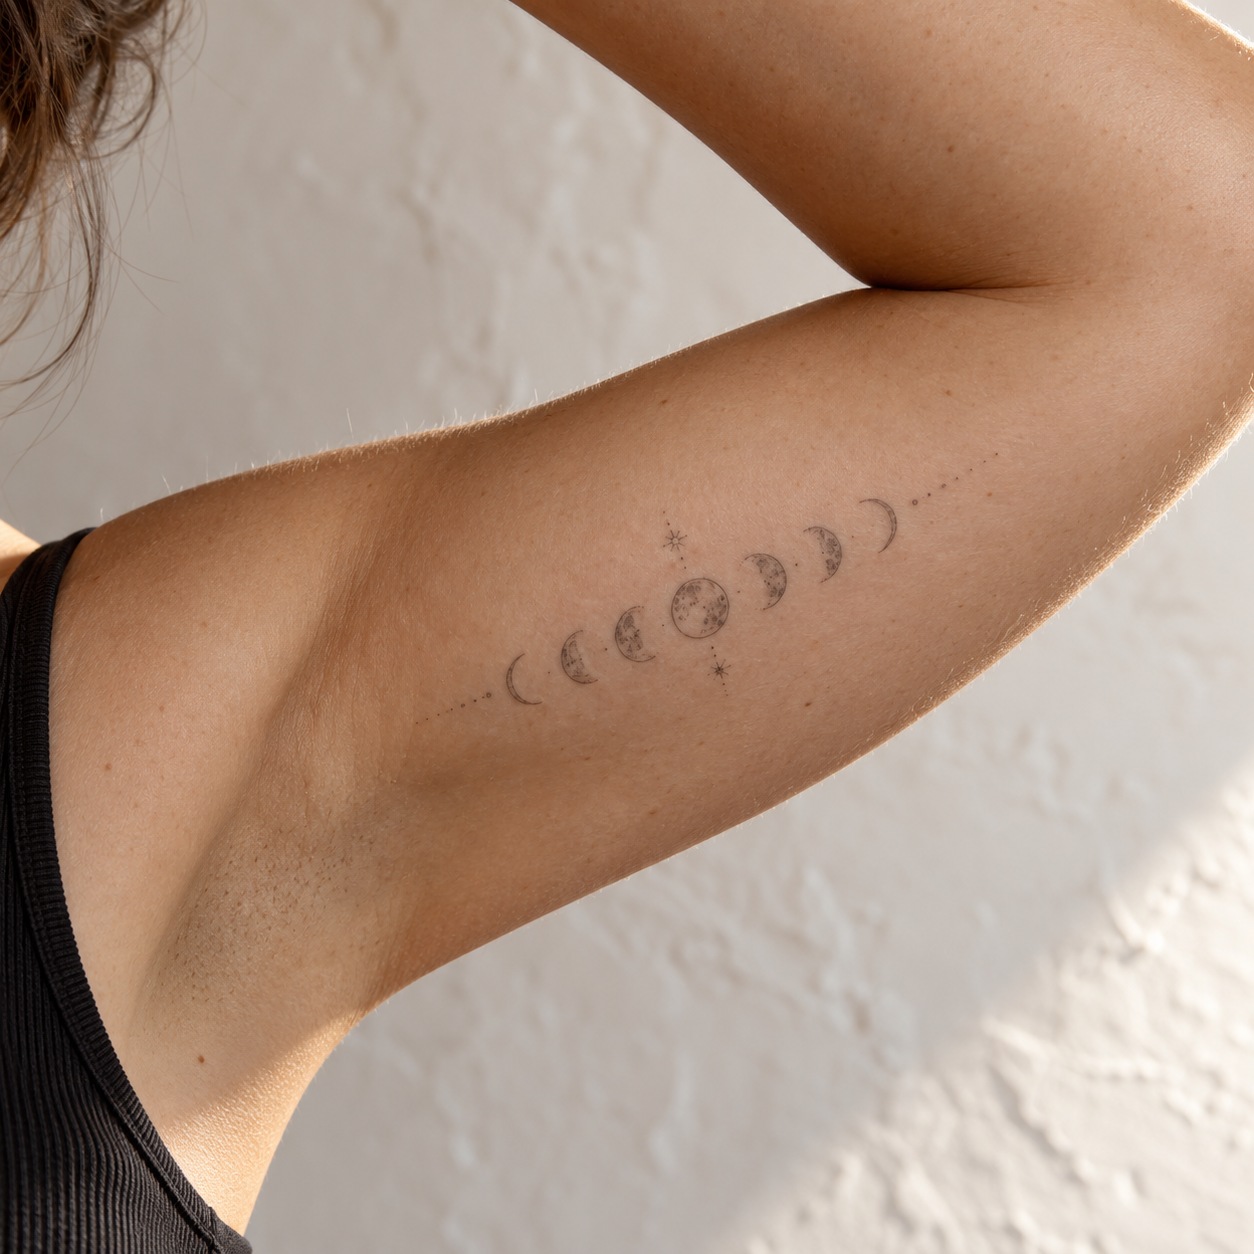
The outer upper arm, outer thigh and outer forearm are common starting points for people concerned about pain. The calf muscle and broad upper back are also often described as manageable. None is guaranteed to be the least painful place for you, but they offer useful options to discuss with an artist.
These areas often provide more soft tissue over bone and enough room to position a stencil. That is a design advantage as well as a comfort consideration: a larger, accessible surface gives the artist more freedom to place the motif. It does not guarantee an easy session or a particular healing result.
There is no need to choose a different chart solely because you are a woman. The Polish study found no significant difference in pain intensity during tattooing between women and men in its sample. That finding does not erase individual differences or establish identical experiences for everyone.
Think about visibility, clothing and how the design looks when you move. View a full-size paper mock-up against the area, then check the actual stencil in a mirror before work starts. A motif that looks balanced on a screen may need a different scale on a curved thigh or shoulder.
Good low-pain starting points
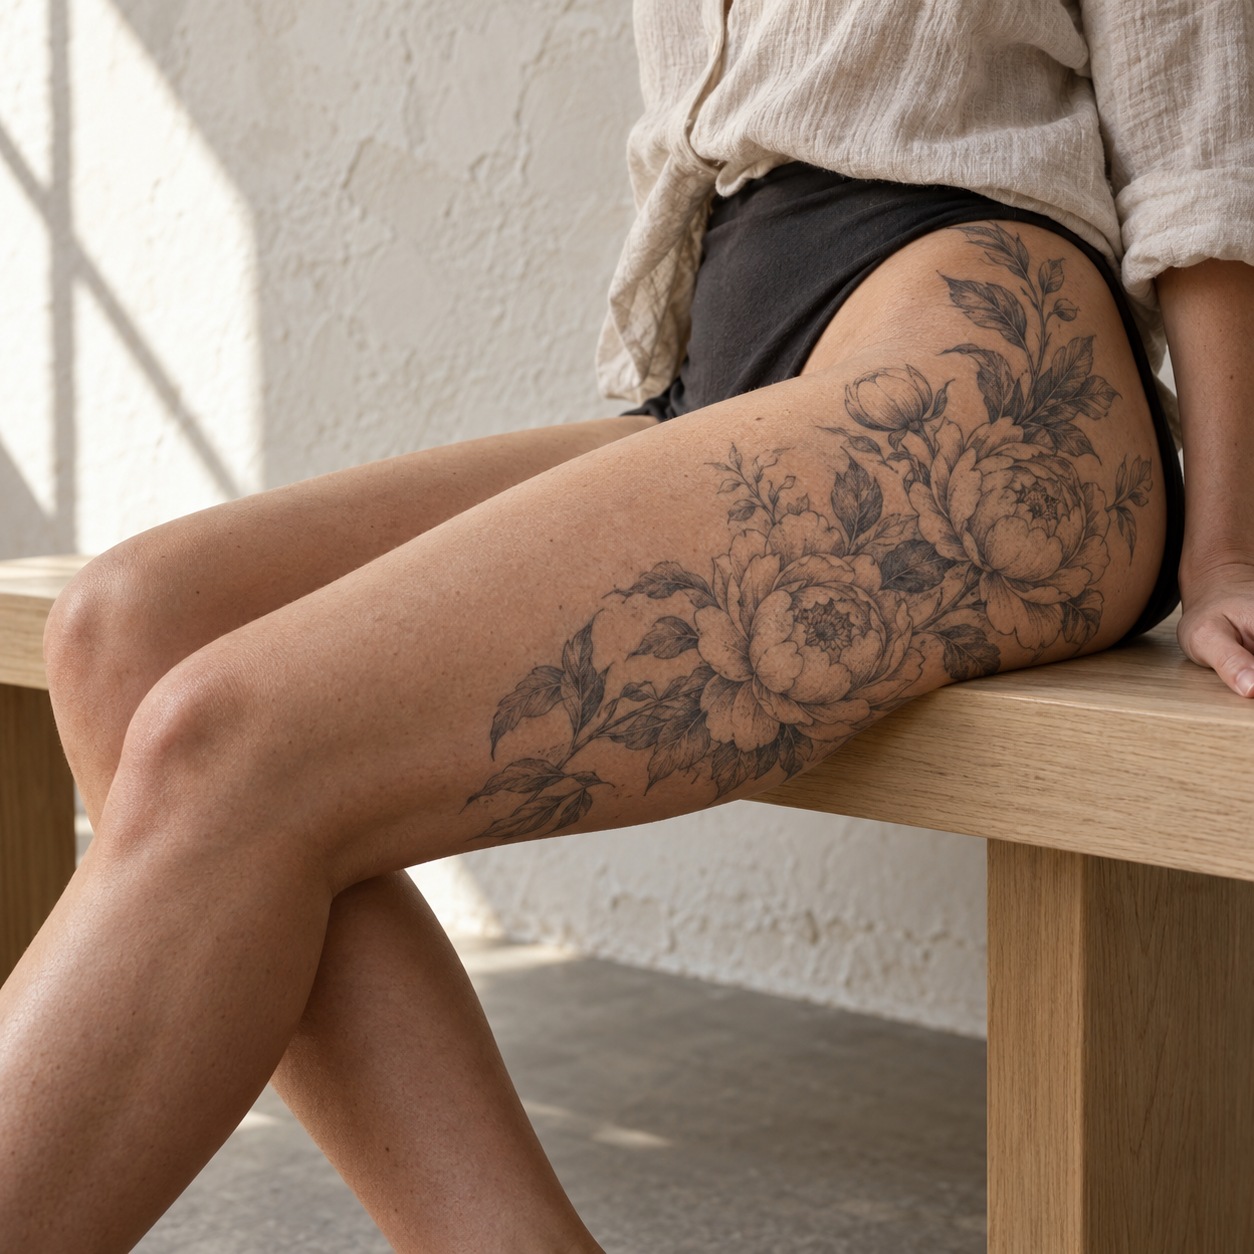
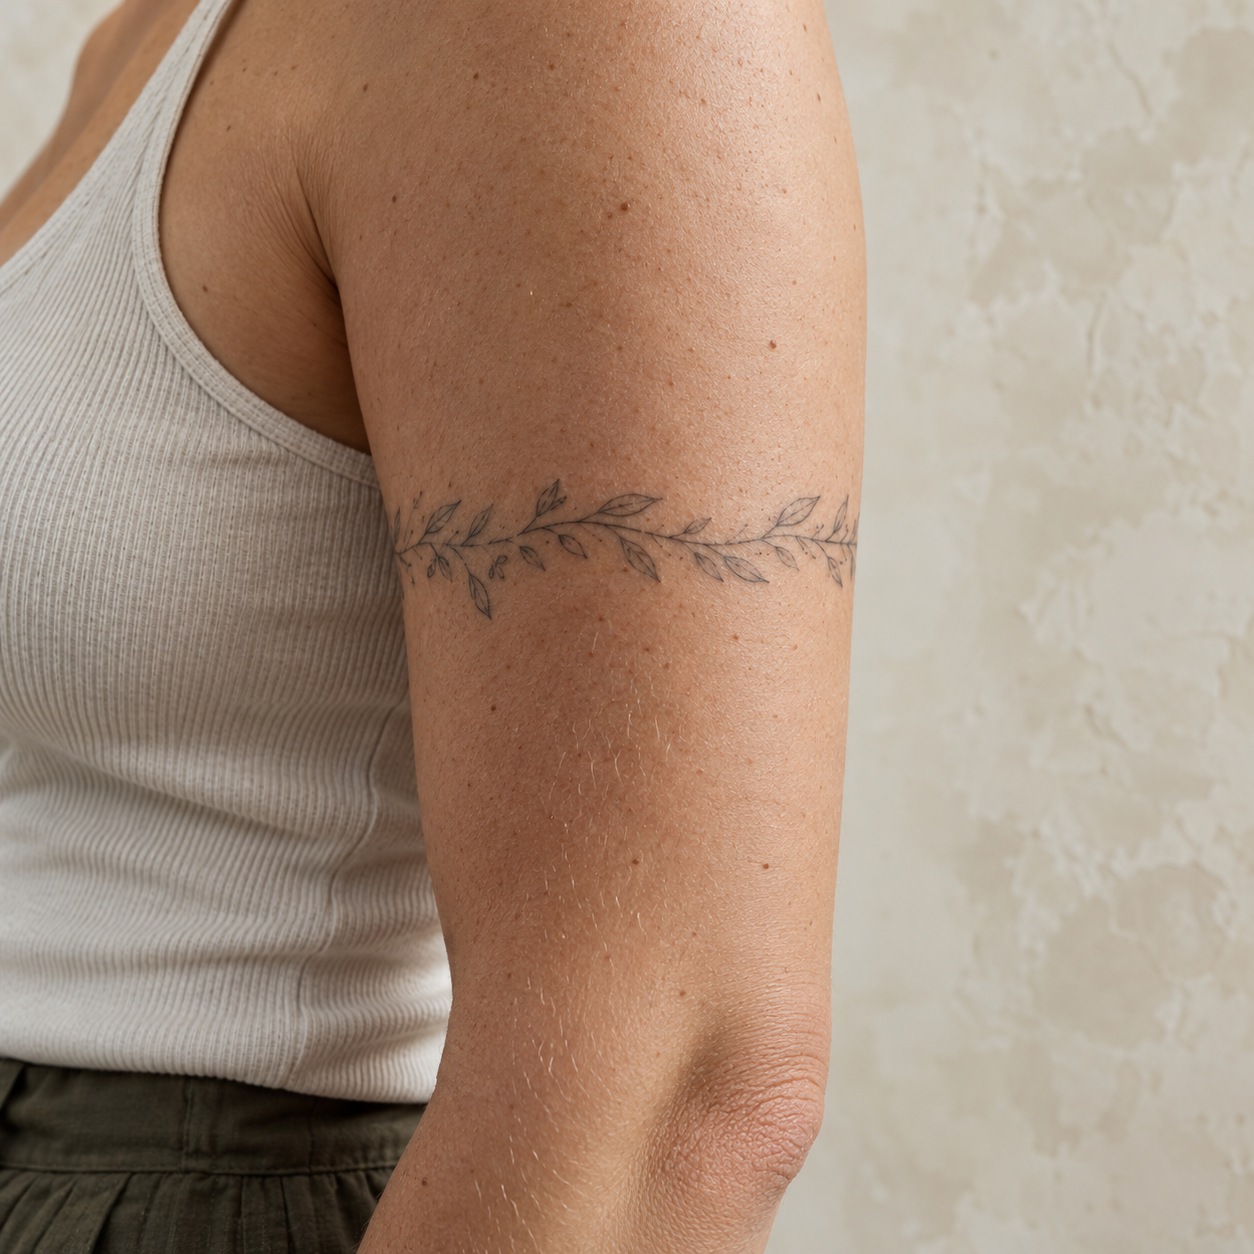
The shoulder tattoo ideas guide shows motifs that suit the outer shoulder’s curve. The forearm tattoos for men collection offers examples for a longer surface, while thigh tattoos for women includes florals and flowing linework. Use the pictures to discuss scale and placement, regardless of whom the collection is written for.
Tattoo placement pain by body part
Here is how to interpret the chart for seven common placements. The ranges remain illustrative; the practical question is how your chosen design will cross each area.
Ribs
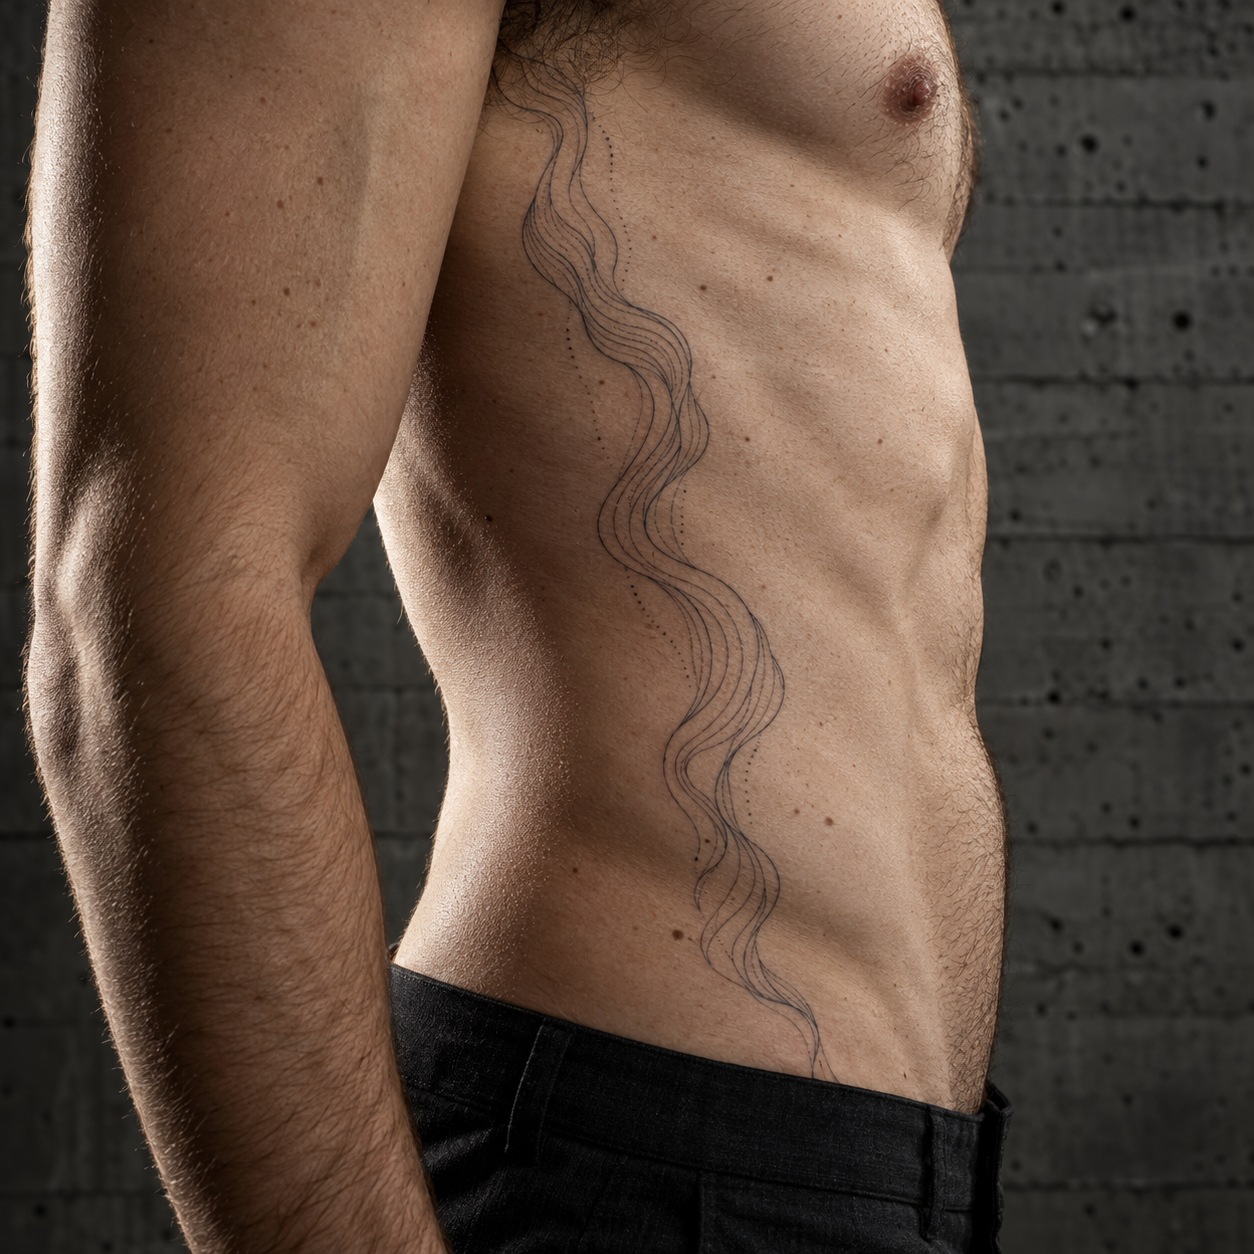
This chart places ribs at 7–9. People often describe rib work as sharp, with breathing and a sustained side-lying position making a long session harder. A vertical design can follow the torso well, but dense shading takes time. Discuss breaks and a shorter first session if you are unsure how you will cope.
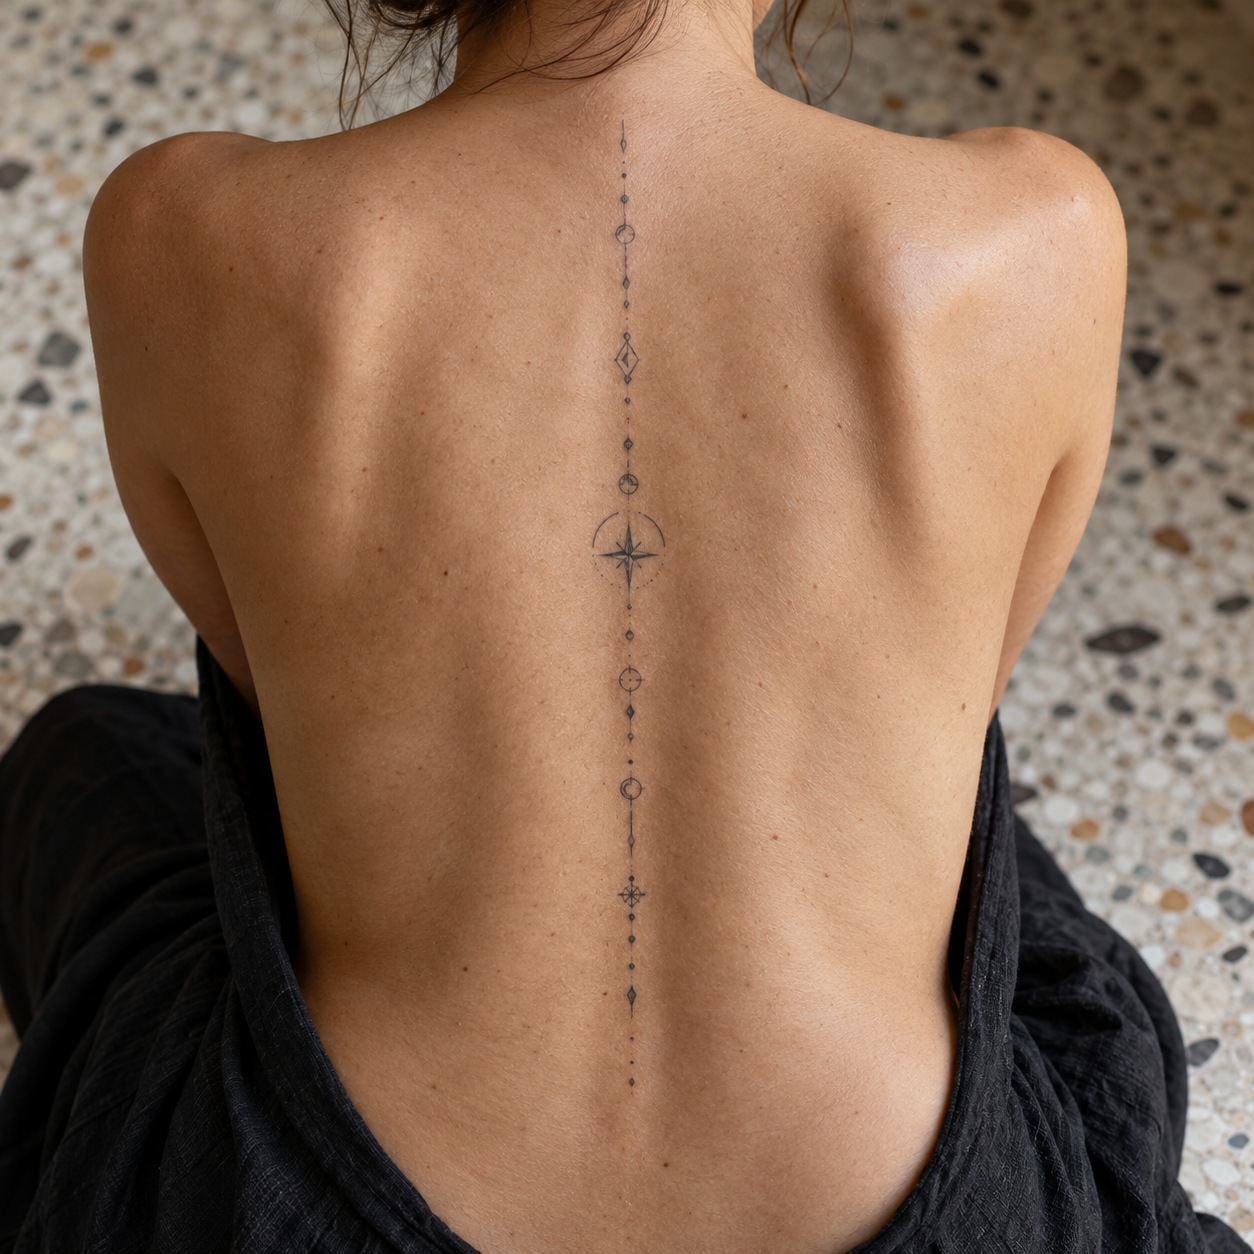
Spine
Spine work sits at 7–8 in this guide. A narrow vertical motif suits the line of the back, though working over bony contours may feel intense. The exact experience varies along the design. Ask about your position on the table and how much shading is involved; proximity to the spinal column is not a reason to imply that tattoo needles reach deep spinal nerves.
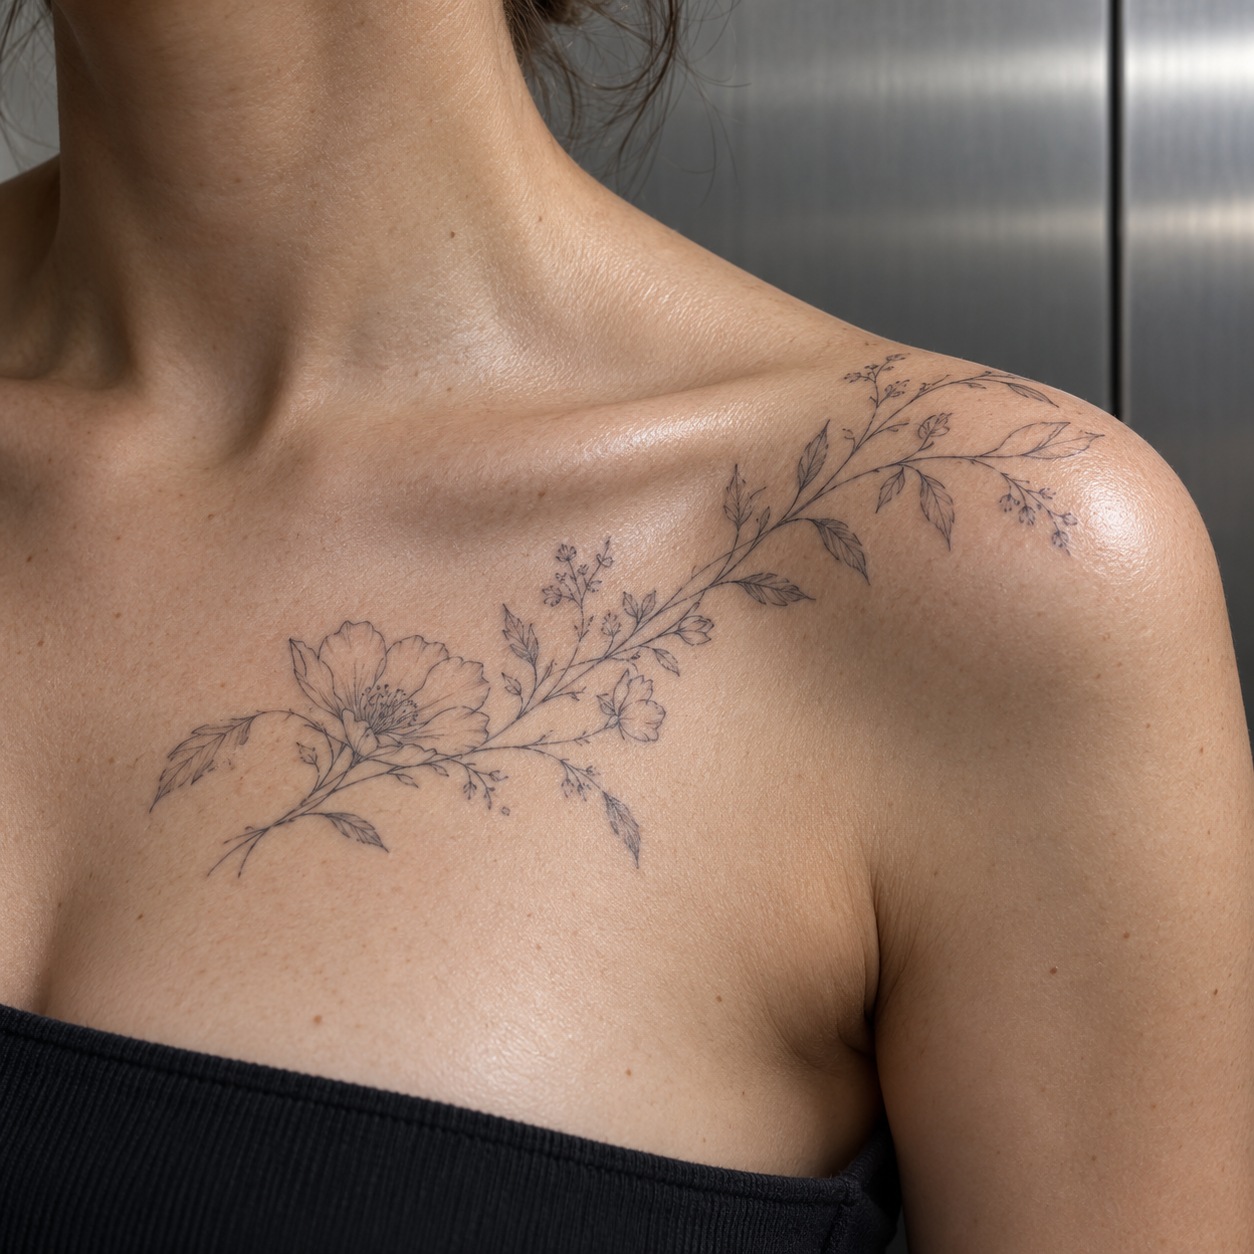
Chest
The chart places the chest at roughly 5–6, rising to 7–8 for the sternum. A large design can cross several surfaces, so one chest rating is a poor guide to the whole session. The chest tattoos page looks more closely at designs and aftercare for this area.
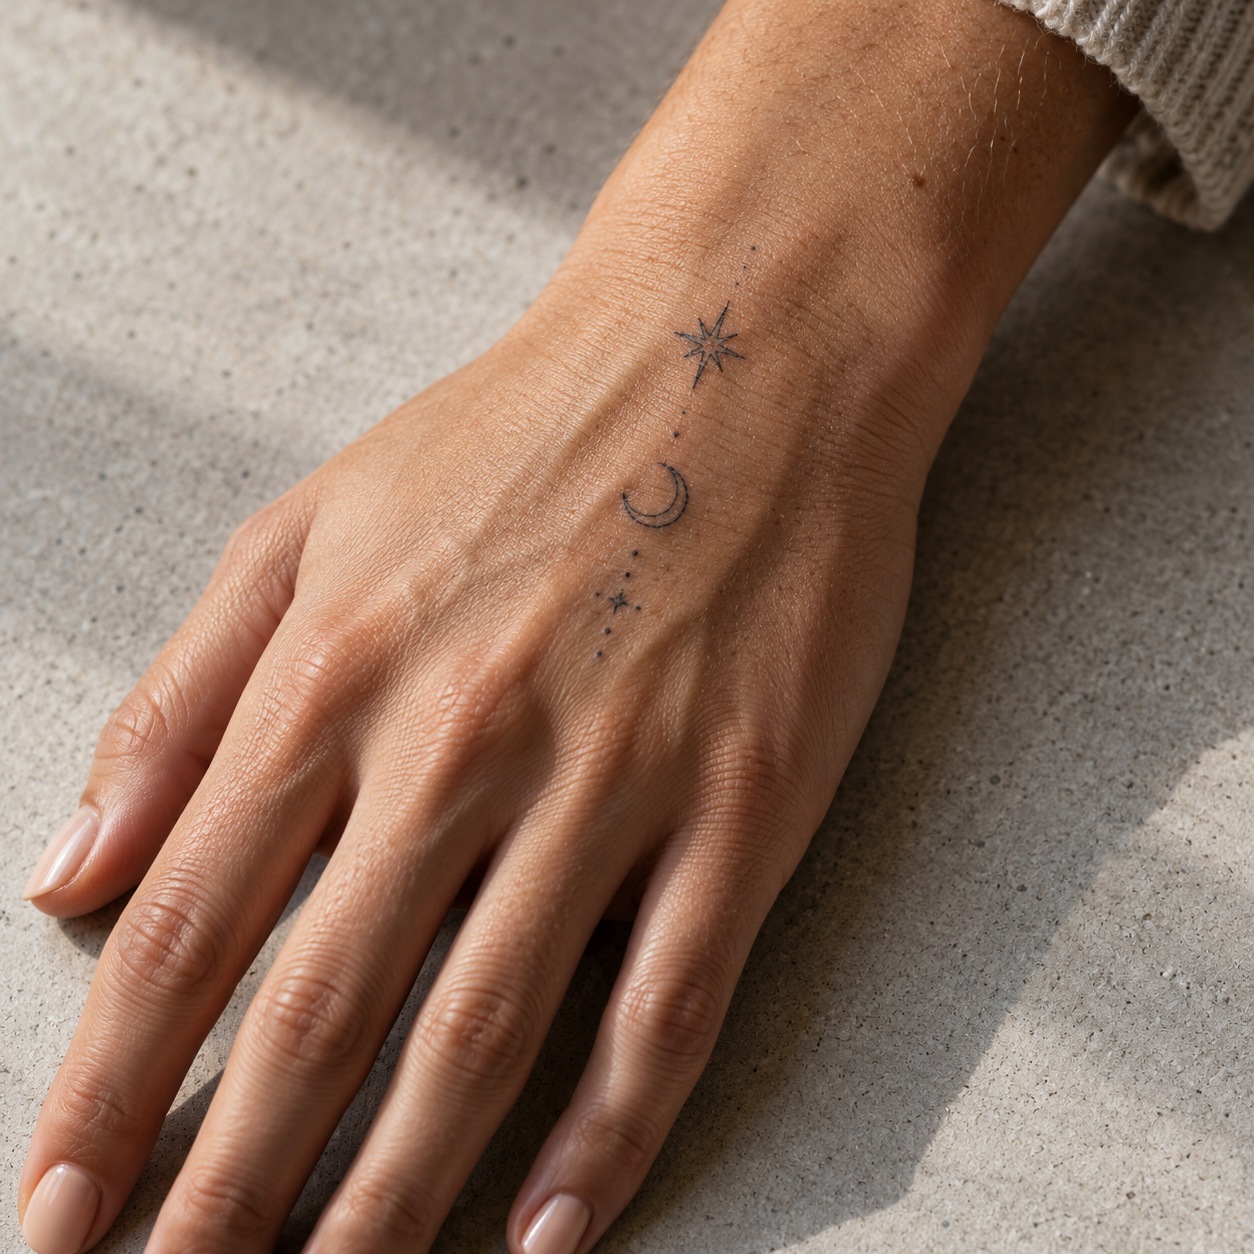
Hands
The back of the hand and wrist are listed at 5–6, and fingers at 6–7. Small working areas, bony contours and frequent movement make planning important. Ask to see healed examples and discuss maintenance as well as discomfort. The hand tattoo designs guide offers ideas for this compact placement.
Arms
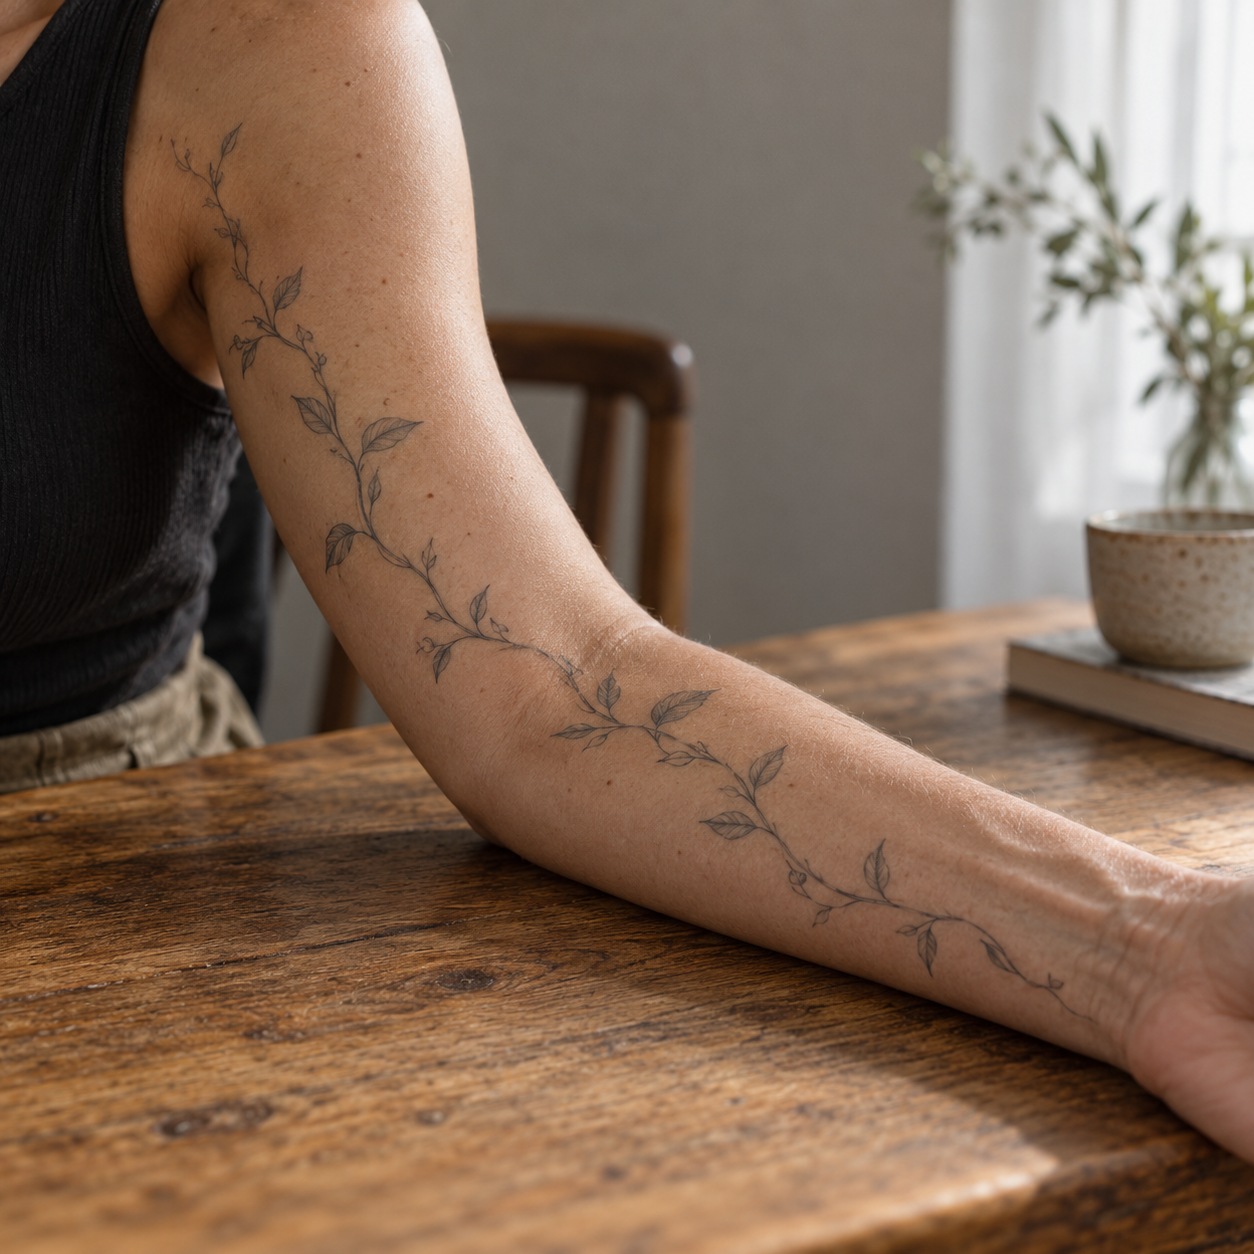
Arms need more than one rating. This guide places the outer upper arm at 2–3 and outer forearm at 3; the inner forearm is 4 and inner bicep 6–7. A sleeve may cross all of these and the elbow ditch. The arm tattoos for women guide can help you compare how designs use those different surfaces.
Thighs
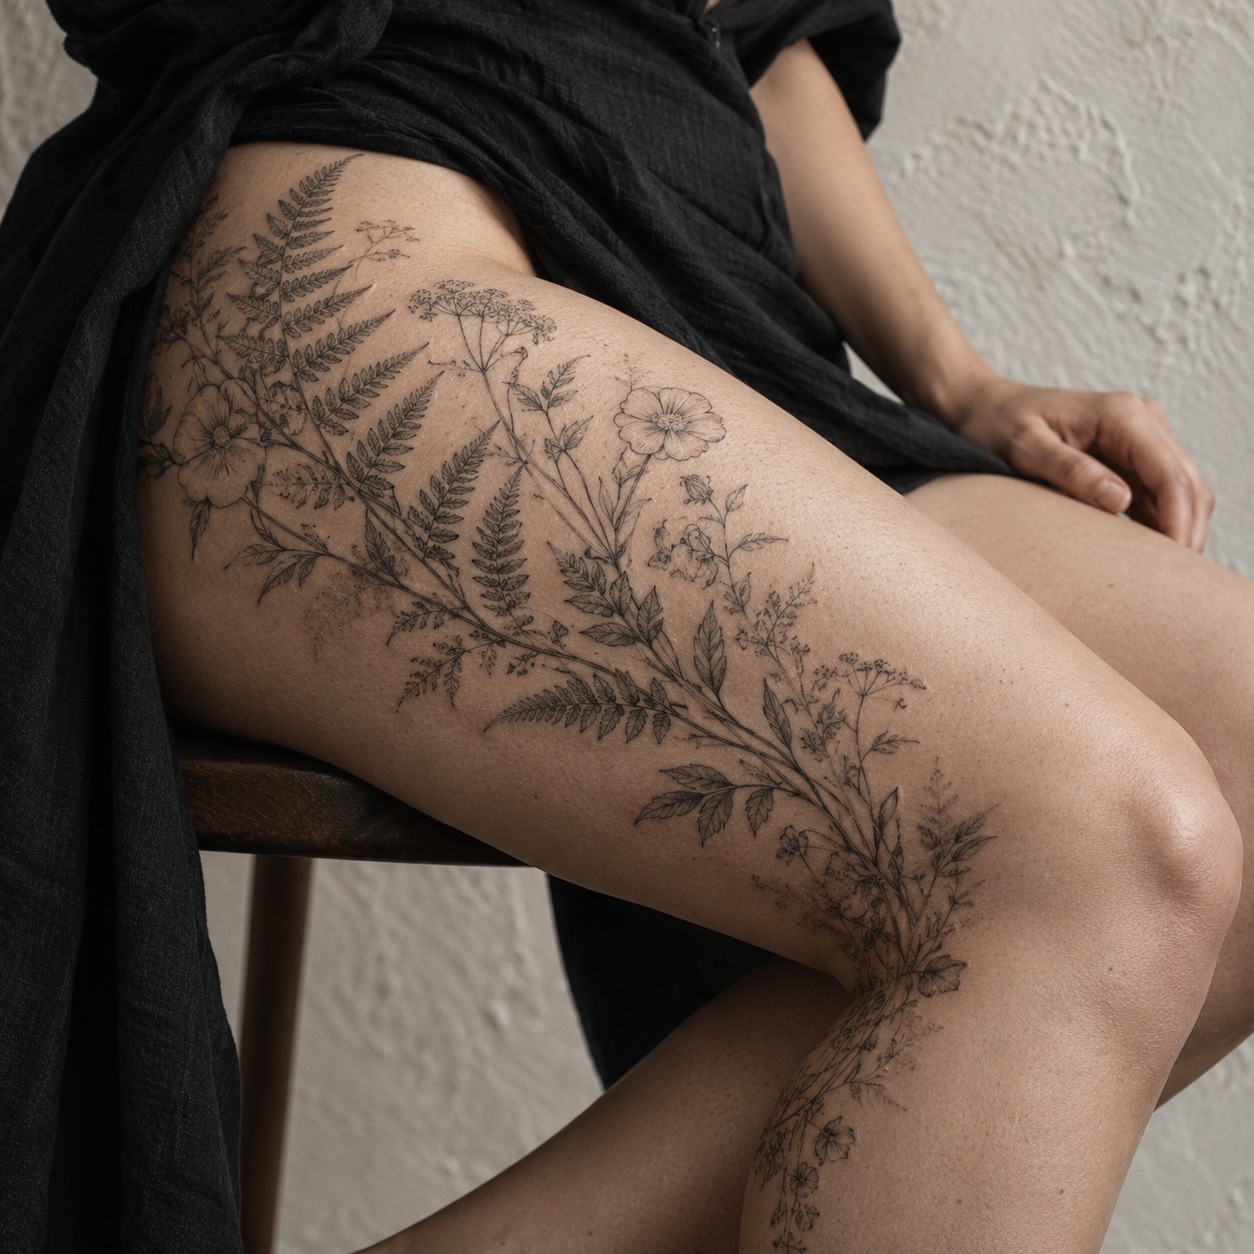
The outer and front thigh fall around 2–4 in this chart. There is plenty of room for a larger composition, but work toward the inner thigh, groin or knee can feel quite different. Check how far the stencil extends before treating the whole piece as an outer-thigh tattoo.
Calves
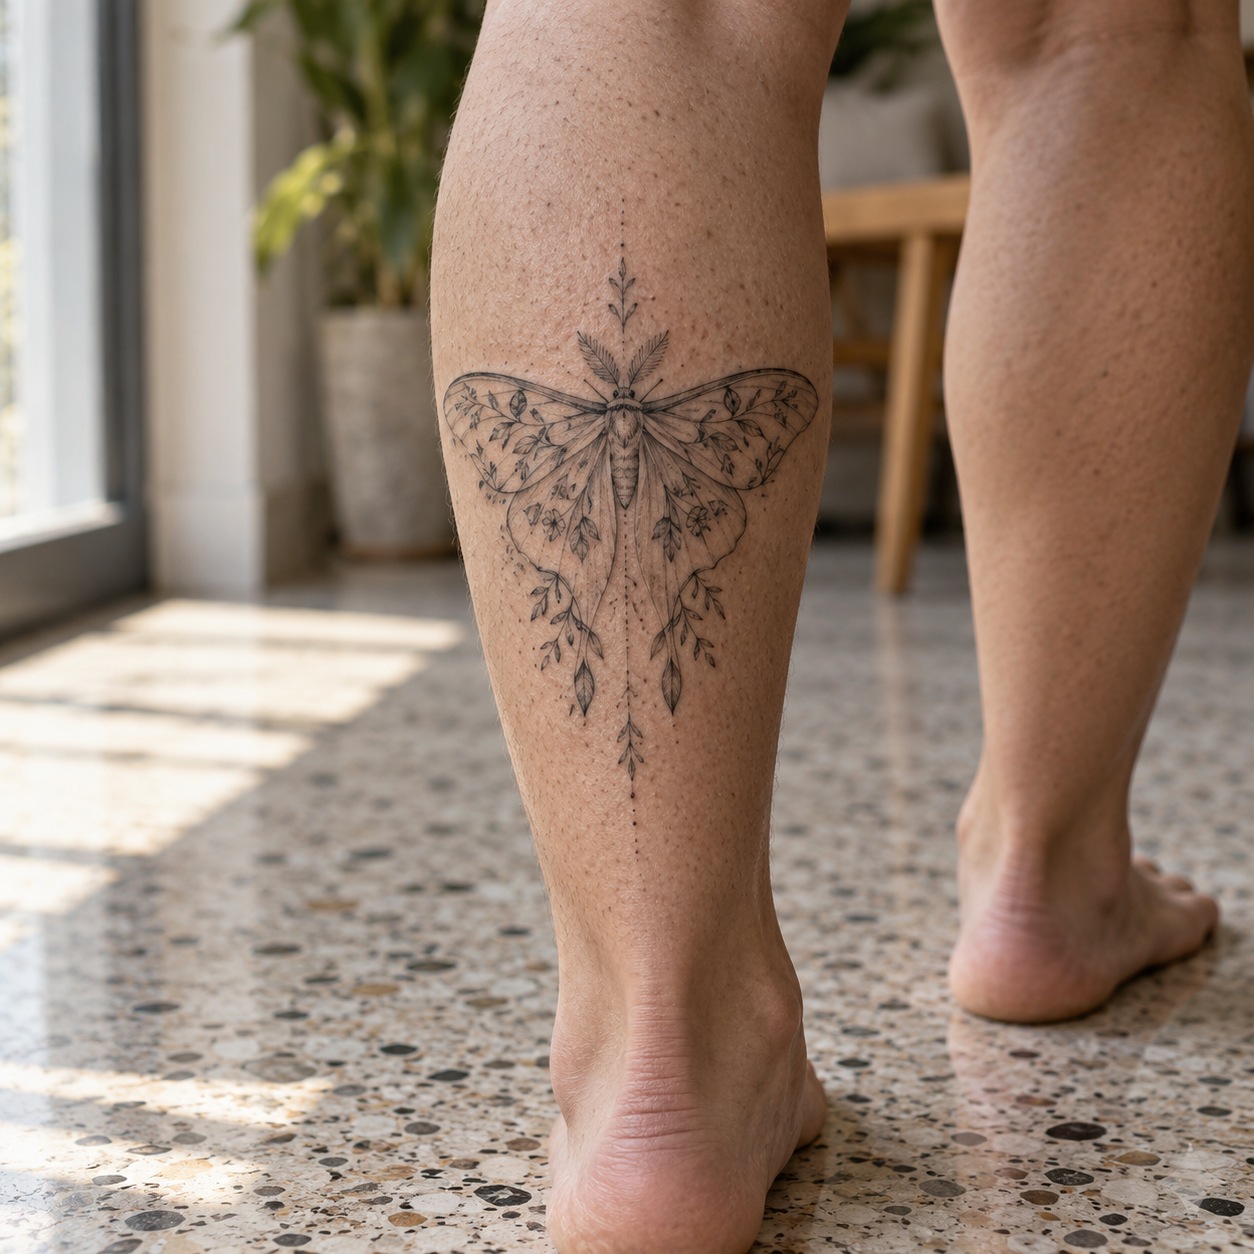
The calf muscle is listed at 3–4. Work toward the ankle, shin or knee ditch moves into different territory; the shin is listed at 6–7. A design wrapping around the lower leg should be discussed as several placements, rather than given one calf rating.
What changes how much a tattoo hurts
Placement is only part of the experience. Session length, the amount of repeated work, your comfort and the way the appointment is run all deserve attention.
Size and session length
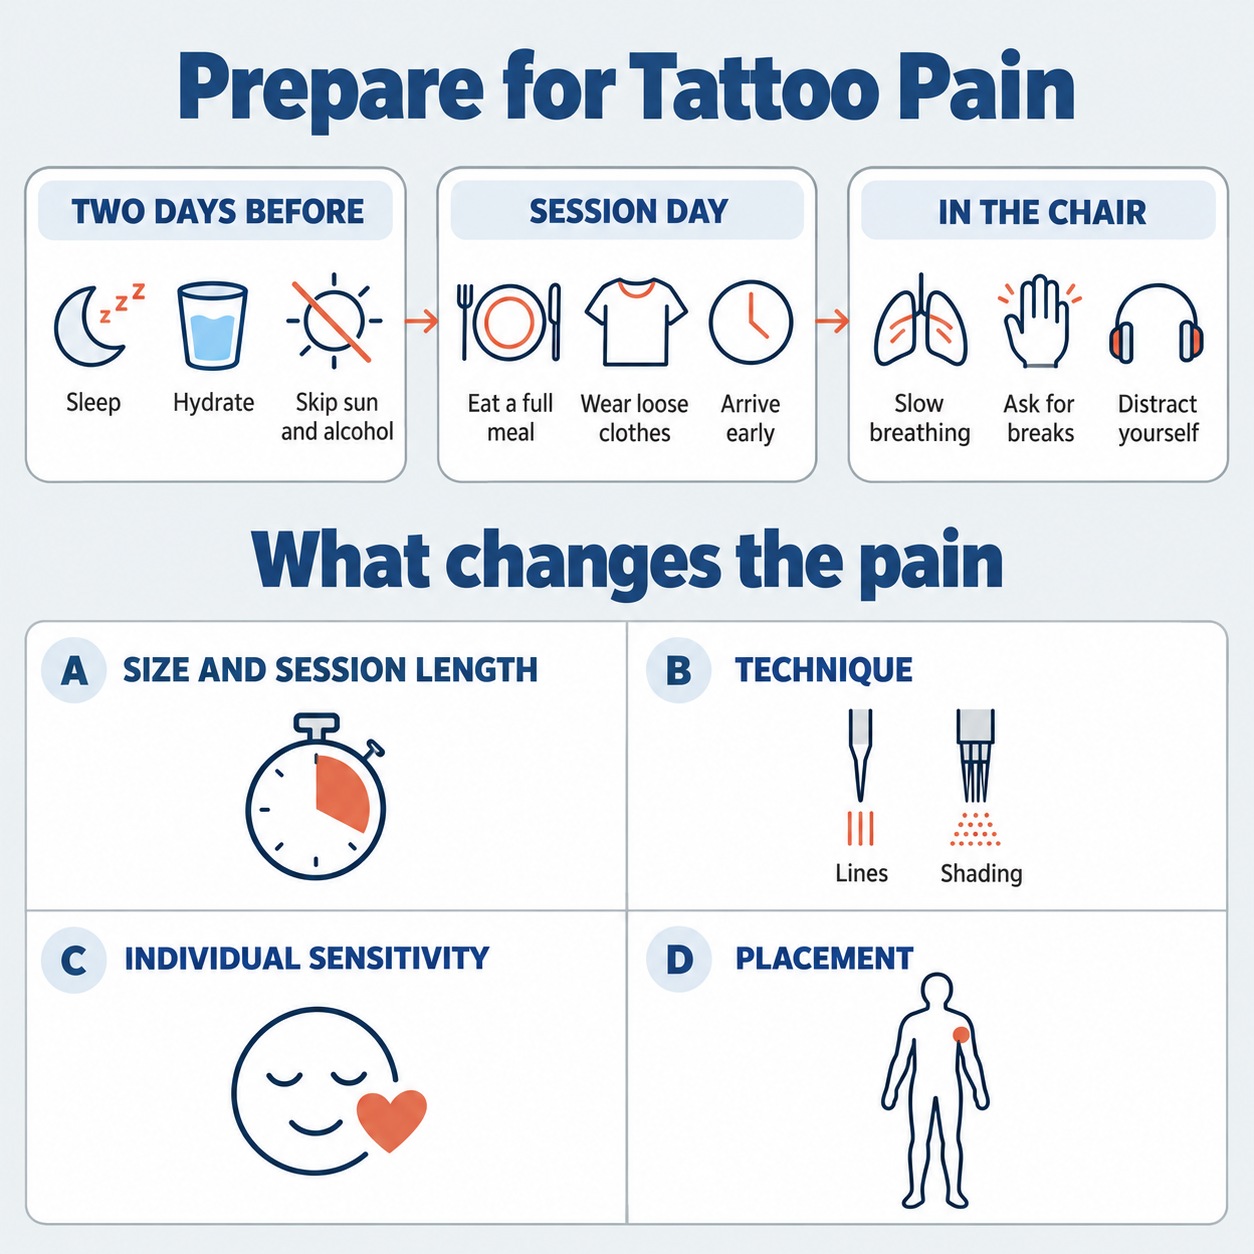
A long appointment means holding a position and having the same area worked for longer. Ask for a realistic time estimate, including shading and color, rather than judging only by the outline’s size. For a large piece, discuss whether shorter sessions would suit the design and your needs.
Technique
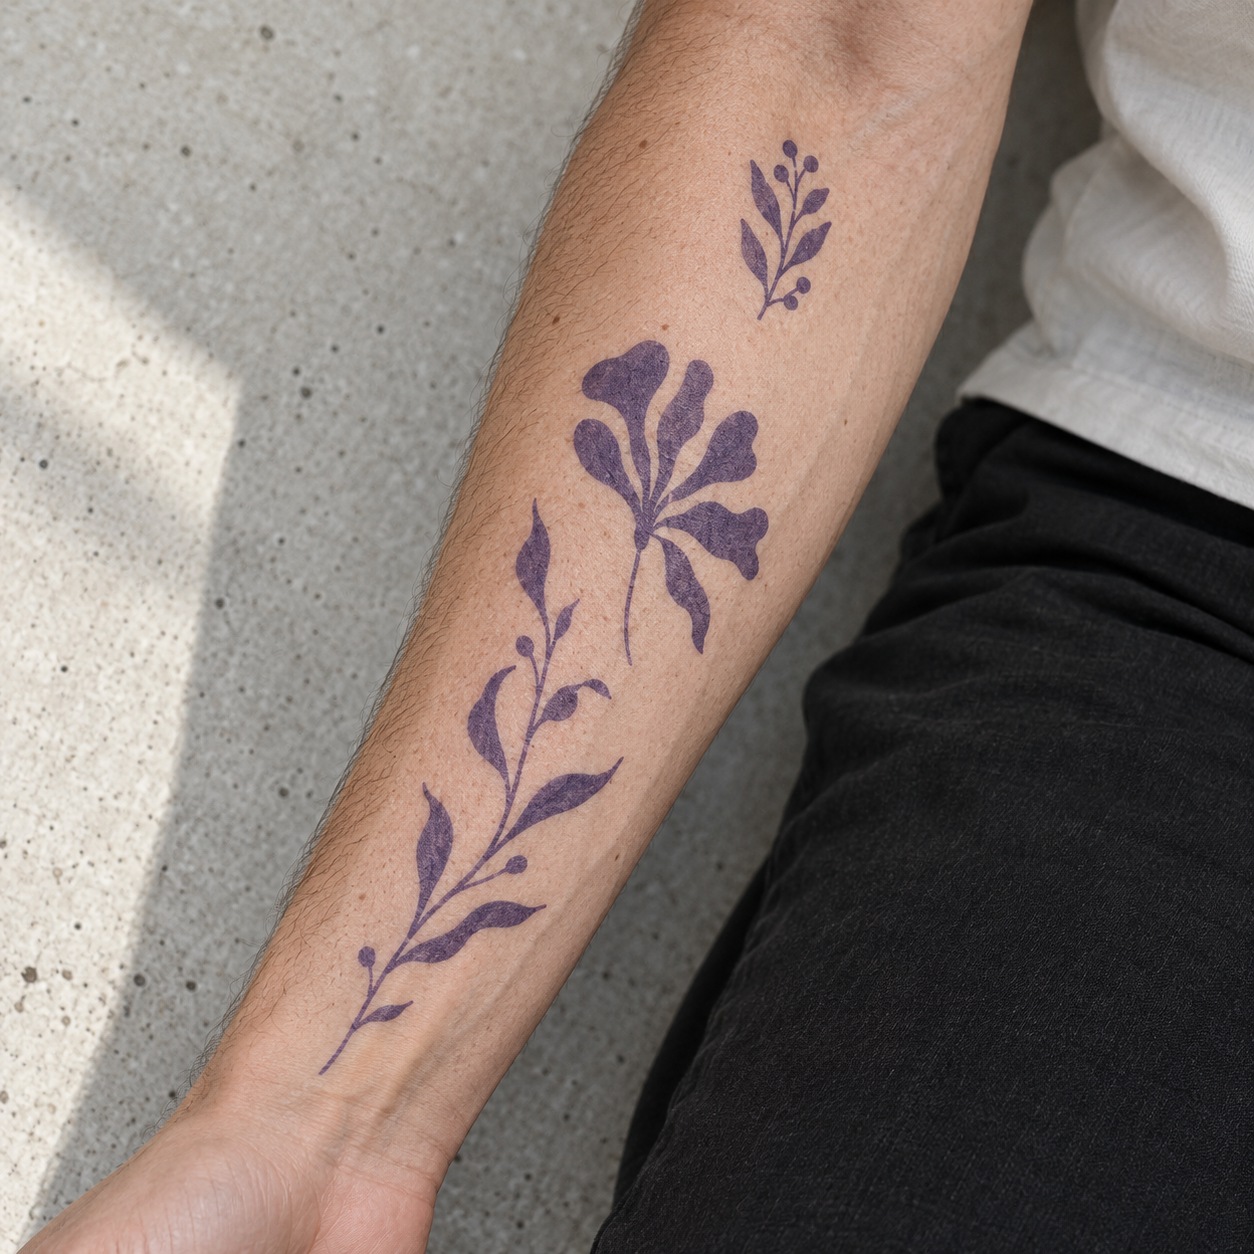
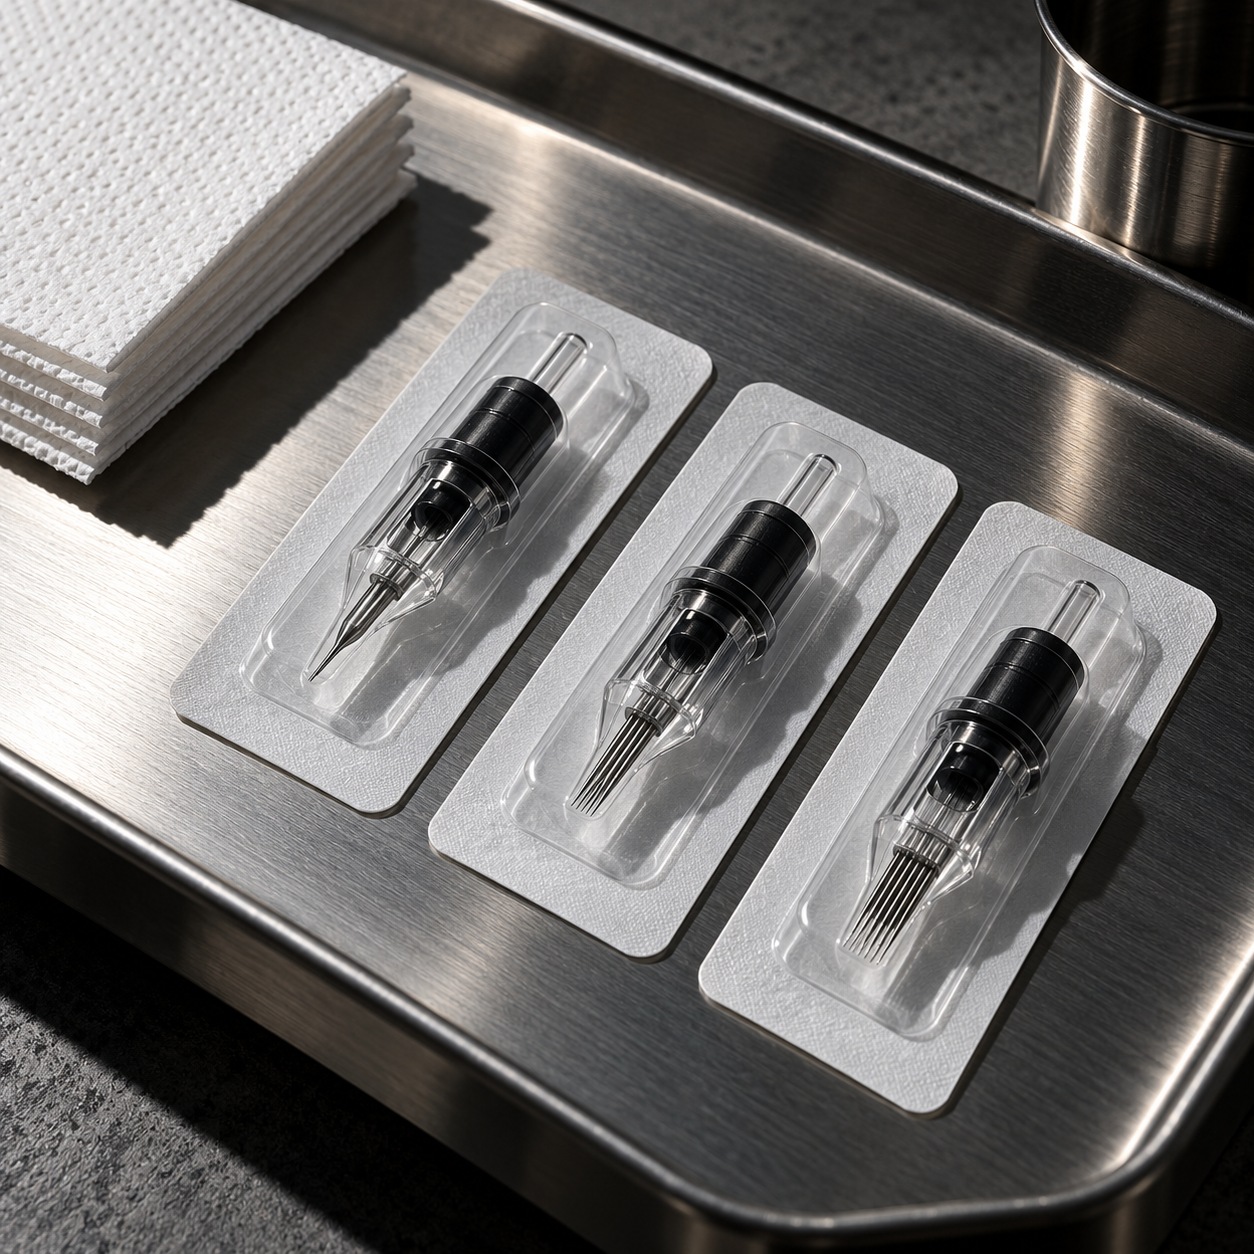
Linework may feel like a sharp scratch; shading or color packing may feel more like repeated scraping or burning. People disagree about which is harder. Ask how much of the design is outline and how much is fill so you know what the session involves.
Individual sensitivity
A chart cannot measure your personal tolerance. Stress, previous experiences and how you feel on the day can affect the appointment. The survey’s association between taking painkillers and higher pain does not show that medication caused the pain. Discuss medication with a qualified clinician; do not start, stop or change prescribed treatment on a tattoo guide’s advice.
Your skin and the day
Tell the studio beforehand if the area is sunburned, irritated or broken, or if you feel ill. Ask whether the appointment should move. Let the artist explain their skin-preparation routine instead of shaving or applying a new product just before you arrive.
Your artist
Choose an artist who explains the process, agrees on breaks and listens when something feels wrong. Look at healed work and ask how they plan longer or sensitive placements. The first tattoo guide covers questions to ask when choosing a studio.
How to prepare for tattoo pain
Preparation cannot promise a painless tattoo, but it can make the appointment easier to manage. Confirm the studio’s instructions before the day.
The two days before
Aim for normal sleep, regular meals and hydration. Protect the area from sunburn and avoid arriving after drinking alcohol. Ask the studio about its preparation rules. If you take regular medication or have a condition that affects bleeding or healing, discuss the appointment with your clinician; do not stop treatment on your own.
Session day
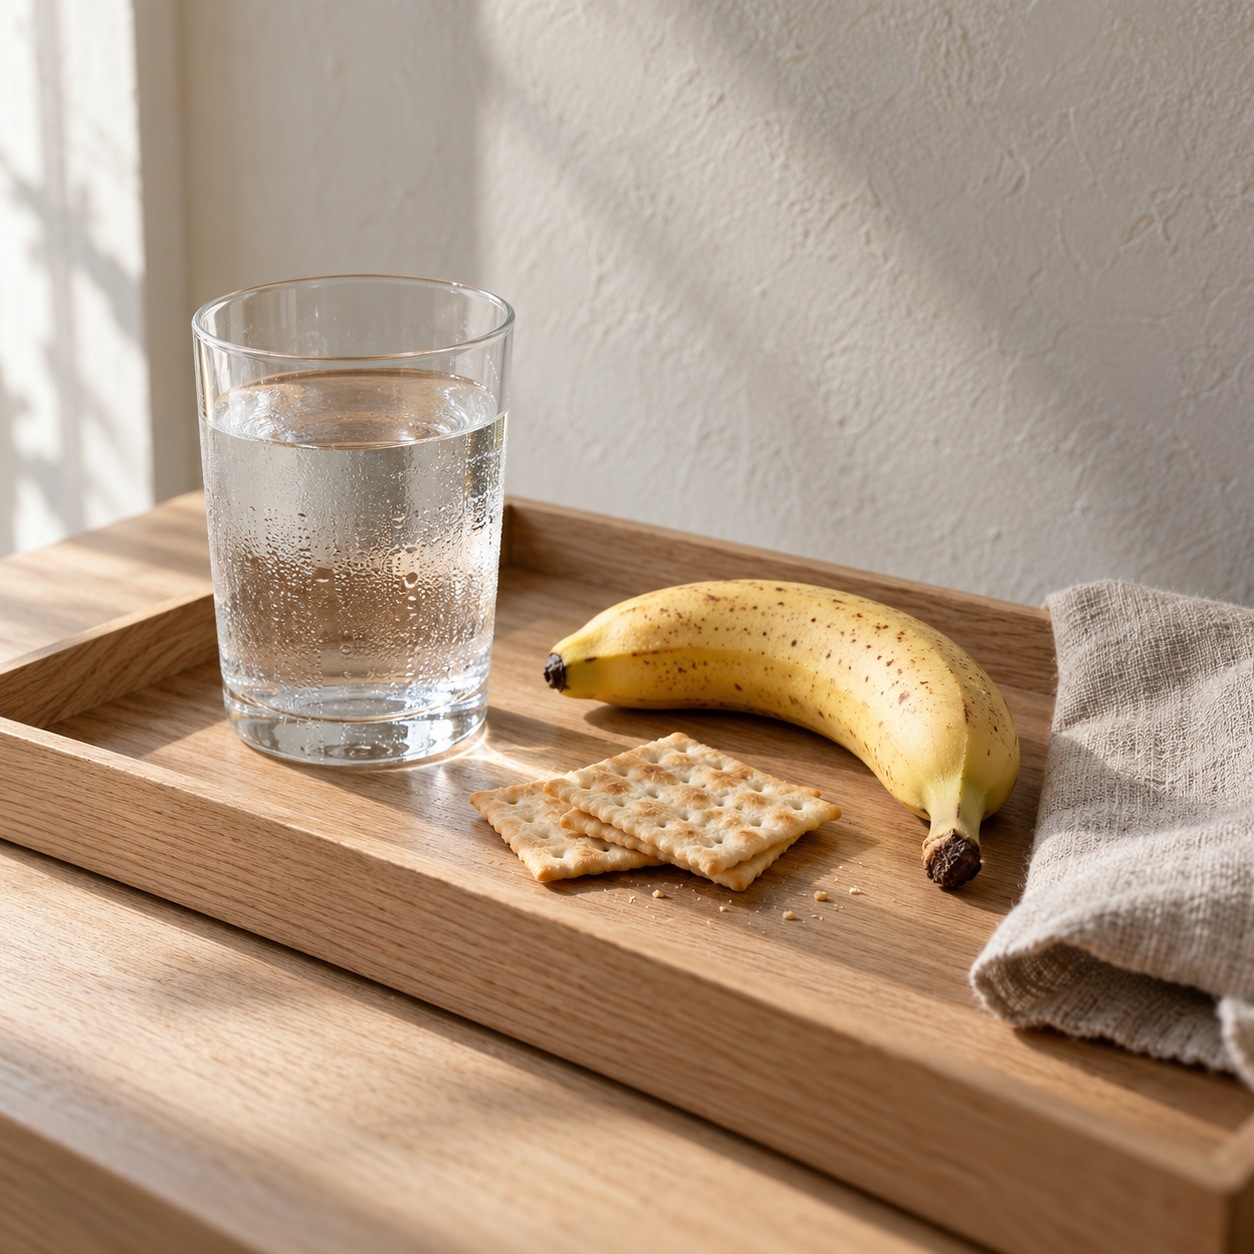
Eat a normal meal beforehand and bring water and a snack if the studio allows them. Wear loose clothing that gives access to the placement. Leave enough travel time to avoid rushing. Tell the artist before starting if needles have made you feel faint in the past.
In the chair
Try slow, comfortable breathing and ask the artist how to position your body without tensing the area. Agree on a signal for a pause. Headphones or conversation may help you pass the time, provided they do not interfere with instructions. Tell the artist promptly if you feel faint or unwell.
Splitting a big piece
Ask whether a large piece can be divided into sensible stages. An artist can plan the outline, fill and different areas around the design and the skin’s recovery. Agree on the interval between sessions with them; do not assume that every piece needs the same healing schedule.
What about numbing cream?
Discuss numbing products with your artist and a clinician or pharmacist before using them. The FDA warns against over-the-counter topical pain products containing more than 4% lidocaine and against heavy application over large, irritated or broken areas. Covering lidocaine-treated skin can increase absorption and cause serious harm. A lower percentage is not a blanket guarantee of safety: follow professional advice and the product’s permitted use. Read the FDA warning on topical pain products before buying a cream marketed for tattooing.
Pick the spot you can sit through
Choose a placement you want to live with, then plan the session around it. If you are nervous, the outer upper arm, thigh or forearm are useful places to start the discussion. If the design belongs on your ribs or sternum, ask about size, detail and breaks before committing to a long appointment.
A tattoo lasts far longer than the appointment, and soreness can continue afterward. Let the design and your daily life guide the placement. The tattoo placement chart can help you compare how each area changes a motif’s shape and scale. Follow your artist’s aftercare instructions for the dressing and products appropriate to your tattoo.
FAQ
What’s the most painful spot to get a tattoo?
Ribs, armpits, sternum, spine and joint creases are commonly described as demanding placements. There is no single spot that is the most painful for everyone. Ask an artist about the exact design, how long it will take and whether the session can be divided.
What is the least painful place to get a tattoo?
The outer upper arm, outer thigh and outer forearm are common suggestions for a first tattoo. The calf muscle and broad upper back are other options. These placements can still hurt, and a large or heavily shaded design may be demanding anywhere.
What are the least painful tattoo areas for women?
The outer upper arm, outer thigh, outer forearm, calf and upper back are common starting points regardless of gender. Individual sensitivity and the details of the design matter more than a chart labelled specifically for women.
Does tattoo pain depend on placement?
Placement can influence the experience, but it does not determine it. The exact part of an area, session length, technique and individual sensitivity all matter. The ranges in this guide are illustrative estimates, not a validated ranking of body parts.
How painful is a tattoo?
Tattooing can feel like scratching, stinging, burning or vibration. Intensity varies between people and during the same session. There is no reliable rule that the first 20 minutes will be the worst, so plan breaks and communicate with your artist throughout.
How to prepare for tattoo pain?
Sleep normally, eat beforehand, stay hydrated and follow the studio’s preparation instructions. Wear accessible clothing, allow travel time and agree on breaks. Ask a clinician or pharmacist about medicines and numbing products; do not change prescribed medication yourself.
Can I use a tattoo pain chart to predict my own pain?
No chart can predict your personal pain score. Use it to compare placements and ask better questions about the design and session length. Treat even a low rating as a rough planning guide, never a promise of a painless tattoo.
Explore more styles and placements in the Sky Rye Design tattoo ideas hub.
- 0shares
- Facebook0
- Pinterest0
- Twitter0
- Reddit0