A plate of sushi looks like an easy subject. It isn’t. You’re drawing four surfaces at once: wet, glossy fish, matte seaweed, pearly rice and a dab of sharp green wasabi, all under one light on a very small piece of paper.
That’s why most tutorials on how to draw sushi stop at outlines. Six or nine steps, a cylinder, a few dots for rice, then “now color it.” I’ve read the top ones, and none of them explain where the light goes. So the drawing comes out flat, even when every shape is right.
I came to this from rendering. After years of drawing gold, gemstones and car paint, I think of a salmon slice as a glossy material and a nori wrap as a matte one. Once you see it that way, shading stops being guesswork.
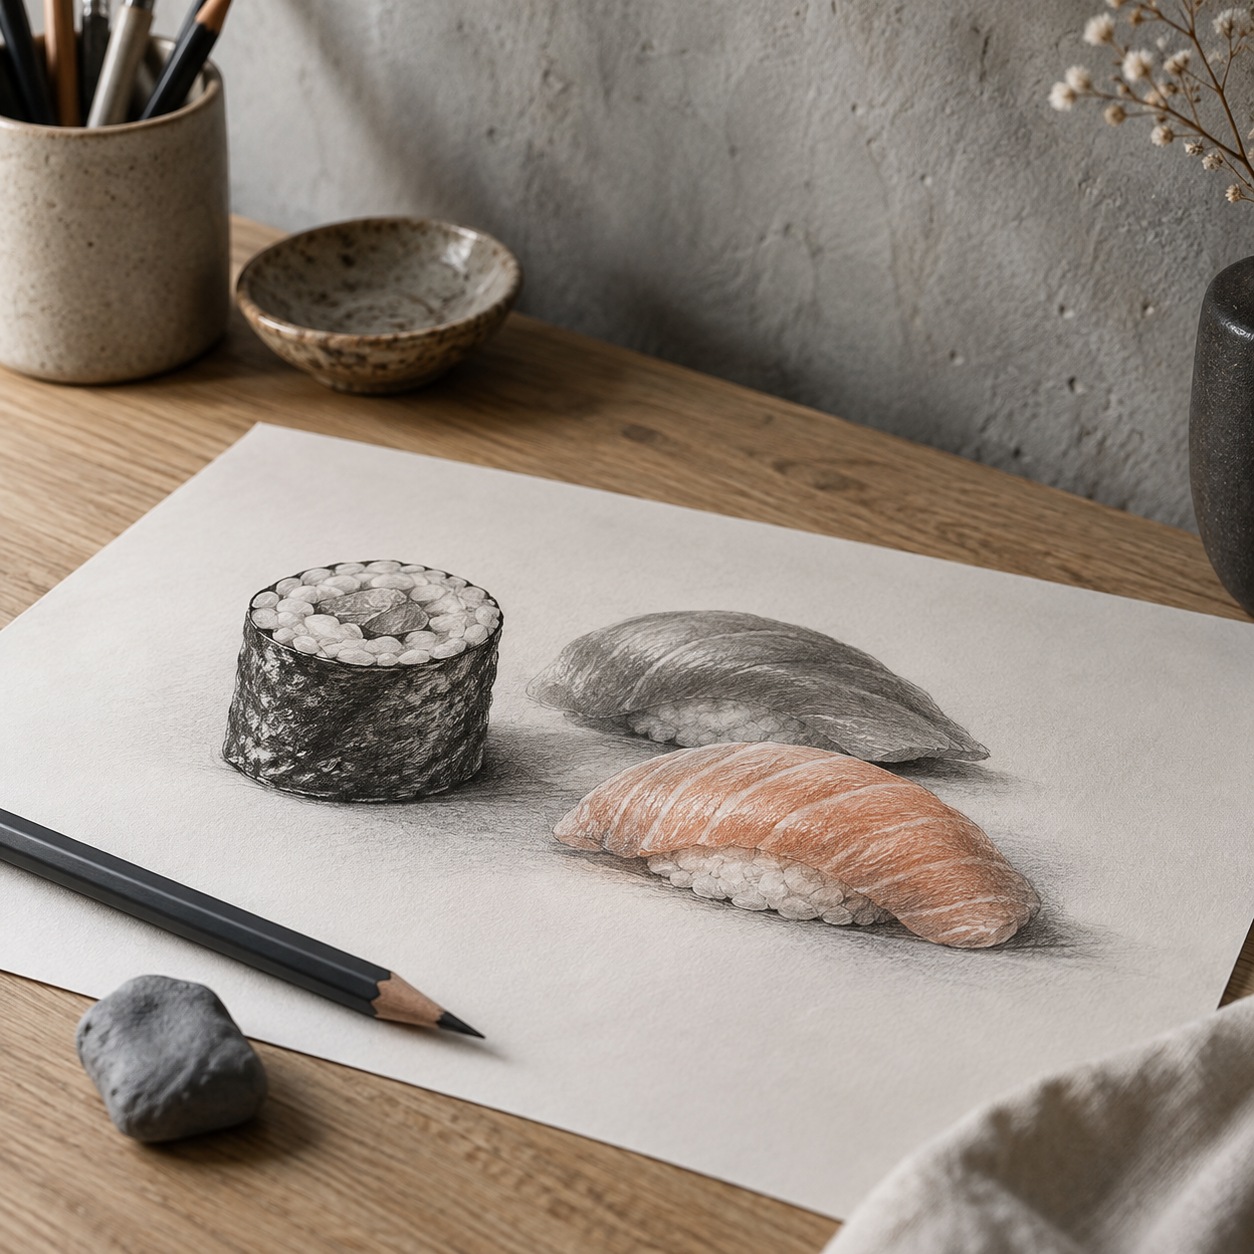
Here’s the plan. We’ll build each piece from simple solids, draw rice that actually looks like rice, handle fish and nori separately, then color it two ways: realistic and kawaii. I’ll finish with the mistakes I see most often and how to fix them.
Gather your materials and a real reference
Buy a small supermarket sushi tray and it will teach you more than any tutorial. You can’t copy it; you can only look at it. That’s the point.
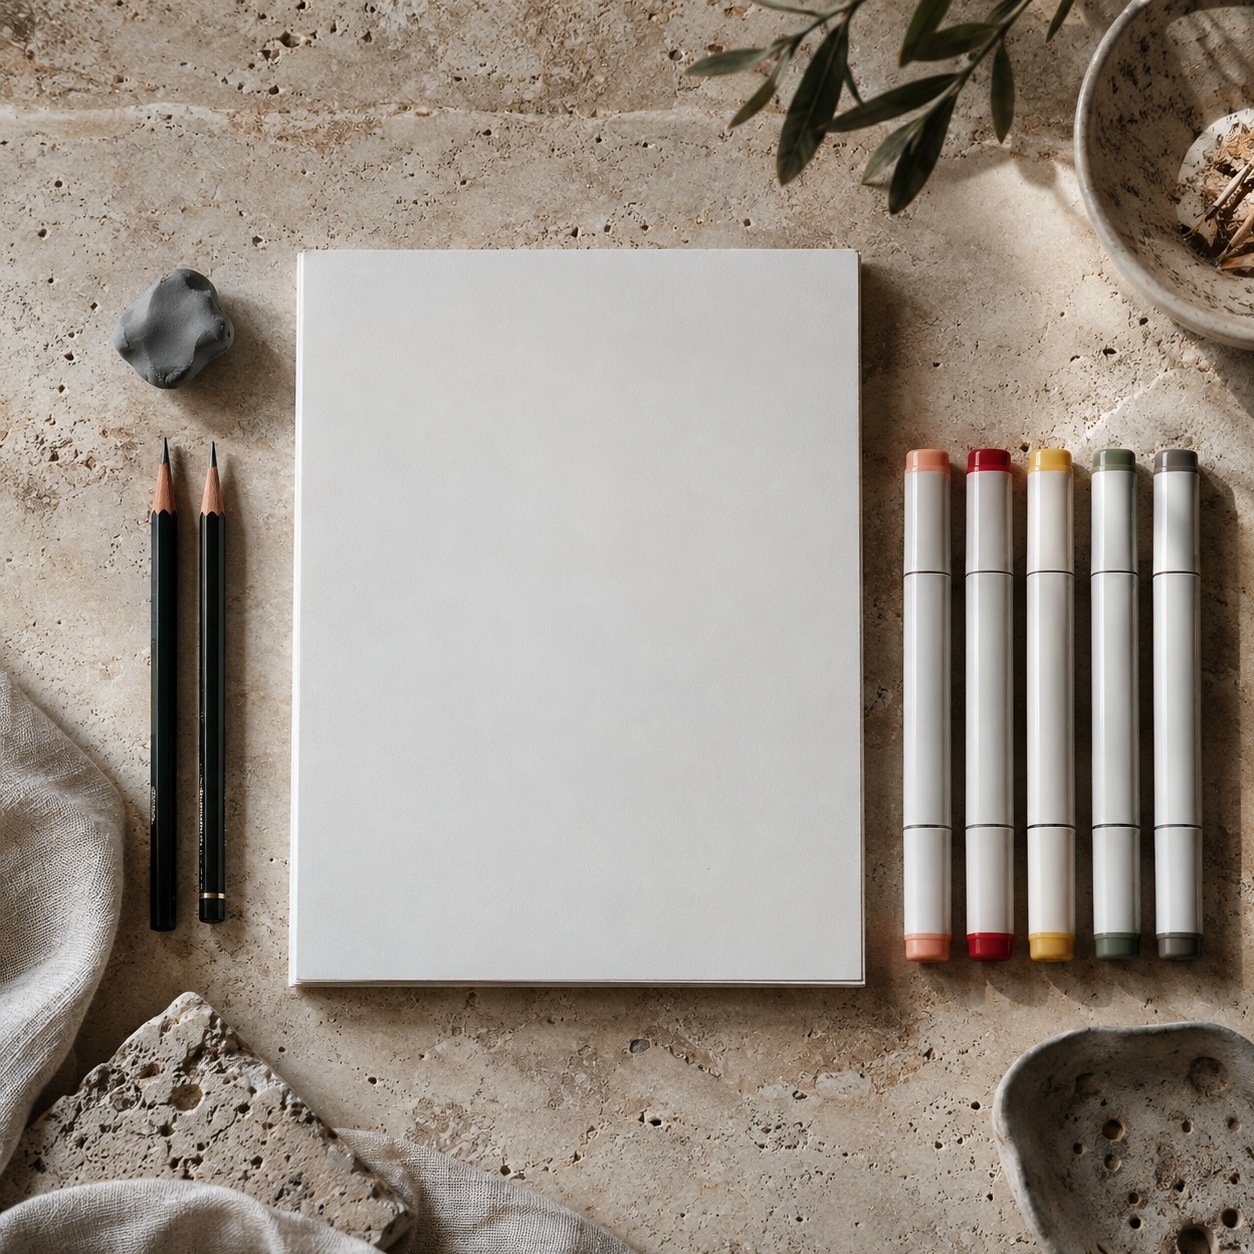
Pencils, paper and markers
You don’t need much. I draw sushi with a Staedtler Mars Lumograph 2B for contours and a 4B for the darkest shadows. They’re inexpensive and easy to replace, and a kneaded eraser lifts highlights off fish better than a hard one.
Paper matters more than people think. Use smooth Bristol (a Strathmore 400 Series pad in 9×12 inches is a fair choice), because rice grains stay crisp on it. Rough sketch paper turns them to mush.
Markers are optional until Stage 4. Copic Sketch markers are a premium option, while Tombow Dual Brush pens are usually cheaper; check local prices before buying a set. For sushi you’ll want five colors: salmon pink, warm orange, pale yellow, dark grey and green.
Draw from a real plate
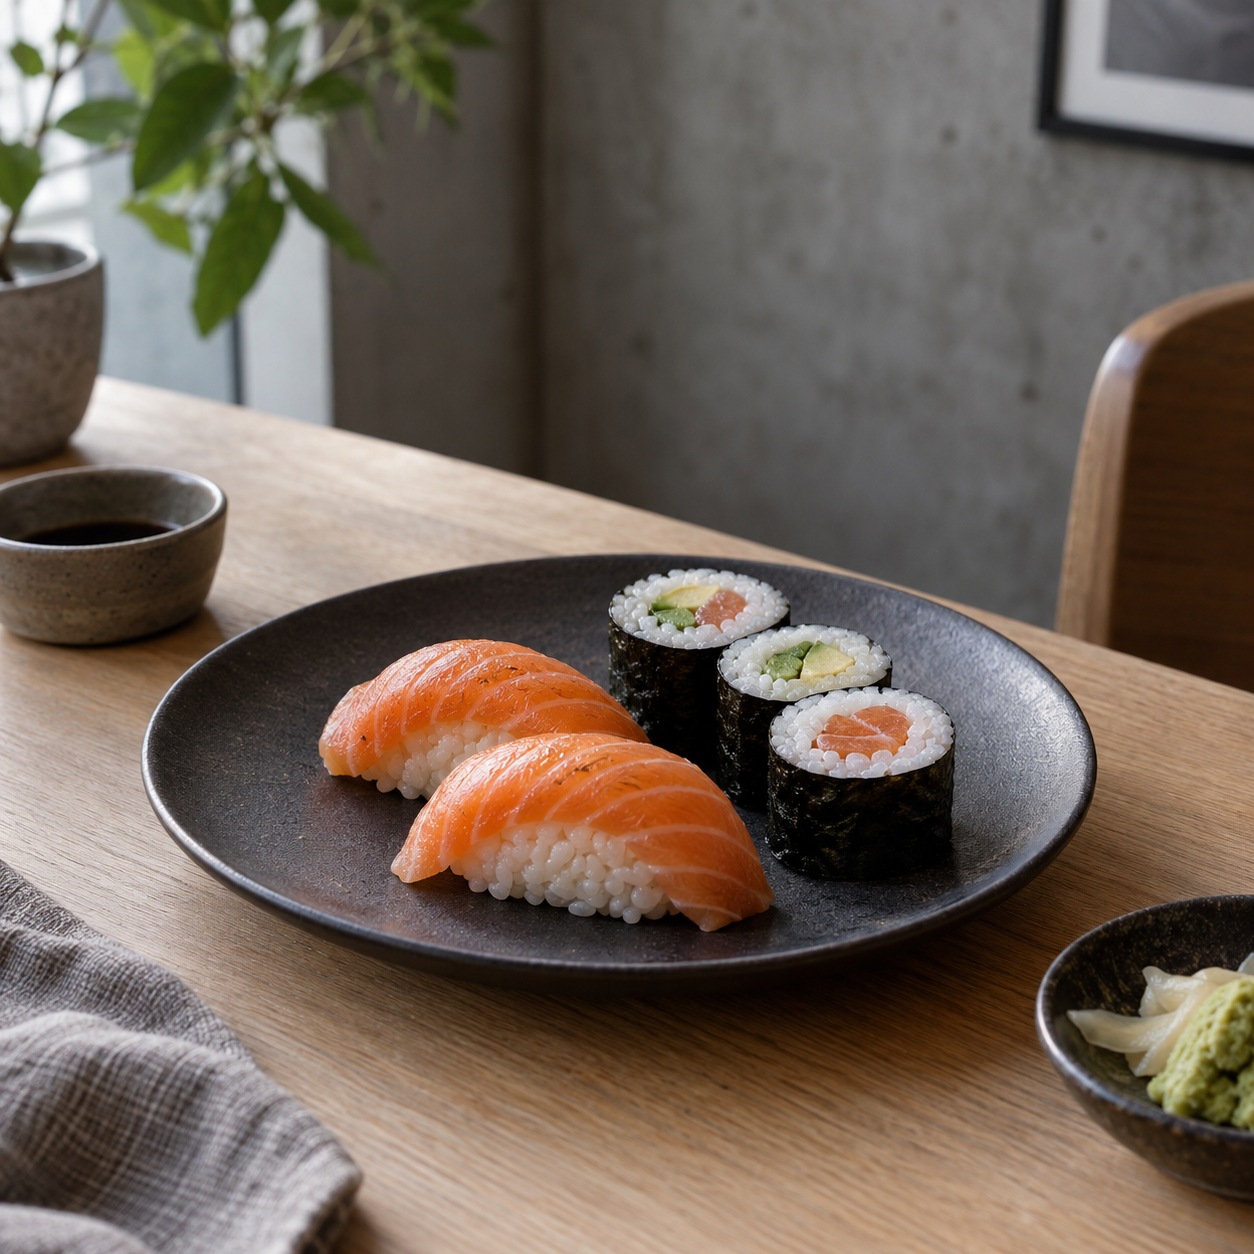
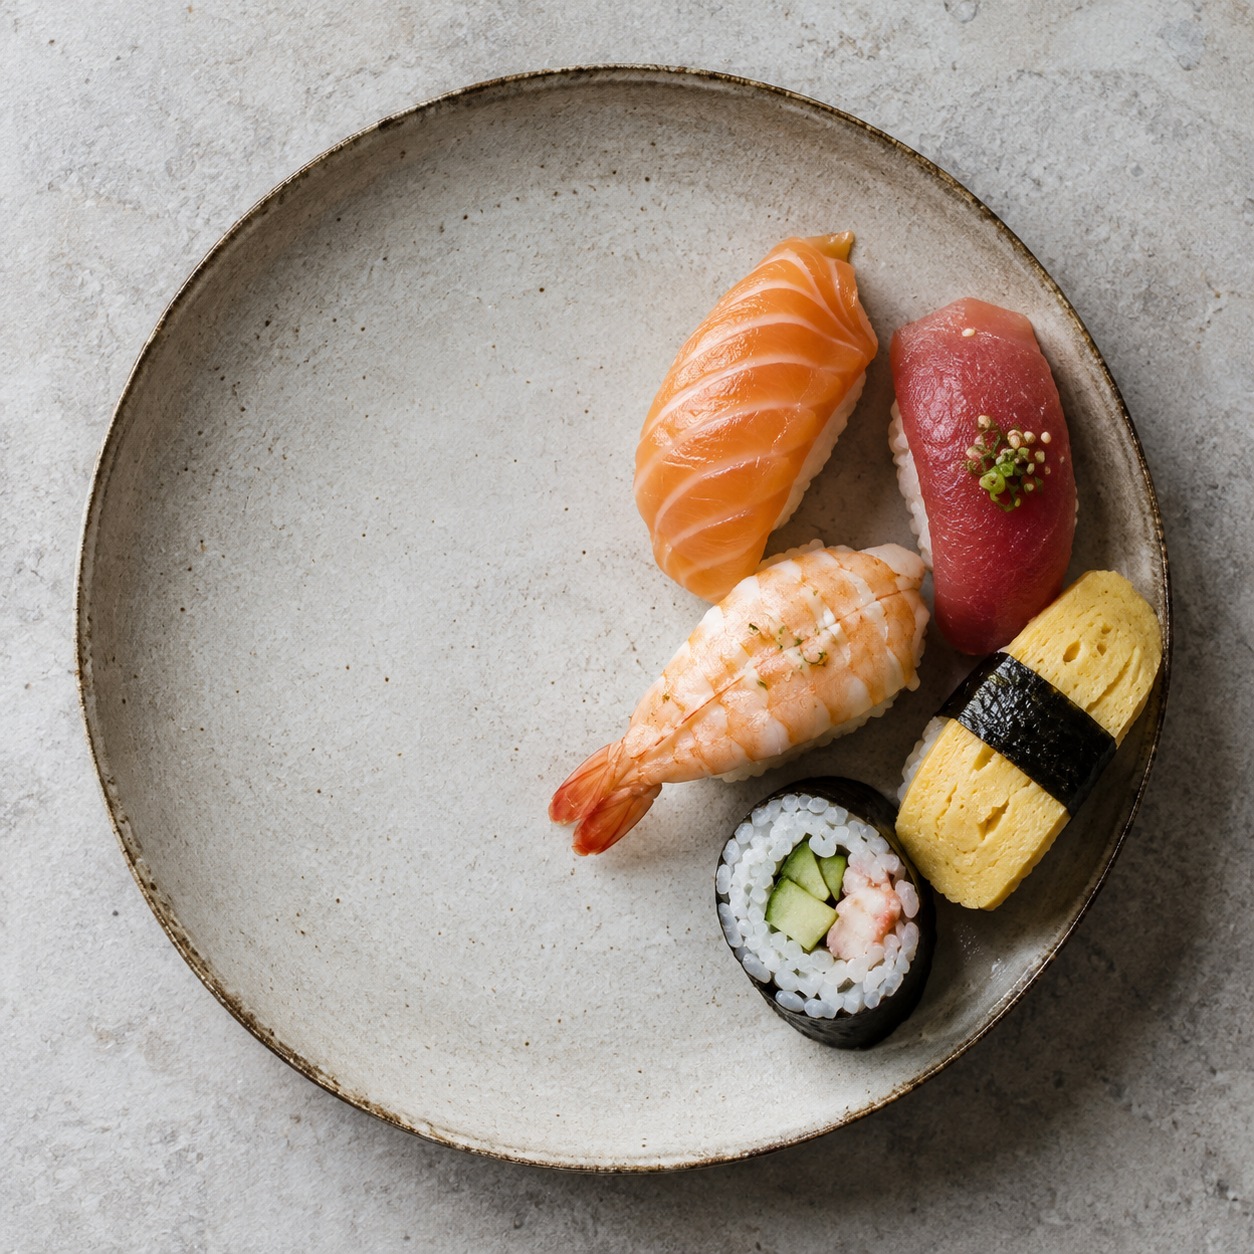
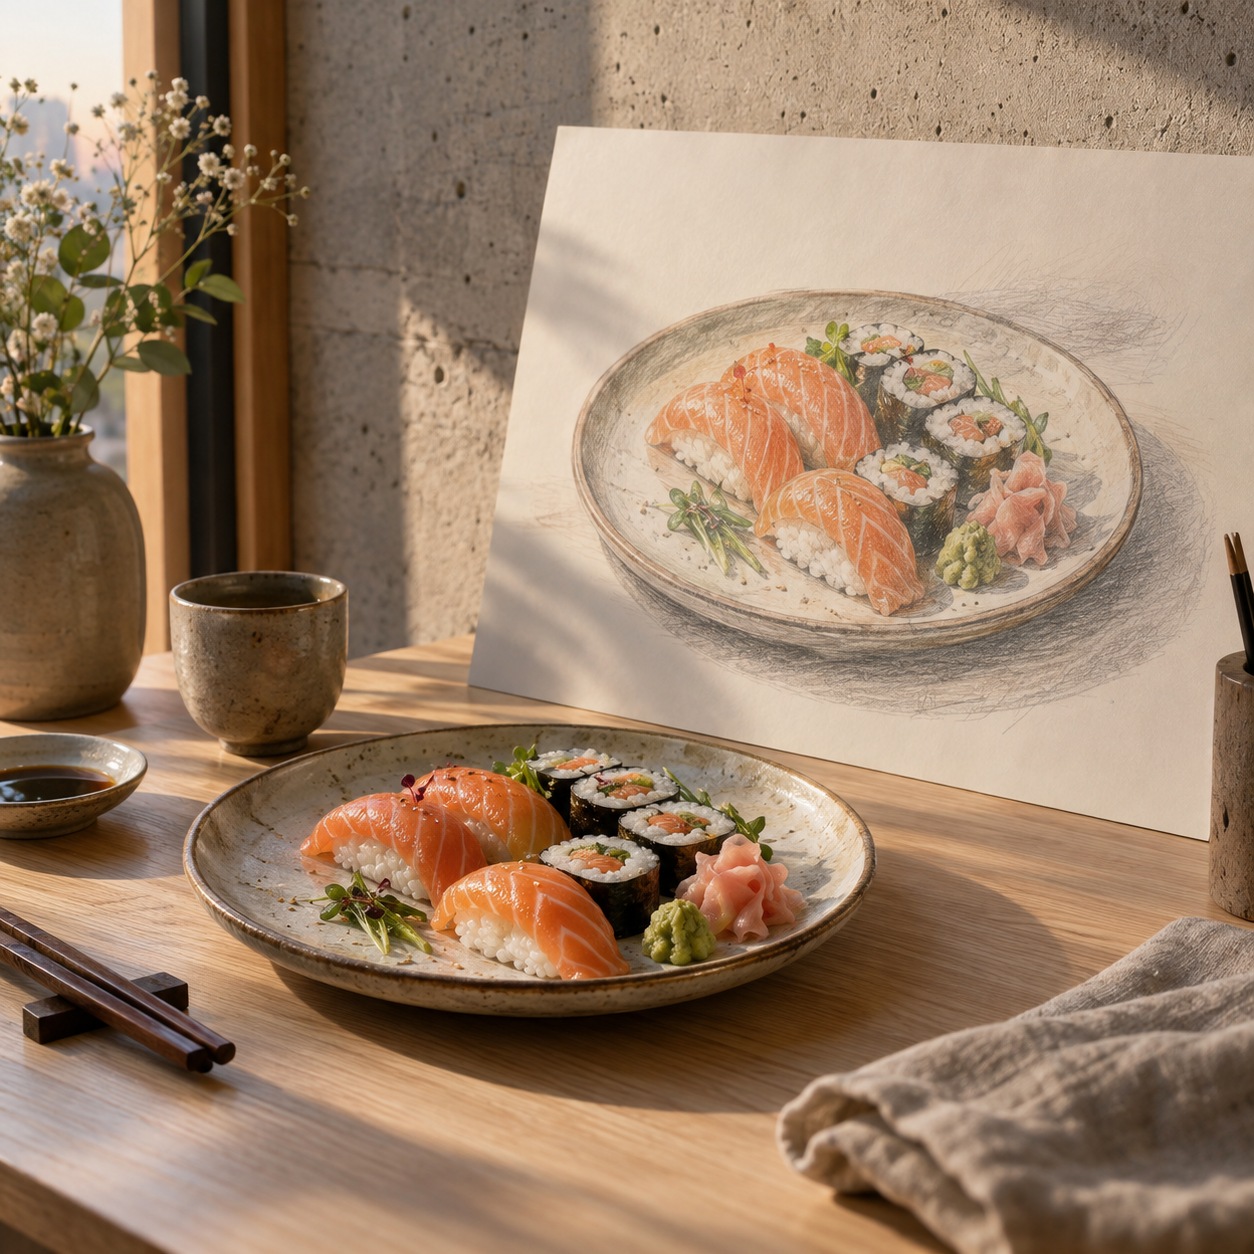
At university we drew from life for years before anyone let us near a photograph, and I still think it’s the fastest way to learn. Sushi is perfect for it. Buy a small tray, pick two nigiri and three maki, and set them on a dark plate.
In my experience, the first look is the most useful. You’ll notice things no tutorial mentions: the fish isn’t flat, the rice is lumpy, and the nori has a tight dull sheen.
Take a quick phone photo before you start. The fish will dry out in an hour, and you’ll want the original later.
Set up the light
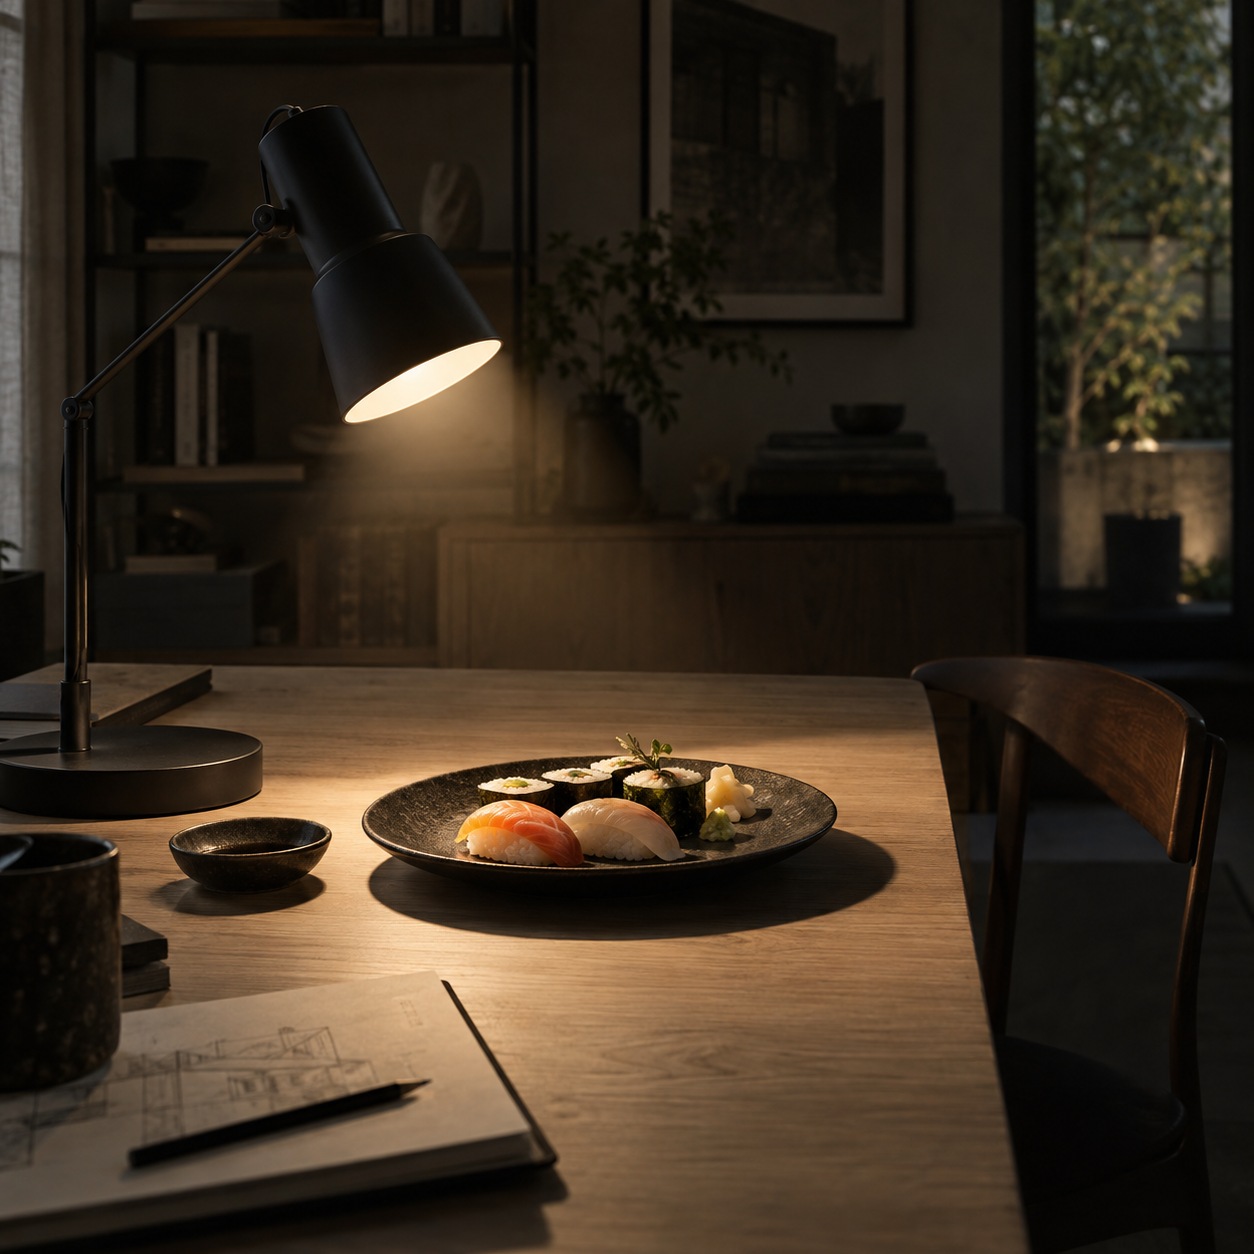
Use one lamp. Put it to one side, around 45 degrees above the plate, and switch everything else off. One light gives you one shadow direction, which makes Stage 3 much easier.
Try this: Squint at the plate. The details disappear and you’ll see only the big light and dark shapes. Those are the shapes you draw first.
Now to the drawing itself, in four stages.
How to draw sushi in 4 stages
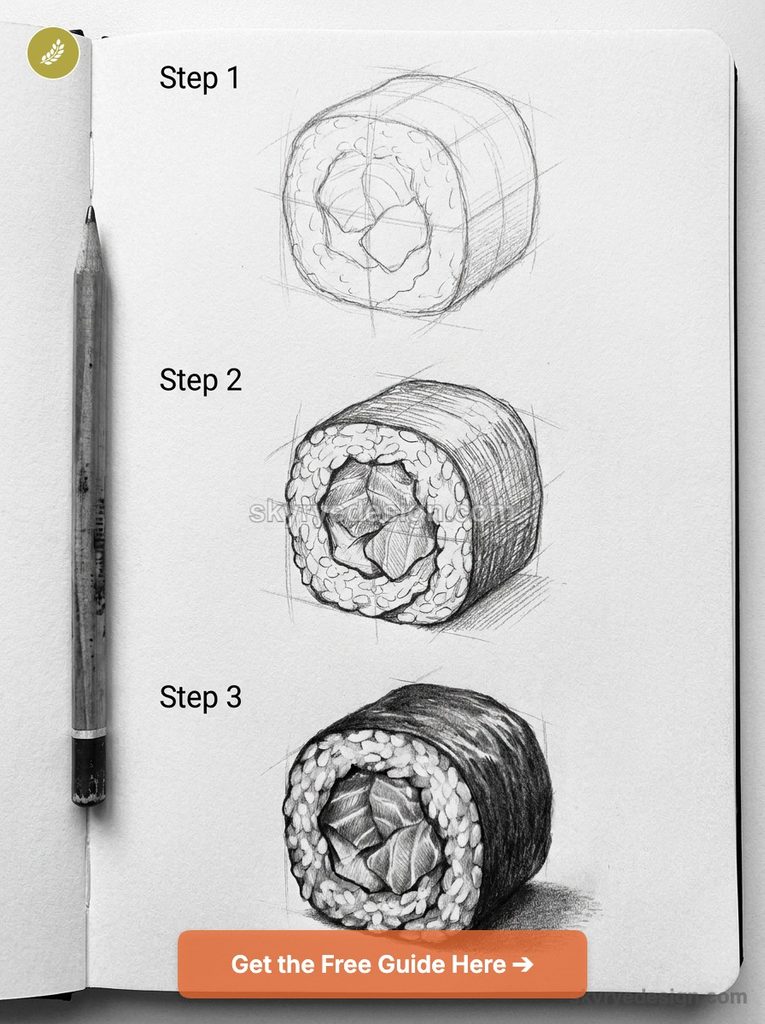
Every sushi roll you’ll ever draw is a cylinder with a rice-covered end. Get that right and the rest is detail. We’ll use a maki roll as the running example, because it teaches the same four stages you’ll repeat on every other piece.
Stage 1: block in the shapes
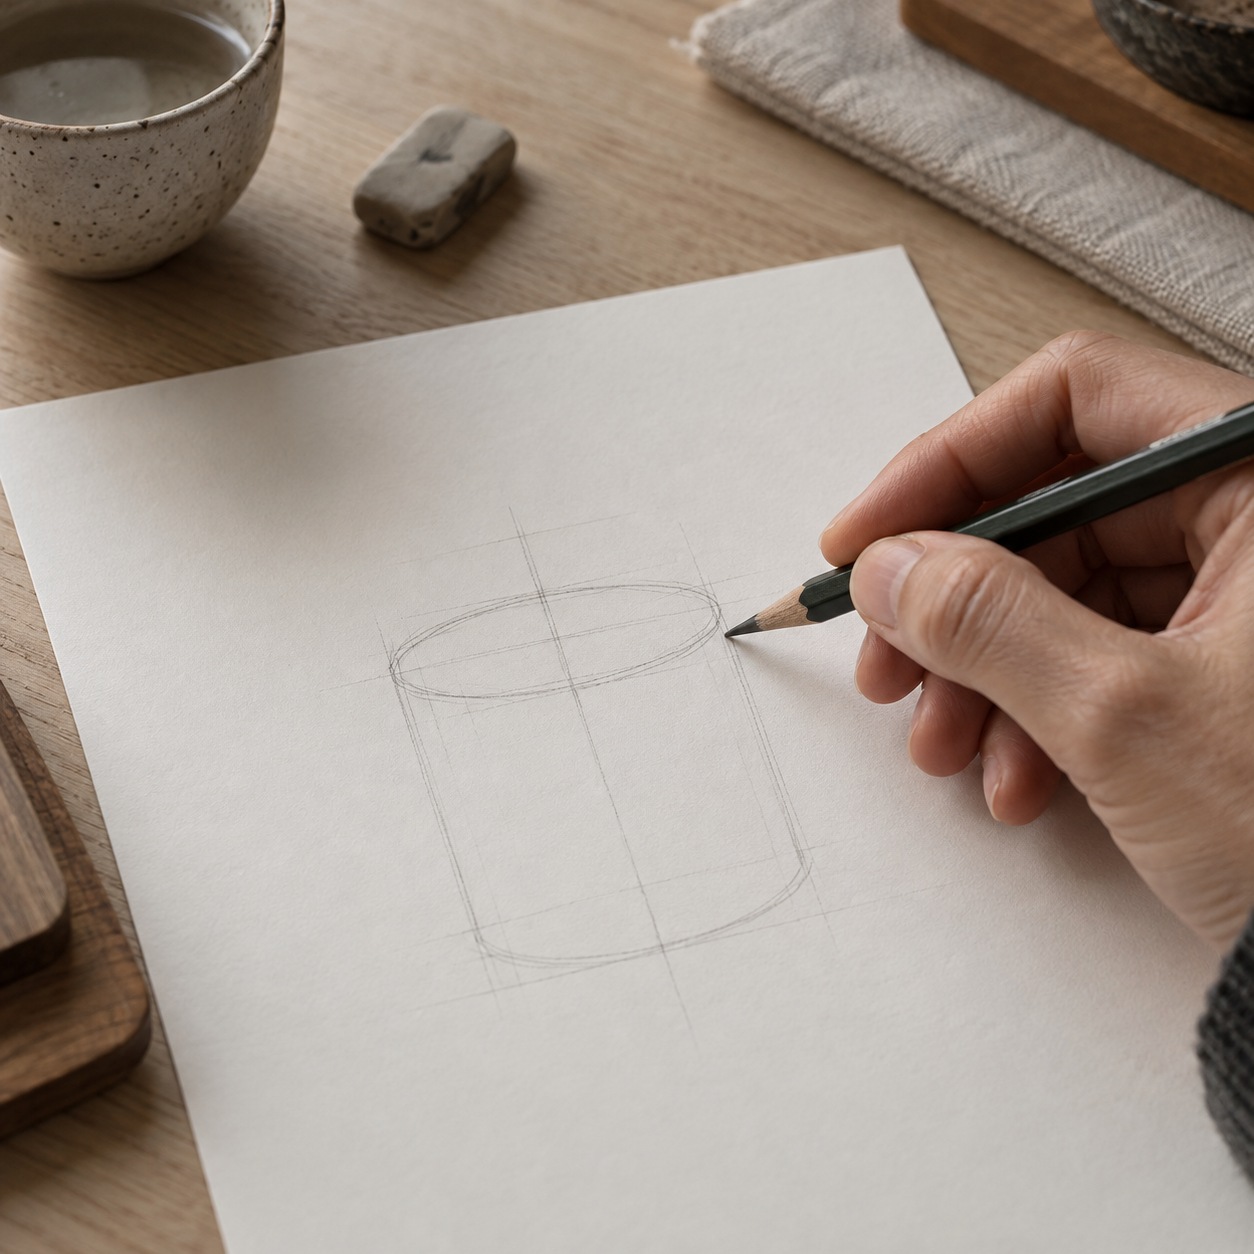
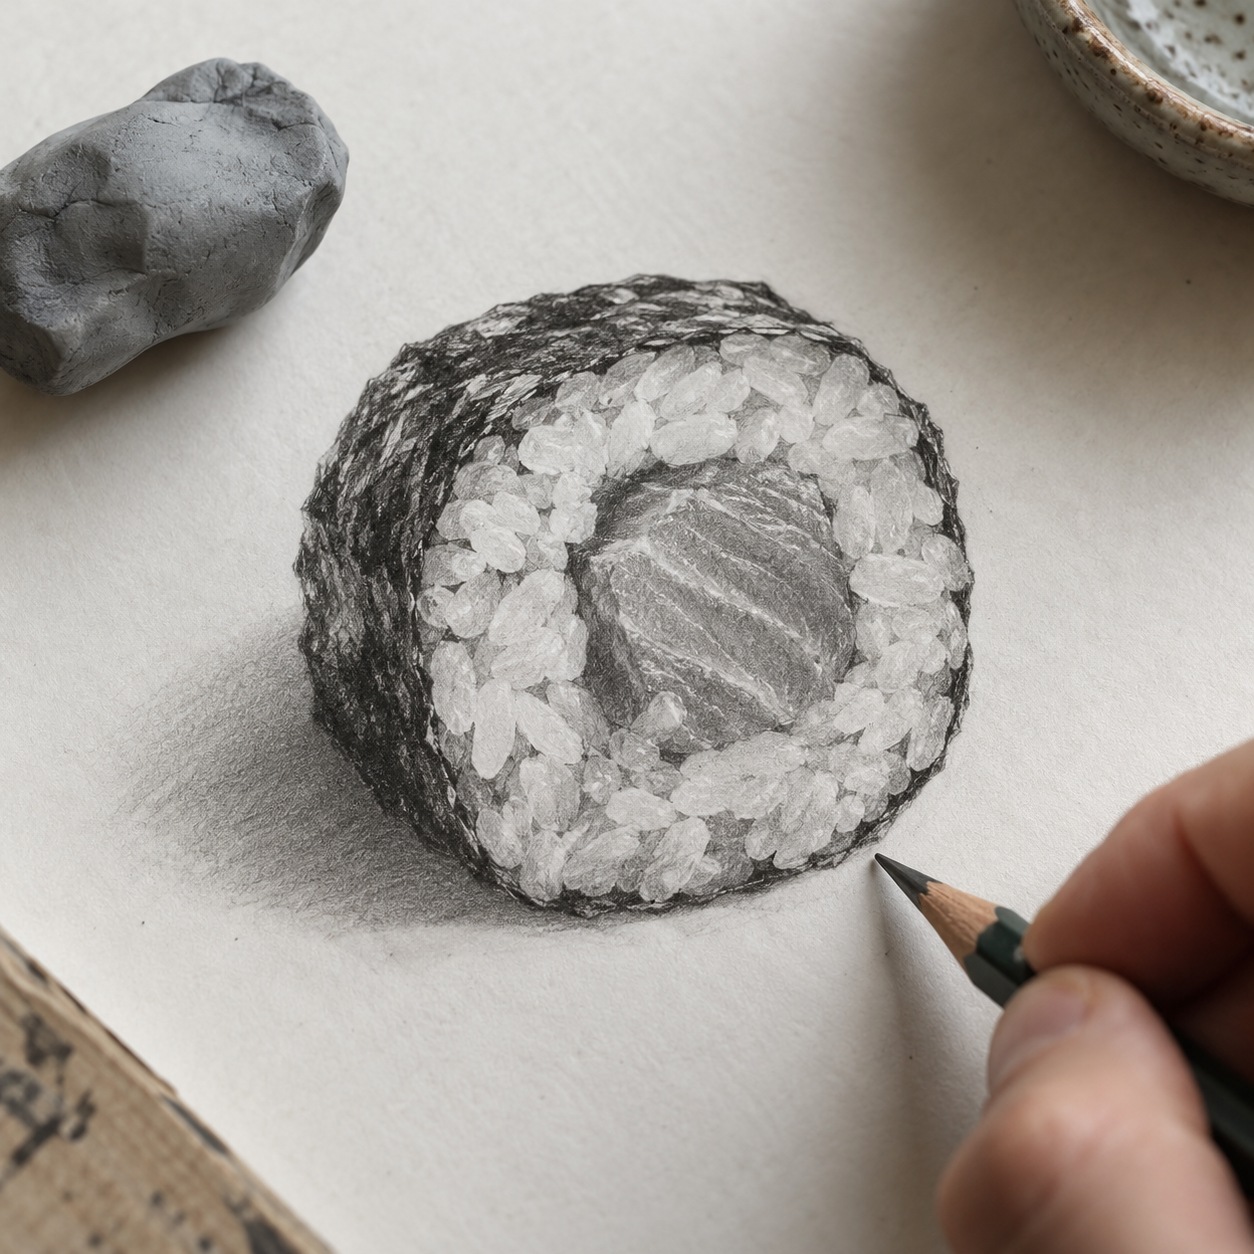
Start with a light vertical line, the roll’s axis. With the 2B, draw a cylinder around it: about 6 cm wide on the page, a little shorter than it is wide, since real maki pieces are squat.
The cut end is an ellipse. Make it roughly one-third as tall as it is wide, and keep that ratio when you draw the base of the roll. In my experience, this is where most maki drawings die: the top ellipse is too round, so the roll looks like a coin standing on edge.
Press lightly. These lines get erased.
Stage 2: refine the contour
Now the rice. Inside the ellipse, don’t draw dots. Draw small clusters, each a loose group of two or three grains, with gaps between them where the filling shows through. A cooked grain is only about 5 to 7 mm long, so at this scale you’re suggesting grain, not counting it.
Add the nori as a thin band around the outer edge, a few millimeters thick, slightly uneven. Then place the filling off-center: a salmon square, a cucumber strip or a slice of avocado, with its own soft outline.
Keep the outer edge of the roll a little irregular. Hand-rolled maki are never perfect circles.
Stage 3: add light and shadow
Use the lamp you set up in Section 1. If the light comes from the left, the right side of the cylinder gets the core shadow, and the plate beneath it gets a cast shadow stretching to the right.
Switch to the 4B for the darkest area: where the roll meets the plate, and the gap between rice clusters. Rice is bright, so keep its shadows light and soft. The nori band is darker and flatter.
Lift highlights with a kneaded eraser, not by leaving paper white. Press and pull, and you’ll get a soft glint on the filling.
Stage 4: add color
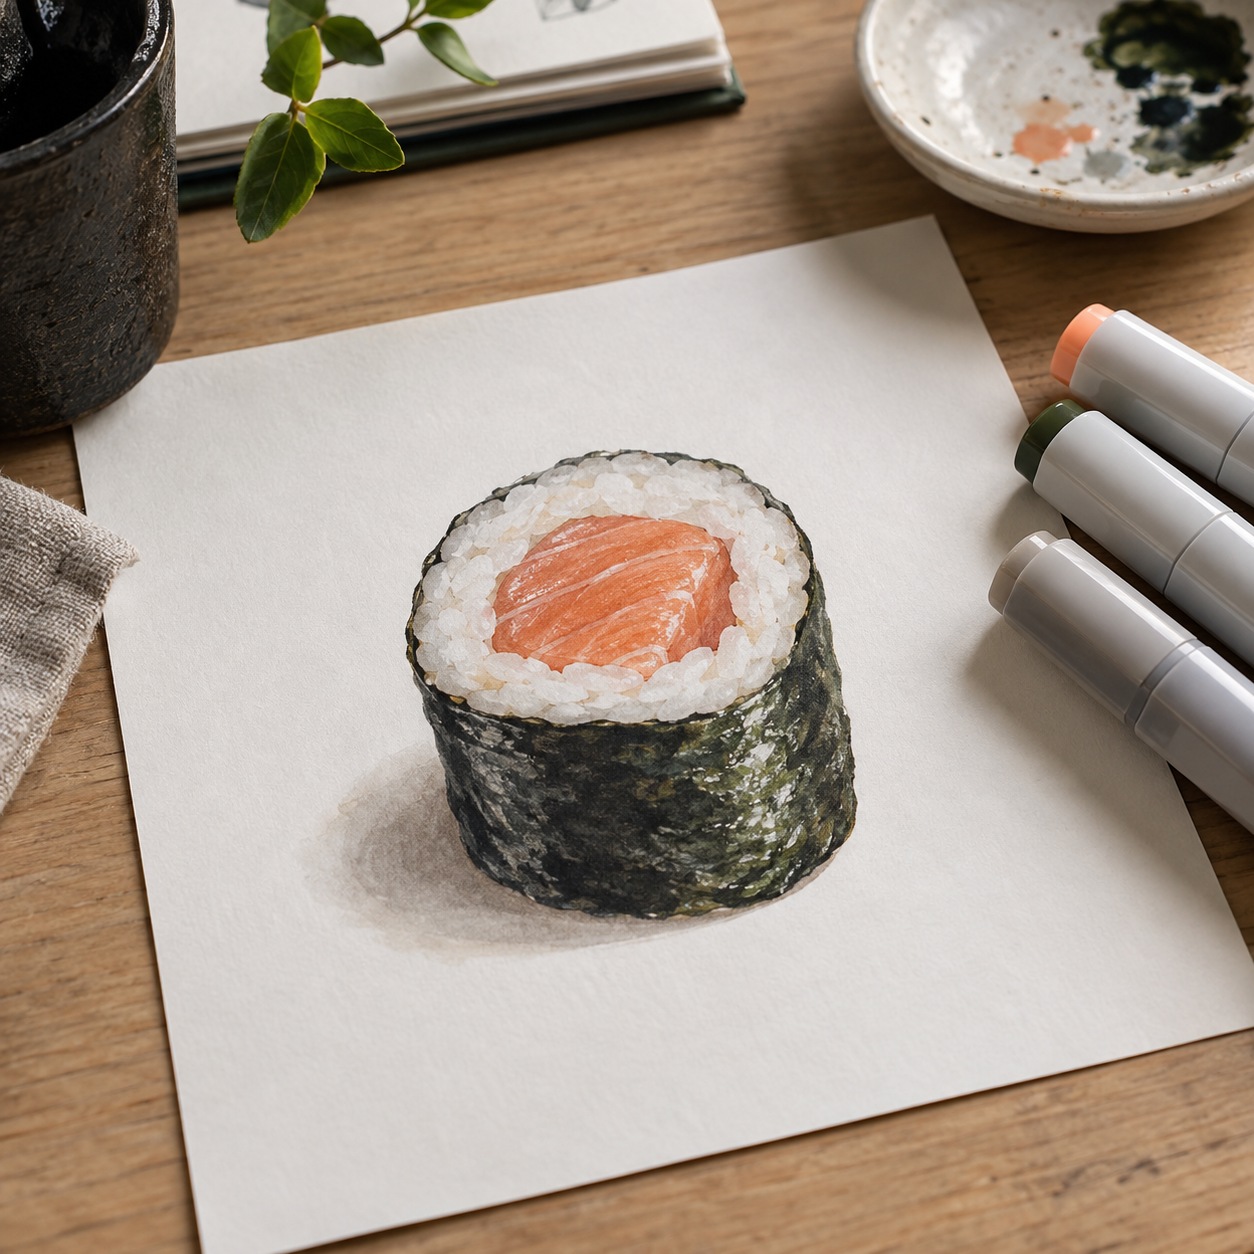
Color goes on last, pale to dark. With Copic Sketch markers, lay a light salmon on the filling first, then deepen the shadow side. Leave the rice almost bare, perhaps with a warm grey at the base. Fill the nori with a dark grey-green, and keep the highlight you lifted in Stage 3.
If you only have colored pencils, the order stays the same.
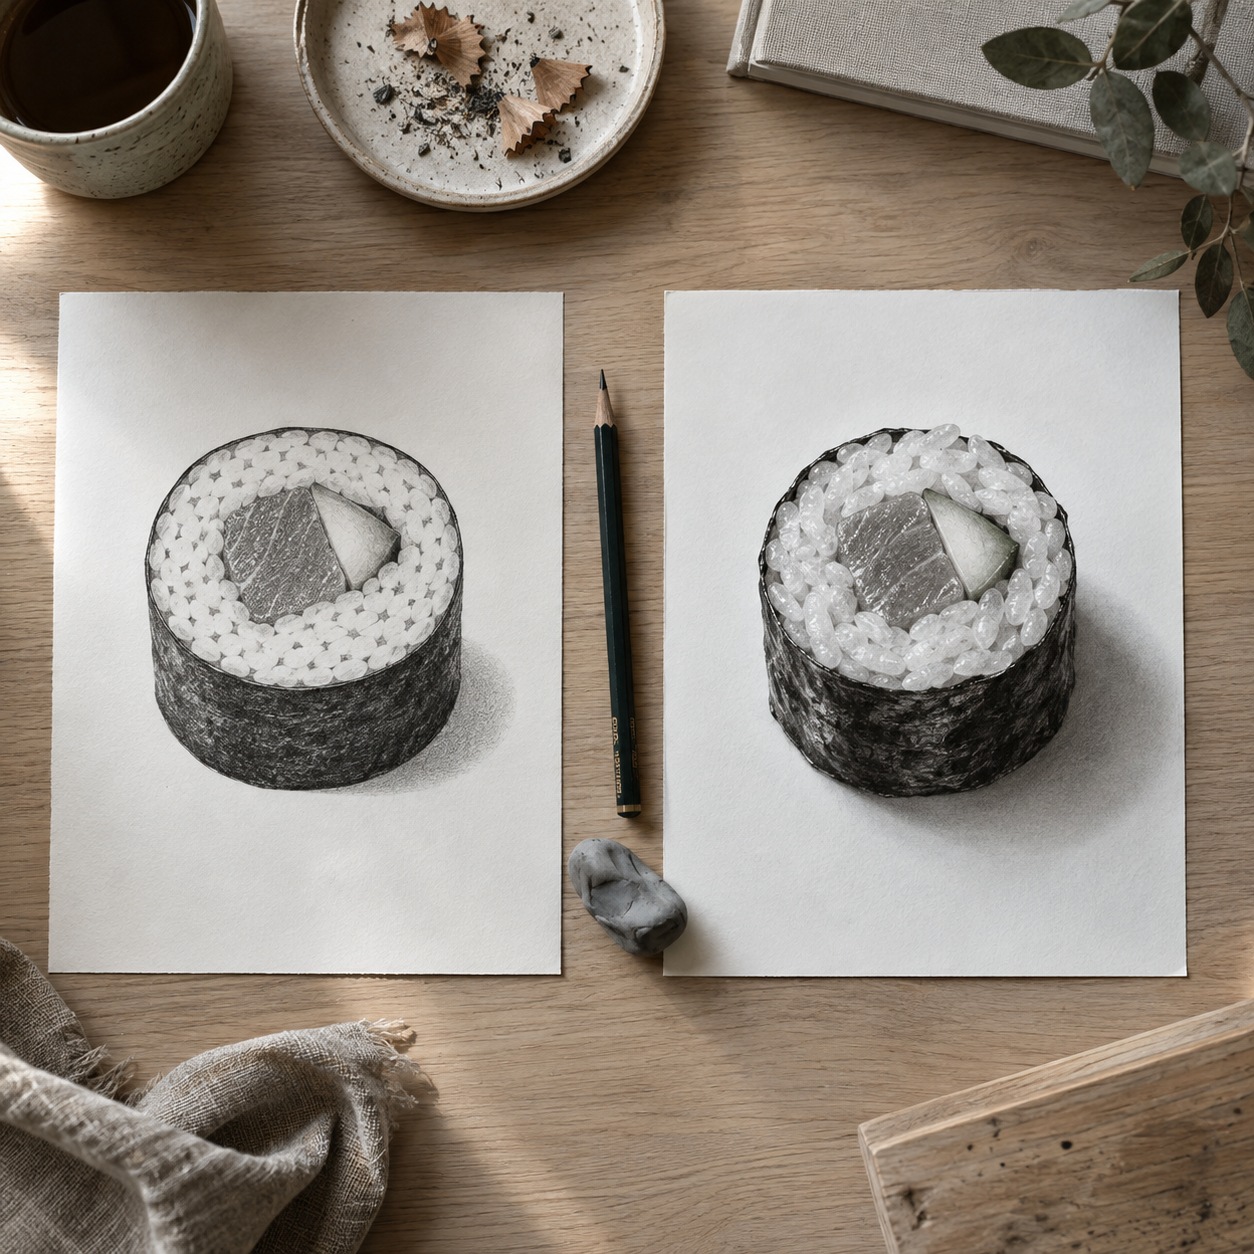
Try this: Draw the same roll twice, once with only Stages 1 and 3, and once with all four. Seeing the shaded version beside the colored one shows you how much work the light does.
Once you can build a roll, nigiri and a full plate are only different solids.
Draw nigiri, gunkan and a full plate
The 2011 documentary Jiro Dreams of Sushi follows a tiny Tokyo counter where nigiri is served one piece at a time, straight from the chef’s hands. That restraint is a good drawing lesson. A single piece of nigiri is simple, and it only takes a few shapes to get right.
Nigiri as a rounded block with a draped fish
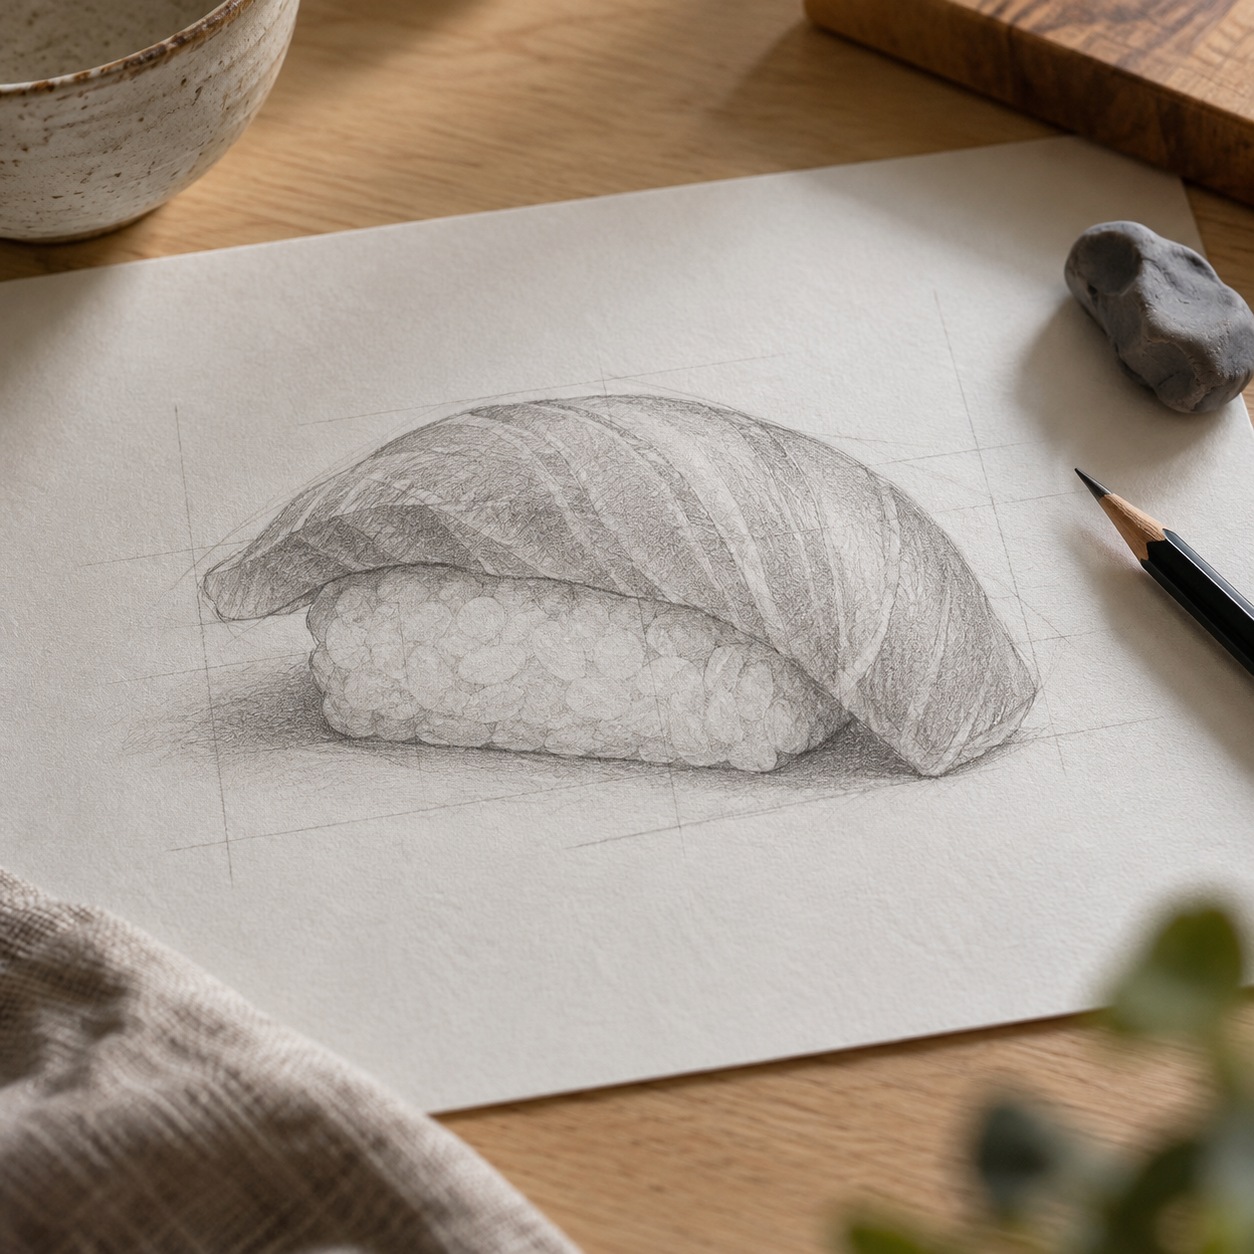
Think of the rice as a soft rectangular block, roughly 5 cm long and 2.5 cm wide, with rounded top corners. Draw it in Stage 1 style: a light box first, then ease the edges.
The fish is a separate slice laid over the top. Make it a little longer than the rice, about 6 to 7 cm, and let both ends droop over the sides. That drape is what makes nigiri look right. If the slice sits flat like a lid, it reads as a sandwich.
Add a thin band of nori across the middle for salmon or eel, and the piece suddenly looks finished.
Gunkan, temaki and tamago
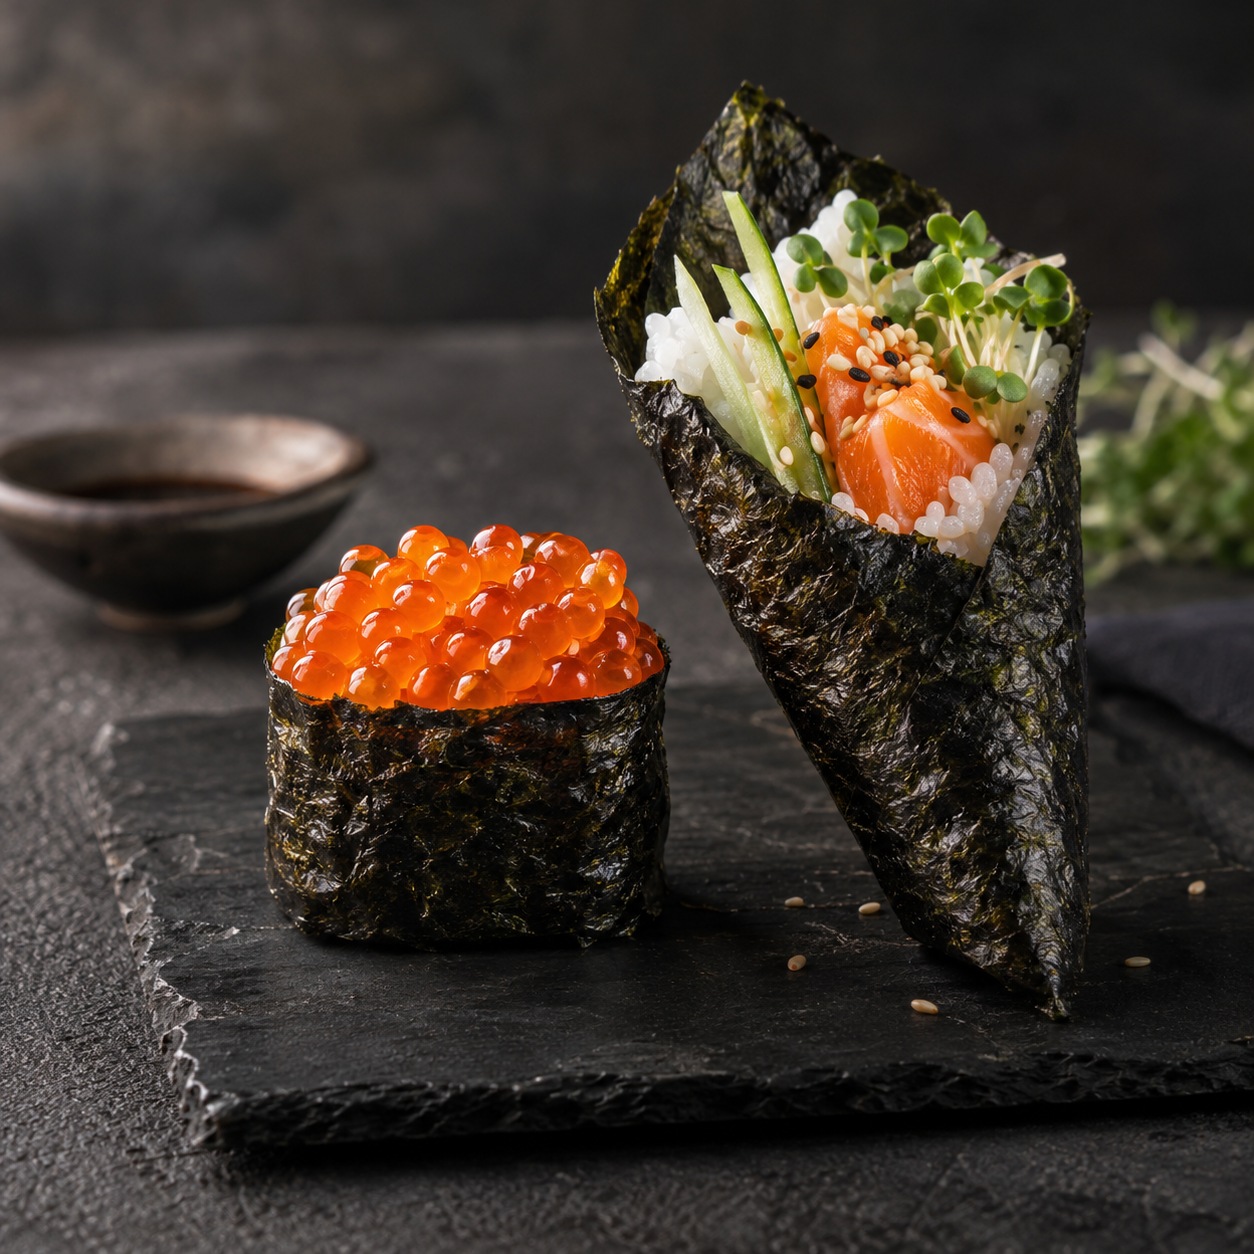
Each of the other types is a solid you already know. Gunkan is an oval block of rice, wrapped in a strip of nori about 2 cm tall, with roe or uni piled on top. Draw the wall first, then the mound.
Temaki, the hand roll, is a cone, often 10 to 12 cm long, with the open end flaring and the filling poking out. Tamago is a plain rectangle of sweet omelet, sliced and held with a thin nori band.
Four shapes, one vocabulary: cylinder, block, oval wall, cone.
Arrange the plate
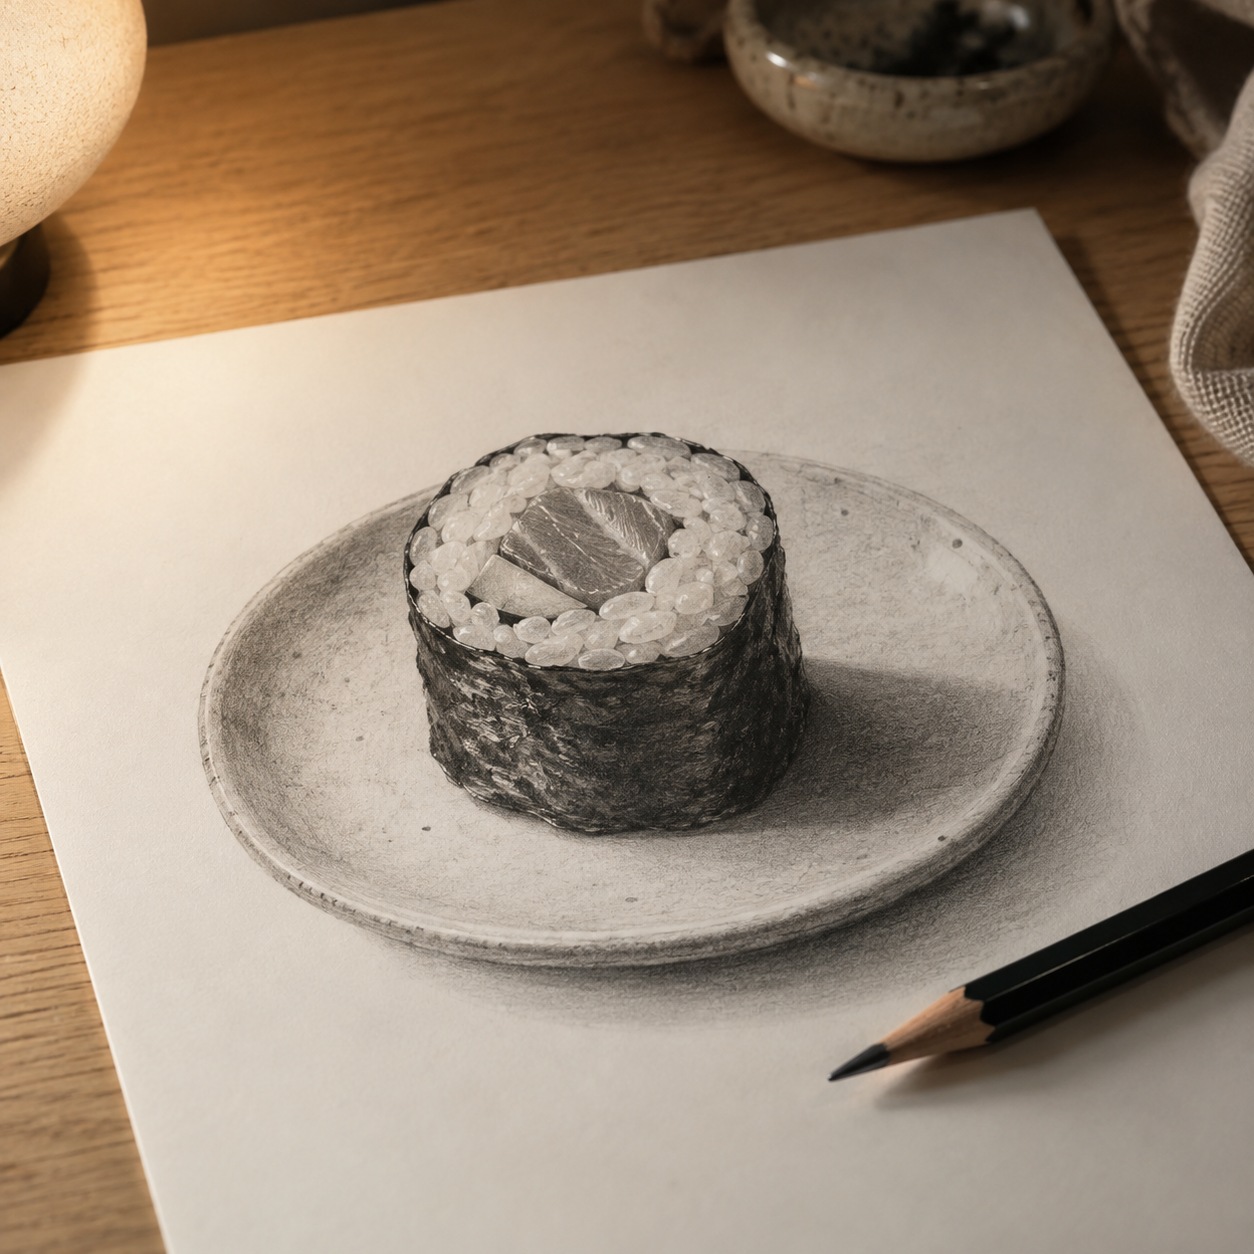
I treat a plate like a floor plan from my architecture work: grouping, rhythm, and empty space. Odd numbers feel more natural, so draw three or five pieces, not four. Overlap two of them slightly, so the plate reads as a group.
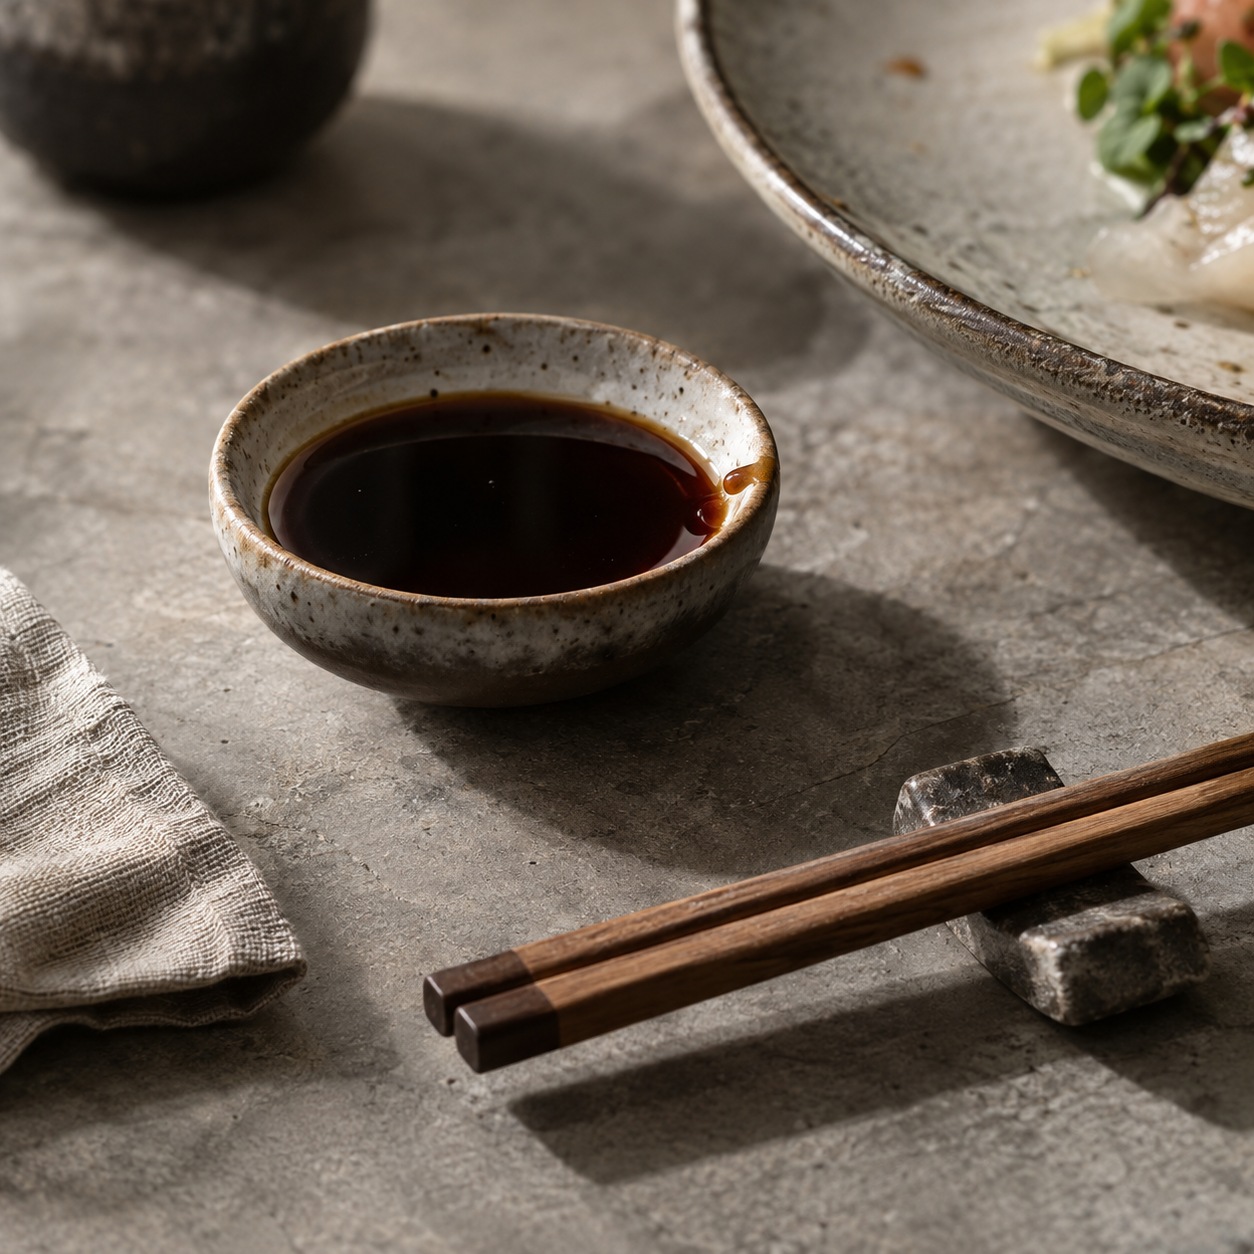
Add a small soy dish (an ellipse again, so check your ratio) and chopsticks laid at a slight angle, parallel to each other. A matte ceramic plate or slate board gives the food a calm, quiet background.
Leave about a third of the plate empty. That negative space is what makes it look designed, not packed.
Try this: Draw the plate ellipse first, then lightly mark where each piece will sit. Moving a circle is much easier than moving a finished drawing.
Next comes the part that makes the drawing look real: the surfaces.
Make rice, fish and nori look real
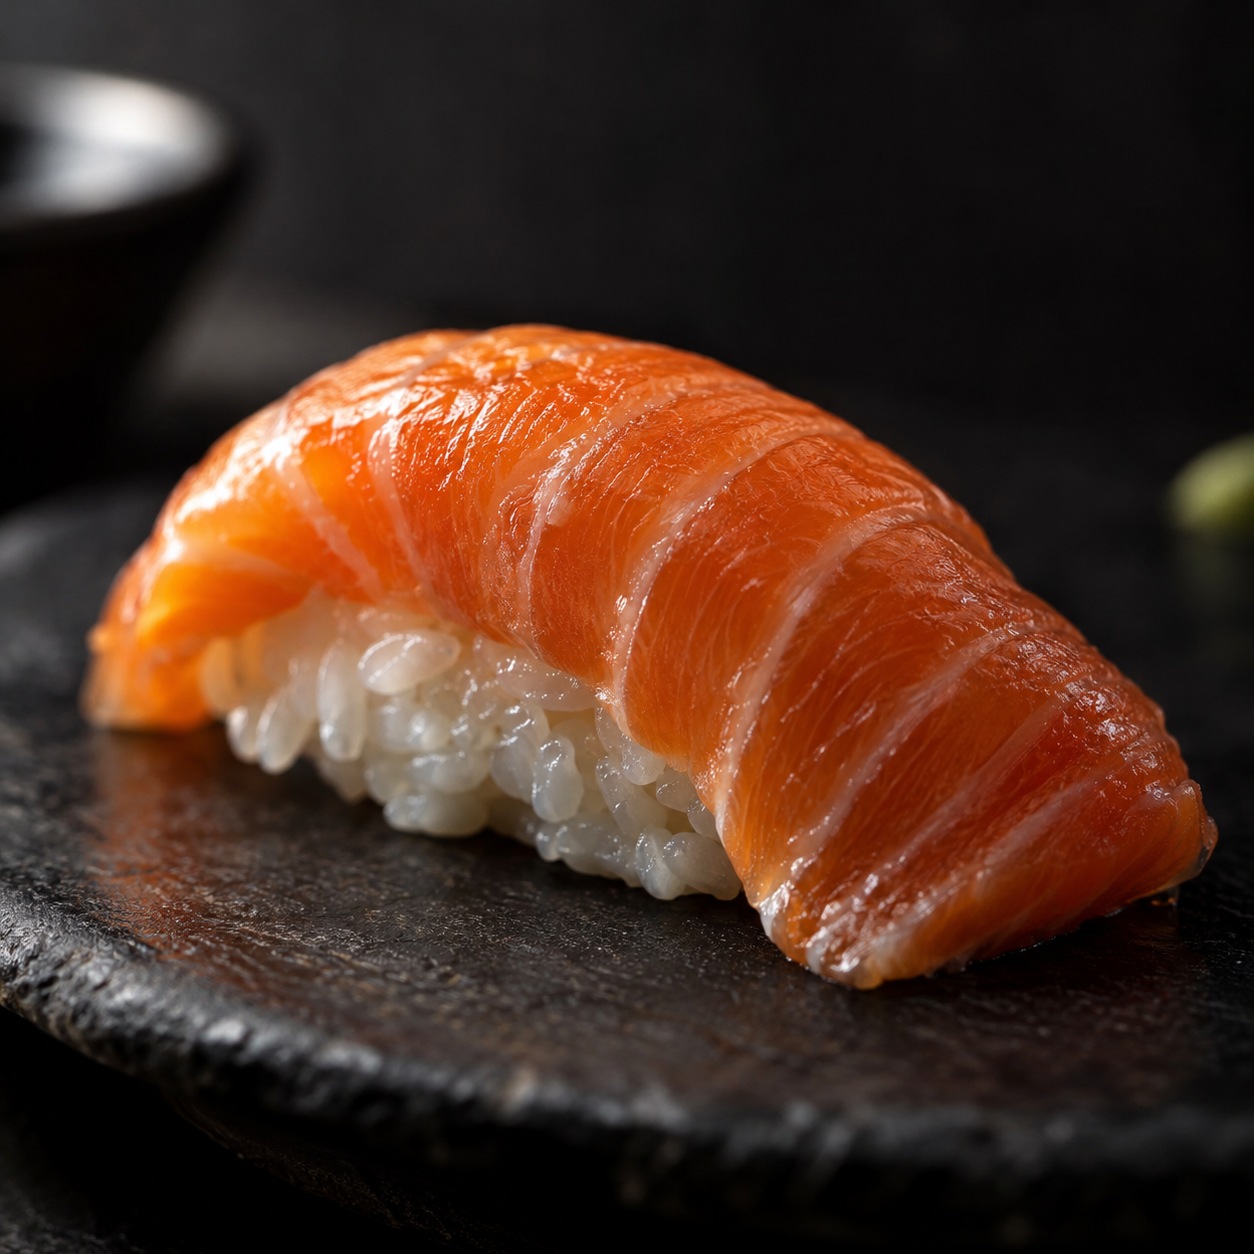
Look at glossy car paint in direct light. The highlight isn’t a blob. It’s a bright, sharp streak that follows the curve of the body, with a soft glow underneath where the ground bounces light back up. Raw fish works the same way: wet surface, sharp highlight, soft reflected light.
Wet, glossy fish
Gloss is a shape problem. On a slice of salmon, find the highest curve facing your lamp and draw a thin, crisp highlight there. Keep it small. A bright streak about a third of the slice’s length reads as wet, while a fat white patch reads as plastic.
Below it, add a soft glow along the lower edge, lighter than the shadow beside it but darker than the highlight. That bounce is what stops the fish from looking painted on.
Salmon also has pale fat lines running diagonally. Draw them as thin, slightly curved lines that follow the slice’s form, and keep them darker than the highlight. Tuna is simpler: deep, even red, with fewer lines and a calm highlight.
Matte nori and soft rice
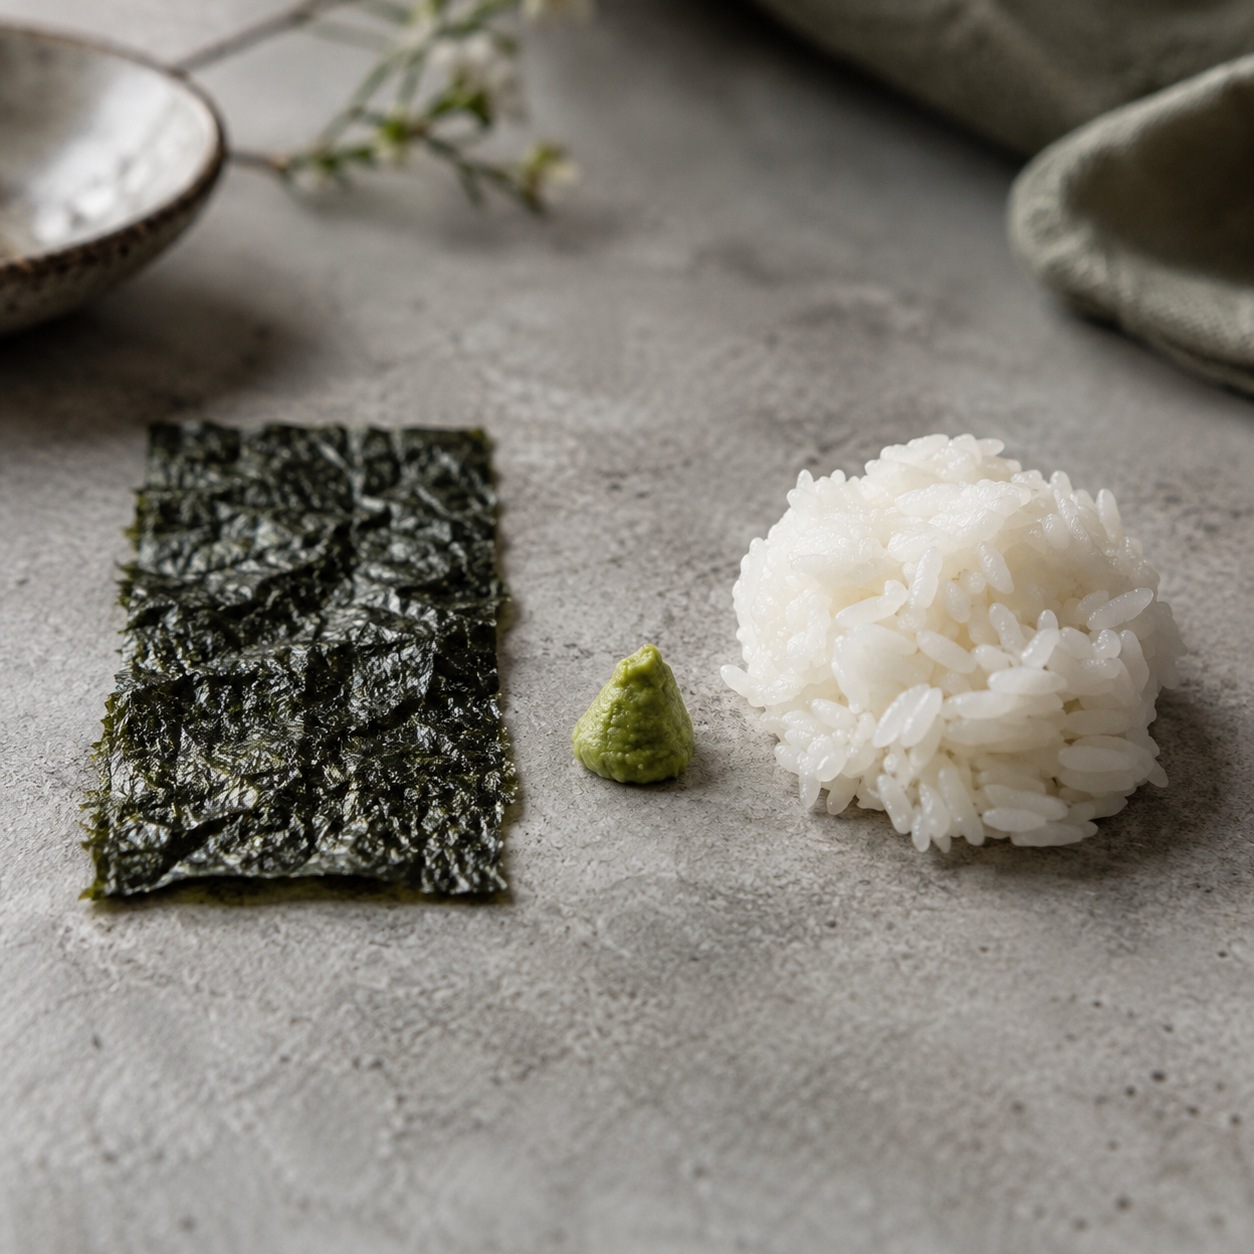
Nori is the opposite of fish. It’s dull, with a faint sheen and tiny wrinkles. Shade it flat with a 4B, then add short, broken lines running along its length, and almost no highlight.
Rice sits between the two. It’s bright and soft, so its shadows are gentle and its edges blur. Put the darkest tone in the gaps between clusters and where the roll meets the plate. Don’t put highlights on the rice. Leave the paper bare there, and you’ll get the pearly look for free.
Squint again. Rice should read as one soft mass before you see any single grain.
Wasabi and the cast shadow
Wasabi is a small, slightly rough mound with one tiny highlight, usually a point not a streak. A pea-sized mound, drawn about 1 cm wide, is plenty.
Then ground everything. Every piece of sushi needs a cast shadow on the plate, in the direction away from the lamp. I draw the shadow darkest right where the rice meets the plate, then fade it outward with a stump or your finger. Without it, the sushi floats.
Try this: Give each piece of fish exactly one sharp highlight, and nothing else. If you’re tempted to add a second one, look for a place that needs a shadow instead.
Color it for realistic or kawaii sushi
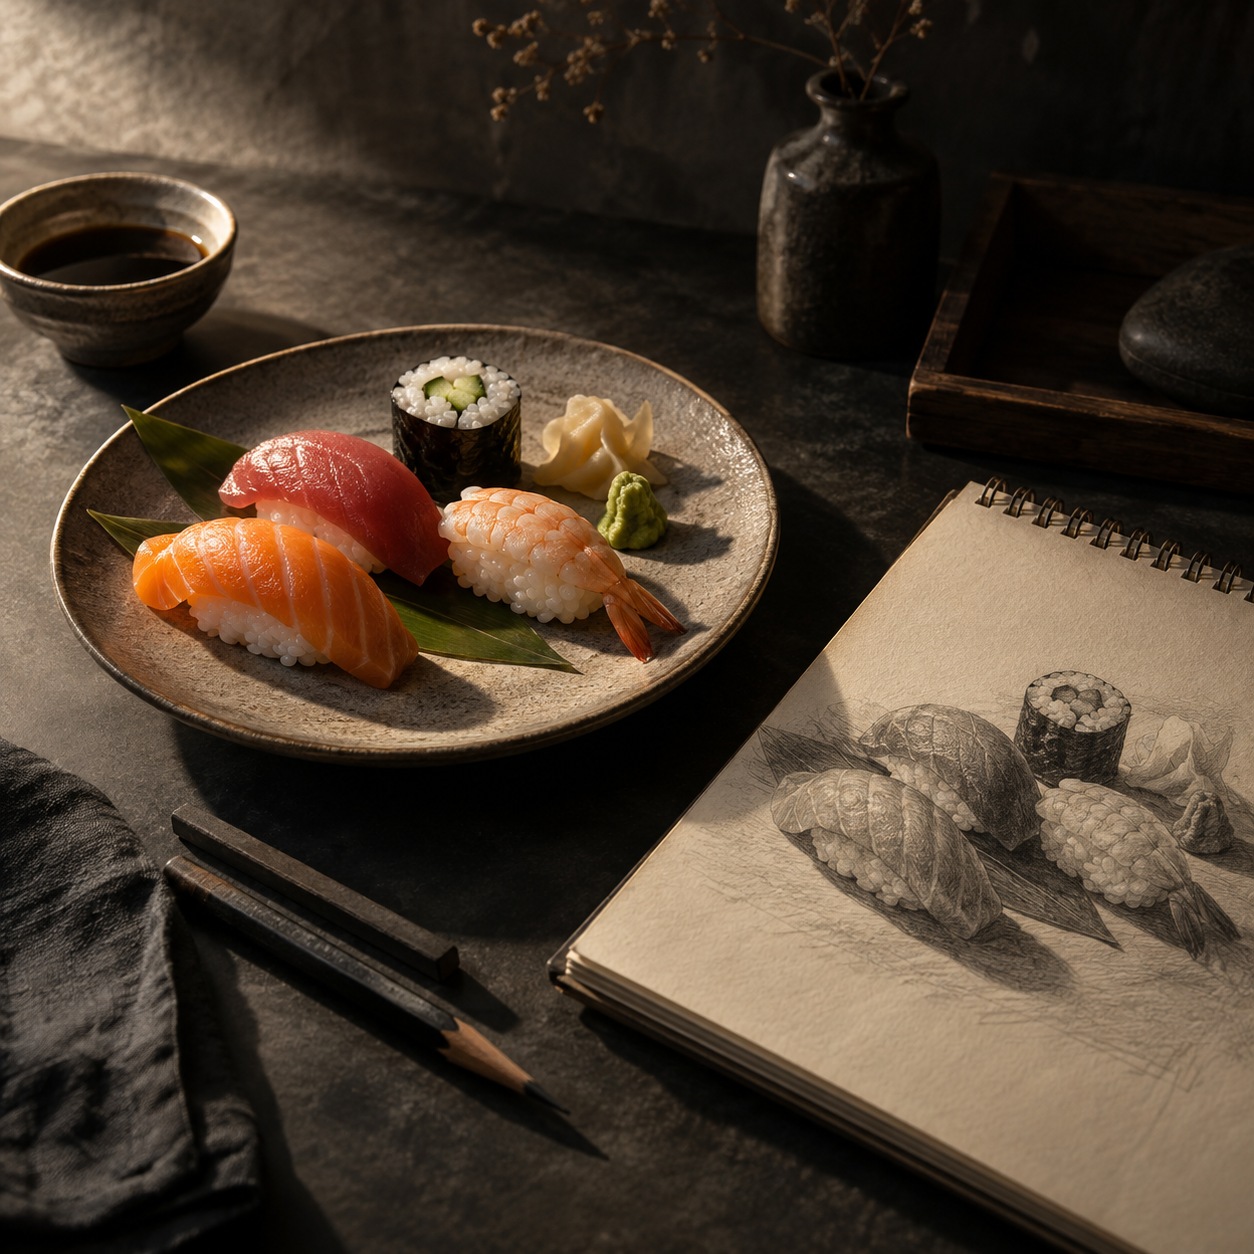
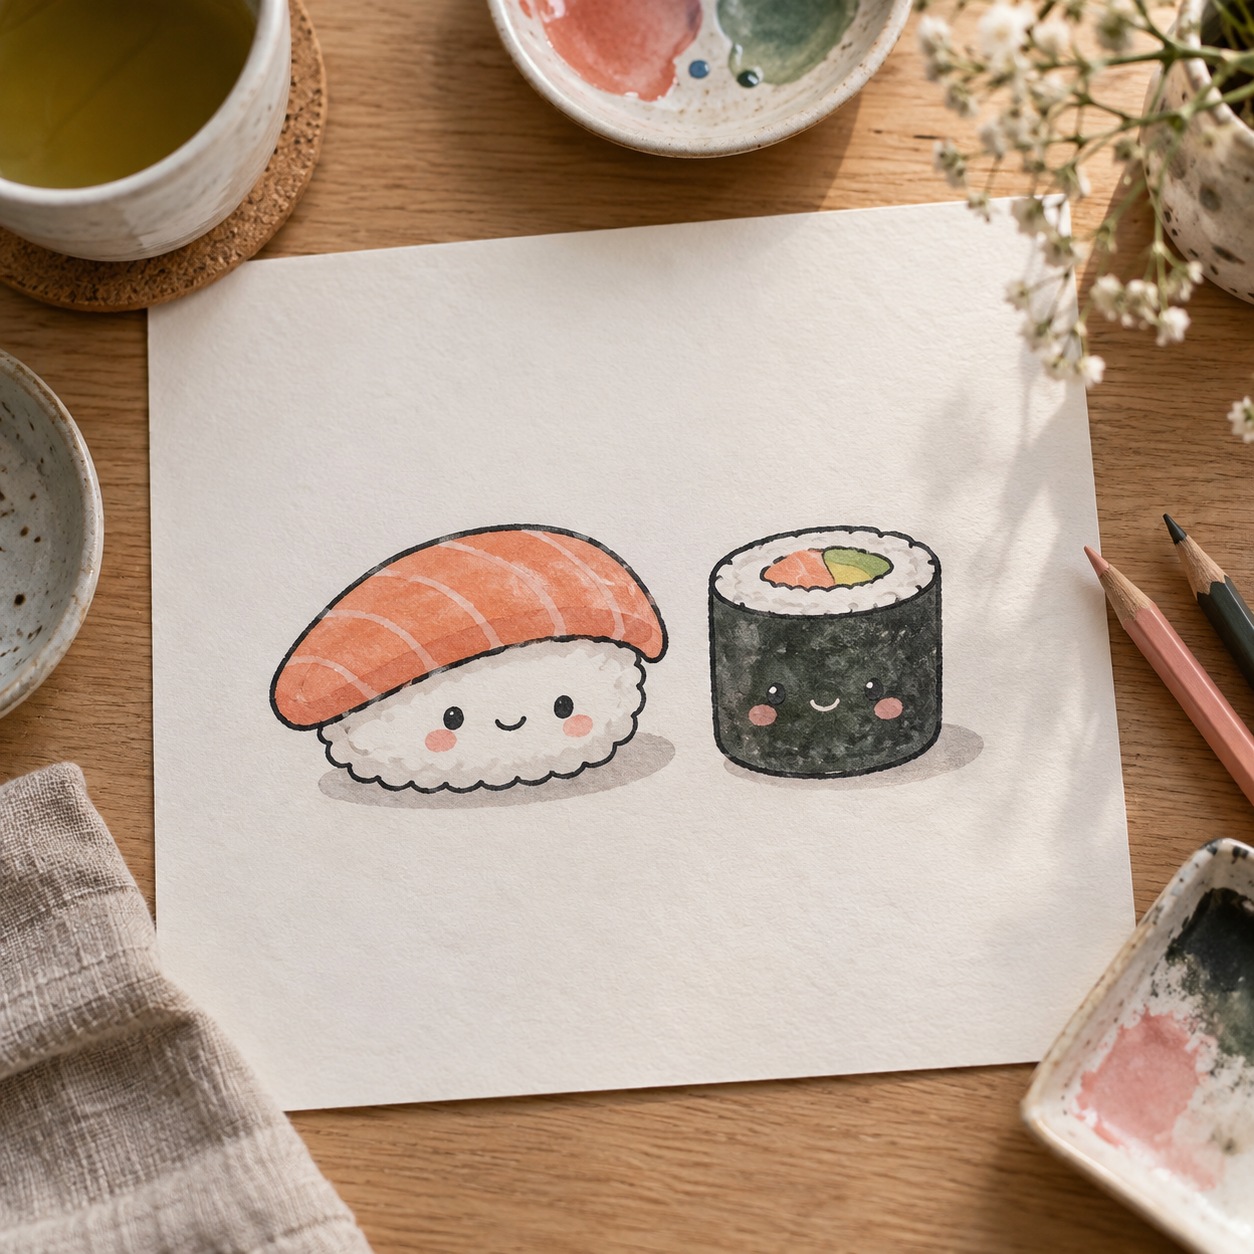
Kawaii illustration uses flat, soft color and a thick, friendly outline. Realistic food illustration does the opposite: almost no outline, with form coming from color and light. It’s the same sushi under two different sets of rules, so pick one before you reach for a marker.
Realistic palette
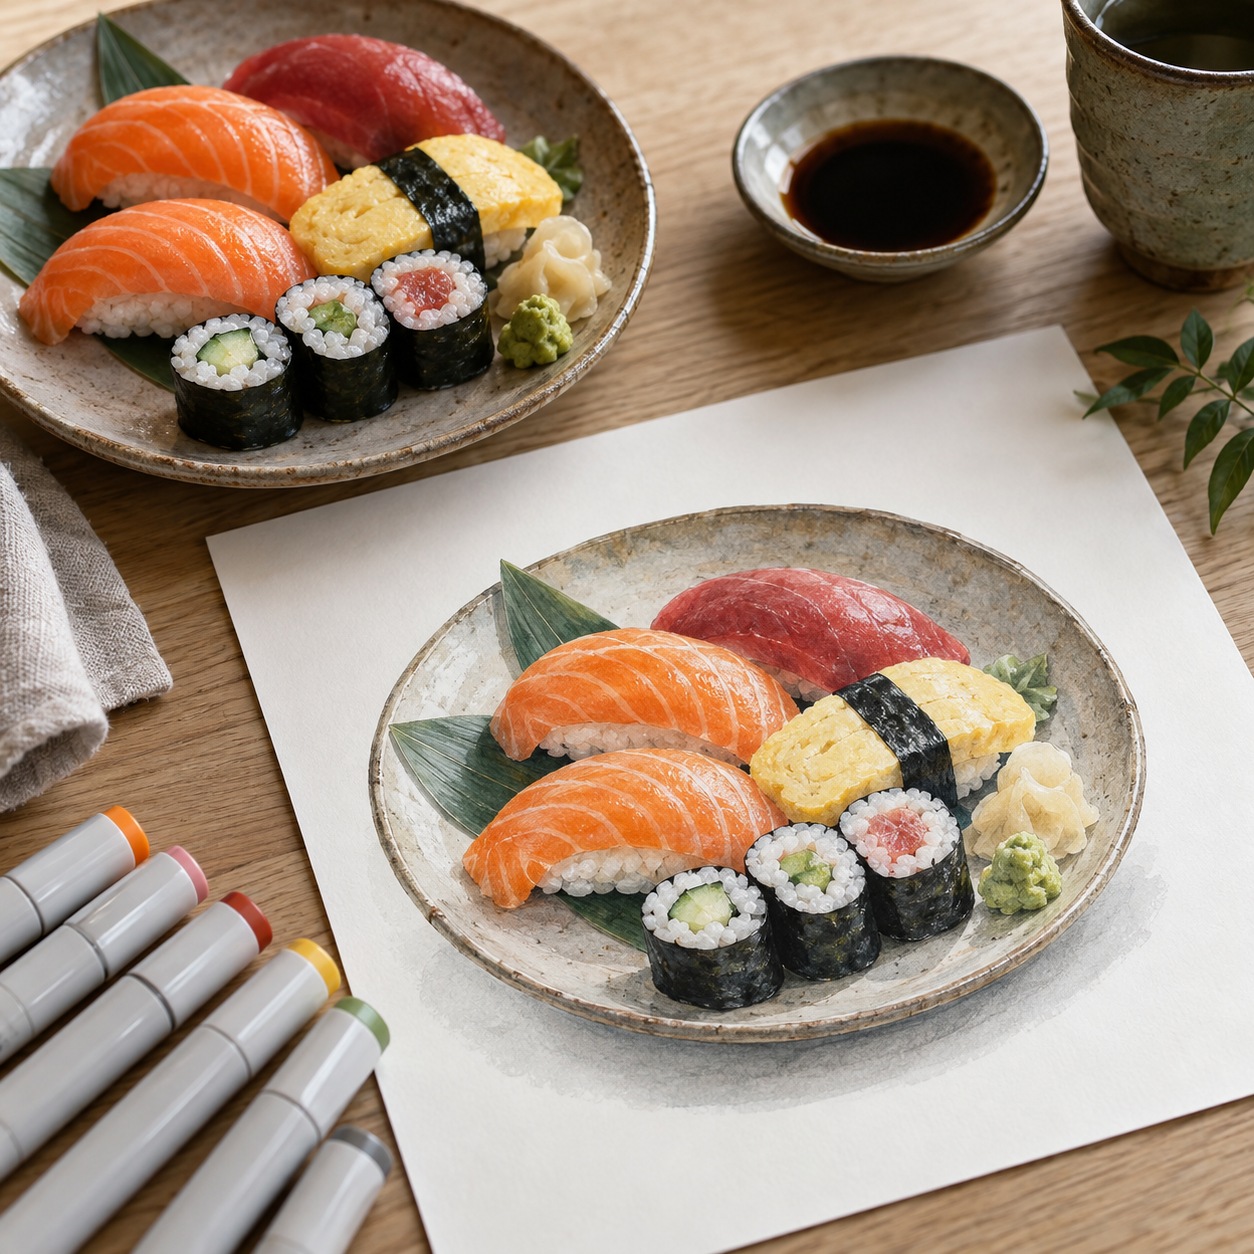
Work from your reference plate, not from memory. Salmon runs from pale coral at the fat lines to a deeper orange at the thick end. Tuna is a dark, cool red. Tamago is warm yellow with a slightly browned edge, and nori is closer to grey-green than black.
Build each color in thin layers. Lay a light tone first, add the shadow side while it’s damp or fresh, and leave the highlight you lifted in Stage 3. Rice stays nearly white, with a warm grey at the base and a hint of cool grey in the gaps.
In my brand identity work, I limit a palette to five colors before I draw anything. Do the same here: salmon, deep red, yellow, grey-green and warm grey. A small palette keeps the plate looking like one object.
Kawaii faces and flat color
Kawaii turns the logic upside down. Use a clean outline about 2 mm thick, flat fills, and one soft shadow at most. Pastel colors work best, so lighten each fill from the realistic version.
The face is simple: two dots for eyes, set wide and low, a tiny mouth between them, and optional pink cheeks. Put it on the rice block or the roll’s cut face. It’s easy to overdo, so keep it small.
Skip the highlight rules from Section 4. Kawaii fish doesn’t need to look wet. It needs to look friendly.
Traditional or digital
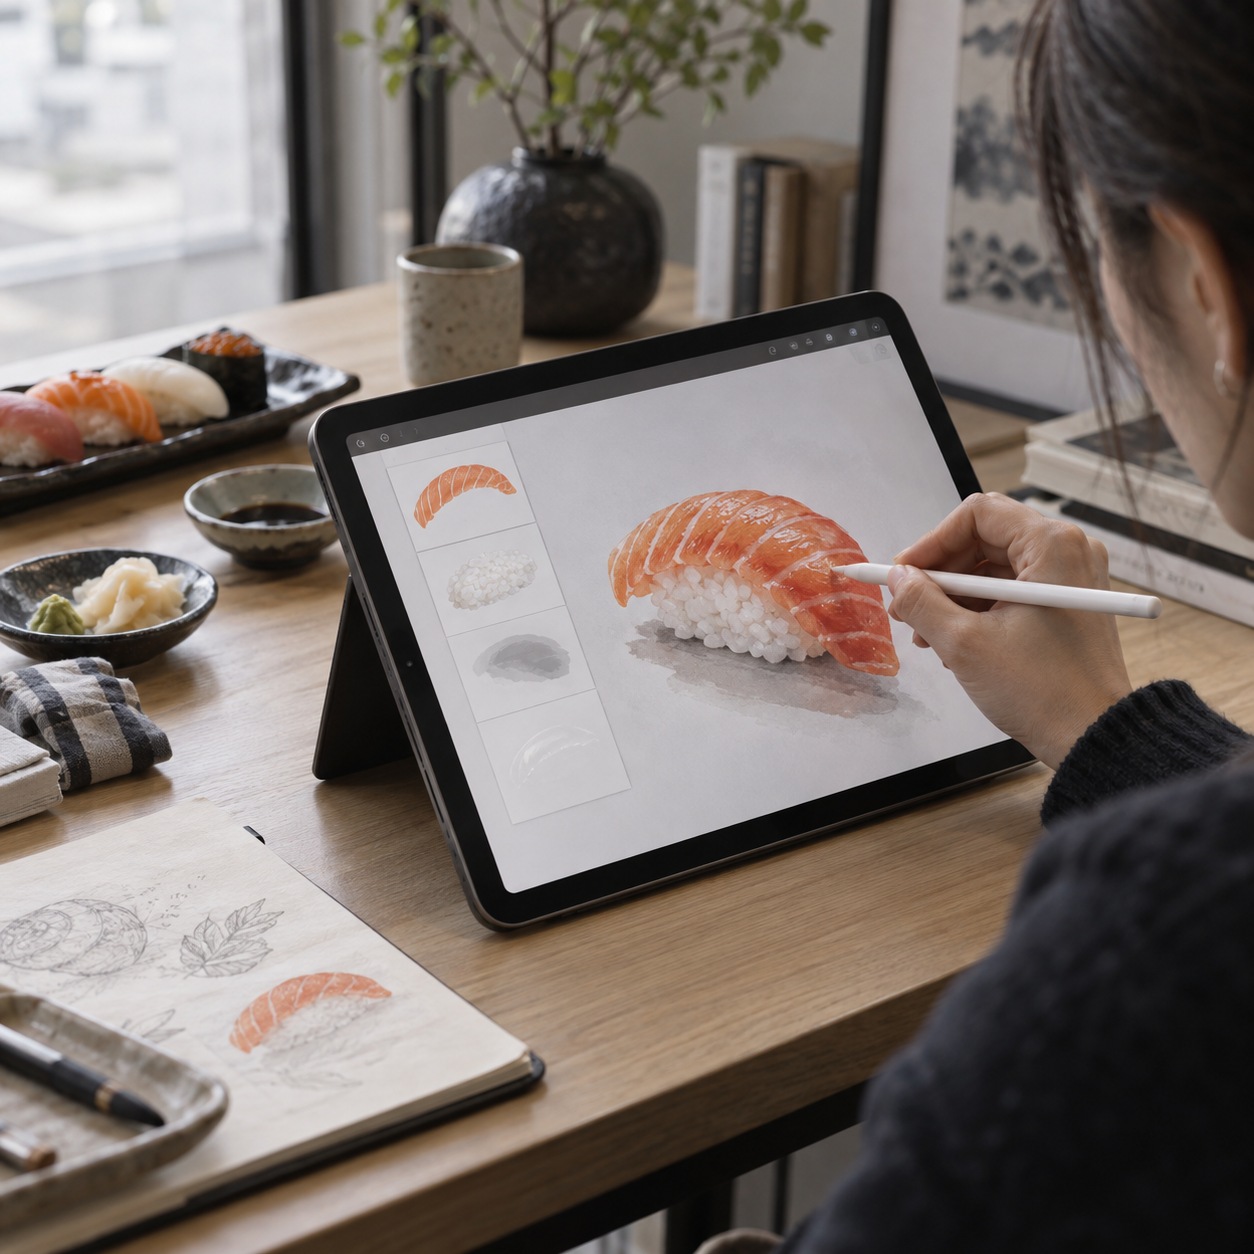
Both work, and digital is faster to correct. In Procreate, a one-time iPad purchase whose current price is worth checking in the App Store, I’d put shadows on a Multiply layer and highlights on a Normal layer above it. That lets me adjust either without touching the line work. Krita is a free desktop alternative.
Traditional markers reward patience. You can’t undo them, but the color has a depth that’s hard to fake.
Try this: Make a five-swatch strip on scrap paper first and hold it next to your reference plate. If a swatch looks wrong beside the real fish, it’ll look wrong in the drawing.
Common mistakes and quick fixes
I’ve looked at a lot of sushi drawings, and the same three problems show up in almost all of them. None of them are about talent. They’re about habits, and each has a quick fix.
Flat rice
The classic version: a pile of identical little ovals, evenly spaced, like pebbles on a path. It reads as a texture swatch, not food.
Fix it by grouping. Draw rice as clusters of two or three grains, with soft edges, and let some grains hide behind others. Then add a light shadow in the gaps, nothing in the grain itself. If you’re still unsure, draw fewer grains than you think you need. The eye fills in the rest.
Wrong ellipses on rolls
If your maki looks like a coin on its side, check the cut end. A top ellipse about one-third as tall as it is wide gives the right angle for a roll seen from slightly above. Much rounder, and the roll looks flat and facing you. Much thinner, and you’re looking at it from table level.
The base ellipse follows the same ratio, just a little rounder, because it’s closer to the viewer’s eye line. Draw both against the axis line from Stage 1. In my experience, this one check fixes more drawings than any other.
Too many highlights
Beginners discover highlights and then can’t stop. Every piece of fish gets three, the rice gets a few, and the nori sparkles. The plate ends up looking wet and plastic all over.
Give each piece of fish one sharp highlight, as in Section 4, and leave the rice and nori alone. If you need more contrast, deepen a shadow instead.
Try this: Take a phone photo of your drawing and switch it to black and white. If the plate looks flat, your shadows are too light. If it looks messy, you’ve got too many highlights. You’ll see it in five seconds.
Fix these three, and your sushi will look better than the version in most step-by-step tutorials.
Conclusion
Sushi is four materials under one light. Learn that, and every plate gets easier: the cylinder, the block and the cone, then the sharp highlight on the fish and the soft shadow under the rice.
Start small. Draw one maki roll today using the four stages, then check it in black and white. Tomorrow, add a piece of nigiri. By the end of the week you can draw a full plate, and the lighting habits carry over to anything else you draw, from fruit to ceramics.
Looking for your next subject? Try Art Drawing Ideas for 40 subjects that build real skills, or How to Draw a Jellyfish for another glossy, translucent surface. If you’d rather color first, our easy coloring pages make a gentle warm-up. And if you want guided practice, there’s a Skillshare class below.
Want guided practice drawing food and still life? Skillshare has courses on illustration, shading and marker technique that train the same light-and-material habits used in this guide. Use code AFF30D25 at checkout.
Frequently asked questions
How do I draw sushi for beginners?
Start with a maki roll, because it’s a cylinder with a rice-covered end. Draw a light axis line, build the cylinder, and make the top ellipse about one-third as tall as it is wide. Add rice clusters, a thin nori band and an off-center filling. Then shade it with one light source and add color last. Follow the four stages and you’ll have a believable roll in your first sitting.
What is the easiest sushi to draw?
Maki is the easiest, followed by tamago, which is a plain rectangle with a thin nori band. Nigiri is a step up, because the fish has to drape over the rice. Gunkan and temaki come last, since they combine a wall or cone with a topping. Start with maki, then move down the list as your shapes get steadier.
How do I draw rice so it looks real?
Don’t draw individual dots. Draw clusters of two or three grains with soft edges, and let some grains hide behind others. Put your darkest tone in the gaps between clusters and where the rice meets the plate. Leave the tops of the clusters bare paper, with no highlights. Squint at your drawing: it should read as one soft mass before you notice a single grain.
How do I make fish look shiny in a drawing?
Use one sharp, thin highlight on the highest curve facing the light, and a soft glow along the lower edge for bounced light. Keep the highlight small, around a third of the slice’s length. Salmon also needs pale fat lines that follow the slice’s curve. A big white patch makes fish look like plastic, so resist adding a second highlight.
What materials do I need to draw sushi?
A 2B and a 4B pencil, a kneaded eraser, and smooth Bristol paper are enough to begin; the smooth surface keeps the rice crisp. For color, five markers or pencils will do: salmon, deep red, yellow, grey-green and warm grey. A supermarket sushi tray makes a useful reference.
How do I draw kawaii sushi?
Use a thick, clean outline of around 2 mm, flat pastel fills and one soft shadow at most. Add a face: two dot eyes set wide and low, a tiny mouth between them and optional pink cheeks. Put it on the rice or the roll’s cut face and keep it small. Skip the realistic highlight rules, because kawaii fish only needs to look friendly.
How long does a sushi drawing take?
In my experience, a single maki roll takes about 30 to 45 minutes from construction to color, and a nigiri a little longer. A full plate with shading and color often takes two to three hours. Those are my estimates, not a standard. Add time for a rough sketch first, and don’t rush Stage 3, because shading is where the drawing starts to look real.
- 12shares
- Facebook0
- Pinterest12
- Twitter0
- Reddit0