Most Cybertruck tutorials I’ve come across treat it like any other truck with the corners cut off. That’s backwards. The Cybertruck isn’t a rounded shape that got faceted — it’s a set of flat planes that happen to form a truck, and if you draw it starting from curves, it’ll look off no matter how careful you are with the outline.
I’ve been drawing vehicles since art school — my thesis work was on the first Ukrainian electric car concept, and before that, years of life drawing taught me to see form as planes meeting at edges before I ever see it as an outline. The Cybertruck is one of the few production vehicles where that training applies almost directly: it’s closer to drawing a piece of folded sheet metal or a crystal than a traditional car body.
- How to Draw a Cybertruck in 4 Steps
- Drawing the Cybertruck From Different Angles
- Cybertruck Drawing in Different Materials
- Common Mistakes to Avoid
- FAQ
- Is the Cybertruck hard to draw compared to other cars?
- What's the best angle to draw a Cybertruck from?
- Do I need to draw the panel gaps?
- Should I use pencil or digital tools for a Cybertruck drawing?
- How long is a Cybertruck compared to a normal pickup?
- What's the most common beginner mistake?
- Can I draw the Cybertruck without a reference photo?
- Final Thoughts
That’s also why it trips up people coming from a “trace the reference photo” habit. Tracing works fine on a rounded fender because your eye smooths out small errors along a curve. It doesn’t work on a flat plane bordered by a hard crease, because any small wobble in your line reads instantly as a mistake rather than a stylistic softness.
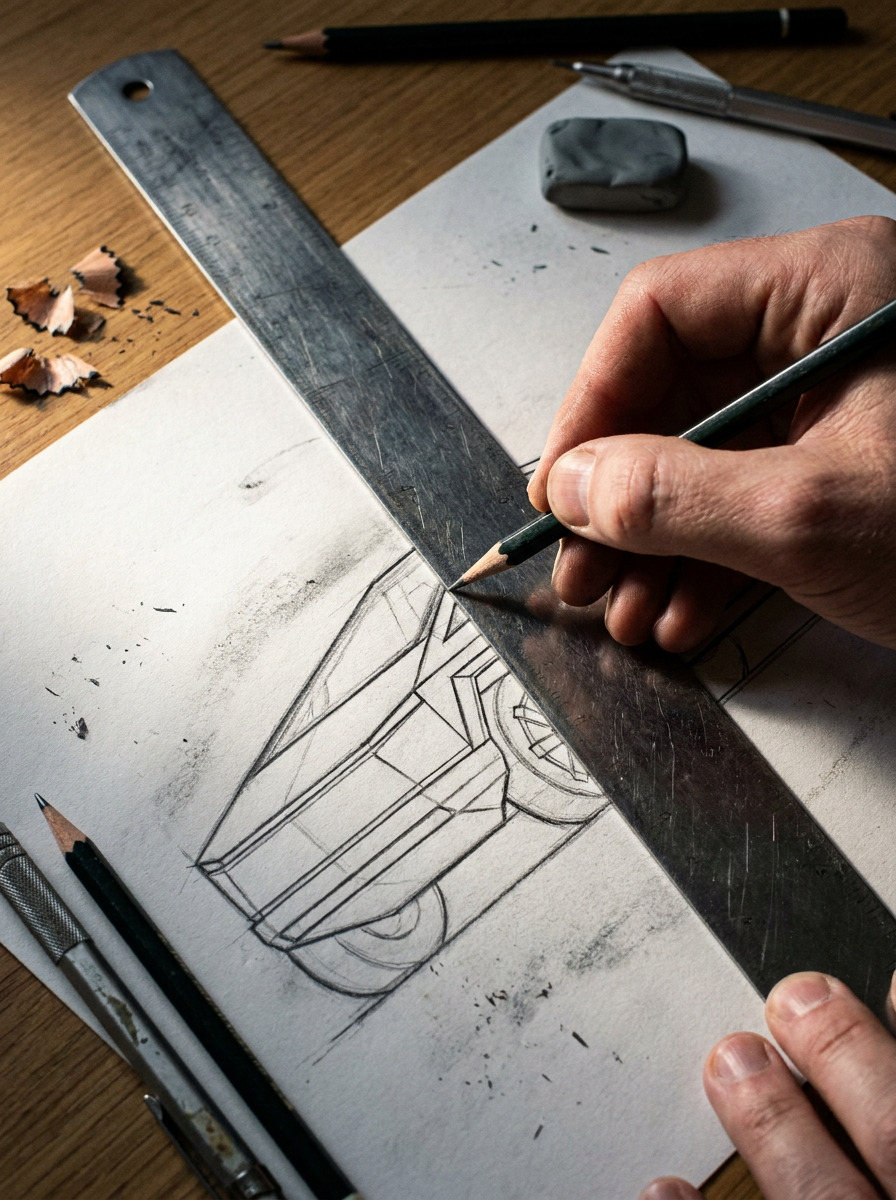
I noticed this the first time a student of mine brought in a Cybertruck sketch that had every proportion roughly correct but still looked “off” — the creases wandered by a few degrees each, and on a design built entirely from straight edges, that’s enough to break the illusion.
This guide walks through a clear four-step method for building the drawing, how to handle it from different viewing angles, and how the approach shifts depending on whether you’re working in pencil, ink, or digital tools — plus the mistakes I see most often.
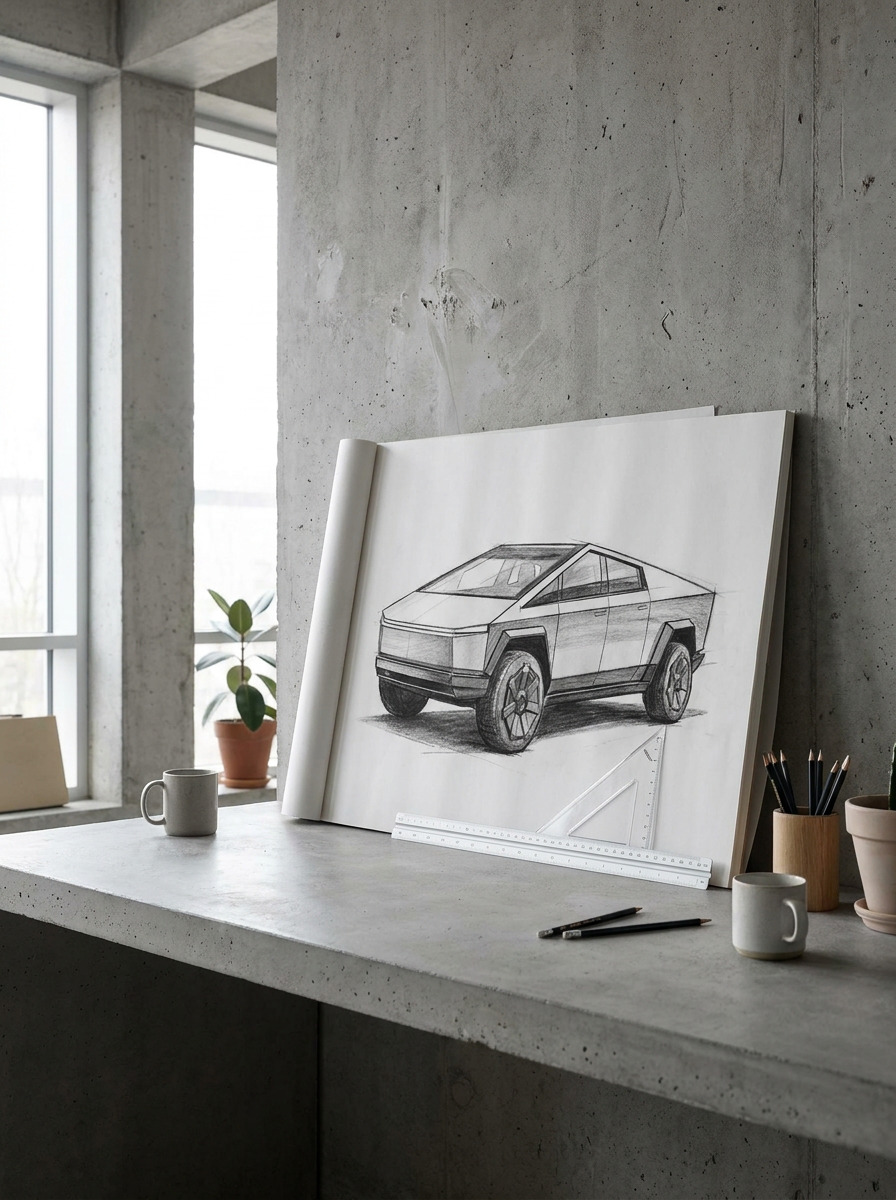
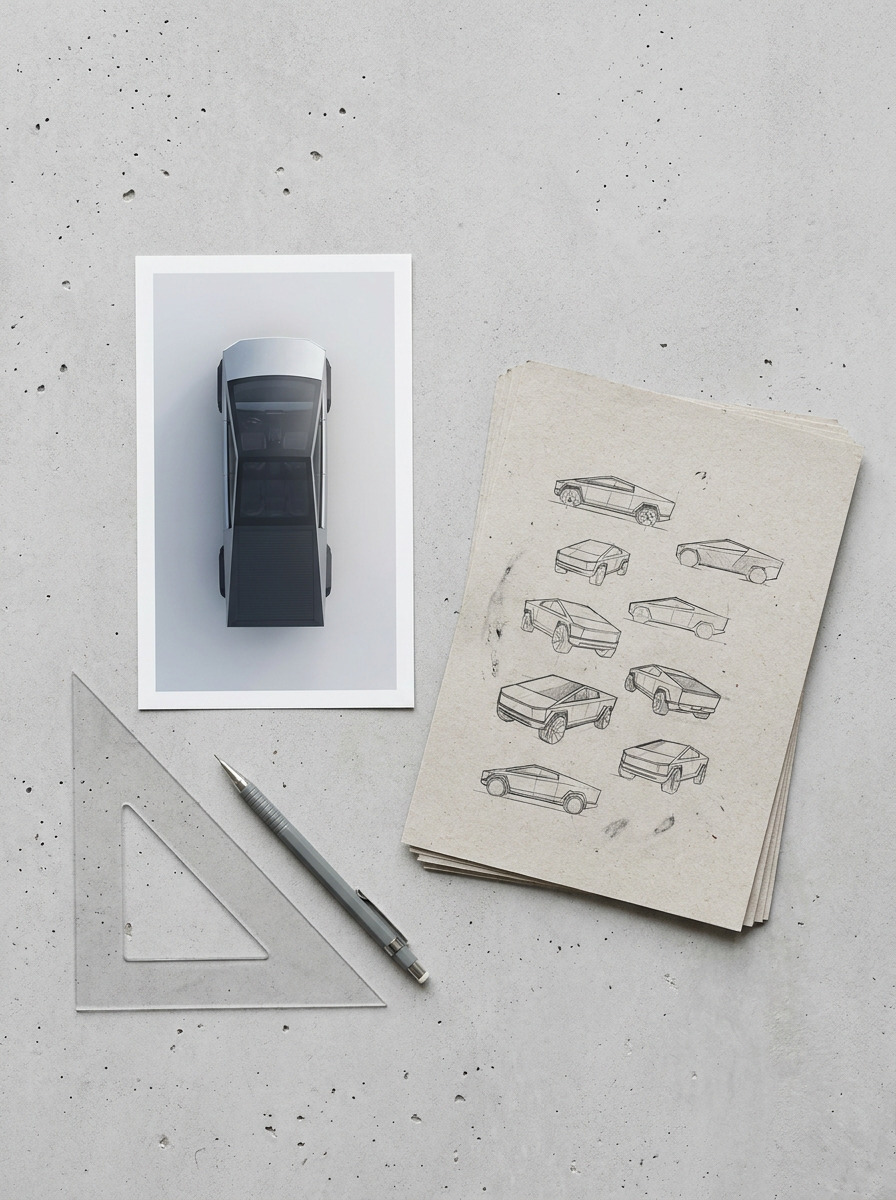
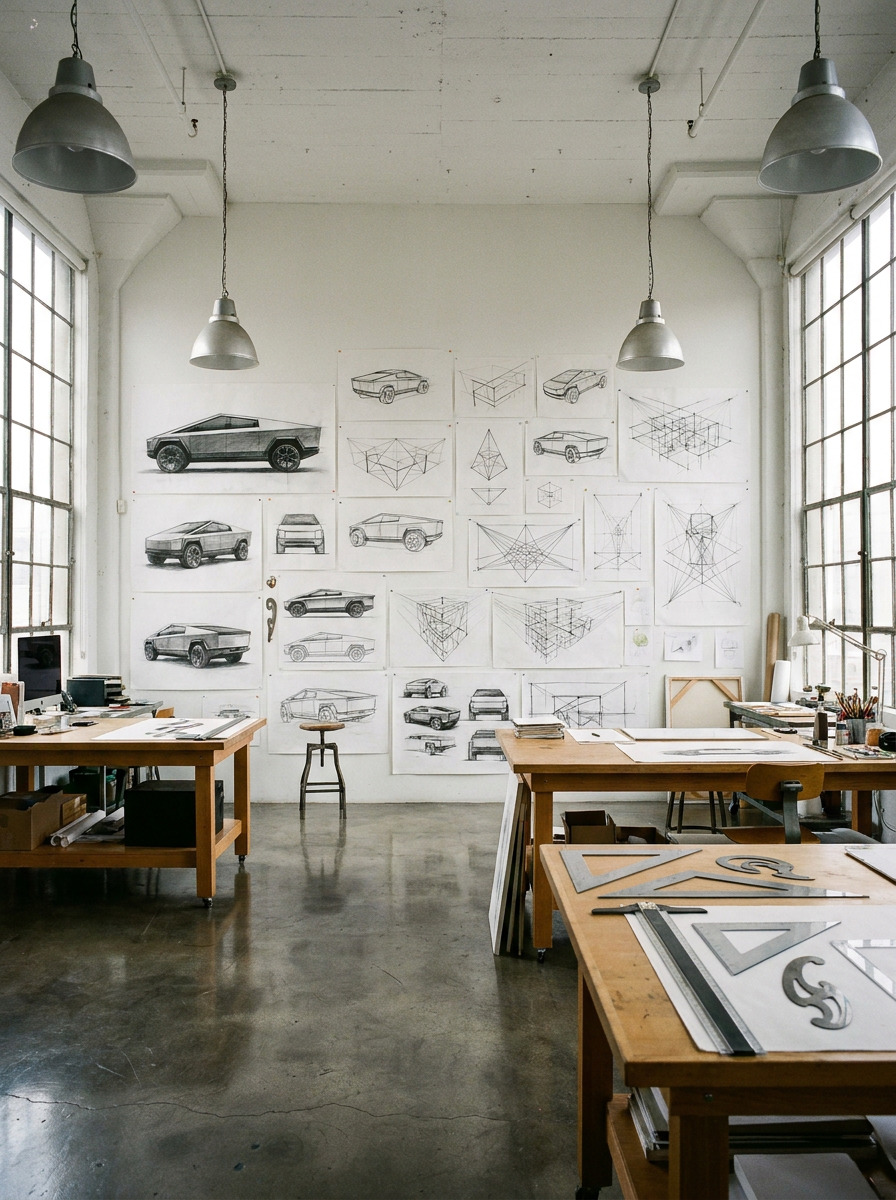
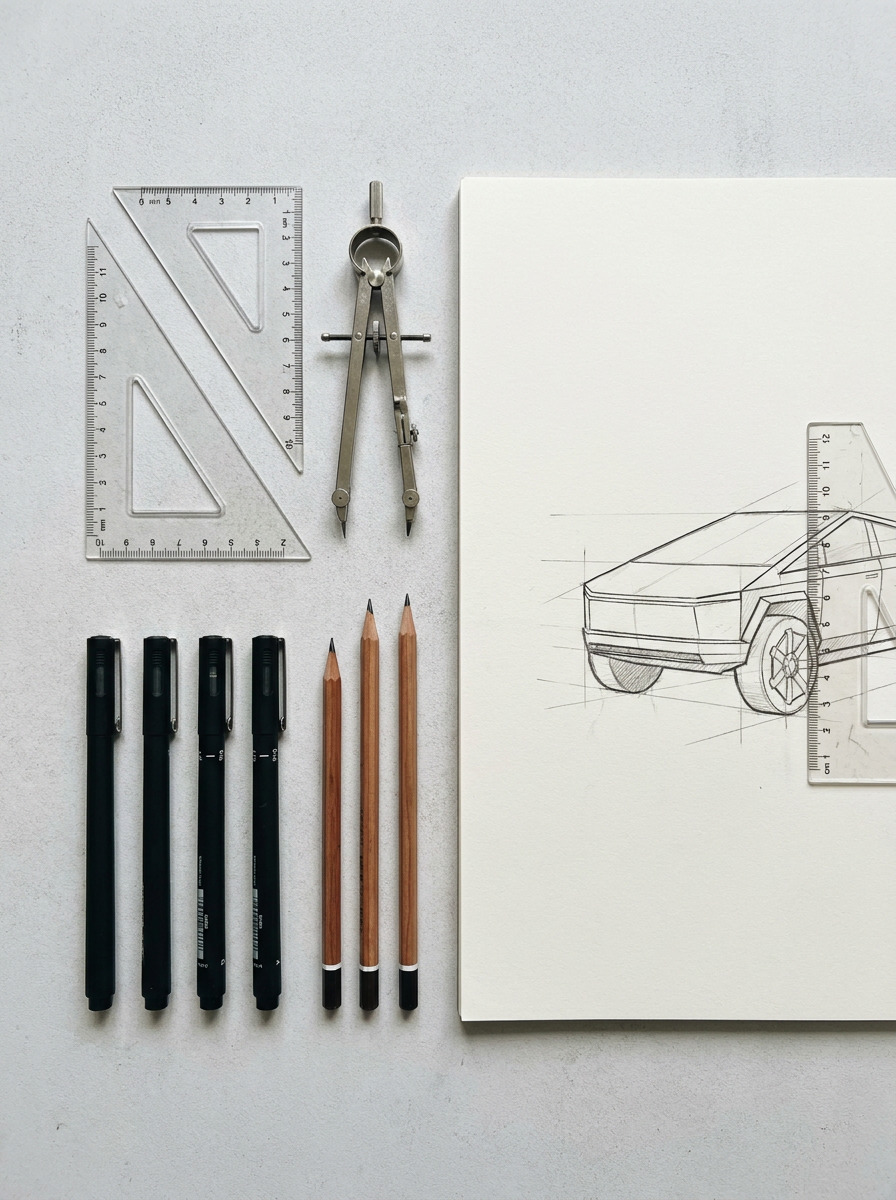
How to Draw a Cybertruck in 4 Steps
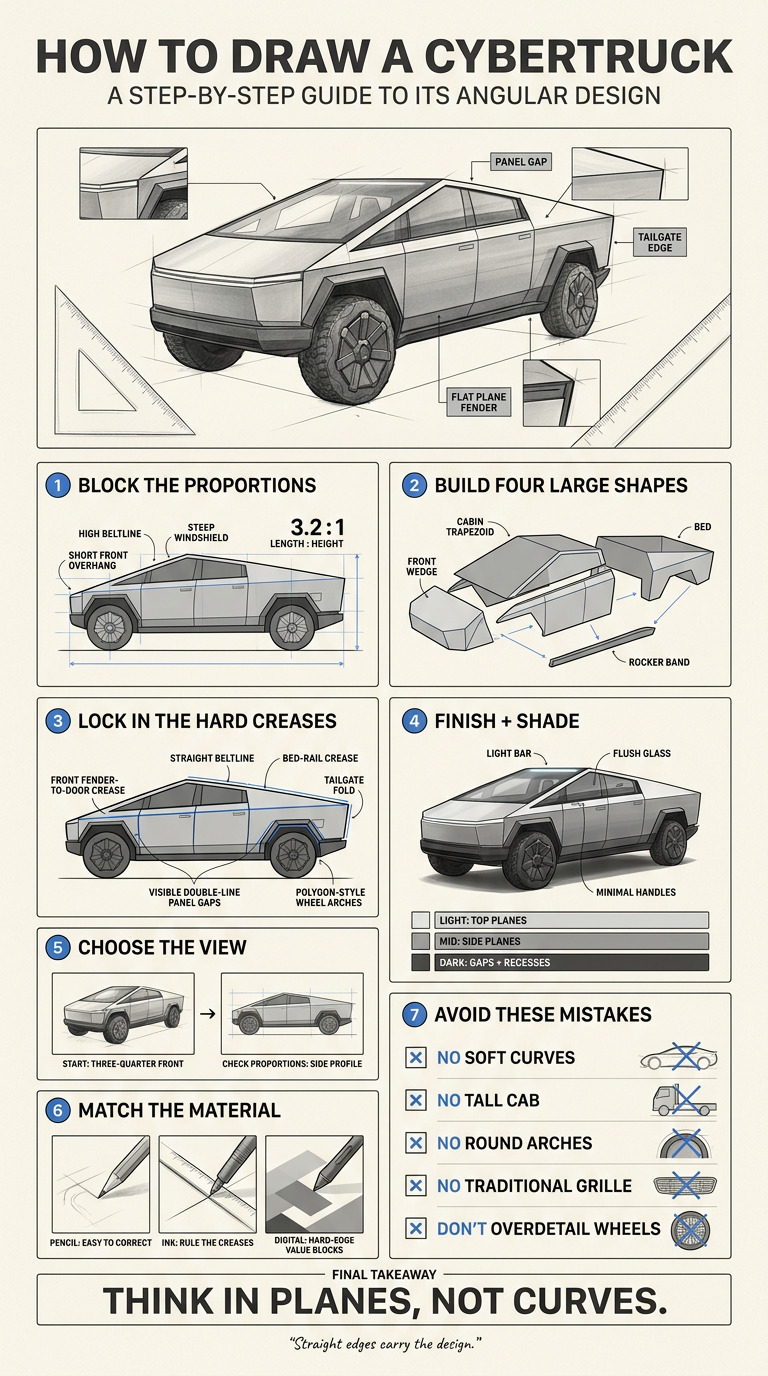
Skip the temptation to start with outline detail. The Cybertruck comes together fastest, and most accurately, when you build it in four distinct passes, each one locking in a different layer of the design before you add the next.
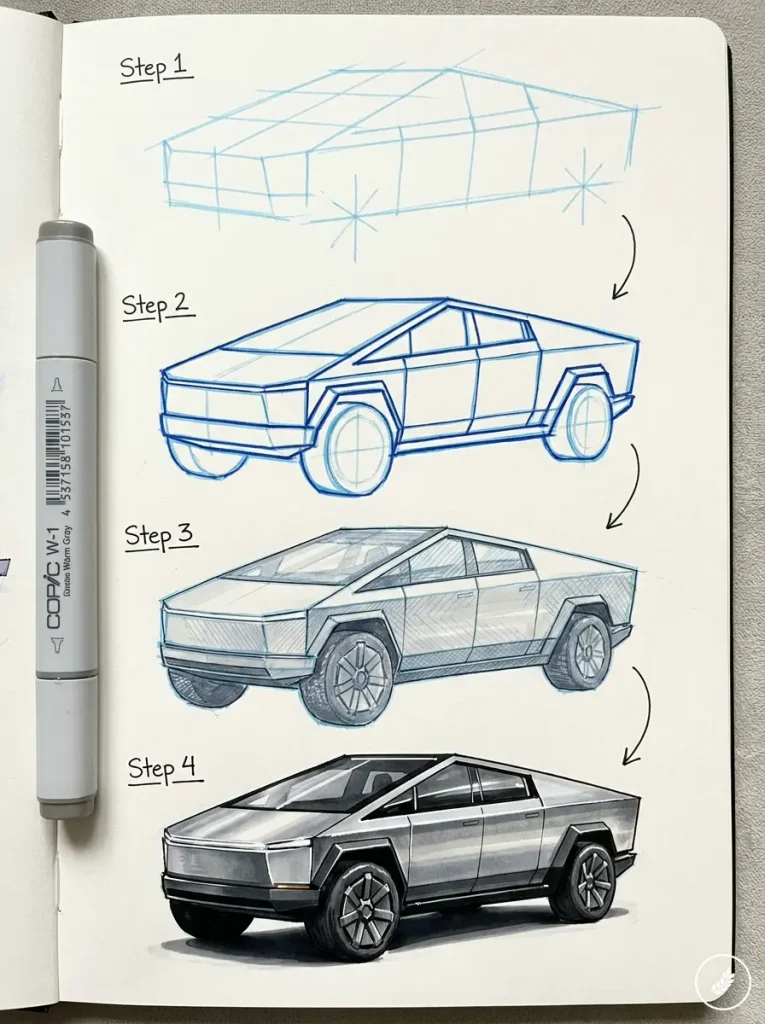
Step 1: Block In the Proportions
Before a single crease line, block in the silhouette as plain rectangles and a trapezoid. This is where most drawings fail before they even start looking like a Cybertruck.
- Overall length-to-height ratio: roughly 3.2:1 at the silhouette level — noticeably longer and lower than a Ford F-150 (closer to 2.9:1)
- Beltline height: sits unusually high relative to the wheels, which is what gives the “armored vehicle” read
- Windshield rake: extremely steep, close to 35 degrees from vertical — this single angle does more to make your drawing read as “Cybertruck” than almost any other line
- Front and rear overhang: minimal — the wheels sit close to the corners, which is part of why the stance looks so planted
I’ve noticed most beginners default to the proportions of whatever truck they’ve drawn before — usually something closer to a Silverado or F-150, with a taller cab and more front overhang. Fix that by measuring off a real photo before you commit: hold your pencil at arm’s length against your reference image, thumb-mark the wheelbase, then check how many wheelbase-lengths tall the cab actually is. It’s fewer than you’d guess.
Tip
Draw your block-in at 3.5 units long by 1 unit tall, wheels included. If your sketch looks “too tall” once you’ve blocked in the panels, it’s almost always because the initial rectangle was too square.
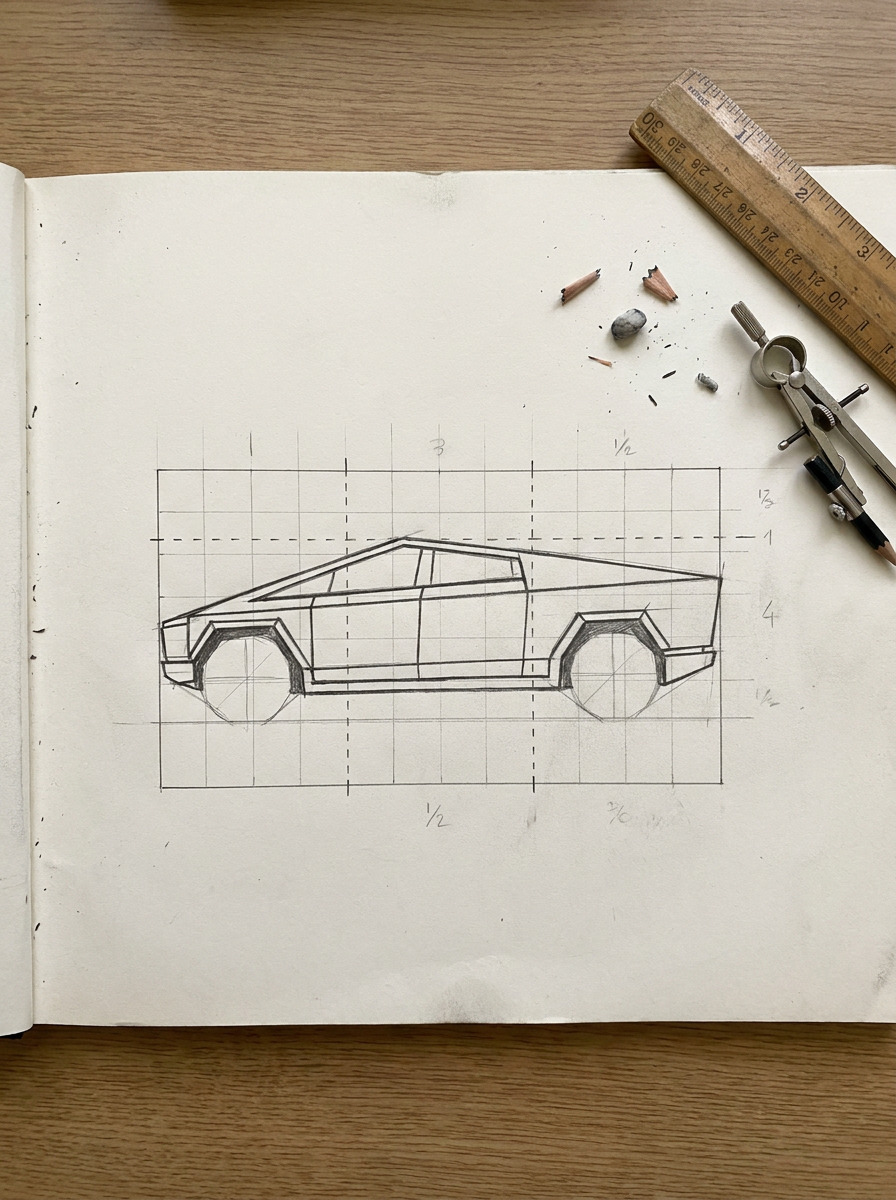
Step 2: Build the Exoskeleton Shapes
Tesla calls the Cybertruck’s structure an “exoskeleton” for a reason — the body panels are the structural skin, not cladding over a separate frame, and that’s visible in how few seams the surface has. Once your proportion rectangle is down, break it into four large shapes: the front fascia wedge (hood to windshield base), the cabin box (windshield to C-pillar), the bed section (C-pillar to tailgate), and the lower rocker band that ties both ends together.
The nose is nearly a single flat plane angled back at roughly the same rake as the windshield, broken only by the light bar. There’s no traditional grille opening — draw the front as one continuous surface first, then add the light bar as a thin horizontal band roughly a third of the way down from the hood line. Resist the urge to add a mouth-shaped intake; that’s the single most common “this looks like every other truck” tell I catch in student sketches.
The greenhouse (window area) is a shallow trapezoid, narrower at the top than the bottom, with almost no curvature in the roofline — it reads as a flat plane from A-pillar to C-pillar. Keep your roof line dead straight here; even a slight bow will round off the silhouette and undercut the whole effect you’re going for.
Step 3: Add the Panel Creases and Wheels
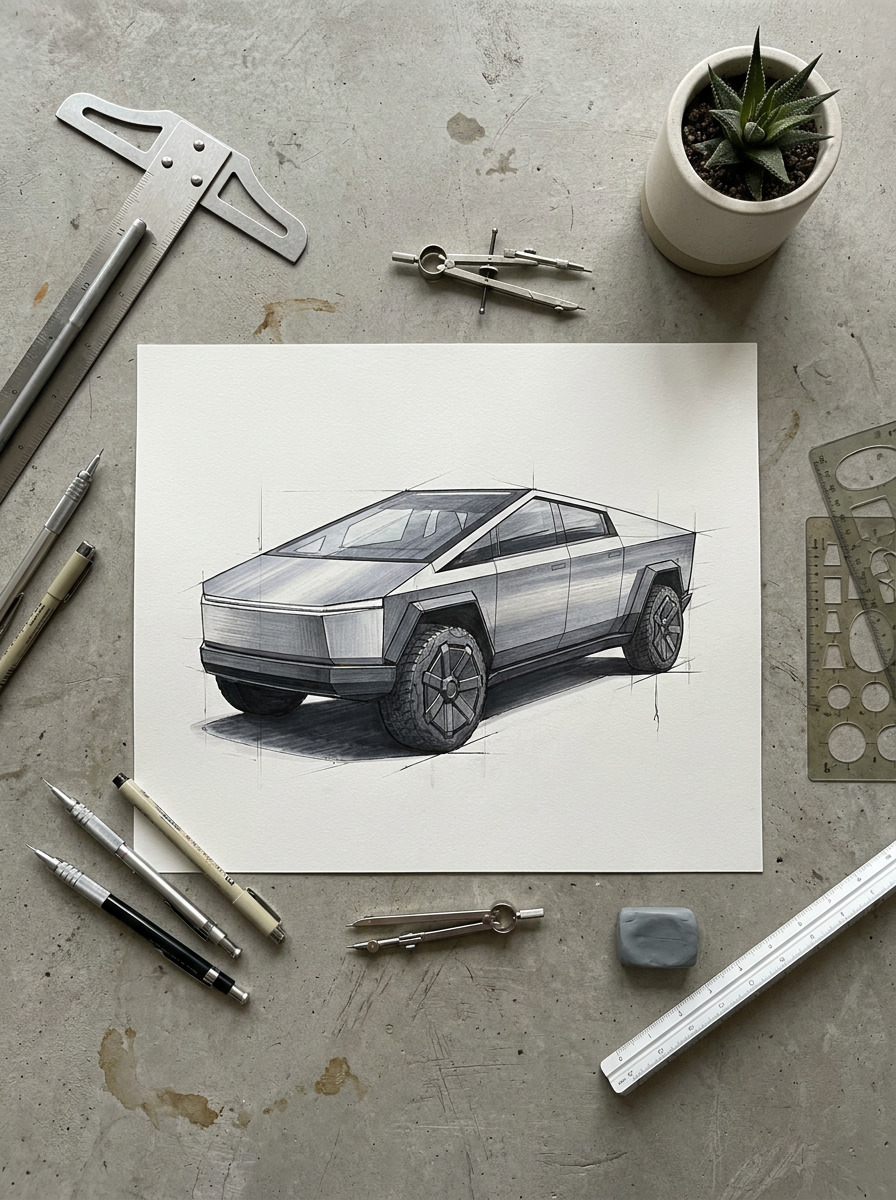
This is the step that separates a convincing Cybertruck drawing from a generic wedge-truck with the corners knocked off, and it’s where the academic drawing approach pays off directly: think in terms of light-catching planes, not outlines.
Each body panel is essentially a polygon with two to four edges, and the crease where two panels meet is a genuine hard angle — never soften it into a curve, and never draw it as a single thin line either. Get these creases in first:
- The beltline crease: runs the full length of the vehicle at a consistent height, dead straight
- The front fender-to-door crease: a diagonal break just ahead of the front wheel arch
- The bed-rail crease: where the bed’s top surface meets its vertical side wall — sharper than on any traditional pickup
- The tailgate crease: a single fold line, not a rounded edge, where the tailgate’s face meets the bed floor
Tip
Number your creases before you ink or finalize them. I count five to seven major creases per side view, depending on how much side-mirror and door-handle detail you include — any more than that and the drawing starts to look busy and un-Cybertruck-like, since the actual design is famously minimal on surface detail.
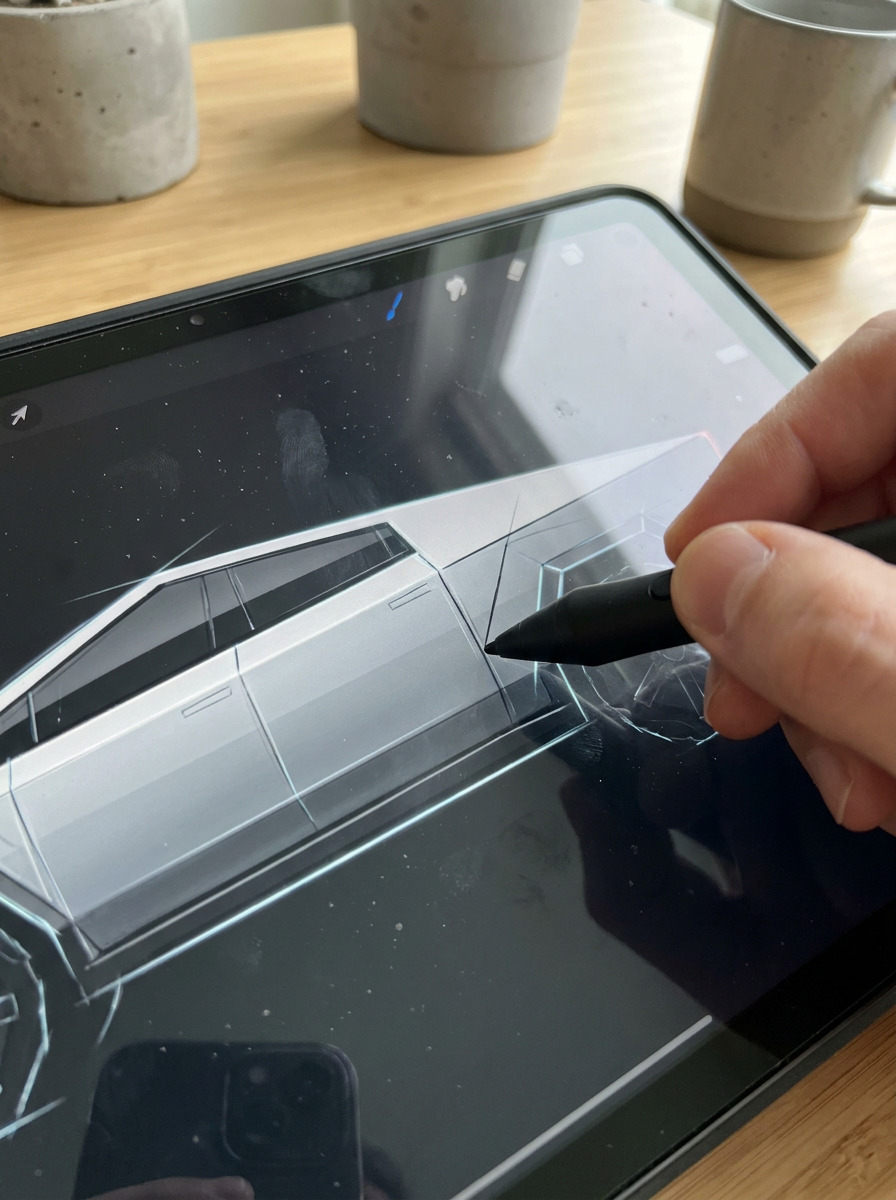
Unlike a conventional car, the panel gaps are wide and deliberately visible — part of the industrial, unfinished-prototype aesthetic Tesla leaned into. Draw them as double parallel lines with a hairline shadow between them, especially around the door and the front trunk (frunk) seam.
Now add the wheels. The wheel wells are nearly square-cornered trapezoids rather than the rounded arches you’d draw on any other vehicle — draw the wheel centers first, then build the arch around them with straight-ish edges and only the tightest possible corner radius. The Cybertruck sits with almost no gap between the tire’s top and the arch line, which reads as aggressive and low even though ground clearance is actually generous (up to about 16 inches in Extract mode). The stock wheel itself is nearly solid, with a faceted aero cover and exposed lug-style cutouts only near the rim edge — draw it closer to a polygon than a wheel.
Step 4: Finish the Details and Shade It In
The details that finish a convincing drawing are surprisingly few — this is a vehicle defined by restraint, not ornament. A single unbroken light-bar strip spans the full width front and rear; draw it as a thin, perfectly straight rectangle recessed slightly into the body plane. The flush door handles sit nearly invisible against the body plane until you add a hairline seam. The windshield and side glass sit nearly flush with the surrounding metal, with minimal visible trim.
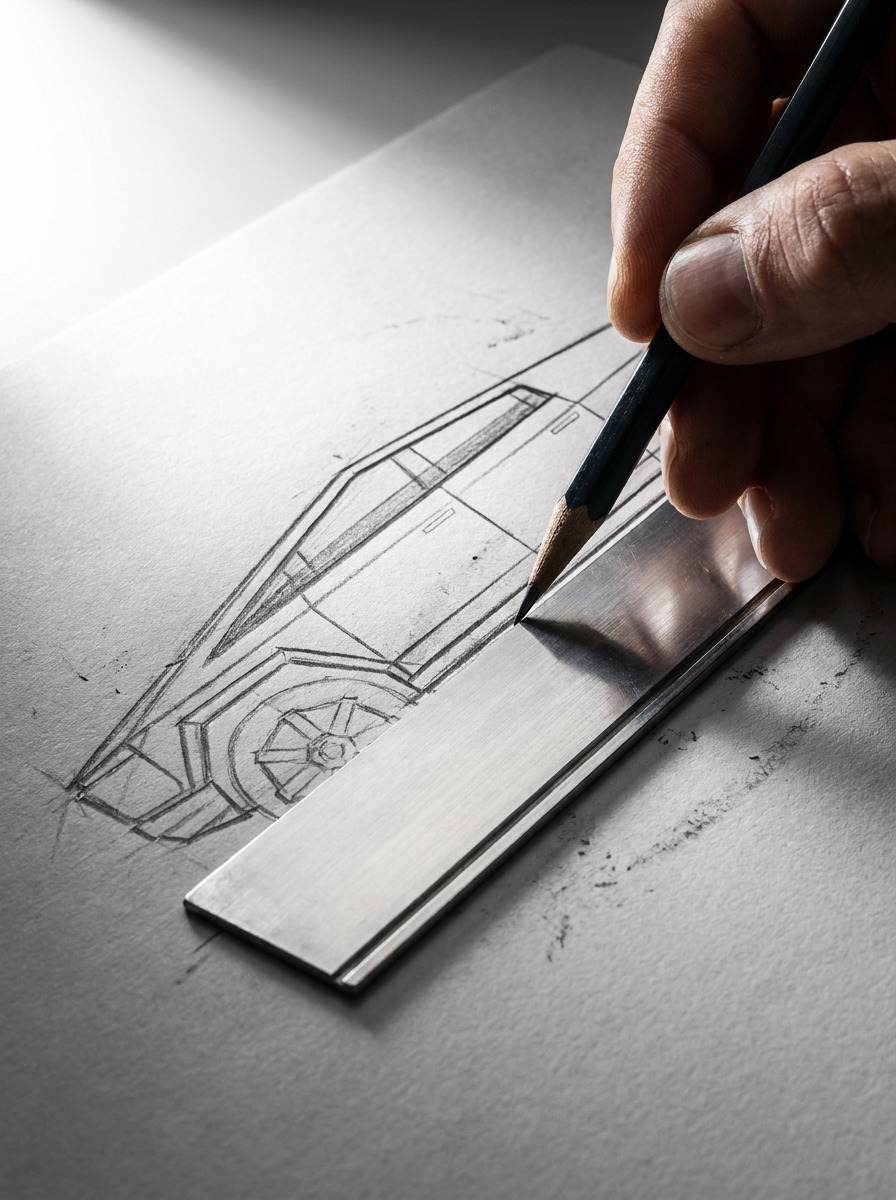
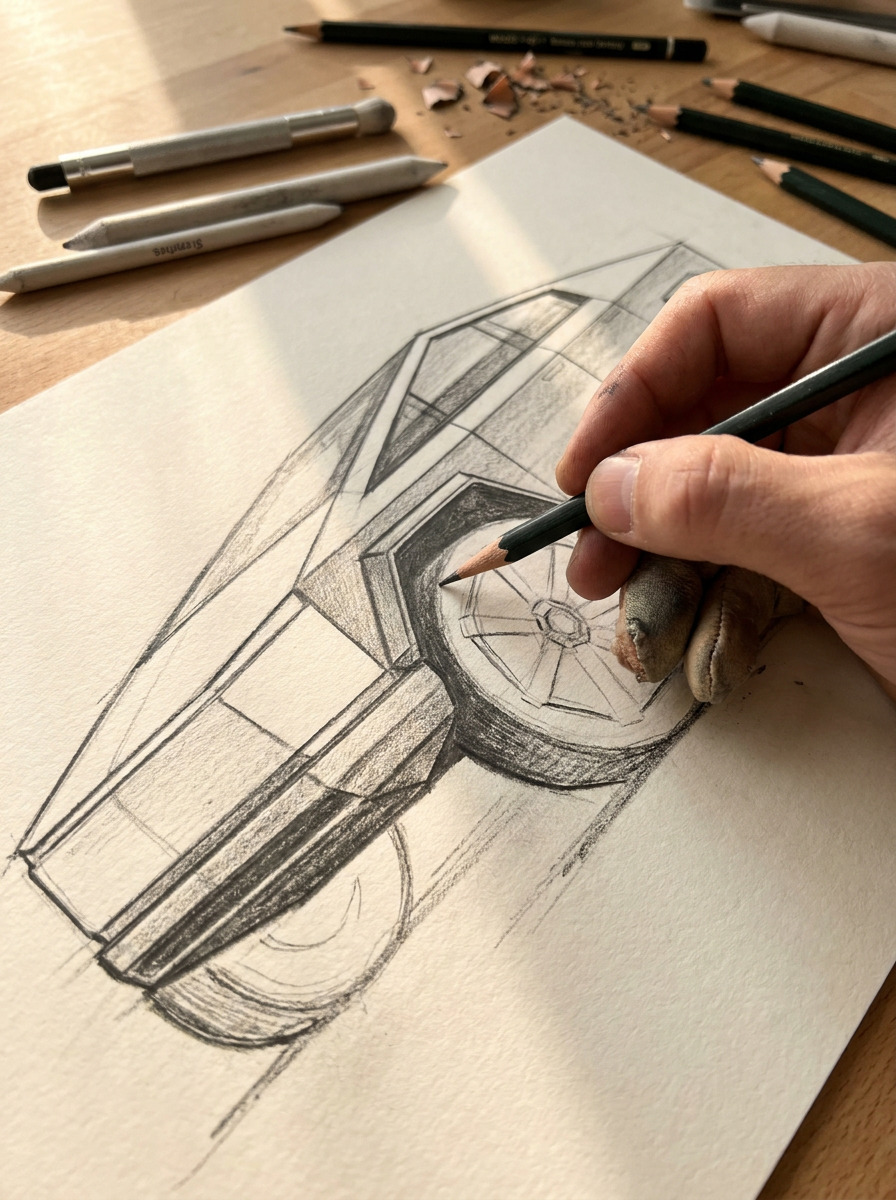
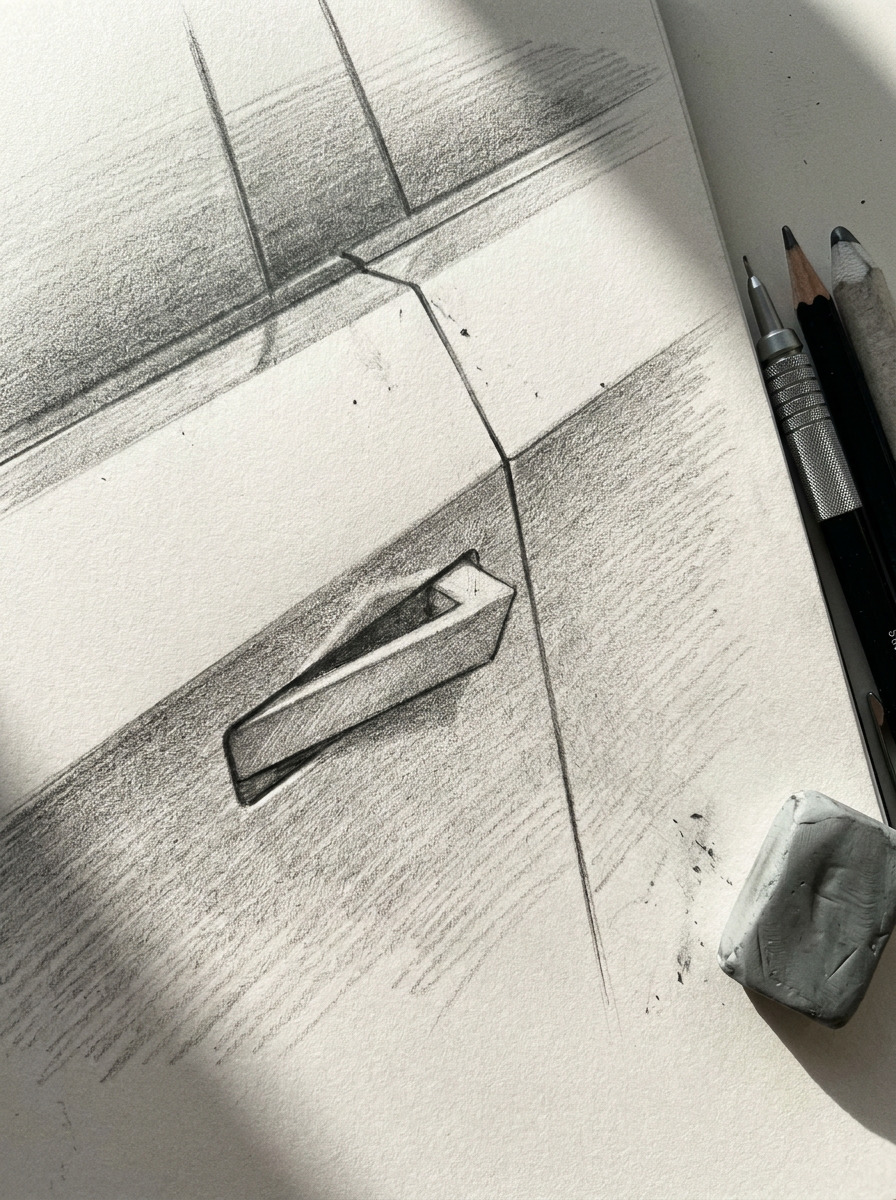
For shading, treat each flat panel as holding a single, roughly uniform value across its whole surface, with the value change happening abruptly at the crease line rather than gradually across it — closer to how you’d shade a faceted gemstone than a traditional curved car body. A simple three-value system works well: lightest on top-facing planes (hood, roof, bed floor) catching direct light, mid-value on side-facing vertical planes (doors, fenders, bed sides), and darkest on any plane angled away from your light source, plus the recessed panel gaps.
Drawing the Cybertruck From Different Angles
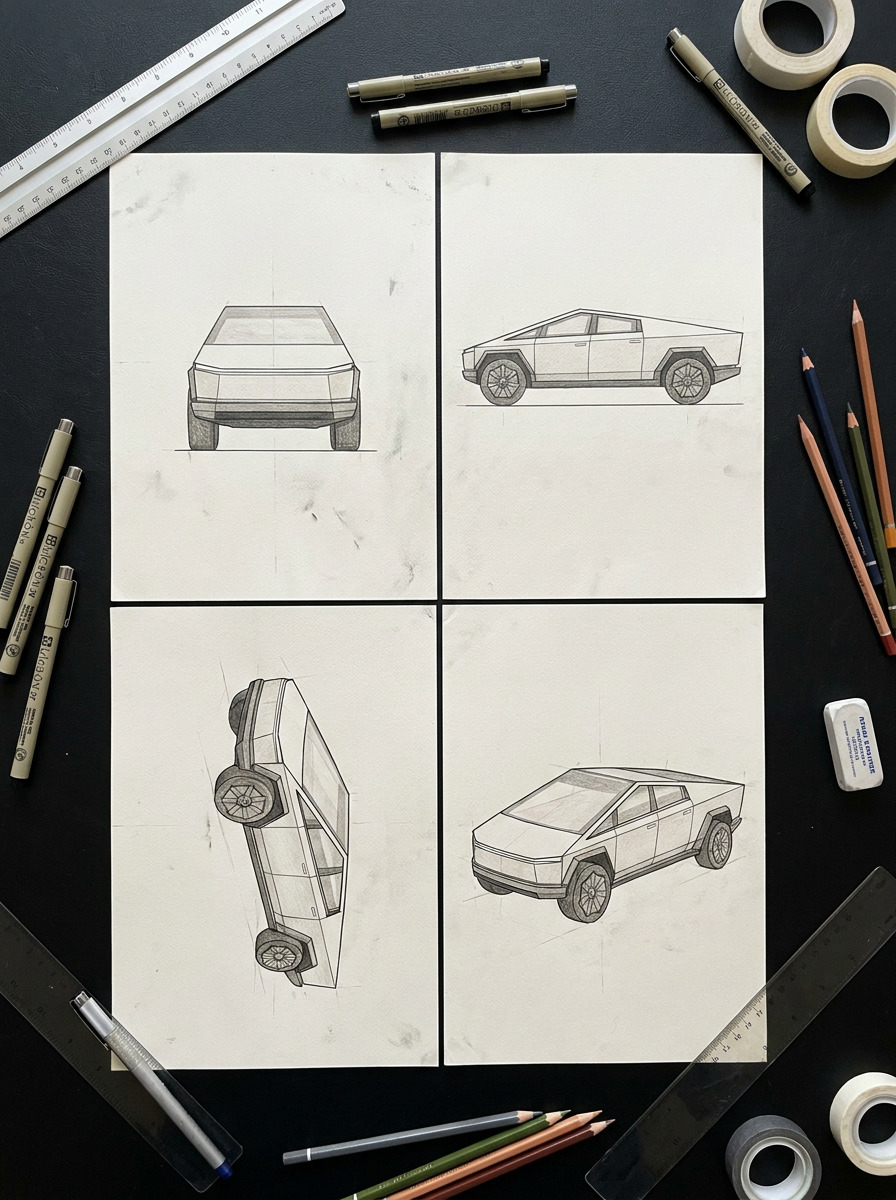
The four-step method above holds for every angle, but each view emphasizes a different part of the design, and a couple of them come with their own traps.
Three-Quarter Front View
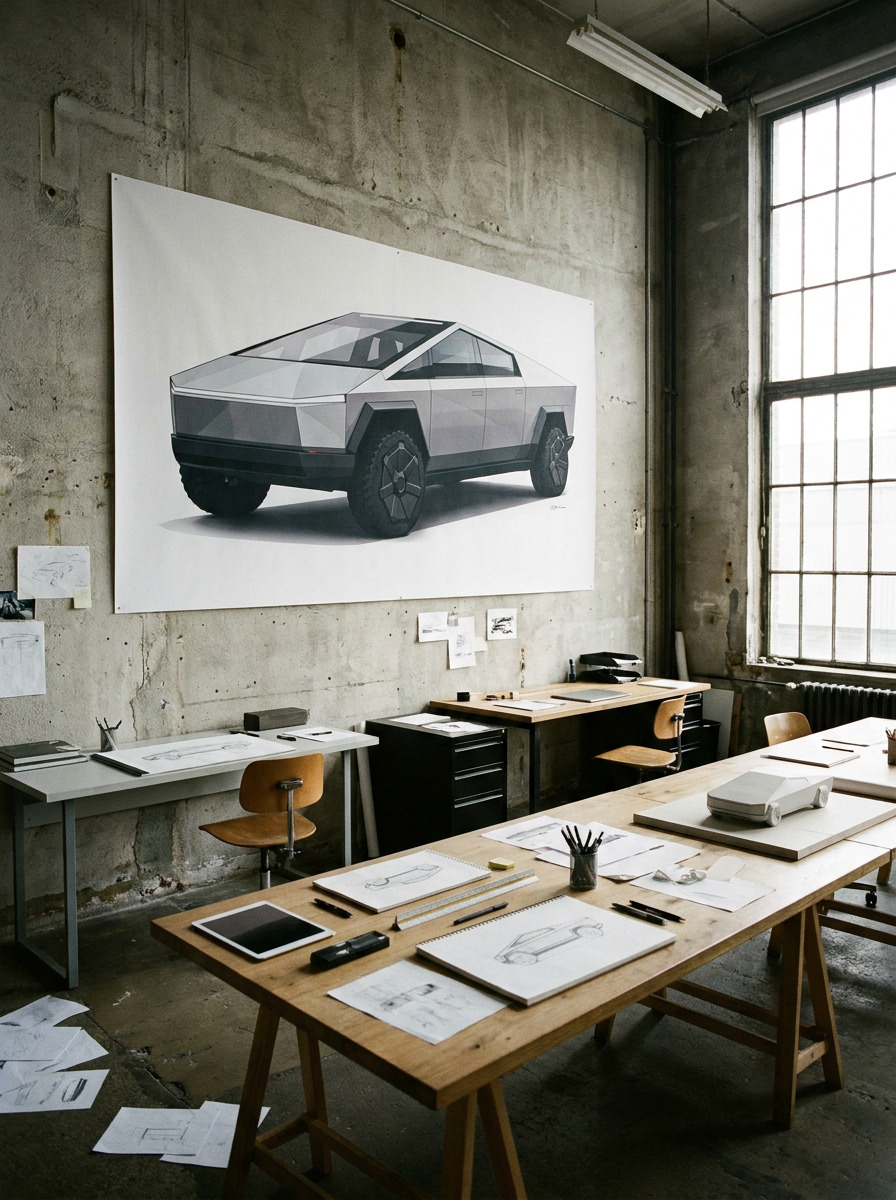
This is the angle I’d recommend starting with, and the one that shows up most in the reference photography you’ll find. It captures the windshield rake, the front fascia plane, and the wheel stance all at once, and it’s the most forgiving angle if your proportions drift slightly, since foreshortening hides small errors better than a flat side view does. Set your vanishing points wide when you build the perspective grid — the vehicle is 18.6 feet long and 6.6 feet wide, a wider stance than a Ford F-150, and a narrow perspective cone will make it look like a compact SUV instead of a full-size truck.
Straight Side Profile
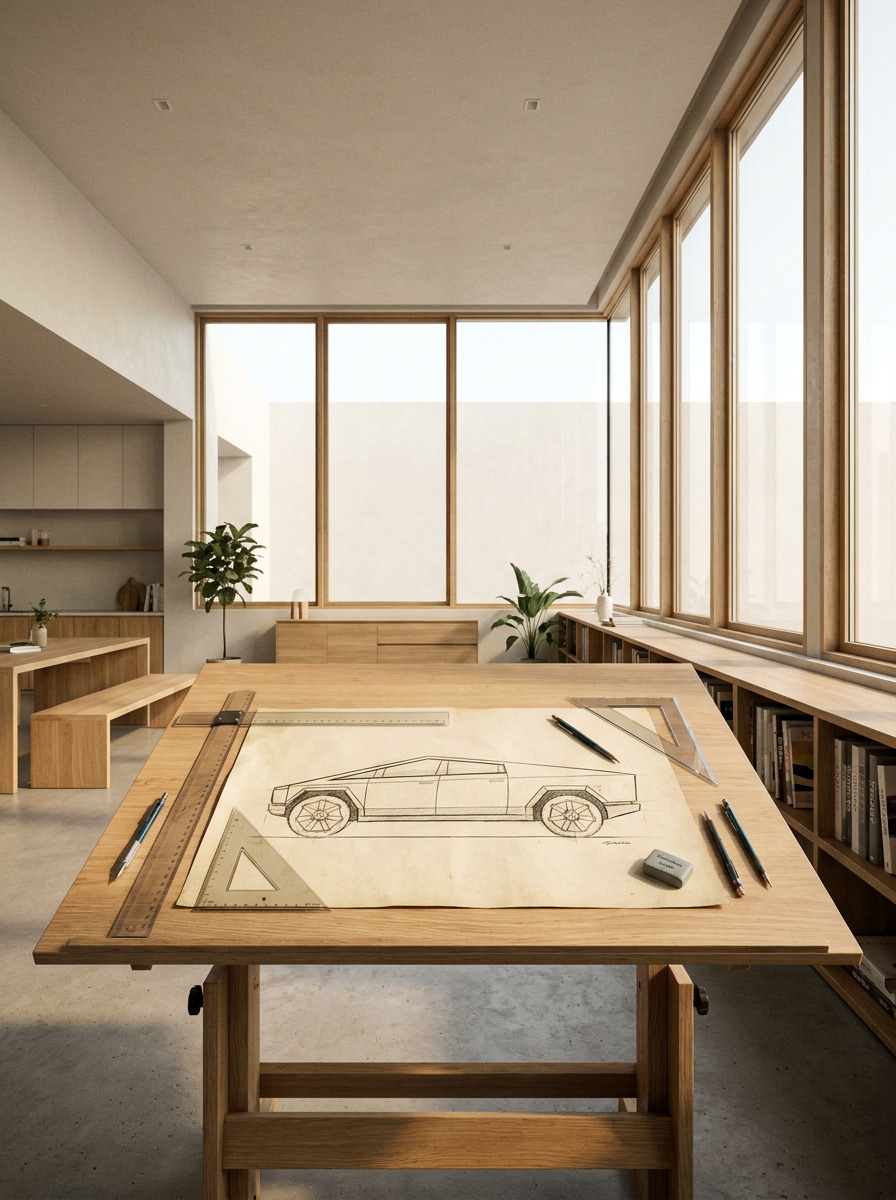
The side view is the least forgiving, because it’s pure proportion with no perspective to hide behind — every length-to-height error is immediately visible. It’s also the best angle for practicing the beltline crease as one continuous, perfectly straight line from front fascia to tailgate. I’d treat a clean side-profile drawing as a proportion check for your other angles rather than a final piece on its own.
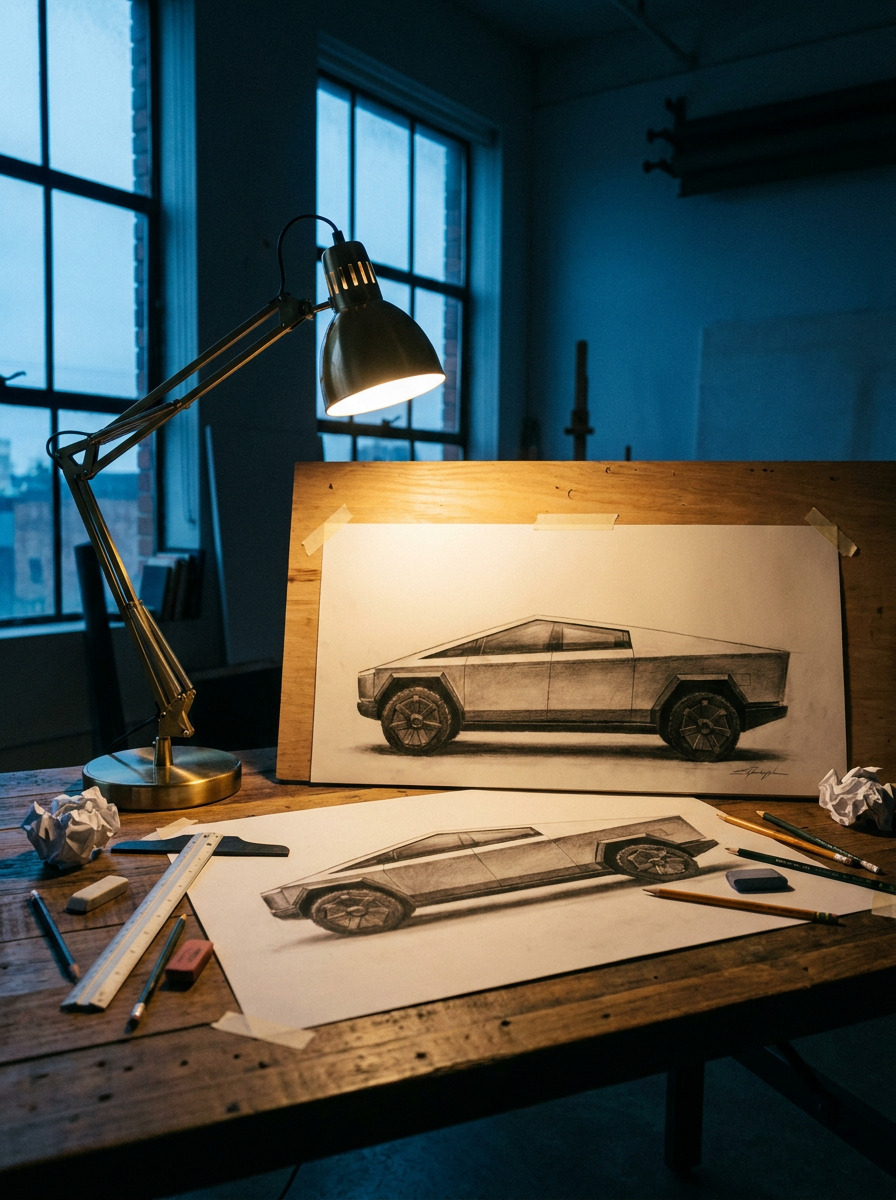
Front-On View
Drawing the Cybertruck head-on is almost an exercise in restraint: the nose is a single flat trapezoid broken only by the light bar, with the hood line, fender edges, and wheel arches reading as a small handful of straight segments. Beginners tend to add curvature here out of habit from drawing rounder trucks — keep every line straight, and let the light bar’s placement (roughly a third of the way down the face) do the visual work.
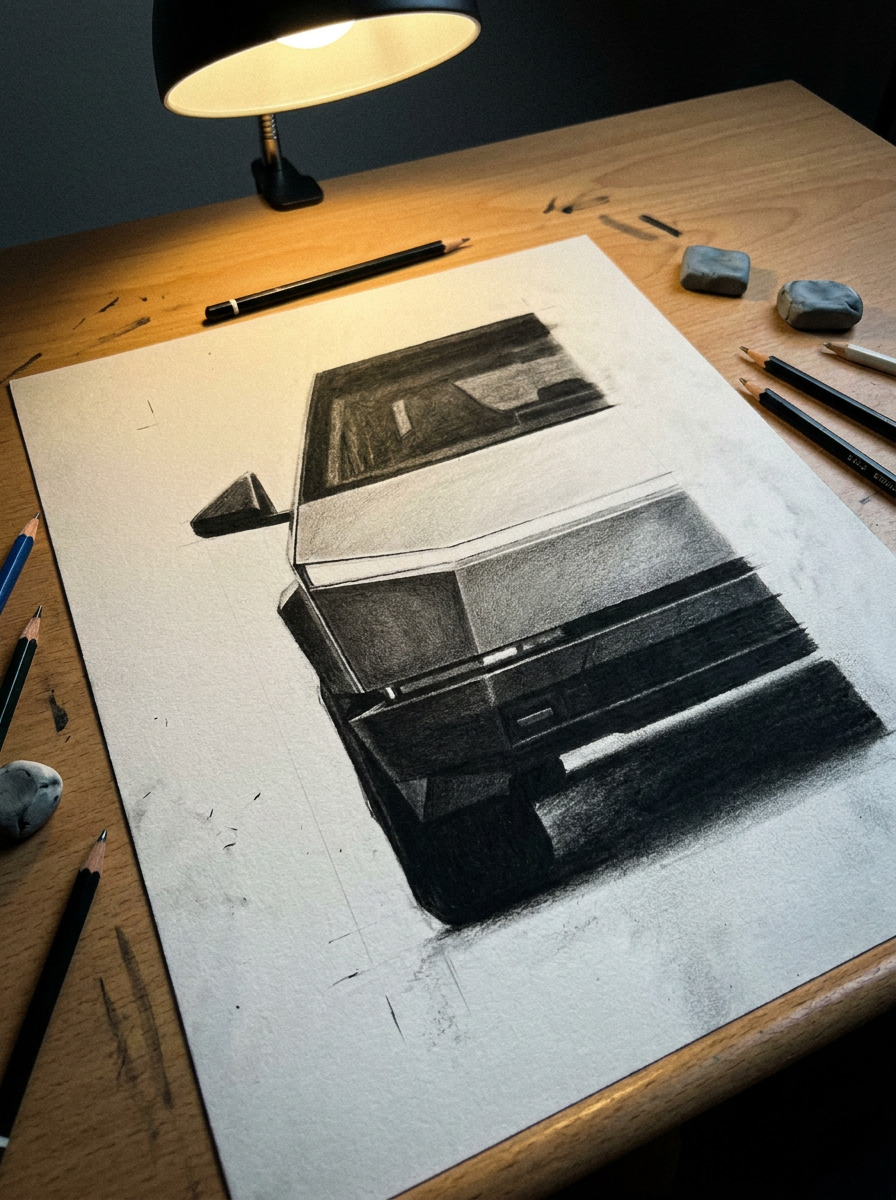
Rear Three-Quarter View
The rear view shares the tailgate crease and bed-rail geometry that don’t show up in a front three-quarter sketch, and it’s worth practicing separately if you’re building out a full multi-angle study. The tailgate’s single fold line where it meets the bed floor is the detail most people round off from memory — check a reference photo for this one specifically, since it’s easy to draw from imagination as a curved tailgate the way you would on a normal pickup.
Cybertruck Drawing in Different Materials
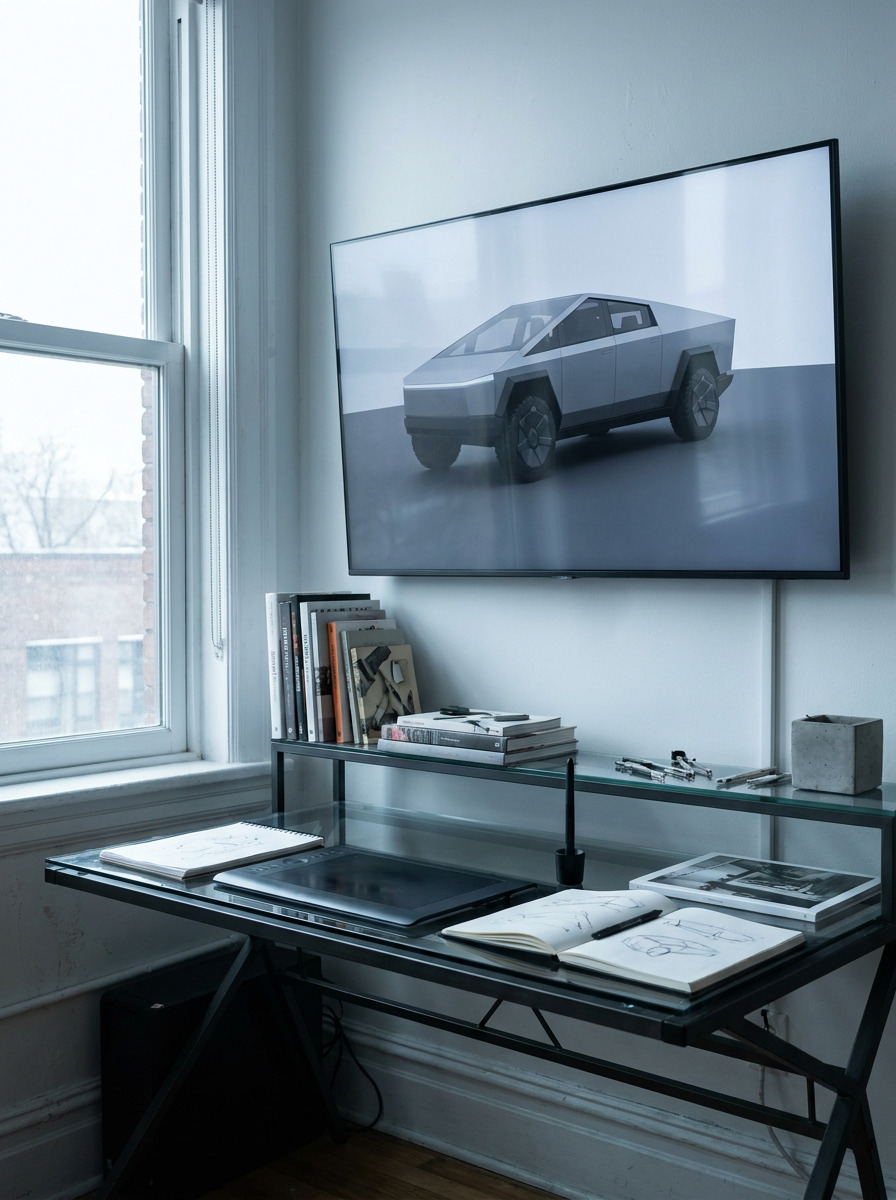
The flat-plane, hard-crease structure of the design translates differently depending on what you’re drawing with, and it’s worth picking your material with that in mind rather than defaulting to whatever’s closest at hand.
Graphite Pencil
Pencil is my first recommendation for learning the proportions, because it’s the easiest medium to correct as you go — you’ll be erasing and re-measuring your block-in more than once, especially on your first few attempts. For shading, use a harder pencil (2H–HB) for the lighter top-facing planes and a softer one (2B–4B) for the darker side planes, and keep your strokes flat and even within each panel rather than blending across the crease lines. A blending stump can soften a curved fender nicely; on the Cybertruck, it’ll flatten the very edges that make the drawing read correctly, so use it sparingly and never across a crease.
Ink and Marker
Ink rewards the design’s minimal detail count well, since you’re committing to each line permanently. Rule your major creases with a fine-liner and a straightedge rather than freehanding them — a slightly wavering hard line looks like a mistake in ink in a way it doesn’t in pencil. Cool-gray markers in two or three values, applied flat within each panel boundary, are enough to suggest the faceted steel without overworking it; I’d avoid more than three marker values on a single view, since the real vehicle’s surface detail is genuinely sparse.
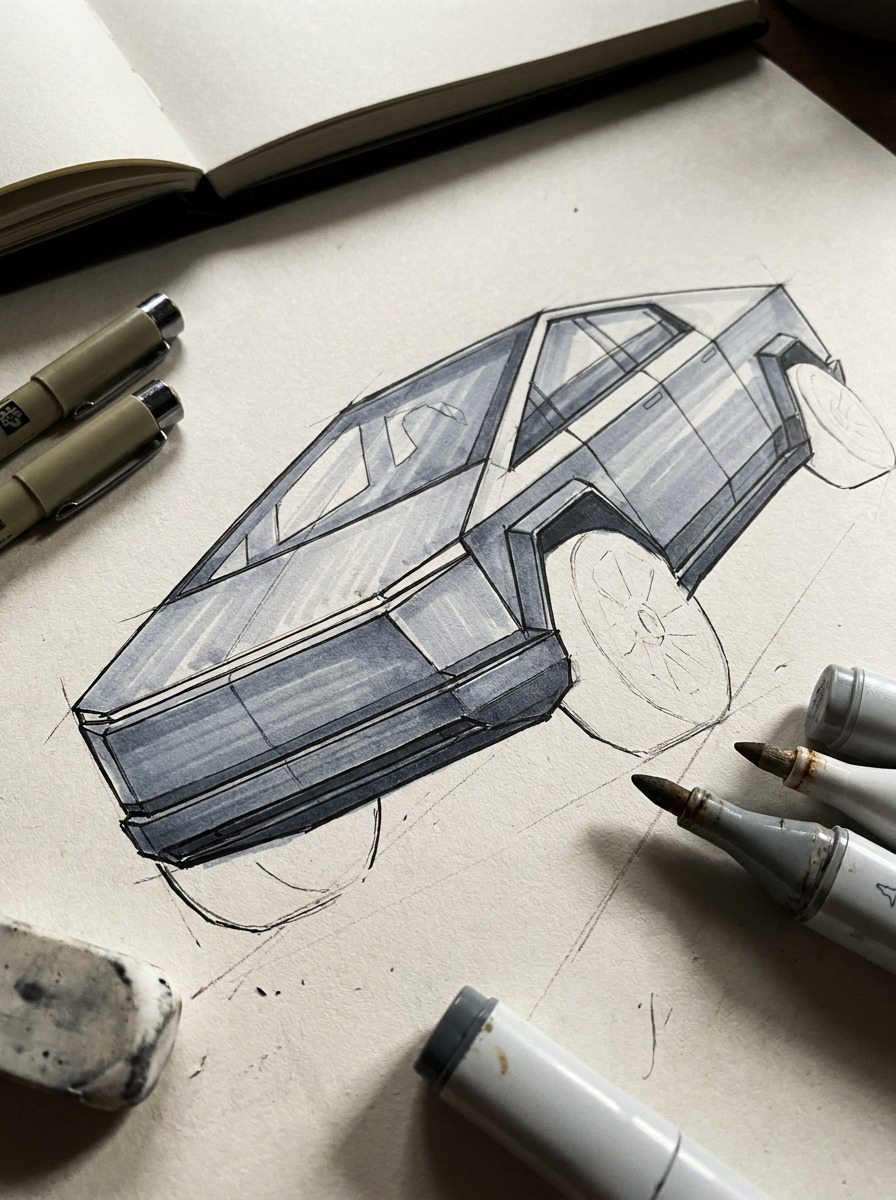
Digital
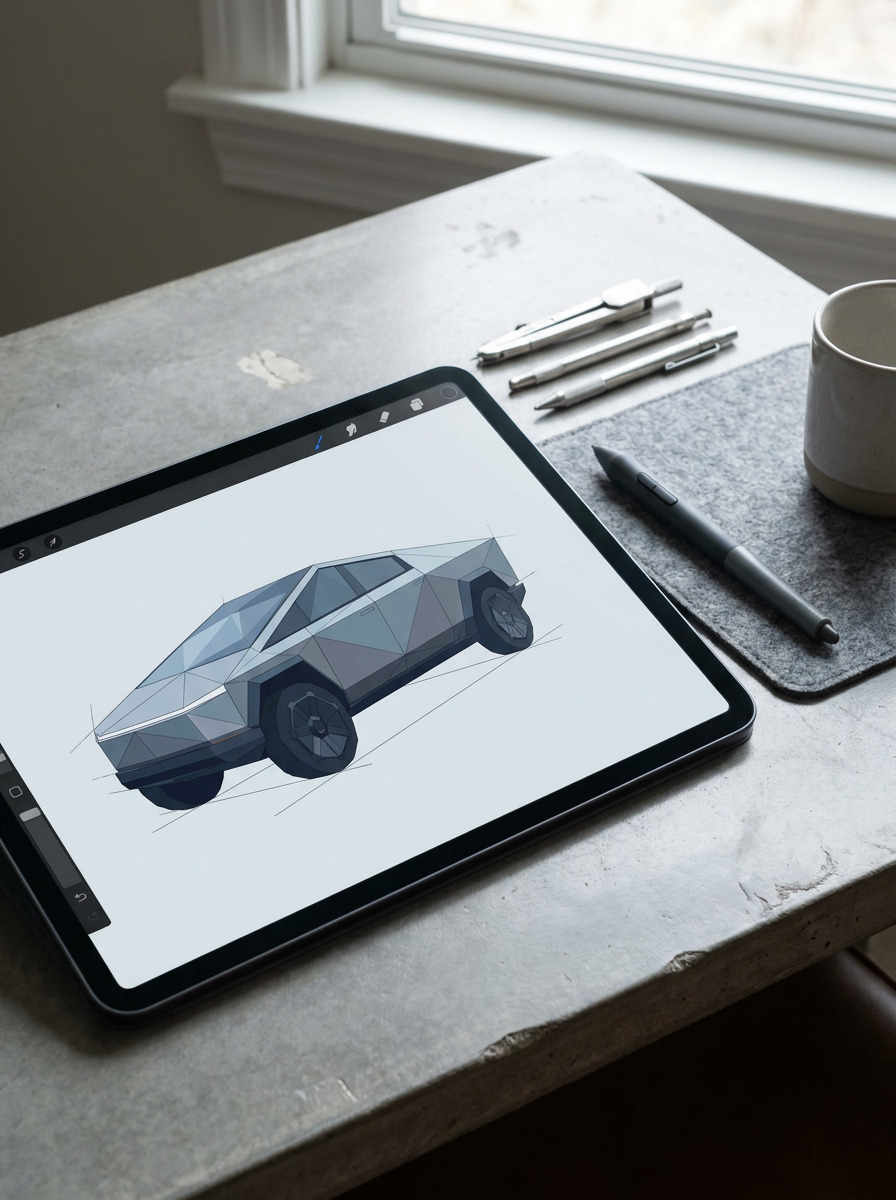
The hard-edge, flat-panel shading style is very well suited to digital tools with a polygon lasso or a hard-edged brush, since it rewards clean, deliberate value blocks over blended strokes. Block in flat color fills per panel first with no gradients at all, then add a single soft highlight pass only along the sharpest creases. That order keeps the faceted read intact instead of accidentally smoothing it into a rounded truck by the time you’re done shading. If you’re sketching the cab interior as a companion piece, Car Interior Drawing walks through blocking in a dashboard and console without the perspective fighting your exterior lines — a common problem when you try to show both through a raked, flush-mounted windshield like this one.
Common Mistakes to Avoid
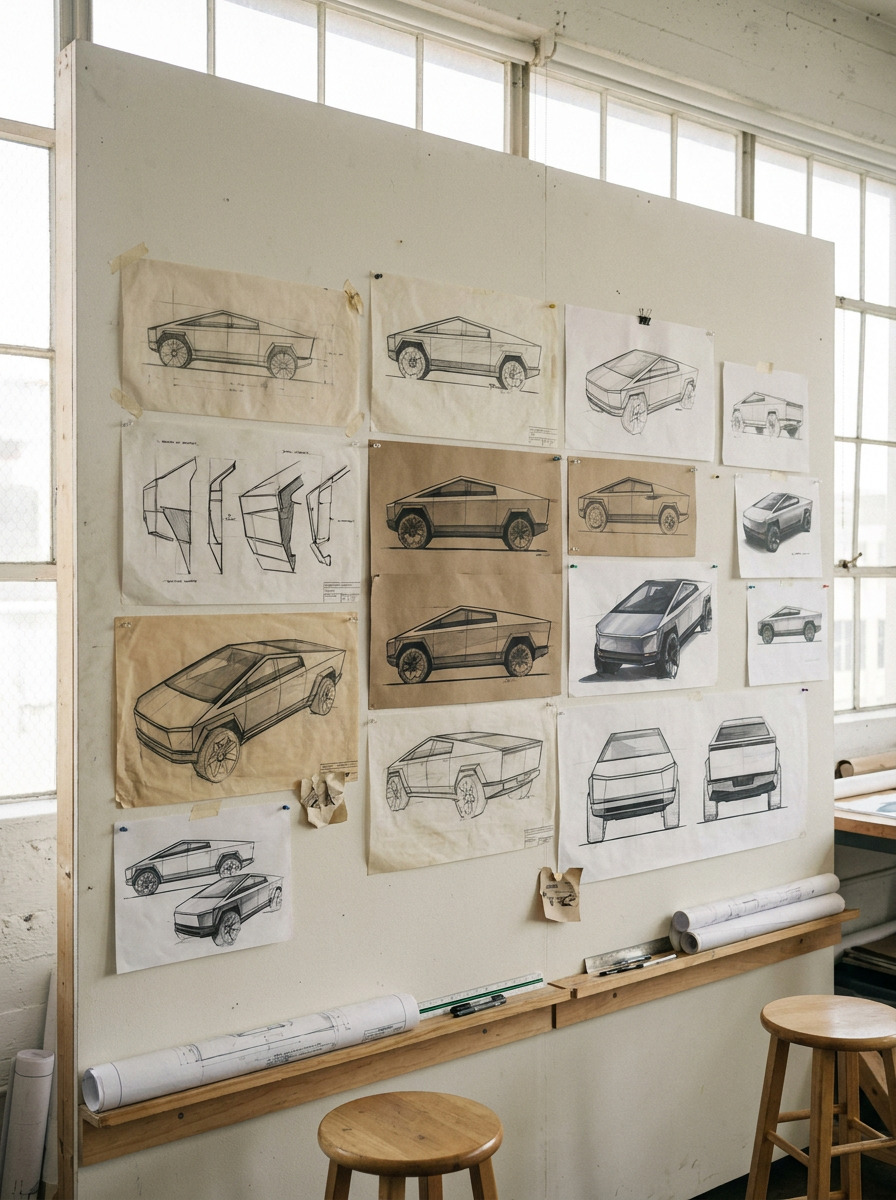
A few patterns show up again and again in Cybertruck sketches, and every one of them is an easy fix once you know to look for it:
- Softening the creases into curves — the single biggest tell; keep every major body line a hard angle
- Making the cab too tall relative to the bed — check your 3.2:1 length-to-height block-in before adding detail
- Rounding the wheel arches — they’re closer to rounded rectangles than circle segments
- Adding a traditional grille — there isn’t one; the front is a continuous plane with the light bar as the only break
- Skipping the visible panel gaps — they’re a design feature, not a flaw, and leaving them out makes the drawing look generic
- Over-detailing the wheels — the factory look is closer to a solid polygon than a multi-spoke wheel
- Rounding the tailgate fold in the rear view — it’s a single hard crease, not a curved edge, even though most pickups round it
FAQ
Is the Cybertruck hard to draw compared to other cars?
It’s different, not necessarily harder. Traditional cars demand strong curve and ellipse control; the Cybertruck demands accurate straight-line proportions and confident hard angles instead. If you’re stronger with a ruler than a French curve, you may find it easier than a rounded sports car.
What’s the best angle to draw a Cybertruck from?
A three-quarter front view (roughly 30–45 degrees off the front corner) shows the most defining features at once and is the most forgiving angle if your proportions are slightly off. Save the straight side profile for once you’re confident in your measurements.
Do I need to draw the panel gaps?
Yes, if you want it to read as a Cybertruck specifically rather than a generic angular truck. The wide, visible gaps are one of its most distinctive design signatures.
Should I use pencil or digital tools for a Cybertruck drawing?
Either works well, but they suit different stages — pencil is easier to correct while you’re still learning the proportions, and digital’s hard-edged brushes suit the flat-panel shading once you’re confident in the shapes.
How long is a Cybertruck compared to a normal pickup?
About 18.6 feet — close to a Ford F-150 SuperCrew in length, but noticeably lower and wider in its overall proportions, which is what gives the drawing its distinctive wedge silhouette.
What’s the most common beginner mistake?
Softening the body creases. It’s an instinct carried over from drawing rounded cars, but on the Cybertruck it undoes the entire design language in one move.
Can I draw the Cybertruck without a reference photo?
You can once you’ve internalized the proportions above, but I’d recommend keeping at least one flat-lighting reference nearby for your first several attempts, especially for the rear tailgate crease and wheel geometry, since the panel details are specific enough that memory alone tends to drift back toward a generic truck shape.
Final Thoughts
The Cybertruck rewards the same skill that academic figure drawing builds — seeing a form as planes meeting at edges before you see it as an outline. Work through the four steps in order, practice at least the front three-quarter and side views before you commit to a finished piece, and pick your material based on what stage you’re at rather than habit.
Once you stop trying to round anything off and commit to the hard angles, the proportions, and the visible panel gaps, the drawing starts looking right almost on its own. If you want more single-vehicle breakdowns like this one, How to Draw a Honda covers a very different design language worth comparing against, and 15 Car Drawing Ideas is a good next stop if you want to practice the fundamentals on friendlier shapes first.
- 7shares
- Facebook0
- Pinterest7
- Twitter0
- Reddit0